9-Day Utah National Parks Road Trip Itinerary Through the Mighty 5
Explore Utah National Parks in this road trip itinerary with the best hikes, camping and more in Zion, Bryce, Capitol Reef, Arches & Canyonlands.
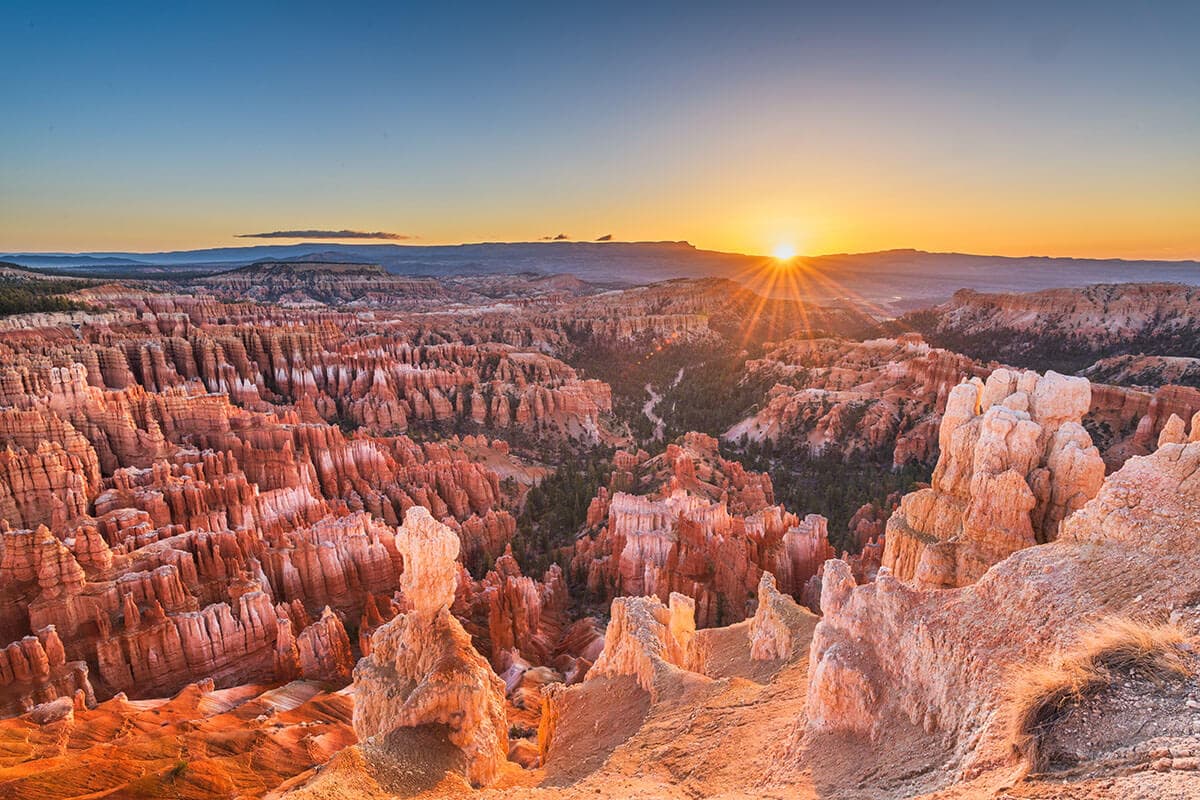
Southern Utah’s National Parks are what first drew me to Utah and are ultimately the reason I ended up moving to Salt Lake City. There’s literally nowhere else on the planet like Bryce Canyon or Zion!
Otherwise known as the Mighty 5, these public lands offer stunning red rock scenery, twisting slot canyons, and incredible hiking. They can also be connected to create an epic Utah National Parks road trip, which is an unforgettable trip for any outdoor adventurer.
Because there’s so much to see and do in Utah’s National Parks, I recommend having at least two weeks available if you plan on visiting all five. Alternatively, you can focus on 2-3 parks if you only have a week.
In this 9-day Utah National Parks road trip itinerary, I share my favorite hikes, the best spots to stop along the route, and travel tips for maximizing your time in Southern Utah.
This post may contain affiliate links.
What are the Mighty 5?
The Mighty 5 are the five National Parks in southern Utah. They include:

Save this post!
Enter your email & I'll send this post to your inbox! You'll also receive my weekly newsletter full of helpful advice for planning your adventures.
The Best Times to Visit Utah’s National Parks
Utah’s National Parks are open year-round and each park’s diverse landscapes and offerings can change based on the weather and season you are visiting. Below is a quick summary of seasons in southern Utan. For more information check out posts on the best time to visit Utah’s National Parks and the best time to visit Bryce Canyon National Park.
Spring and Fall
The most popular (and busiest) times to visit are Spring (April-May) and Fall (September-October). During these milder seasons, the daytime temperatures can range from 60-80 degrees with lows averaging 40-60 degrees. It’s the most comfortable time of year for a Utah National Parks road trip, but with that, you need to be prepared to deal with large crowds.
Summer
If you choose to visit any of these Utah National Parks in the summer months, expect daytime temperatures to reach over 100 degrees. Personally, I don’t recommend planning a Mighty 5 road trip during the summer. The parks are still quite busy and you’ll need to do all of your hiking very early or very late in the day to avoid the mid-day heat and scorching summer sun.
If you do decide to do this trip in the summer, be sure to check out our guide on sun protection for hikers and make sure you have a day pack that can carry at least 3L of water.
Winter
Similarly, if you plan to road trip during the winter months, you need to be prepared for temperatures ranging from 30 to 50 degrees during the day and then dropping to well below freezing overnight.
That being said, winter is a beautiful time to visit the parks because you’ll get to enjoy these stunning desert landscapes, perhaps dusted with snow, while avoiding the National Park crowds.
Just be prepared with winter clothing and check conditions before heading out. You’ll likely want to book rooms in hotels as opposed to camping if you visit in winter.

Where to Start and End your Mighty 5 Road Trip
Utah’s National Parks are spread across the southern half of the state. If you’re flying into Utah to start your trip, the best airports to fly into are:
If you only have one week, I recommend focusing on the east or west side of the state rather than trying to visit all of the parks. I can’t stress enough that visiting all five parks in one week would be A LOT.
Helpful Tip
Book A One-Way Car Rental
A great way to save time is to book a one-way car or campervan rental. You can fly into either Las Vegas or Salt Lake City, enjoy your Utah National Parks road trip, and then drop your rental off at the opposite airport. There will probably be an additional fee, but it might be worth it so you can spend more time exploring the Parks.
Utah National Parks Road Trip at a Glance
Ready to start planning? I’ve listed my Might 5 road trip itinerary traveling from West to East starting in Zion and ending in Arches. But, you could quickly reverse the itinerary to move East to West.
Where you will visit
- DAY 1: Zion National Park
- DAY 2: Zion National Park
- DAY 3: Bryce Canyon National Park
- DAY 4: Bryce or Escalante-Grand Staircase National Monument
- DAY 5: Capitol Reef National Park
- DAY 6: Arches National Park
- DAY 7: Adventure day!
- DAY 8: Canyonlands National Park
- DAY 9: Return home
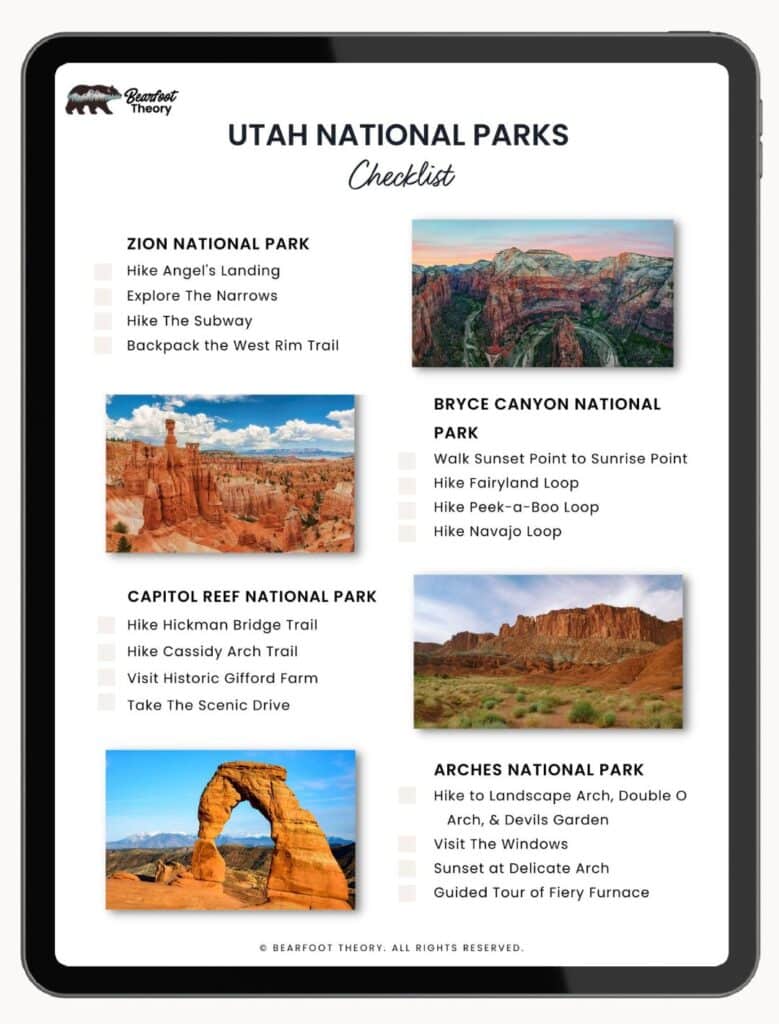
Get my Utah National Parks Checklist
Enter your email below to get this PDF guide on your phone, so you don’t miss anything on your Utah Road Trip!
Day 1: Drive to Zion National Park & Hike Angel’s Landing
Day 1 Overview
Zion was Utah’s first National Park, and you’ll see why. The park features high plateaus, a maze of sandstone canyons, and incredible trails with easy access. If you have time, I recommend checking out the Visitor Center and Human History Museum to learn more about the park.
Hike Angel’s Landing
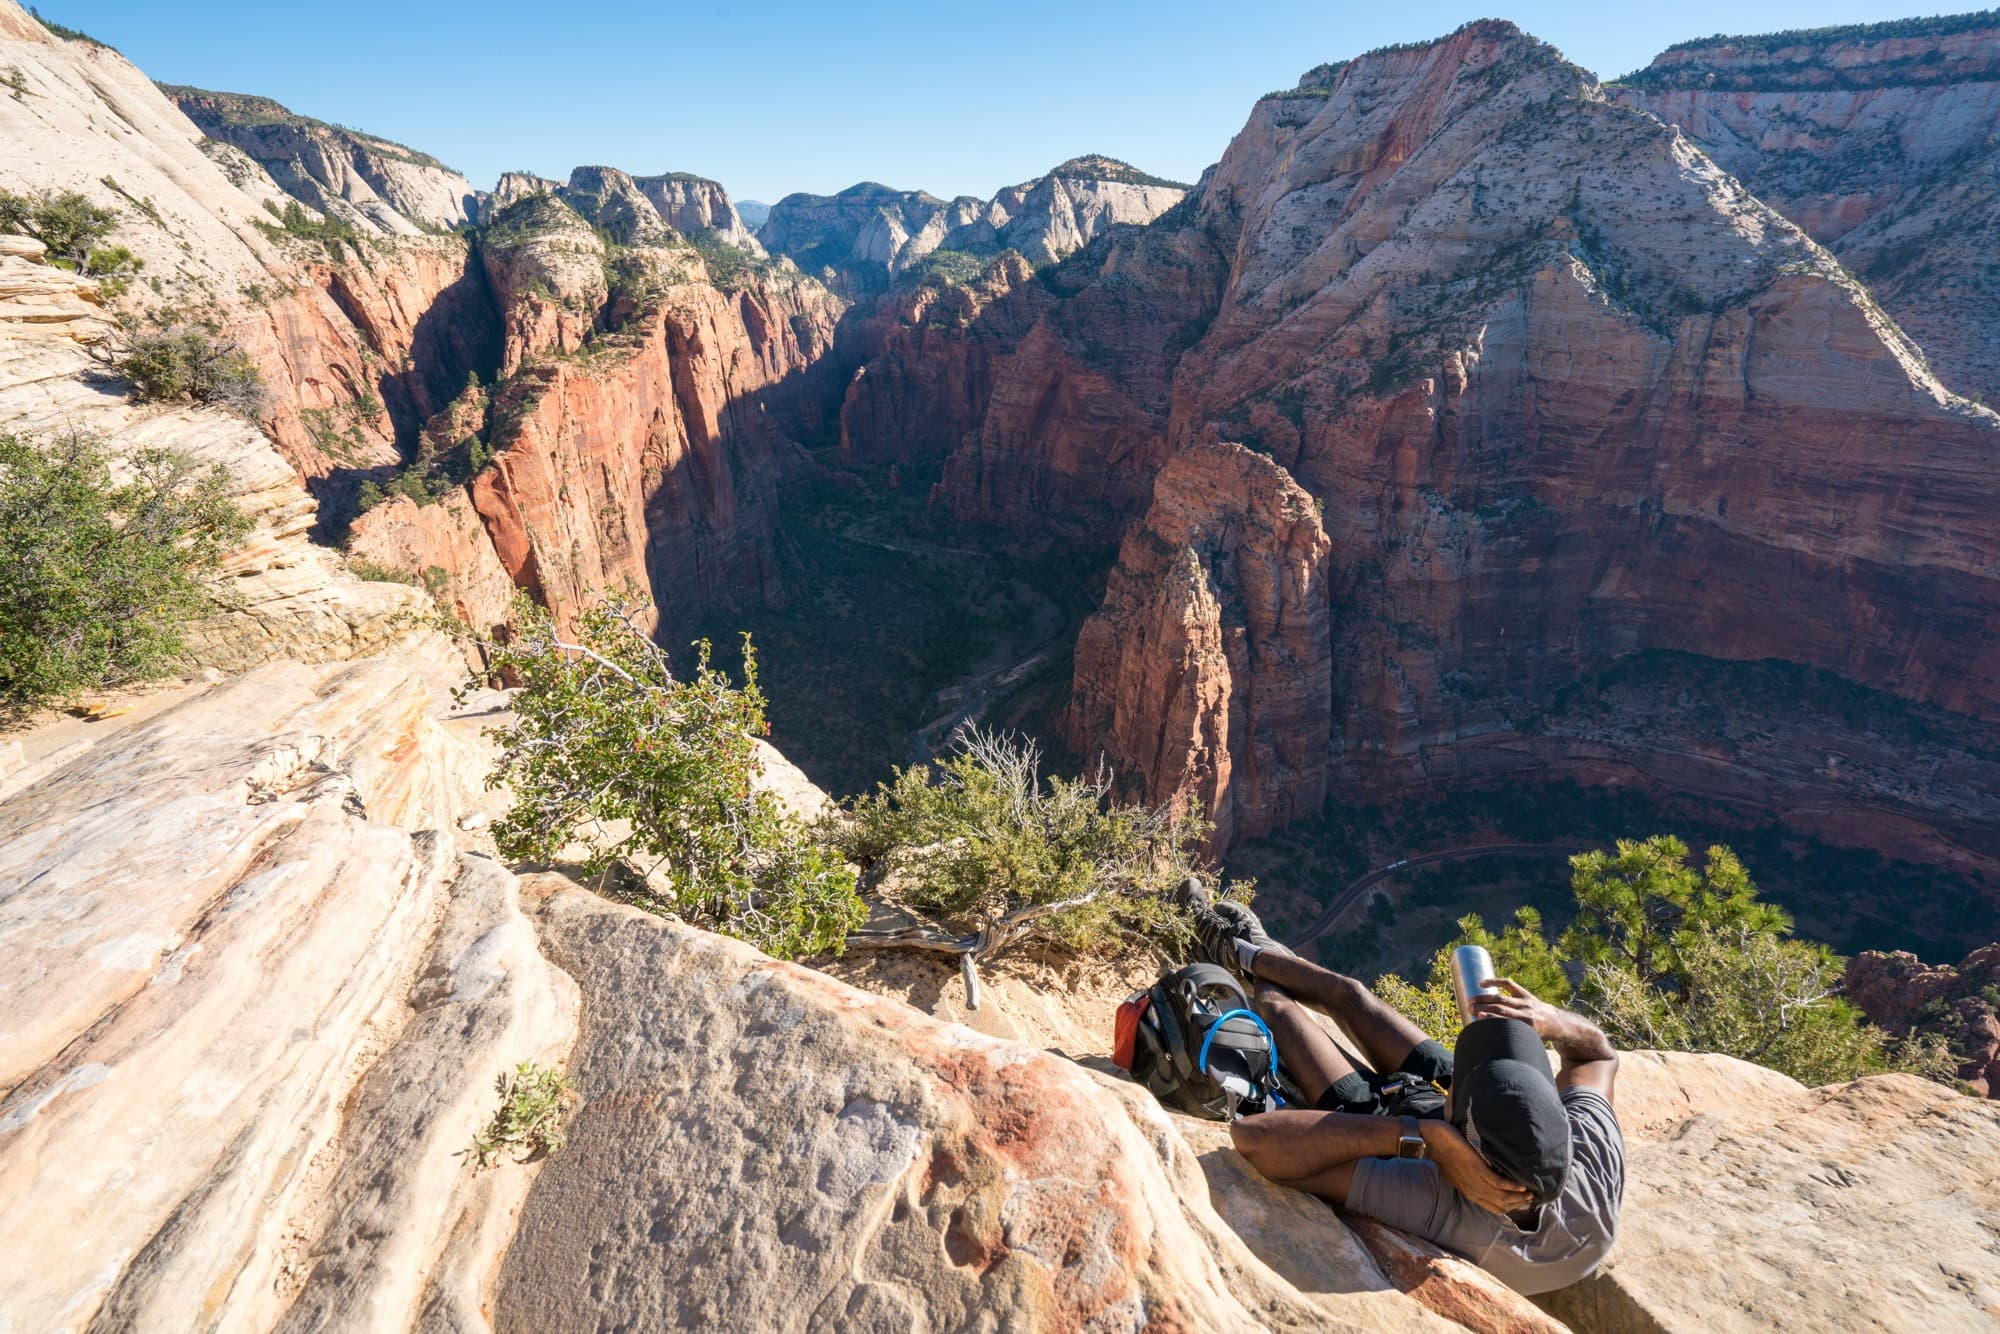
Arriving post-lunch or early afternoon, head straight through the south entrance parking area and hop on a shuttle to Angel’s Landing (the shuttle is free and stops right at the trailhead).
Climbing Angel’s Landing (5 miles round trip) is a bucket list item for most Zion visitors but it is not for the faint of heart. It’s a strenuous trail with almost 2,000 feet of elevation gain. But your hard work is paid off with spectacular 360 views of the entire canyon from high above. However, it’s important to note that there is extreme exposure on Angel’s Landing that some people might find too scary.
Be sure to bring your daypack filled with plenty of water and your hiking essentials.
Day 2 – Explore the Narrows & Drive to Bryce Canyon
Day 2 Overview
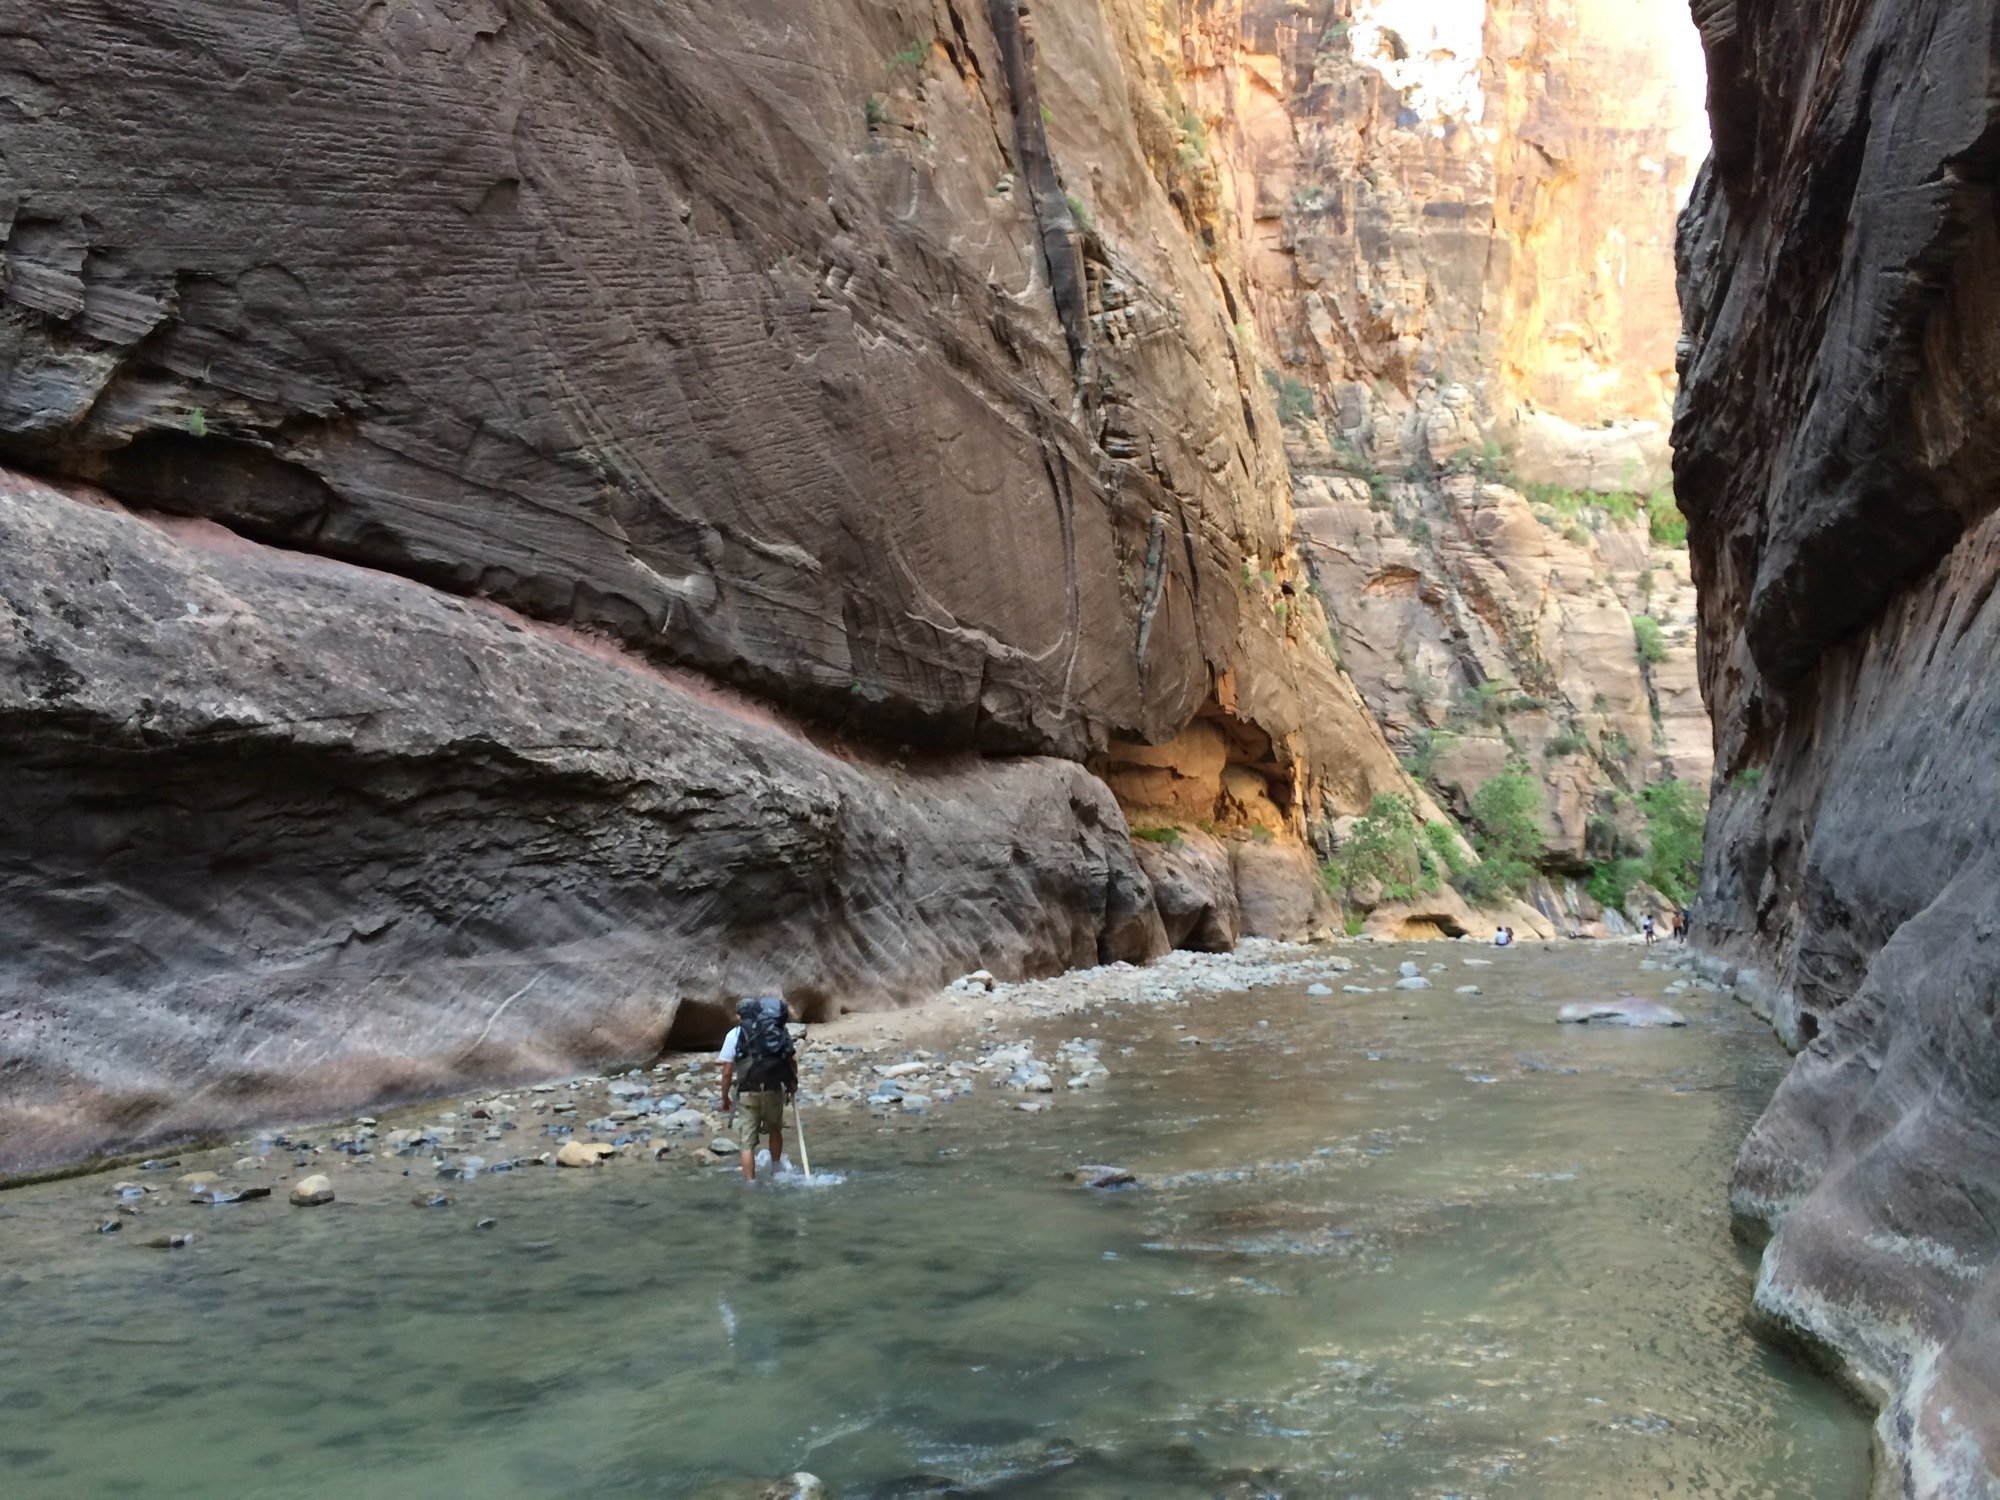
Spend your second day in Zion exploring The Narrows, one of the top highlights of Zion National Park, especially if you visit in the warmer months. The Narrows is a slot canyon that was formed over centuries from the Virgin River and is still continuously changing today.
This is a great hike to keep you cool since much of the hike requires wading through a river. If you want to hike the entire Narrows from the top-down as a long single-day hike or as an overnight, you’ll need a permit. Alternatively, if you want to explore at your leisure from the bottom-up, no permit is needed. Check out our Narrows hiking guide for more information.
Updated February 2024: There is a toxic cyanobacteria bloom in the Virgin River (where The Narrows is located) so you should not submerge your head or filter drinking water here. Check current updates for Zion National Park before heading out here.
Post-hike, pack up the car and head through the 1.1-mile Zion-Mt. Carmel Tunnel and continue driving towards Bryce Canyon National Park which is 1.5 hours away.
If you can get to Bryce by sunset we recommend heading straight to Sunset Point!
Have more time to spend in Zion?
If you are staying another day or you’ve previously visited Zion and done the things we’ve mentioned, I recommend trying to get a permit to hike The Subway or backpacking the West Rim Trail.
For The Subway top-down route, you’ll need some canyoneering skills, as it requires route finding, rappelling, and swimming skills. The bottom-up route, which leads to a series of beautiful turquoise pools, is non-technical. You will need a permit for both of them.
Check out our Zion Travel Guide for more things to do in the park.
Days 3-4: Bryce Canyon National Park
Days 3-4 Overview
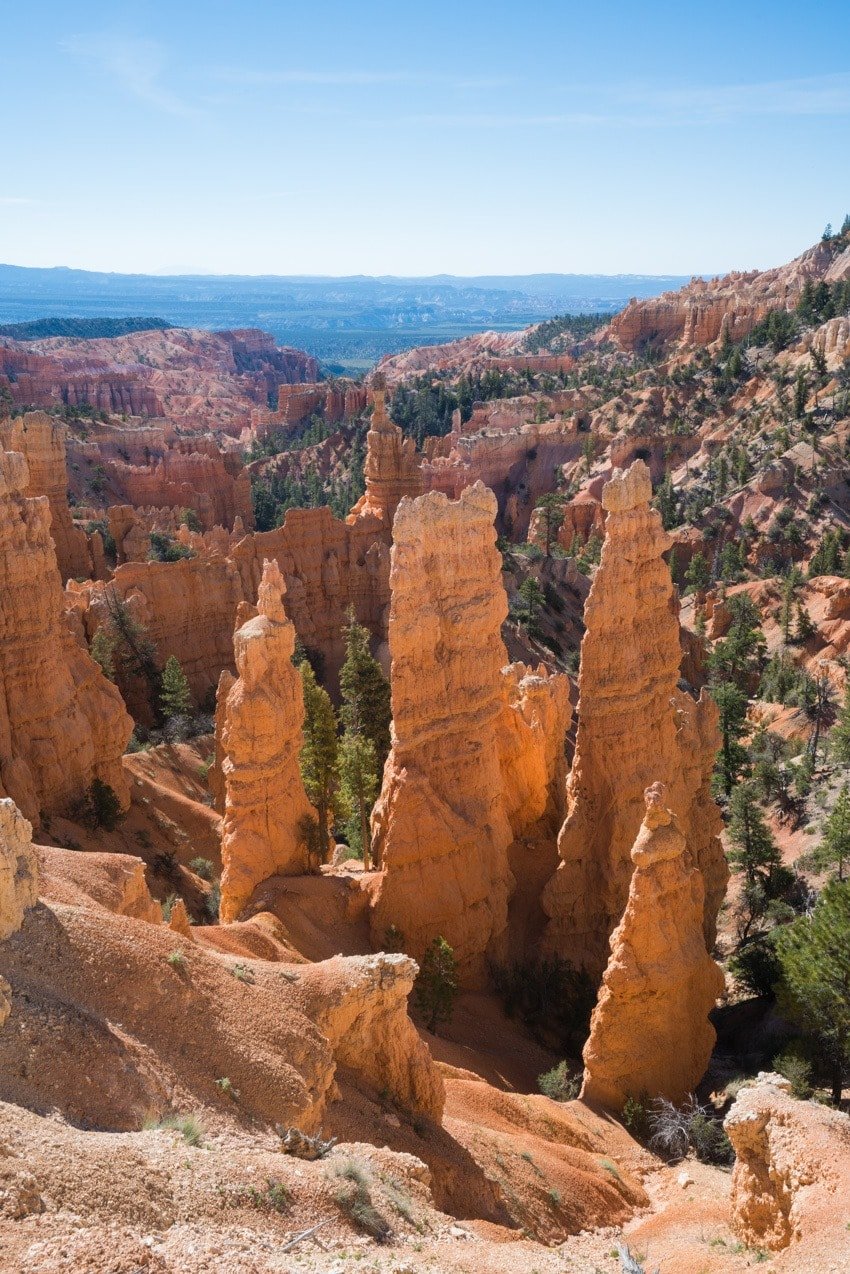
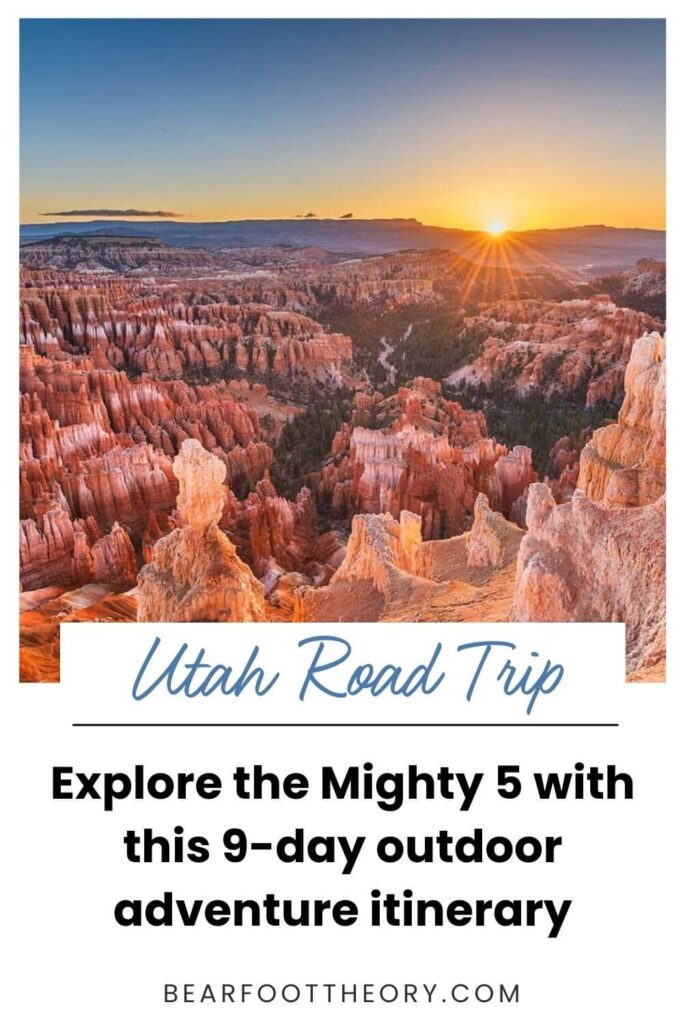
Prepare yourself for Bryce Canyon: it is like nothing you’ve ever seen before! Bryce Canyon is famous for its hoodoos – sandstone columns each uniquely shaped by erosion – and it has more hoodoos than anywhere else in the world.
Hike Fairyland Loop Trail
Whether you arrived in Bryce Canyon National Park last night for sunset at Sunset Point or you are arriving this morning we recommend you start the day by heading to the visitor’s center. The park has only one visitor’s center which features a must-see film showcasing Bryce in the winter.
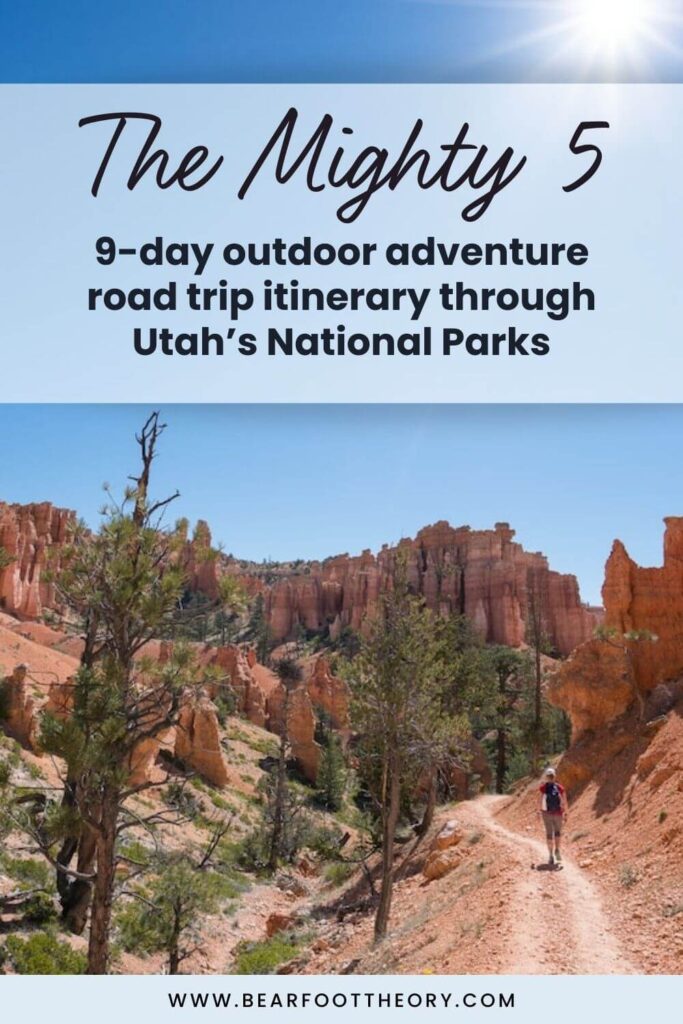
Then skip the crowds and head for adventure on the Fairyland Loop Trail. This trail is an 8-mile route in the northern area of the park, away from the crowds that will guide you past incredible hoodoos and scenery similar to the more crowded Queen’s Trail. If you want to do a slightly shorter loop, the Peek-a-Boo Loop is a similarly spectacular 5-mile loop.

Sunset Point to Sunrise Point Trail
If you’re looking for a more relaxed visit, we recommend the wheelchair-accessible, paved 1-mile Sunset Point to Sunrise Point Trail. This is also the only trail in the park where leashed pets are allowed. Be prepared, though, as this paved path is often VERY crowded.
Navajo Trail
If you have the time and energy we recommend the Navajo Trail for a quick 1.3-mile walk. The trail begins at Sunset Point, goes down into the Bryce Amphitheater, and meanders alongside large Douglas Fir trees. You could also combine it with Queens Garden Trail for a 3-mile loop.
If Bryce Canyon’s Wall Street is on your list, you can climb it via the end of the Navajo Loop Trail.

Have more time to spend in Bryce?
There is no shortage of things to see and do in Bryce Canyon National Park. If you have more time to explore, head over to our post on the Best Things to do in Bryce Canyon for ideas on how to extend your visit.
You can also check out our top picks for the Best Hikes in Bryce Canyon National Park.
Bonus Option: Escalante National Monument
Day 4 Alternative
If you’re completely captivated by Bryce Canyon you can always spend the day exploring more, but I recommend heading to Escalante National Monument for a visit.
While not a National Park, it is an incredible place to visit with amazing hikes and fewer crowds.
Escalante is also halfway to Capitol Reef – your next National Park – so it’s a great hiking pit stop. Make sure you drive UT-12 E vs. Johns Valley Road/UT-24 E so you pass the town of Escalante.
Hike Lower Calf Creek Falls
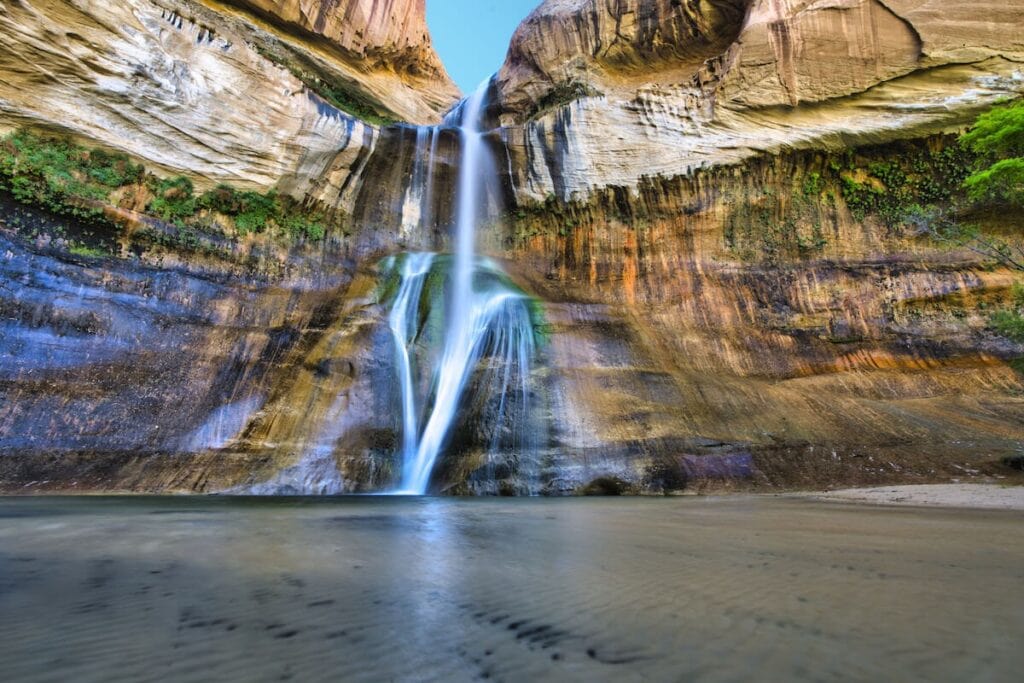
The 6.7-mile Lower Calf Creek Falls is one of our favorite (and easily accessible) hikes that is right off the highway. It ends at a beautiful waterfall where you can take a dip if you’re brave (the water is freezing!) or enjoy a picnic lunch.
If you have a high-clearance vehicle and an appetite for a little more adventure, head down Hole-In-The-Rock Road to Peekabo and Spooky Slot Canyon.
For other options and trail details, check out five of our favorite hikes in Escalante.
Day 5: Capitol Reef National Park
Day 5 Overview
Capitol Reef is known for its remote and sprawling backcountry. The park is set up nicely so you can easily drive through it while continuing on to Moab. If you have ample time to explore, there are numerous hikes in Capitol Reef that lead you through gorges and slot canyons to incredible viewpoints.
If you plan to camp in Capitol Reef be sure to pick up a free backcountry camping permit at the visitor’s center.

Drive through Capitol Reef National Park
Capitol Reef National Park has a paved scenic drive as well as two unpaved loops. There is a free online guide that includes information about the 11 stops along the paved drive. The scenic drives are especially nice if you are road-tripping during the hotter months or just want to drive through the park and sightsee from the car.
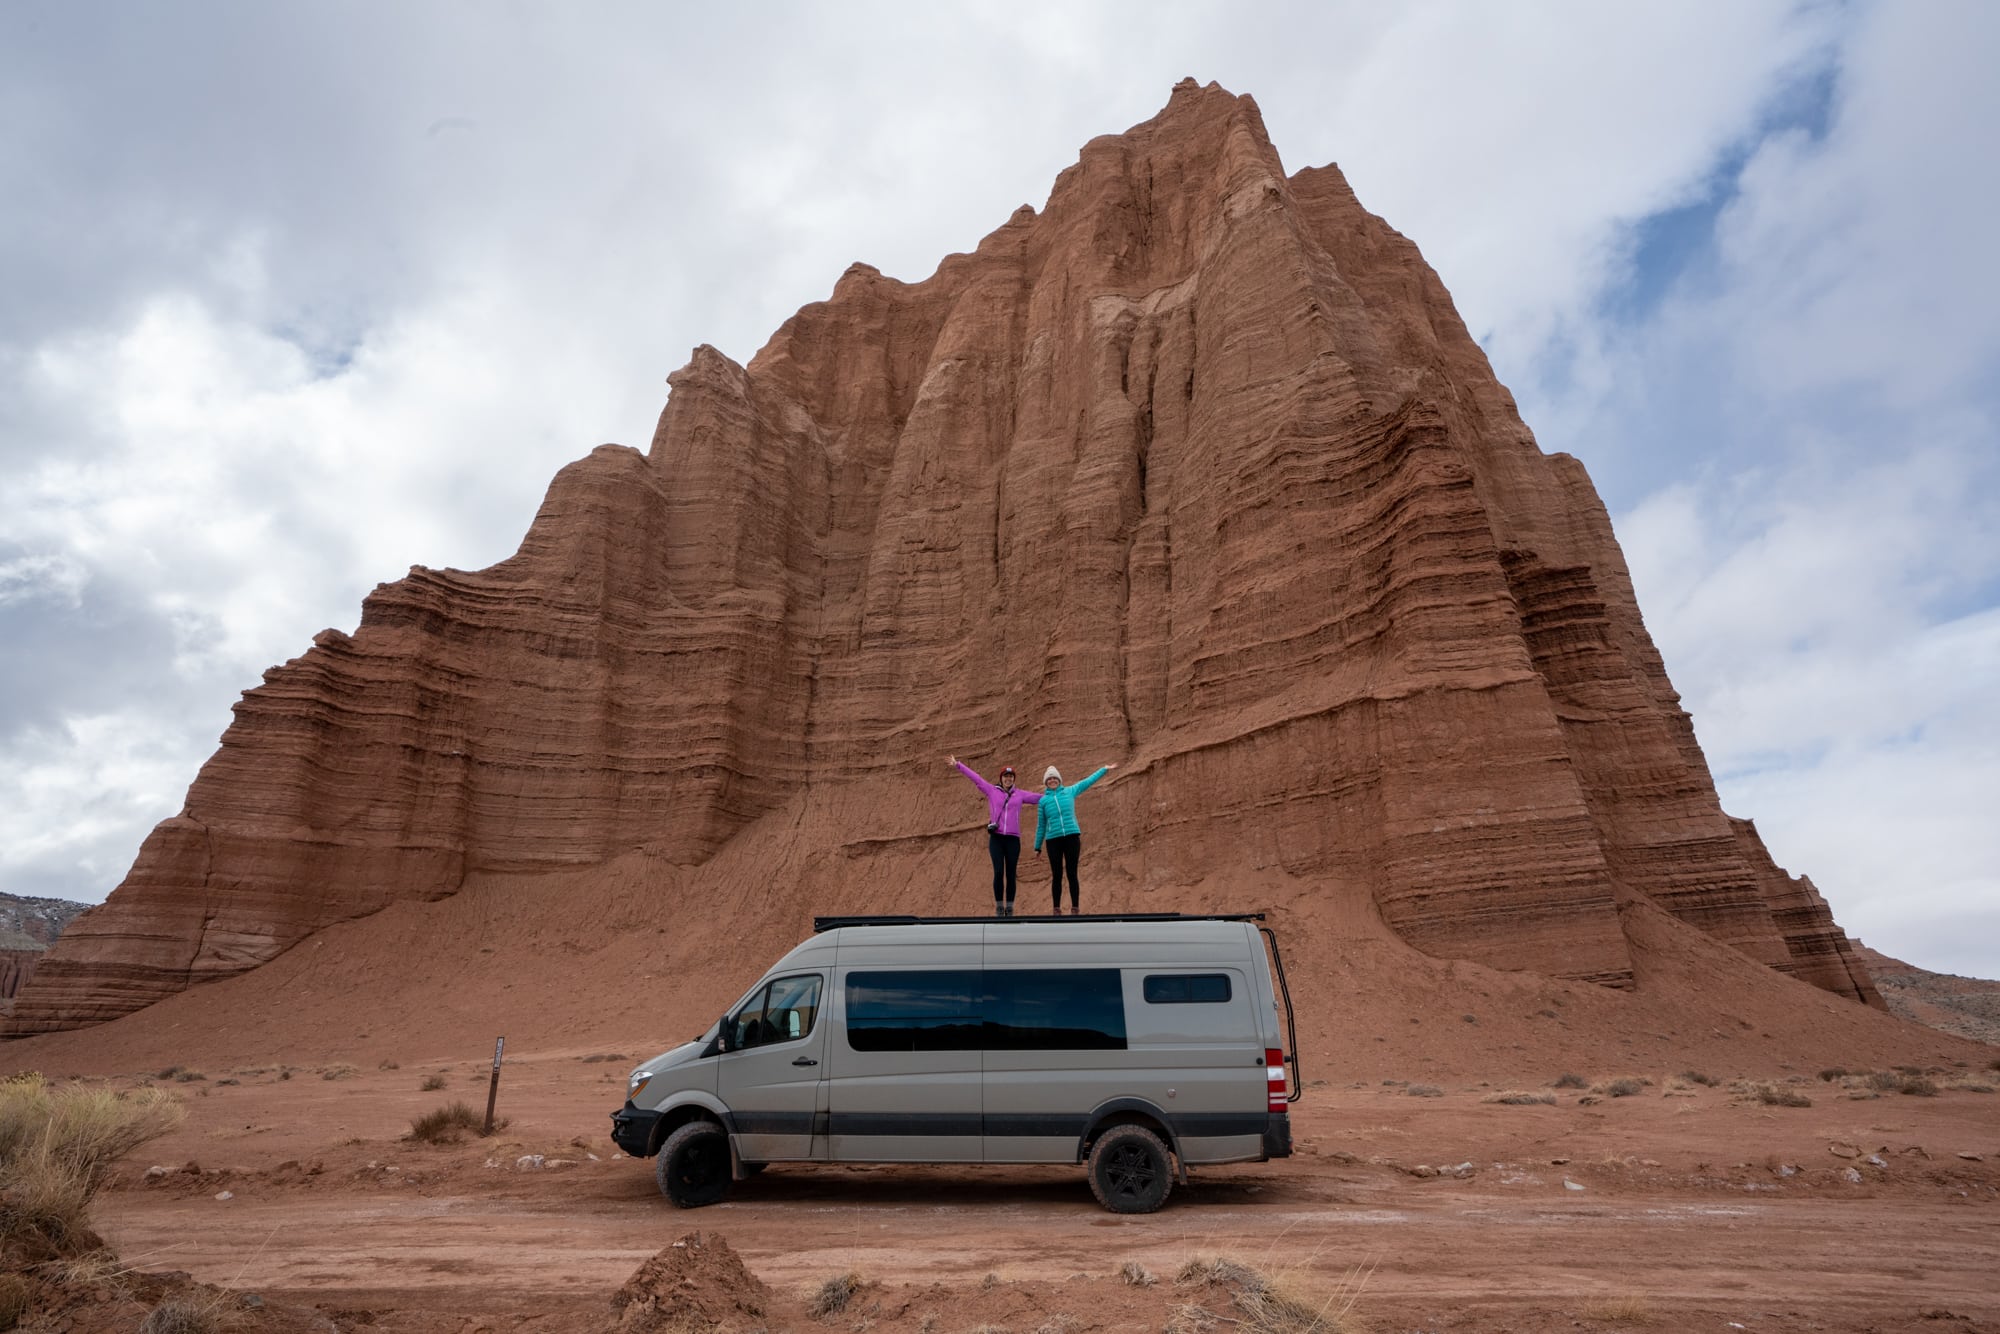
If you have a high-clearance vehicle, I highly recommend the dirt road drive to the Temple of the Sun and Moon if you have time (or do an overnight bikepacking trip through this remote area!).
Hike to Hickman Bridge
To stretch your legs, hike the Hickman Bridge Trail (2-mile roundtrip) to a 133-foot natural bridge. This is a nice hike for cooling down as it runs along the Fremont River.
Have more time to spend in Capitol Reef?
If you decide to camp in Capitol Reef and are looking for a full-day hike, the Rim Overlook Trail to Navajo Knobs is a great 9+ mile route that offers 360 panoramic views of the Fruita and Waterpocket Fold area.
Another cool opportunity is to head out to Moonscape Overlook, which is about 40 minutes from Capitol Reef. It does require a high-clearance 4×4 vehicle to get out there, though.
Day 6: Drive to Arches National Park & Hike to the Arches
Day 6 Overview
Arches National Park is a beautiful and easy National Park to visit. The entrance to Arches is stunning as you’ll climb 1,000 feet and then descend into an almost “Mars-like” world. Navigation is easy also here. There is one visitor’s center right next to the only park entrance on the main park road.
Important Note: During peak season (usually April through October), visitors will need to obtain a timed entry reservation to visit Arches National Park between the hours of 7am-4pm. A limited number of next-day tickets will be available at 6pm the night before. Reservations cost $2 and you will still need a park pass or annual pass to enter.
Explore the Arches
There are some great hikes in Arches for all levels. If temperatures aren’t too hot and you have a full day, the hike to Landscape Arch & Devils Garden (7.8-mile loop) is a must.
If you arrive in the late afternoon, head straight to Delicate Arch (3 miles roundtrip) for a sunset hike you’ll never forget. Or, if this is your second visit to Arches or you’re looking for something off the beaten path, try to grab a permit to explore the Fiery Furnace.

Day 7 – Whitewater Rafting!
Day 7 Overview
Today, we recommend switching it up so you really get a sense of what southern Utah has to offer. Whitewater rafting on the Colorado River, which flows between Moab, UT and Arches National Park through deep red rock canyons, is an unforgettable and unique experience. Numerous rafting outfitters in town offer half-day, full-day, and multi-day rafting trips on the river.
If hopping on the water doesn’t sound exciting, and you’ve seen all of Arches that you’d like to experience, then head for Dead Horse State Park which is on the way to Canyonlands National Park. Dead Horse State Park even has yurts if you are looking to skip tent set-up for the evening.
Day 8: Canyonlands National Park
Day 8 Overview
The last on the list of our Utah National Park road trip itinerary is Canyonlands National Park. Canyonlands was made famous by the movie 127 Hours, in which Aron Ralston becomes injured and survives in the backcountry for five days. It’s an extreme park, especially the remote area where Ralston was exploring, known as The Maze.
As you enter Canyonlands, you can drive around and check out the overlooks or you can pick a hike on our Best Hikes in Canyonlands National Park list.
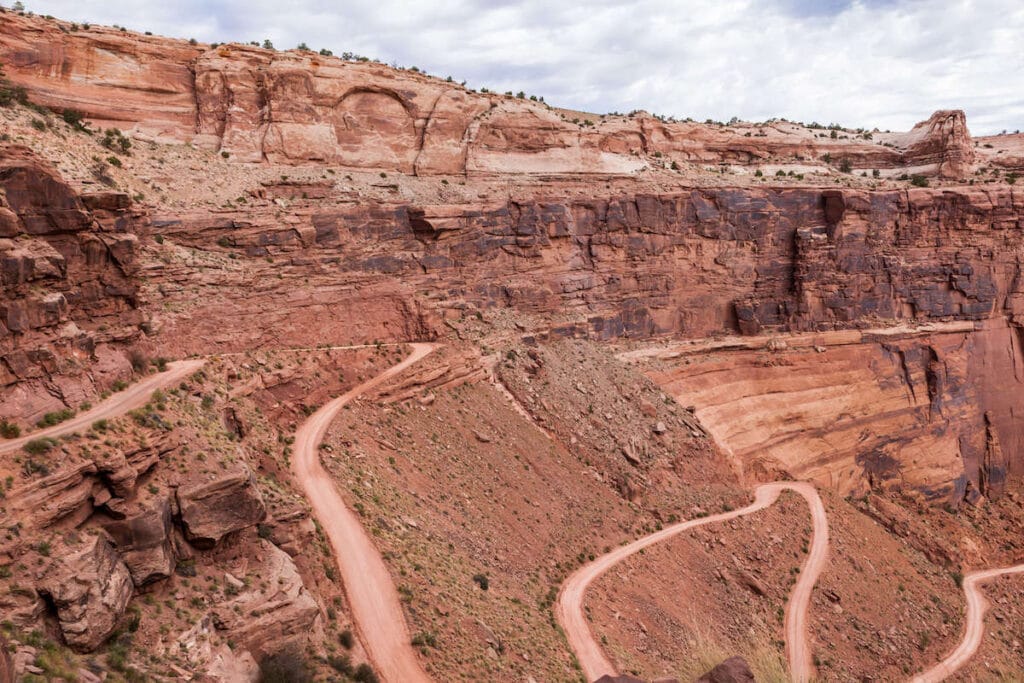
Canyonlands National Park is huge, so to help you get your bearings, here are the four main sections of the park:
Both the Island in the Sky and Needles areas have Visitor Centers where you can learn more about what to do in these areas of Canyonlands National Park.
Hike the Island of the Sky area
When you leave Moab, head to the Island in the Sky area of Canyonlands. Peek in at the Visitor’s Center for your first stop and then head to the Grand View Point trailhead and hike to Grand View Point. It is an easy 2-mile walk along the canyon edge to the mesa with incredible panoramic views.
Afterward, challenge yourself on the Aztec Butte Trail, which includes a steep climb that takes you to ancestral Puebloan granaries.
Post-hike, pitch your tent and get ready for an incredible last evening of stargazing. Canyonlands National Park is an International Dark-Sky Park meaning its isolation from city lights makes conditions for viewing the night sky excellent.
This is true for all Utah National Parks, but there is no better way to spend your last Utah National Parks road trip evening than stargazing. During spring & fall, there are frequent stargazing events led by park rangers. Inquire at the visitor center for more information.

Day 9 – Mesa Arch and Return Home
Day 9 Overview
Make the most of your final day! Wake up super early and make an early morning sunrise hike out to Mesa Arch (trust me, it’s worth it).
Then, it’s time to pack up and return home after (hopefully) an unforgettable Mighty 5 road trip!
Have more time to spend in Canyonlands?
lf you enjoy biking, plan ahead and bring mountain bikes for an awesome backcountry road exploration. My first overnight mountain biking experience was a supported trip in Canyonlands National Park on the White Rim Trail. Biking the White Rim Trail requires a permit and campsite reservations can be competitive, so you’ll need to plan ahead.
What to Pack for Your Utah National Parks Road Trip
Your packing list will vary depending on whether you plan to stay in hotels, you want to car camp, or even backpack through some of the parks.
However you decide to explore the Might 5, here are some packing lists to help you gear up for your adventure:
- Car Camping Packing Checklist
- Road Trip Essentials Packing Checklist
- 3 Day Backpacking Checklist
- What To Wear Hiking in the Desert
I also recommend picking up these two resources to help you navigate on your Utah National Parks road trip:

READ NEXT
Want to explore outside the National Parks in Utah? Check out some of these adventures:
Save this post to Pinterest
Have you done a Utah National Parks road trip? What are your favorite things to do and see in the Mighty 5? Share your experience in the comments below!



Great list! Zion and Canyonlands are my favorite, Zion for the hiking and climbing, Canyonlands for the far-reaching vistas and solitude. What dramatic scenery! Thanks for the info.
Great timing!! I am planning a trip for this spring and will be hiking in these areas. Thanks for the info and helping with the planning. You have a great site!
This is an absolutely great post. Thank you for including such information which can really help our beloved adventurers who wants to wander the wonders of Utah. Hiking and camping on any of these sites can be the best option too.
I actually did this trip almost exactly 4 years ago. It was the best thing I’ve ever done. The scenery and hiking are amazing. I suggest flying out of Grand Junction, CO airport, however. It is less than a 2 hour drive.
Thanks, Lynn! So neat to hear about your trip. Thanks for the rec! Hope you have some great upcoming adventures planned.
We just finished this trip plus Grand Canyon and Sedona (12 days)- unfortunately I just now came across this while dreaming of our next adventure! We traveled with two adventurous kids (age 10 and 12) so I’ll add what we enjoyed the most.
Zion- swap out Angel’s Landing for a more kid friendly hike and we followed this. LOVED the Narrows (rented neoprene socks and shoes- very glad we did), and Observation Point.
Bryce- we did a 3 hour horseback ride in the park- amazing!
Capitol Reef- Cassidy Arch trail! It was incredible and you can walk out onto the arch- definitely the highlight of this park.
Arches- Delicate Arch hike was awesome. The Windows area is a great stop to see 4 popular arches with little hiking.
Canyonlands- we did both Island in the Sky and Needles (not in same day)- we’d skip Needles next time. Lots of great short hikes at Island though.
We also stopped at Dead Horse.
If we go again we’ll raft in Moab but instead we headed to Arizona for a few days. Did Page-GCNP-Sedona- flew out of Phoenix.
Suzanne, what time of year did you take this trip?
BearFoot Theory – how are the crowds in midApril? Is Zion a park that should be done midweek and not on a weekend? Moab parks are they ok to do Jeep Week or will the crowds be unbearable? Thanks in advance! In early stages of planning.
I’m planning to visit in the Christmas this year! Going to keep all these things in mind while I travel. Thank you very much for sharing..:)
Hello, thanks a lot for a great blog! I am planning this trip for next year. When do you think is the best time to visit and, any suggestions for additional places to visit if we have about 3 week?
Thanks
Yana
Hi Yana, that is awesome to hear you are planning to visit the parks. The best time of year is late Spring or in the Fall. So I would plan for April/May or September/October. You will want to check the weather to make sure it isn’t too cold but try to avoid the crowded and busy summer season. You can easily add on the Grand Canyon to a Utah NP Roadtrip. Arizona also has the Wave and some other great hiking places.
Thanks so much for this post. It makes planning our Utah NP trip so much easier! We’re looking at visiting for 7-8 days at the beginning of March 2019. Any thoughts on what type of weather we can expect? I’ve looked at a bunch of weather websites, but first hand knowledge would be great. We’re hoping to camper van. Thanks so much for the helpful post.
Hey Sherry! We’re glad it helps! The beginning of March can still be pretty cold and potentially a little bit rainy. It’s hard to say this far out but global warming might be on your side to help it not be too cold. Definitely want to make sure you have plenty of layers, beanies and warm blankets if you’re going to camp.
Very well written, thanks for the info. Don’t Forget about Brian Head. Enjoy the off-road trails for ATVs and snow mobiles, Skiing, and much more. Don’t forget to rent a cabin while exploring Brain Head, Utah.
Absolutely AMAZING blog! Thank you to the beautiful Tara for sharing it with me! 😉 I have a question that I’m hoping you can answer! When it comes to hygiene, are there shower areas in any of the camping sites that you could see?
Hi Josh, thanks for dropping us a comment. I don’t recall necessarily seeing any shower areas in the camping sites BUT there are definitely shower facilities in the area. For example, in Zion there are NOT any showers but in Springdale, which is just outside of the park there are pay showers. You can do a simple search on Google for each park to find shower facilities that are nearby.
We have 10 days for a Utah adventure coming up in May. We fly in and out of Las Vegas. I’m considering pretty much your exact itinerary OR, simply exchanging Arches for several days on a houseboat on Lake Powell. What are your thoughts on that?
Hi Maureen, thanks for reaching out! Lake Powell and Arches are both equally incredible–could you split the time & do both? It really depends on what your interested are. You’re going to have an incredible trip no matter what–Utah in May can be absolutely lovely.
hi there,we`re planning our very first american roadtrip next year and this blog is a godsend!! Just amazing!! one question-are the views while you`re driving between the parks better when you start from a particular direction ( if we were to reverse the suggested intinerary and finish in zion )? Or is it good both ways? Thank you for any advice.P.
How exciting! I don’t think you can go wrong, the views all around are fabulous. Make sure to stop at the designated viewpoints to take it all in too. Enjoy your trip 🙂
This is beyond helpful! Thanks for the info. I was hoping to make the trip mid/end Feb and ring in a 40th birthday. Any thoughts on road conditions or accessibility? My map shows some minor route closures in winter. (Won’t be camping).
It really depends on the year and whether storms are passing through. Check the weather and forecast before you head out! That being said, Utah’s National Parks are beautiful in snow 🙂
Hello,
I was going in circles trying to plan a family hiking trip to southern Utah until I found your advice. I plan to follow it precisely. Thank you so much for your guidance. The extra advise on lodgings and restaurants and driving times is terrific for someone is blindly trying to fit in all five national parks.
Glad you found it helpful, Elizabeth. Have a great trip!
Hi, I’m planning a trip to all of the Parks listed in September. I camped and hiked in all of them as a 20 year old. I want to go back, as a 67 year old! Physically, I’m in good shape but there will be a difference from 40 years ago. Any thoughts on trails. We hike hilly 5-8 mile trails now. We want to walk and take great pictures. Thoughts?
Many of the hikes we listed in this post are great for easy-to-moderate hiking. If you want more suggestions, we have detailed guides on many of the Utah National Parks with additional hiking options.
How crowded and how hot is it to visit all the National Parks in early June? We probably wouldn’t do much hiking- mainly explore with our car.
It really depends on which National Parks you plan on visiting. Most National Parks can get pretty busy during the summer months and temperatures fluctuate greatly depending on the location of the Park.
Thank you so much for all of this valuable information! We plan to pretty closely follow this itinerary this July. My 15 yo son really wants to be able to bike at some of the places. My husband, myself, and kids (ages 15 and 17) would like to do some (easy) mountain biking during the trip. Could you please offer some insight as to which parks we could do this at and perhaps places we could rent bikes? We will be traveling in an RV. Thank you!!!
Hi Amy – mountain biking isn’t allowed in National Parks, but Utah has great mountain biking outside the parks. Hurricane and St. George are popular areas outside Zion (Over The Edge Sports in Hurricane rents bikes) and Moab outside of Aches is also an amazing place to mountain bike with plenty of places for bike rentals.
I really like your itinerary. Do you think it is worth it to add Antelope Canyon? We are thinking of doing that as a loop back to Las Vegas instead of driving up to SLC.
Antelope Canyon is currently closed with no date for reopening as of now. If it does open before your trip, it’s definitely worth checking out.
Hello Kristen
Great information! Very helpful! We hope to follow it almost exactly.
We have two questions: One is about time in Zion and other is more delicate 🙂
First question: We plan to do Angel Trial, Narrows and Observation Point and then try to make Bryce sunset point to watch sunset. Question is should we plan on 3 days at Zion–a day each for the three things or can we do in 2 days — and leave for bryce.
Second Question: We are in our early 70’s and sometime nature calls unexpectedly….are bathrooms frequent along the trials…??
Angels Landing should definitely be one day. Depending on how much time you spend at the Narrows (hiking from the bottom up), you could combine that with the 8-mile Observation Point hike. For bathrooms, there’s usually always a bathroom at the trailhead. There’s one near the top of Angel’s Landing as well.
Planning a trip much like you have here 9-10 days late April- early May. You mention crowds, how crowded is what you call crowded??? like a tourist trap town, dodging people every few steps? or is there room to move without running into someone and waiting for them to move so we can view what they are blocking?
Hi Dennis, it really depends on the park and what hike(s) you plan on doing. The most popular spots will likely be very crowded (lines to take photos at Delicate Arch, for example) but there are always areas where you can find fewer people and more solitude – especially if you go on weekdays or at sunrise. Also, something to keep in mind – Arches National Park is requiring timed entry permits starting April 2nd, which should help with overcrowding. I hope this helps & enjoy your trip!