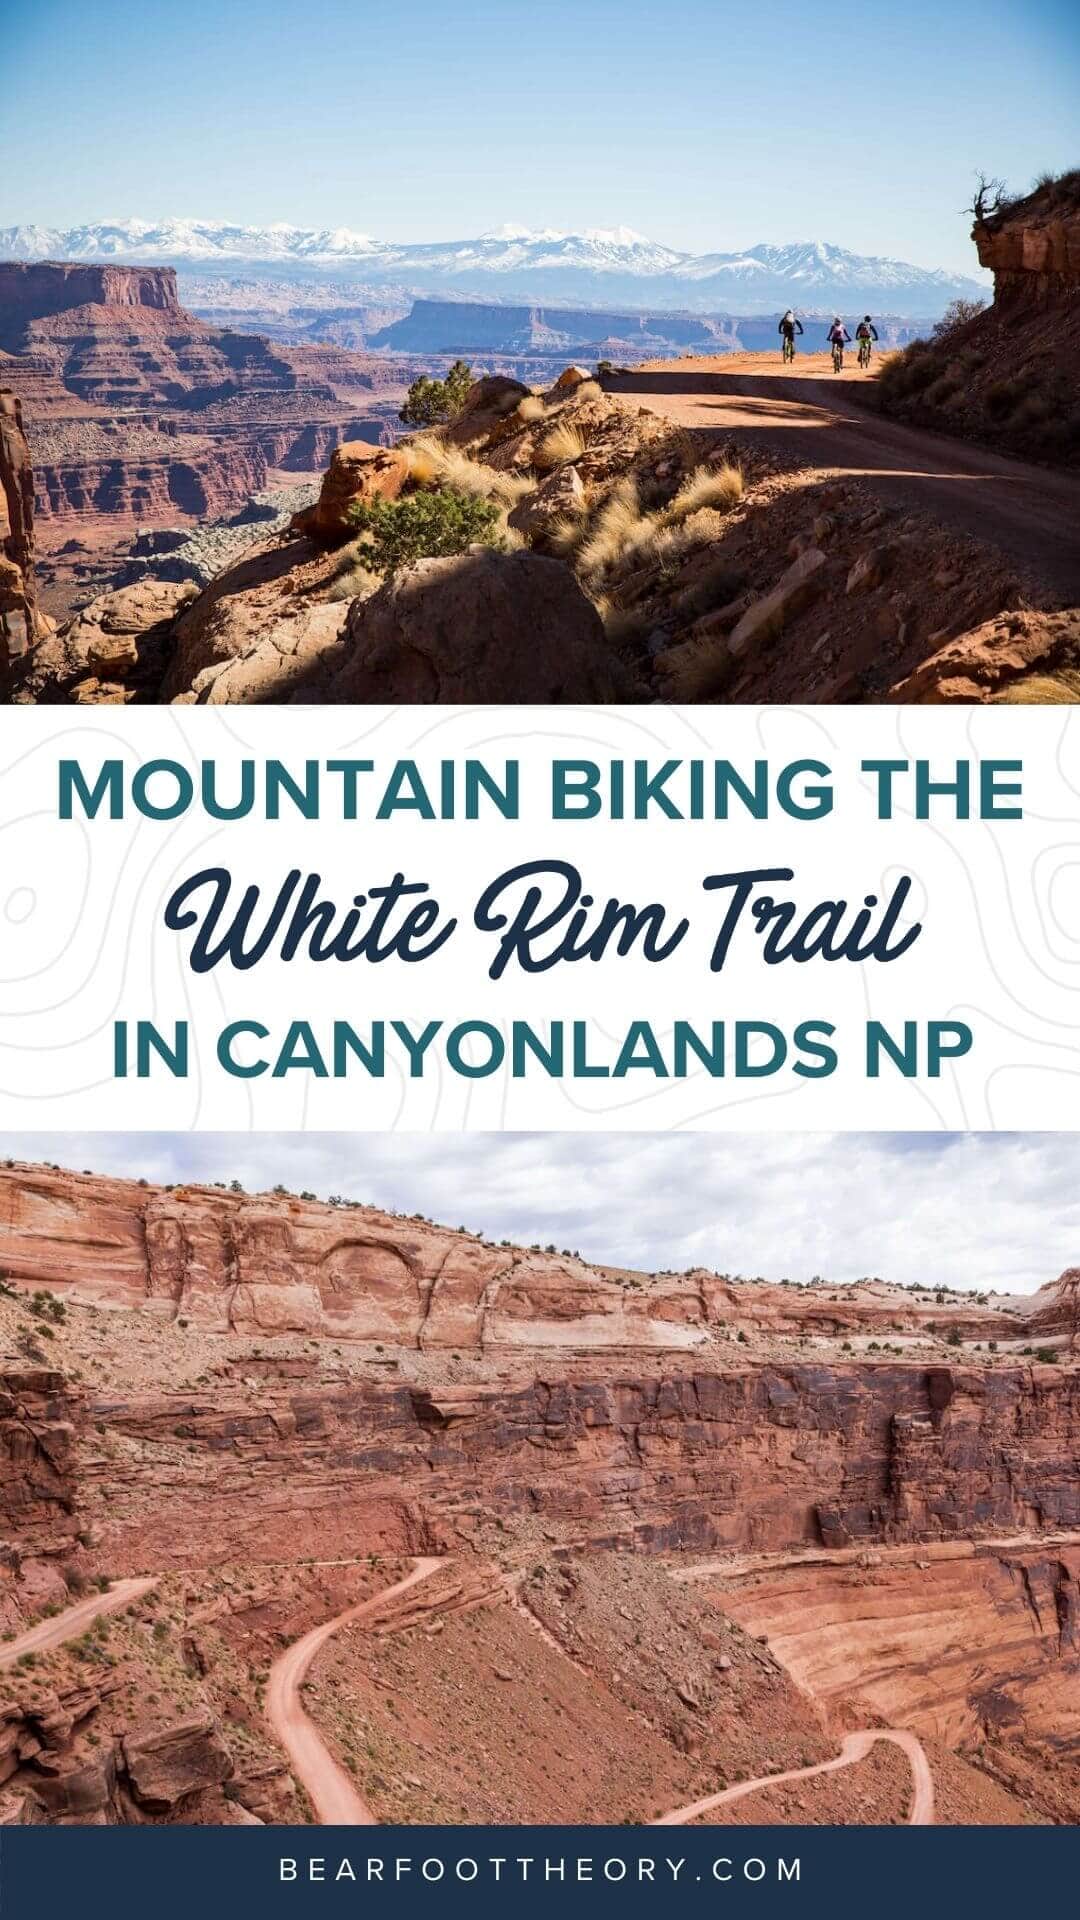
Mountain Biking the White Rim Trail in Canyonlands National Park
Plan your mountain biking trip on the White Rim Trail in Canyonlands National Park with this guide to permits, itineraries, gear, campsites & more.
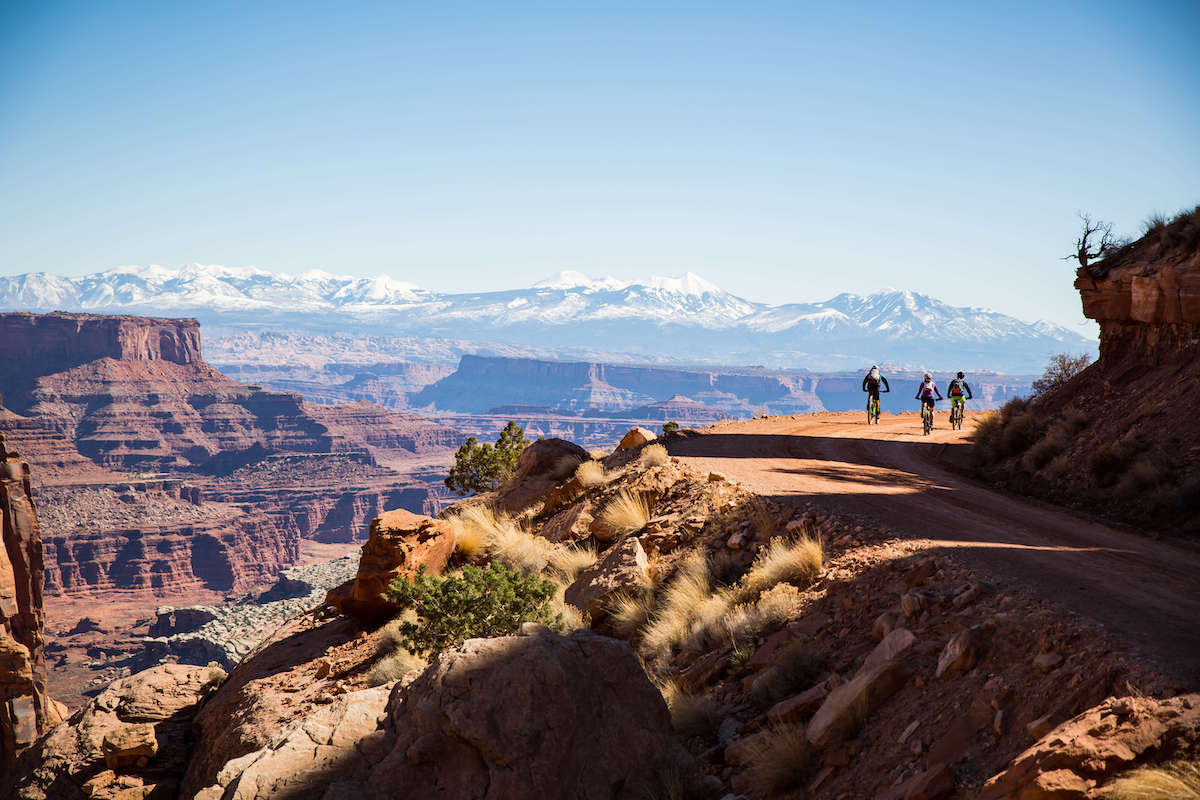
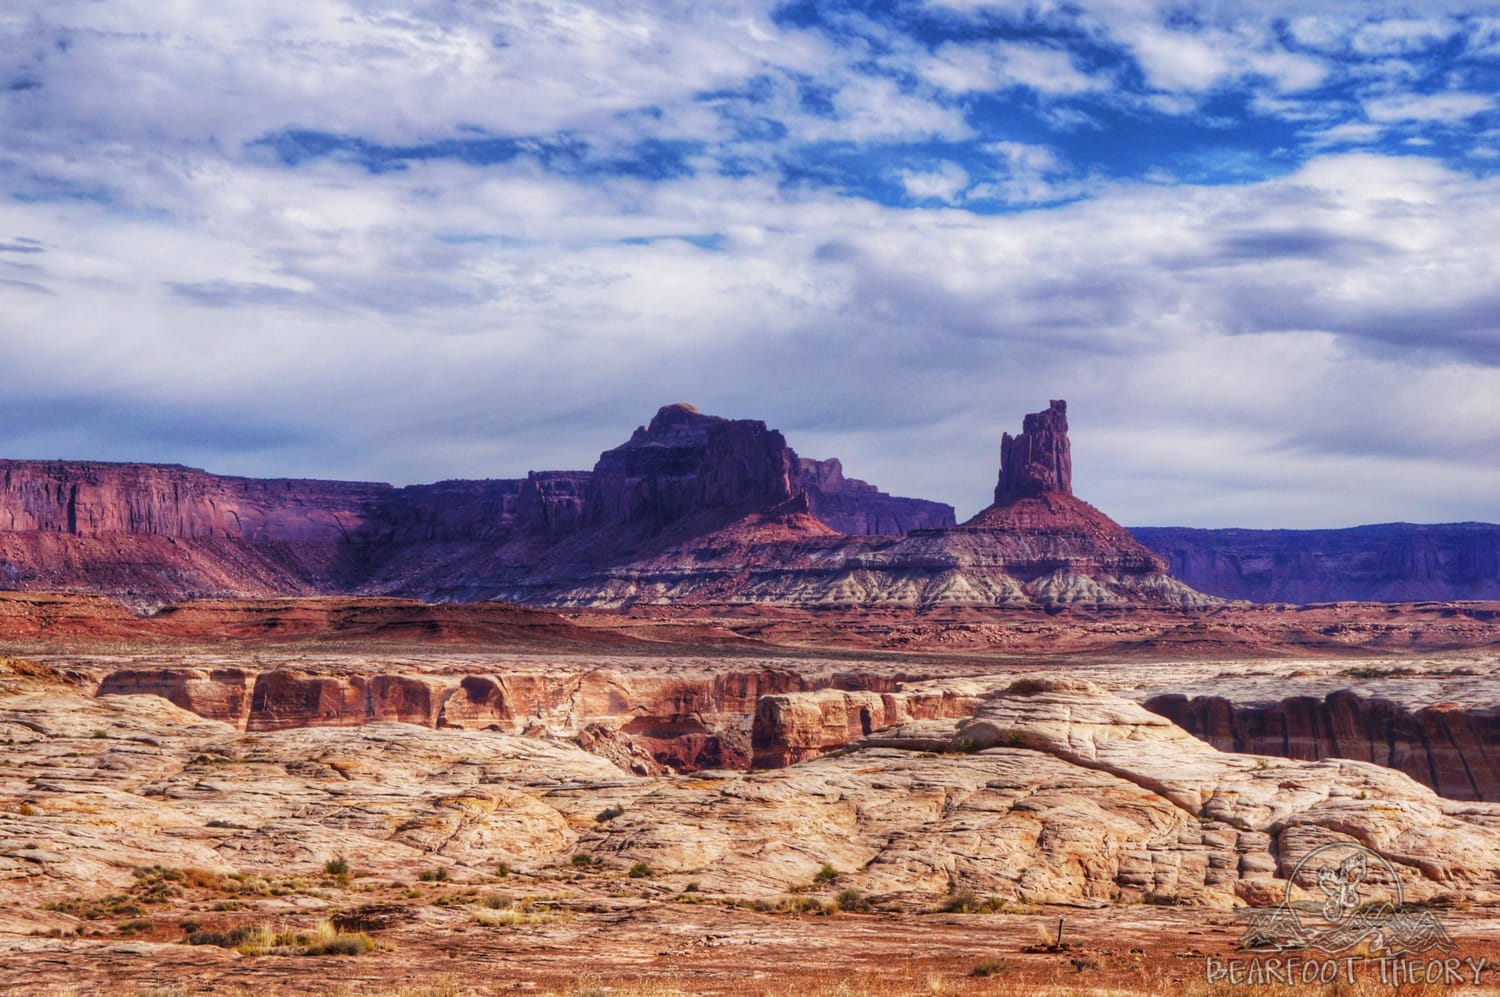
Canyonlands National Park in southern Utah is a huge swath of land consisting of high desert vistas, an intricate maze of deep canyons, sheer red rock cliffs, and the mighty Colorado River. It has a real rugged feel to it compared to many of the other national parks, and much of its territory is only accessible by a 4WD vehicle, bike, or by hoofing it, including the stunning White Rim Trail.
The White Rim Trail is a 100-mile jeep road that travels through the park’s Island in the Sky district. A few years ago, my friends convinced me to join them on a four-day vehicle-supported mountain biking trip of the route. I had never been on a mountain bike before, but I knew this was an opportunity I couldn’t pass up. I was told the White Rim Trail had some steep uphill pushes but was not an overly technical trail. Plus if things got really rough, I could always hop in the truck, blast the tunes, and enjoy the scenery from the passenger seat.
So I went out and got myself a bike and some super sexy padded bike shorts and crossed my fingers that I would survive!
**Spoiler alert** I made it…and what a cool trip! Yes, there were times when my legs felt like cement, but the burn was totally worth it….plus with the support vehicle, you can camp in comfort and have some cold drinks and a nice meal to look forward to at the end of the day.
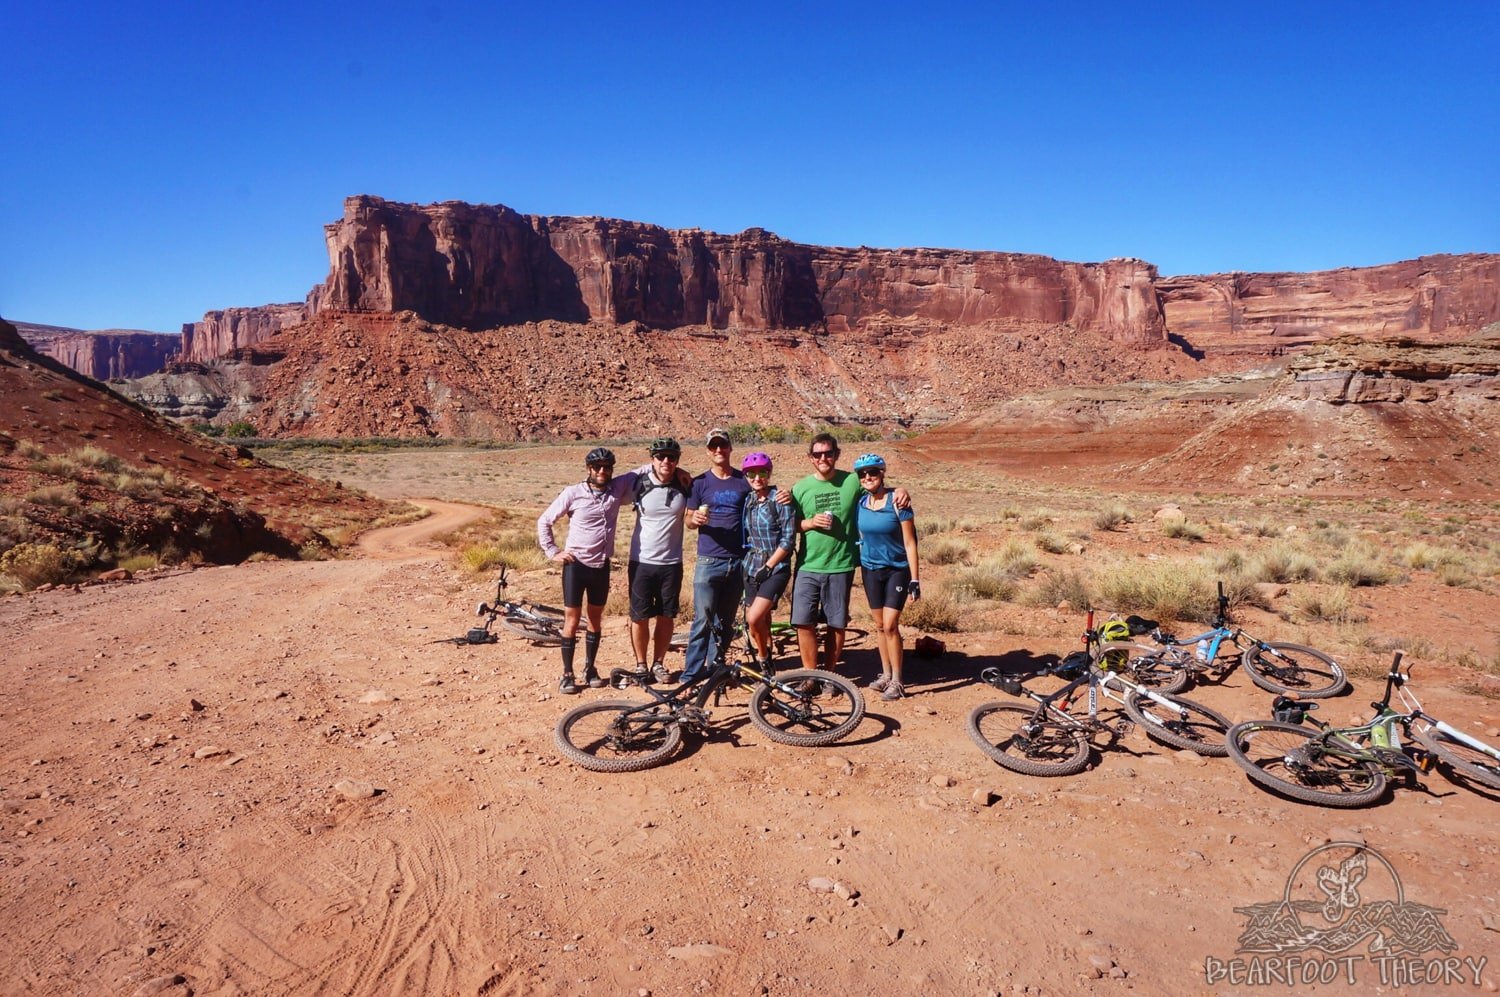
The White Rim Trail offers something for all levels. For the beginner, it’s a challenge. For the experts, it might be smooth sailing. But either way, the views, the camping, and the general camaraderie on the trail make it worth adding to your bucket list. And with fall in full force, it’s the perfect time to head to the southern Utah desert.
This post may contain affiliate links.
Here is how to plan your own mountain biking trip along the White Rim Trail in Canyonlands National Park.
Important Reminder: As it goes in all of the destinations we share, please practice good trail etiquette and remember to Leave No Trace. This means packing out all of your garbage (including toilet paper) and following the established rules. In the desert, this also means learning how to protect cryptobiotic soil and how it has a huge impact on our ecosystems.
About the White Rim Trail
The White Rim Trail is a 100-mile semi-loop that can be ridden in either direction. We rode the route west-to-east and started our trip at Mineral Bottom and ended at Shafer Hill. The advantage of starting at Mineral Bottom and riding counter-clockwise is that you get the long (and least scenic) section riding along Mineral Road out of the way at the very beginning and the scenery (in my opinion) got better every day. The disadvantage of counter-clockwise is that you have to ride (or walk) up Shafer at the very end…and believe me, it’s no fun. On the elevation profile, you’ll also see that counterclockwise appears to have some longer uphill sections than riding it clockwise.
White Rim Trail Map

In total, the White Rim Trail gains about 7,500 feet of elevation. Going counterclockwise, there are two major climbs – Murphy’s Hogback at the approximate halfway point and Shafer Hill on the last day. These two climbs are tough, and I ended up walking my bike up a majority of these sections….which is nothing to be ashamed of, by the way.

How many days does it take to bike the White Rim Trail?
Most people take 2-4 days to complete the White Rim Trail by bike. Some people might consider four days to be more of a booze-cruise sort of pace – and for most of my friends, I think it was. But as a beginner, 4 days seemed perfect. Most of the elevation gain is gradual, but 25 miles of dirt is still a lot of ground to cover.
Four days meant we had plenty of time to take breaks and explore our surroundings and still arrive at camp with a couple of hours of daylight. We also took our mornings slow, not getting on the trail until about 10 or 11 every day.
With that said, many people do it in much less time. in fact, some people do it unsupported in a single day, which would definitely be a slog. When planning your trip, you need to consider first and foremost how good of biking shape you are in and then what type of pace you want to keep.

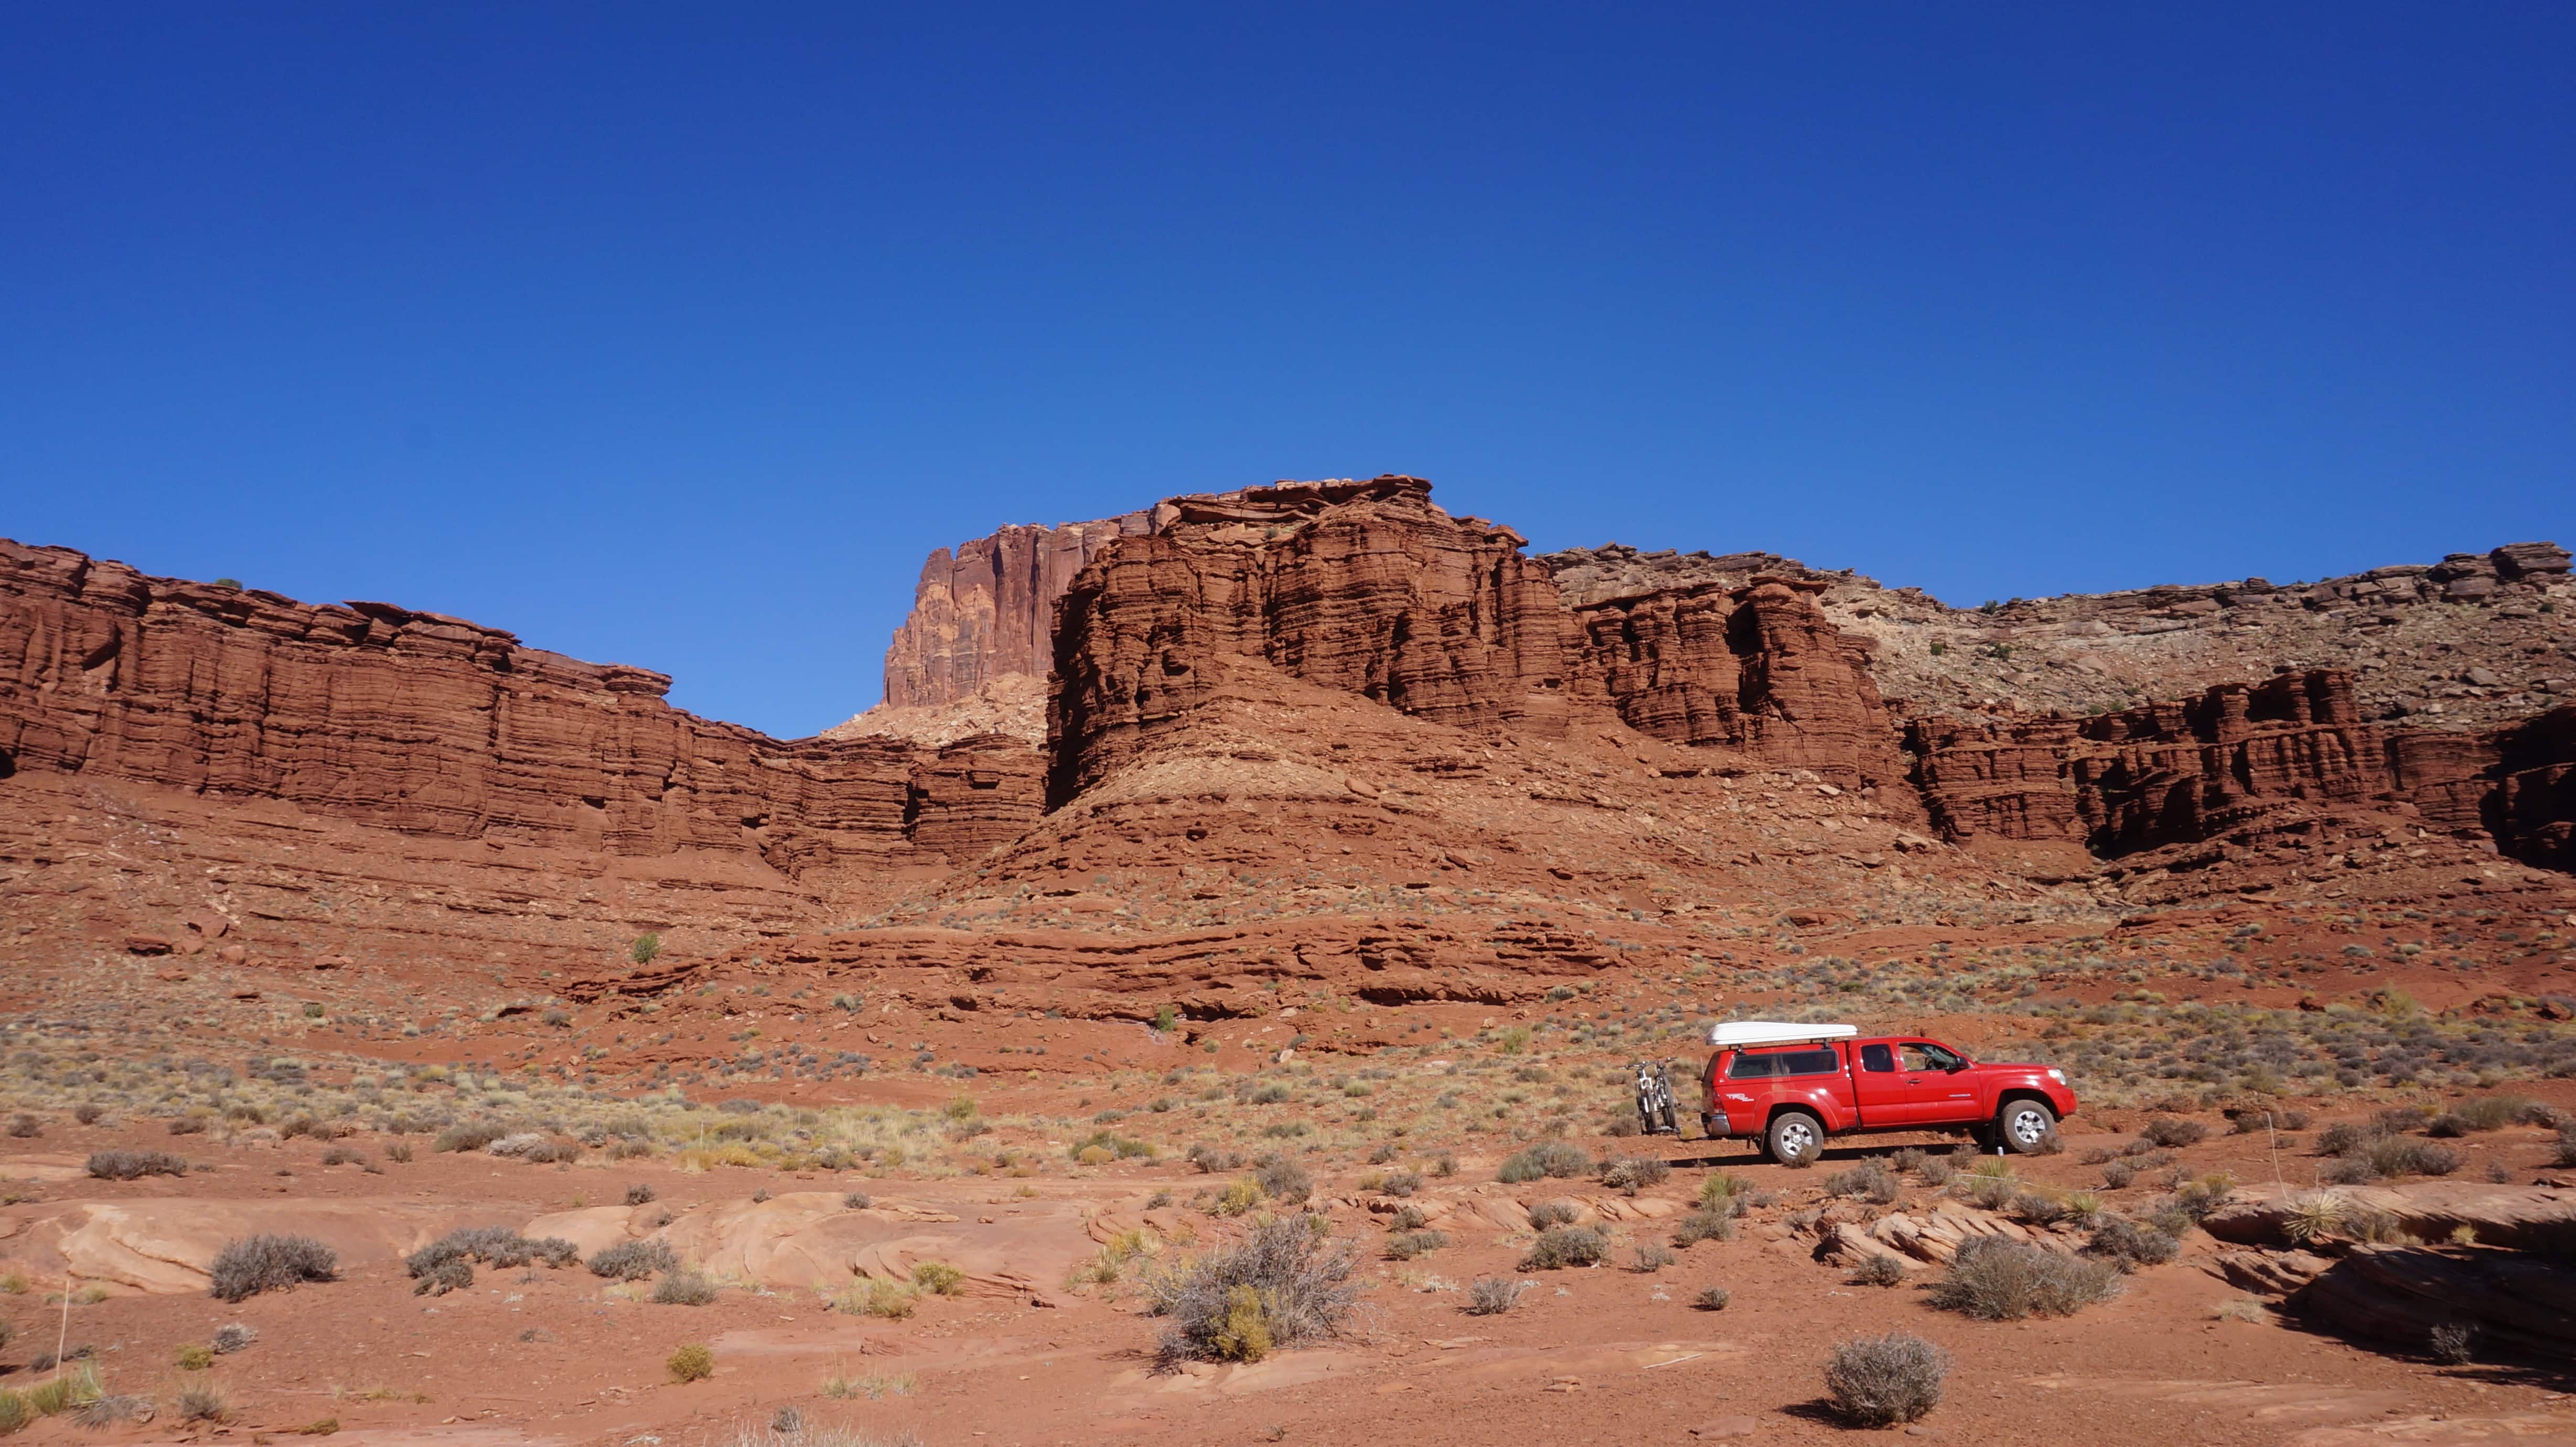
Your White Rim Trail Support Vehicle
The White Rim Trail is a moderately rough, but decently maintained 4WD jeep road. There is no potable water anywhere along the trail, so unless you are a stellar biker who can confidently bike the entire 100 miles in a day, it is best to be accompanied by a 4WD support vehicle. That way, all of the food, camping gear, and extra water can be transported by the vehicle, and you don’t have to carry any gear on your bike.
For our group of 7, we had one Toyota Tacoma that we were able to cram all of our gear in. You’ll also need a very study bike rack that can hold two bikes. That way if someone gets tired, they can hop in the truck and keep the driver company. For more on what gear to pack, scroll to the bottom of this post.
A couple of things to keep in mind… the person driving the support vehicle should have some experience with 4WD roads, especially if it’s been raining and the road is slick, muddy, or rutted. Most of the road is pretty mellow, but there are a few tricky and steep parts where you’ll want someone experienced behind the wheel.
Secondly, make sure you stop in Moab and top off your tank of gas. You’ll want a full tank before starting the trail!
Save this post!
Enter your email & I'll send this post to your inbox! You'll also receive my weekly newsletter full of helpful advice for planning your adventures.
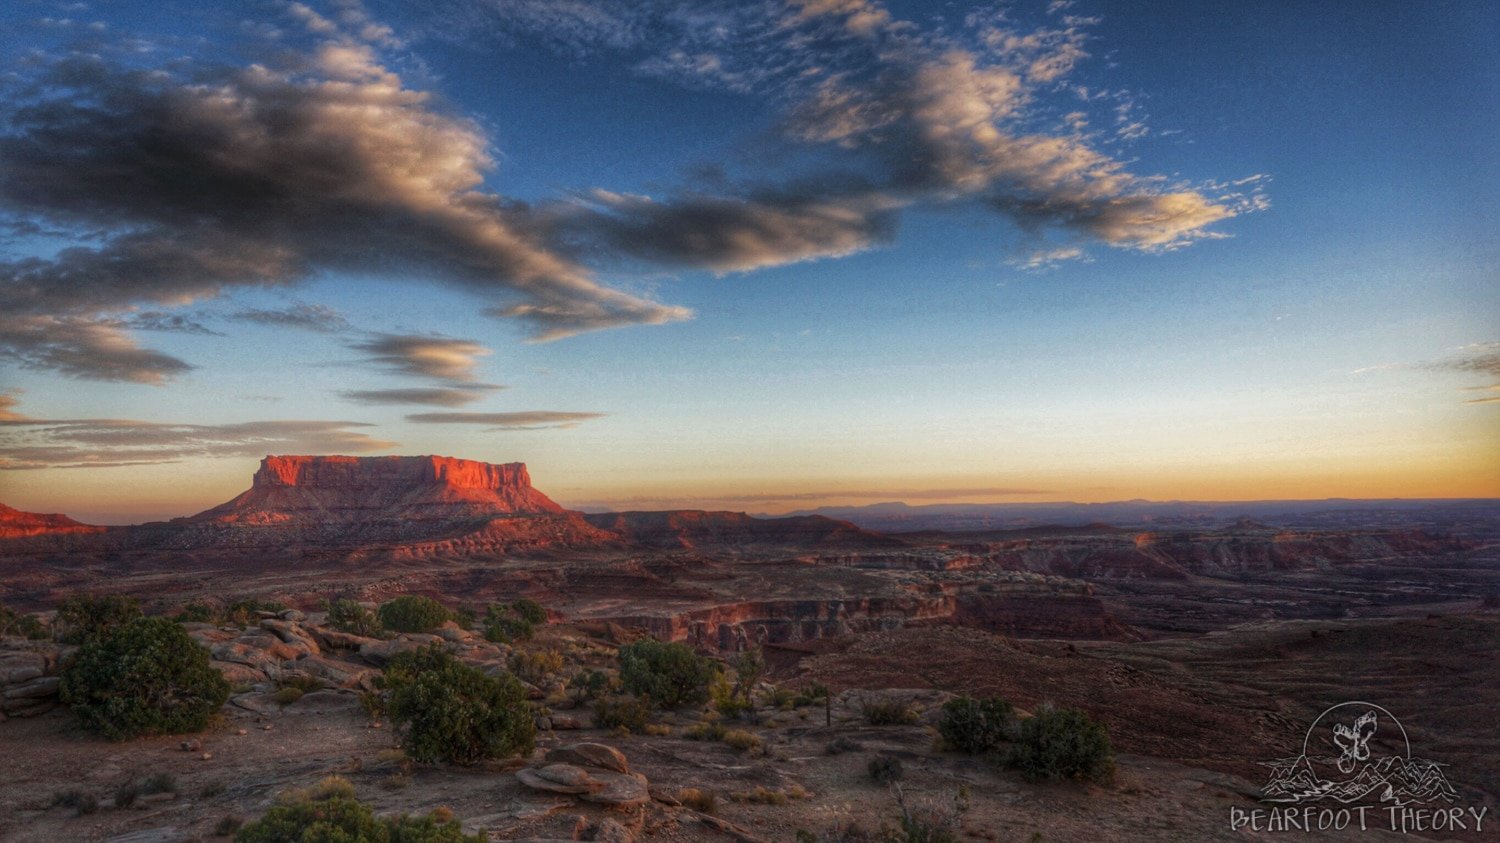
Best Time to Bike the White Rim Trail
The best time of year to mountain bike the White Rim Trail is fall and spring. Summer is unbearably hot and dry and there is ZERO shade. Sounds pretty miserable (and potentially dangerous) to me.
In late October, daytime biking temps were ideal – 70s, warm and sunny – and nights were chilly. The key thing to remember is the weather in the desert can change instantly so no matter when you go, you should be prepared for the elements.
Planning on exploring Canyonlands by foot? Check out our favorite hikes here.
White Rim Trail Permits and Camping
The White Rim Trail has a total of 20 designated camping sites that each accommodate up to three vehicles and 15 people. Each campsite has access to a pit toilet, which may or may not be shared with another nearby campsite. No water is available at the campsites. Reservations must be made using the advanced permit process on the Canyonlands National Park website. The fee for a permit which is good for 3 cars and 15 people is $36.
Permits become available four months in advance. To reserve a permit, start at this page. For the Activity, choose “Island In The Sky White Rim Road – 4WD/Mountain Bike” and enter your desired start date and group size. A list of available campsites and dates will pop up.
If a campsite is already occupied, it will say “0”, meaning it’s not available for that date. If there is a number – typically “15” – that means that the campsite is available and up to 15 people in one group can book that site. (If you have less than 15 people in your group, you still book the whole campsite. In other words, you won’t be sharing it with strangers).
You need to book each campsite you want at the same time or else you’ll need to pay for an additional permit.
Our White Rim Trail Itinerary
Day #1: Mineral Bottom Road to Potato Bottom (33 miles)
The White Rim Trail starts off on Mineral Bottom Road. The first 12 miles are a smooth gradual downhill, and it’s a good chance for the newbies to get comfortable on the bike before the terrain gets rougher. At mile 12 you reach a series of steep switchbacks down Horsethief Road that take you down into the canyon where you meet up with the Green River.
I don’t have many pictures from the first day since I was focused on my riding, but the trail is pretty much what you expect for an old jeep road. Rocky in places but overall there weren’t too many obstacles. The most challenging thing about the trail was every so often you run into some deep sand that could really throw off your momentum and balance. So you had to keep an eye out to make sure you didn’t hit one of these sand traps unexpectedly.
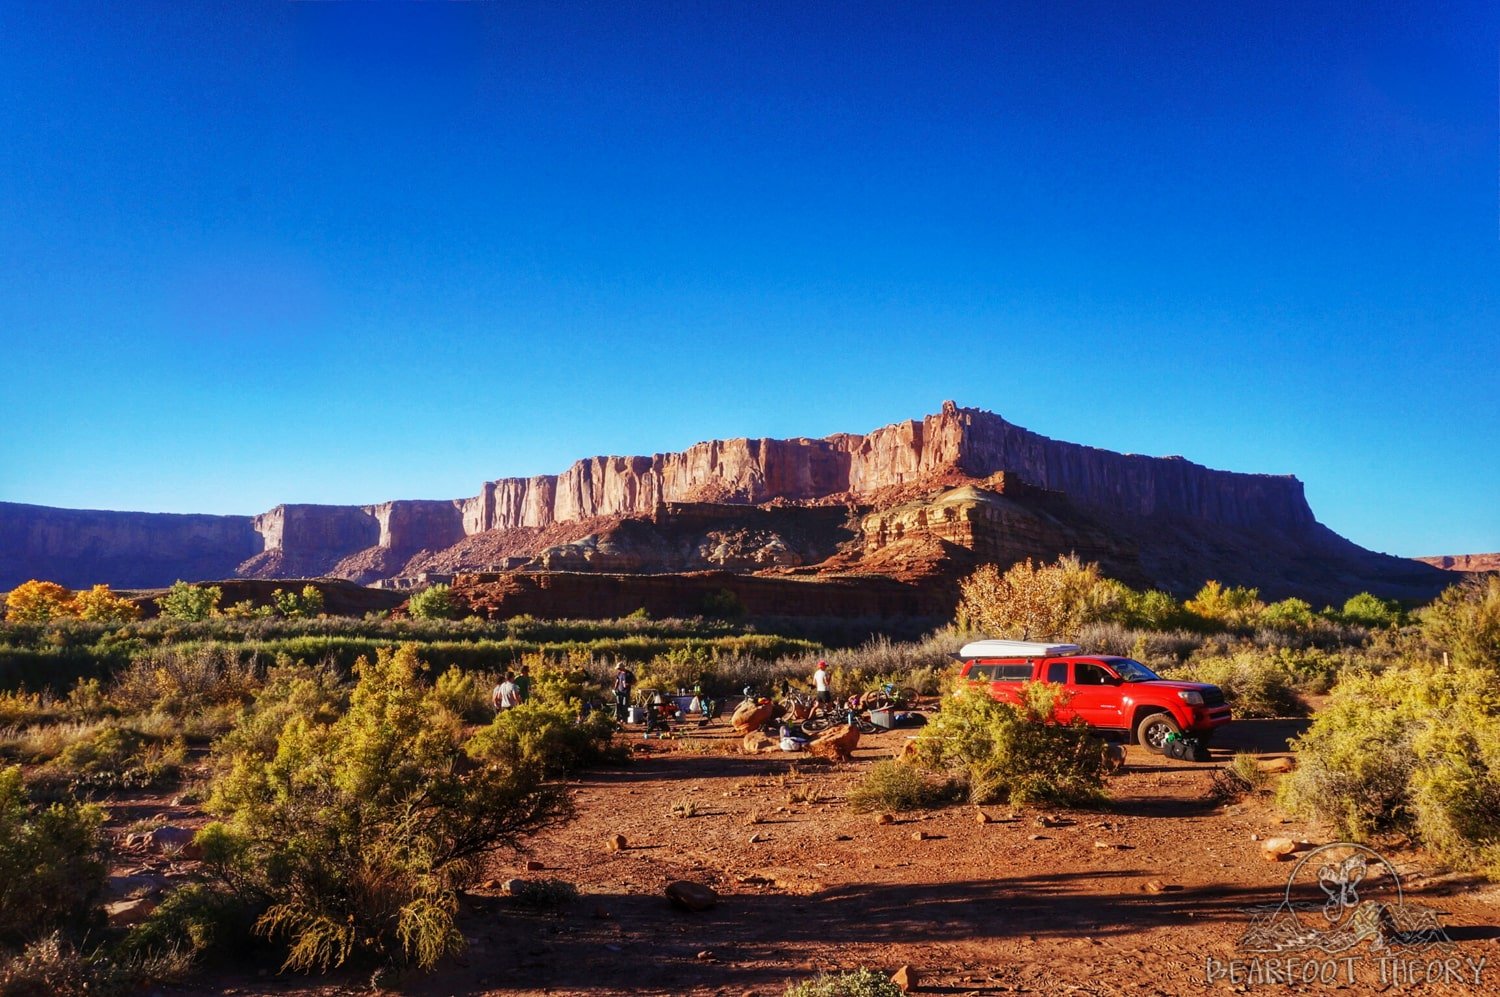
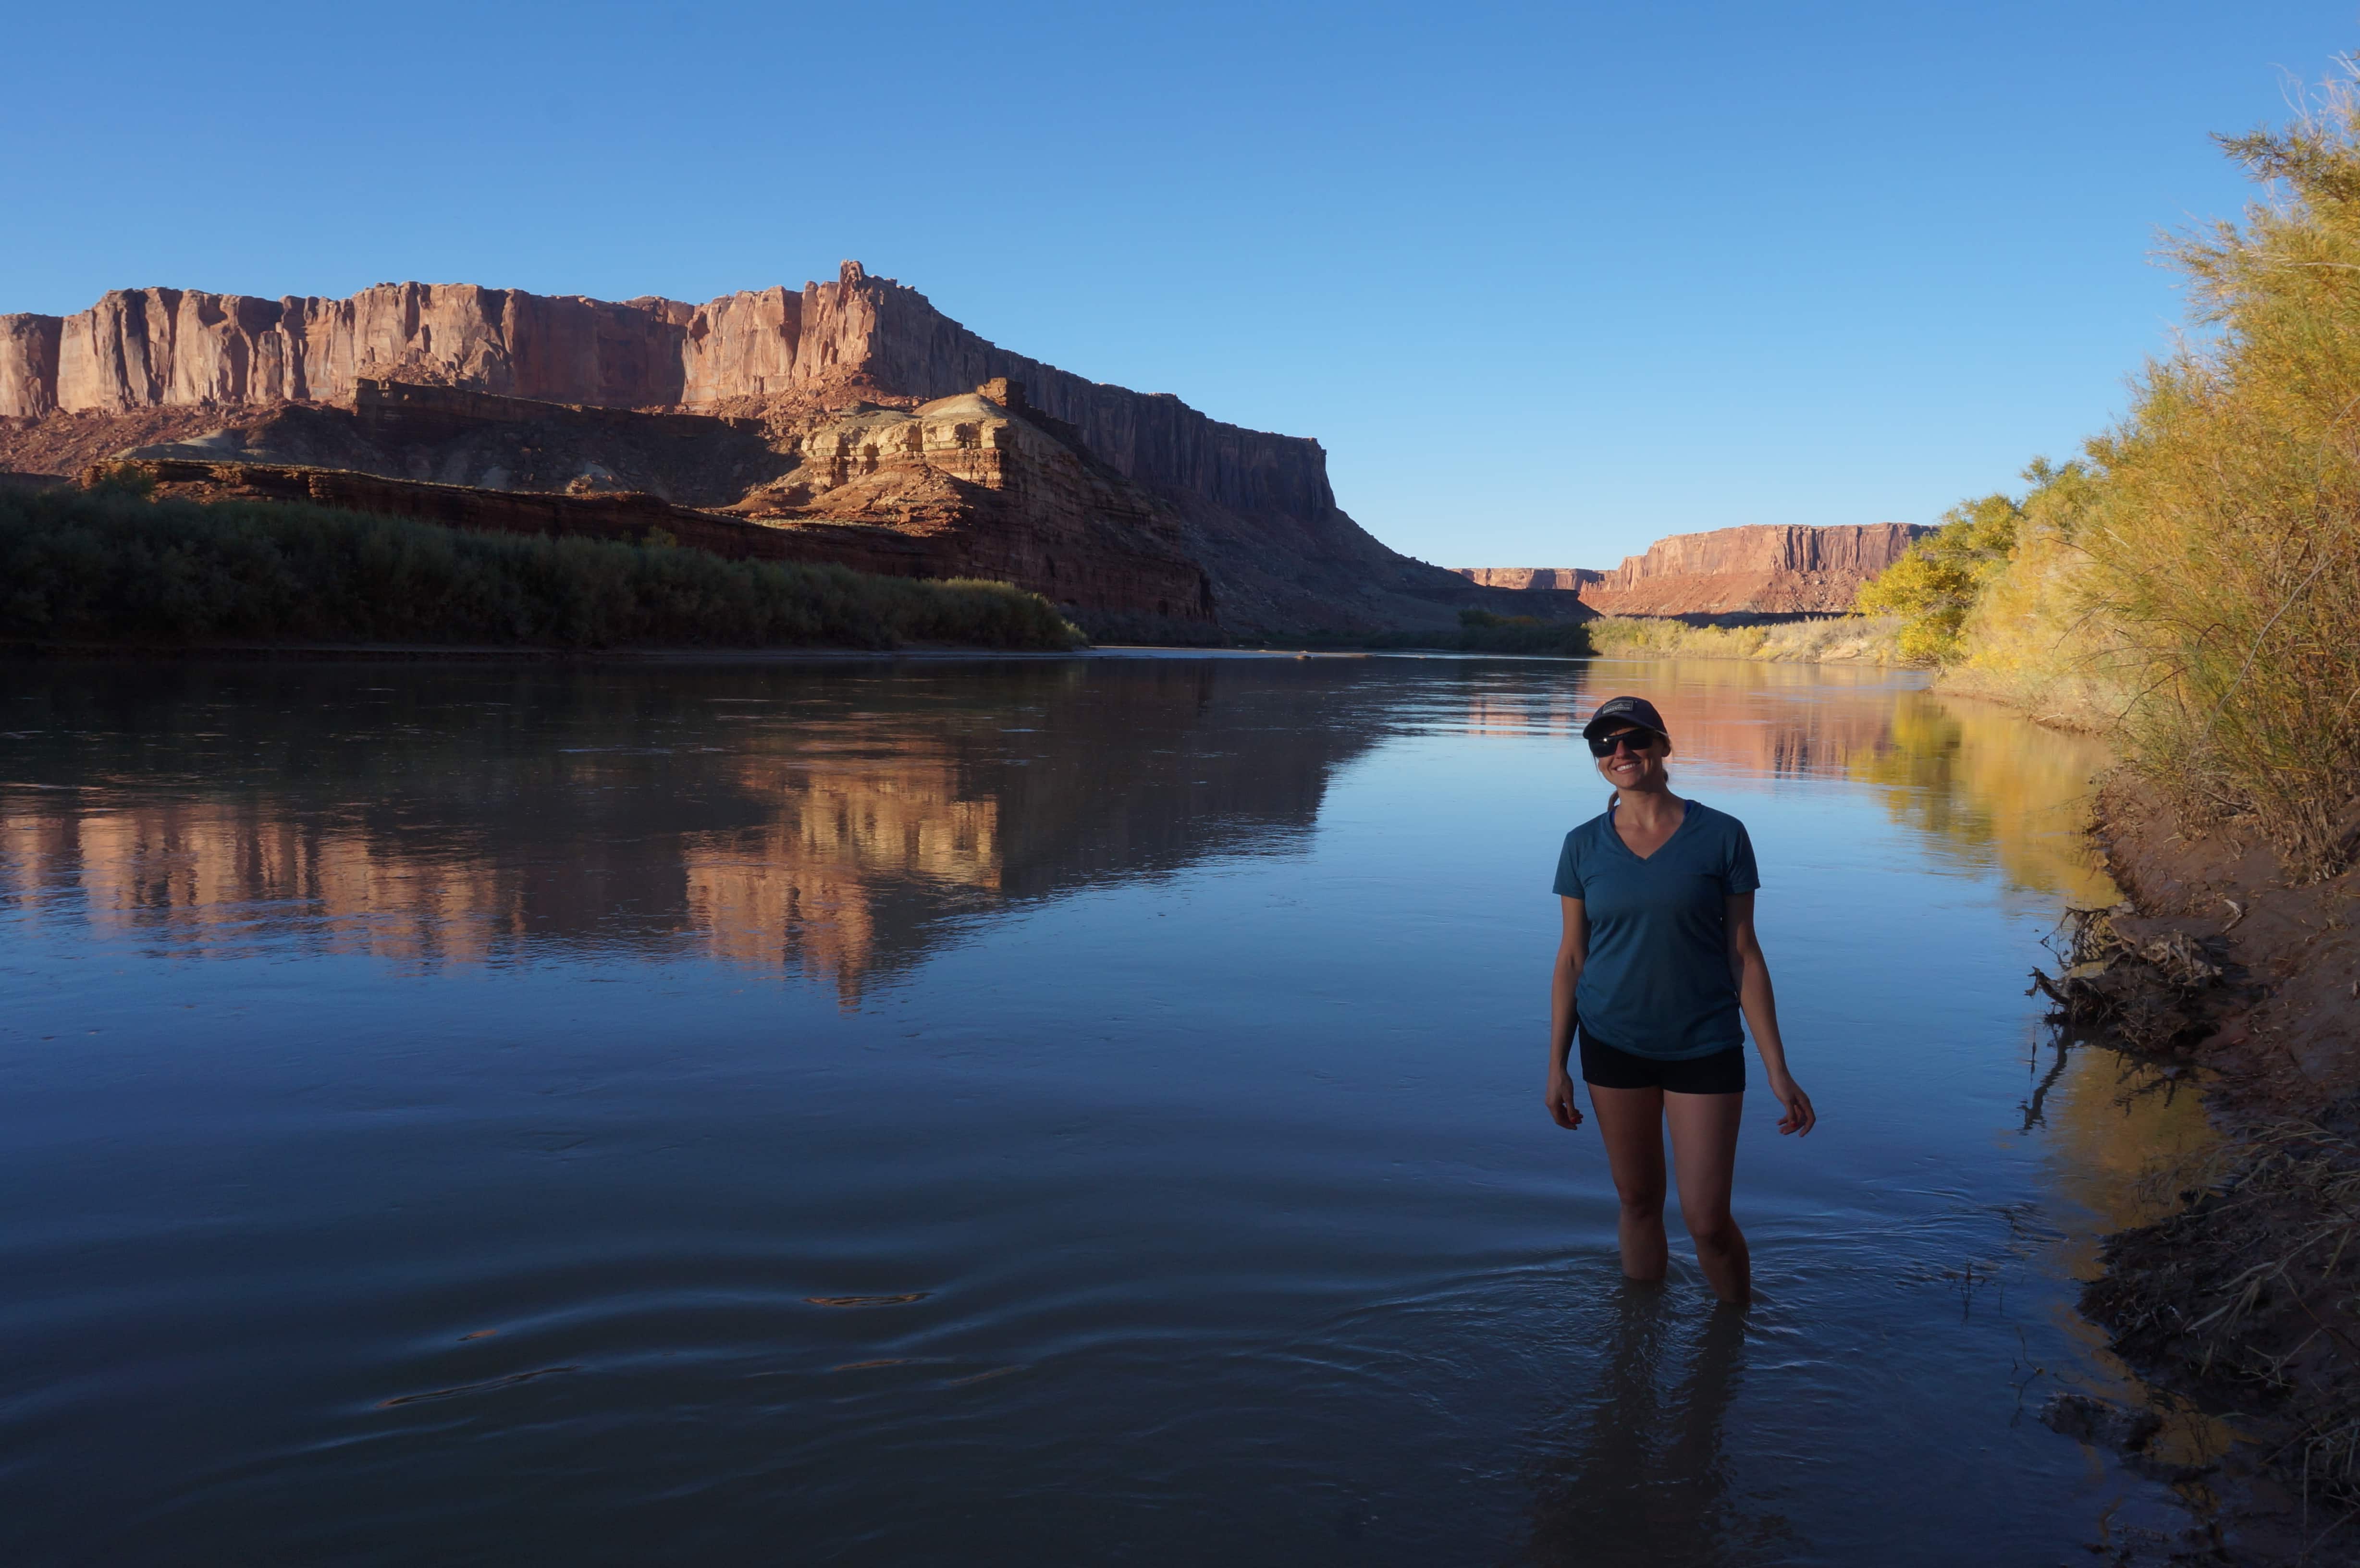
We arrived at our campsite at Potato Bottom right on the Green River earlier than I expected. The sites at Potato Bottom are the last campsites near the river. In October the water was definitely too cold to swim in, but it provided a nice backdrop for our afternoon hangout and bocce ball session.
Day #2: Potato Bottom to Murphy’s Hogback (22 miles)
Despite being significantly shorter than the first day, day 2 kicked my butt. It was all uphill with a pretty steep climb up to Murphy’s Hogback at the very end. If you are looking to take a shift in the support vehicle, this might be the day to volunteer.
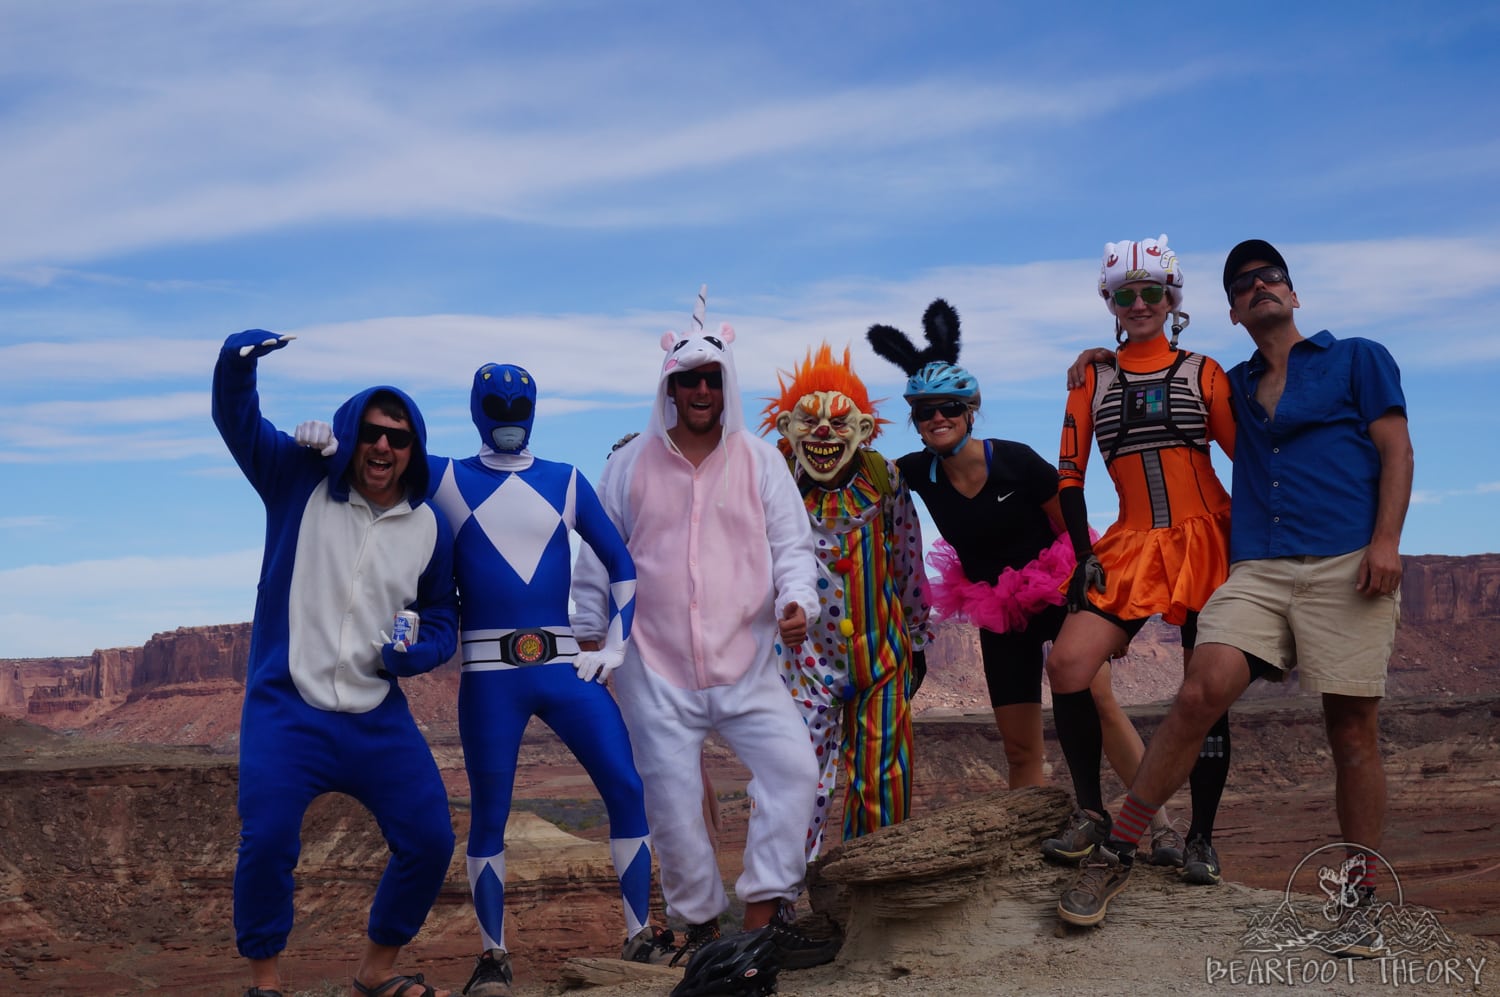
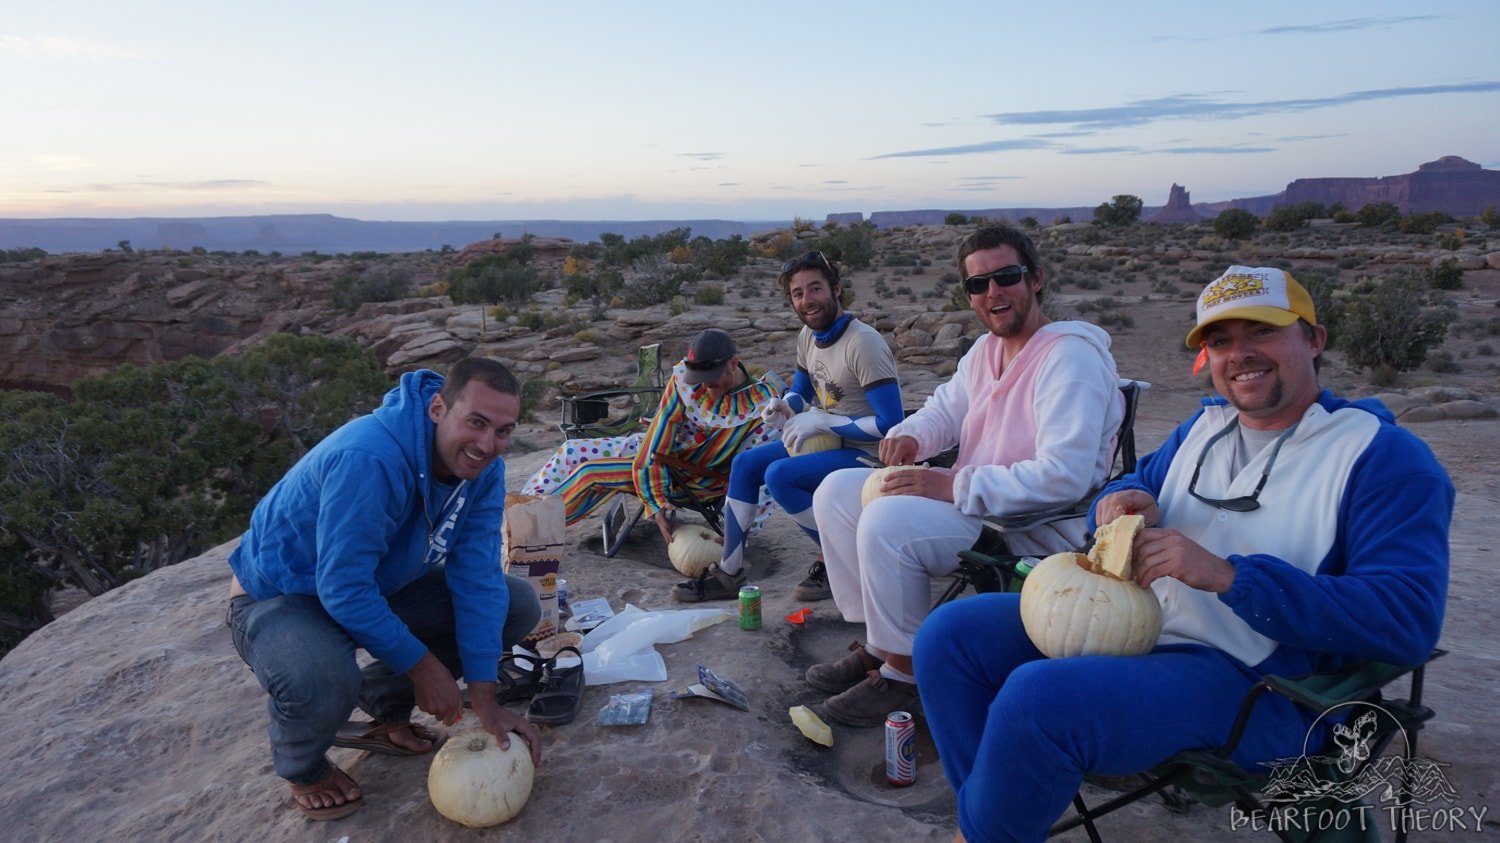
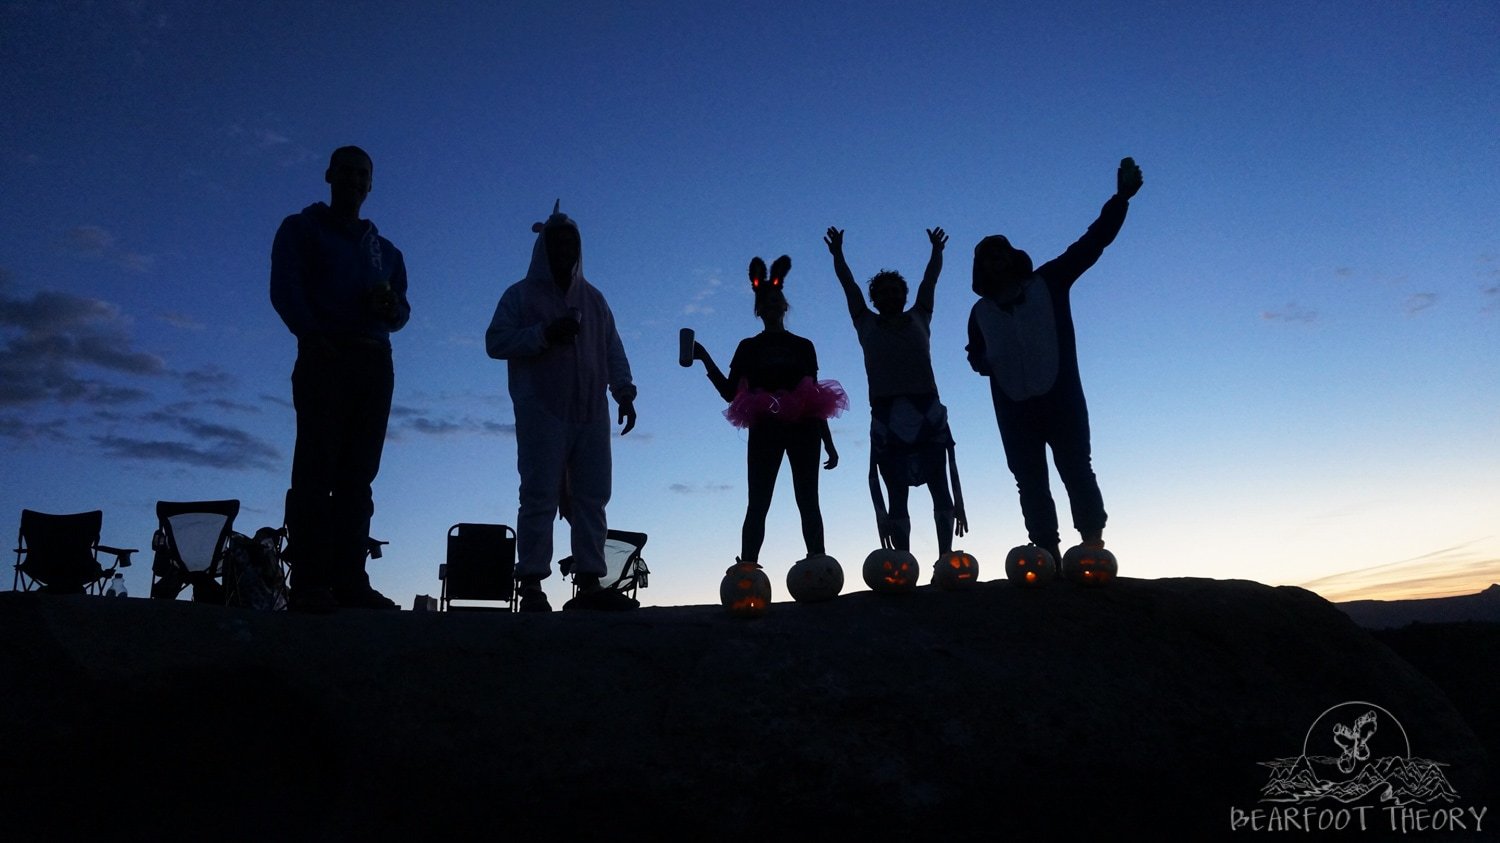
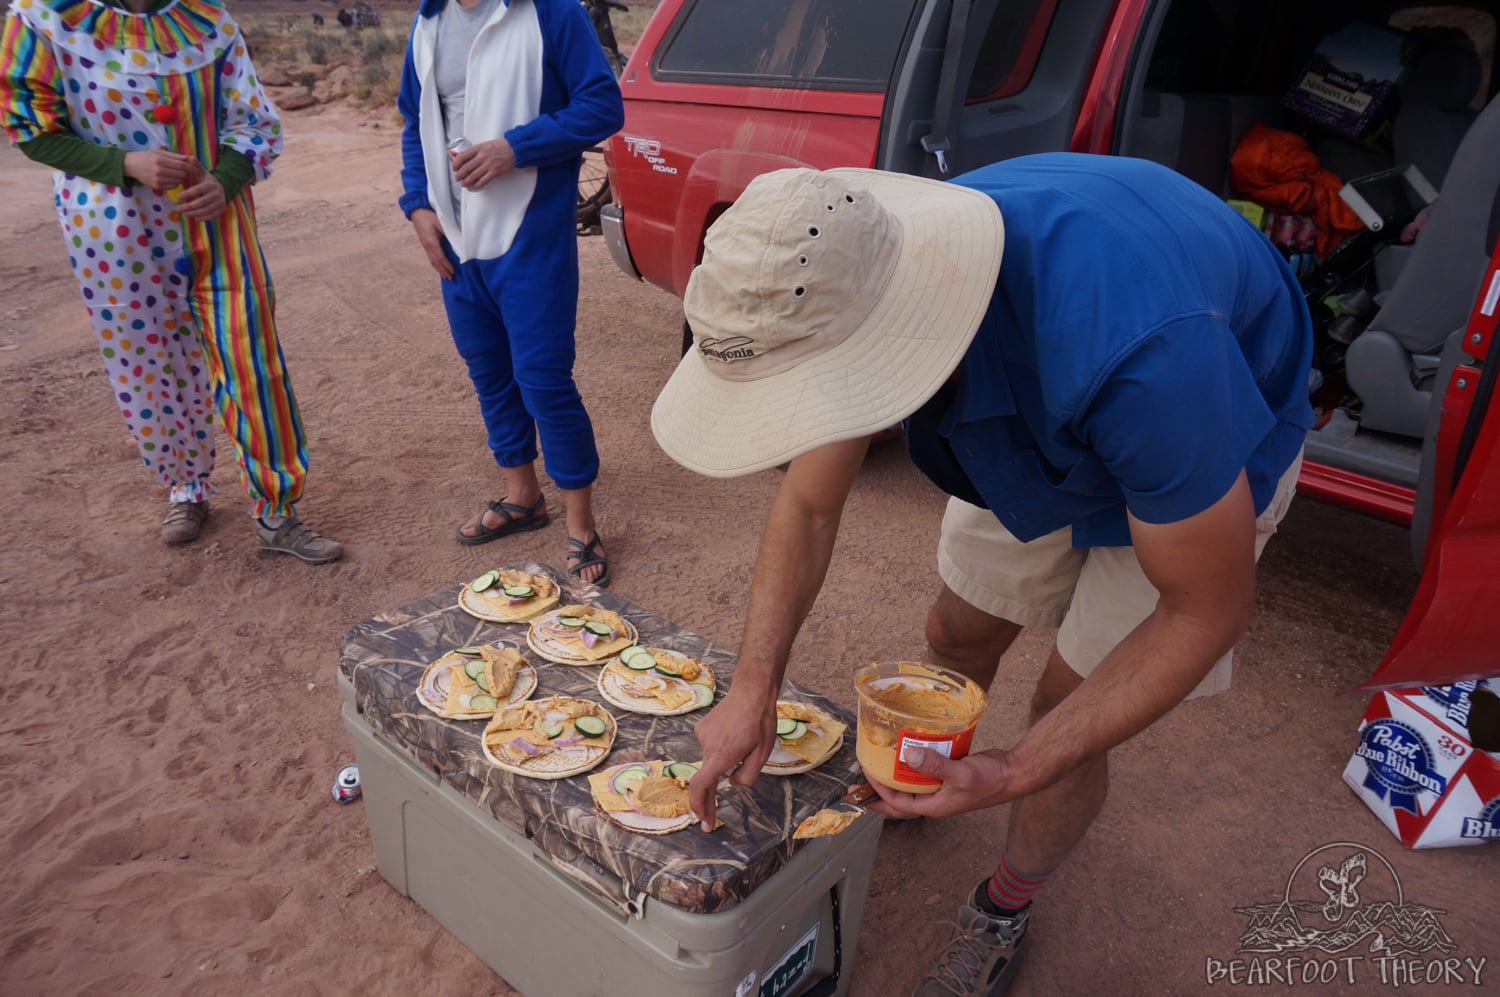
Luckily we didn’t take our day too seriously. It was Halloween, so we donned our costumes and got into the spirit. Just call me disco bunny biker babe.
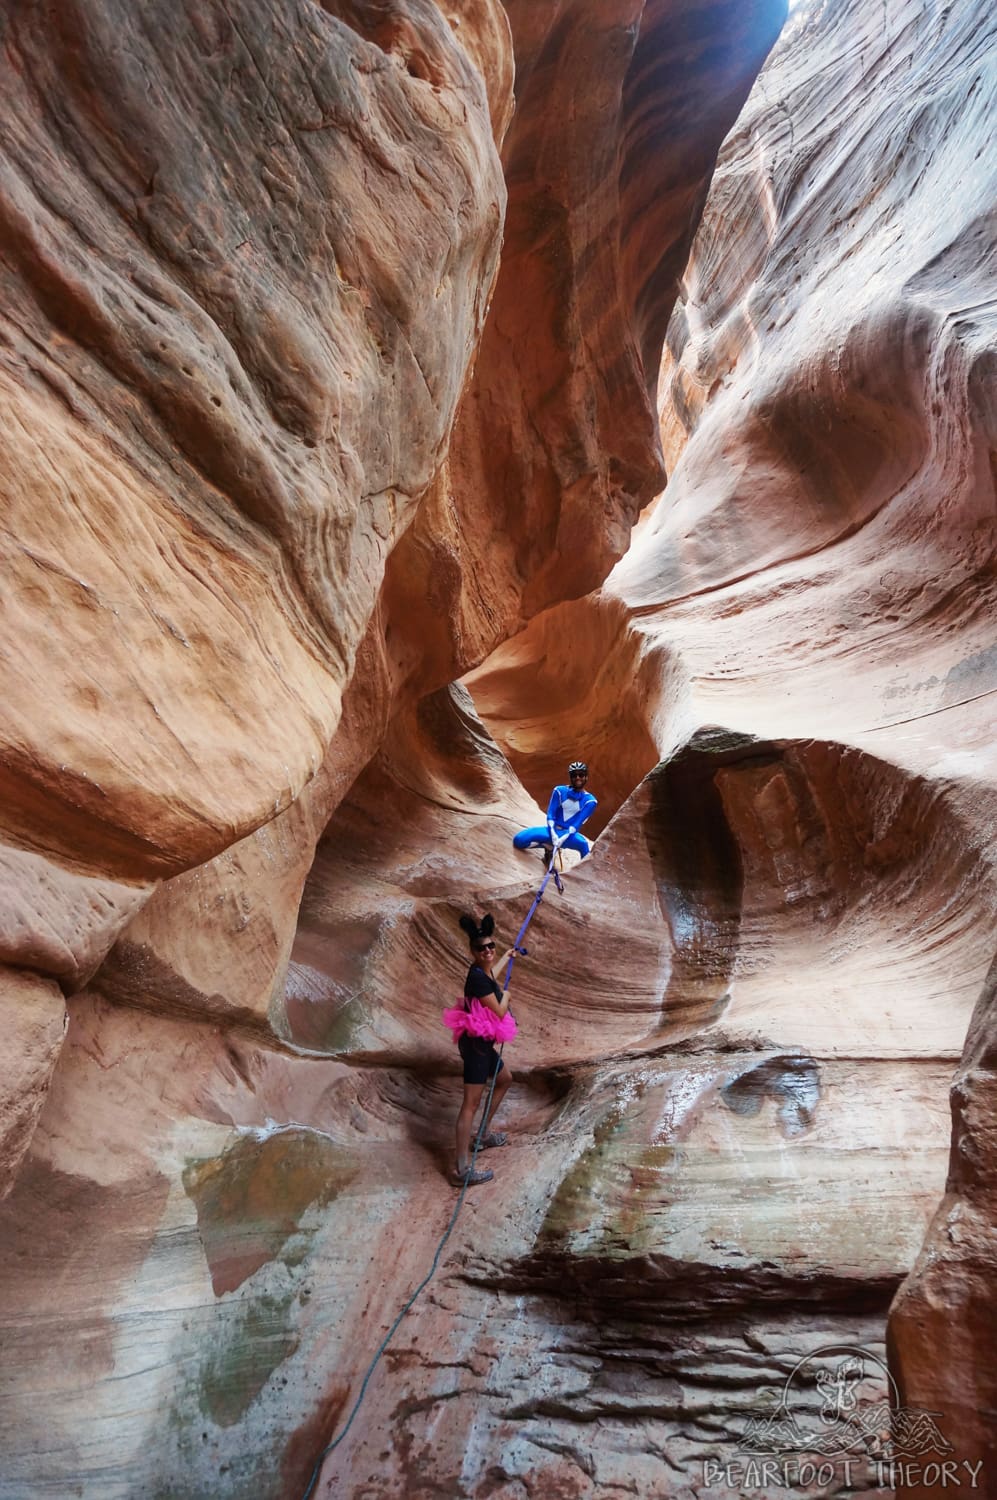
Around lunch time, we arrived at the entrance to Holman slot canyon which is shown on the map above. This is a great place to stop for lunch and explore. The slot canyon heads down towards the direction of the Green River and can be explored until you reach an unpassable obstacle.
When we were there, there were a few tricky spots where ropes had been installed, but they didn’t appear permanent. Remember that every drop-off you go down, you will have to come back up. So don’t get yourself into a situation where you can’t get back to the top.
Also, if there is a chance of rain, don’t head down into the slot canyon.
After lunch, my legs were feeling heavy and by the time we got to the hill at Murphy’s hogback, I knew there was no way I was going to make it. There was already a passenger in the support vehicle, which meant I was going to have to get up the hill one way or another. I pushed as long as I could but didn’t make it far before I got off and started walking. This is the view when you finally make it to the top.
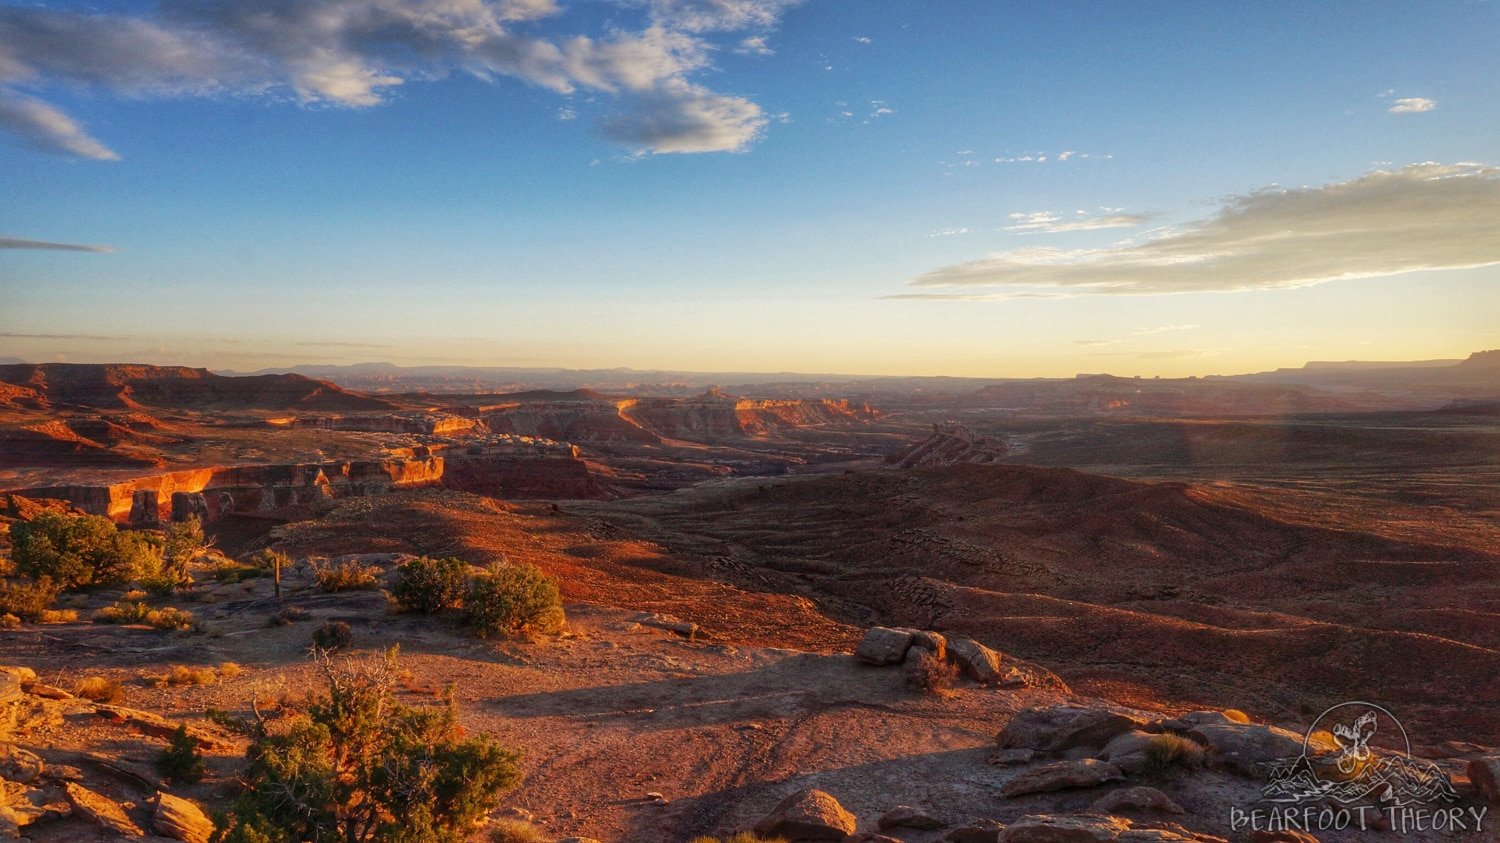
I felt so happy when I learned that our campsite was no more than 100 yards away from this lookout, and I was even happier when we realized just how awesome our spot was.
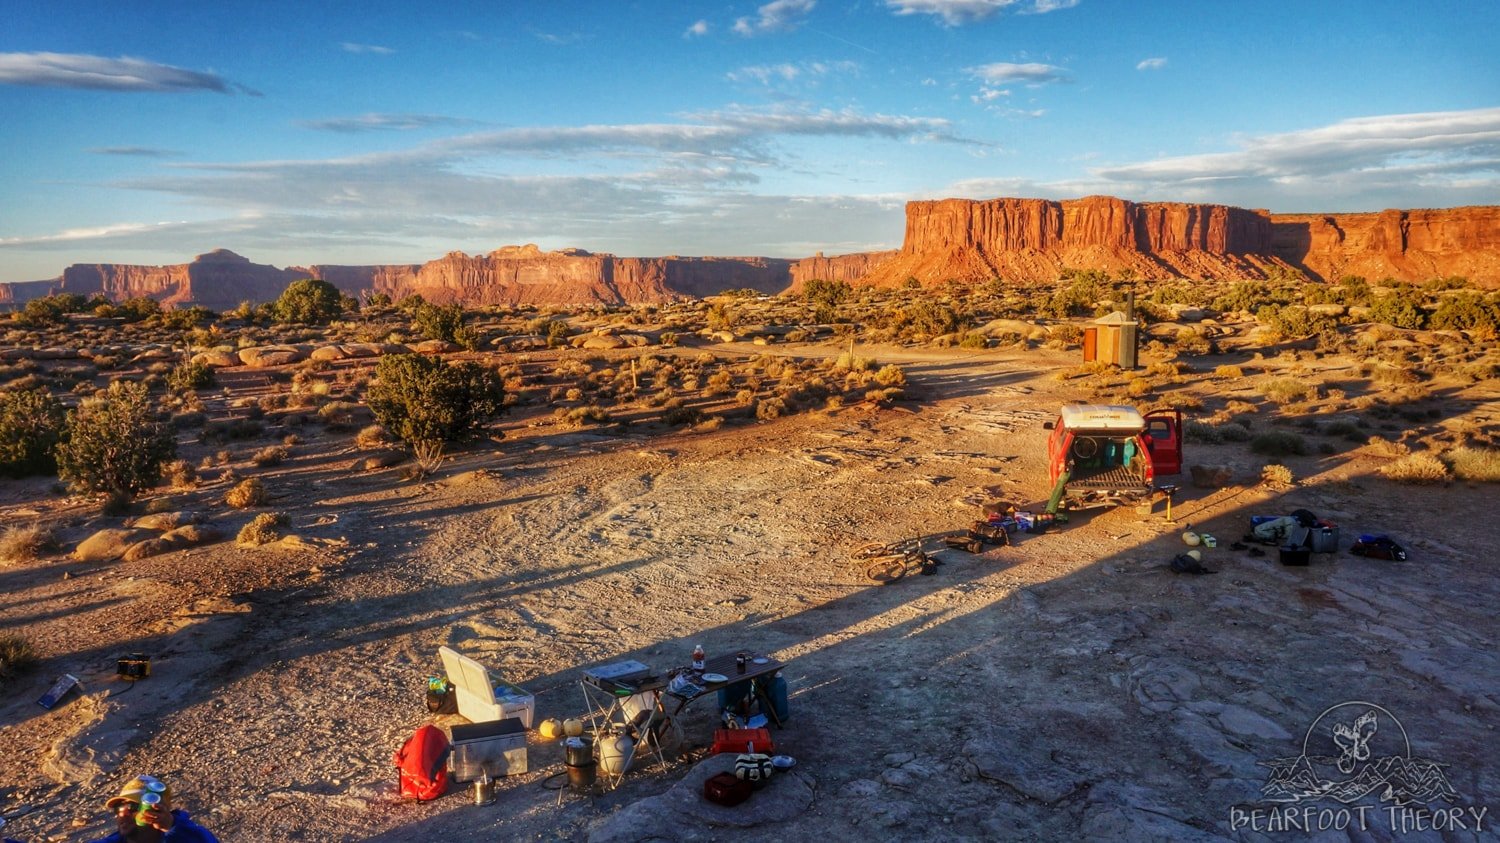
Now it was time for the real fun. One of our friends decided to bring some pumpkins to carve, and we had a blast sipping on cocktails and carving away while watching the sunset.
Day #3: Muphy’s Hogback to Airport Campground (26 miles)
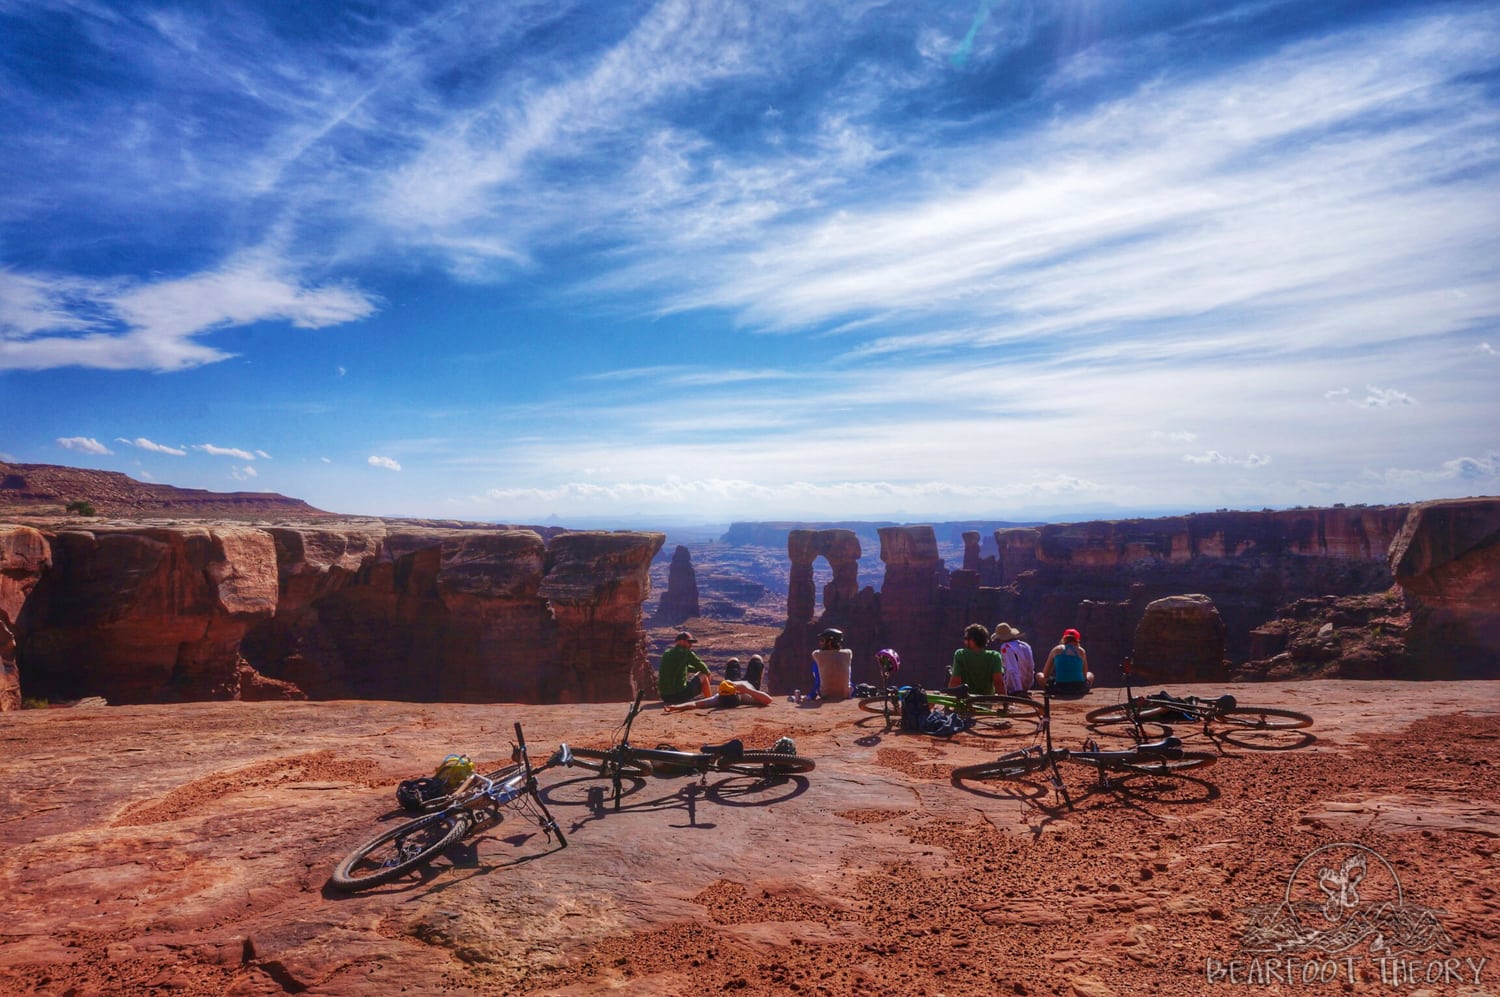
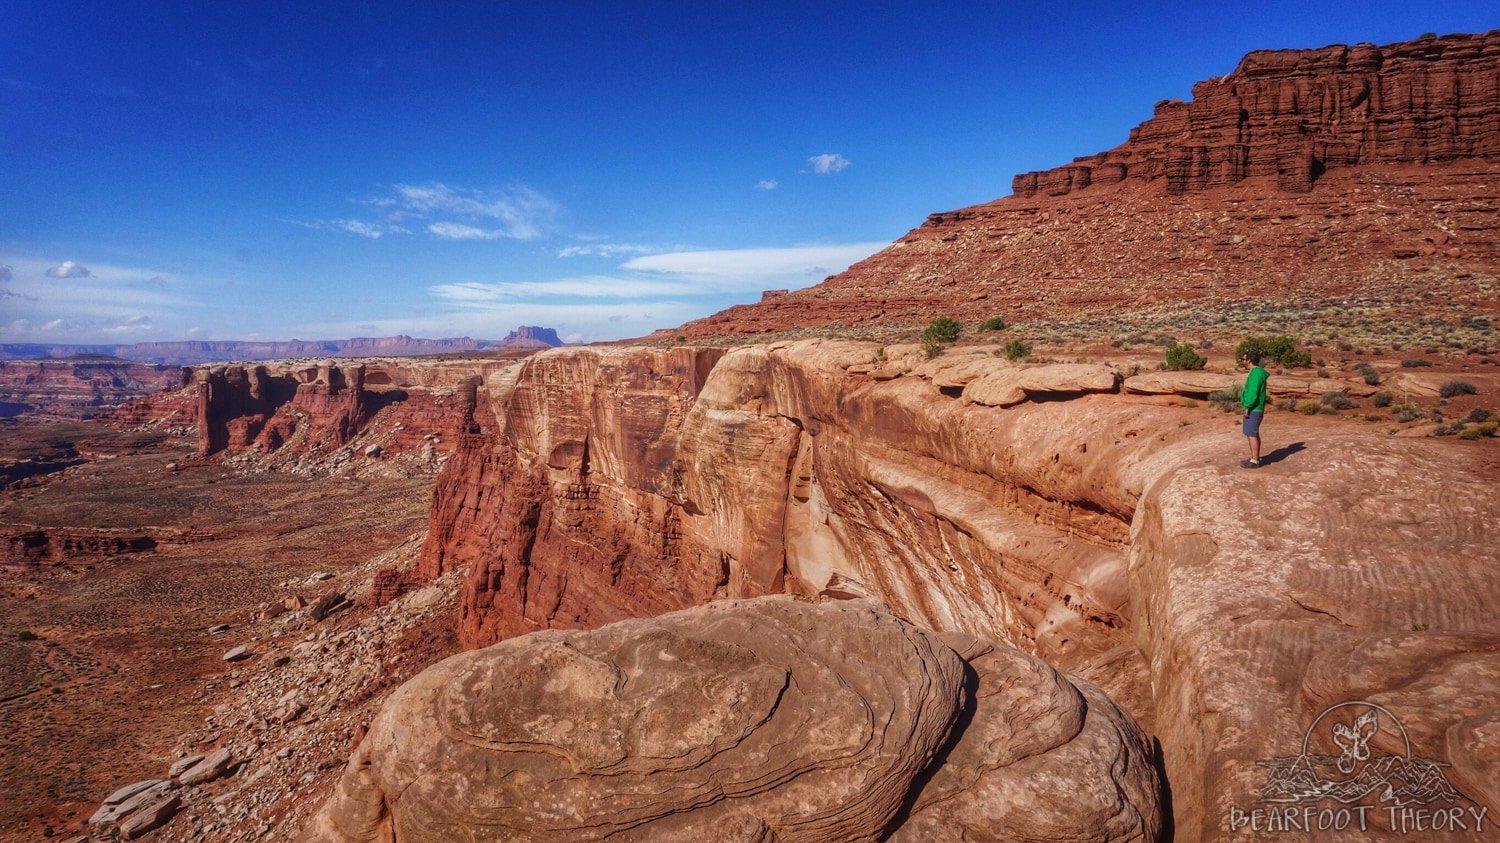
Day 3 was the most scenic and the easiest in my opinion.. Yet for some reason, I spent most of the day riding in the truck. I felt kinda lazy (and I was), but my legs needed a little recovery time after the previous day’s climb. My friend Beau and I cranked up the tunes, stopped and took a ton of pictures, and enjoyed the views as the canyon started to appear more intricate with lots of arches and mind-boggling rock formations.
Turns out riding in the SAG wagon is pretty dang fun!
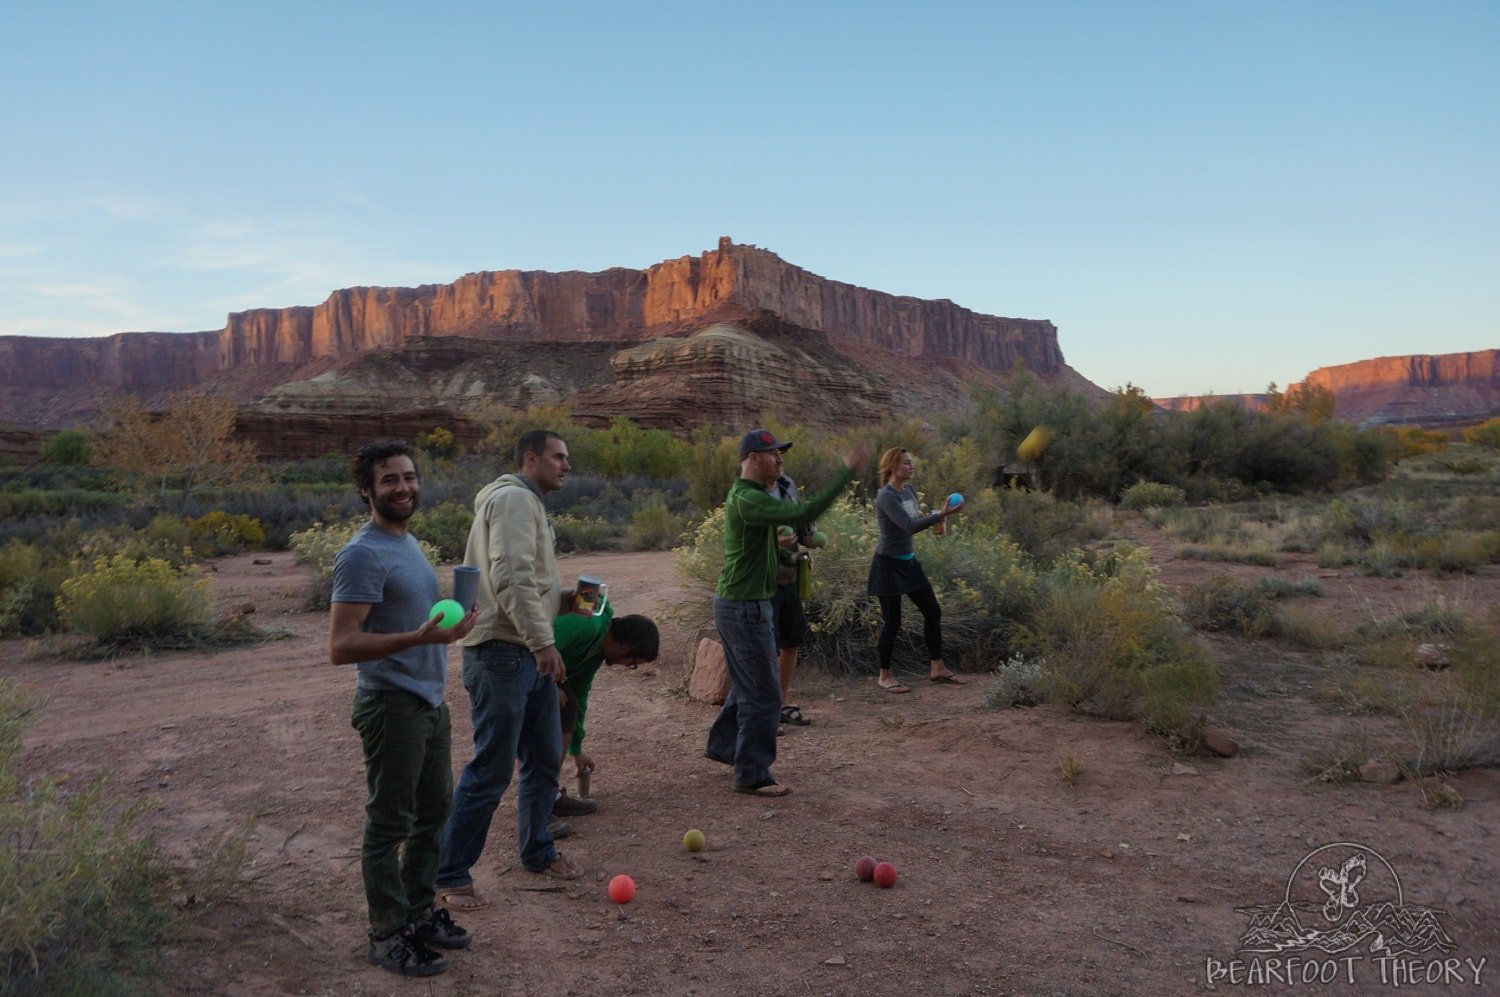
We arrived at camp with plenty of time to soak in the scenery. We played a serious round of bocce and watched the clouds transform with storms forming in the distance. One of my friends also brought a professional kite which provided an hour or two of solid entertainment in the strong winds.
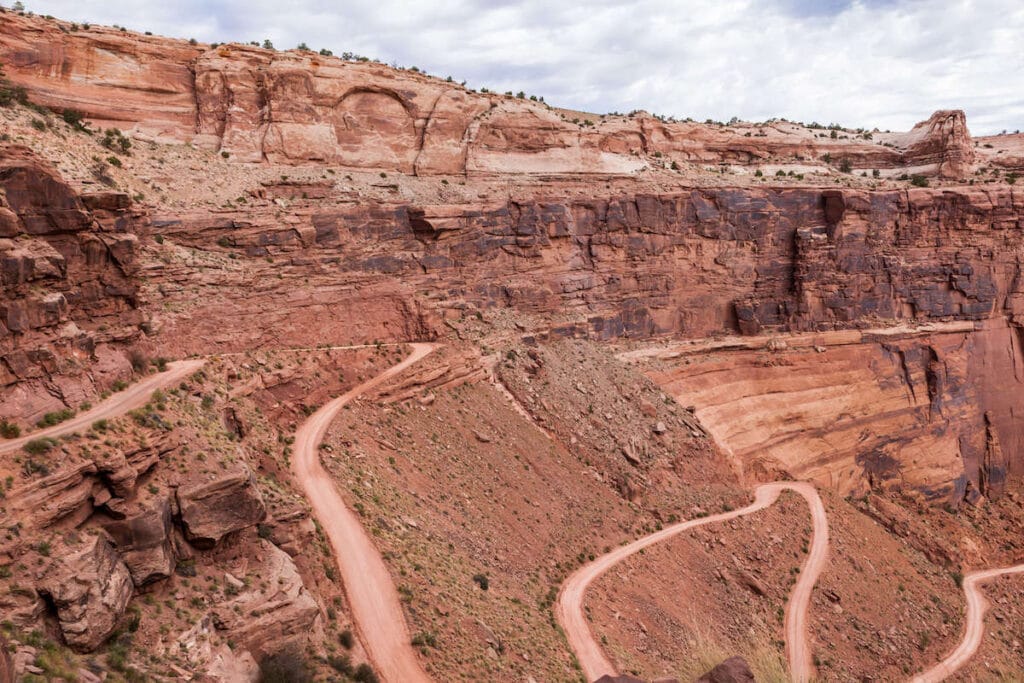
Day #4: Airport Campground to the top of Shafer Hill (19 miles)
On our final day on the White Rim Trail, we were back to the uphill. I can’t say I was looking forward to it, but I wanted to try and push myself so I was committed to getting to the top without the help of the truck. The day started out nice and one of the biggest highlights of the whole trip happened just after hopping on my bike. My friend Adam and I were riding along when we looked to the right and saw a bighorn sheep with giant horns galloping no more than 30 feet away from us on the very edge of the rim.
We continued cruising along, and he continued running next to us for about 5 minutes. I wish I could’ve snapped a picture, but I knew that if I stopped to get my camera out, he would’ve been gone. It was a magical moment that I will never forget, photo or not.
Shortly thereafter, we hit some rain, which is a reminder that the weather can turn very quickly in the desert.
Luckily the storm passed quickly and by the time we reached Shafer it was a comfortable temperature for our climb. Like I predicted I didn’t make it too far before I had to start walking, but my friend Beau stayed behind with me and kept me company.
At times the switchbacks seemed endless and when things finally flattened out at the top, we realized just how far we had come. Even though I walked quite a bit, I was still pretty proud of myself for keeping up as well as I did. I also felt much stronger and more confident by the end of the trip than I did when I started.
What to Pack For the White Rim Trail
The White Rim Trail is car camping at its best. You’ll want to bring a roomy tent, a plush sleeping pad, and a warm sleeping bag. In addition, there are a few additional gear considerations that will make your trip as comfortable as possible.
Bike
I’m definitely not an expert when it comes to mountain bikes, but I purchased an REI Brand women’s 29″ Madrona Hardtail for my first mountain bike. They don’t make that anymore, but Becky – our behind-the-scenes assistant – did a self-supported bikepacking trip on the White Rim Trail on a Santa Cruz Chamaleon hardtail and loved it.
In addition to the bike, make sure you bring a few spare tubes, a hand pump, chain lube, and the necessary tools to fix your bike if something goes wrong.
Clothing
- Shorts: Bring padded bike shorts. No joke. You may feel like you are wearing a diaper but that’s better than a bruised ass and serious chaffing. Unfortunately bike shorts can be pretty pricey. Check out our post on Where To Buy Discounted Outdoor Gear to find deals.
- Gloves: The trail can be rough on your hands and cause major calluses. Some people like wearing gloves, others don’t – but it’s worth bringing a pair just in case.
- Warm Clothes: Outside of summer, nights in Canyonlands can get very cold. Make sure you are prepared with a warm synthetic jacket, a rain coat, some long johns, a hat, and gloves – basically the same kind of clothes you would take on a backpacking trip. To see the clothes I bring on my outdoor adventures, check out this guide to what to wear hiking, and for cooler weather, see our guide to what to wear hiking in fall.
Camp Kitchen
- A good cooler: To make sure your food doesn’t spoil, you need to make sure you have a solid cooler that can keep ice for the duration of your trip. We had a couple of Yeti Coolers on our trip, but I’ve since discovered RTIC which makes comparable coolers at a fraction of the price. Having a good cooler is worth it because it will keep ice longer, and nothing results in a trip gone awry more than your food gone bad.
- Camp Stove: Having a support vehicle means you can eat gourmet. This two burner Camp Chef camp stove is only $149.99 and is large enough to cook for the whole group. For pots and pans, I like to use a pre-seasoned Lodge cast iron. Not only are they super easy to clean, they also give the food some delicious flavor. I’d also recommend prepping and pre-cooking as much of your food at home as possible. Then package it using vacuum sealer and throw it in the freezer until you depart for your trip.
- Water jugs: Make sure you bring plenty of water. The National Park Service recommends at least one gallon per person per day and more if it’s hot outside. You can pick up reusable 5 gallon jugs at your local Army Navy store or on Amazon. Everyone should also carry a day pack with a 3L water reservoir for easy access to drinking water throughout the day.
Camp Comforts
We also brought along a few comfort items that provided their worth in camp entertainment.
- Portable gas fire pit: You can’t have a wood fire on the White Rim Trail, so a portable gas fire pit with a bit of extra propane was a great substitute. It gave off plenty of heat, and without it we probably would’ve been in bed by 8 o’clock.
- Glow in the dark bocce ball set: I swear, glow in the dark bocce is the best camp game ever. Especially in the desert when it’s pitch black and there are all kinds of rock obstacles. Just watch out for cacti if you are roaming around at night.
- Camp chair: You are going to want something to rest that tush in at the end of the day. I’m obsessed with my Helinox Swivel Chair and thought it was perfect for this trip. When folded away, it’s super compact…plus it swivels and you can’t beat that.
Have you done or been eyeing a mountain bike trip along the White Rim Trail? What questions do you have? What was your experience like? Leave us a comment below!
Great write up! One of the most memorable trips I’ve ever taken.
We totally got lucky, and the sand wasn’t too bad. Dryer fall will mean far more sand slogs.
Also keep an eye out for the road conditions, a bit more rain can mean impassable hills and turning back without enough fuel would be dangerous.
🙂
Hey Justin – It was such an amazing trip! And thanks for the reminder about fuel. I’m going to edit the post to mention that. Hope to see you soon! -Kristen
I saw that trail from Island in the Sky this summer and wished I had time to drive it. Now I want to ride it. I’m adding this to my list. Great post!
Awesome Caroline! Glad this inspired you…come back and let me know how it goes!
I used to 4-wheel the White Rim in the early 70’s no established campsites, jeep trail was really a jeep trail…did it forwards and backwards. Rescued an elderly couple who put their fan through their radiator and started hiking towards Murphys Hogback instead of back towards Moab, followed the footprints down into Queen Ann’s Bottom as they went down to the river for water. Finally caught up to them and drove them back to town and got a steak dinner as a reward. There was a guide from Moab who used to do a weekly tour of the White Rim in a Volkswagen bus that he had put a low rear end differential. I have mixed feelings about stories about Canyonlands since it is a very special place…and the more people who visit it, the less special it seems. It will of course outlast us all. Cheers, and a toast to Edward Abbey!
Hi Joe – Sounds like an epic adventure you had. Thanks for sharing! -Kristen
Another great article, amazing thorough!! The costumes are so great, make for really great photo’s..
Thanks Carri! Glad you enjoyed it.
What were you all making on top of the Yeti Cooler? Looks like some type of power pita. Is that peanut butter or hummus? Either way looks delish! Thanks for sharing and awesome pics!
It was pita bread sandwiches with veggies, lunch meat, and hummus.
WOW now that sounds like an adventure! Bet it was tiring, the question is, is could it be done on a folding bike? Or is that just impossible? lol.
I’ve never ridden a folding bike, so I’m not totally sure. If it can handle a rugged trail with lots of hills, then maybe so?
White Rim Trail is an amazing trip. I did it as a three day Jeep trip in September…
So great to hear! Thanks for your comment!
What kind of camera, lens and filter were you using to take your really nice photographs?
Hello David! For more information about Kristen’s camera gear check out this space on Bearfoot Theory: https://bearfoottheory.com/category/photography/.
Hello Kristen,
It was really an amazing trip, right? You did a very good write up. I’m just inspired on writing my travel experience on my blog.
Thanks.
Great post. Your comment about robust bike rack is spot on and when ours failed it was one of those minor catastrophes that makes these trips memorable. Ours was a hitch rack, brand new, made by a major manufacturer. We had 4 bikes on it, so maybe just 2. Any thoughrs?
I agree – have had a couple racks fail; two that I like and consider bombproof are 1UP USA racks and North Shore Racks; neither are cheap but they cost a lot less than the bikes they are carrying and aren’t made of plastic or rubber pieces that tend to fail (spectacularly, whether your bike or not)
Kristen, Great write up.. and exactly what I needed to read in approach to being a SAG driver this year. Just sent you a quick email when you get a chance.
Thanks for reading. Just responded to your email, enjoy your trip!
Hi Kristen, we are planning a trip, travelling the same direction as you. Where did you park your vehicles (that weren’t SAG), in the Mineral Bottom area? Did you camp the night before you started? If so….near mineral bottom? Do you recall how long the drive was from the end of the ride, back to the vehicles at Mineral Bottom? Thanks for any tips for the night before, and getting back to vehicles the day after. Lara
Hi Lara – there are two parking areas at Mineral Bottom, which you’ll see when you go to reserve a permit. You can choose to park at the top or bottom of Mineral Bottom and I’m sure you could camp there overnight if you want to. It takes about 40 minutes to get from the visitor center back to the car. Hope that helps!
Great post! I walked down into Mineral Bottom from the top one time in college. We decided to launch our rafts… Yes, that hill is a b*tch. Haha. Cool share. Glad you got to bike the White Rim.
This looks really fun, Kristen! Never really gone on a trail for more than a day. This makes me want to plan my first overnight trail in the Canyonlands National Park. I feel like it’s fit for beginners like me who want a challenge. One question though, do you need to schedule ahead of time in the visitor center? I’m excited for this! Thank you very much!
You do need to get permits ahead of time for campsites and they can be snatched up quickly. Check out the “White Rim Trail Permits & Camping” section for more details on how to get a permit. Have a great time!
♥️❤️
Hey Kristen, my husband and I are mountain biking White Rim in October this year (3 nights). Though I’m afraid of heights, I’ve done rim-to-rim in Grand Canyon and lots of other challenging hikes.. I’m also kinda new to mountain biking but have been road biking for 10 years. We’re training — doing 20-30 mile rides — but I’m concerned about the heights + being newish to mountain biking. Is this ride doable for someone like me?
There is some exposure, but nothing on the edge. I don’t like heights and I was never scared or felt unsafe — I did walk my bike up and down a couple of the steeper sections but the road is wide enough for a truck, so it’s not super exposed. This feels like a cross between mountain biking and road biking since you’re biking on rocky gravel. Enjoy your trip!