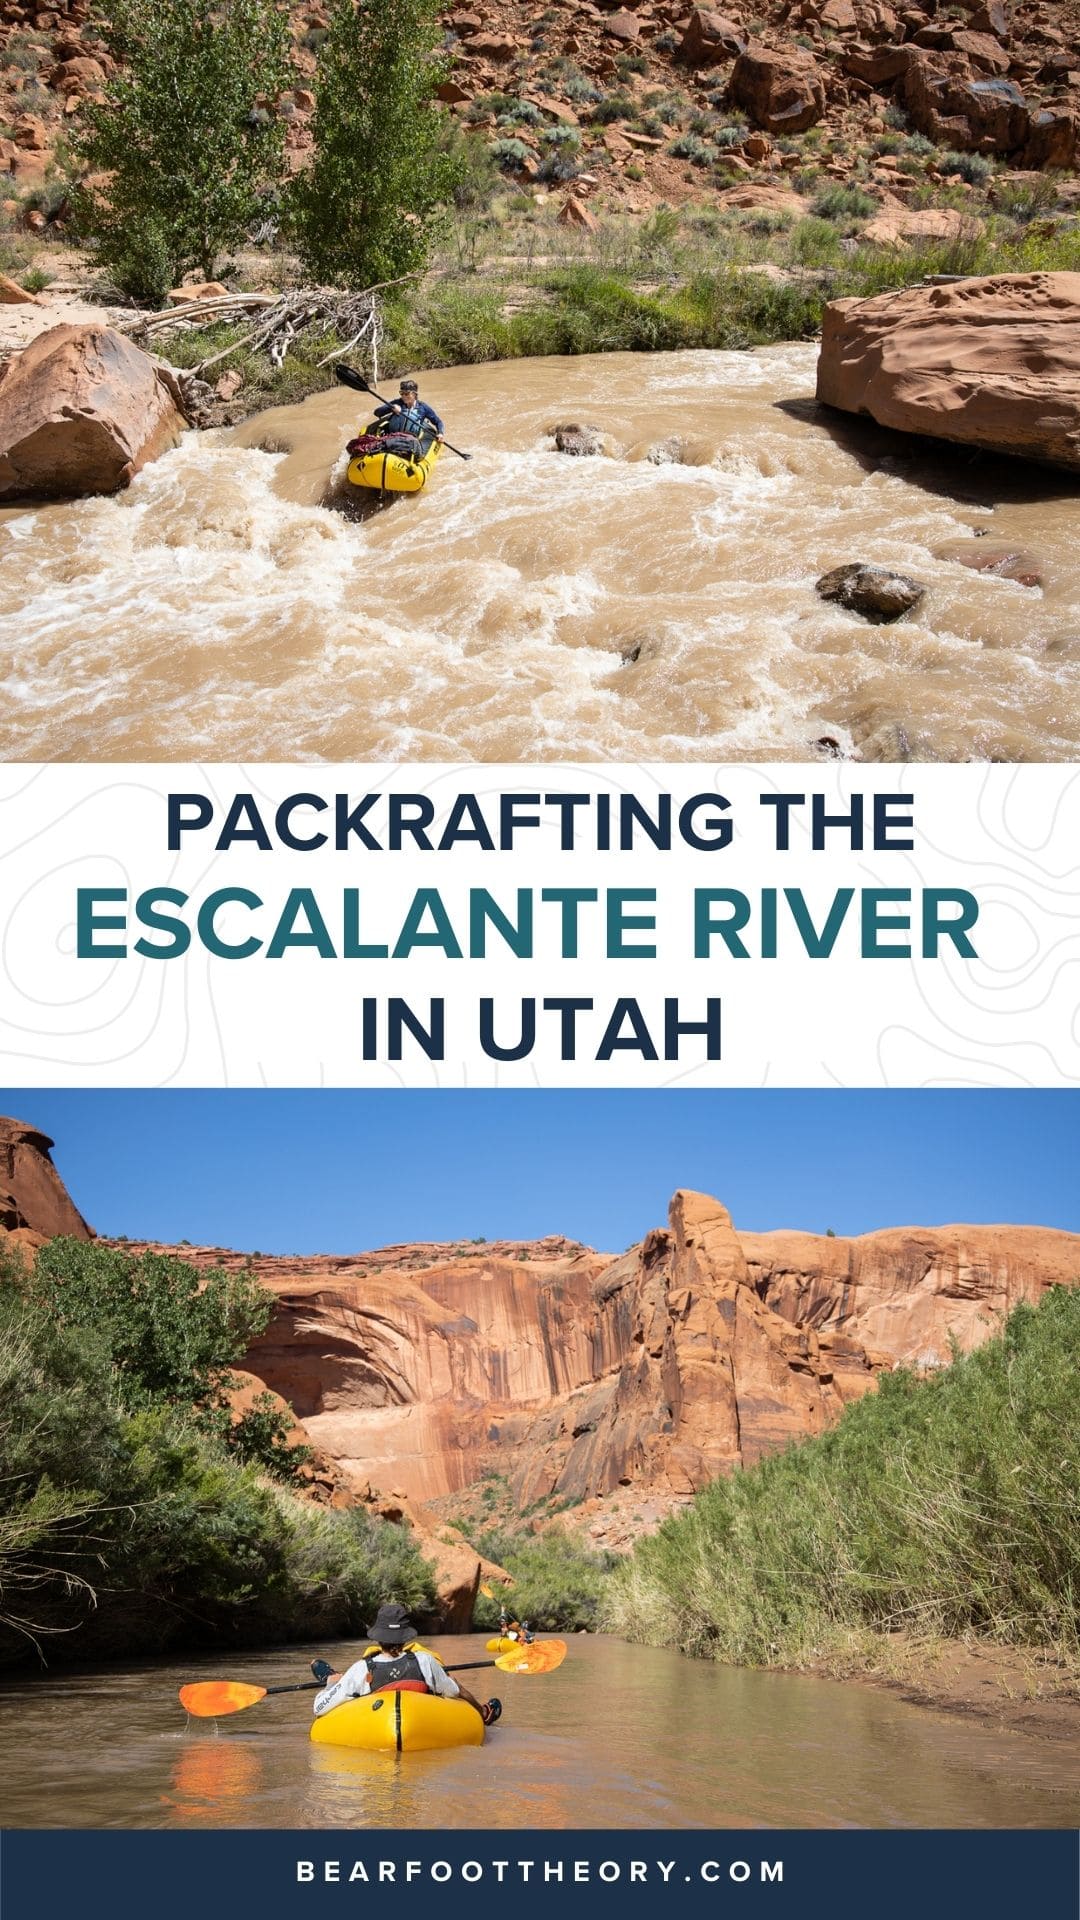
12 Must-Know Tips for Packrafting the Escalante River
Packrafting the Escalante River in Utah requires serious planning. Get prepared for this multiday rafting and backpacking trip with these 12 essential tips.
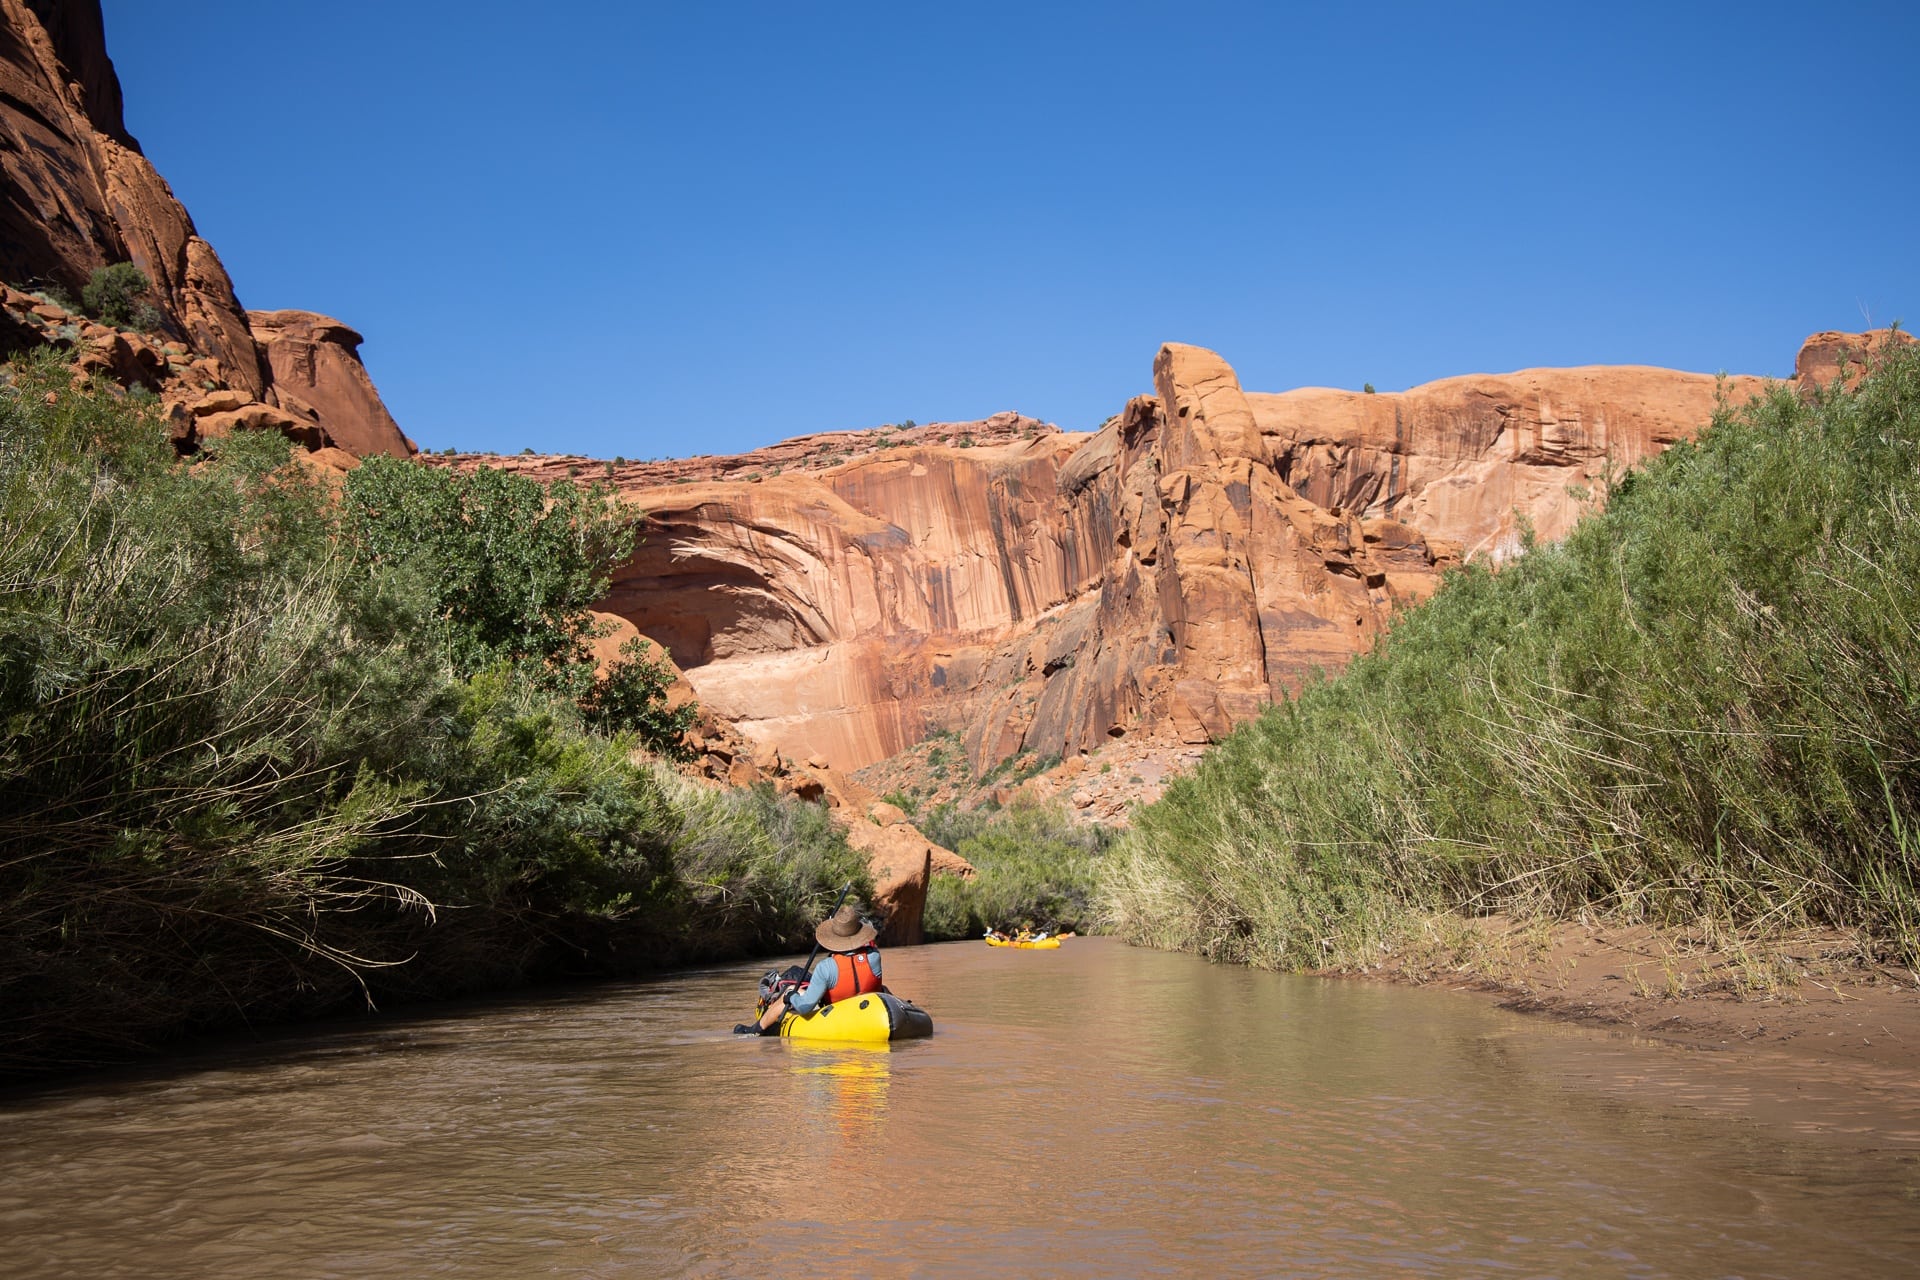
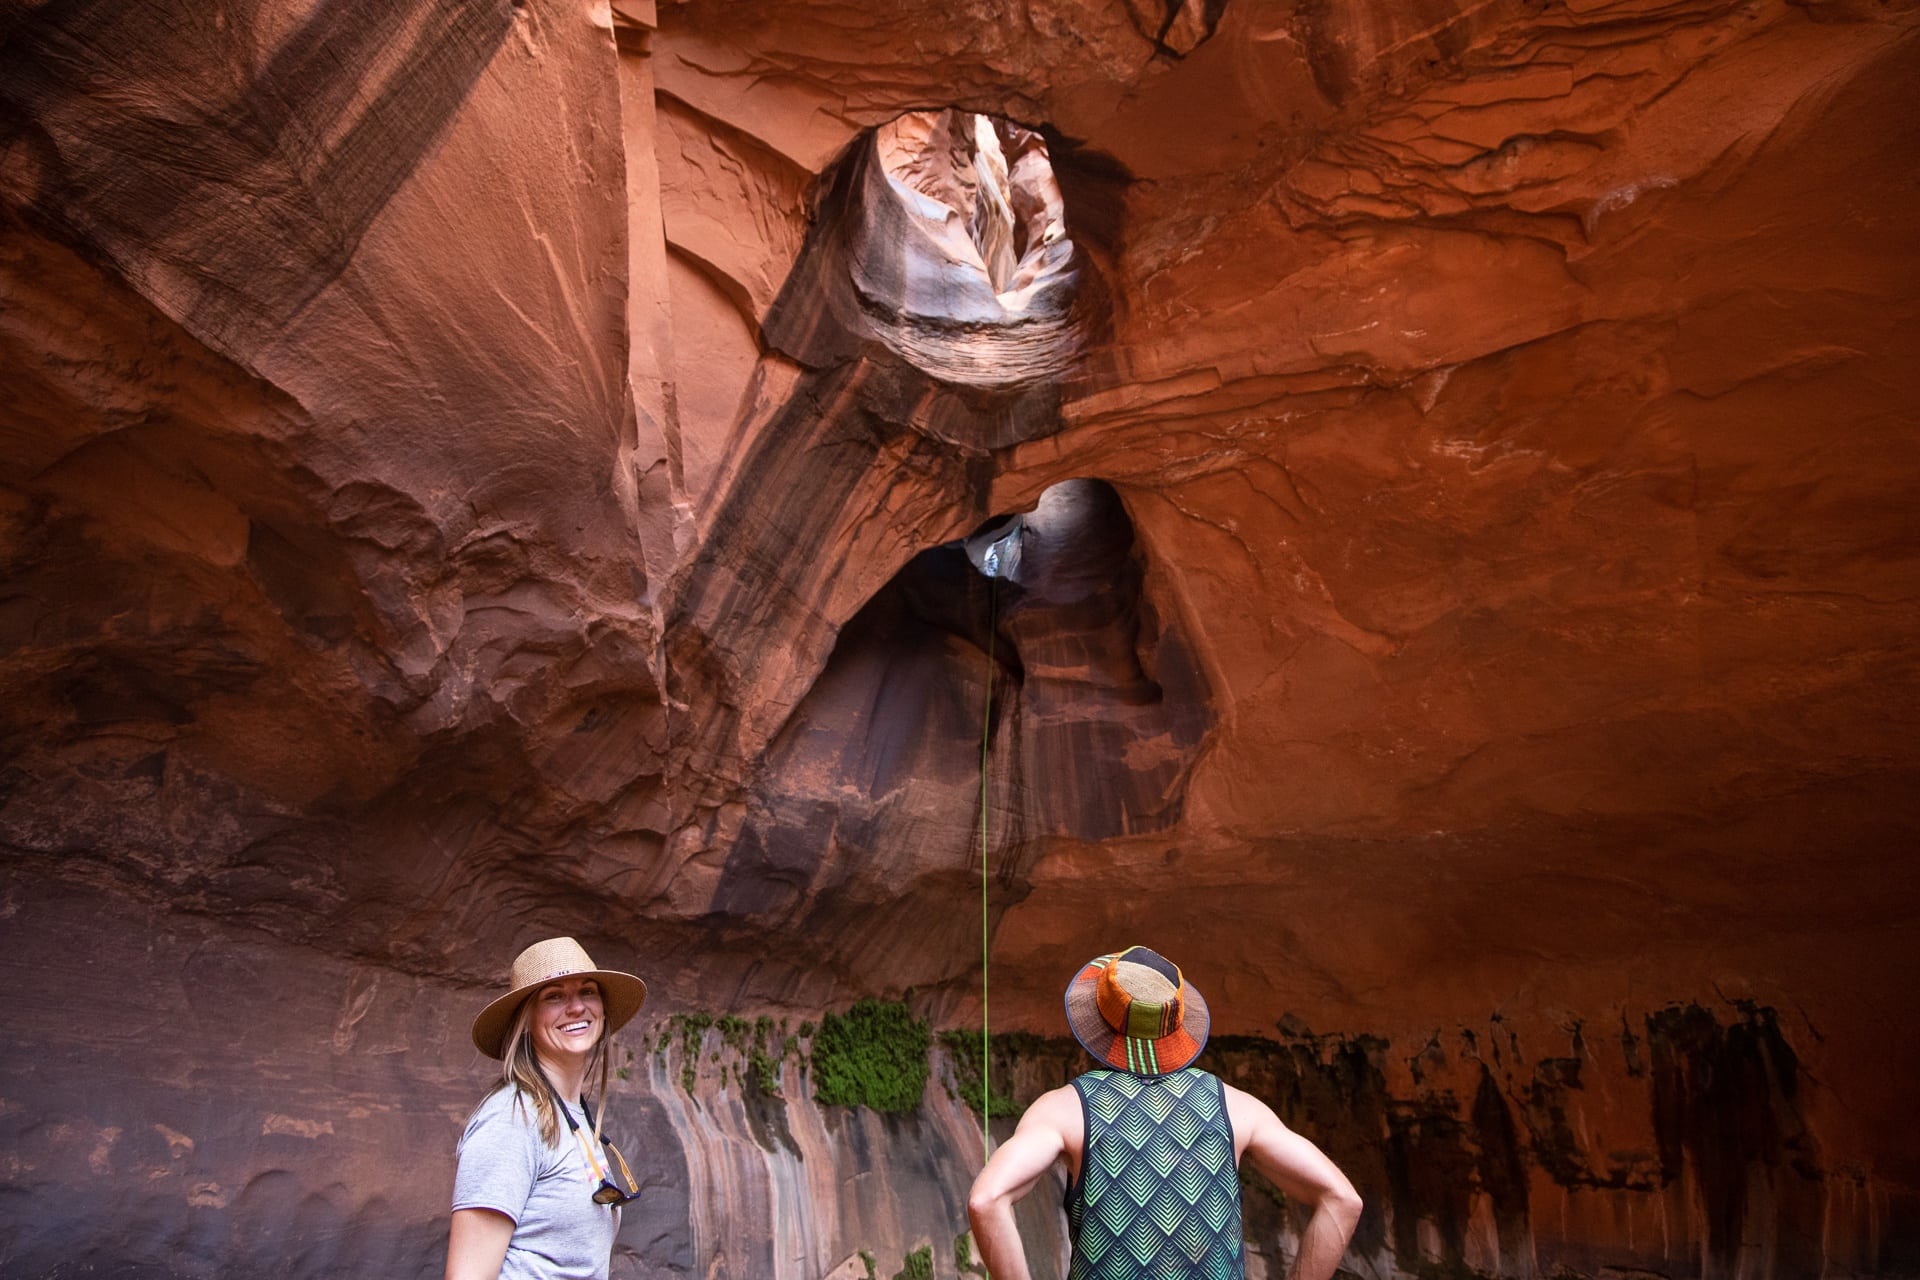
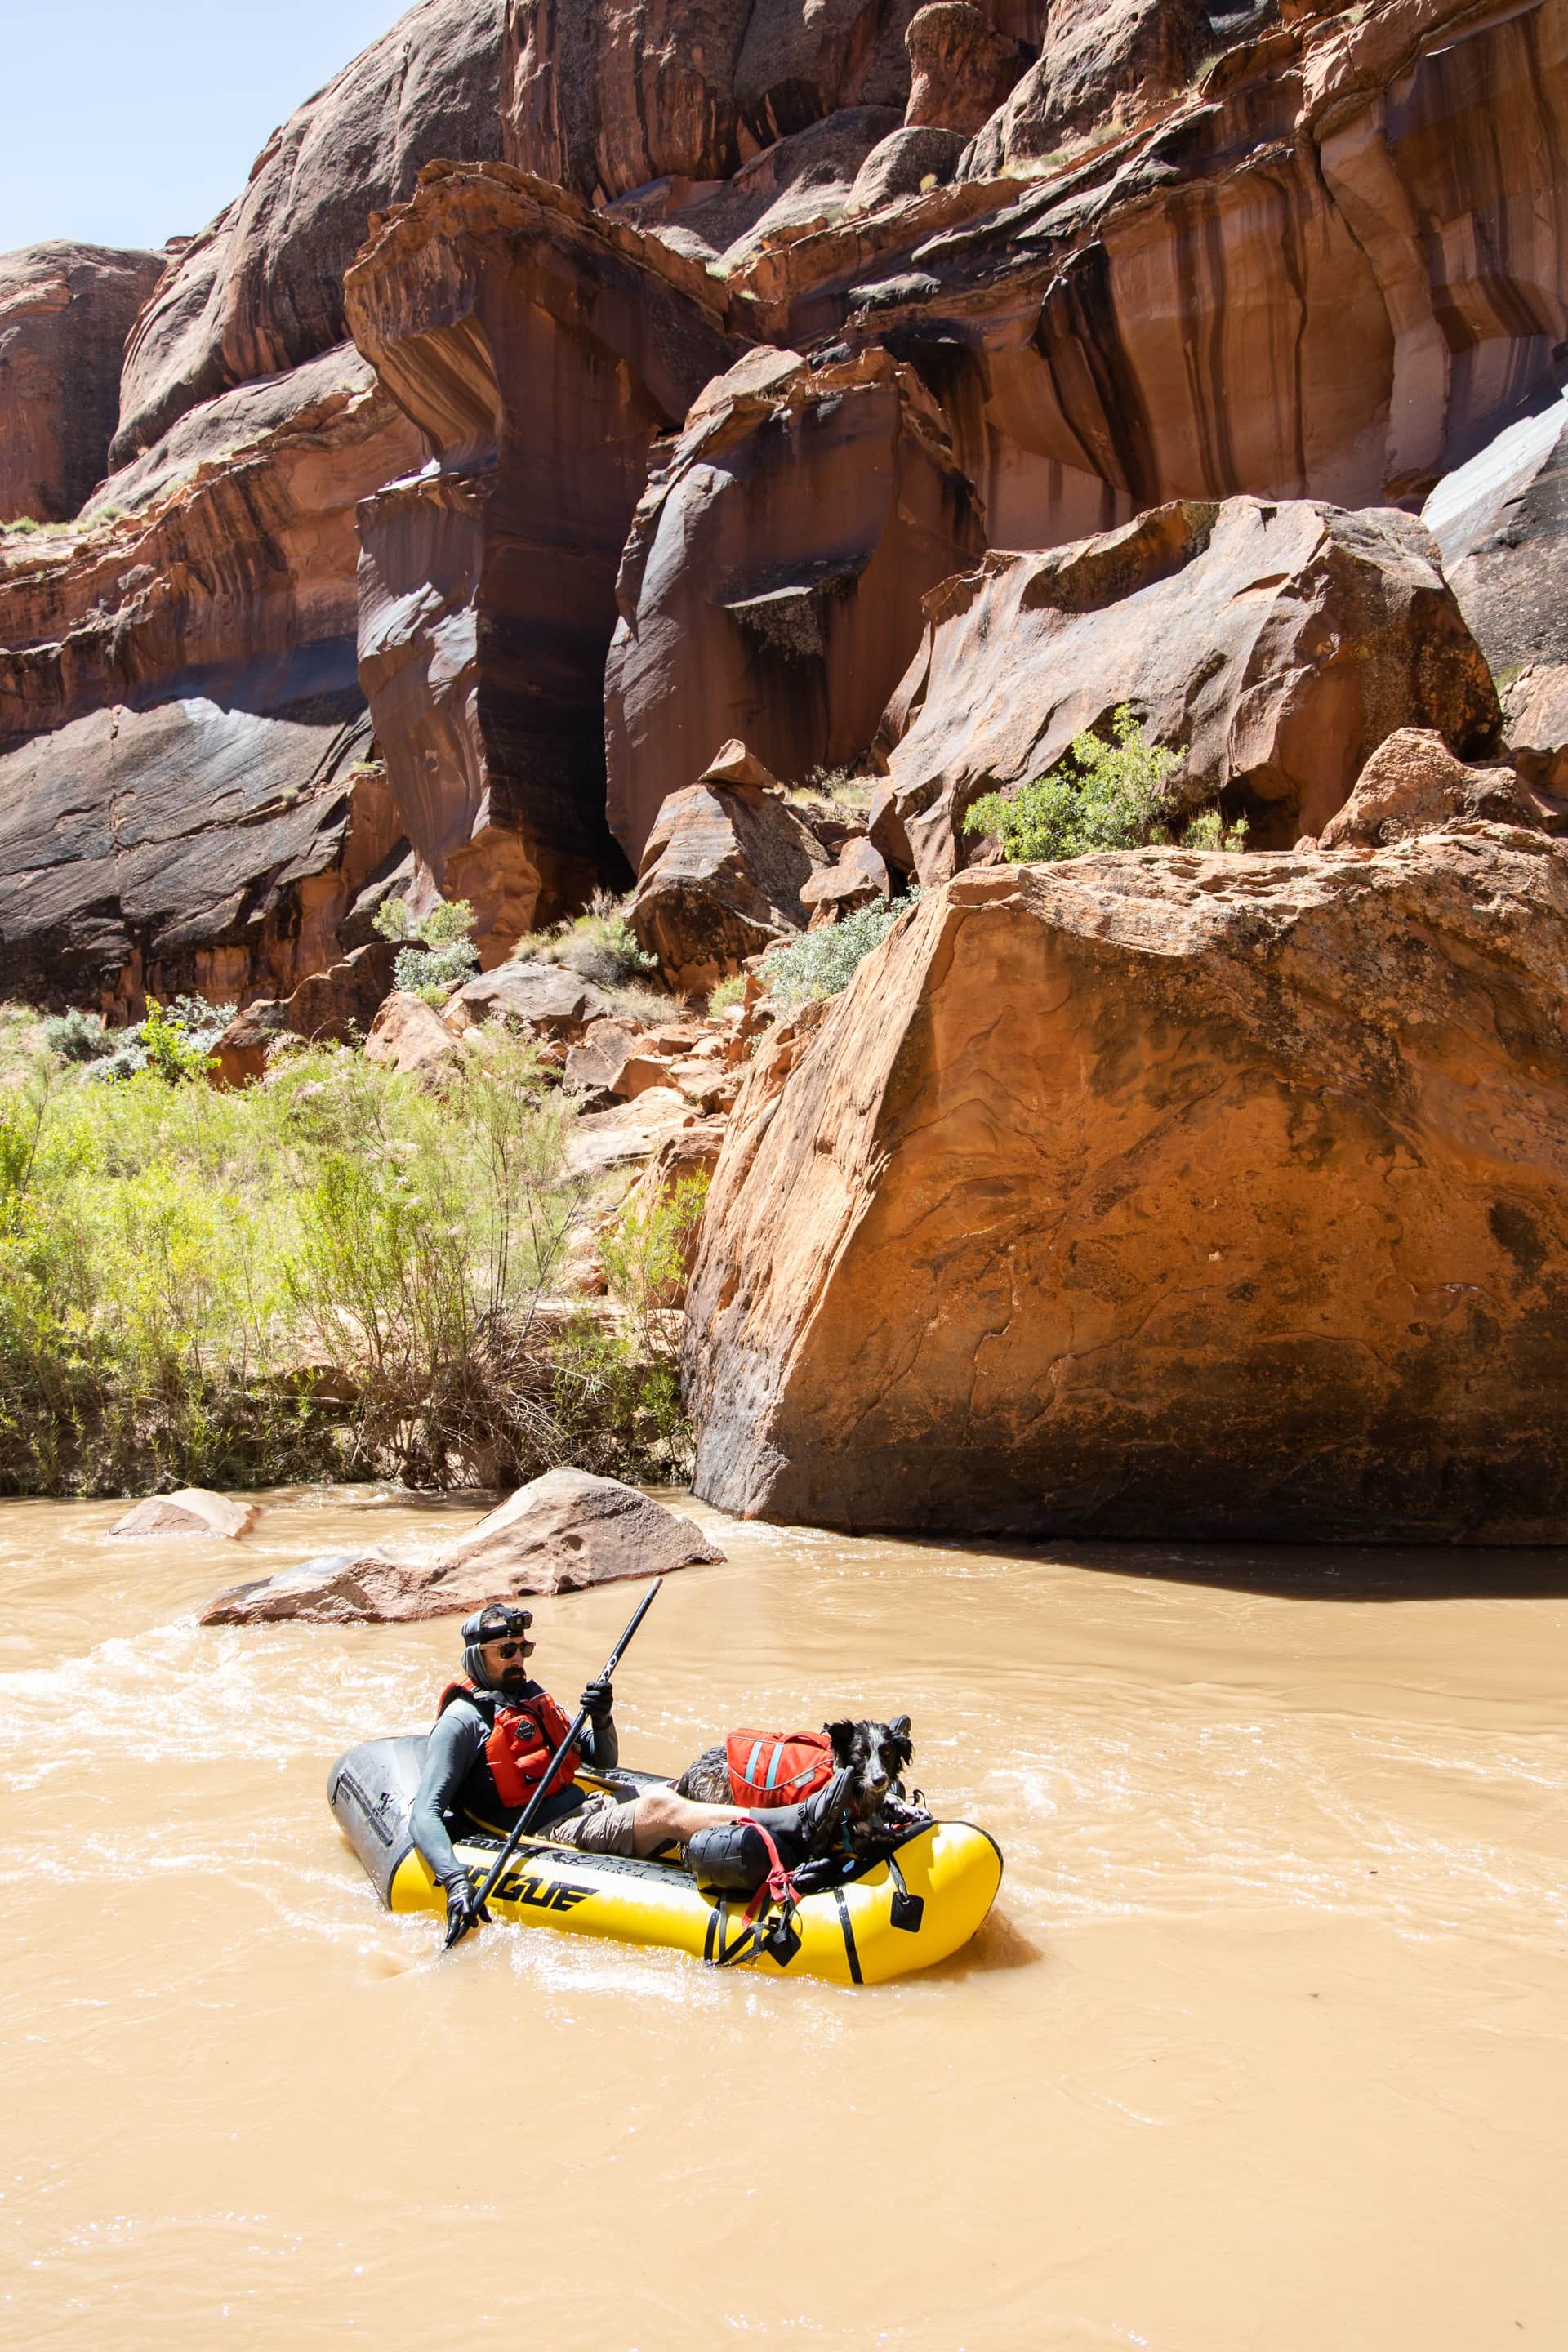
In June 2019, three friends and I set off on a 5-day trip packrafting the Escalante River through Grand Staircase-Escalante National Monument. We hiked 5 miles in, floated 40 miles from Fence Canyon to Crack in the Wall, and hiked 5 miles out (and only saw 5 other people the entire time).
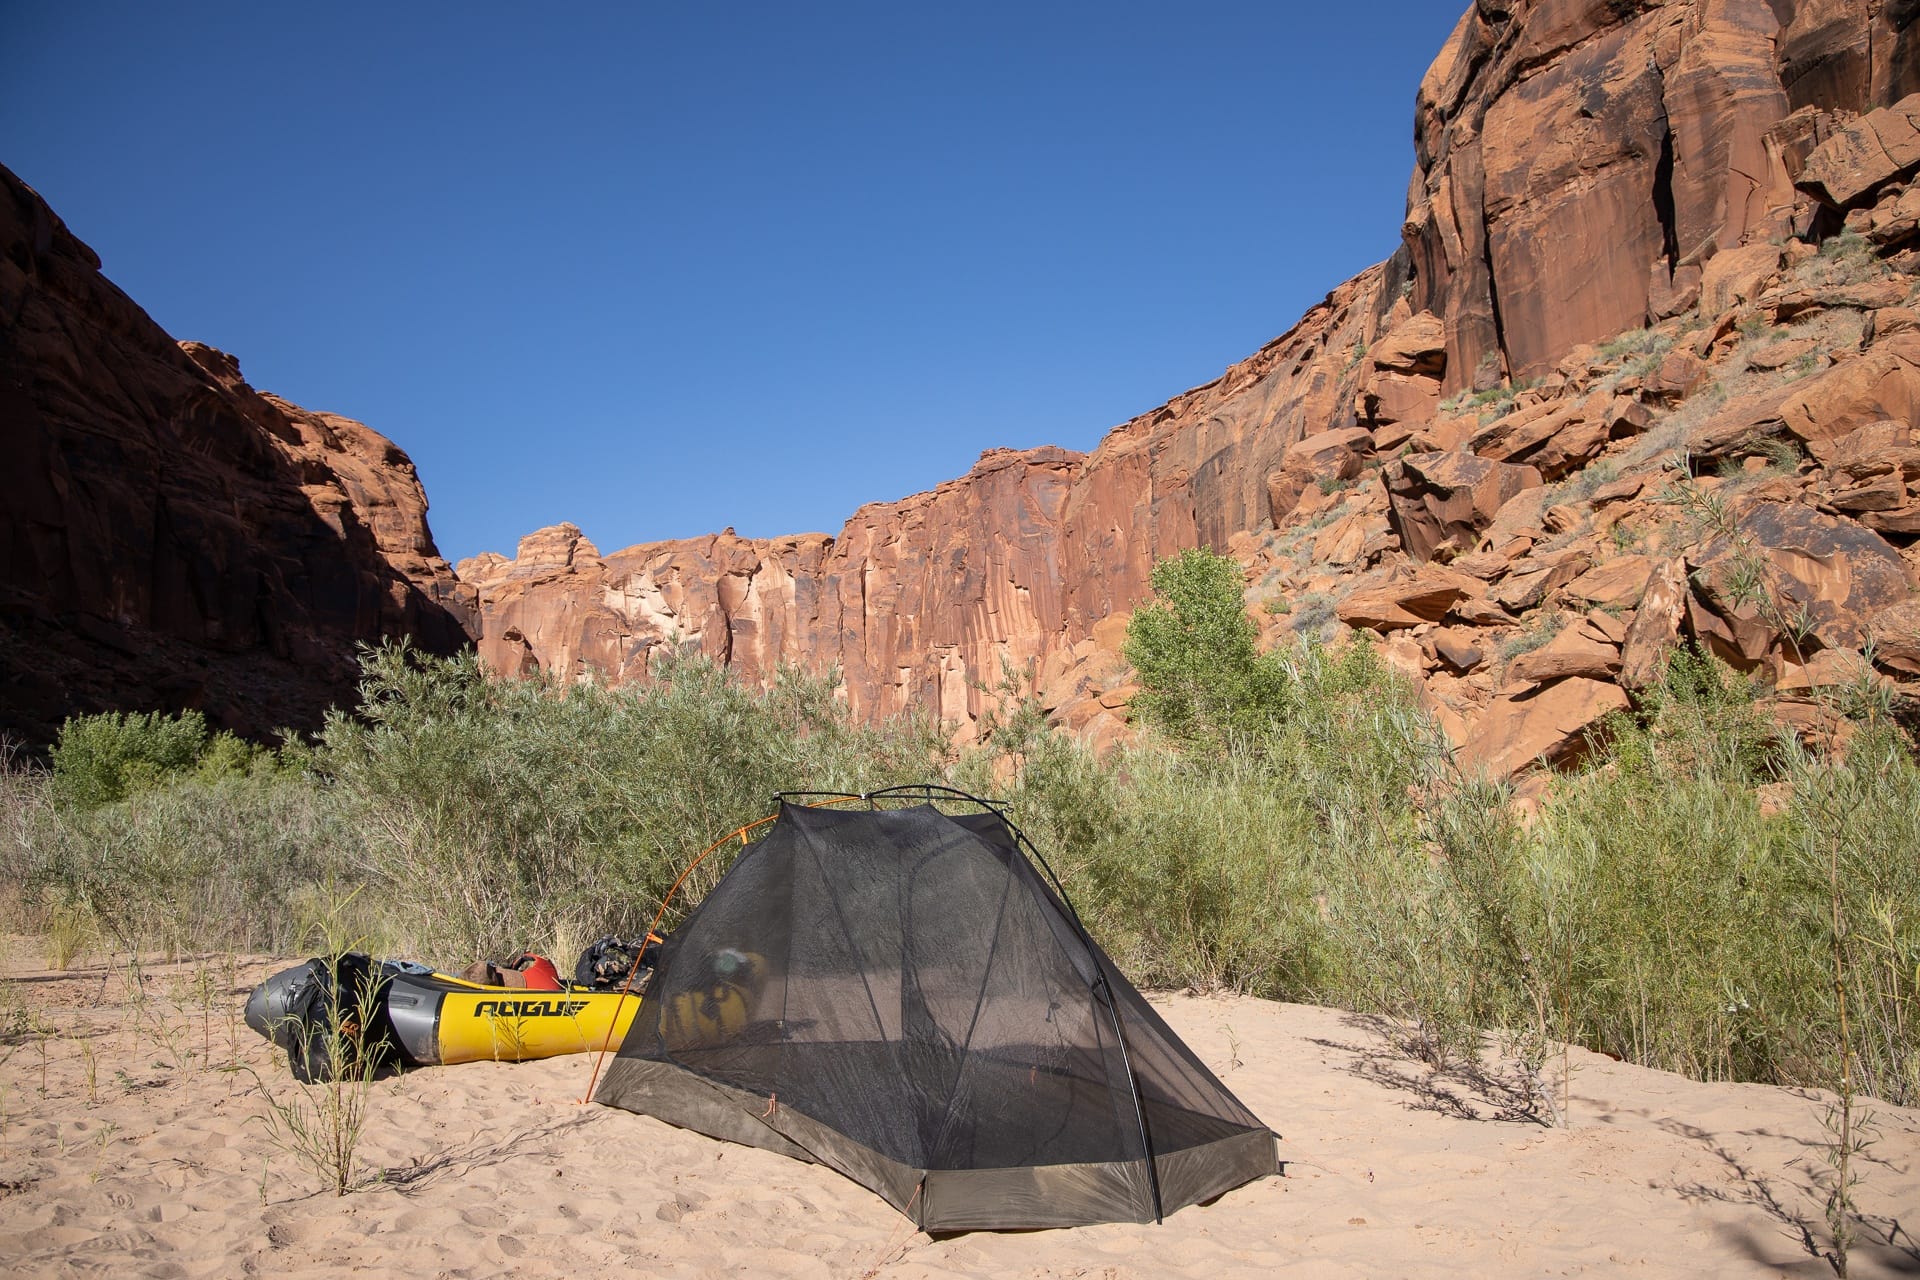
We were surrounded by huge desert walls, camped on pristine beaches, hiked up incredible side canyons, and navigated some fun and technical sections of river. It was hands-down one of my favorite multi-day adventures I’ve ever been on.
Packrafting the Escalante River is a trip that requires a lot of research, preparation, and the right gear. I found some other trip reports online with pretty photos, but as we were getting ready, I had trouble finding important logistical info.
In this blog post, I share 12 important tips that anyone packrafting the Escalante River should know.
Important Reminder: As outdoor recreationists, it’s our responsibility to know how to recreate responsibly on the water whether we’re kayaking, paddleboarding, canoeing, rafting, or boating. Learn how to prevent the spread of aquatic invasive species with 3 easy steps that have a huge impact on our ecosystems.
This post may contain affiliate links.
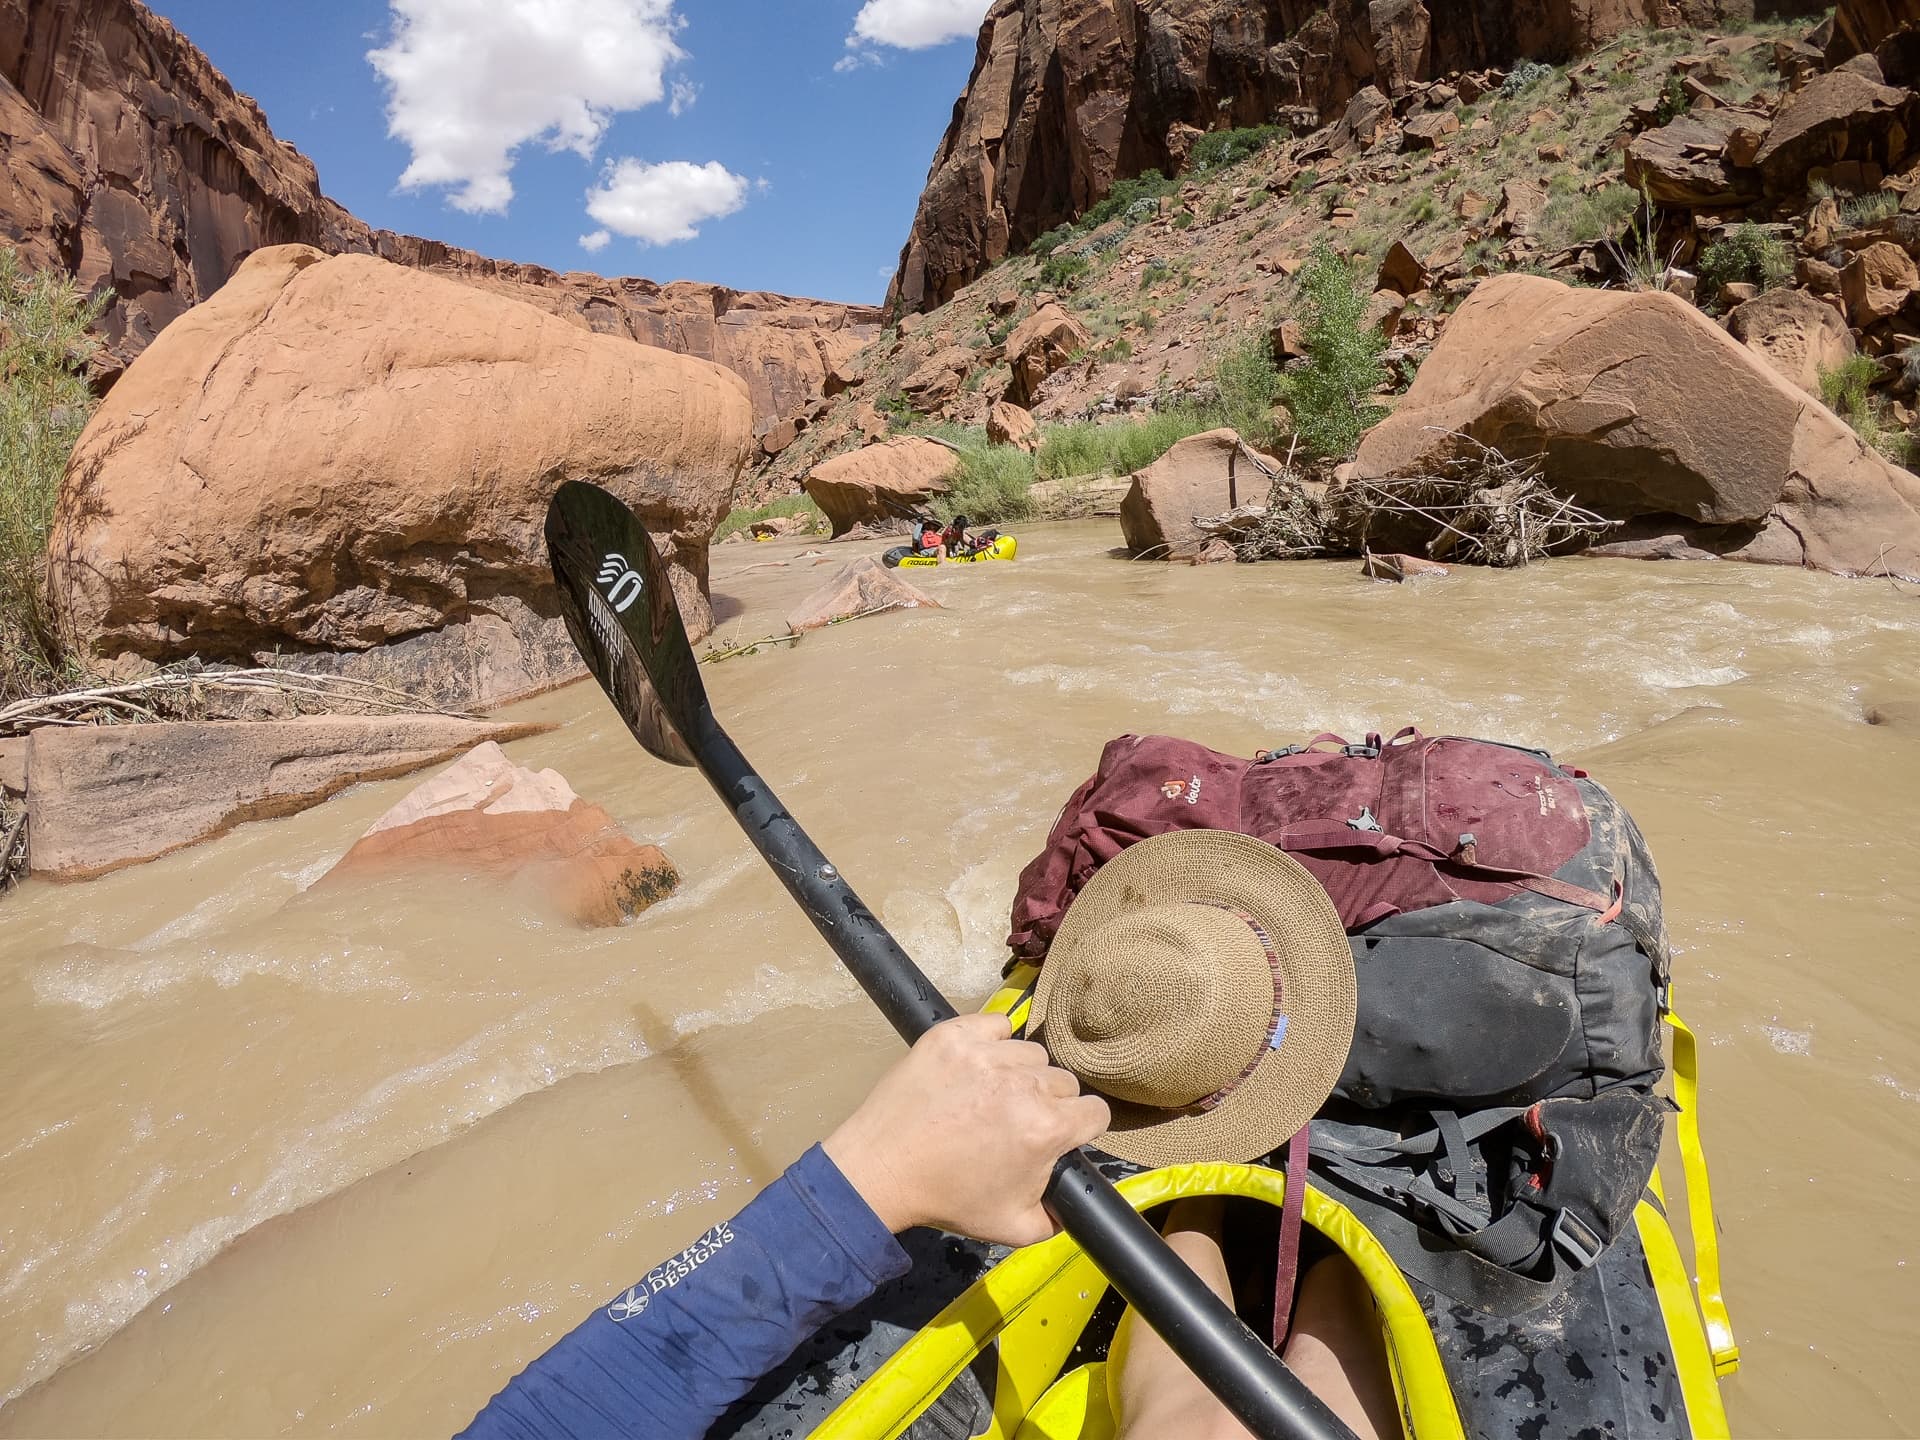
1. Know this is NOT a beginner river
The Escalante River is gaining in popularity, and the Instagram posts you see may have you believe that this is a booze cruise. That couldn’t be further from the truth.
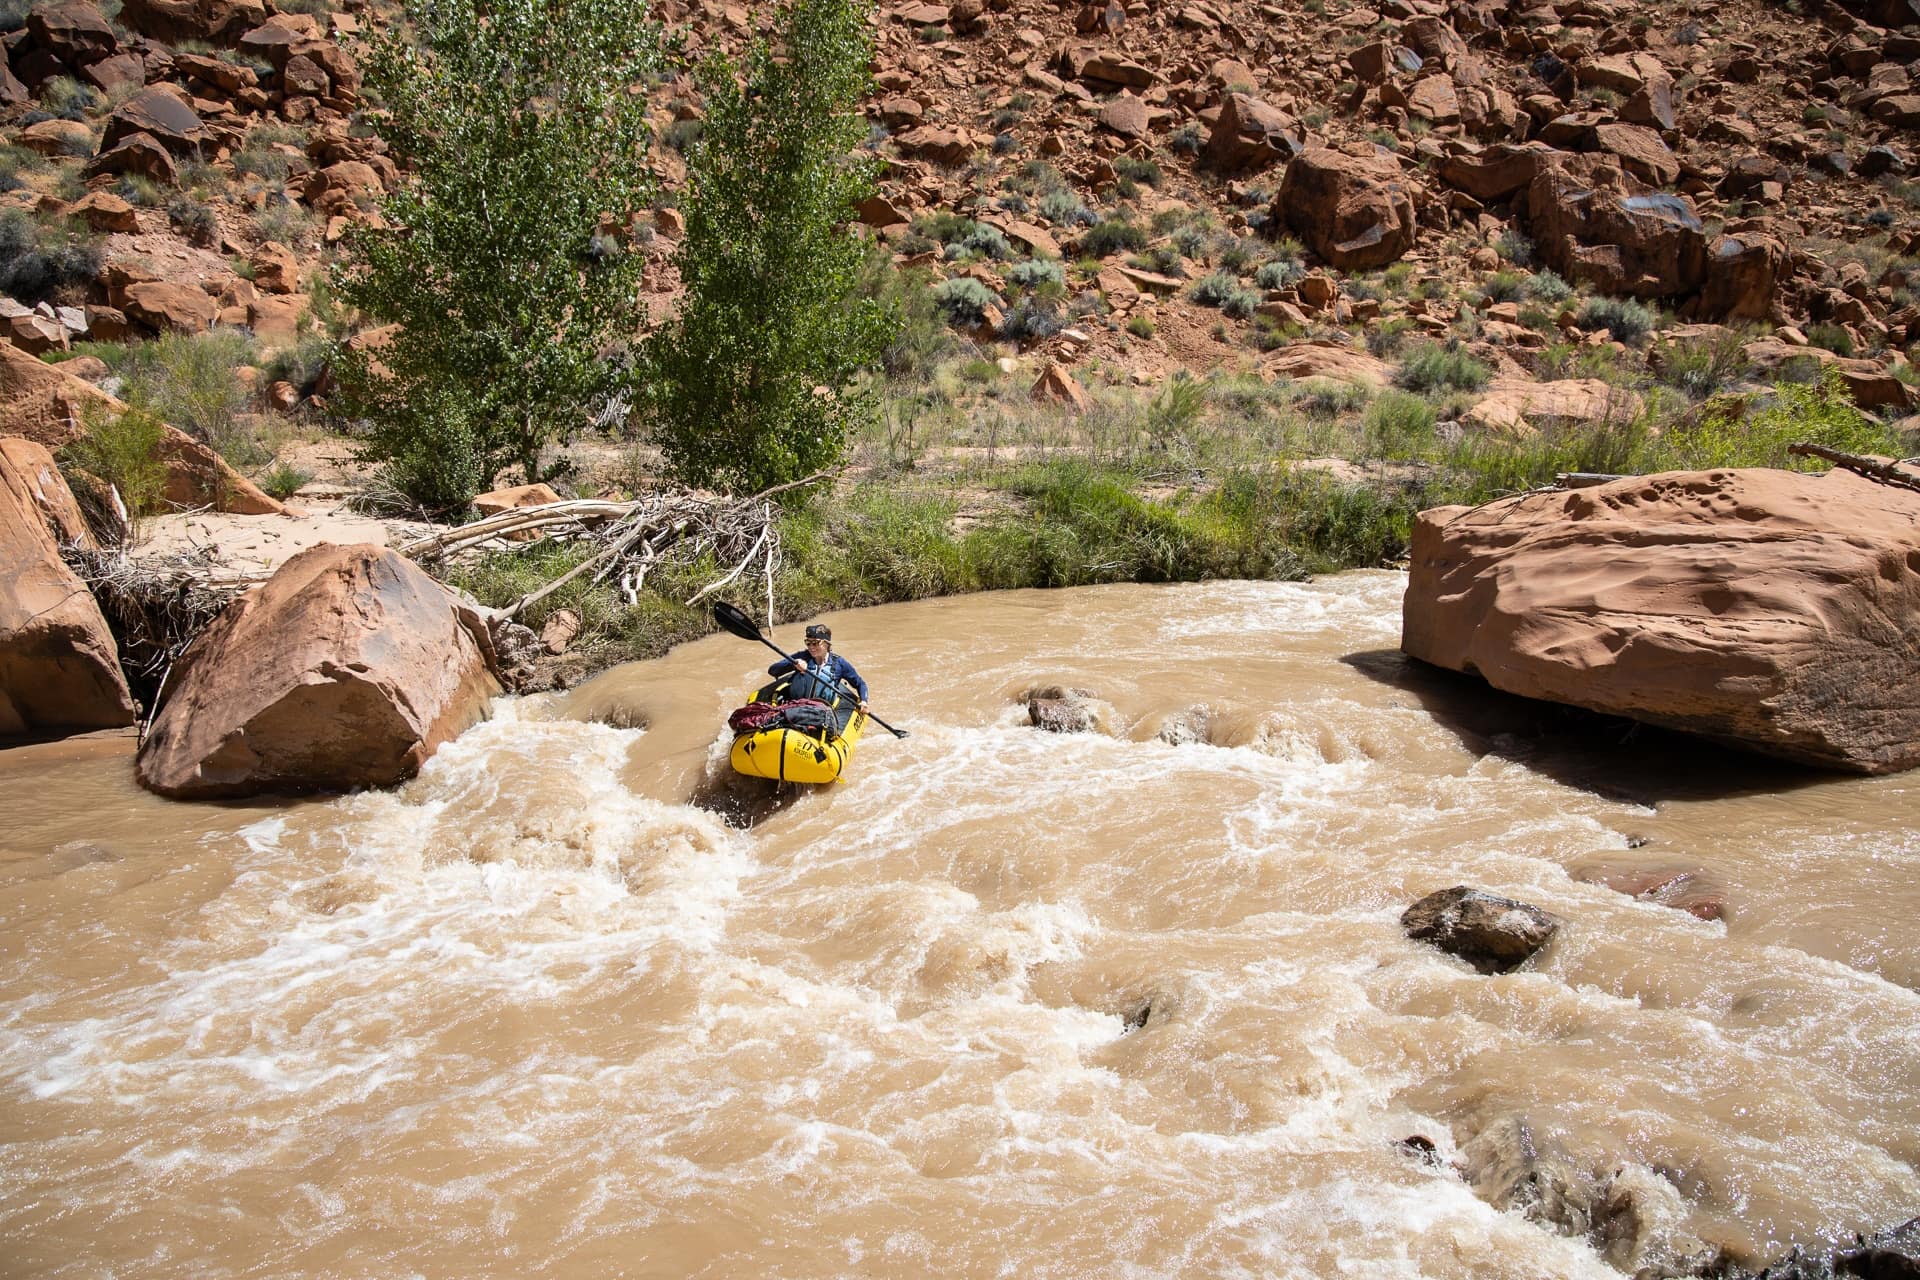
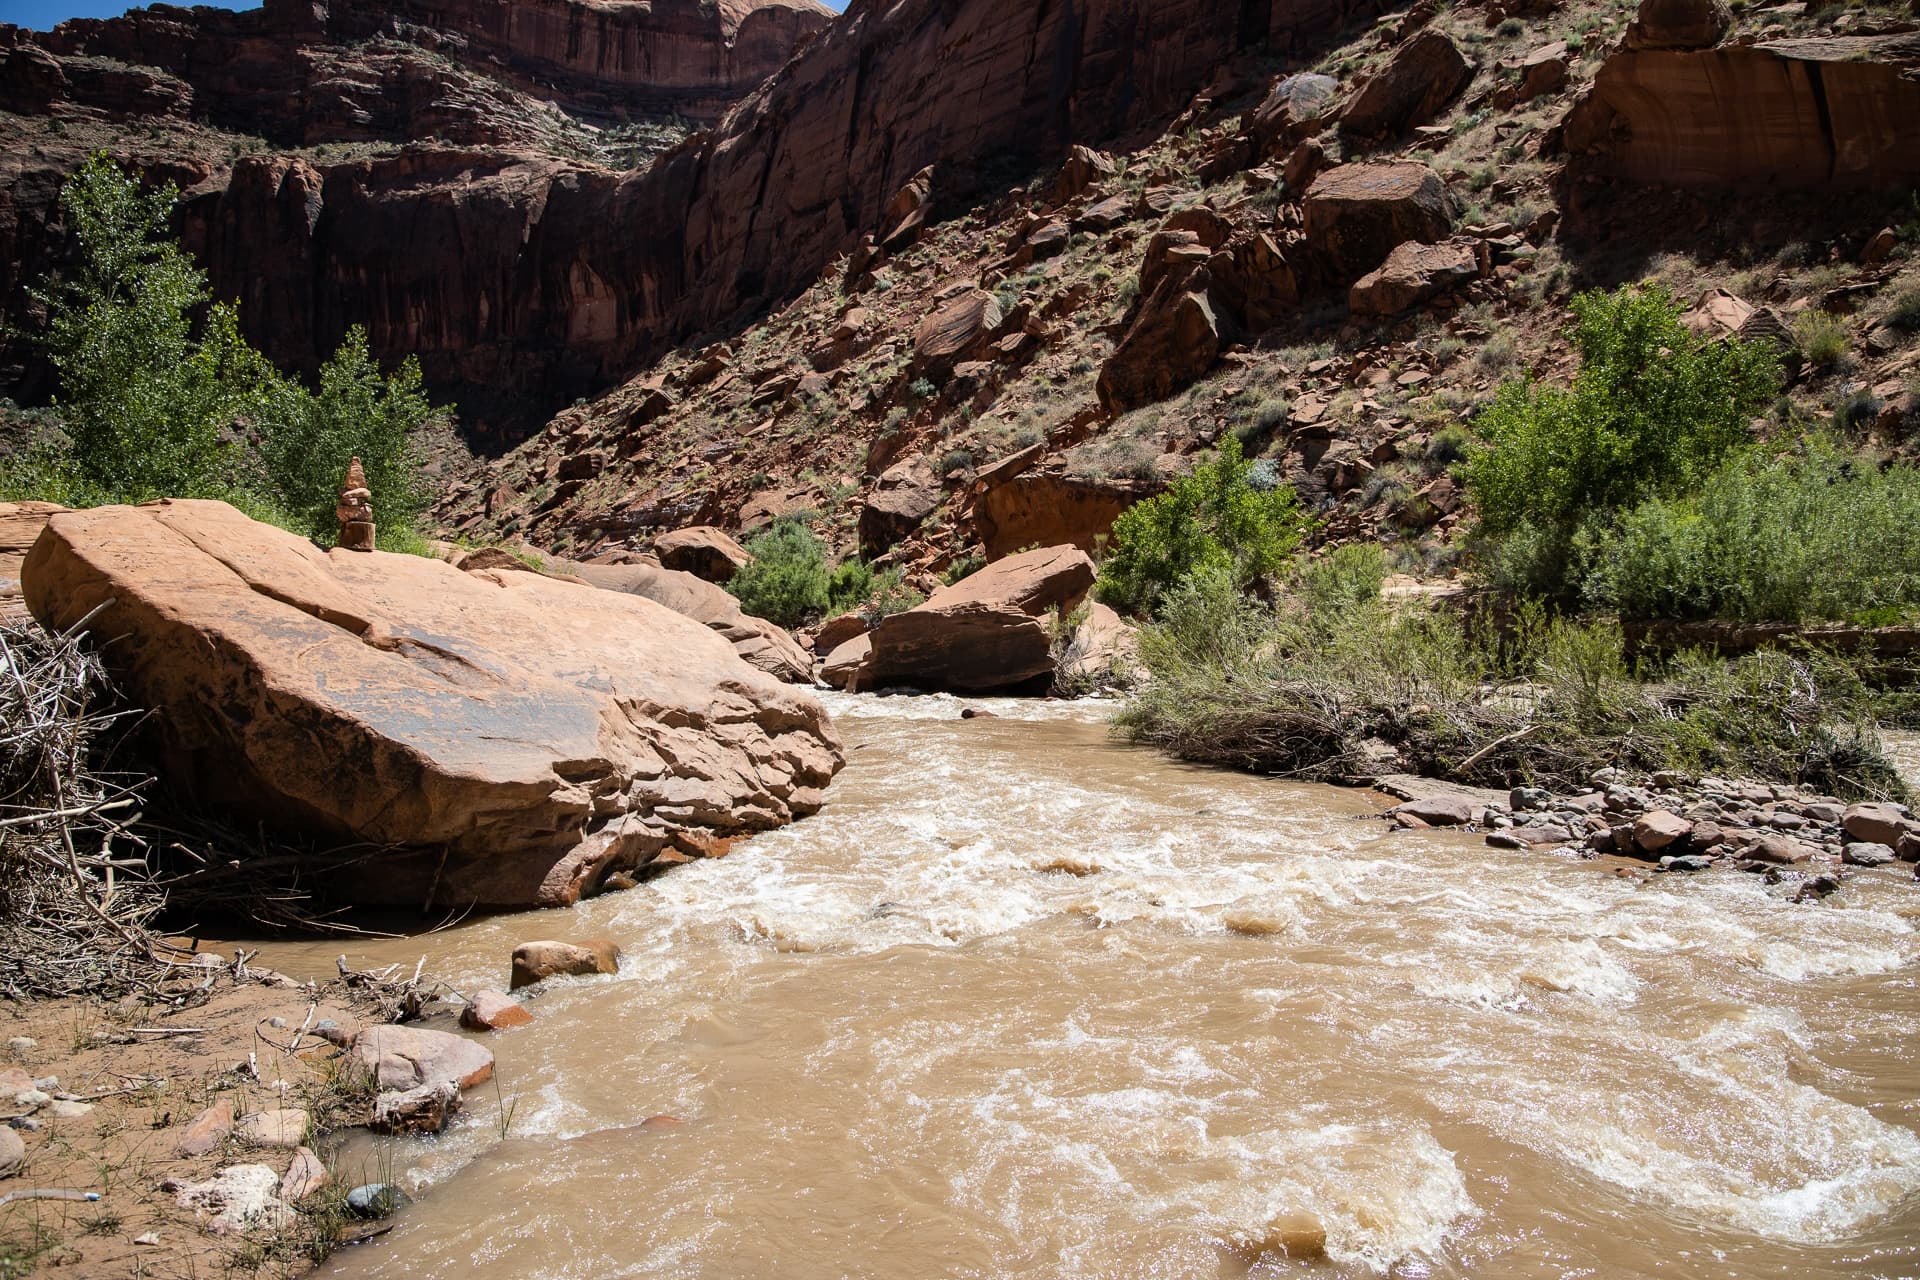
The Escalante River, especially from miles 50-75, ended up being quite a bit more technical than we expected with constant dodging and maneuvering.
While this was our first overnight packrafting trip, both Ryan and I have experience paddling kayaks, and I have personally spent more than 7 weeks on rafting trips. During that time, I developed a decent ability to read a river.
If you are going to packraft the Escalante River, you should be able to identify submerged rocks, predict where the current will take you, and be a confident paddler. In addition, you need to have a healthy amount of backcountry experience, navigation skills, problem-solving abilities, and a deep understanding of Leave No Trace and how your actions impact the delicate desert environment.
Save this post!
Enter your email & I'll send this post to your inbox! You'll also receive my weekly newsletter full of helpful advice for planning your adventures.
2. Know the specifics of Leave No Trace in the desert
First, you do need a wilderness permit for packrafting the Escalante River, but as of 2019, that simply means going to the visitors center in town and letting the rangers know your plans. During that time, they will go over some of the requirements as far as Leave No Trace.
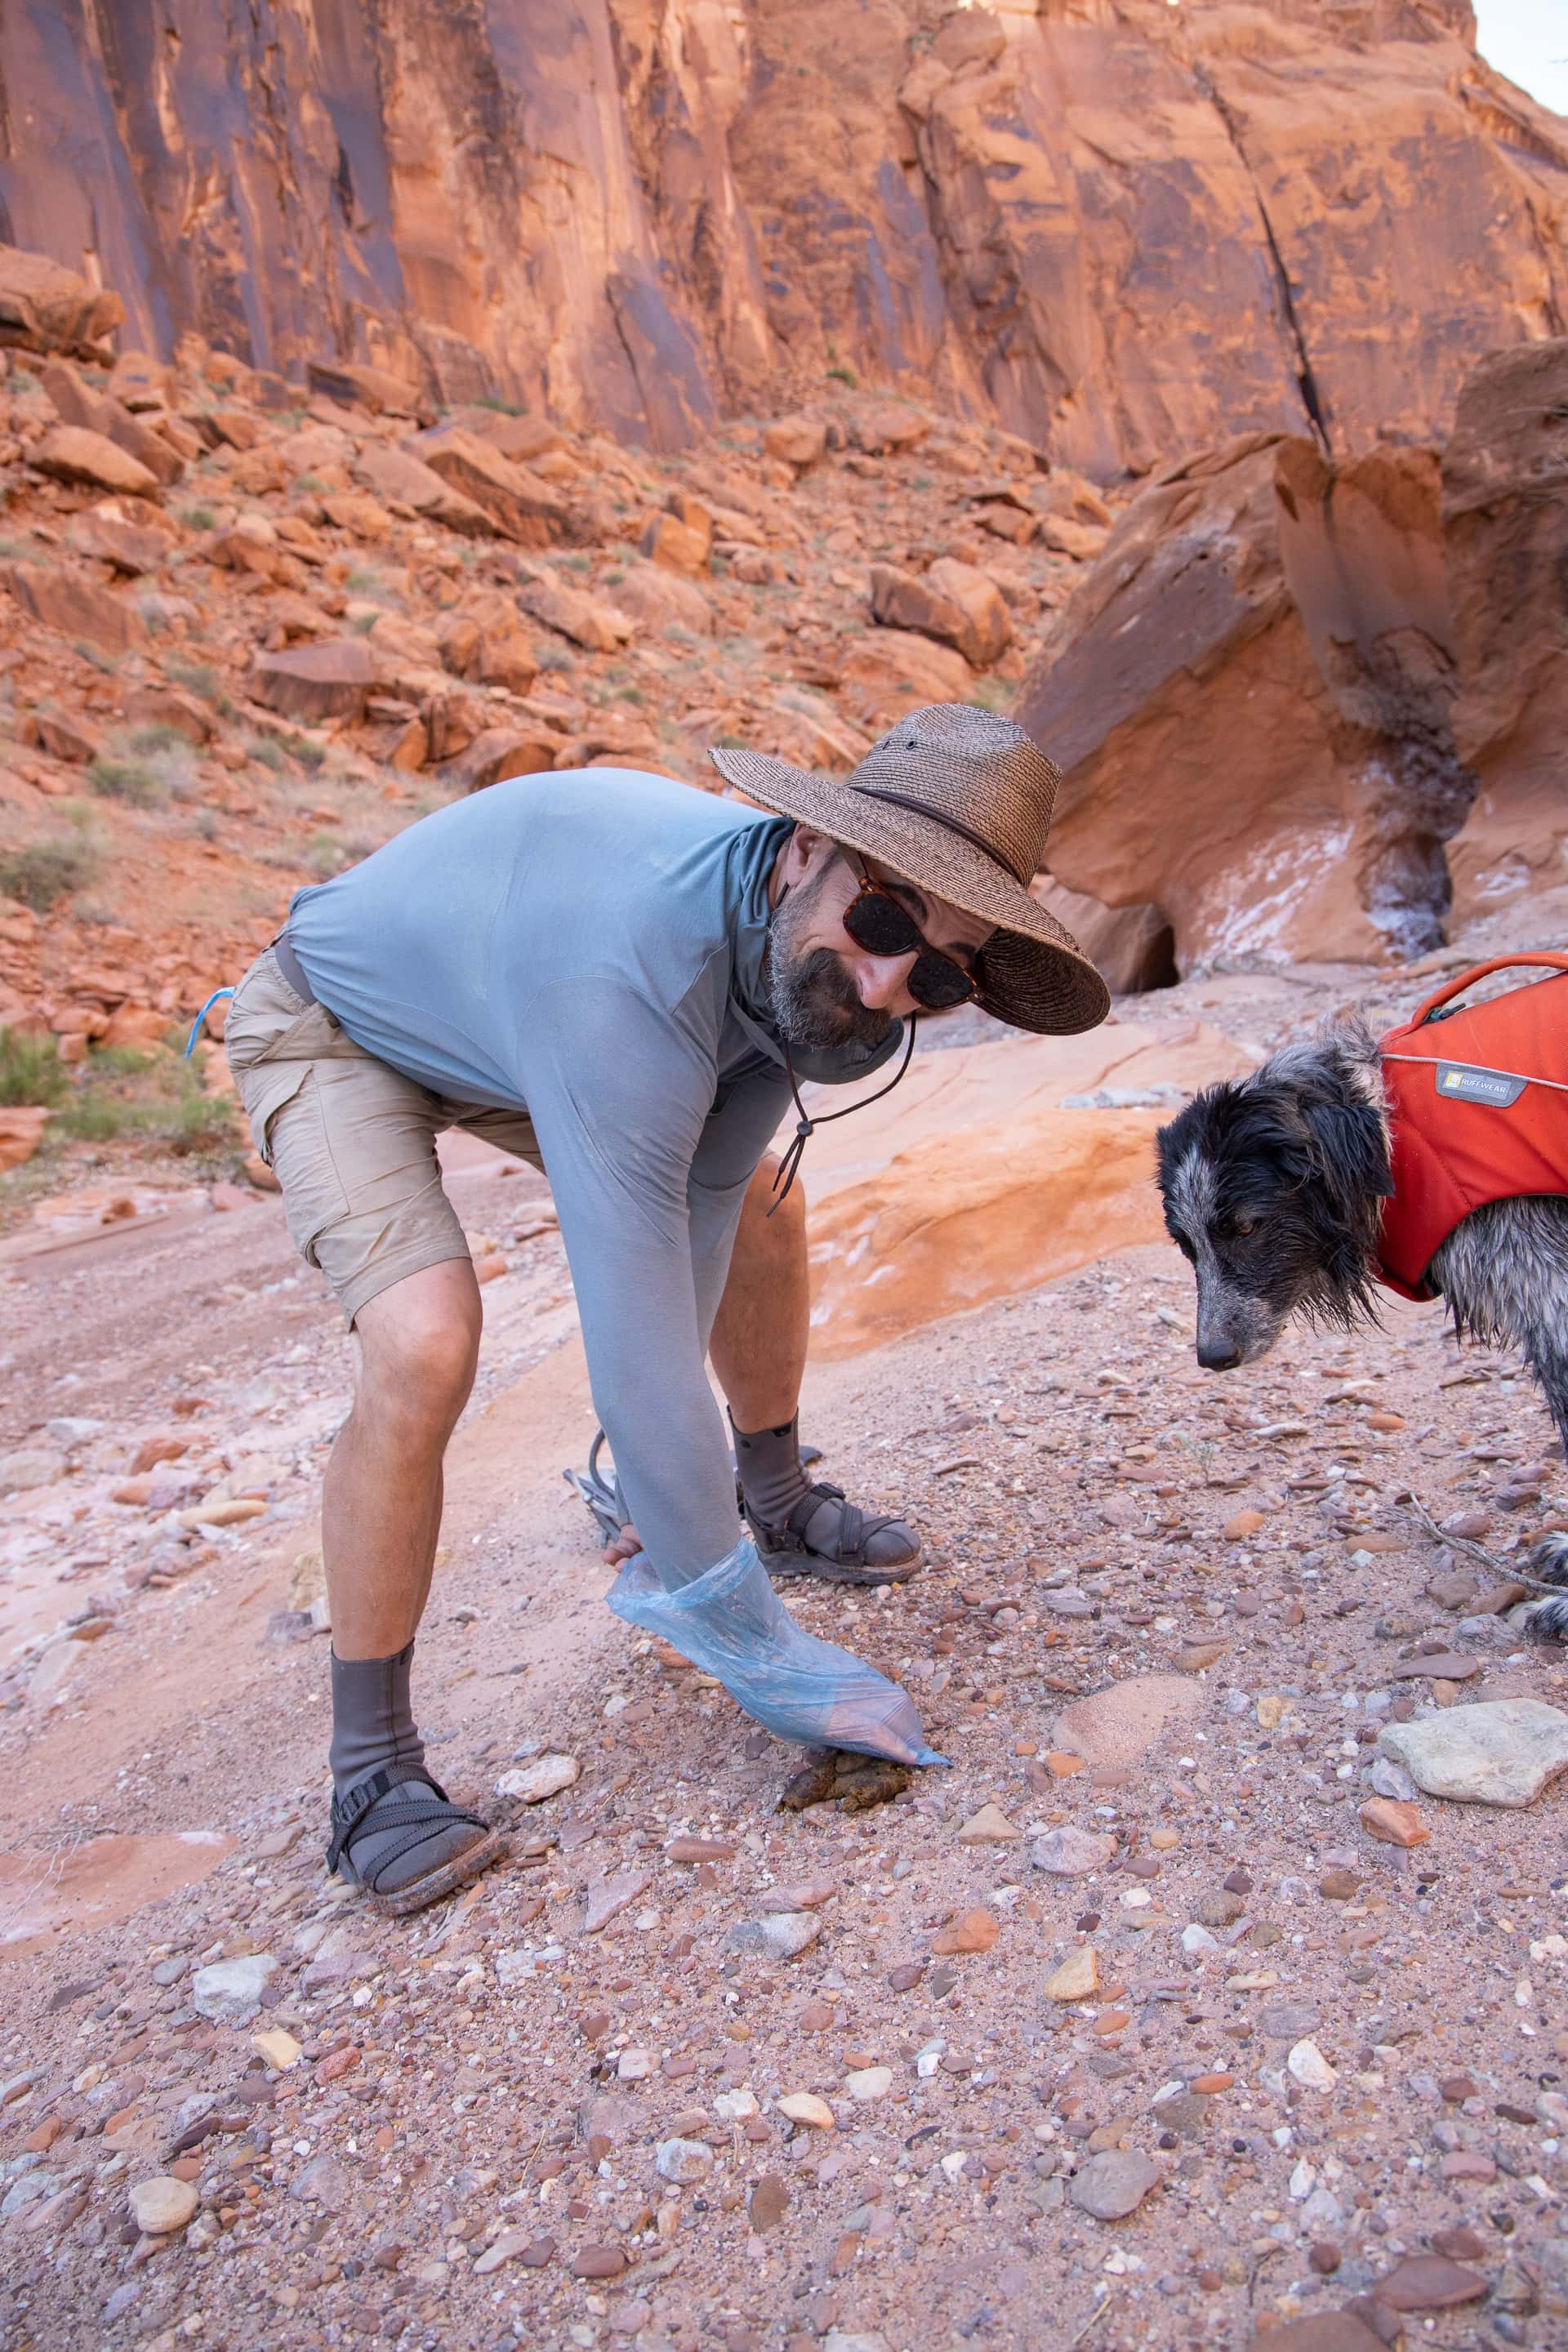
Leave No Trace in the desert is a bit different than a mountain environment. On the Escalante, regulations require that all poop be packed out in wag bags (more on that later).
In the mountains, Leave No Trace says to go pee at least 200 feet from rivers and lakes. On the Escalante River, rangers told us to pee right in the river. This is because the area receives very little rainfall, so if everyone pees on shore, the pee just dries up on the surface and doesn’t get washed away.
Campfires are NOT permitted. Campfires can leave the campsites and beaches scoured. Plus there is not a lot of wood in the river corridor. Luckily we only saw evidence of one illegal fire pit on the river. Please follow the rules and don’t have a campfire.
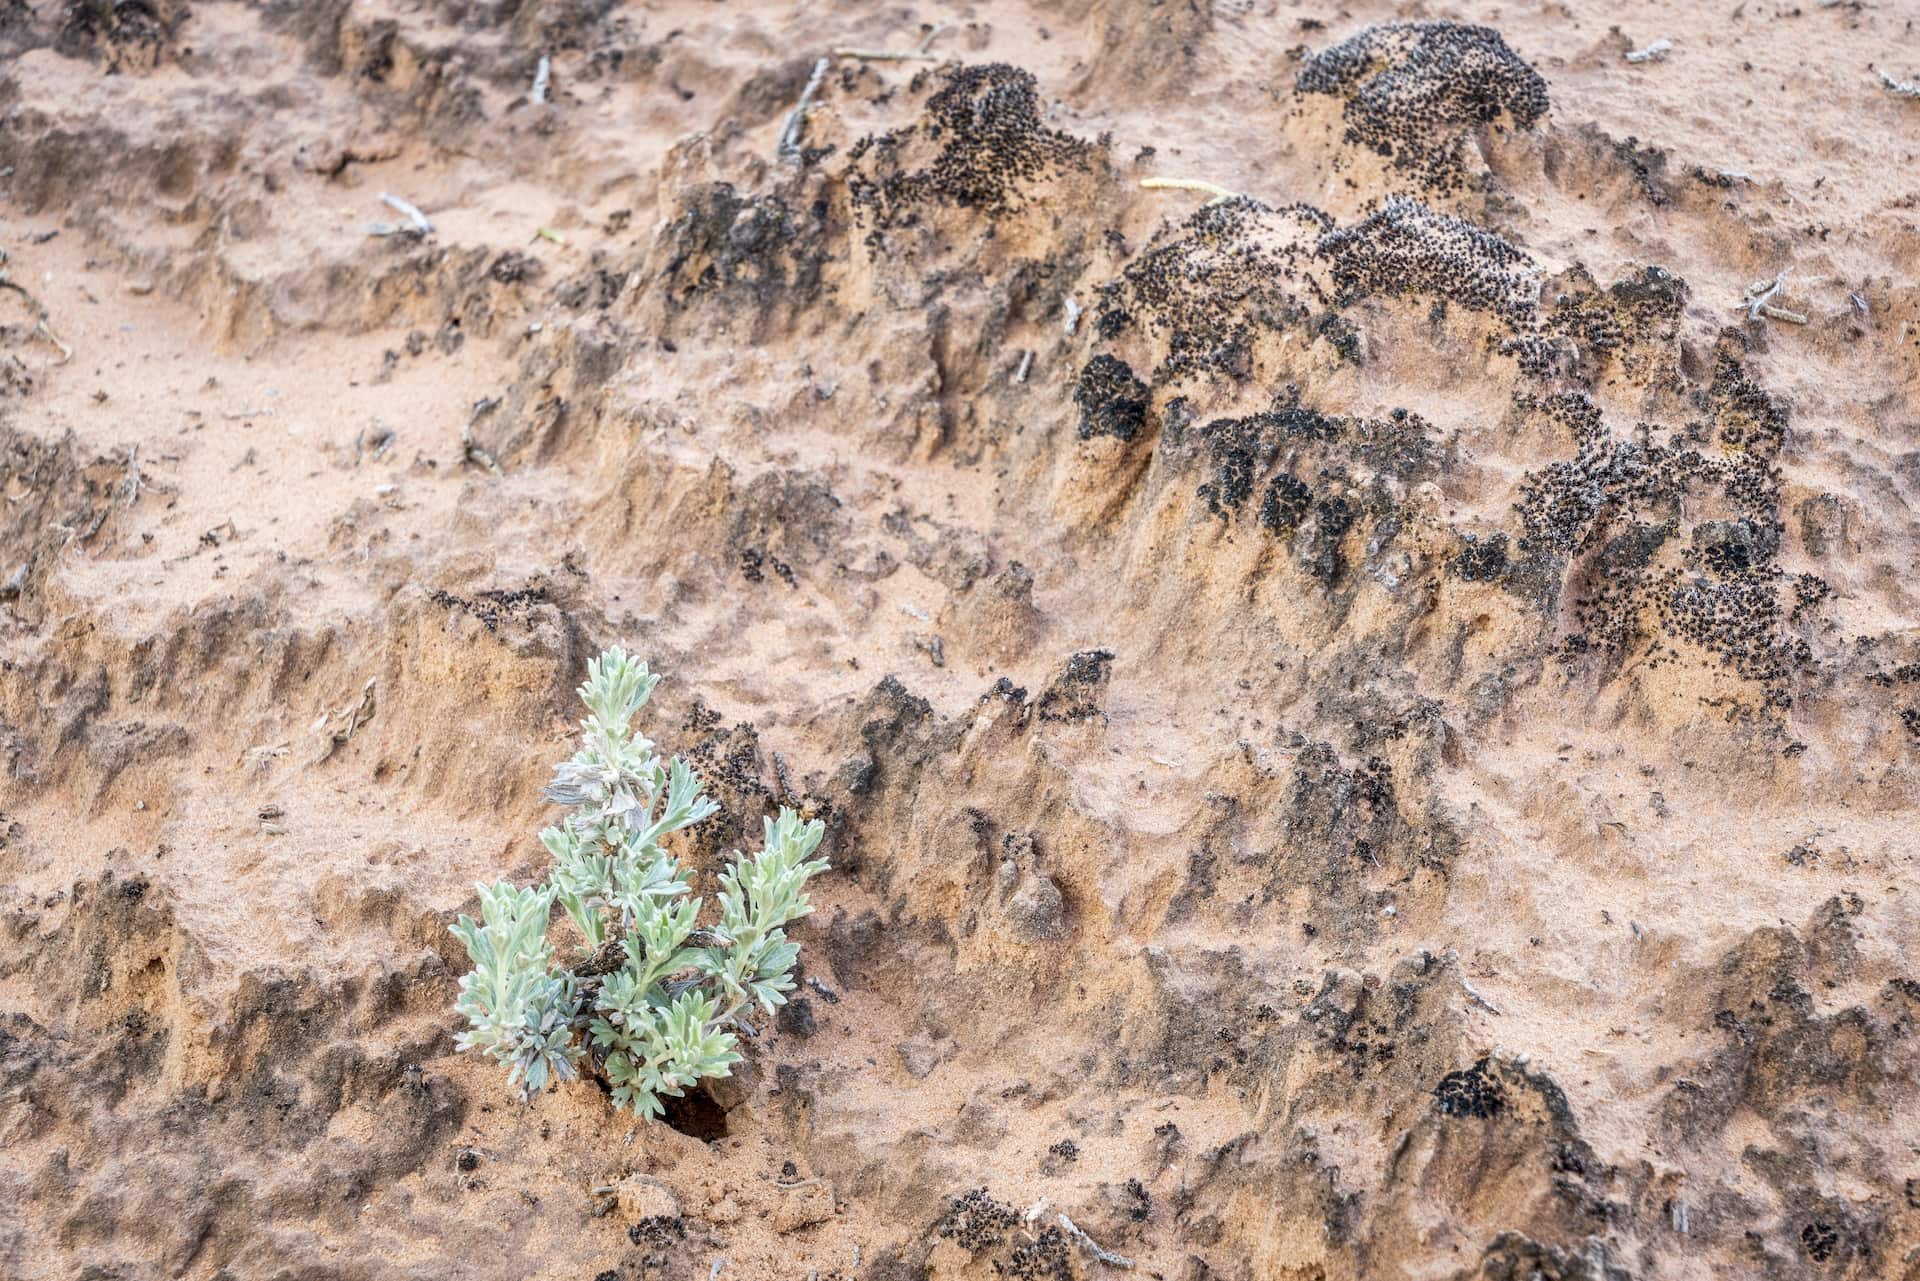
Don’t trample on the cryptobiotic soil. Cryptobiotic soil is a black bumpy soil crust that prevents erosion, retains the desert’s limited moisture, and is the lifeblood for other plants in dry, arid Southern Utah environments. Cryptobiotic soil takes hundreds of years to reach maturity.
Before you packraft the Escalante, you should educate yourself on what cryptobiotic soil looks like, and make sure you don’t step on it, set your tent up on it, or destroy it via other means.
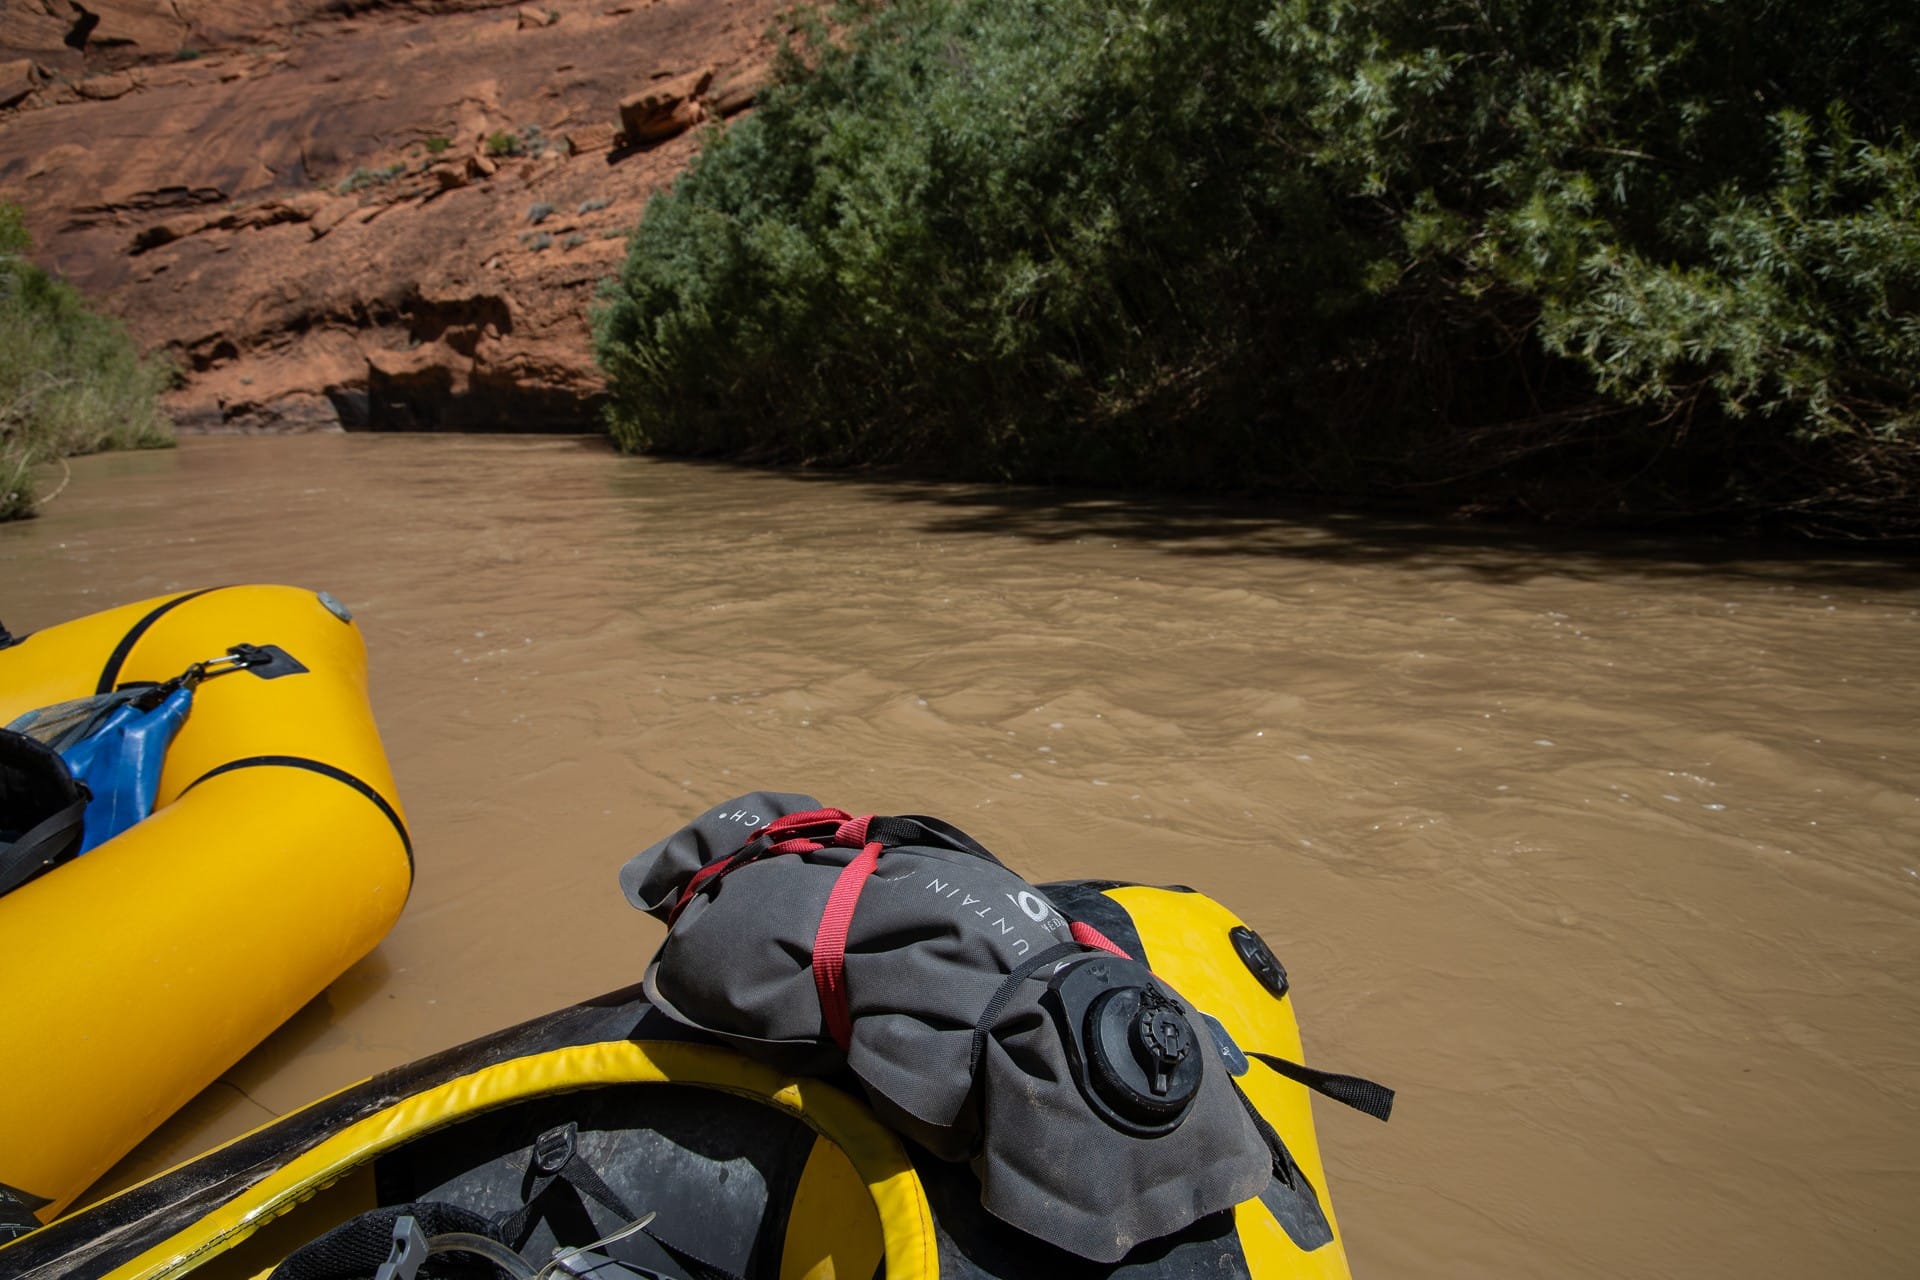
3. Bring the right packrafts
Ryan and I used the Kokopelli Rogue packrafts on the Escalante and found them to be almost perfect. They struck a nice balance between weight and durability. With the TZIP storage compartments and Kokopelli Delta Inflatable Dry Bags (which I highly recommend), you can store your gear inside the packraft pontoons, which keeps the raft stable and weight balanced.

The boats were very comfortable with ample back support that kept us comfortable even on the 5th day. I also have to admit we were all astonished that with all of the rocks we hit and dragged on that none of us experienced leaks in our boats….proof that Kokopelli makes an excellent product.
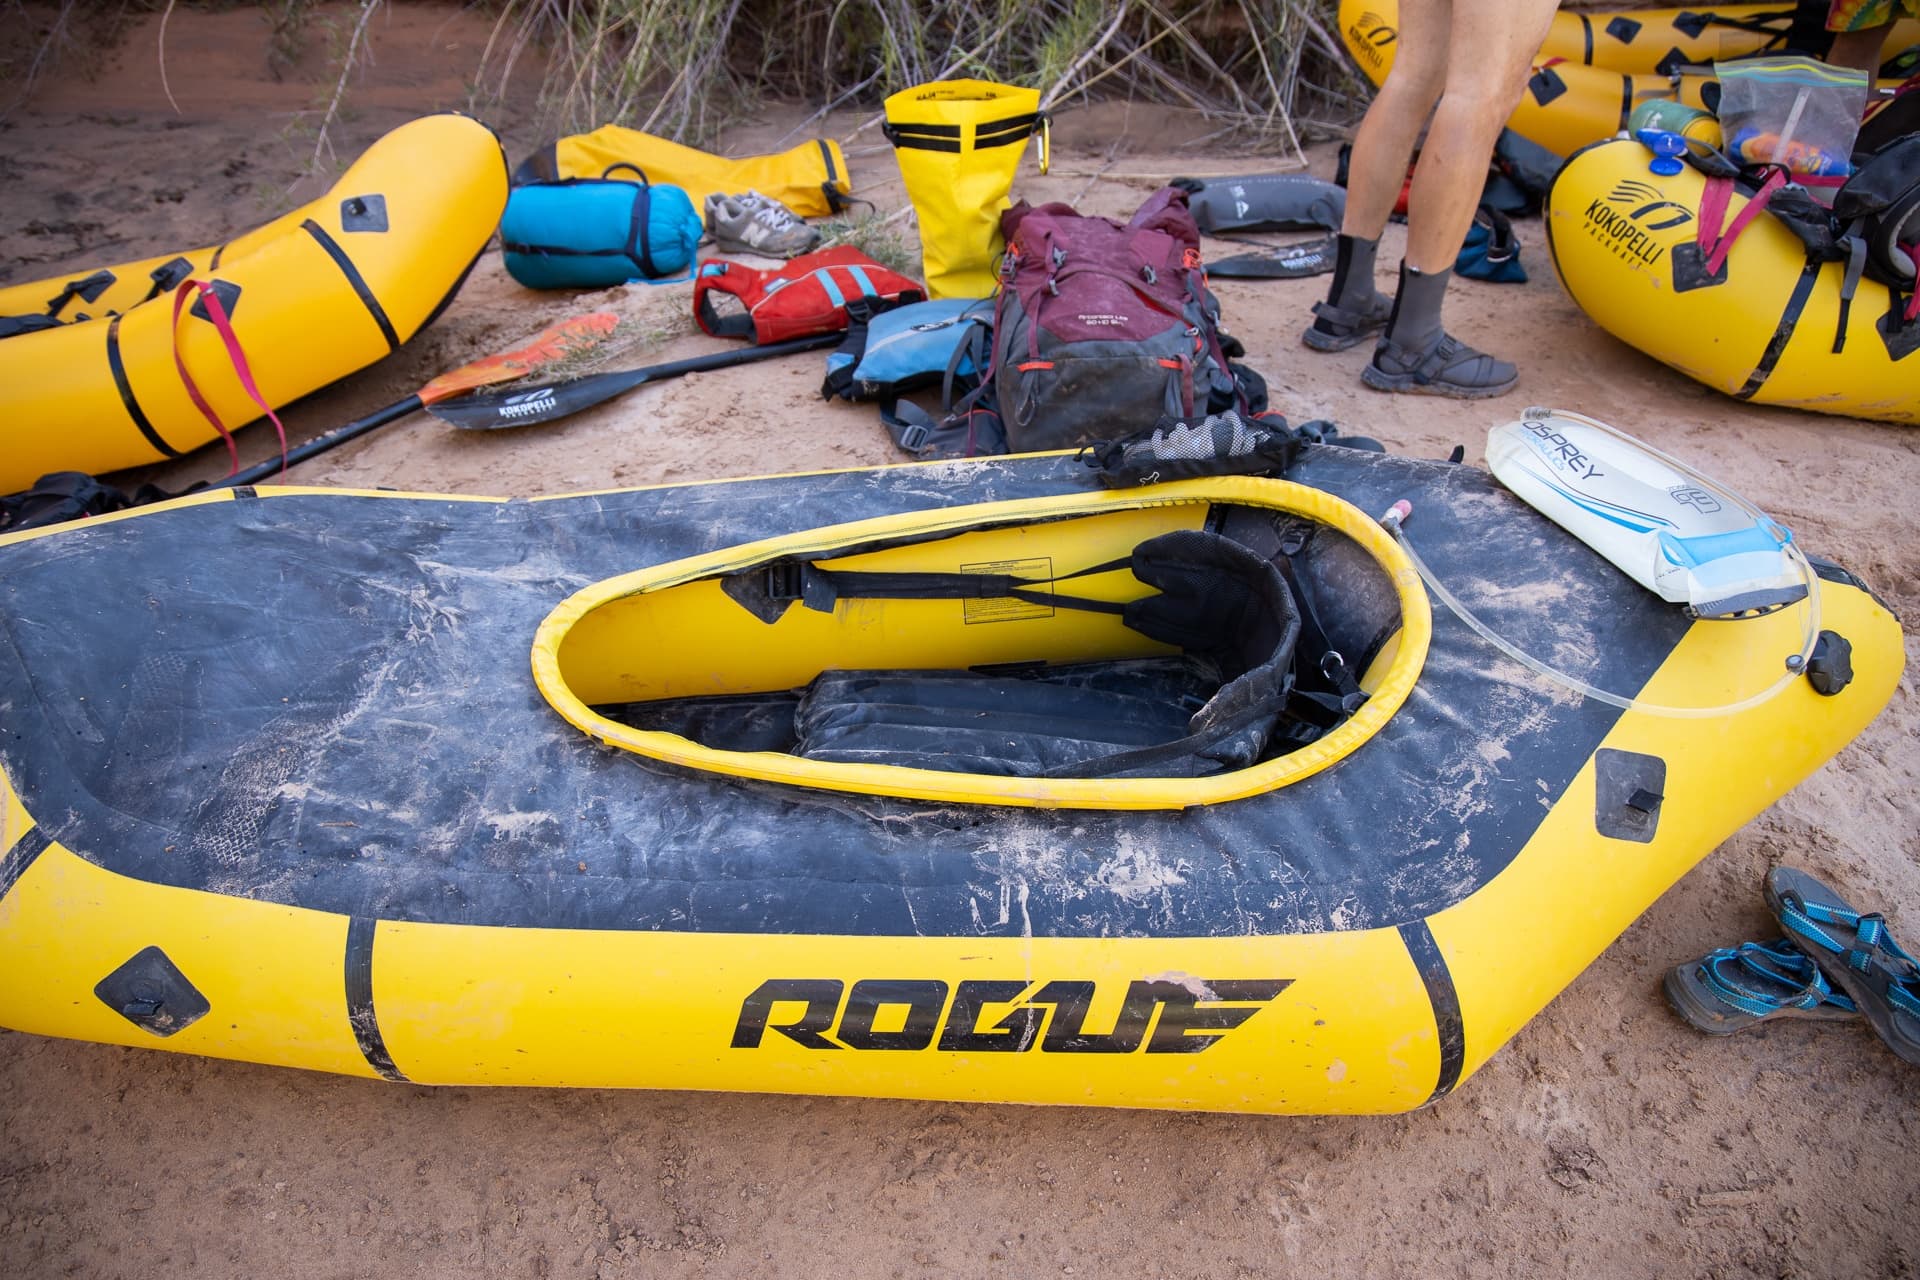
The only thing that I hadn’t considered is that the Rogue packrafts have a spray deck. Because it was hot and we wanted to be able to get in and out easily, we didn’t bring our spray skirts. Ryan also had Charlie in his boat, which made the use of the spray skirt impossible. As a result, we had to frequently bail out the water that accumulated in our boats when we went through rapids using a spare nalgene bottle. Next time, I might consider the Kokopelli Nirvana Self-Bailing. It’s a little heavier, but it is rated up to Class III and has holes in the floor, so the water automatically drains.
4. Understand Escalante River flows
The Escalante River gauge is located where Highway 12 crosses the Escalante River. This is at the top of the floatable section before all of the lower tributaries come into the Escalante. This means that what it says on the gauge isn’t necessarily accurate and flows can be significantly higher than what the gauge is reading.
I read in the forums and Facebook groups that the Escalante can be floated when the gauge is reading as low as 2 CFS. This is what the gauge looked like for the week we floated, with an average flow of 35-40 CFS. There were some significant rapids, but there were still a ton of rocks and areas where we were dragging on the bottom. So I really can’t imagine doing it at 2 CFS. That seems like it would be extremely frustrating, and you’d be walking more than floating.
On the National Park Service website, they suggest that 50 CFS is an ideal reading on the Escalante River gauge when you start your trip.

I was given the advice by a fellow packrafter that you need to pay attention to the SNOTEL sites that melt/drain into the Escalante below the Escalante gauge. These are: Widstoe #3, Clayton Springs, and Donkey Reservoir.
He told me to watch the overnight temperatures at these sites and when the temps are above freezing for several consecutive nights, that is when the Escalante flows will increase.
The point is before you plan this trip, you should pay attention to the Escalante River gauge, the upcoming forecast, night-time temperatures, and the SNOTEL sites to get the big picture of what is happening.
You can’t just look at the Escalante River gauge and assume you know what’s going on.
5. Don’t rush it
We floated from Fence Canyon (mile 35) to the Coyote Gulch/Crack in the Wall takeout (mile 75). We took five full days, and I still felt like we were a little rushed. We didn’t have much time to explore side canyons and our last day was a BIG DAY with 8 miles to float and a 4-mile hike out. Between packing up camp, packing up our boats, and having to hoist our bags up and over Crack in the Wall, we didn’t get back to our car until 9pm.
or this stretch (unless the water is really rushing), I think 5 days is the minimum I’d want to do it in. Any shorter and I think you’d have very long river days and not a lot of time to relax and enjoy the gorgeous campsites.
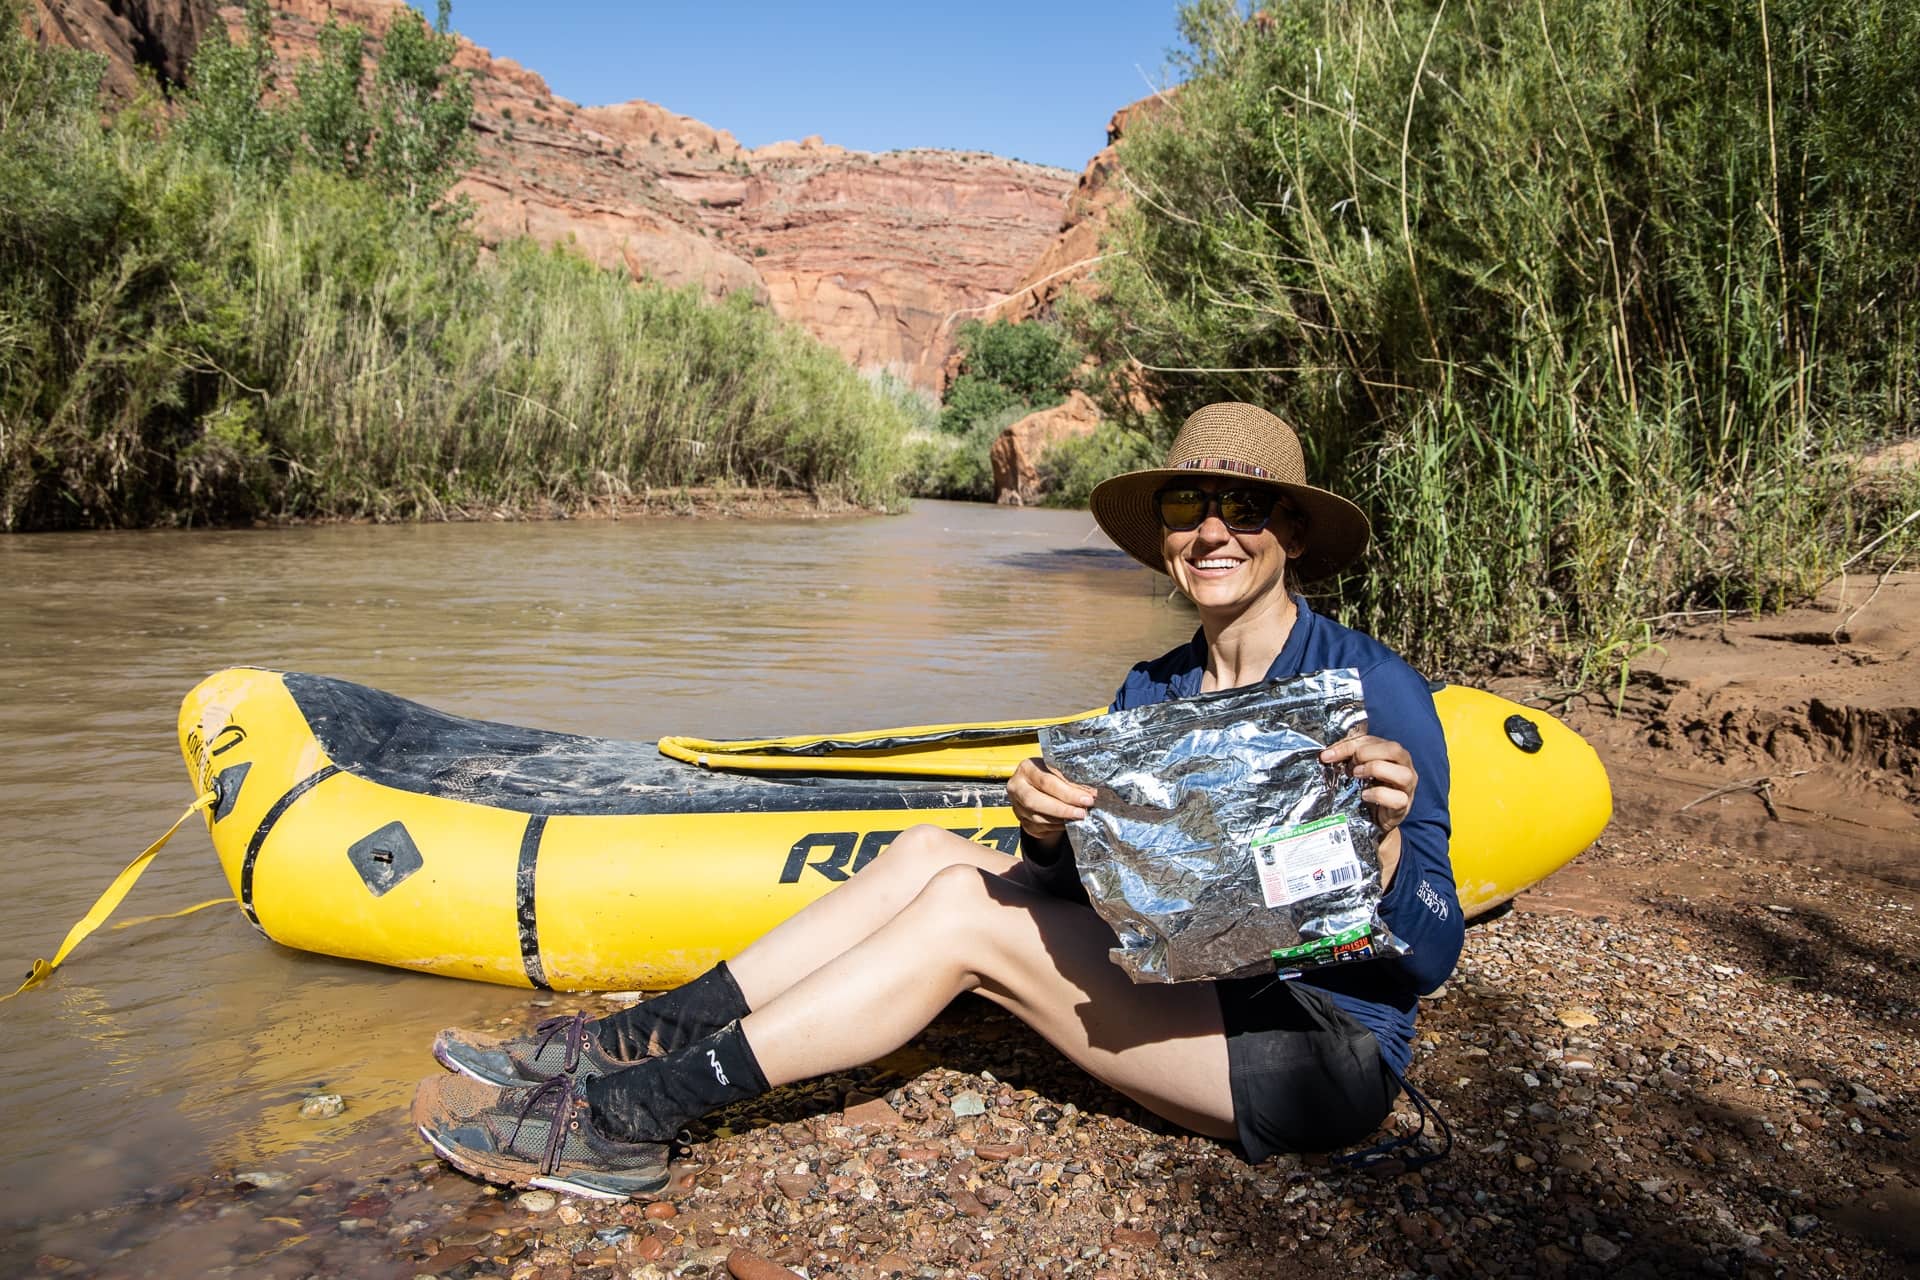
6. Wag bags are required and you need to be prepared to pack them out
While Packrafting the Escalante River, you are required to pack out all of your poop in wag bags. Being my first overnight Packrafting trip where wag bags were required, I wasn’t quite sure how to pack all of those wag bags out.
I read in a forum that people bring an extra large Nalgene and store their used wag bags in that. If you are going on a one-night trip, then this is a great idea since it’s airtight and leak proof. However, wag bags take up more room than you think and after day 2 this didn’t work. We ended up combining all of our wag bags into one dry bag. Then my friend Josh (who literally has no sense of smell) packed that on his boat and carried it out at the end.
A better option that I’ve since learned of is a PVC Poop Tube. Here is a video on the Leave No Trace website that shows you how to make one.
7. Bring an extra paddle
Not having an extra paddle is a total rookie mistake, and we learned that the hard way. Ryan broke his paddle in the first 5 minutes, and as a result, had to use the remaining half of his paddle like a canoe paddle. This created a lot of extra challenges for him and also slowed his pace pretty significantly. Luckily Ryan killed it, but if we had any other paddle problems, we could have been really screwed.
Bringing an extra paddle adds weight to your pack, but I’d say it’s essential for your safety and overall enjoyment of the river.
8. A GPS is highly recommended
There are so many twists and turns in the river, that without a GPS, it would be very hard to identify your location solely based on a topo map, which you should also 100% have.
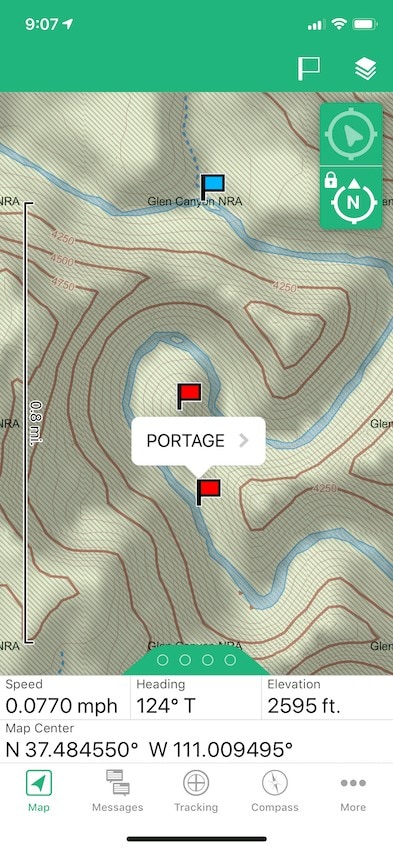
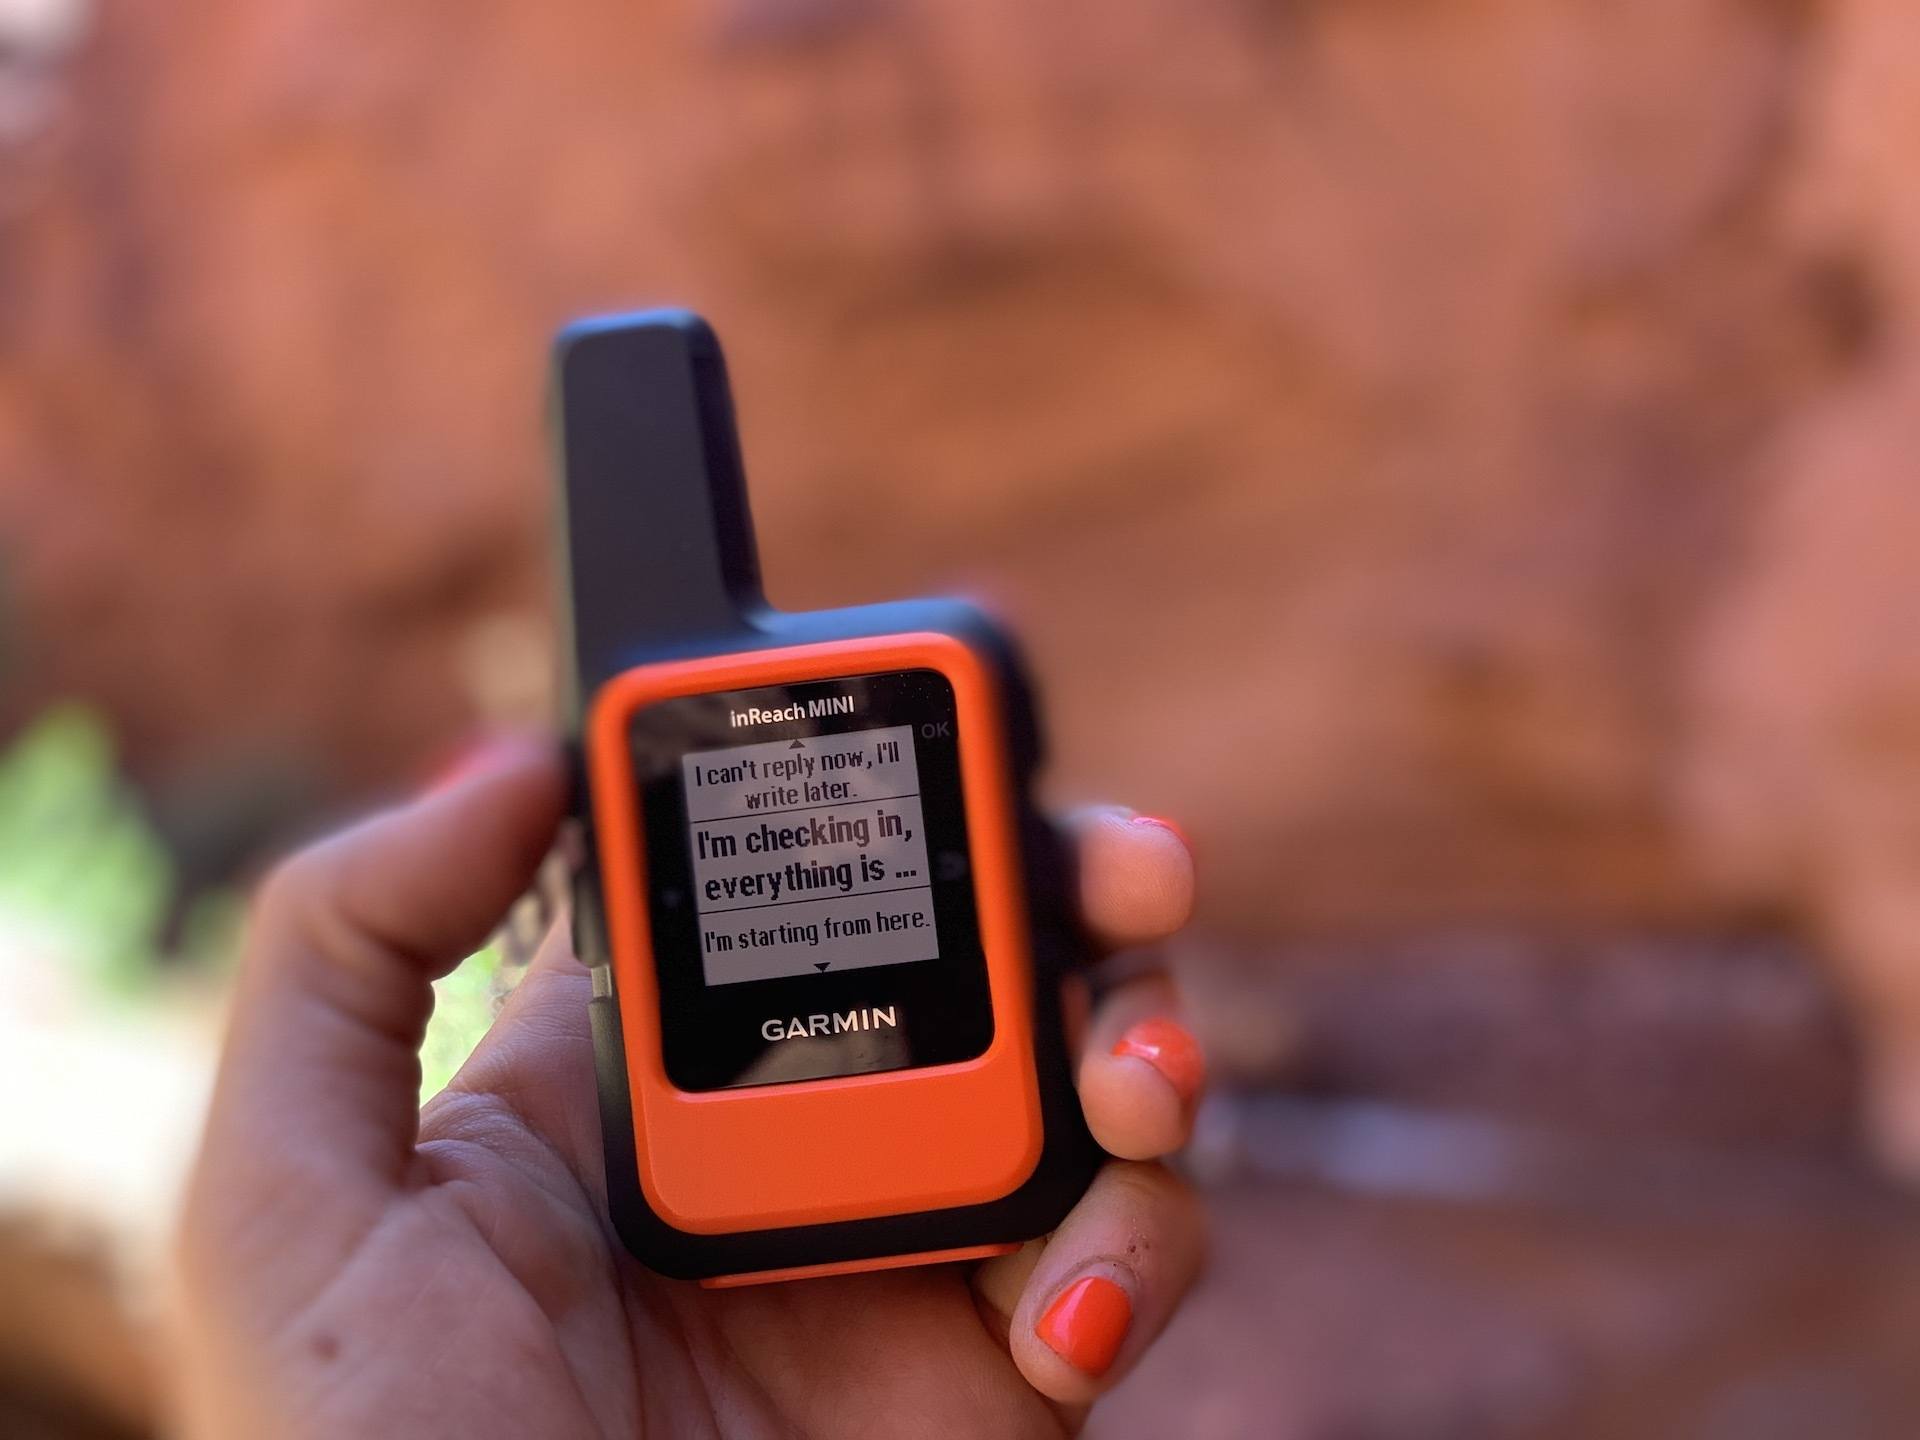
I highly recommend a GPS that is pre-loaded with important waypoints, like the two portages, freshwater springs, and wet side canyons. I used the Garmin InReach Mini combined with the Garmin Earthmate app, and for the most part it worked really well. We also had PDFs of the topo maps that were loaded onto all of our phones.
In addition to navigating on the river, the hike down to the river via Fence Canyon requires some navigation. There are cairns making most of the route, but we also found some misleading cairns that looked like they were made by someone for fun while they were taking a break. Please don’t do this (learn more about cairns here), it’s confusing and can get people lost!
For this hike, you’ll also want your GPS or a topo map handy so you make sure you descend down into the canyon in the right place.
The other bonus of the Garmin InReach Mini is it gives you the ability to send custom text messages. This is a critical piece of gear that I bring on all of my outdoor adventures.
This trip is one that requires you to take responsibility and a serious role in trip planning. I recommend pre-loading maps and points of interest (especially the portage points). As a serious outdoor enthusiast, I encourage you to do your own research so you take charge of your own trip’s success. Join the Utah Packrafting Facebook Group, and with the tips in this blog post and enough digging online, you’ll find all of the important info you need to plan an educated trip on the Escalante River.
9. Be aware of the two necessary portages
Being able to identify the portages ahead of time is where a GPS comes in very handy.
There are two serious rapids on the Escalante. The first portage is highly recommended with serious potential consequences. The second is mandatory and has low hanging boulders that could decapitate you at the water levels we observed. The two portages are:
- Mile 56 (Scorpion Rapid) – The portage is pretty short on river left with an easy landing.
- Mile 64.5 – This is a very dangerous boulder jam with a mandatory portage on river left. You have to be on your game, because the beach you need to land on is small and there isn’t much of an eddy. The portage is at the end of a tight horseshoe turn in the river with a big candlestick feature on the inside of the horseshoe. During our trip, there was a big cairn stacked on a large rock at the take out spot (but don’t rely on this). This portage took a bit longer than the first, but the path was well worn and there is a nice sandy beach to take a break on where you put back in.
Also there is no shame in walking around any other rapids on the Escalante. That’s the beauty of these packrafts is they are so light. If you think something is above your pay grade, there is no reason to risk it.
10. Dogs on the Escalante River
In these photos you’ll notice we brought our dog Charlie with us when we packrafted the Escalante River. Charlie is a medical service dog who is trained to alert my Type 1 diabetic boyfriend Ryan of high and low blood sugar before it gets dangerous. Charlie is a very special and adaptable dog and does amazing on the river. With that said, non-service dogs are allowed on the river, but I would not recommend it for a majority of dogs. If your dog is not well versed in being on the river, it could end up being pretty dangerous and downright uncomfortable to boot.
Furthermore, there are some additional regulations that apply to people packrafting with their dogs. The first is you must pack out their poop, just like you do with your own. This is extra weight on your boat and to carry if you are hiking out. Second, dogs are not allowed on the popular exit point trails of Coyote Gulch and Crack in the Wall. I presume people who do bring their dogs find a different exit trail or continue all the way to Lake Powell where you can hire a boat taxi to pick you up.
11. Water availability on the Escalante
The water in the Escalante River can be very silty, and there is potential to muck up your water filter with sediment. For that reason, we only filtered out of clear streams that we found in side canyons.
Some of the perennial streams that were on the map were already dried out. We also didn’t have much luck finding the freshwater springs that were marked on my GPS, except for one reliable spring right above Scorpion Rapid on river right.

The point is, unless the river is flowing really clean, you need to plan ahead for your water stops. In the town of Escalante, on a whim I purchased a 10 liter MSR dromedary water bag, and I’m so happy I did. Each time we filtered water, we filled that 10-liter bag, plus all of our water bottles and reservoirs. That way, we were able to refill from that 10-liter bag when we couldn’t find a clean water supply. Alternatively, you could bring some sort of pre-filter that would allow you to actually filter directly from the river.
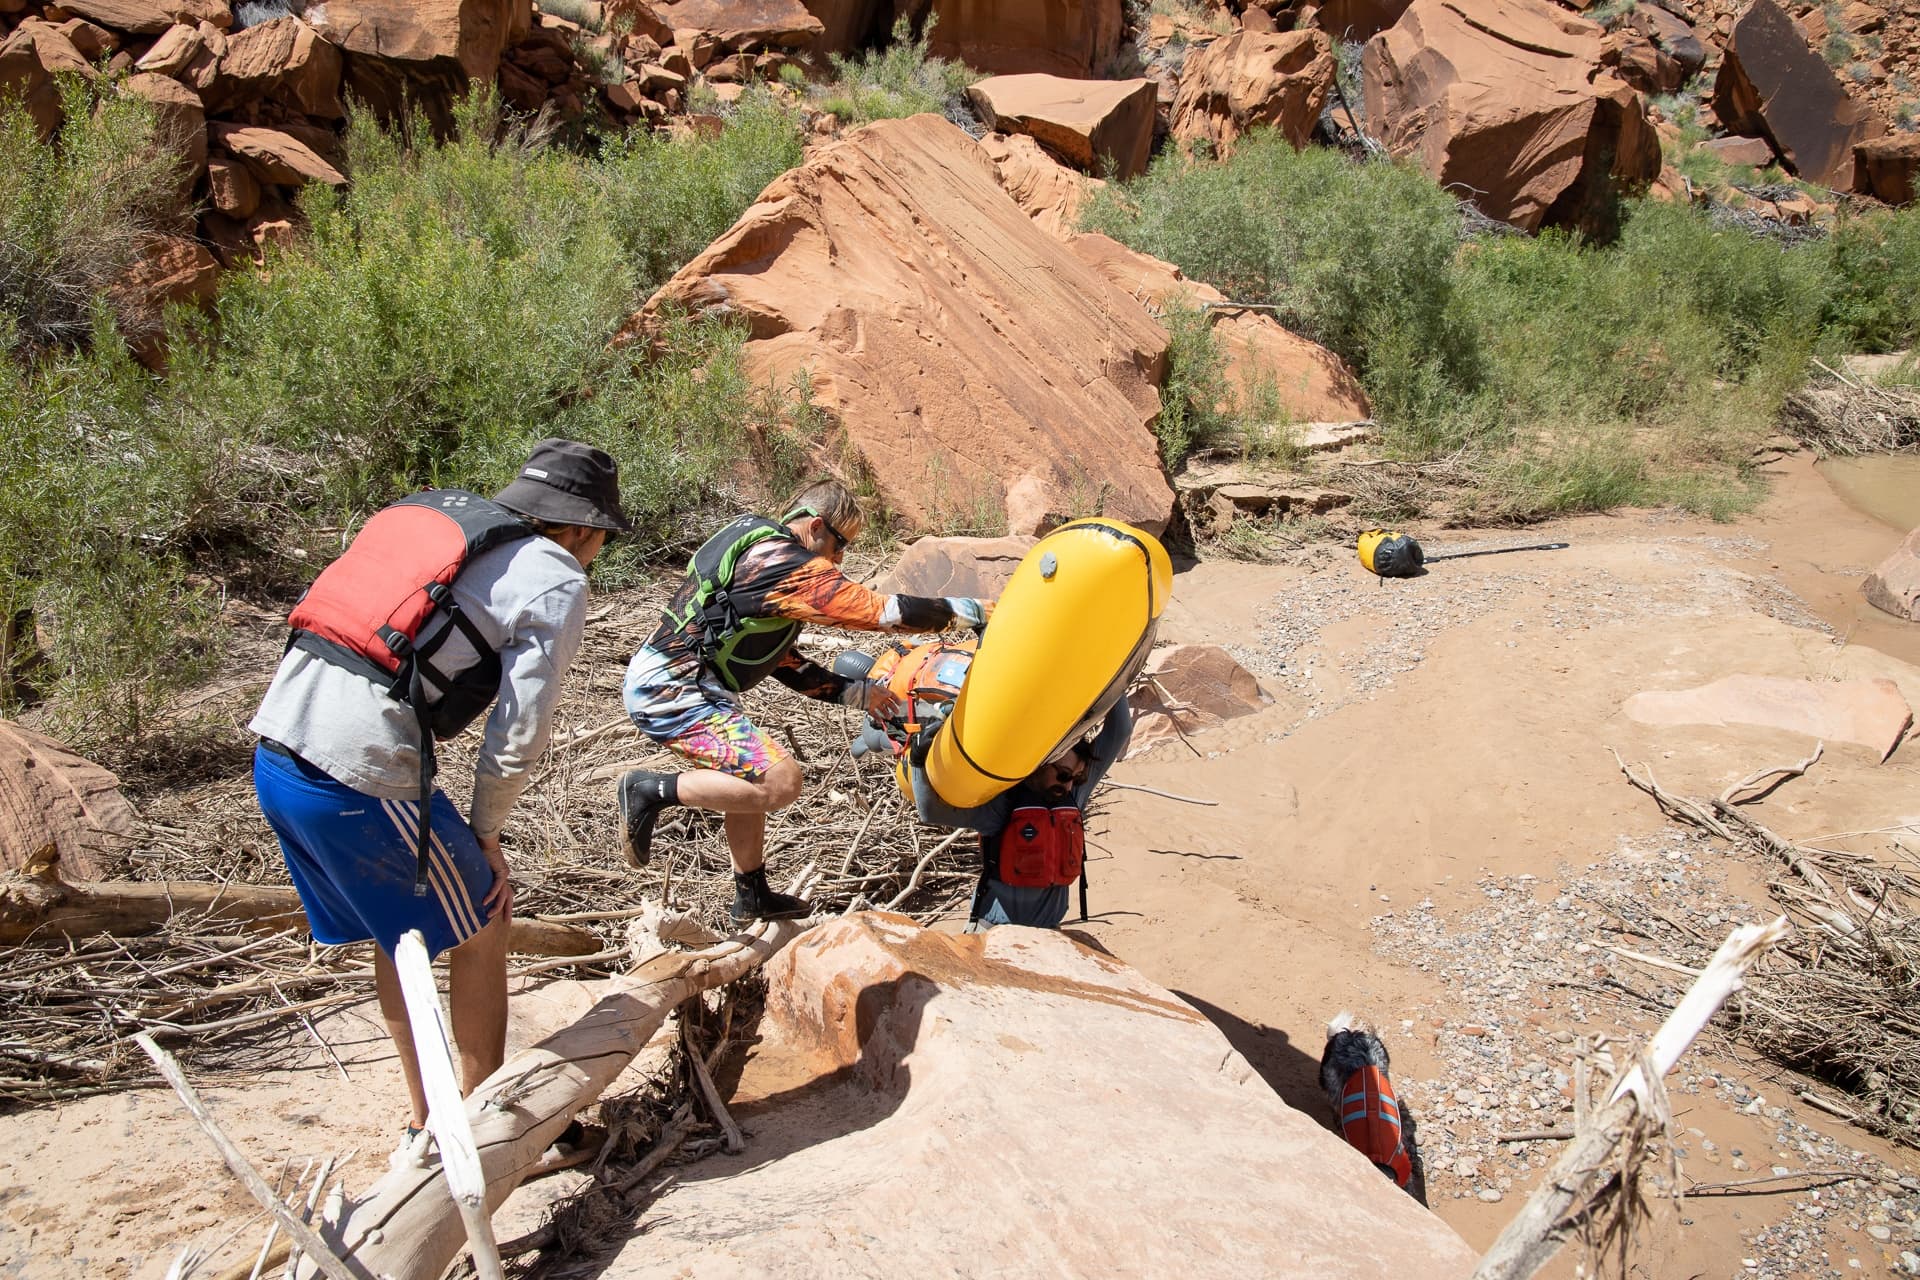
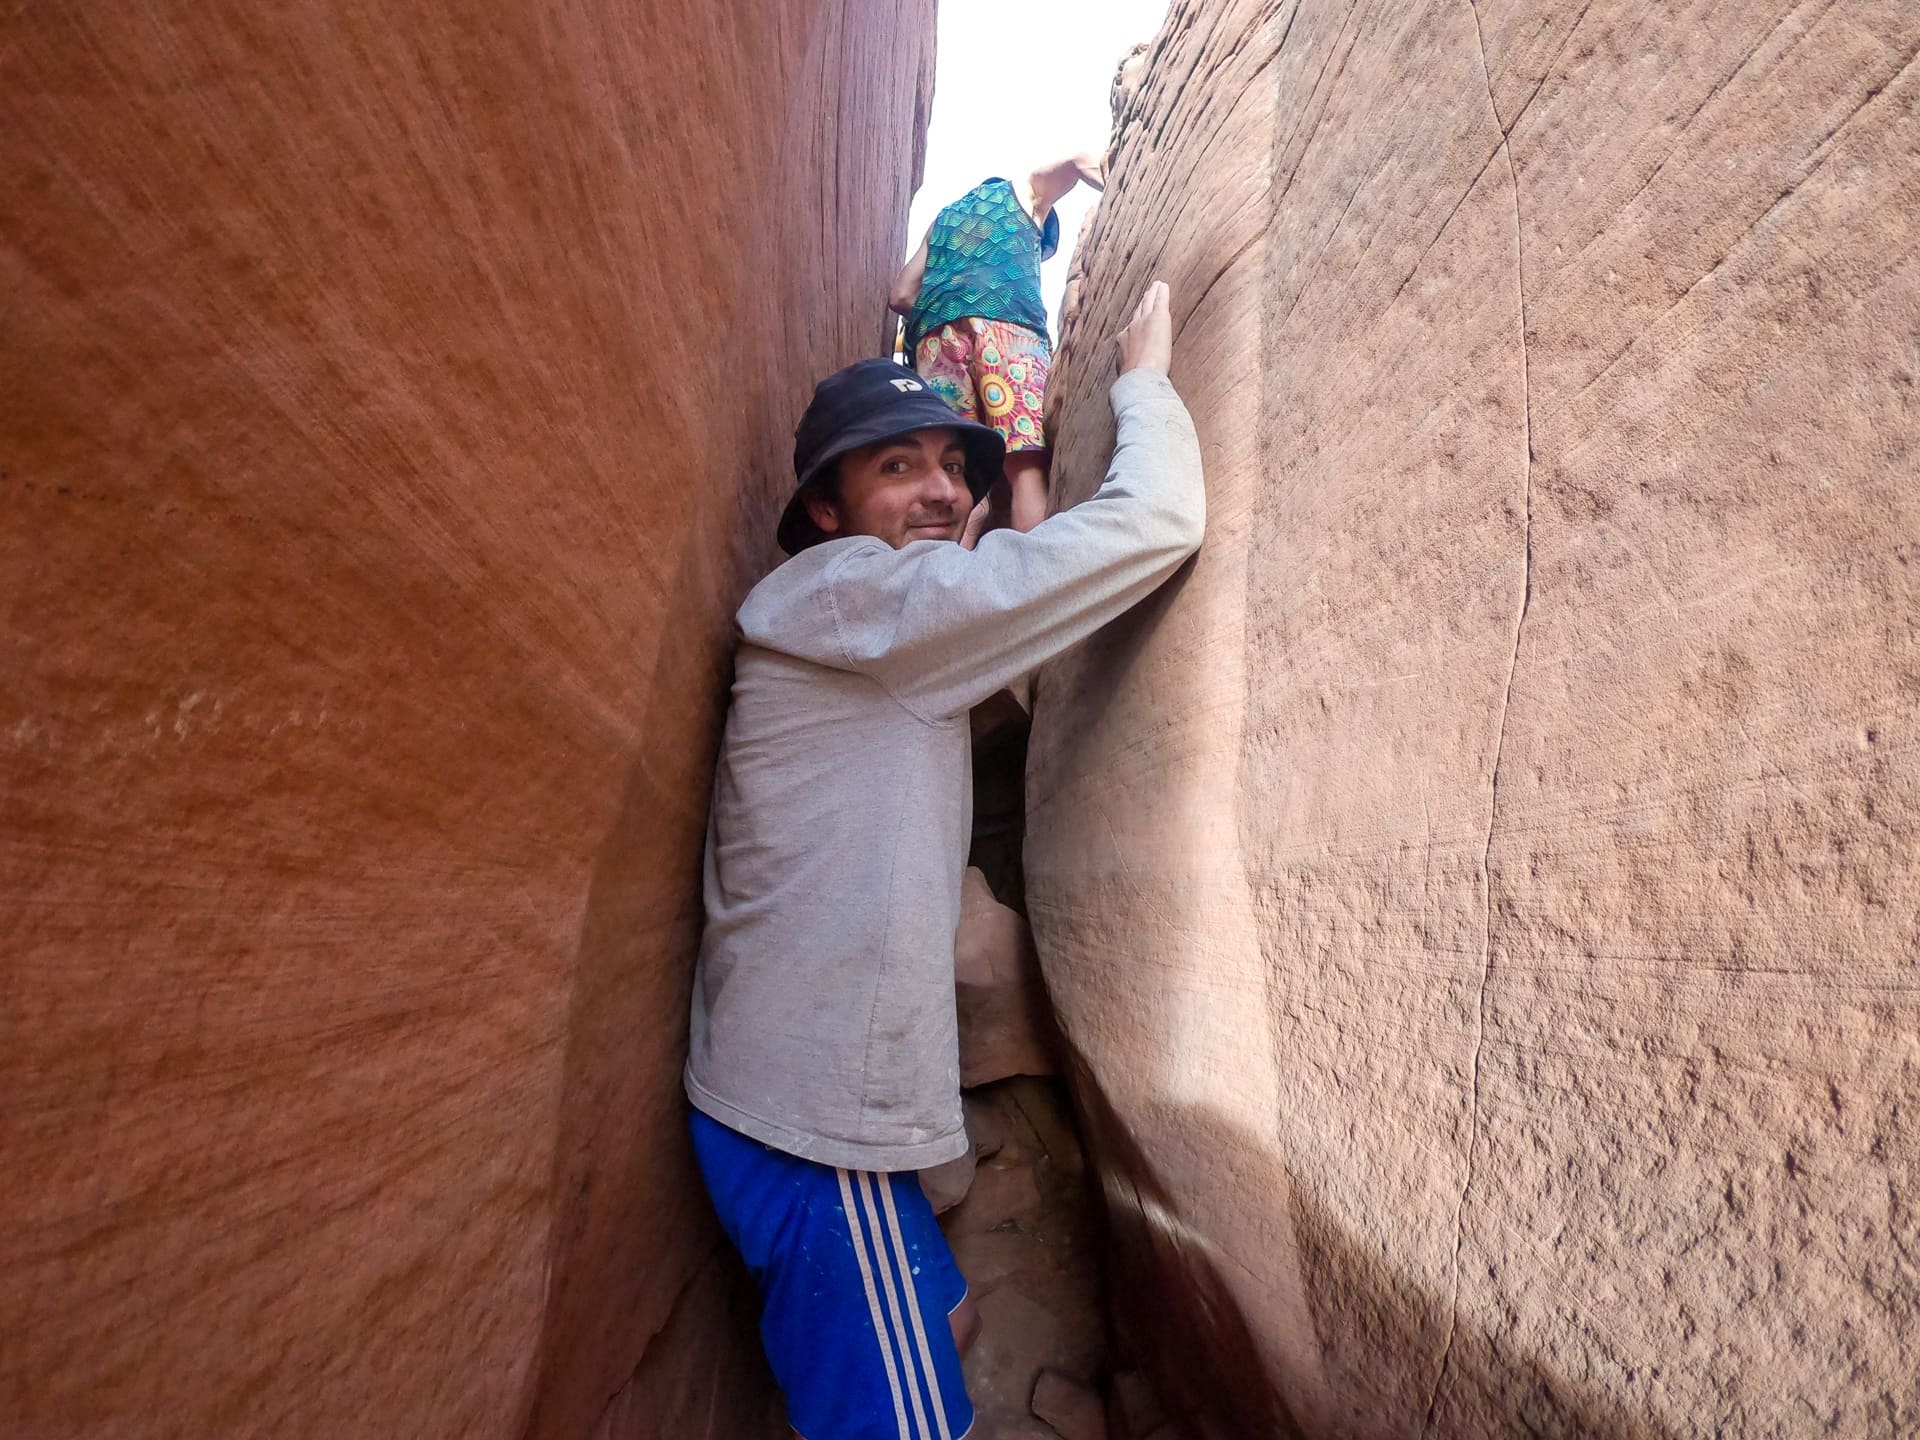
12. Save some energy for the hike out
The most common exit point is either backpacking out of Coyote Gulch or hiking up and out through the Crack in the Wall. I’ve done both before and don’t remember either being all that hard, but this time my pack was much heavier.
When you exit the Escalante River, you’ll first have to hike up a couple hundred yards up Coyote Gulch. If you are low on water, I suggest filtering here so you have enough water for your hike out.
When you get to an impassable boulder jam, look to your left and you’ll see a trail that heads up a rock face. This is your first challenge. I had read that the ledge you have to cross is sketchy, but I didn’t think it would be that big of deal. When we got to it with our heavy packs on, it had me paralyzed in fear (if I’m being 100% honest). Maybe I was just tired, but I found it pretty intimidating, especially with a big pack on. It was sandy (aka a bit slick) and a complete NO FALL zone. Ryan came back and carried my pack, but I still had trouble mustering up the courage to get across. There really is no other way, so wipe the sand off your shoes, take a deep breath, and try to stay upright on your feet so you have the most traction.
Once you get across that ledge, take another deep breath, because you now have a 700 foot tall, and in some places very steep, sand dune to climb. It happened to be the hottest part of the day when we got here, so we were moving very slowly. Once you get to the top of the sand dune and reach the Crack in the Wall, make sure your webbing is accessible (the National Park Service recommends webbing vs rope since rope can scar the rock face). You’ll need one or two people to go to the top of the crack and send the webbing down. I’d recommend 25 feet minimum. In addition to hoisting your bag up, there is one tricky move to get yourself up through the crack and one section you’ll have to carry your bag through.
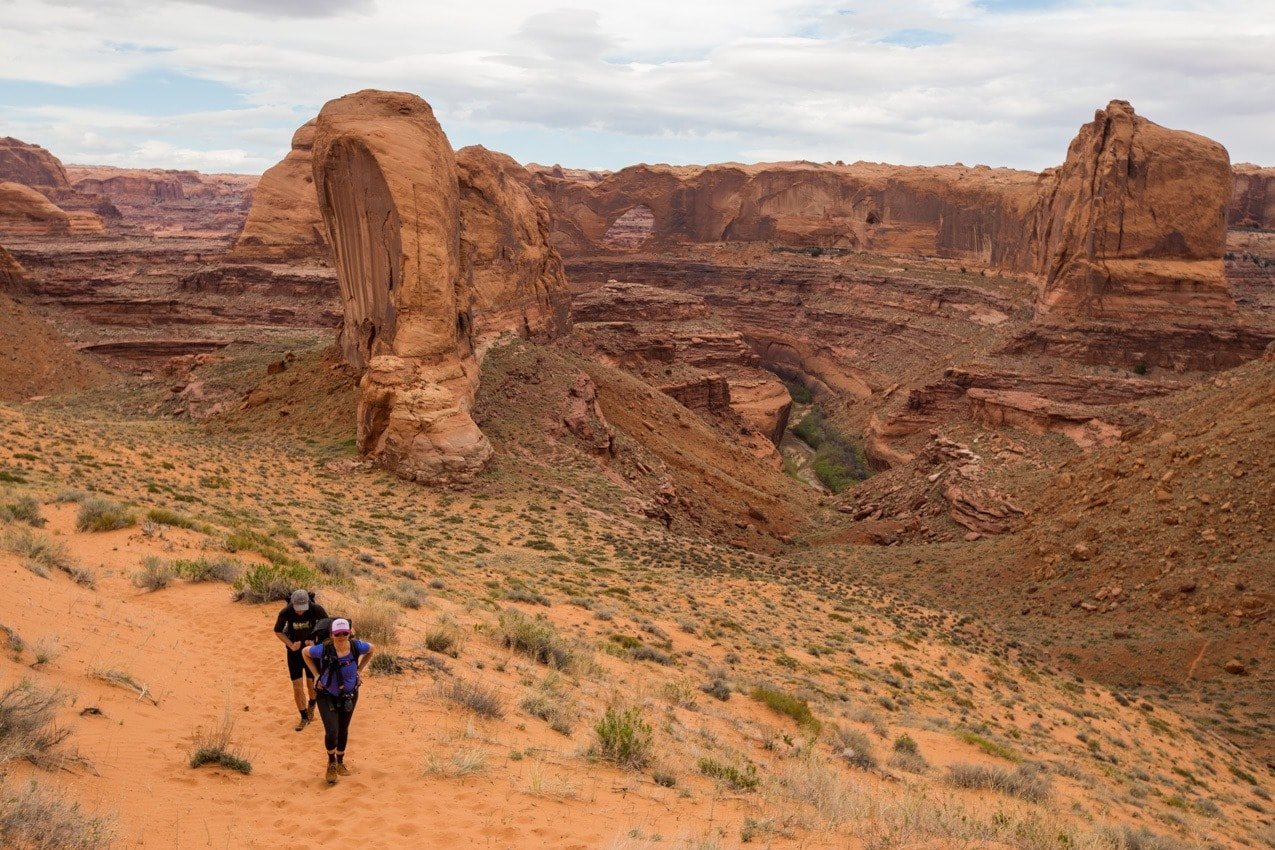
Phew, it’s pretty exhausting if I’m being honest. When you finally reach the very top of the Crack, you still have a decent hike – about 2 miles back to your car. Follow the cairns and try to stay on the major route so you aren’t trampling through the desert and the cryptobiotic soil.
Essential Clothing for Paddling

Carve Designs Cruz Rashguard
I prefer wearing a rashguard over sunscreen these days. I own the Cruz in 2 colors and it’s a staple for any water activity because it dries quickly but also keeps you cool, plus the cut is flattering.
Shop at:
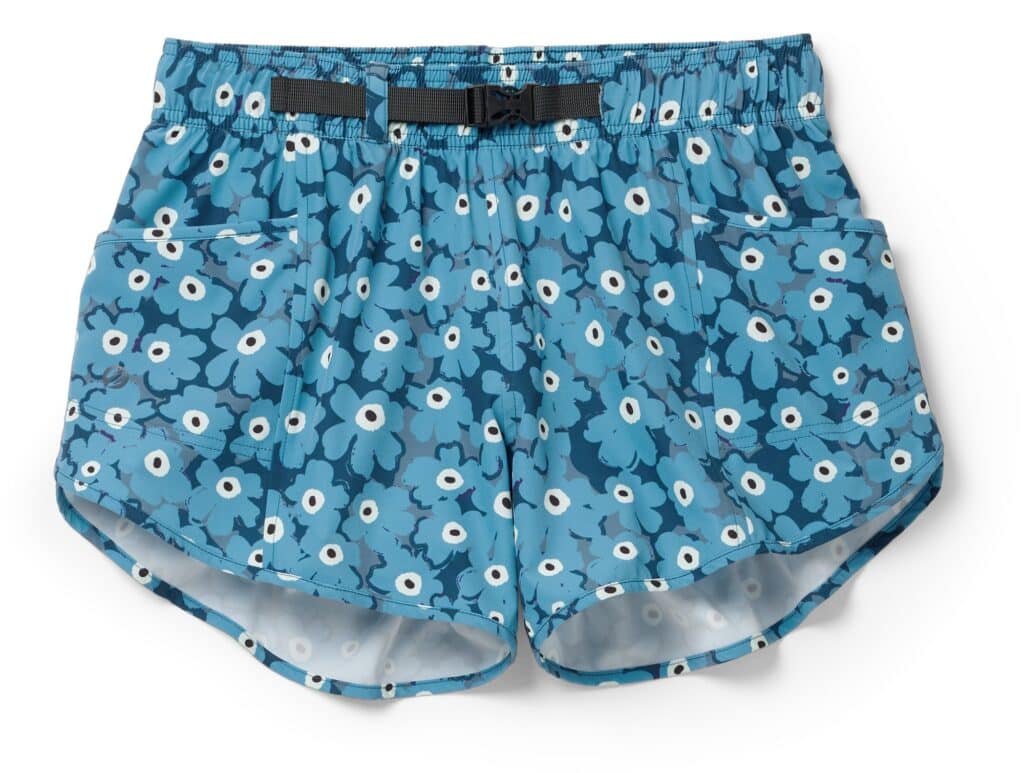
Nani Swimwear Hybrid Explorer Shorts
These shorts are super comfortable, dry really quickly, and come in a bunch of colors and prints. I wear them on all water adventures!
Shop at:
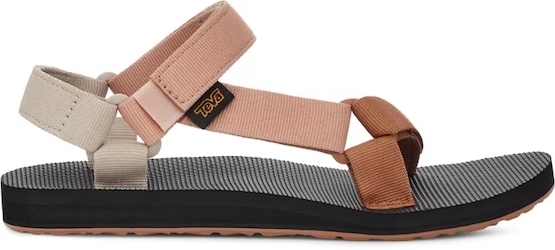
Teva Universal Trail Sandals
Sandals that stay on your feet and can get wet are essential. I like these because they have good grip and can be worn hiking as well, plus they can easily be strapped to your boat when not in use.
Shop at:
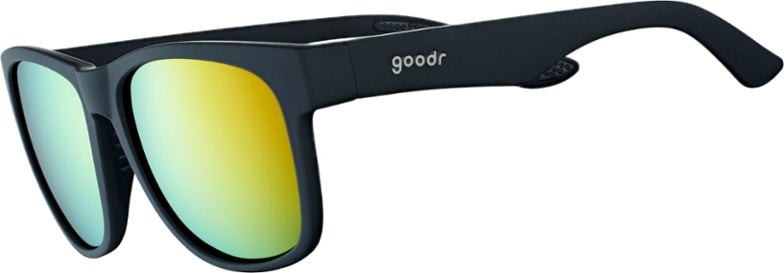
Goodr Polarized Sunglasses
Polarized glasses are best for the reflection of the water. I like to wear budget-friendly sunglasses paddling and I always wear a retainer so I don’t lose them in the water.
Shop at:
I hope these Escalante River packrafting tips help you plan and prepare for the trip of a lifetime and to be responsible while you’re out there. Got questions? Leave a comment below!
This post contains affiliate links. That means if you make a purchase, we receive a small commission at no added cost to you. Thank you for your support!
What a fabulous and realistic commentary! I had looked at doing this but found a paucity of honest posts about it. Thank you! and thank you for your inspirations!
Looks like a great trip! I solo kayaked from Hall’s Crossing to Escalante River and camped up Davis Gulch for 5 days and it was incredible. Had no idea there were rapids up river. Looks like another excuse to get back there.
I enjoyed your trip description. I first floated the Escalante in 1974, from middle moody to the lake(met by parents in houseboat) then in 1979, calf creek to coyote(CIW) then the town to calf creek( Memorial Day weekend 1983) that was memorable. Then fence to coyote in early June of 1998 with my son who was 14(same age as me on my first float)
The Escalante is truly remarkable. Drop me a line or call and we’ll talk
Pete Chatelain 801-550-7871
Thank you Pete! That means a lot to us coming from an Escalante veteran and I’ll be sure to pass that on to Kristen. It truly is a beautiful place.
I’m obviously getting to be an old guy, considering I first floated the Escalante 46 years ago, but want to do it again. I hope for good southern Utah snowpack
P
One more note, the Paris can be run. I did it twice 1979 and 1980. That is a whole “nuther” story. It’s possible we did a first descent. I have only heard of one other group doing it; Brad Dimock of Grand Canyon fame supposedly ran it in 1983. An even tighter window and much rougher float
Pete
Darn autocorrect!! The Paria not Paris
Can be floated
Nice write up. Just a heads up…. all of your trip was in Glen Canyon NRA.
https://www.nps.gov/glca/planyourvisit/floating-the-escalante-river.htm
Thanks for that tip, Steve!
Hi. There are some errors in the writeup. The NPS site for floating the escalante river, states the highway 12/river intersection is usually where you put in (you say Fence canyon in the writeup which appears incorrect). Also you mention 25′ of rope needed at the takeout. The nps site says webbing b/c rope scars the landscape. Let me know if those are proper corrections.
Steve – You can put in along the highway. This adds a couple of days to your trip and the flows can be lower on that initial stretch. Fence Canyon is a common put in point, but it requires hiking too, while the put-in on Highway 12 you can drive to. I checked out the website regarding the mention of rope, and you are correct. I assume that is a recent update on the website, since I had never seen that before. I will update the post now. Thanks for the heads up.