How to Plan a Backpacking Trip in 12 Simple Steps
Learn how to plan a backpacking trip! From how to pick a trail to what gear to pack, this guide covers all the important planning steps.
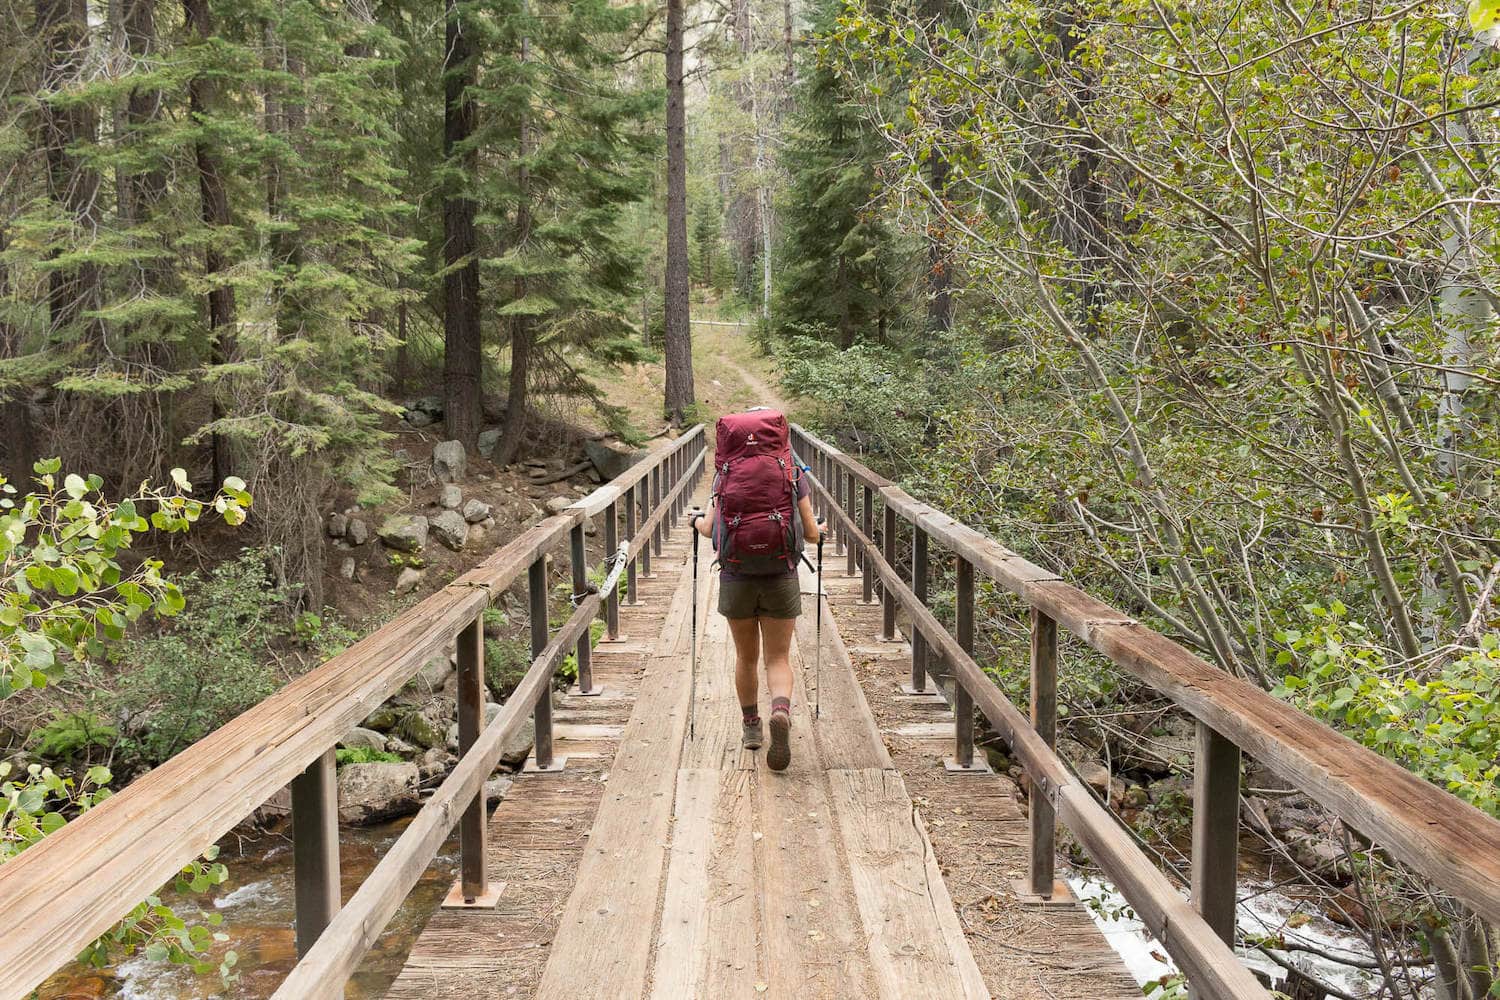
Whether you are a beginner backpacker or have been tramping around the woods for years, there are a number of questions to ask when you are planning an overnight backpacking trip. Where should I go? Do I need a permit? What should I eat? What do I need to pack? I’ve been there. When I first started hiking and spending time outdoors, I had no idea how to plan a backpacking trip. Now, years later, planning a backpacking trip is one of my favorite parts of the whole process. If you’re new to it though, it can feel a little overwhelming, but we’ve got you covered.
In this blog post, we break down how to plan a backpacking trip into 12 simple steps so you can feel more organized and confident (and less overwhelmed) as you get ready for your adventure. By following this step-by-step backpacking guide, you will be able to easily plan your backpacking trip from start to finish, knowing that you aren’t forgetting any important details.
Ready to plan your next adventure? Here’s our guide to planning a backpacking trip so you can get out and enjoy the great outdoors with confidence
This post may contain affiliate links.
1) Pick dates for your backpacking trip
Figuring out when you want to go on your overnight adventure is the first step in how to plan a backpacking trip. Your dates will dictate where you can go due to the weather (unless you want to snow camp). If you want to go in January, then you’ll be limited to warmer places like Southern California, Arizona, and Florida for example. If it’s summer, then you’ll want to hit the mountains where the temperatures are cooler.
If you are a newbie, 1-2 nights is a good length of time for you to get a trip under your belt. You’ll be able to answer a lot of questions after that first hike. What gear worked, what gear didn’t. What you really need to bring vs what you can leave at home to shave off some weight. Whether you brought the right amount of food. What pace you like to hike at, etc. If you are more seasoned and have the time off, then consider going for a longer trip. The longer you’re out there, the more time you have to decompress and reap all the benefits of being in the wilderness.
Save this post!
Enter your email & I'll send this post to your inbox! You'll also receive my weekly newsletter full of helpful advice for planning your adventures.
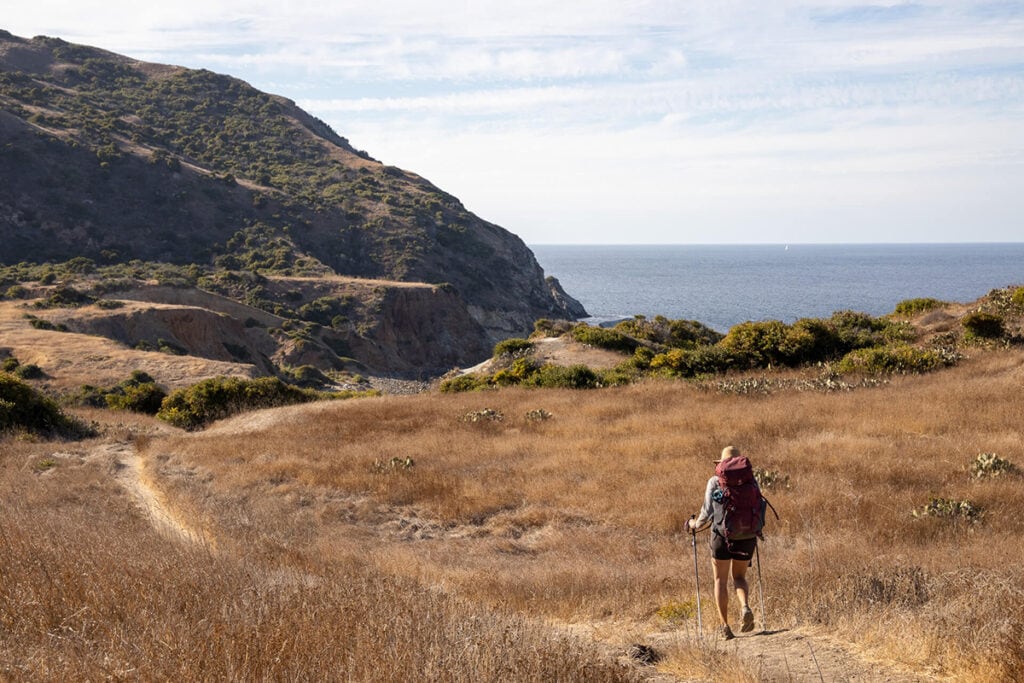
2) Pick a trail for your backpacking trip
When you plan a backpacking trip, picking a trail can be a little challenging with so many awesome trails and destinations to choose from. Ask yourself:
- How far do you want to hike? If you are new to backpacking, 5-7 miles a day is a good target. Remember, if you aren’t used to carrying a lot of weight, then backpacking will be more challenging than a regular day hike. The average confident backpacker can usually cover somewhere in the range of 8-12 miles or more depending on how much elevation gain there is.
- How difficult of a trail do you want?
- What major features are you looking for? Big mountain landscapes? A lake? Hiking along a river? Waterfalls?
- Is solitude a must? If you’re looking to get out into the Wilderness, be sure to read through our Backpacking 101 Guide for Planning a Wilderness Trip.
Get an idea in your head of what kind of experience you want to have. Then start checking out trail descriptions and plan a backpacking trip that aligns with your requirements.
Not sure where to start? Here are a few good beginner backpacking trips:
- West Rim Trail in Zion National Park
- Havasu Falls in Arizona
- Red Pine Lake in Salt Lake City
- Cutler Coast Trail in Maine
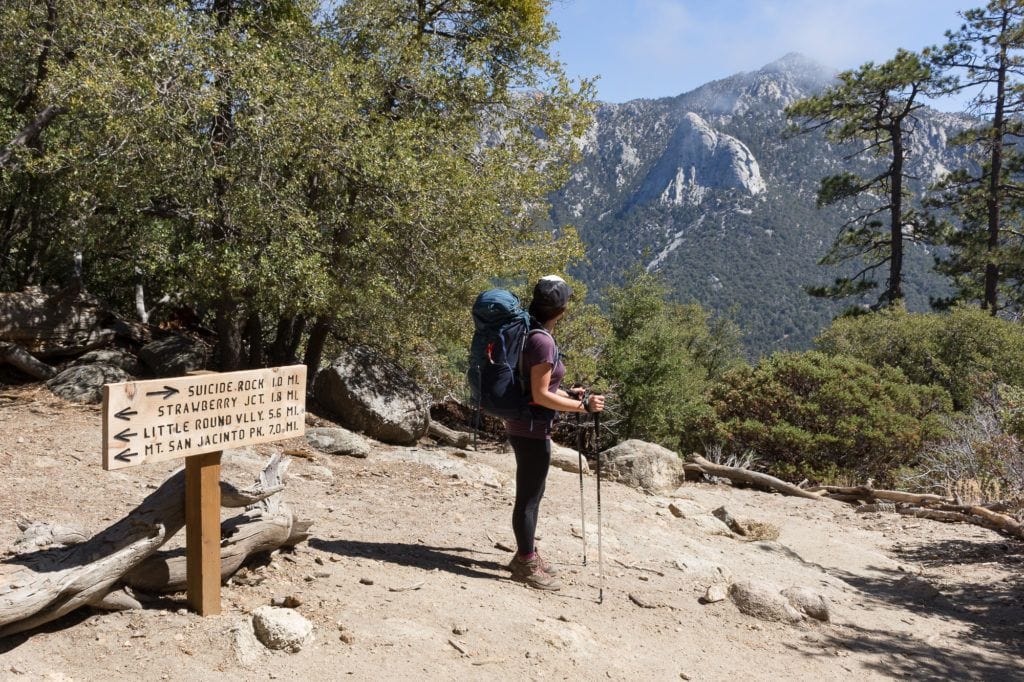
- San Jacinto Peak in California
- Trans Catalina Trail
3) Check permit requirements & get a permit if you need one
So you found a trail that looks awesome for the time of year you want to hike. Before you get too excited and start making plans, check to see if a permit is required. Many trails, especially popular trails in National Parks, require wilderness permits that need to be reserved months in advance. Many of the more popular backpacking trails (like in the Grand Canyon or Yosemite) are allocated by lottery up to 4 or 5 months in advance. If you google the trail, you can usually find permit requirements on the federal or state agency’s website.
Depending on where you are backpacking, your permit may have additional requirements. For instance, if you are traveling in bear country such as the Eastern Sierras, Montana, or Wyoming, it’s likely that you’ll be required to carry your food and scented items in a bear-proof container or bag.
4) Invite your friends (or commit to going solo)
If you want company, try to round-up a few friends who want to join you. Give them a call or put a note out on Facebook. If that doesn’t work and you are unable to find anyone you know to go with, you have a couple of options.
Check to see if there are any Facebook groups in your area for hikers or outdoor enthusiasts. In Utah, there is a Utah Outdoor Women’s Alliance group and there are always folks looking to link up for a hike. MeetUp can also be a great website as well for finding like-minded friends who love outdoor adventures and trips. Are you part of a yoga studio or climbing gym? Those are also great places to meet active people and maybe you can make a new friend who might be interested in your trip.
If you can’t find anyone, don’t let that discourage you. Backpacking alone is an empowering experience and is worth trying at least once. Check out my tips for hiking alone here.
5) Make your transportation plan
The next step in how to plan a backpacking trip is to make plans for getting to and from the trailhead. If your trail is a loop, you can typically leave your car at the trailhead parking area (check to see if there is an overnight fee or parking permit required). If you’re doing a one-way hike, you have a few options. If you’re hiking with friends, you can set up your own shuttle by leaving a car at the end and driving a second car to the start. If two cars aren’t an option, you can ask a friend or family member to drop you off or reserve transportation with a taxi service or shuttle company. Many hotels and outfitters in popular hiking destinations will offer shuttle services, so do a quick google search to see what’s available if you go this route.
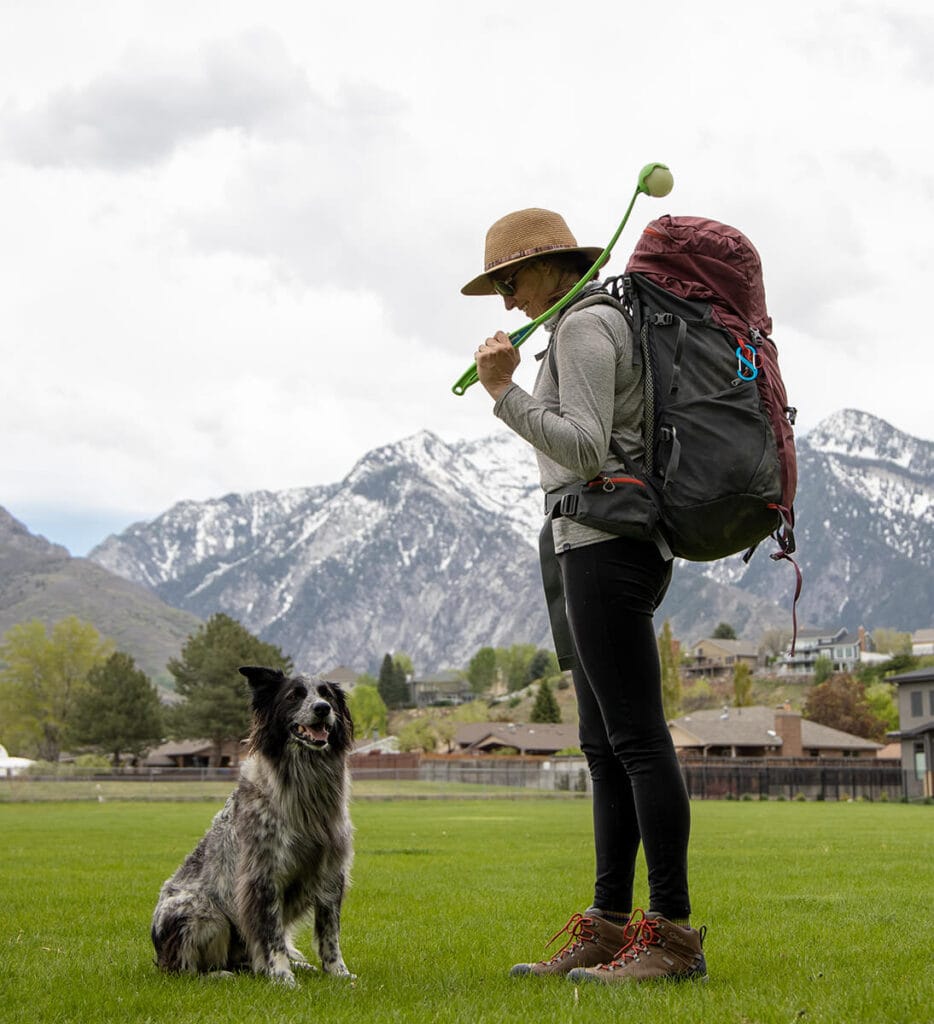
6) Get the necessary gear for your first backpacking trip
Maybe you already have your backpacking gear dialed. If so, great! If not, a good place to start is with my 3-day backpacking checklist. In addition to that detailed post, we’ve also got several more outdoor gear guides here on Bearfoot Theory including:
- What to Wear Hiking
- The Best Backpacking Packs
- The Best Tents for Backpacking
- The Best Sleeping Pads for Backpacking
- The Best Sleeping Bags for Backpacking
- The Best Water Filters for Backpacking
- The Best Lightweight Bear Canisters
Ok, so what if this gear is way too expensive? Don’t let that deter you from planning a backpacking trip. Ask your friends if anyone has gear you can borrow. But be sure to check that a borrowed backpacking pack fits comfortably before you set out and that the gear you’re bringing along isn’t super heavy or else you may not enjoy your trip.
REI offers gear rentals, and if you’re an REI member you get a discounted rate. If there’s not an REI in your area, check your local university recreation center and local outdoor stores to see if they rent backpacking gear. If you want to buy your own gear, but are looking for discounted prices, check out our post on the Best Places To Buy Discounted Outdoor Gear. Buying gently used outdoor gear is another great way to save money, and it’s better for the planet too!
7) Test your gear
Not testing your gear is a common beginner backpacking mistake that’s easy to avoid. Make sure you know how to use all of your gear before you set out.
Set up your tent in your living room and take your backpack and hiking boots for a spin up your local hill before setting out on an overnight trip. If something doesn’t feel right, it’s probably not and you want to catch it before heading out into the wilderness.
If your pack is the right size but it is still giving you trouble (it’s weighing down on your shoulders or seriously hurting your back), you probably need to make some simple adjustments to the straps. Or perhaps you need to make some adjustments to the way you pack it. Check out this guide on how to pack a backpacking pack for more on this topic.
As far as your hiking boots, unless you choose a heavy-duty leather pair that are suited for mountaineering, most standard trail hiking boots should be fairly comfortable right out of the box, but you still want to take them on a few hikes before your backpacking trip to make sure. If you take them for a short hike and come home with blisters, they might not be a good fit. The point of testing your gear all out beforehand is to get everything dialed so faulty gear doesn’t ruin the epic backpacking trip you’ve been planning.
Testing your gear beforehand also offers the opportunity to train before the big hike.
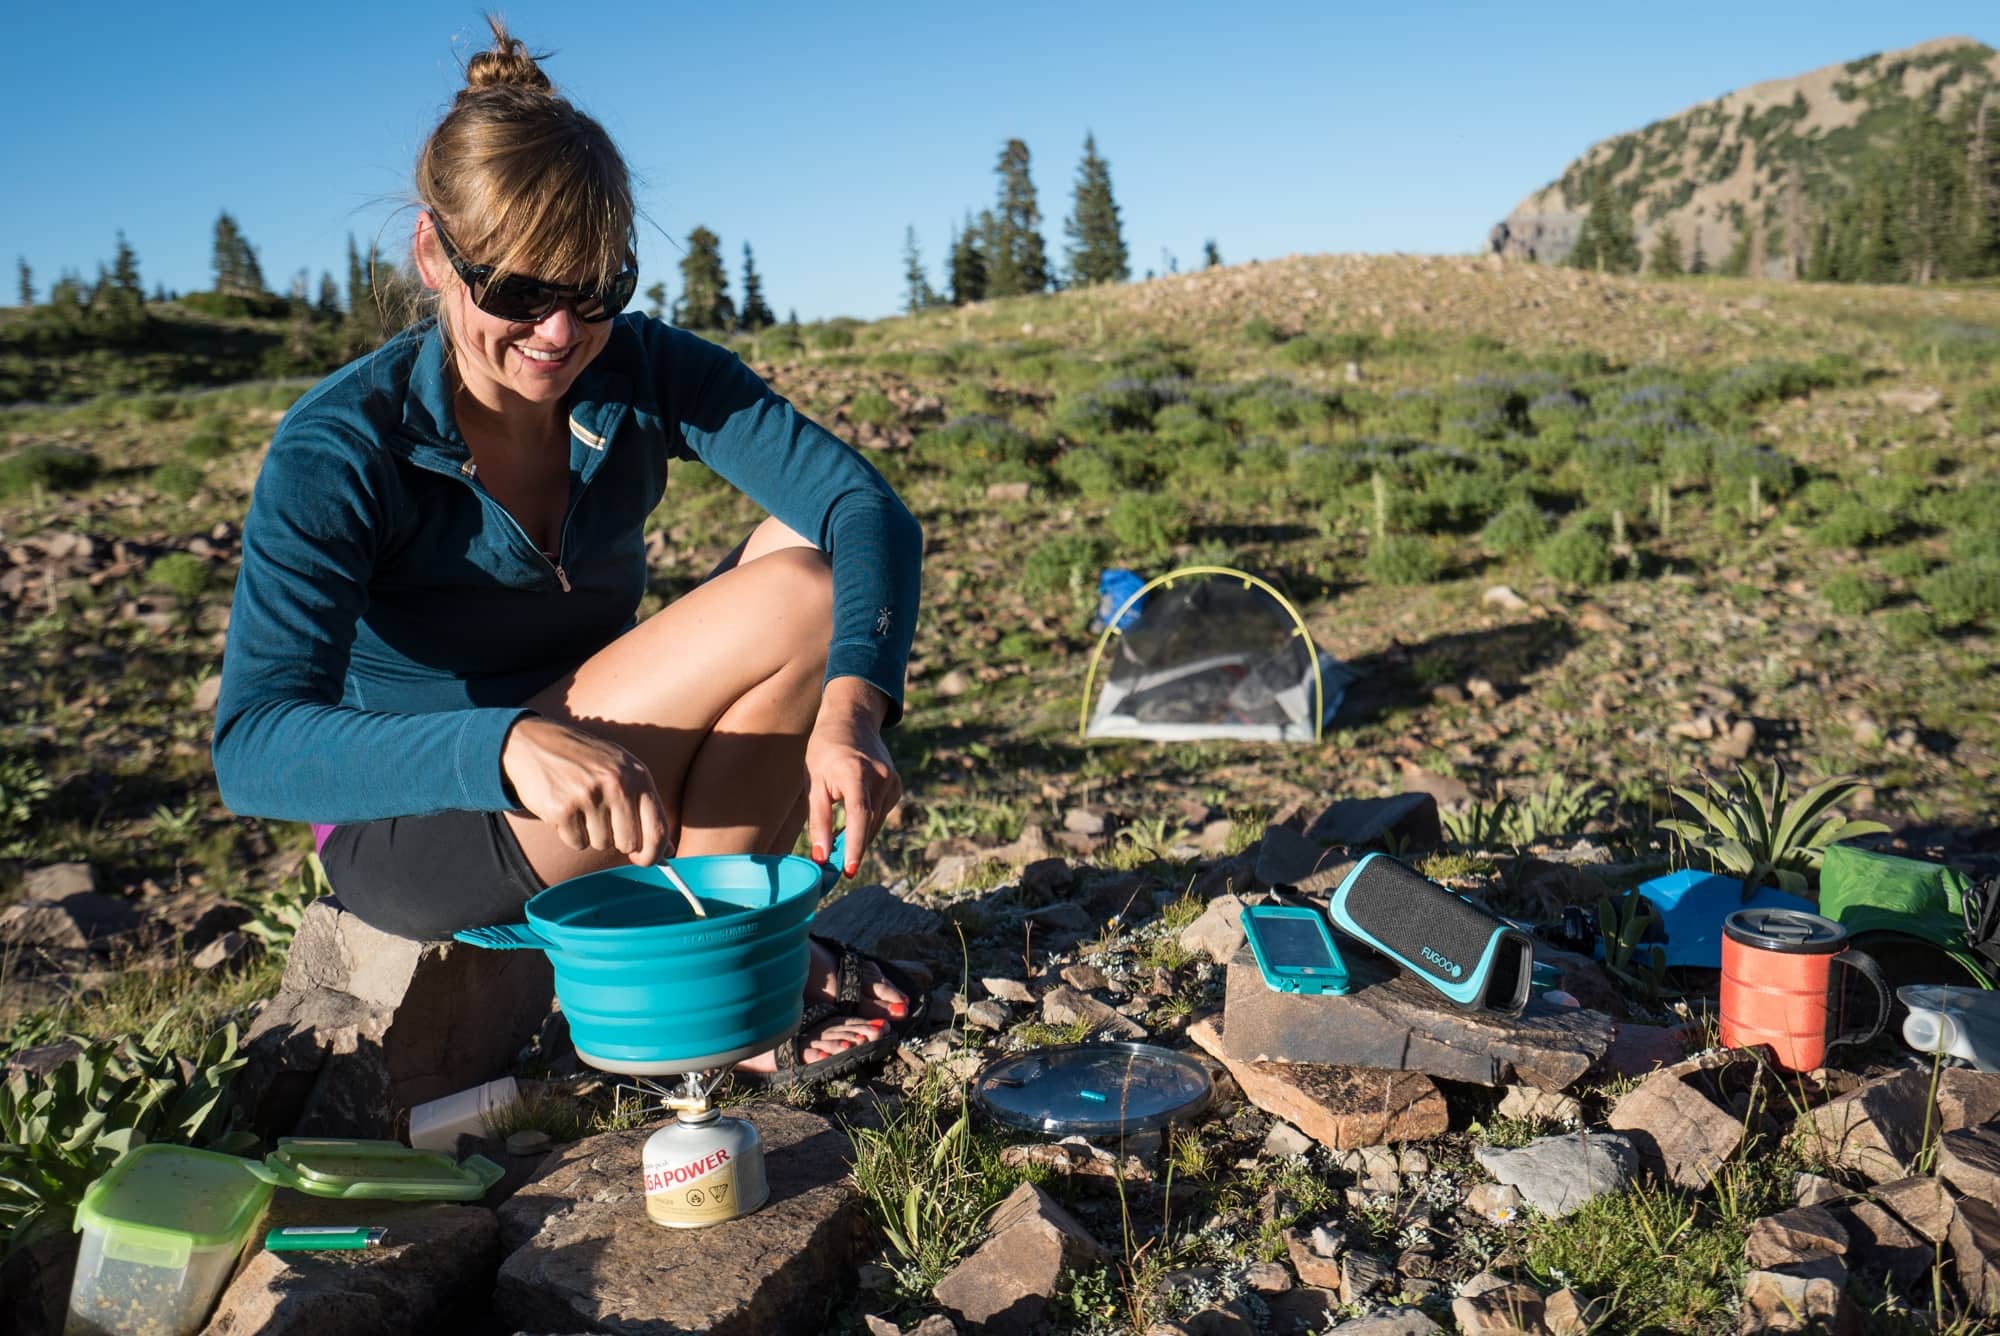
8) Shop for Food
Planning food is a big part of planning a successful backpacking trip. You want to eat well, but you also want it to be easy and lightweight. I’ve written a detailed post on some of my favorite lightweight backpacking food options and I also especially love Good To-Go’s backpacking meals. Their Mexican Quinoa Bowl is one of the best dehydrated backpacking meals I’ve ever tried! It’s filling, yet vegan and gluten-free, and it has half the sodium of most backpacker food brands.
Also, be sure to check the requirements for food storage for the trail. If you are in bear country, you’ll need to pack your food in a bear-proof canister.
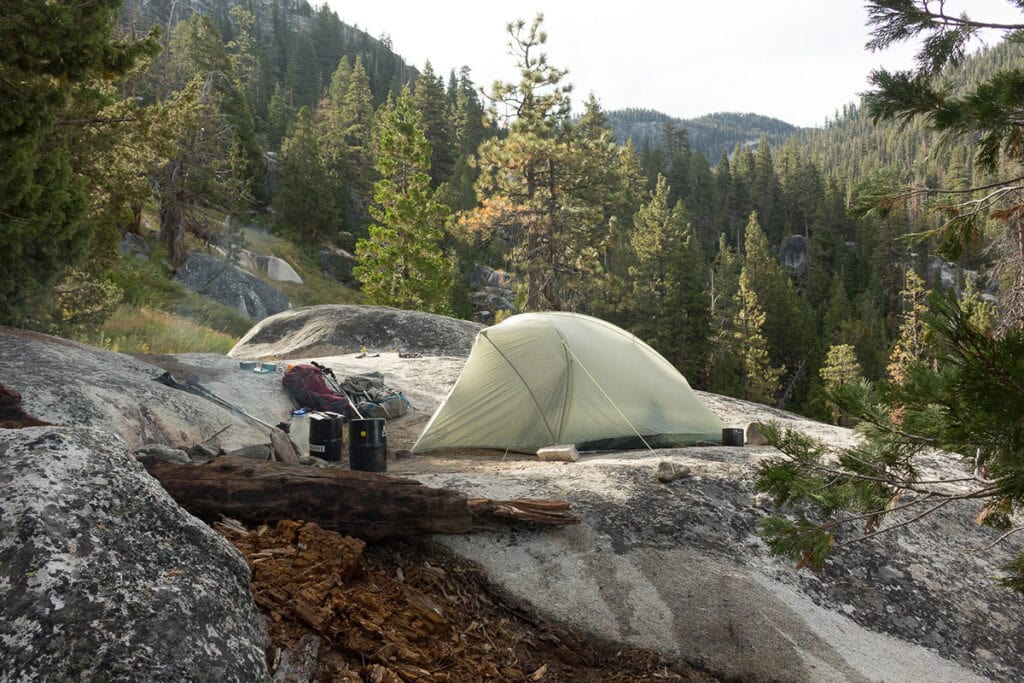
9) Brush up on Leave No Trace Principles
Leave No Trace is a set of guiding principles to help you reduce your impact when you are spending time outdoors. It covers everything from pooping outdoors to how to safely enjoy campfires and even where to set up your tent. If you are not familiar with Leave No Trace, make sure you brush up on how to be a good camper before you hit the trail so we can all do our part to keep the places we recreate in as pristine as possible.
10) Get a Map & Check Water Availability
Don’t want to get lost? ALWAYS bring a paper map with you and check out these navigation tips while you’re at it. Even if you think the trail is going to be straightforward and well-marked, a paper map should be non-negotiable. While you can download hiking and navigation apps you always want a backup in case your phone dies. I am a huge fan of the National Geographic Maps which exist for most National Parks and other popular hiking areas. If you can’t find a map to purchase online or at your local REI, stop by the nearest rangers station on the way to the trail and see if they have a map.
A map will also give you an idea of how far water sources are spread out. Be aware that water sources that are listed on the map might dry out during the summer months. If there is any question about water availability and how much you should carry, call the rangers station and ask about current conditions.
11) Tell a friend or your family your plans
It’s important for safety to share your plans with a friend or family member. Ensure they know the date and general time you plan to check in with them at the end of your trip and make sure they know the details of the trail you will be hiking.
I also like to carry some sort of backcountry communication device if I’m hiking solo or going somewhere really remote. The SPOT Gen4 and the Garmin InReach Mini are the top satellite communication devices for sending texts to family back home and calling emergency responders if you get into trouble.
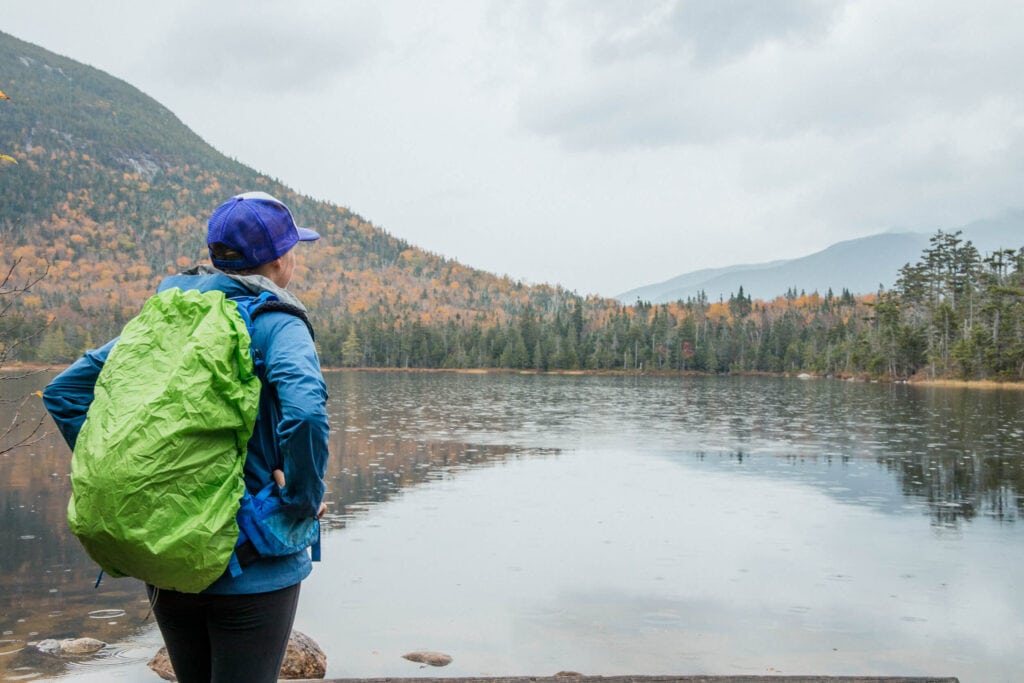
12) Check the weather
It’s important to always check the weather starting at least a few days before your start state. Bearfoot Theory community member Kim once drove 10 hours to hike the Lost Coast only to learn there was a large storm front rolling in that closed the trail. Checking the weather ahead of time will help you adjust your plans as needed and prepare by packing the correct clothing and gear like a rain jacket and even rain pants. In case there’s the possibility of wet weather in the forecast, here are some of our tips for hiking in the rain.
AND FINALLY, GO!
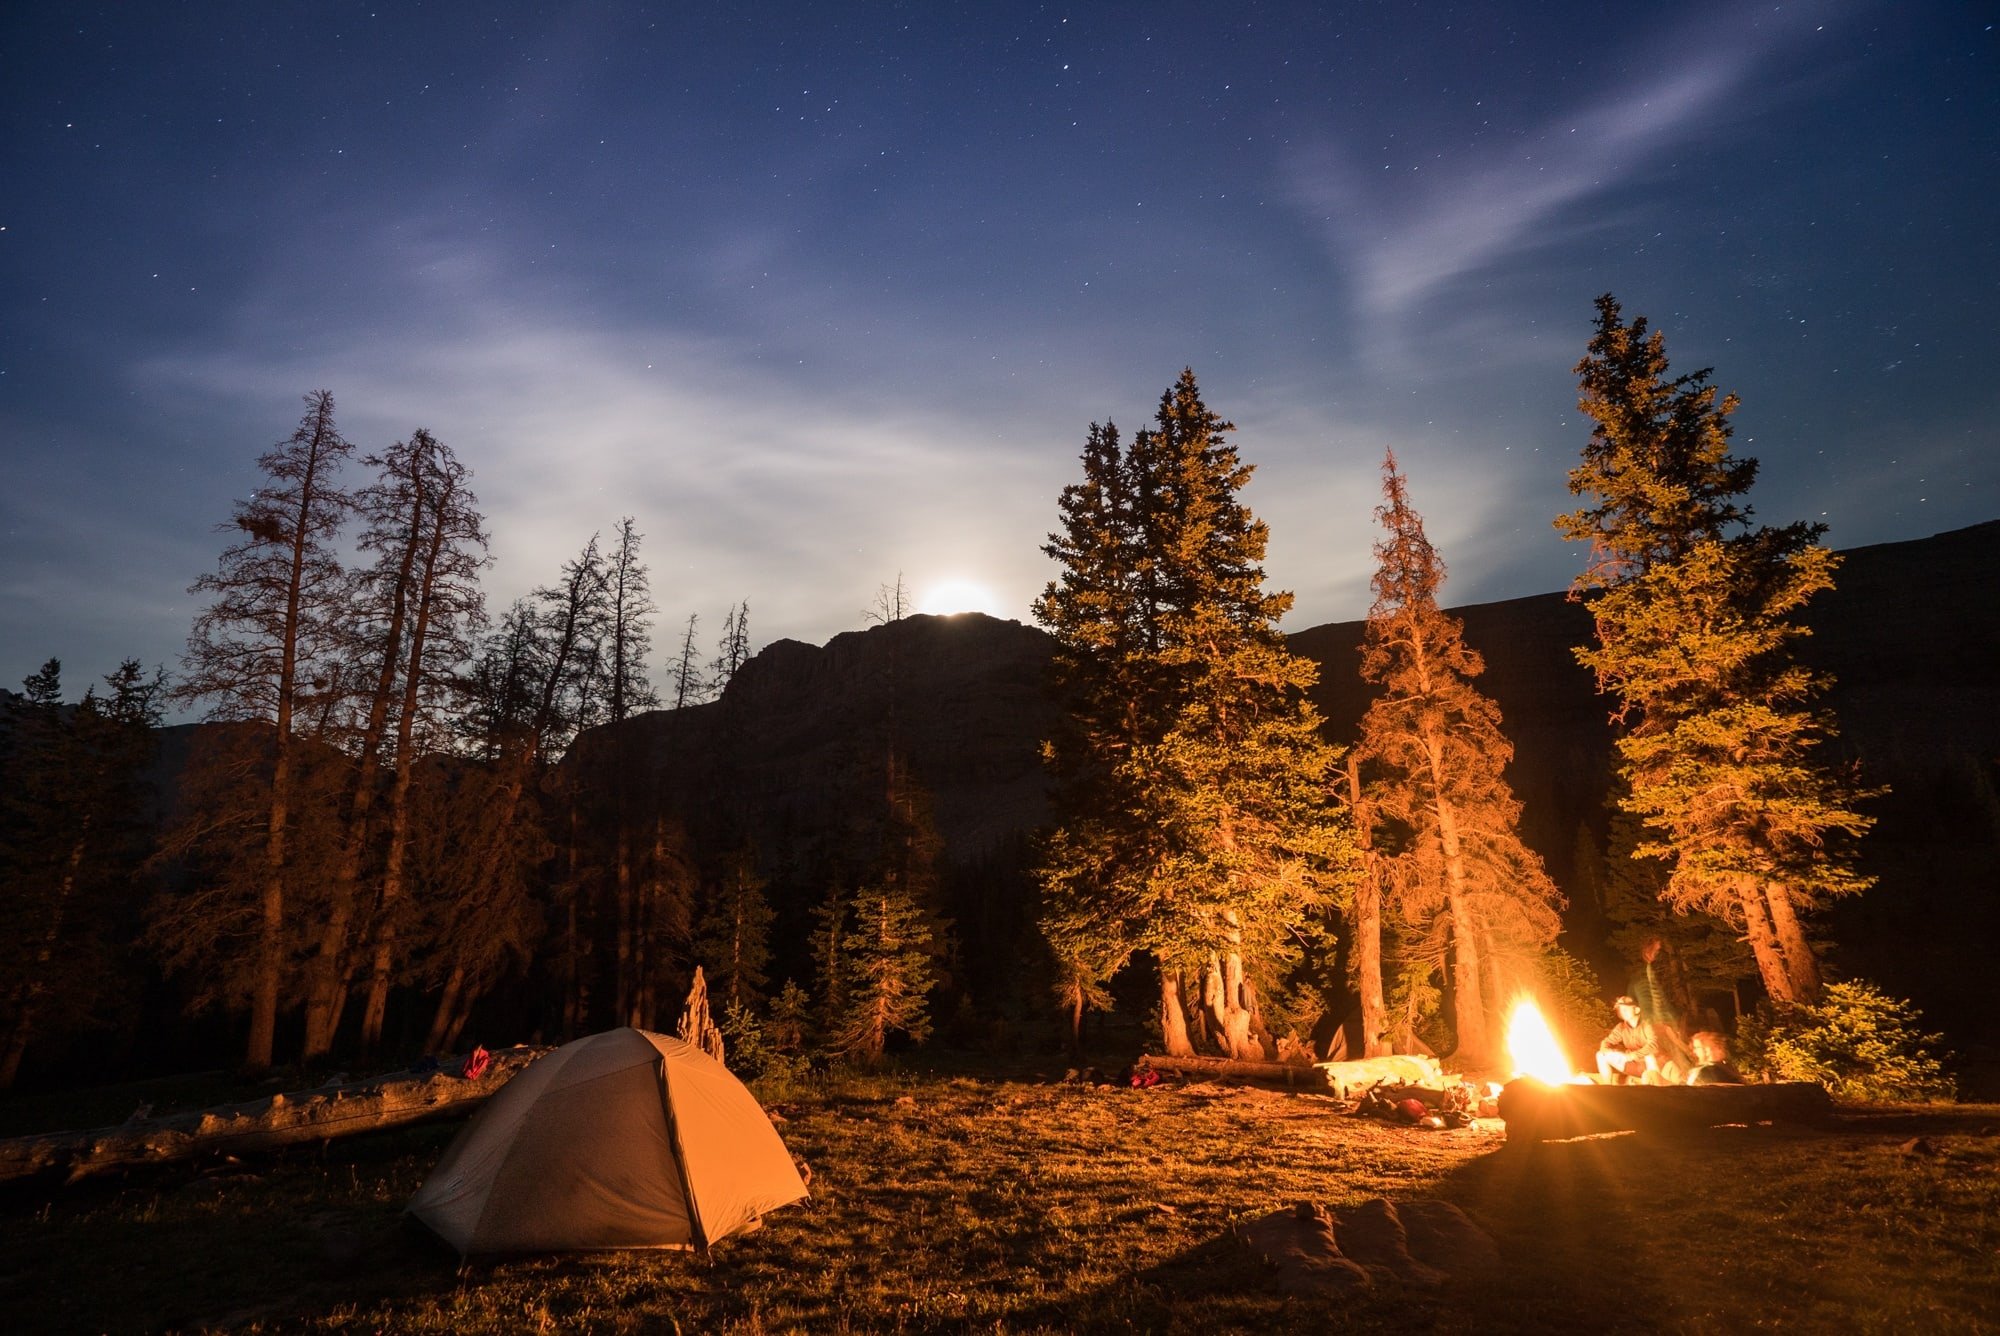
The last and final step is to hit the road and have a good time! Know that most people experience a couple of minor mishaps on their first backpacking trip. On my first backpacking trip, I forgot my hiking boots and ended up hiking 20 miles in Chacos (with a lot of blisters to boot) and I didn’t pack nearly enough food. It also made me realize I was a little more out of shape than I thought.
But watching the sunset over that lake where I camped was a turning point in my life. That first backpacking trip changed my whole relationship with the outdoors….so get ready 😉

Where was your first backpacking trip? What other advice do you have on how to plan a backpacking trip? Share your comments, questions, and experiences below!

Tip #11 is clutch, and so easy to forget. Thanks for the reminder. Great post!
Thanks for this awesome guide! I’ve always wanted to go on a camping trip but it always feels intimidating, so I’ve only done short hiking trips. This list somehow makes proper camping trips feel much more manageable with some simple steps, saving it and hoping to be able to use it soon!
Awesome Aaron! Good luck on your first backpacking trip and come back and tell us how it goes!
Hi! I love your site, so many great articles and pieces of advice. I have one question I have searched for an answer on your site and elsewhere and can’t seem to find… when you plan for an overnight backpacking trip 4+ days, what is you advice on parking? Where and safety. Thank you!
Hi Ally – it really depends on what trail you’re doing. Some trailheads are safe and secure enough to leave your car for a few days (just make sure you take out all valuables). If you don’t feel comfortable leaving your car, you could ask a friend to drop you off or take public transportation to the trailhead if available. Many cities will have short or long-term parking lots that you can leave your car at for a fee. For Kristen’s 22-day JMT hike, she left her car at the Ranger Station in Tuolumne Meadows.
Thank you. Even though this will not be my first time hiking, you advice just made me double check my check/packing list.
This is very empowering! I’ve wanted to go backpacking for years and have felt intimidated and didn’t know where to start. We just completed our first backpacking adventure last weekend and had a blast. You break things down and help me feel like I can do this!!!!
That’s awesome Dana, congrats!