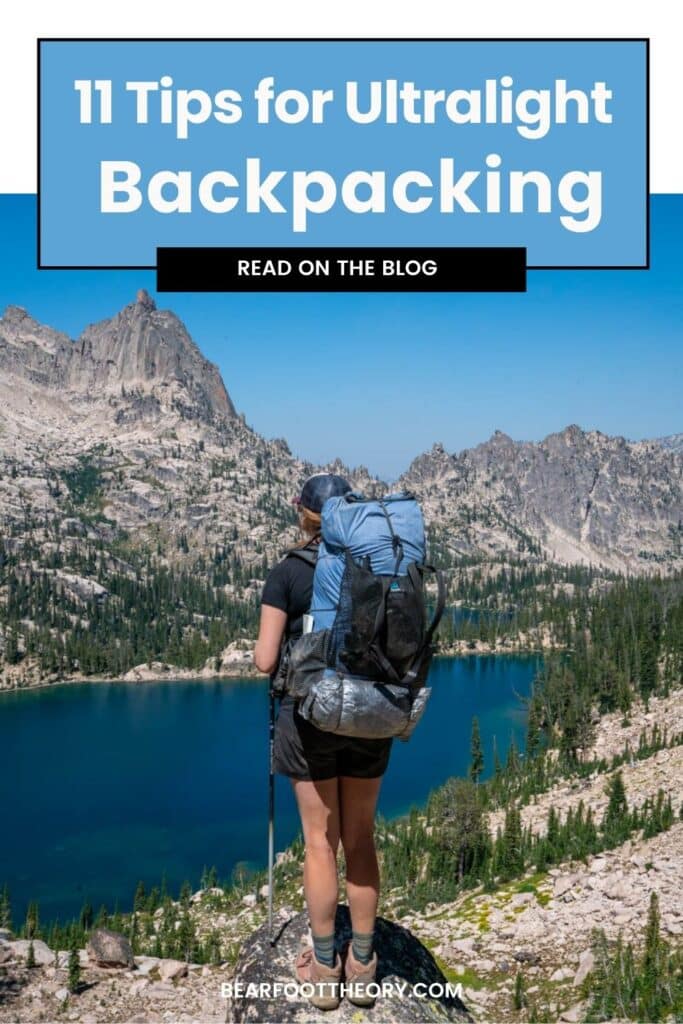
Ultralight Backpacking Tips: 11 Practical Ways to Shave Weight
After one too many backpacking trips where my pack was way too heavy, I started finding ways to shed weight from my backpacking setup. Here’s 11 easy ways to reduce your load without having to cut the end of your toothbrush handle off.
Ultralight backpacking doesn’t have to come at the cost of comfort and ease on the trail. With the advancement of gear technology over the past decade, shaving weight from your pack can be as simple as upgrading some of your heavy gear or doing research on water sources before you head out so you don’t need to carry a ton of extra water (which is heavy!).
I will be the first to admit, though, that cutting weight from my backpacking gear has been a challenge (especially with my camera equipment), and it’s something I’ll forever be trying to conquer. I’ll also preface this by saying that I’m not the type of person to cut the handle off of my toothbrush or forgo the stove and eat trail mix for dinner… although those things can save you weight too 🙂
These ultralight backpacking tips focus on easy, practical changes that the average backpacker can follow to shed weight while still being comfortable and having durable gear on the trail.
This post may contain affiliate links.
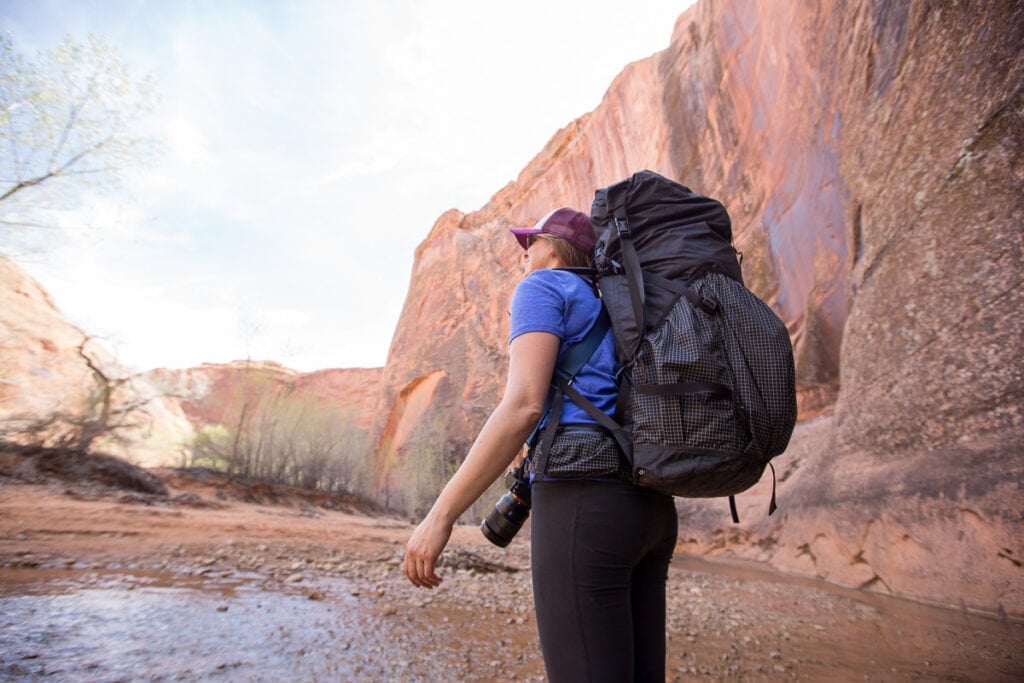
1. Focus on Items with Multiple Uses
Take a look at every item in your backpack and make sure you know how to maximize their uses. Many items you carry on backpacking trips can have more than one function, which allows you to reduce the amount of gear you really need. Here are some examples of multi-use backpacking gear.
When prepping for a trip, try to switch out super specific items with multi-purpose items wherever possible.

Save this post!
Enter your email & I'll send this post to your inbox! You'll also receive my weekly newsletter full of helpful advice for planning your adventures.
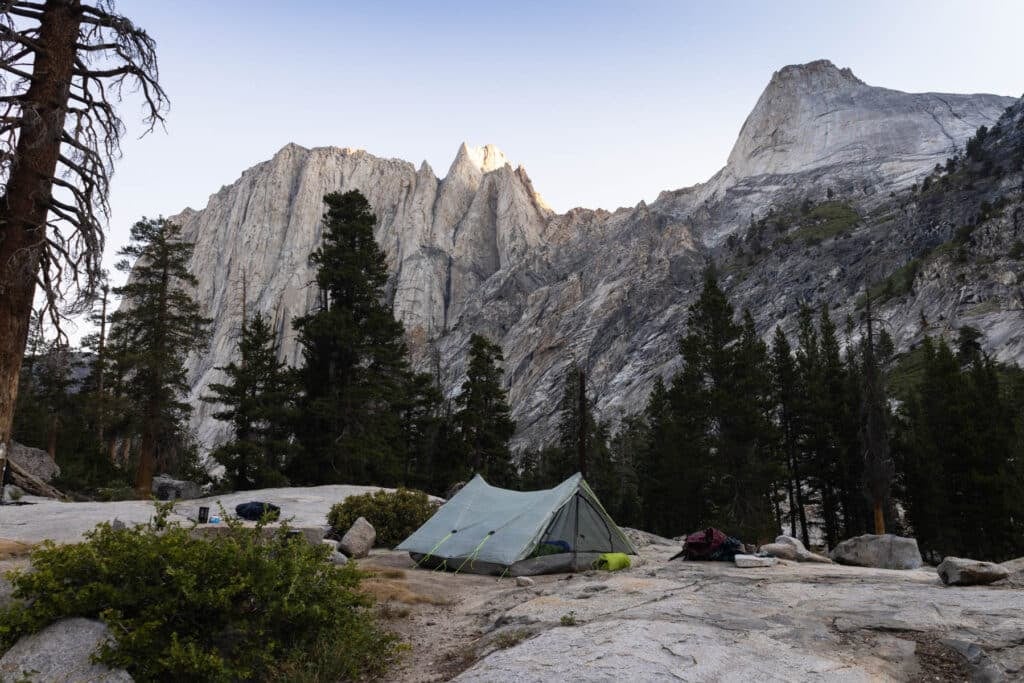
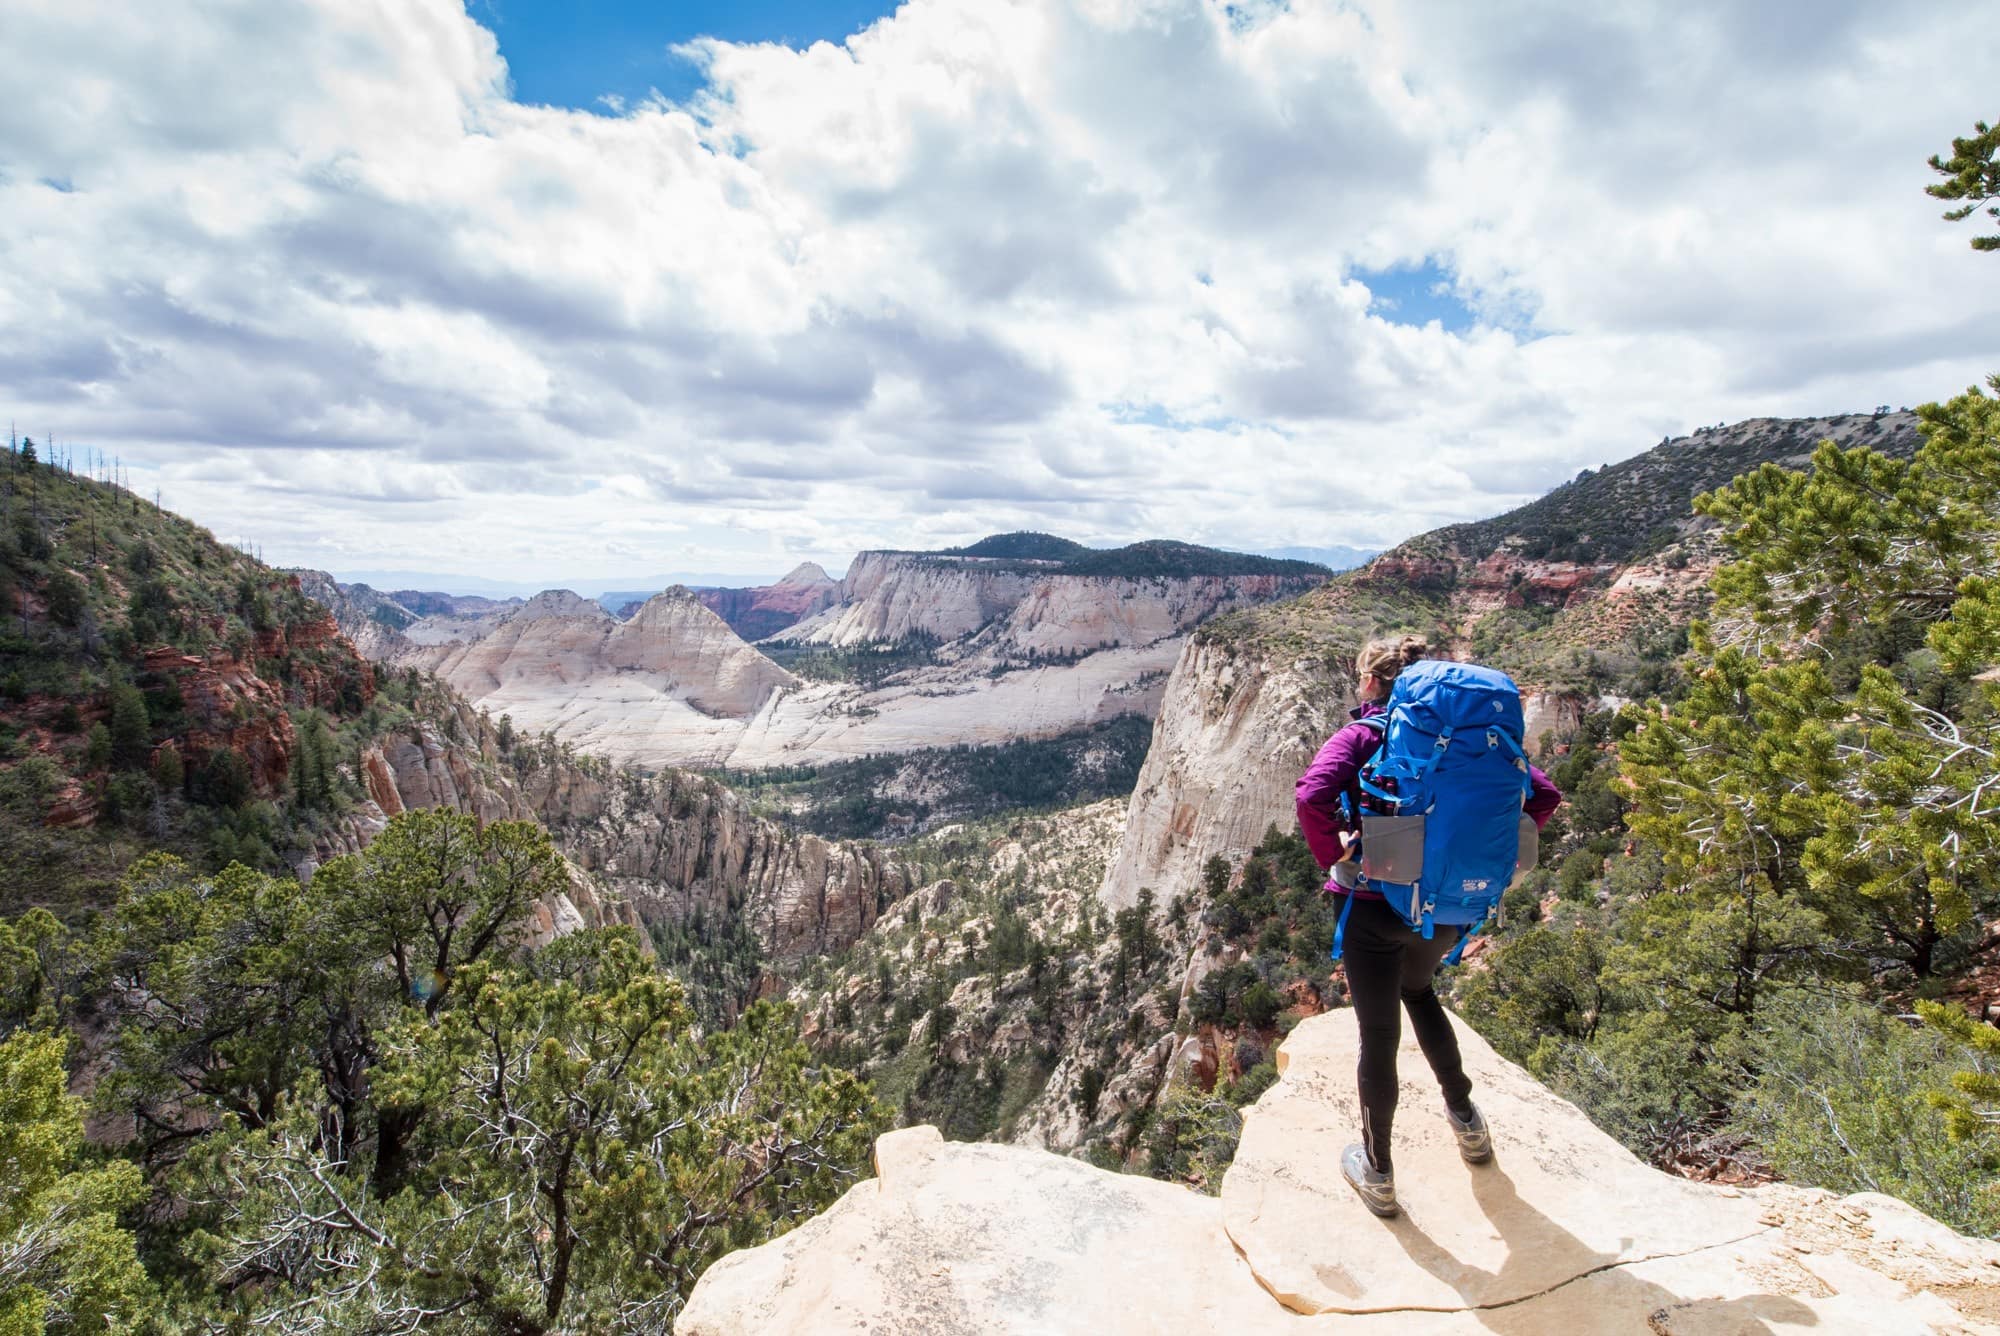
2. Shed Weight on the “Big Three”
Upgrading your heavy backpacking gear to ultralight gear can be expensive, but it’s worth doing piece by piece as you can afford. If you want to make small changes that will have big impacts on your pack weight, start with the big three. If you can get the total weight for these three items under 7-8 pounds, that’s an amazing start towards going ultralight.
3. Cut the Non-Essentials
Do you really need three heavy camera lens or bulky camp chair? Lay out all of your gear before packing it up and check to see if you can eliminate any items that are duplicates or unnecessary.
After each backpacking trip, create a list of everything in your pack that you didn’t use. If an item keeps reappearing on this list, cut it from your packing list. You can check out my 3-day backpacking packing checklist that has a PDF version you can download for easy reference.
With that being said, first aid and emergency equipment like a GPS satellite communicator are essential and an exception to this ‘cut it’ rule. You can, however, make sure that your first aid kit is not overkill. Learn more about building your backpacking first aid kit in this post.
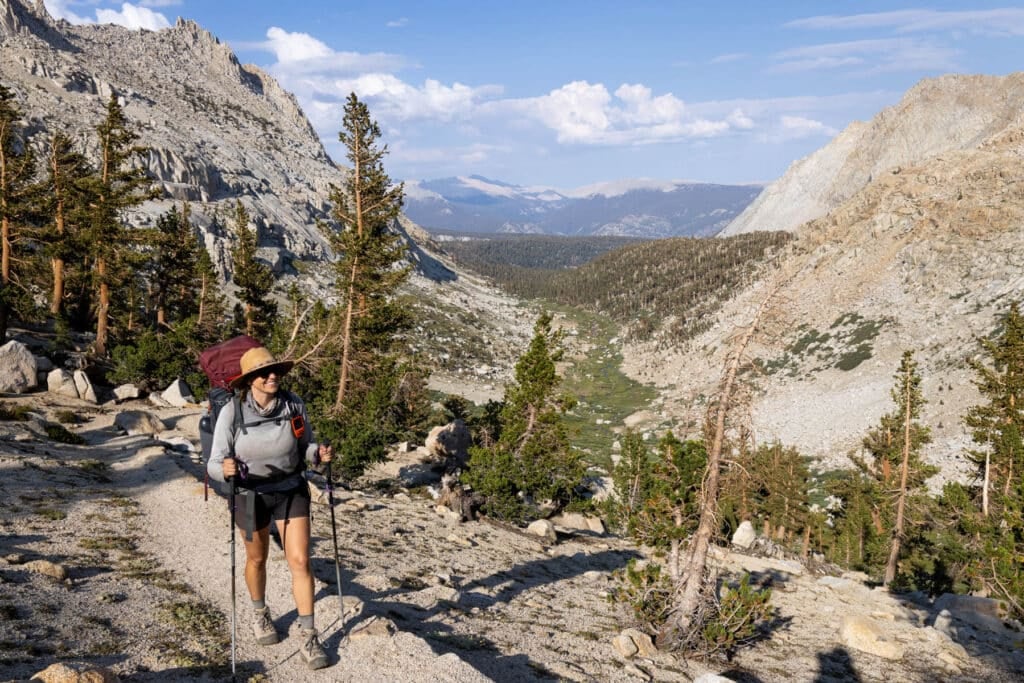
4. Don’t Overpack
Overpacking clothes and toiletries is one of the most common beginner backpacking mistakes!
When packing your clothes for the backcountry, try to be minimal. Do you need a new outfit each day? Definitely not. For most backpacking trips, you only need one set of hiking clothes and one set of camp clothes, plus rain gear. Duplicates aren’t necessary unless you are hiking somewhere with extreme weather where you need a backup. You can also go on a week-long trip with just 2 pairs of socks.
For toiletries, don’t bring full-sized of anything. Also leave the big pack of baby wipes, deodorant, shampoo, and other toiletries at home. This will help keep your pack weight much lighter.
5. Think in Terms of Ounces
A classic backpacker saying is “Pay attention to the ounces, and the pounds take care of themselves.” — it’s all about ounces when it comes to ultralight backpacking tips. Don’t use averages or estimates – know the exact weight in ounces of every item in your pack, especially when you are purchasing new gear.
“About” 2 pounds doesn’t cut it. Is it really 2 pounds OR is it 2 pounds AND 5 ounces? If you want to get serious about ultralight backpacking, a bathroom or luggage scale will help you with weighing gear. Weigh everything in your pack and consider keeping a spreadsheet of every item you’re bringing and its weight. This will make it easier to determine what gear is worth swapping out for a lighter version.
An example where the ounces make a difference is if you’re going on a 1-2 night trip, a 3.5-ounce fuel canister is plenty big for boiling water or cooking simple meals. Bringing a bigger fuel canister might not seems like a big deal, but 5 extra ounces here and 5 extra ounces there, adds up quickly.
Other items that vary greatly in weight are your sleeping pad, camp sandals, cookware, clothing, and water filter. Seeing if you can swap heavy stuff for lighter alternatives can reduce your base weight significatly.
6. Choose Smart Materials
When choosing lightweight backpacking gear, take into consideration what material the gear is made from. For example, titanium is expensive, but it’s also lightweight and durable. Carbon fiber is lighter than aluminum, but it’s not as durable. Always think about the terrain and conditions you’ll be backpacking in to decide what kind of materials are best.
Another example is synthetic layers vs. cotton clothing. Synthetic is better for hiking because it’s generally lighter and dries quickly. This means that rather than bringing a bunch of extra clothing, you can rinse your shirt in a stream, hang it out an hour and it will be dry and ready for the next day.
Research the gear you are buying so you know if it’s both lightweight and made of an appropriate material for backpacking.
7. Get Organized
Keep a list of everything in your pack and its weight. I know this sounds a little intense, but when you see the numbers for how fast all your gear weight adds up, it helps you decide what to cut out. Lay everything out before it goes into your pack so you can see what you’ll be carrying.
If you have a pack with numerous pockets, have an organization system for what goes where. Being organized will help prevent you from bringing things you don’t need and throwing in extra items on your way out the door just because you have the room in your pack.
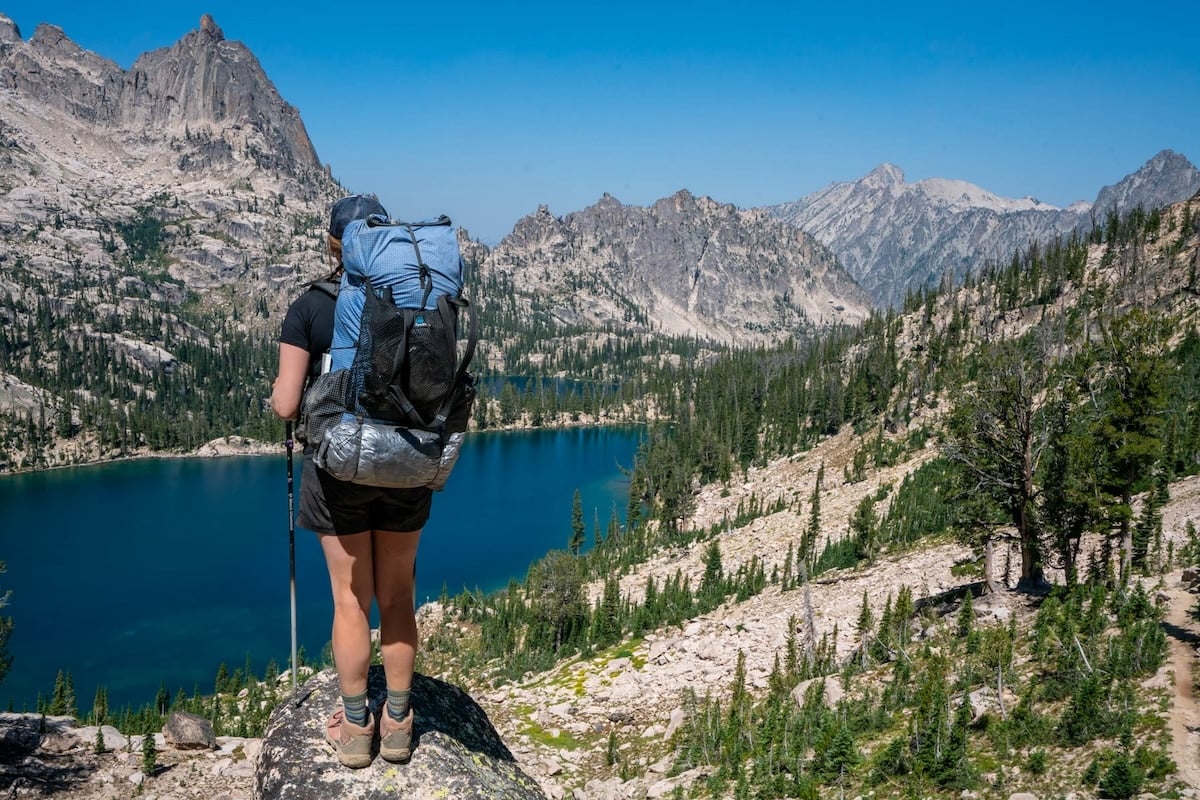
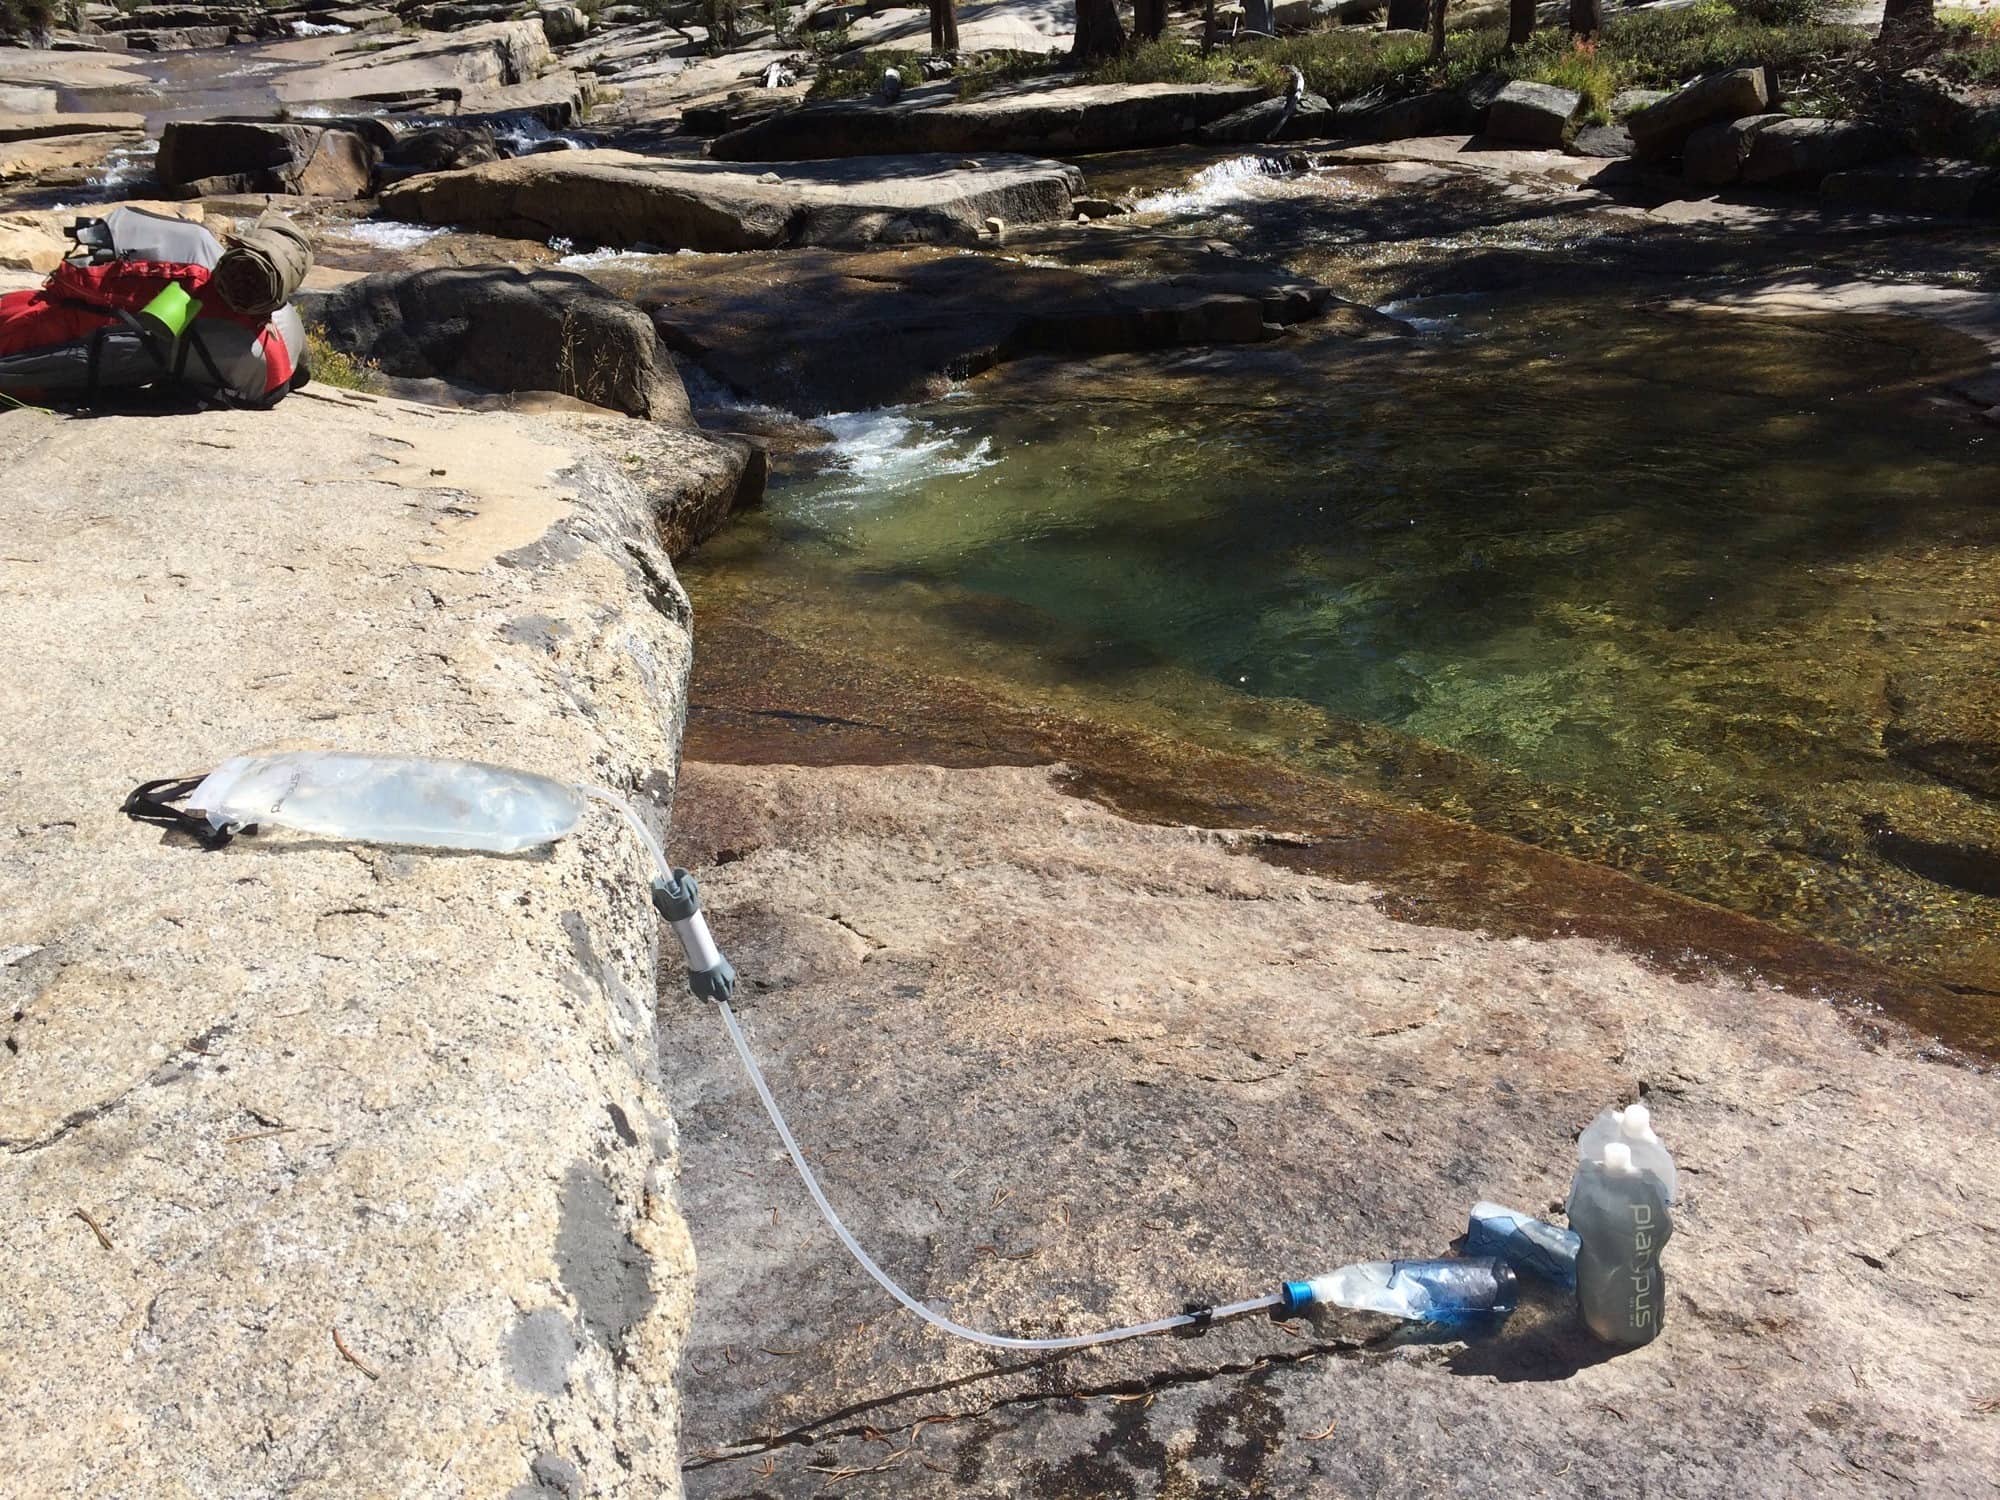
8. Don’t Carry More Water than You Need
Water is likely to be one of the heaviest things you’ll be carrying. To minimize how much water you need to carry, do your research before setting out to know where on the trail you can expect to find water and pack a lightweight water filter. Then, calculate how much water you need to carry to get you to the next water source.
Another good strategy for minimizing water weight is to carry multiple smaller bottles instead of one giant bottle so you can distribute the weight on either side of your pack.
Finally, don’t pack a stainless steel water bottle. Even plastic Nalgenes are quite heavy. I like these ultralight collapsible water bottles that get smaller as you drink. Smart water bottles (like Smart water from the gas station) are also a good choice since they are narrow, light, and can easily fit in the side pocket of your backpack.
Check water availability before you go!
It’s always a good idea to get updated trail information from the local ranger station or a recent trail report before heading out because you don’t want to find out that the creek you expected to be there is completely dried up.
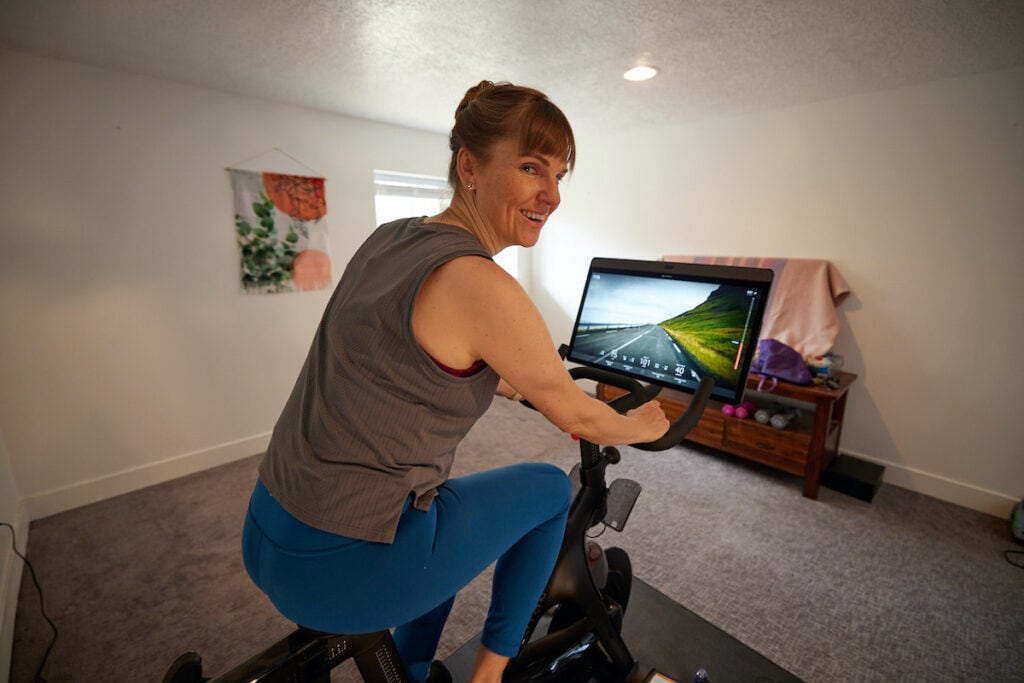
9. Get Healthy Before your Trip
People sometimes focus relentlessly on cutting ounce after ounce off of their packs, yet they don’t consider the weight they are already carrying on their body. Being fit and healthy before heading out on the trail will make your overall experience more enjoyable.
A backpacking trip is a great motivation for squeezing in some training hikes, doing at-home workouts, and eating healthy to ensure you’re fit for the trail.
10. Plan Your Food Strategically
Food weighs A LOT. Plus, it’s one of the easiest things to overpack. I can’t tell you how many times I’ve gone backpacking with wayyyyy too much food.
Before you head out on your trip, lay out your meals and snacks for each day of your trip. Make one pile for each day that includes breakfast, lunch, dinner, and snacks. This will help you visualize whether you are bringing too much or not enough. If you start with too much, you can then take away the heaviest of your food from your packing list.

Also, take some time to research lightweight backpacking food options that are still high in calories and protein. While fresh fruit sounds great on the trail, you can pack twice as much dried fruit in the same space, for less weight, and then you don’t have to pack out food waste (such as orange peels and apple cores).
While eating fresh is always preferred at home, when I’m on the trail, I opt for dehydrated backpacker meals. They take up so little room in your pack, weigh less than anything you might cook from scratch, and the convenience makes them all the more satisfying. Plus they pack in a lot of calories.
The goal is to choose calorie-dense foods that offer the most nutrition in the smallest package.
Dehydrated backpacker meals can be expensive, but when you compare all of the ingredients you have to buy if you want to cook from scratch, plus the hassle of doing dishes, it makes it worth it to me. You can reduce your food weight further by removing any unnecessary packaging and repackaing backpacker meals into ziplock freezer bags which you can pour boiling water into.
If you’re super serious about going ultralight and are only going out for a night or two, you can also consider ditching the stove and fuel and eating snacks for all of your meals, which will save you a pound or two.
11. Keep Learning
Hikers and outdoor brands are always coming up with new ways to cut weight when backpacking, so set a goal to learn something new with every hike you take. Look for additional resources and articles and talk to others on the trail to learn their tips and tricks for keeping weight low. Your expertise will continue to grow and your pack weight will reduce with each backpacking trip you take!
And remember…. it’s not a competition. When I was on the John Muir Trail, I heard people constantly comparing their pack weights which drove me nuts. It’s not about who has the lightest pack. It’s about finding the sweet spot between being comfortable while you’re hiking and being comfortable at camp.
Everyone has a different threshold and the more you backpack, the more you’ll learn about what YOU do and don’t need to have an enjoyable hike.
Frequently Asked Questions
Your backpacking base weight is the total weight of your backpack and everything inside of it, minus food and water.
The general consensus is that “ultralight” backpacking is when your base weight is under 10 pounds. This is much easier to accomplish when you are backpacking with another person, and you are able to split up the group gear. However, I’d say a base weight under 15 pounds, and you’re doing pretty good!
Even if you can’t get your base weight under 10 pounds, any unnecessary weight you can cut from your backpacking pack will lead to greater enjoyment while you’re hiking. However, you don’t want to leave important things at home that will greatly reduce your comfort at camp. If you can’t sleep because your ultralight sleeping pad it uncomfortable, then that will not feel worth it. You have to find the right balance between having the gear you need to be comfortable and safe while hiking and at camp.
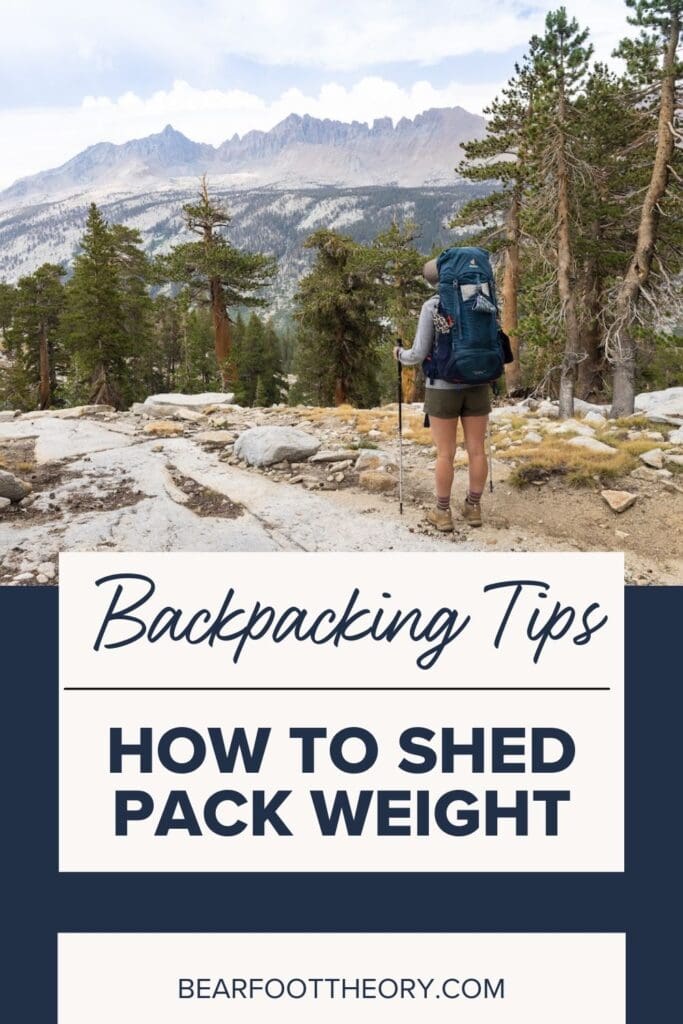
More Backpacking Tips
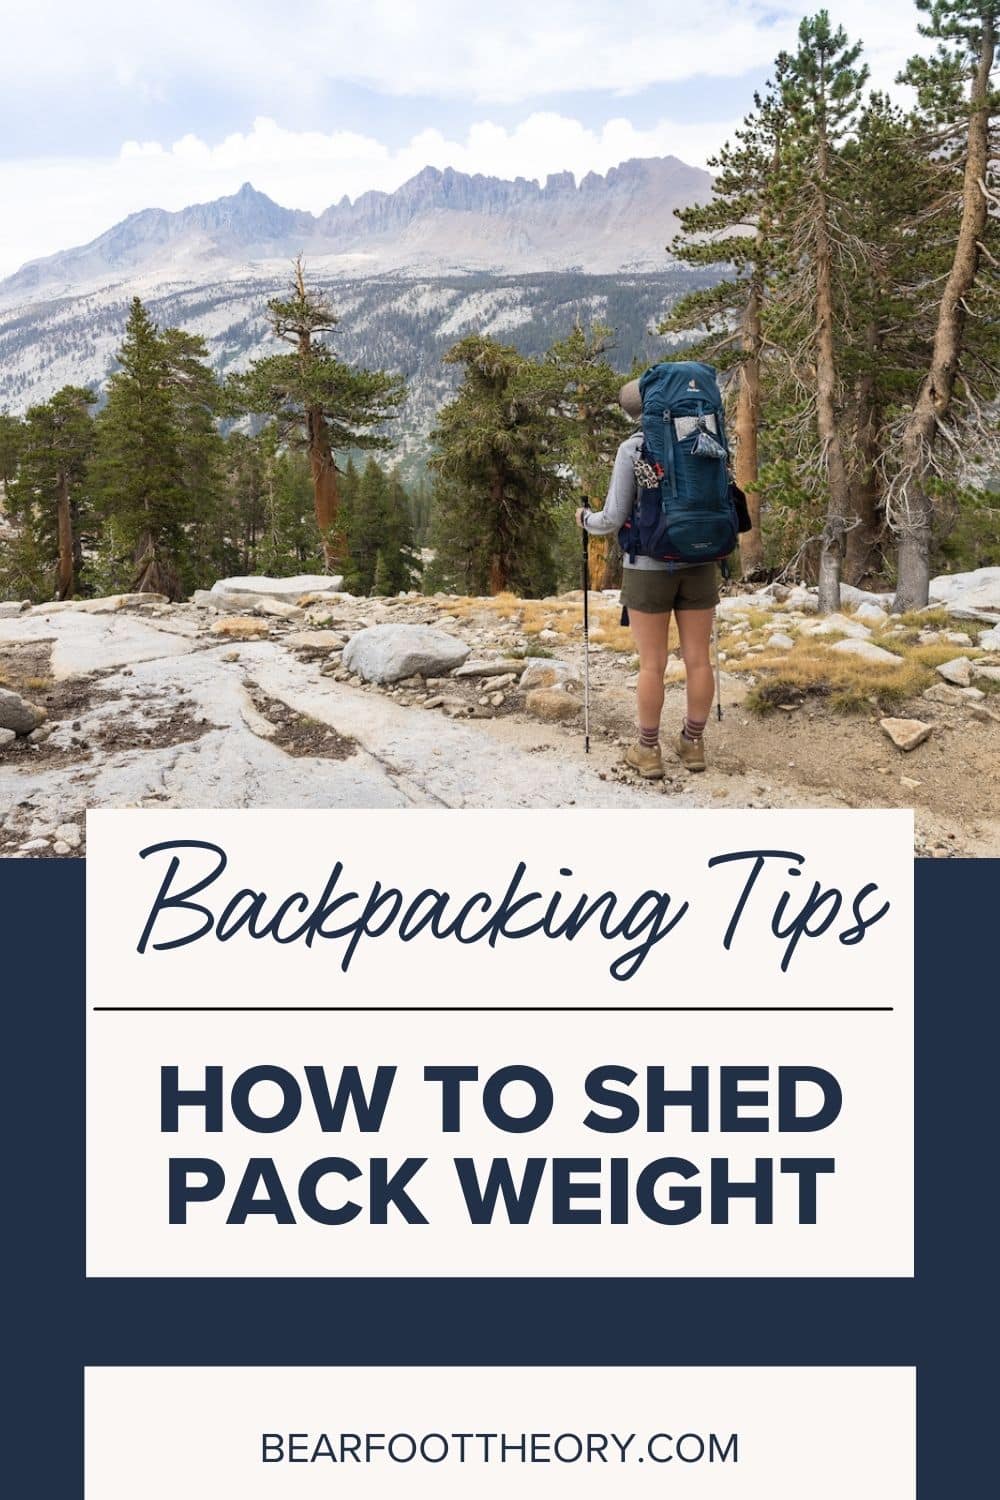
Save this post to Pinterest

Hi Kristen , I love your site and appreciate all your info . I’m planning a backpacking trip with some family to Escalante in late April . We will be spending 5 days in Coyote Gulch . I notice from videos there is a lot of hiking through the river . Do you recommend having an extra pair of shoes for water along with shoes for hiking in the sand and dry areas ? Thanks , any advice you have is very appreciated .
Hi there! So great to hear you are taking a family trip to Coyote Gulch. It really is personal preference when it comes to shoes and dealing with the water crossings. If you all are packing extra shoes that is one option but if some people in the group hike in Keen water sandals or Chacos then you are all going to want to take that route. Personally I like hiking in trail runners and I take the time to review my shoes when doing a river crossing and I wear sturdy water hiking shoes.
Invest in a food dehydrator and prepare your own lightweight meals. Saves a ton of weight (and cash!)
Quite an amazing thing! Got to learn many new and helpful insights!
I would also add investing on a light-feather bag that is half as heavy as the normal travel backpacks that are out in the store. You should get it on Amazon because I;m not sure about retail stores. Before owning that, I used to useless carry over 1 kg which I could use for other essentials. I am a voracious trekker and it requires me to balance my stuff as acutely as possible. Gotta use the last two tips.
Great website. Any experience hiking in Idaho? I will spending some time there this summer in the Salmon River area, more on the Middle and North Fork than the western side. Thanks.
Hi Mary! Thanks for reaching out. Kristen grew up in Idaho so she has extensive experience with the area. Here is a great post with some hiking information for Idaho: https://bearfoottheory.com/outdoor-idaho-adventures/
Love the site, girls. I’ve been stalking you on and off all summer while hubbs and I got back into backpacking.
Just wanted to put it out there for anyone looking to split the difference between an ultra supportive pack, a UL pack, and a super expensive pack 😉
Osprey came out with the Eja/Exos packs and I got my first really nice backpack from them (prior packs had issues for various reasons). The Eja 48 (women’s pack) weighs about 2.5lb, is insanely supportive and breathable, carries up to 40lb for longer treks, and plenty of space. It’s also only around $200 😉 which is pretty good if you poke around and look at similar packs.
Anyway I have yet to take it out overnight but have been day hiking with my base gear in it and it’s crazy comfortable. With about 20lb (when I put my camera, lenses, and gear in, along with tripod and whatever else) it feels like I’m wearing just the pack.
I thought it was a bargain and for any newcomers who might be looking on Amazon for backpacks, consider this one 🙂
I discovered powdered coconut milk right before my Tahoe Rim Trail hike. It has 175 cal per ounce, only the faintest coconut taste, and the ability to make everything creamier and thicker. I added it to Mac and cheese, all of my soups, Nido ( for coffee creamer), hot chocolate and chai powders, rice pudding, rice and beans, grits, granola and hot cereals. My food averaged 1.25 lbs on pure trail days.
The only store I’ve found it in is Food 4 Less, though I suspect Indian food markets may carry it. Otherwise, it’s available online from numerous sources.
Hey there! I use powdered coconut milk as well when hiking! I love it in my morning coffee on the trial. Almost all health food stores carry it as well.
Hello Kristen.
This is the perfect blog post for backpacking for outdoor activities. I highly appreciate you hard work. your blog discusses the traveling assistant tools. As a travel lover people, it gives me enough knowledge for traveling country to country. please keep it up,
Yeah! But forget the Nemo tent. It’s light, but it looks like you can’t pitch the fly until after you’ve pitched the floor, right? These fair-weather tents might be ok for occasional showers on short trips, but have no place on trips where you might encounter persistent rain. Options are limited at REI, but check out European designs (e.g. Hilleberg) and various cottage manufacturers in the USA (Tarptent, Mountain Laurel Designs, Zpacks, Gossamer Gear, and that crowd).
Superb tips. This post is very informative and I got to know various insights. I would like to consider these tips during packing for my upcoming trip. Keep posting such interesting articles.
“A bandana can cool you down on hot days, provide shade, serve as a makeshift coffee filter. In an emergency, it can also be a tourniquet.”
A bandana will NEVER be sufficient for stopping major bleeding. As major bleeding is rare in the backcountry, a CAT tourniquet is light, cheap and will save your life in that rare case. Check out North American Rescue (NAR) for quality CAT tourniquets. (centsX2)
Agreed, a bandana is not a replacement for a proper tourniquet, but it can help temporarily in a pinch. Thanks for the tourniquet recommendation!
Thanks for all your information, Website is very nice and informative content.
Hi Kristin, thanks for the tips. I’ve been traveling for the last 6 months and learned a lot form BearFootTheory. Thanks for that. I like the tip in which you said not to pack a lot of food for the whole trip. I did the same on one of my trips and was badly tired because of my heavy bag. All of the tips are awesome. Keep going!
Thanks for reading Maria!
In the quest to reduce weight, I’m trying to figure out the volume side of the equation. Ultralight packs are lighter in part because they are smaller. Even with a down bag, roll-up air mattress, and single-wall tent (which does not keep one dry), I’m having trouble squeezing in enough food for a week, plus the clothing needed for the cold and the wet, plus water shoes and fishing gear. Going from a 70-liter to a 50-liter pack is a huge loss of volume.
We know what you mean. If we’re packing for a week long backpacking trip, we’ll usually go with a 70L pack, whereas for shorter trips we can get away with a 55L pack. Hyperlite Mountain Gear makes a good ultralight 70L pack that sounds like it might be a good fit for you. Also, the smaller and more packable your gear is (sleeping bag, sleeping pad, tent, down jacket, rain layers, etc), the less space they’ll take up – I know that sounds obvious but something to keep in mind as you search for new gear. Best of luck!
please be aware of bear canister requirements in many parks. no they are not light, make sure your pack is big enough to accommodate one and be prepared.
I found the tip “focus on items with multiple uses” as really clever and interesting. Thanks for sharing!
There are a lot of great multi-use backpacking gear options that definitely help save weight!
Thanks bearfoottheory for share very helpful tips.
I have been looking for information on this topic. I found your post well-written and informative. Thank you!
wuxiaworld
In the summer, and here in eastern Oregon where it’s dry, I ditch the tent and just bring a bivy sack. It’s been a game changer in regards to weight!
Rebecca
Hi Rebecca, that’s a great suggestion for dropping pack weight. Thanks for sharing!
Very good article. I’m looking for a soft water bottle that can take hot water to double up as a hot water bottle in my sleeping bag. Have you any ideas?
Hi Inge, Hydrapak makes soft water bottles that can be filled with water up to 140F.. so not too hot, but still should do the job of keeping you warm — here’s their 1L bottle: https://bit.ly/3LdseEa
One of our team members just took the 4L version on a backpacking trip and it held up really well. She was only using it as extra water storage, not for hot water, though.
Thank you for this idea of waterbottle doubling as hotwater bottle! I live in a cold climate and even in summer some chilly nights can surprise you.
Generally i would comment that thinking in grams might help in shaving some weight off.
I love using papertowel sheets, sprinkled with shampoo for baby wipes. Keep them dry until needed. Dry them out after use and before placing in the trash. Win-win!!
Hi Deb, thanks for sharing! We’ll have to try that out on our next trip
Multiuse gear is a necessity. Six Moon Design Gatewood Cape serves as rain gear and shelter for one. Lightweight bivy and plenty of air circulation. ULA ohm 2 is a great compromise pack between UL and comfort. I’ve filled it to 35# for a weeks food and still been comfortable!