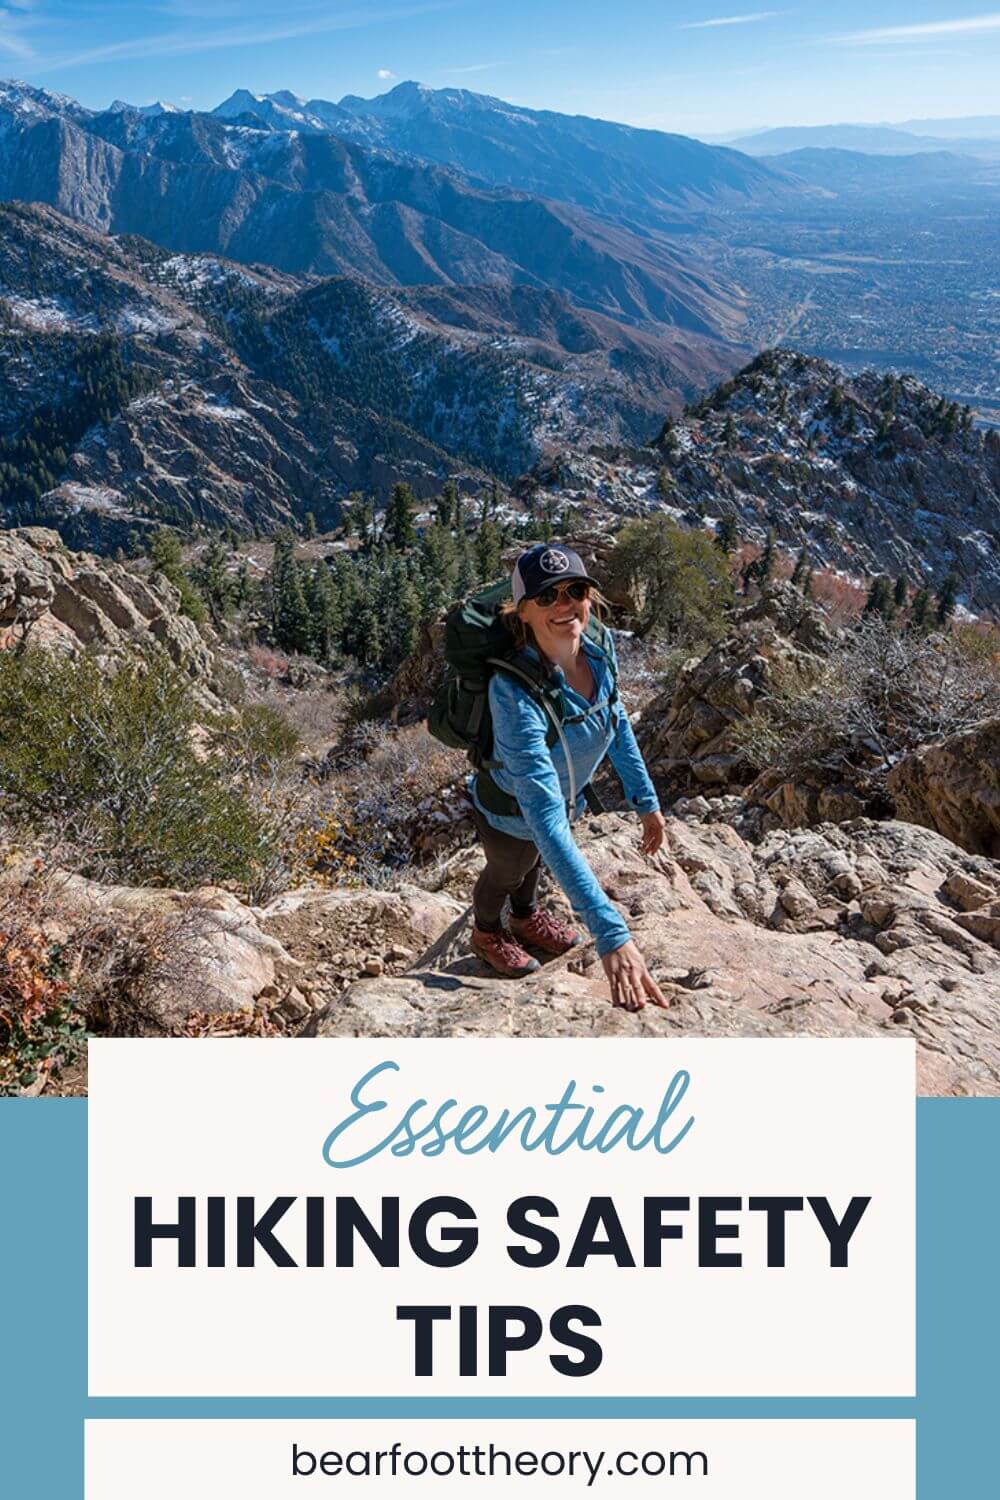
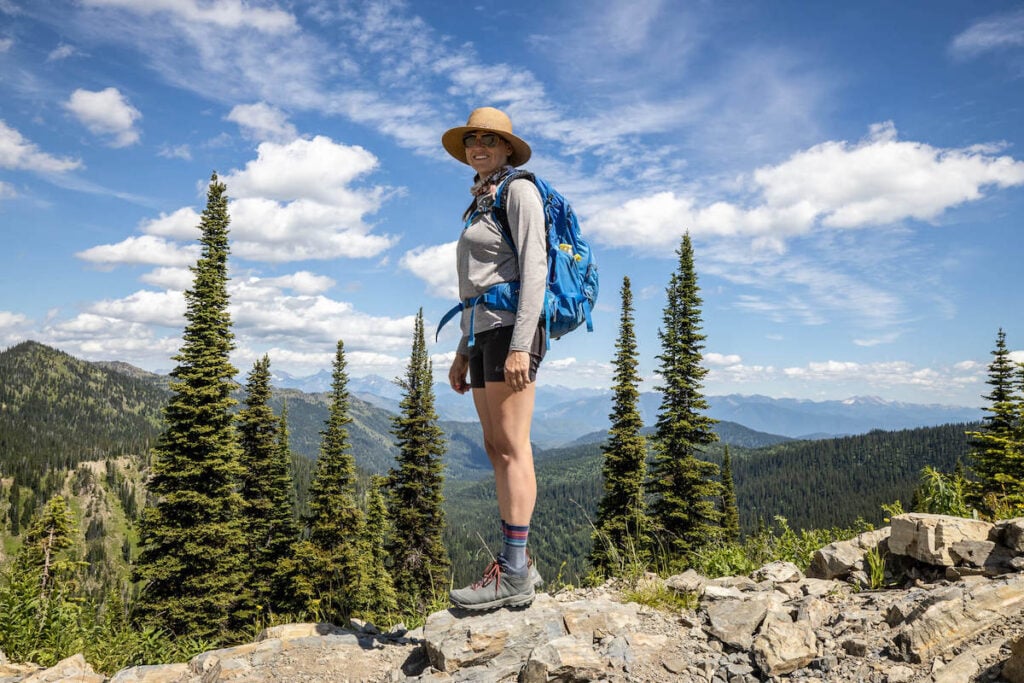
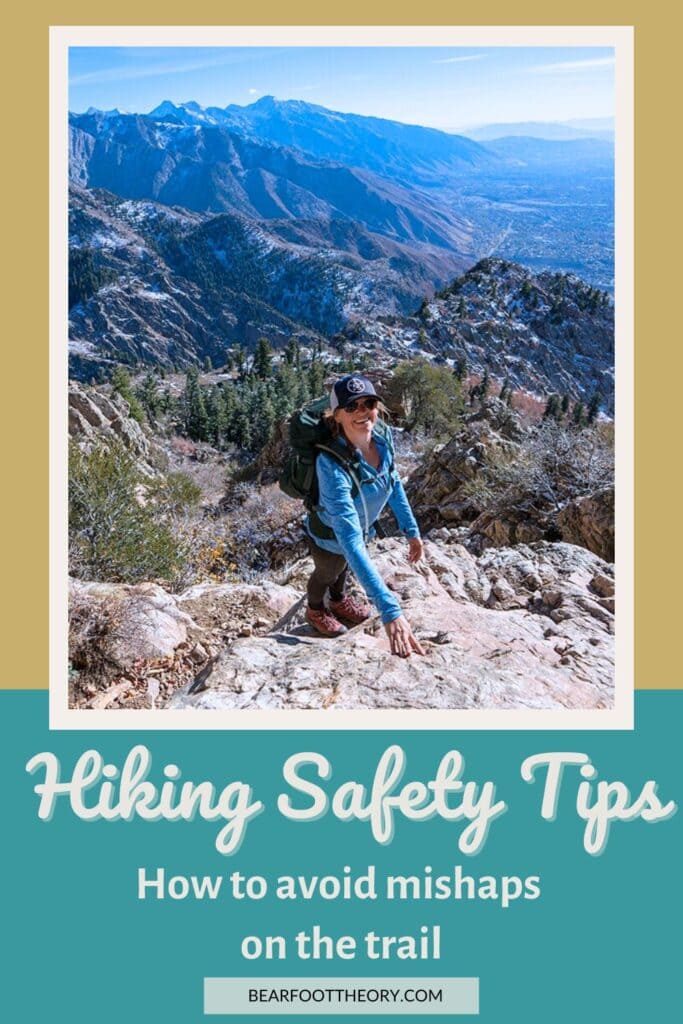
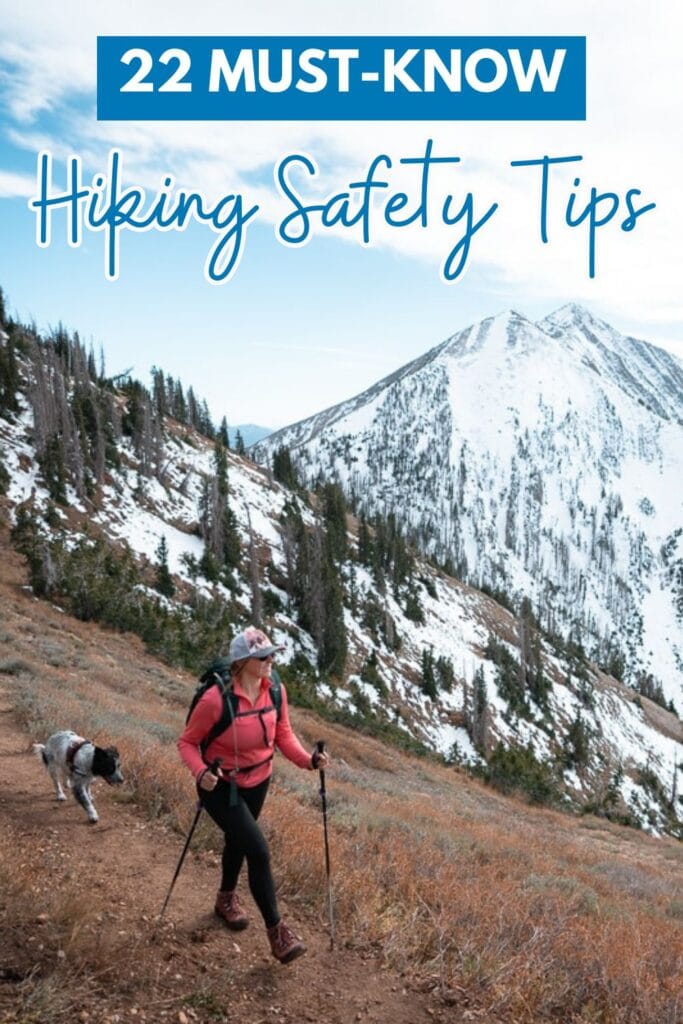
22 Hiking Safety Tips Every Hiker Should Know
Learn essential hiking safety tips to avoid mishaps on the trail and have a fun, safe adventure outside.
When I first started hiking more than 20 years ago, I made plenty of mistakes. I’ve gotten lost, been unprepared for the weather, and even ran out of water. Luckily none of my mishaps ended up being too consequential, and I learned some important lessons about hiking safety in the process.
Staying safe on the trail ultimately comes down to making good choices, being prepared for the unexpected, and knowing what to do if things go wrong.
In this post, I share my top hiking safety tips so you can avoid getting into any major pickles on your adventures.
This post may contain affiliate links.
1. Check the Weather Forecast
Getting caught in a storm or being unprepared for the weather can pose major risks to your safety, so you should always check the weather forecast before you set out.
This means checking the weather specifically where you plan to hike since the weather in the mountains can be drastically different than the weather at your home or even at the trailhead.
The National Weather Service, OpenSummit, and the local rangers station offer reliable forecasts.
To avoid afternoon thunderstorms, get an early start and plan to be off the summit by noon (or earlier depending on the forecast). As you hike, pay attention to the sky and notice the clouds forming. If the sky is getting darker and a storm appears to be brewing, you’ll want to start your descent and get below the treeline.
Just to give you an idea of how quickly the weather can change in the mountains…a few years ago, I was hiking to Cathedral Lake in Yosemite National Park. As we relaxed and ate our snack by the lake, the clouds started to look ominous. We decided to quickly pack up and start our hike down.
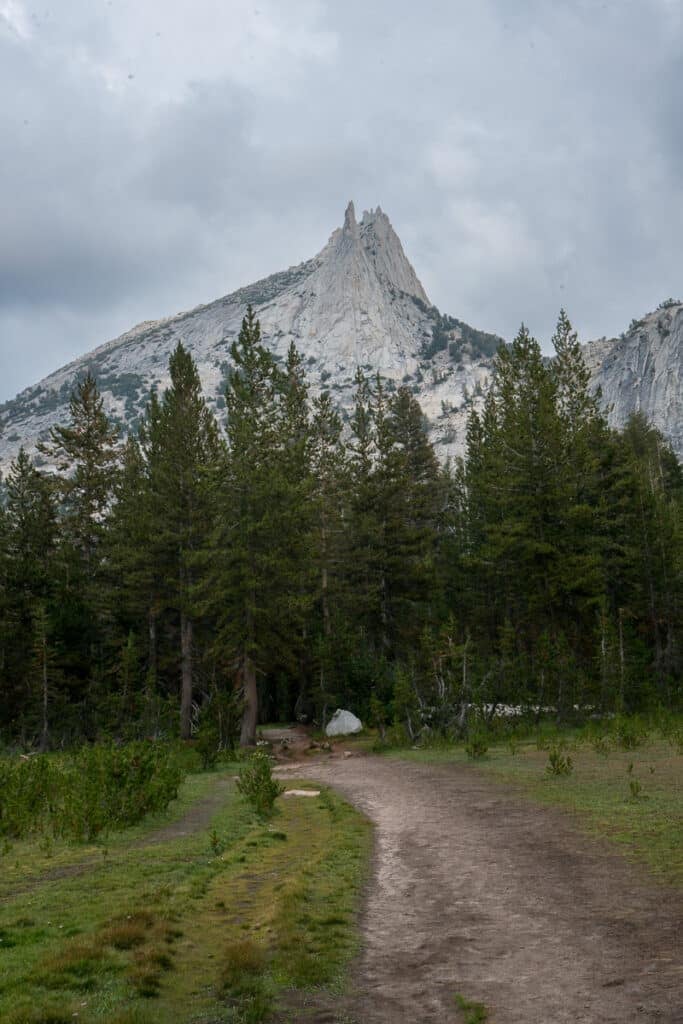
Fifteen minutes later we were in a full-on thunderstorm with hail the size of quarters and lightening all around. It was one of the scariest storms I’ve been in, and it was shocking how quickly it went from being sunny to a torrential downpour.
Storms also pose a risk in the desert. It’s especially important to be aware of the weather if you plan to hike in any canyons due to flash flood potential.
For more advice on dealing with bad weather, see my tips for hiking in the rain.
Save this post!
Enter your email & I'll send this post to your inbox! You'll also receive my weekly newsletter full of helpful advice for planning your adventures.
2. Research the Trail
You should always make a practice of checking for up-to-date trail conditions before leaving your house. That way when you get to the trail there aren’t any surprises that may lead to you compromising your hiking safety.
Back in the fall of 2017, Ryan and I set out to hike Mount Nebo, which is the tallest peak in the Wasatch Range. I failed to check trail conditions before we left and as we got closer to the peak, we realized it was completely covered in snow from early-season snowstorms. After talking to some people who said that we needed microspikes or crampons due to icy conditions, we ended up turning around.
If I had read some recent reviews of the trail before leaving my house, I would have known that hiking to the summit in normal hiking boots was not a safe idea.
One of my favorite ways to get up to date info is to look at recent trail reviews from other hikers on the hiking app I’m using. You can also look up the trail on the corresponding National, State, or Regional Park website or do a Google search.
In addition to details like distance, difficulty level, and elevation gain, you can often find insights on current conditions such as water crossings, downed trees, how clearly marked the trail is, how exposed the trail is, recent wildlife encounters, plants to be aware of, and more so you know what to expect and can plan accordingly.
I also always read the information board at the trailhead for important updates, notifications, and guidelines.
3. Pick a Trail that Matches your Ability
Choosing a trail that matches your fitness level and hiking experience can help prevent you from getting in over your head. If you’re new to hiking, two big factors you’ll want to pay attention to are the total distance and the total elevation gain.
Have an idea of how far you can comfortably hike in a day and how much elevation gain is too much. As a general rule of thumb, an average hiker should plan 30-45 minutes for every mile, sometimes more, depending on the elevation gain. I’d also suggest if you are a hiking newbie, stick to trails with under 1,000 feet of elevation gain until you build more confidence.
As you’re hiking, if you realize the trail is more than you can chew off, don’t try to power through; be safe and turn back. Knowing when to say no and using your better judgment is an important skill that you’ll need as you advance to more challenging terrain.
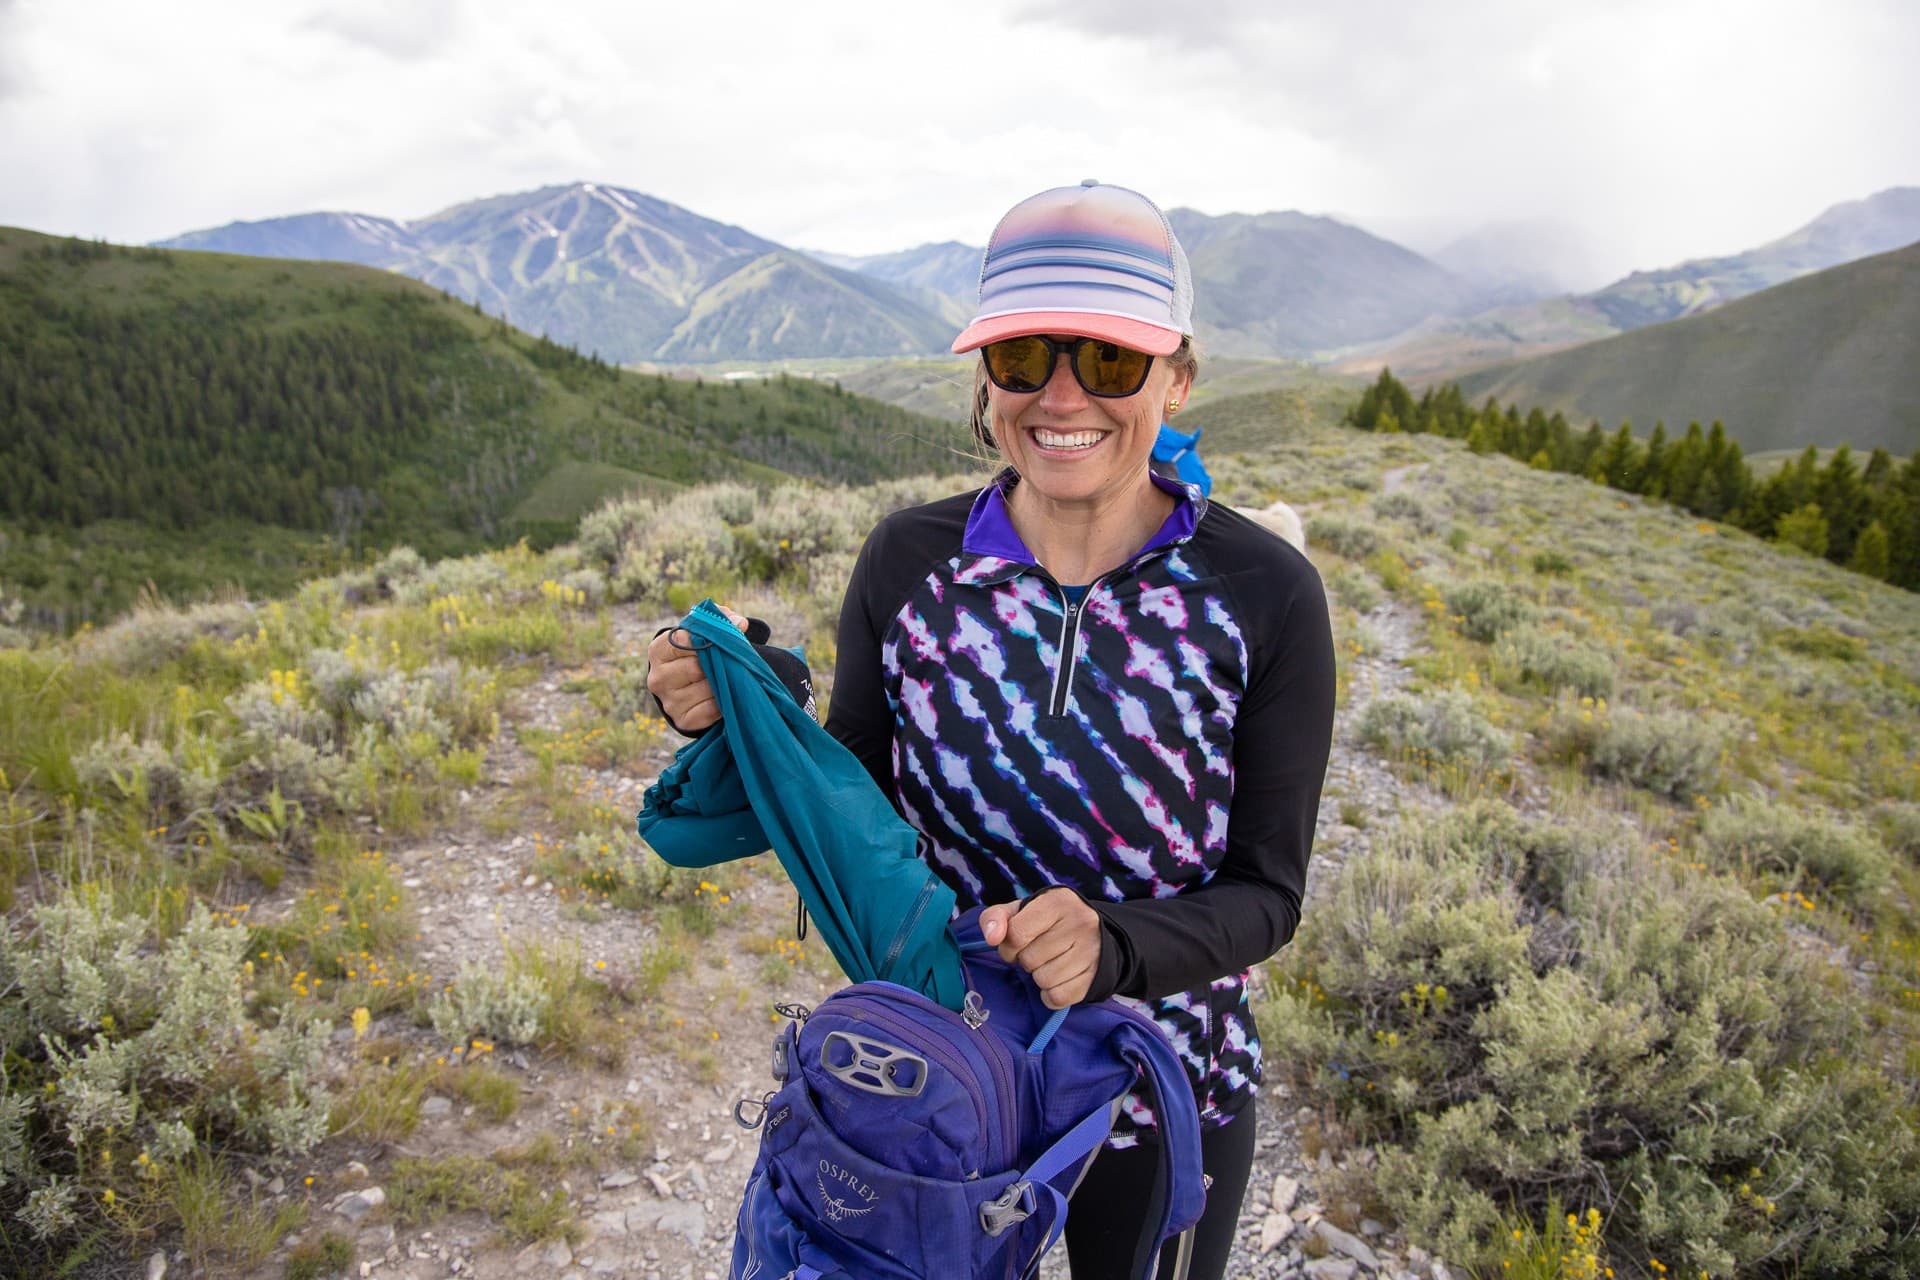
4. Wear Proper Hiking Clothing
The right hiking clothing can help keep you comfortable and safe while out exploring, whether you are hiking in the hot sun, in the rain, or in the cold.
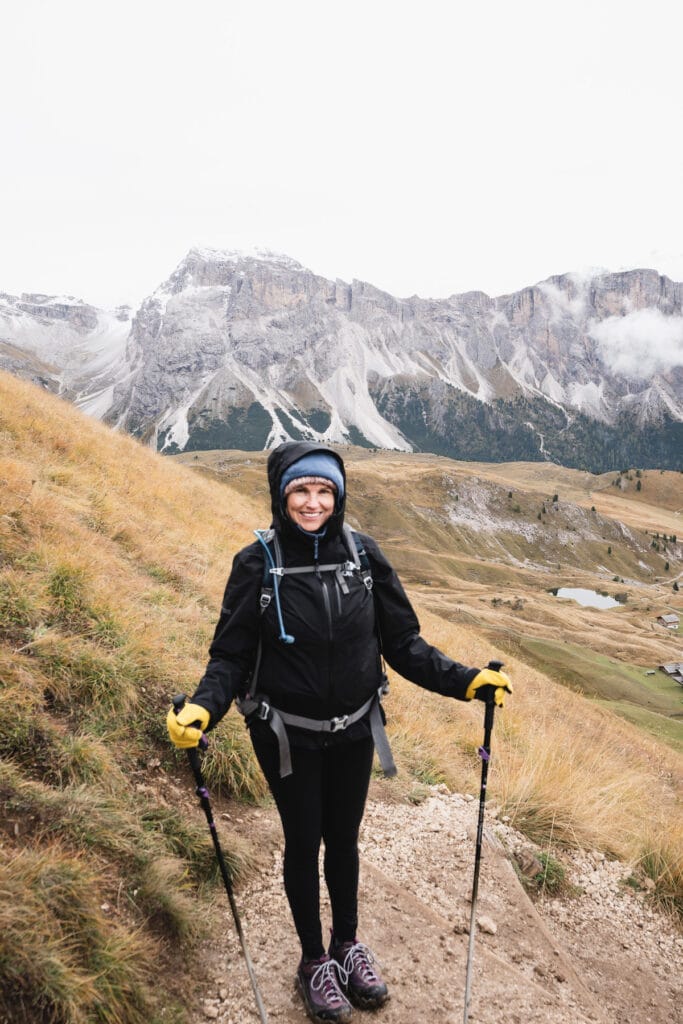
The key is lightweight, sweat-wicking, quick-drying clothing and packable items that are easy to layer. Cotton takes a long time to dry when wet and can leave you cold and uncomfortable after working up a sweat which can make it more difficult to regulate your body temperature.
Even if the weather looks good, it’s best to pack a lightweight rain jacket and an extra layer or two just in case you encounter any sudden weather changes or you’re out longer than planned.
5. Prepare for Sun Exposure
Too much sun can leave you dehydrated or with a case of heat exhaustion. You can avoid this by following these sun protection tips.

6. Know What Time the Sun Sets
This is a basic hiking safety tip that’s often overlooked: Look up the sunset time where you’ll be hiking. Hiking after dark increases your chances of getting lost, running out of food/water, and not having the proper layers for dropping temperatures.
Keep an eye on the time. If you’re doing an out-and-back hike, determine what a good turnaround time is and stick with it, even if it means you won’t make it to your intended destination. If you’re doing a loop trail, know the mileage, vertical gain, and how long it will take you, and plan your breaks accordingly.
Even if you’re certain you’ll be done before dark, it’s always a good idea to pack a headlamp, just in case.
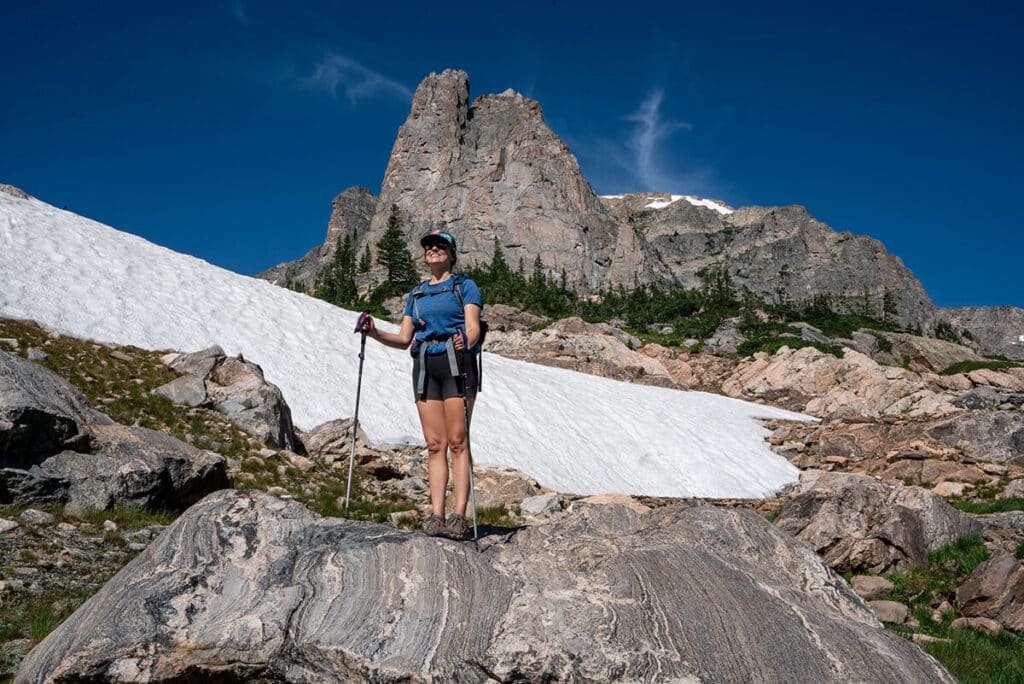
7. Wear Supportive Footwear
There is a difference between a casual pair of tennis shoes and shoes intended for hiking. Hiking shoes provide a lot more grip and have beefy tread that provides better grip and stability, making it less likely that you will slip and twist your ankle.
I’ve been wearing Oboz Footwear hiking shoes for the last 7 years and highly recommend them.
Pair these with wool socks (Darn Tough are my absolute favorite) to avoid getting painful hiking blisters. Unlike cotton, Darn Tough socks wick sweat to keep your feet dry and hug your feet so they aren’t shifting around and rubbing in your boots.
8. Pack the 10 Essentials
You’ve likely heard of the 10 Essentials for Hiking. This was a list that was developed in the 1930s to help keep people safe on hikes and to prevent emergencies. The 10 Essentials List has evolved over the years and now includes:
- Reliable Navigational Tools (paper map, GPS)
- Sun Protection
- Headlamp
- First Aid
- Knife/Multi-tool
- Supplies to start a fire (matches, lighter, tinder, etc)
- Extra Food
- Extra Water
- Extra Clothing
- Emergency Shelter
Now you may look at this list and think, “Do I really need to bring an emergency shelter on a day hike?”
This is where it’s up to you to use your best judgment as a hiker. If you’re going on a 2-mile hike on a popular National Park Trail, then maybe not. But if you are going on a 10-mile hike somewhere remote and you aren’t likely to see other people, you’re going to want to take the 10 Essentials List more seriously.
Luckily, many of the 10 Essentials are small and don’t take up a ton of room in your pack. And if you’re hiking with another person, you can split some of these items up between the two of you.
Read next: Get a checklist of what I bring on every day hike
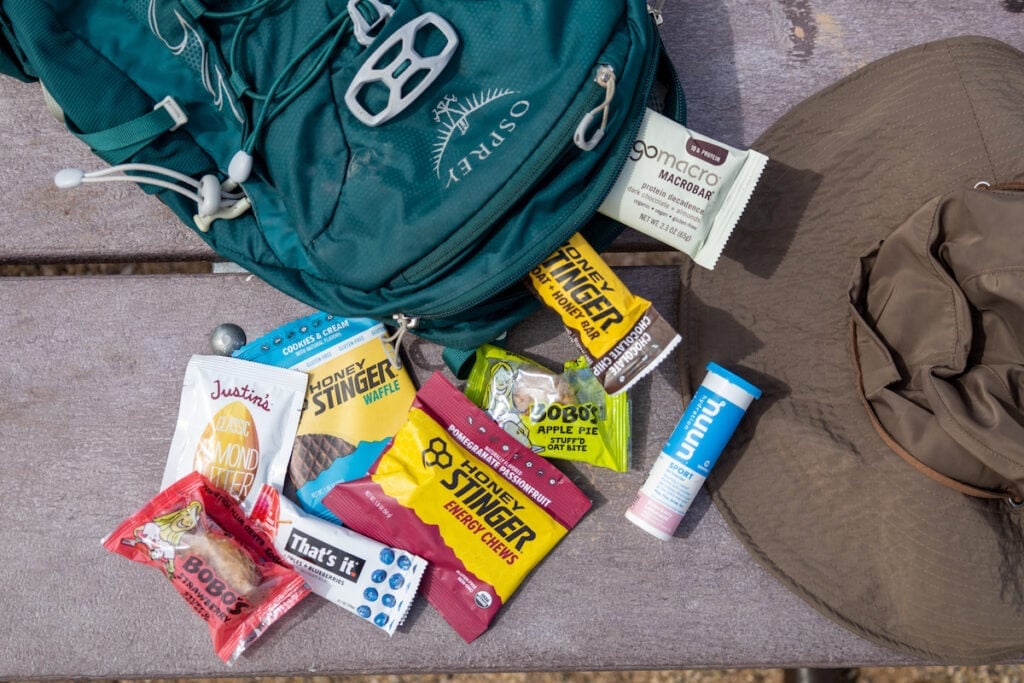
9. Pack Plenty of Water & Food
The rule of thumb is 1 liter of water for every 2 hours of hiking. If you’re hiking in hot temperatures or doing a strenuous uphill hike, you’ll want to carry more.
If you are hiking a longer trail and need to refill and filter your water along the way, bring a water filter and be sure to check recent reviews to find out about water availability. You can also find this information on most trail maintenance websites or by calling the local ranger station.
Snacks are essential for sustaining your energy as you burn calories on the trail. Choose high calorie snacks with protein and carbs that you’ll be excited to eat as you hike.
10. Hike with Trekking Poles
Trekking poles can help with stability and balance in a variety of situations – uneven terrain, crossing rivers, steep downhill sections, or wherever there is loose rock. I almost never hike without mine!
REI Co-op’s Trailmade Trekking Poles are a great budget-friendly option for any hiker, plus they’re easily adjustable so you can customize them to your size.
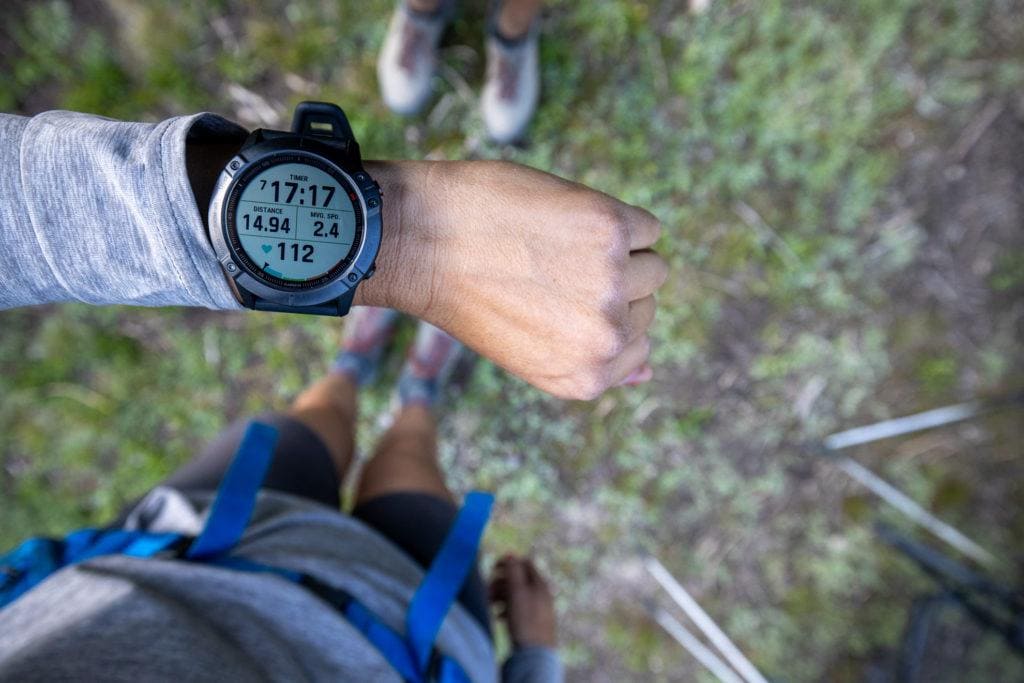
11. Learn Basic Navigation Skills
Getting lost may be one of the most common hiking dangers, so knowing basic navigation skills will come a long way in helping you prepare for a safe hike.
REI offers a number of navigation classes and events, both out in the backcountry and in the store. Knowing how to read a topographic map is an important skill, plus it’s really interesting being able to get a lay of the land by looking at a map.
You may be tempted to use a hiking app on your phone for navigation. For shorter, well-marked trails, using your phone is reasonable. I like being able to track my progress in an app as I hike to make sure I’m moving quickly enough. However, if you rely on your phone, make sure your phone is fully charged, be prepared to not have service, and consider bringing a portable power bank as a backup.
For longer, remote hikes, it’s smart to have a paper map and compass or a GPS.
12. Learn Basic First Aid
By equipping yourself with basic first aid skills, you’re not only better prepared to help yourself out of situations, but you’re also better equipped to assist others you may encounter on the trail who are in distress.
Carry a well-stocked first-aid kit (or build your own) and know how to use each item. You should also consider taking a wilderness first-aid course for more comprehensive knowledge, especially if you spend a lot of time in remote areas. (I have not done a wilderness first aid course, but I know I absolutely need to).
Tip: REI offers a Wilderness First Aid Course in partnership with the National Outdoor Leadership School (NOLS).
13. Prepare for Altitude
If you are hiking at high altitudes (typically over 6,500 feet or 2,000 meters), there is a risk of altitude sickness. Altitude sickness can cause symptoms like headaches, nausea, and dizziness and in some cases can be life-threatening.
It’s essential to acclimate to high altitudes gradually and know the signs of altitude sickness and how to prevent it.
Also, avoid alcohol the night before, stay hydrated with electrolytes, and fueled with hearty snacks.
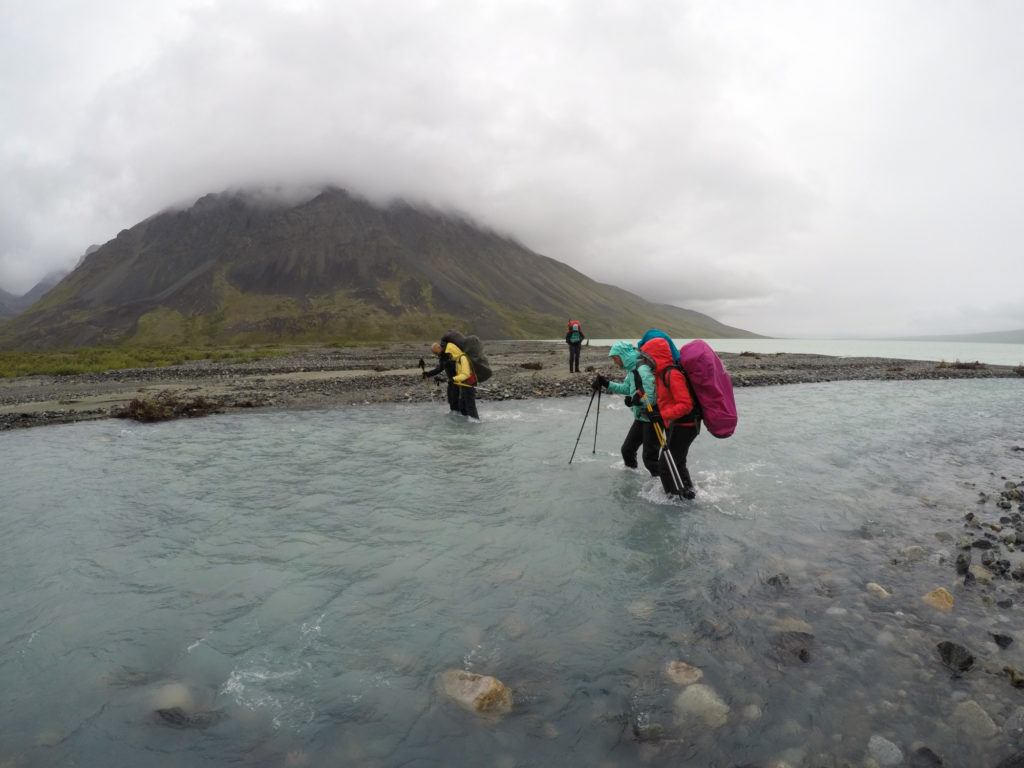
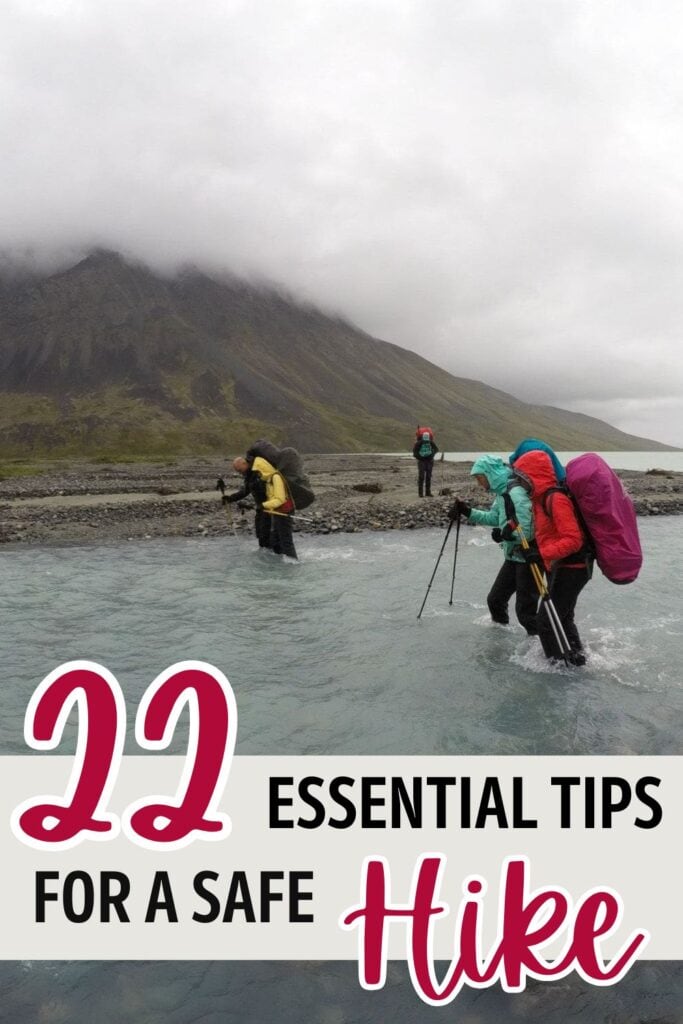
14. Avoid Dangerous Water Crossings
I’ll admit that hopping across rocks and logs to cross rivers and streams is one of my least favorite aspects of hiking. In fact, if I know a trail has a number of treacherous stream crossings, I might actually choose a different trail altogether.
That’s why doing your research (hiking safety tip #2) is so important.
To assess whether and how to safely cross a river, I’ll refer you to these river crossing tips from the Pacific Crest Trail Association.
15. Know About Local Wildlife
Learn about the wildlife native to the area you’ll be hiking in and understand how to behave if you encounter wild animals. Be aware of your surroundings as you hike and keep an eye on the trail ahead of you.
If you’ll be hiking in grizzly bear country, hike in a group and talk as you walk. In these areas, you also want to carry bear spray with you. Note that bear spray cannot be taken on a plane, neither in checked or carry-on luggage so you’ll need to purchase at your destination unless you’re driving.
16. Be Aware of Your Surroundings
Always be aware of your surroundings. If you like to listen to music or podcasts on the trail, avoid wearing both earbuds; keeping one ear free allows you to hear what’s happening around you, which could be critical if someone (or even an animal) is approaching you.
Trust your instincts. If you feel uncomfortable due to someone’s behavior, it’s okay to change your course, turn around, or find a populated area. Your personal safety always comes first!
Tip: If you’re wary of hiking alone, REI offers a variety of hiking classes and events, including group hikes. This is a great way to explore new trails and meet new people. You can find hiking classes and events in your area here.
17. Bring a Safety Whistle
For emergency prevention while hiking, it’s a good idea to attach a safety whistle to your pack so you can easily alert nearby people if something happens. Hopefully you never have to use it, but it can give you peace of mind knowing you have a way to signal for help if needed.
18. Share Your Hiking Plan with Someone
No matter how confident you are about your hike, always inform someone about your hiking plan, including the trail you’re taking, when you plan to start, and when you expect to return. This is especially crucial if you are hiking alone.
These details are extremely helpful for search and rescue teams in case of an emergency. I recommend texting your plans to a friend or family member so they have a written record of your plans.
19. Bring a Communication Device
If there’s a chance you won’t have service on the trail, I highly recommend bringing a GPS communication device like the Garmin inReach Mini. This handy device allows you to send and receive messages or call for help in the event you need to be rescued.
In areas with no cell service, this can be a lifesaver, and I bring mine on every hike. It can also be used to check in with family if you are running late or something unexpected happens on your hike.
Spend some time learning how to use your device and make sure it’s fully charged before you leave.

20. Spray for Mosquitos & Check for Ticks
If you read that there are lots of mosquitos on the trail you’ll be hiking, be sure to bring bug spray.
After your hike, conduct a thorough check for ticks. One time after a hike in New Hampshire, I found a tick in my stomach, and if I hadn’t done a tick check, I could have ended up with Lyme disease. In the case of ticks, time is of the essence, and it’s important to remove them as quickly as possible.
21. Learn Basic Survival Skills
This is above and beyond, but in case of an emergency where you may have to spend an unplanned night (or more) in the wilderness, basic survival skills are invaluable.
These include skills like how to build a fire, how to find and purify water, and how to create a makeshift shelter. Additionally, learning distress signal techniques can aid in your rescue.
Tip: REI Co-op offers a number of wilderness survival classes – you can search for classes in your area here.
22. Play it Safe
One final hiking safety tip is to play it safe. Stay on the trail and don’t do anything risky. When you’re out in nature a distance away from quick help, it’s best to simply take it easy and enjoy.
Final Thoughts on Hiking Safety
Safety on the trails does not happen by chance. It’s a deliberate and continuous process that starts long before you lace up your boots. It’s about making informed choices, staying alert and responsible, and respecting both the power and the fragility of nature.
So, as you set out to hit the trails, remember these hiking safety tips. They’ll help prevent avoidable mishaps on the trail so you can enjoy your time outdoors.
Stay safe, and happy hiking!
More Hiking Tips
Save this post to Pinterest
What questions or comments do you have about hiking safety? Got any tips to add? Leave a comment below!