How to Choose a Hiking Trail: Tips Before Heading Out
Want to go hiking but not sure how to pick the right trail? Get our tips for choosing a trail plus considerations before heading out.

Choosing the right hiking trail can be confusing at times, whether you’re new to hiking and searching for beginner hikes or you’re a regular hiker looking for a challenge or picking out the best trail when taking a friend hiking for the first time. You may be asking yourself questions like “how far should I go?”, “how do I know whether the trail will be too steep or too challenging?”, and “how much time will I need” which are all important considerations when choosing a hiking trail. Thankfully, most trail finder apps out there categorize hikes by difficulty and include information like distance, elevation, and reviews to give you an idea of what you’re getting yourself into.
In this post, we cover all those hiking trail stats you see on trail finding apps like distance, elevation gain, and more. We also share some guidelines to help you narrow down what you’re looking for so you (and your friends) have the best hiking experience possible.
Here are our best tips on how to choose the right hiking trail and what to consider before heading out.
This post may contain affiliate links.
Trail Distance
Distance is one of the first things you’ll want to look at when choosing a hiking trail. For out-and-back trails (meaning you hike out and then hike back along the same trail), make sure the distance you’re looking at is for the roundtrip, meaning both ways (out AND back). You don’t want to find out too late that your chosen trail is twice the mileage that you thought.
If you’re newer to hiking and want to test the waters (or the mountains), choose trails on the shorter side to start – around 2-3 miles roundtrip is usually a good place to begin. That way you can see how you feel, make sure your hiking shoes and day hiking pack are comfortable, and work your way up from there.
If you’re looking for a challenge and have enough time, consider a longer hike. We hike pretty often and our sweet spot is probably in the 6-8 mile range, although we also love doing longer, all-day hikes that are 10+ mile range here and there.
Save this post!
Enter your email & I'll send this post to your inbox! You'll also receive my weekly newsletter full of helpful advice for planning your adventures.
Elevation Gain
Elevation gain is the total amount of elevation you will climb on a hike. For example, if you climb 700 feet, descend 200 feet, and then climb an additional 300 feet, the total elevation gain would be 1000 feet.
When searching for a beginner-friendly hike, trails with less than 500 feet elevation gain are optimal unless you consider yourself very fit. 1000 feet elevation gain might not sound like a lot, but for new hikers, 1000 feet could prove to be pretty challenging especially if you start at a high altitude.
Also, remember that shorter hikes with more elevation gain will mean that the trail will be steeper and more strenuous. Start small and increase your elevation gain as you feel more comfortable as a hiker.

Terrain Type
Consider the terrain of the hikes you’re looking at doing. Some hikes may required wading across a seasonal river or stream, scrambling over rocks, or even doing a little bit of rock climbing. That can be part of the adventure, but sometimes it’s nice to know what kind of terrain you’ll encounter on the trail so you can be prepared.
Another thing to note is some hiking trails might have steep dropoffs on the side that some people might not be comfortable with or that aren’t suitable for children. Looking at reviews of the hike will help you gauge this sort of thing and decide if the hike is something you’d like to try.
Time of Year
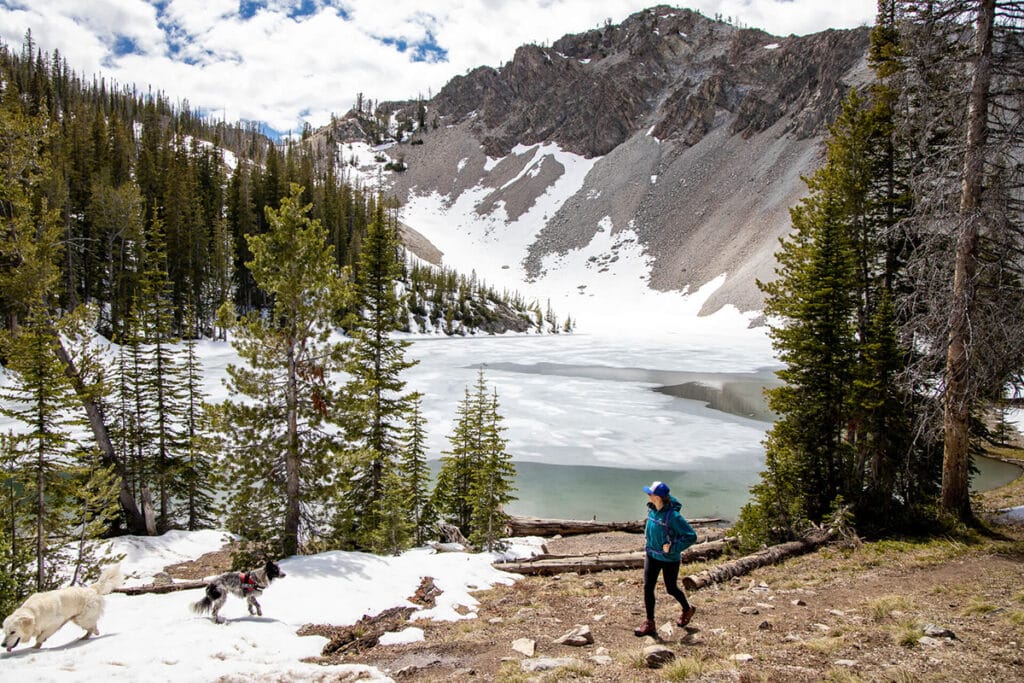
Depending on where you’re searching for hiking trails, you may want to check if the trail is accessible year-round. We’ve encountered trails that have been impassable due to snow, as well as trails with a seasonal river that we weren’t quite prepared for and had to wade through to avoid having to backtrack for miles.
Popularity
How popular are the hiking trails you’re considering? If those trails tend to get very crowded, head out early in the morning to ensure you can get a parking spot and avoid peak crowds, or go on a weekday if possible. It’s always good to have a backup plan too in case you get to your hike and can’t find parking or realize it’s too crowded for your liking.
Ease of Navigation
Some trails are more clearly marked and easier to follow than others. If you’re just starting out hiking or aren’t totally confident of your navigational skills, choose hiking trails that are clearly marked. To up your navigation skills, read our post on how not to get lost while hiking.
Trail Difficulty
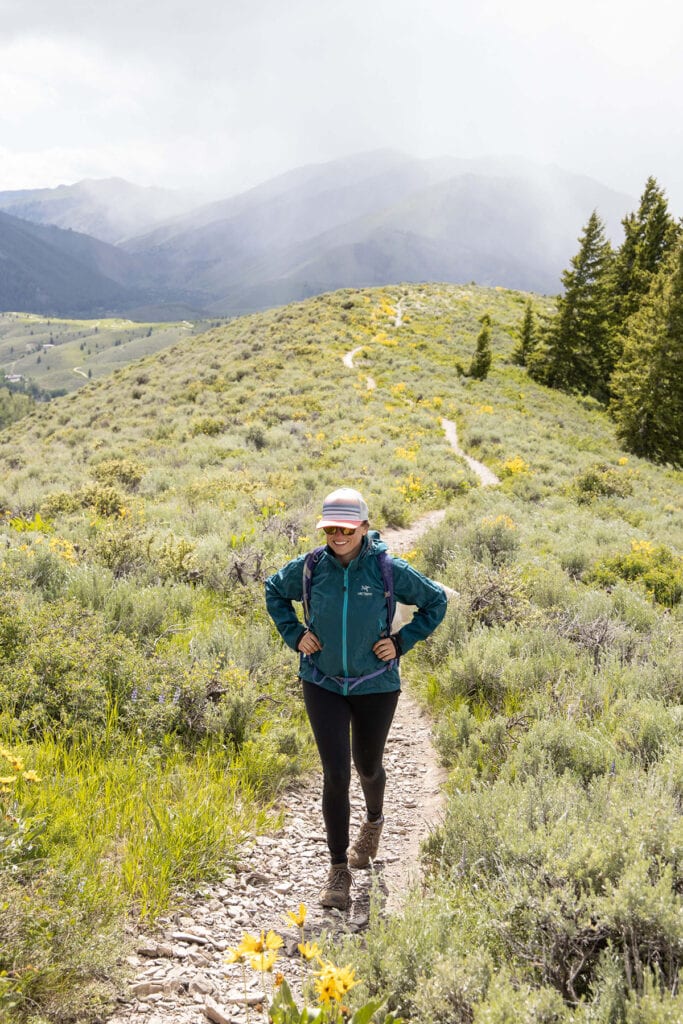
Any hiking trail you choose should match your skill level and fitness ability. If you want to challenge yourself, that’s awesome, but you don’t want to push yourself so hard that you can’t make it back.
Consider trail distance, elevation, terrain, and climate to help you determine whether or not the trail is manageable for your current physical abilities. This is particularly important if you have knee trouble and are susceptible to knee pain when hiking.
It’s better to gradually work towards increasing your stamina and strength rather than tackling longer and steeper trails right off the bat and possibly hurting yourself in the process.

Consider the People Hiking With You
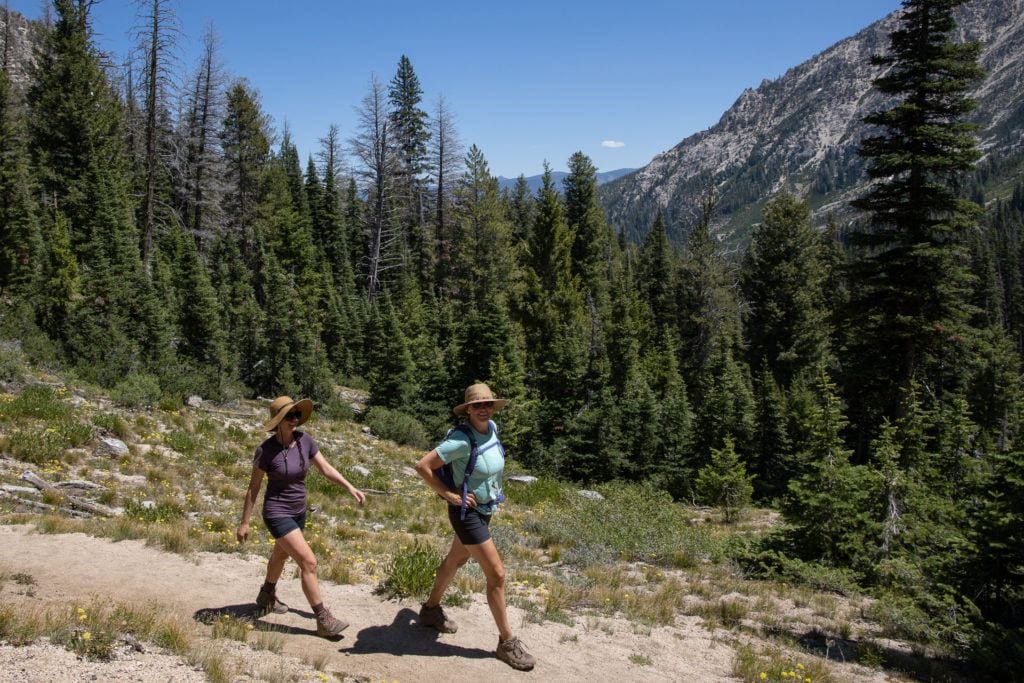
Think of your hiking companions too and what kind of trail will be a good fit for them. You’ll want to consider who you’re hiking with and the level they’re at so everyone can have a good time. For example, Linda, BFT’s Director, once took a friend with asthma on a hike that started out with a long, steep incline and felt terrible for not realizing that trail wouldn’t be a good fit for her. That could have been avoided if she had considered the level her friend was at and perhaps talked to her about the kind of hiking they’d be doing.
Current Trail Conditions
Doing some research before your hike is a simple and easy way to be informed about the trail you’ve chosen and can help you avoid any surprises along the way. Reading about the trail should tell you all the information you need to know such as distance, elevation, difficulty, and more. If you dig a little deeper, often by reading the reviews, you’ll be able to learn more, like how well-signed and easy to follow the trail is, whether a permit is required, whether the trailhead parking lot tends to fill up early, and whether the trail is pet friendly for example.
In addition to reading about the trail before heading out, download and save any information you think you might need such as maps and trail guides for offline reading. We recommend bringing along a paper map as well, just in case your phone dies.
If you know it’s going to be a longer hike, be sure to bring snacks or even a lunch, and always bring plenty of water. If there’s even a slight chance you’ll be out after sunset, bring a headlamp.
Current Weather Conditions
Always, always, always check the forecast and weather conditions before you head out for a hike. If you are visiting a National or State Park, you can check the local weather forecast for the day or use a reliable source like the National Weather Service Forecast.
This is a very good habit for all hikers to get into in order to stay safe on the trail and bring the appropriate gear and clothing layers in case the conditions change during the hike.
Also keep in mind that the weather closest to town, or even the trailhead, could be different than the highest point on the hike. Weather changes quickly in the mountains, so make sure you check the summit conditions specifically.
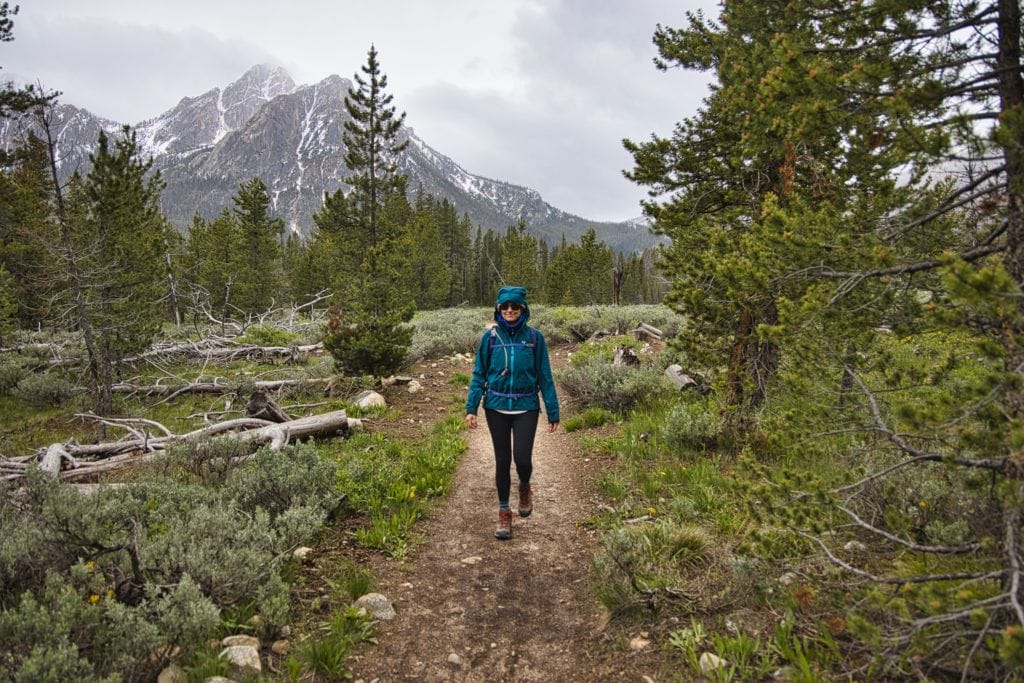
Checking the weather will help you plan your clothing and what to bring accordingly, and it can also help you decide whether the trail is right for you. If it’s going to be a hot day and the trail you’re planning on hiking is sunny and exposed, bring adequate sun protection and maybe even reconsider and find a trail that has more shade, is at a higher elevation with cooler temps, or is near water. If there’s even the slightest chance of rain in the forecast, bring a lightweight rain jacket. If it rained recently and certain trails tend to get muddy, take that into consideration as you look for dryer options.
Your Time Constraints
Consider how long it will take to complete the hike so you can plan accordingly – you don’t want to find yourself stranded on the trail in the dark or after the park closes.
In general, you should plan on each mile taking anywhere from 30 minutes to an hour. An easier, flatter trail will likely be more on the 30-minute side per mile, while a steeper trail with more obstacles could take an hour or more per mile to complete. Also, take into account your physical abilities and walking speed. Then factor in additional time for breaks, enjoying the views, and any traveling you need to do to get to the trailhead and back.
Last, but not least, be aware of what time the sun sets so you can count that into your planning and arrive back at your car before dark.
Your current skill level
The goal of every hike is to enjoy yourself and have fun outside. A little bit of a challenge is a good thing and can boost your self-confidence, but try not to place unrealistic expectations on yourself or your ability, from the get-go.
Start where you are (not where you think you should be) and pick a hike that matches your current skill level. This way you’ll set yourself up for success and, most importantly, will help you look forward to your next trek.
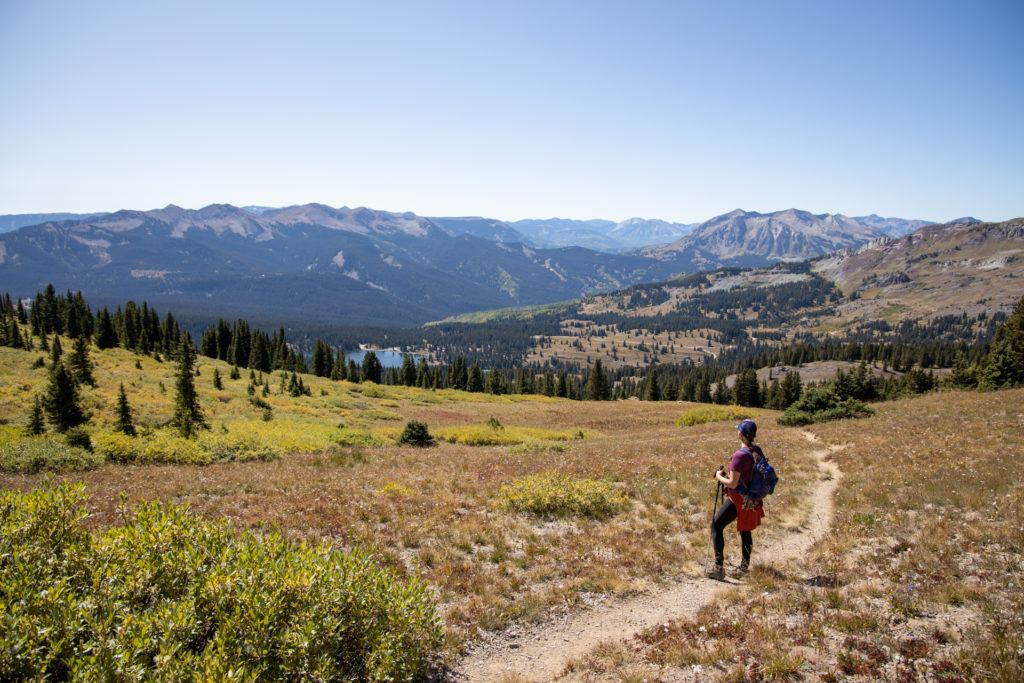
Hopefully, the tips in this post give you a better idea and understanding of how to choose hiking trails, whether your a beginner hiker or an advanced one. Whichever hiking trails you choose, they are sure to be full of fun and adventure!
Do you have any additional tips for how to choose a hiking trail? Have you ever run into any unexpected challenges while hiking? Share your tips, questions, and experiences in the comments below.

