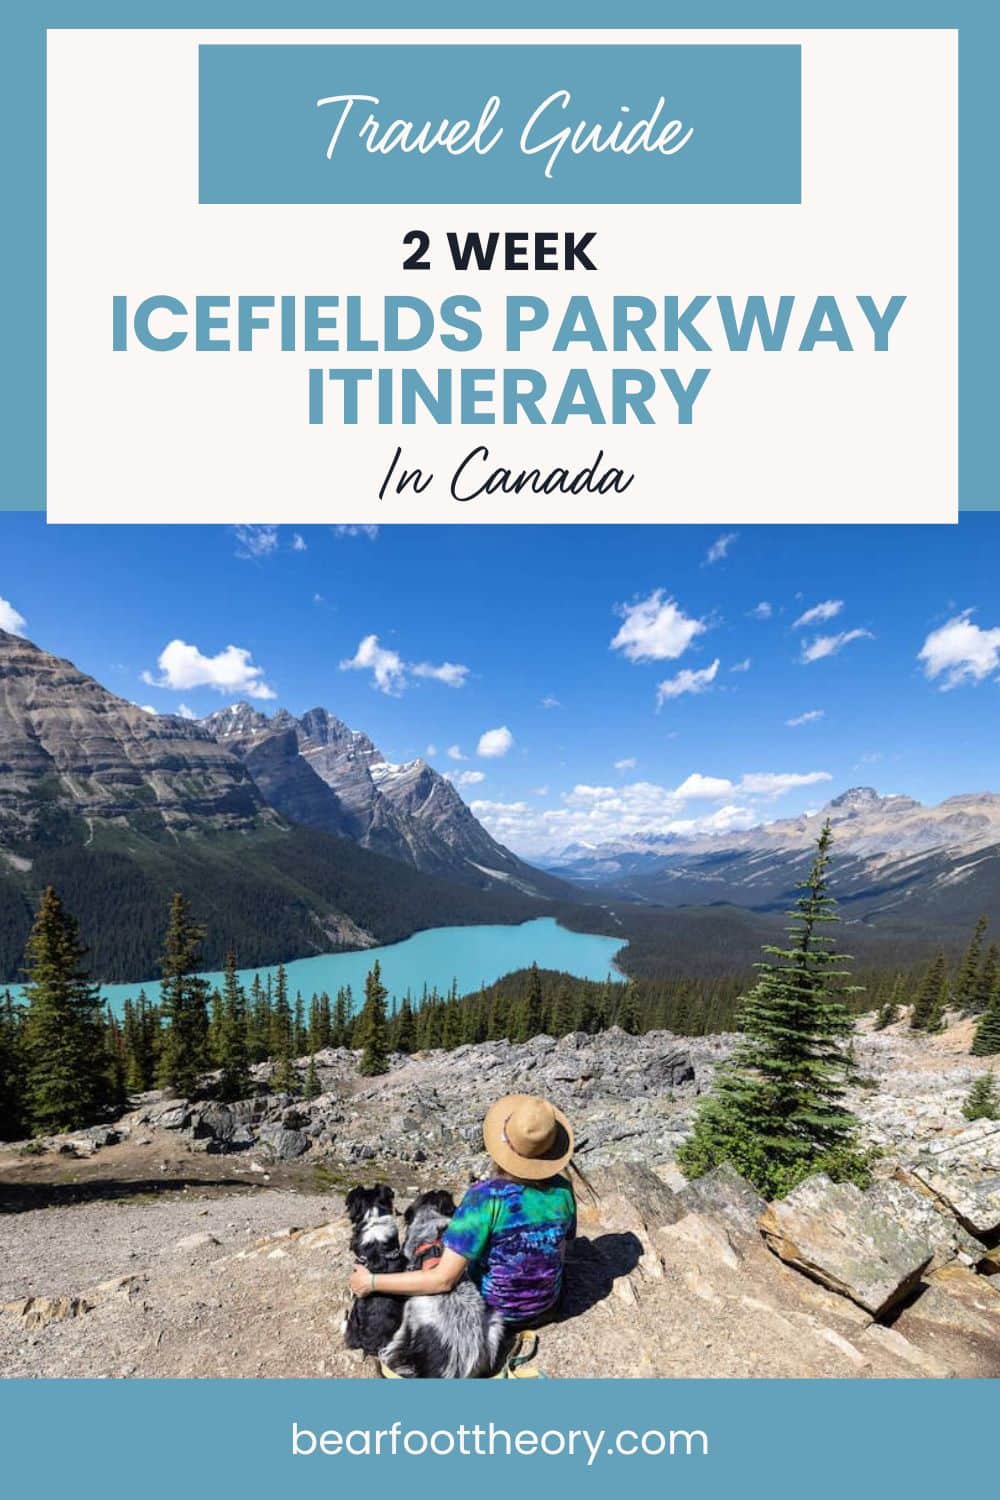
Icefields Parkway Roadtrip: Two-Week Itinerary
Travel through the heart of the Canadian Rockies with this Icefields Parkway itinerary including the best hikes, sites, and things to do.
The Icefields Parkway is a 145-mile stretch of double-lane highway in Banff National Park that connects Lake Louise to Jasper, Alberta in Canada. I’ve done it three times, and it’s a road trip that I most certainly planning on doing it again. There is so many amazing hikes, road side stops, and views of towering Rocky Mountain peaks, frozen ice fields, and beautiful valley landscapes – I literally can’t get enough. Plus, there are tons of opportunities to get out of the car and experience hiking trails, Rocky Mountain towns, great camping, and other adventures.
In this blog post, I share my 2-week Icefields Parkway itinerary with details on all of the must-do stops.
This post may contain affiliate links.
Where is the Icefields Parkway?
The Icefields Parkway stretches 145 miles between the Rocky Mountain Alberta towns of Lake Louise in the south and Jasper in the north. While this is the ‘official’ route, there are lots of side trips you can add to your travels including Banff and Yoho National Park in British Columbia, which we added to our two-week Icefields Parkway itinerary below.
Getting there
- Driving from the US: The Icefields Parkway is easily accessible by car if you’re coming from the northwestern US. You can even make a long road trip out of it by visiting Glacier National Park as you make your way toward Calgary.
- Fly into Calgary: If you’re flying, the best option is to fly into Calgary, Alberta where you can rent a car. From Calgary, it’s about a two-hour drive to Lake Louise where the Parkway starts.
Best time of year to visit
I’ve visited the Icefields Parkway in June, August, and February. While I have yet to visit in fall, which I hear is beautiful, for the best chances for good weather, I recommend visiting in late summer. Peak bug season is over, snow has melted at higher elevations, and all of the trails will be accessible. The downside of this time of year is the more popular sites will most certainly be crowded.
Fall is known for the beautiful golden larches that light up the mountainside, but the weather is unpredictable. You’ll need to be prepared for rain and even snow which has the potential to thwart your hiking plans.
If you visit in the spring, you can catch the wildflowers blooming, but also be aware that some trails and areas may still be covered in snowpack. Trails this time of year also have potential to be closed due to grizzly activity as the bears awake from their winter hibernation.
For those who can bear the cold, winter along the Icefields Parkway offers solitude, skiing, snowshoeing, ice climbing and other winter recreation.
Save this post!
Enter your email & I'll send this post to your inbox! You'll also receive my weekly newsletter full of helpful advice for planning your adventures.
Parks Canada Discovery Pass
You must pay to enter the Icefields Parkway (just like you would in the US National Parks). You can buy a single-day pass or you can purchase an annual Parks Canada Discovery Pass.
You can purchase this national park pass online, but it’s super easy to do in person. You can get your pass at info/visitors centers at park entrances or at campgrounds where there is an attendant.
Tip: If you’re following this itinerary, you can pick up a Discovery Pass at the entrance of Yoho National Park, the first destination. You’ll actually be visiting three different national parks: Banff National Park, Yoho National Park, and Jasper National Park so the annual pass will pay for itself in just this trip.
Route Navigation
There is no cell service along the Icefields Parkway between Lake Louise and Jasper, so you’ll need to print out maps or download this itinerary to your phone.
Icefields Parkway Map
The map below shows the route of our two-week Icefields Parkway itinerary. We included Yoho National Park in British Columbia, which isn’t technically part of the Icefields Parkway, but definitely worth a visit if you have time.
Two-Week Icefields Parkway Itinerary
The 145-mile Icefields Parkway can be driven in a day, but I recommend taking at least a few days to explore the many hiking trails, camping spots, and outdoor recreation opportunities along the route. We took two weeks for our Icefields Parkway road trip and felt like that gave us just enough time to see and do everything on our list.
If you don’t have two weeks, you can pare this Icefields Parkway itinerary down to a week or even a few days if you only visit the southern half.
- Day 1: Drive to Monarch Campground in Yoho National Park
- Day 2: Hike the Iceline Trail in Yoho National Park
- Day 3: Drive to Lake Louise and hike the Plain of Six Glaciers
- Day 4: Enter Icefields Parkway / Hike Bow Glacier Falls
- Day 5: Helen Lake hike
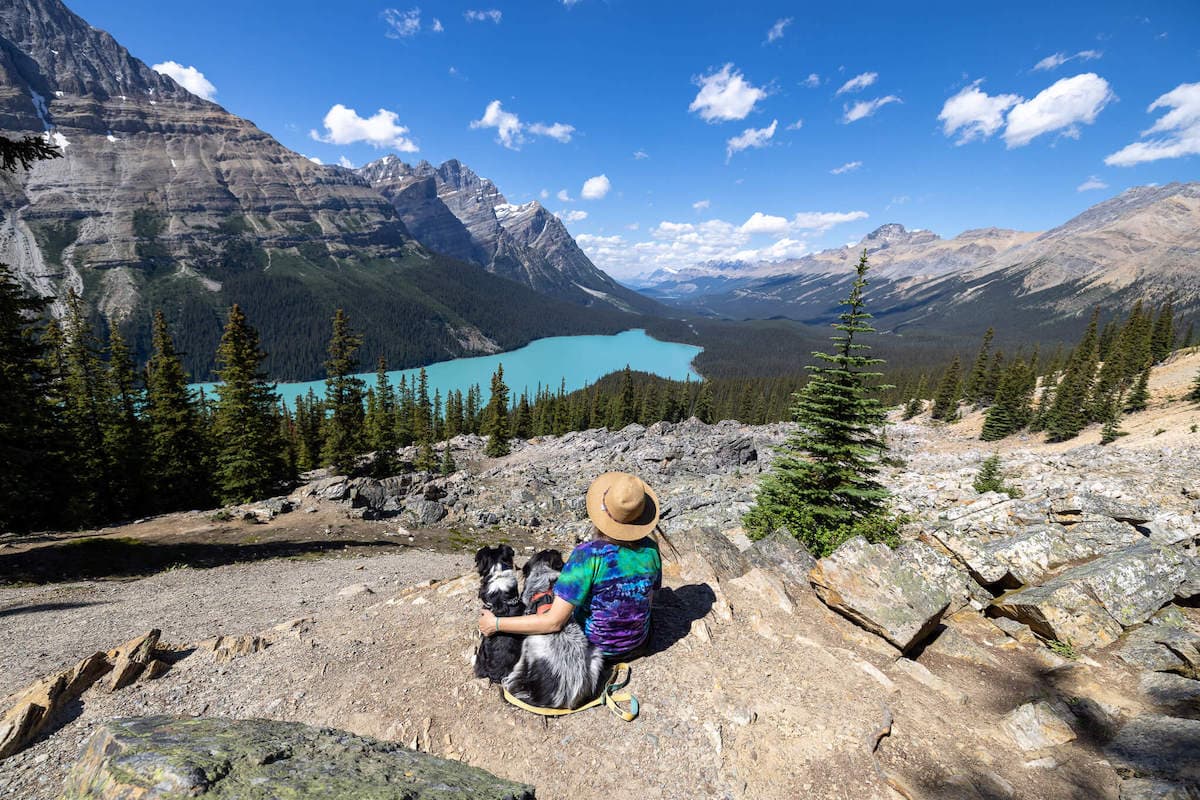
- Day 6: Visit Peyto Lake and hike Boundary Lake trail
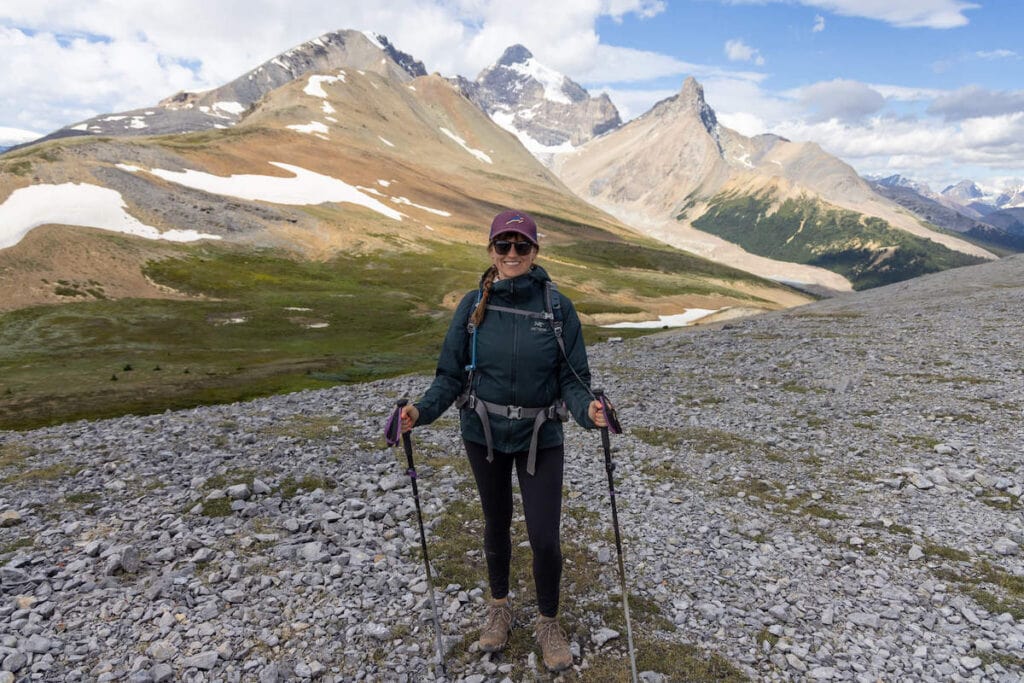
- Day 7: Hike Wilcox Pass Trail
- Day 8: Hike Beauty Creek to Stanley Falls
- Day 9: Lake Annette and Pyramid Lake / Explore Jasper
- Day 10: Hike Valley of Five Lakes or Edith Cavell Meadows
- Day 11: Visit Maligne Lake
- Day 12: Hike Parker Ridge Trail
- Day 13: Drive to Banff
- Day 14: Return to Calgary
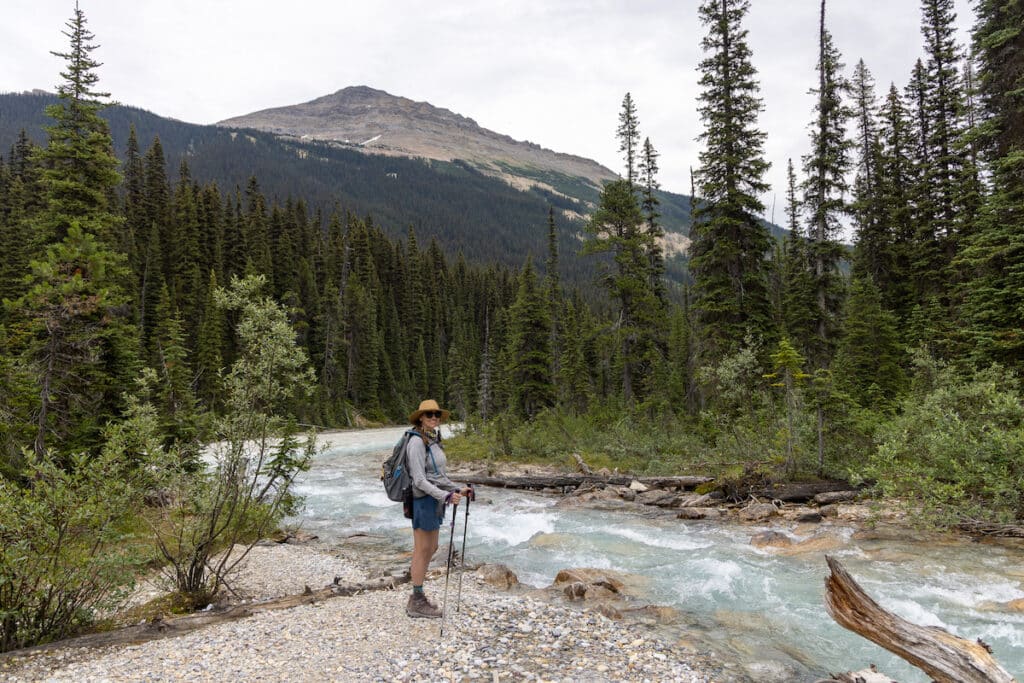
Day 1: Yoho National Park & Emerald Lake
Yoho National Park is located in eastern British Columbia on the border of Alberta. It’s known for its incredible Rocky Mountain landscape including towering peaks, rushing rivers and waterfalls, and crystal-clear lakes.
For this road trip itinerary, I recommend staying at least 2 nights in Yoho to experience some of its best hikes and sights.
If you have extra time and can plan in advance, I also HIGHLY RECOMMEND adding a couple of extra days and trying to get a permit to camp at Yoho National Park’s Lake O’Hara. I’m not including the details of that area in this post, but I’ve written all about hiking and camping at Lake O’Hara here.
Driving Distances
- Calgary to Monarch Campground in Yoho National Park (2 hours 15 minutes / 128 miles)
- Monarch Campground to Emerald Loop Hike (16 min / 10 miles)
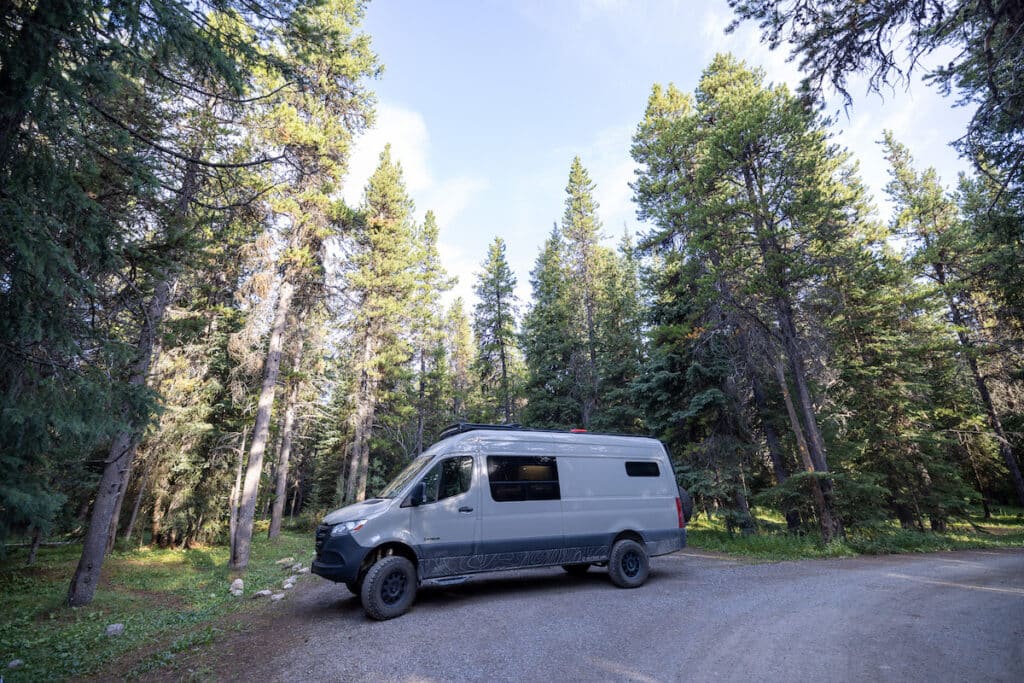
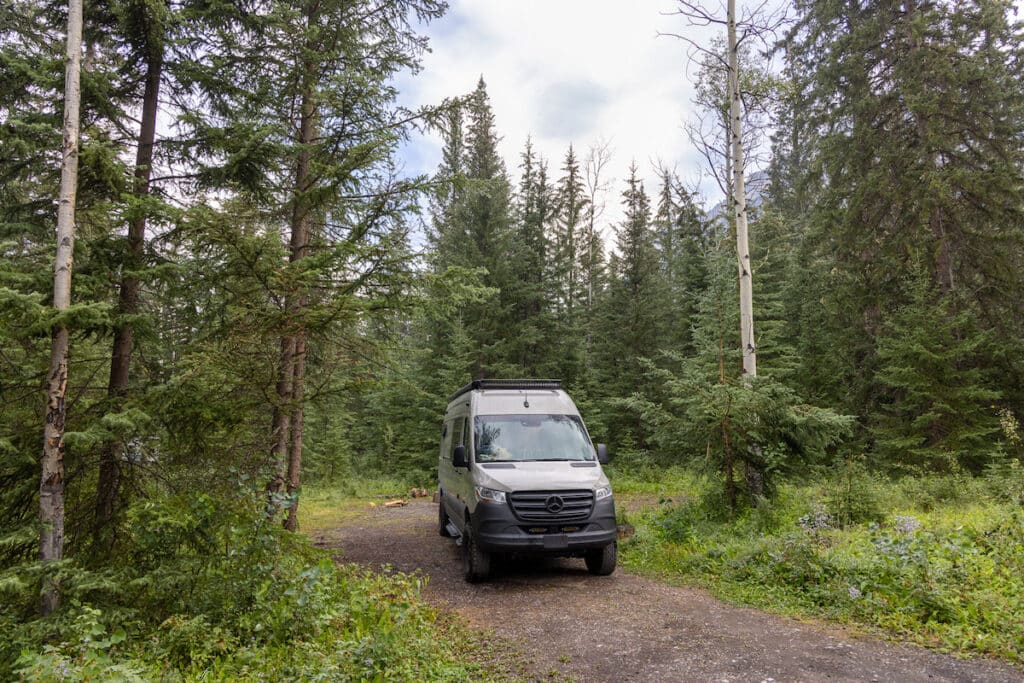
Camp at Monarch Campground
Depending on where you start your trip, stock up on groceries and supplies in either Canmore (if you’re coming from Calgary) or Golden (if you’re coming from British Columbia).
After stocking up, drive to Monarch Campground in Yoho National Park and get a first come first serve site. This campground has pit toilets, water, firewood, and picnic tables. It’s best suited for tents and vehicles under 27 feet.
I personally prefer the sites on your right after you enter. They offer more privacy and are furthest from the road.
Tip: the first come first serve campsites do fill up in the busy season so get there earlier in the day to secure your spot before going on to hike and explore.
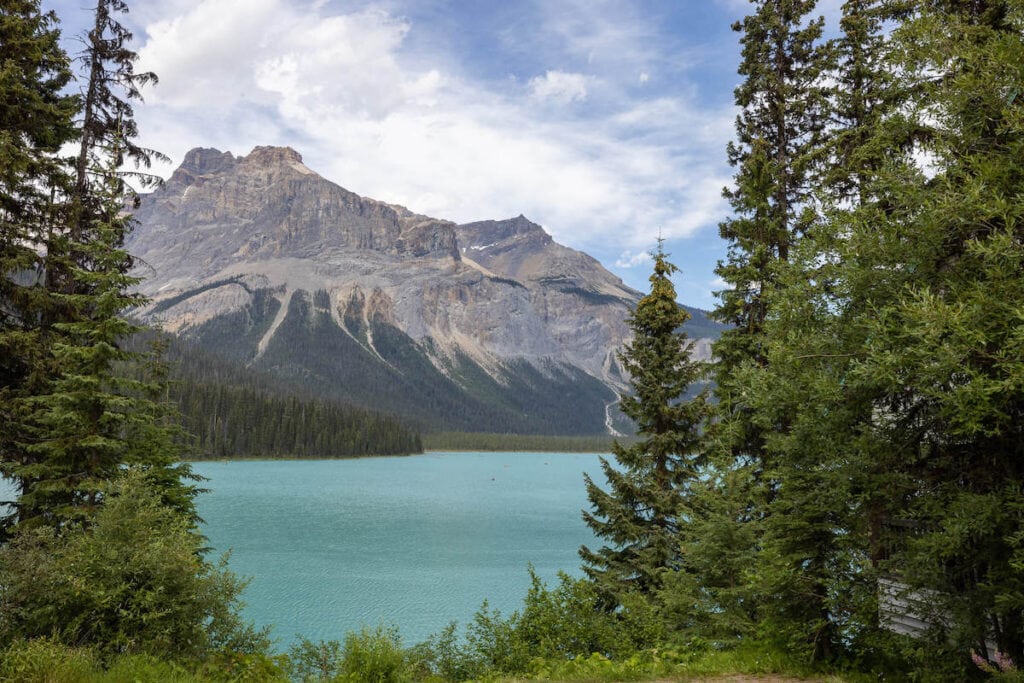
Hike the Emerald Lake Loop
After you’ve secured your campsite, drive to Emerald Lake (10 miles) and hike the 3.2-mile Emerald Lake loop. The water was fairly warm here in August so it’s a great place to swim. There were nice places all along the trail to get in the water.
>> Read next: The Ultimate Guide to Banff, Jasper, and Yoho Camping
Day 2: Iceline Trail & Takkawaw Falls
Driving Distances
- Monarch Campground to Iceline Trail (12 minutes / 8 miles)
- Iceline Trail to Lake Louise (45 minutes / 24 miles)
Hike the Iceline Trail
You’ll want to pack up in the morning and get an early start on the Iceline Trail. This trail starts from the Takakkaw Falls Parking area and makes its way up through the forest until you come out above the treeline when you’re granted amazing views across Yoho Valley and the Rocky Mountains.
You can either do the Iceline Trail as a 9.3-mile out-and-back (which is what I did) or make it a longer 10.3-mile loop by continuing past Celeste Lake and descending down Little Yoho Valley Trail to Yoho Valley Trail.
After you’re done, head over to the Takkawaw Falls and check out the falls.
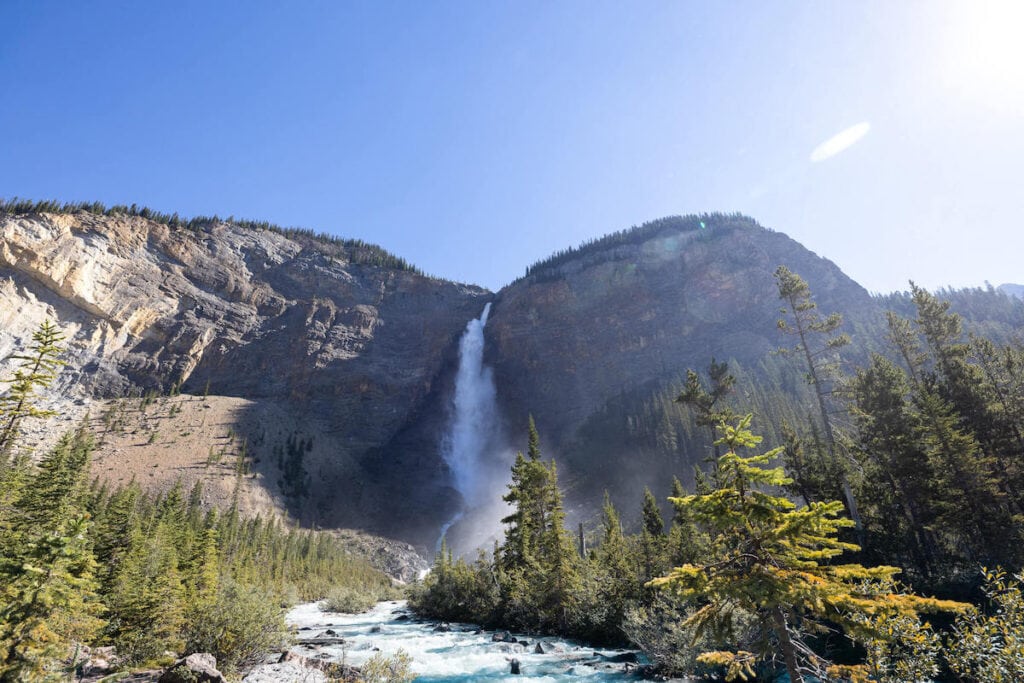
Note: The road to the Iceline Trail and Takkawaw Falls has a section of steep switchbacks. Vehicles longer than 24′ are not recommended to travel on the road.
If you’re looking for an easier hike, take the 5.2-mile trail to Laughing Falls. This is a much easier route that we opted for during my most recent visit when I was 16 weeks pregnant. It’s mostly flat along the river with some sections in the forest and leads to a beautiful waterfall at the end where you can find a nice place to have lunch.
Camp at the Lake Louise overflow lot
After your hike, drive to the Lake Louise overflow lot outside of Banff where there is overnight parking in a big gravel lot. You don’t need a reservation. The fee for camping is $11.50 a night and there is a porta potty available.
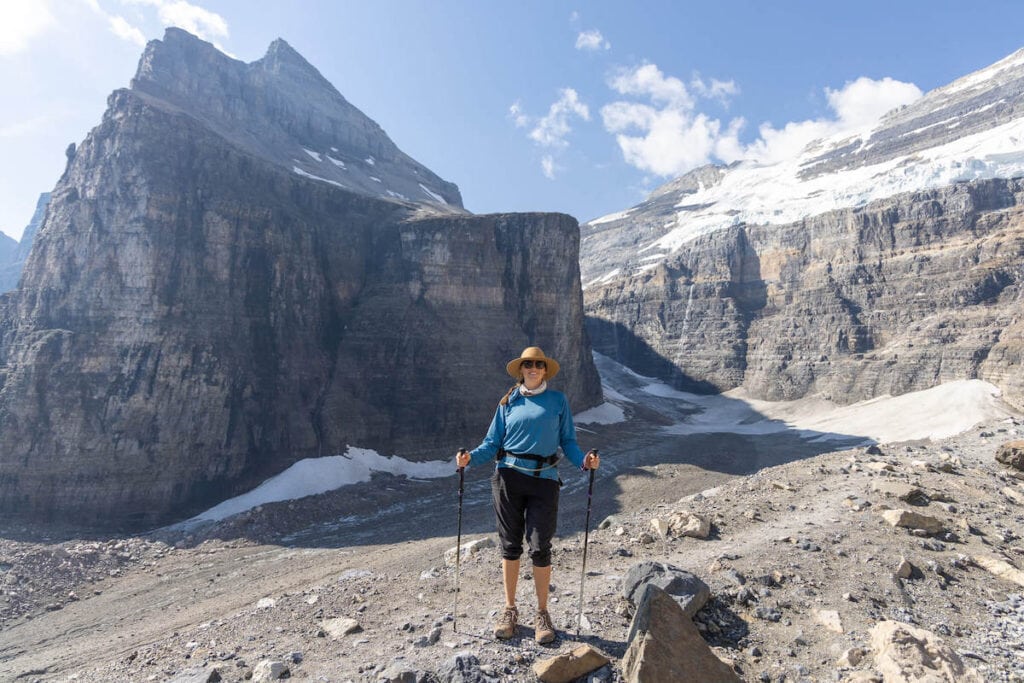
Day 3: Lake Louise & Plain of Six Glaciers Trail
Wake up early (like 5:00 am) and immediately head up to Lake Louise (the actual lake). Parking at the lake can fill up as early as 6, at which point your only option is to take the free shuttle. However, the shuttle requires a reservation and no pets are allowed.
Eat breakfast in the parking lot and try to be at the lake for sunrise.
Hike
Follow the shoreline trail to the end of Lake Louise where the Plain of Six Glaciers trail heads up the valley. This 9.1-mile route is moderately challenging, but the views are well worth the effort. For perspective, I was 17 weeks pregnant when I did this hike. There’s also the Plain of Six Glaciers Tea House near the top, so bring some cash for a cup or tea and a bowl of soup.
This trail can get very crowded, so the earlier you start the better. We had the trail mostly to ourselves on the way up, but the crowds were pretty thick on the way down.
If you’re not an early riser, you can start this hike later in the day once parking spots start to open up in the late afternoon. Bring a headlamp if you do it this way.
Camp at the Lake Louise Overflow lot
Stay one more night in Lake Louise overflow.
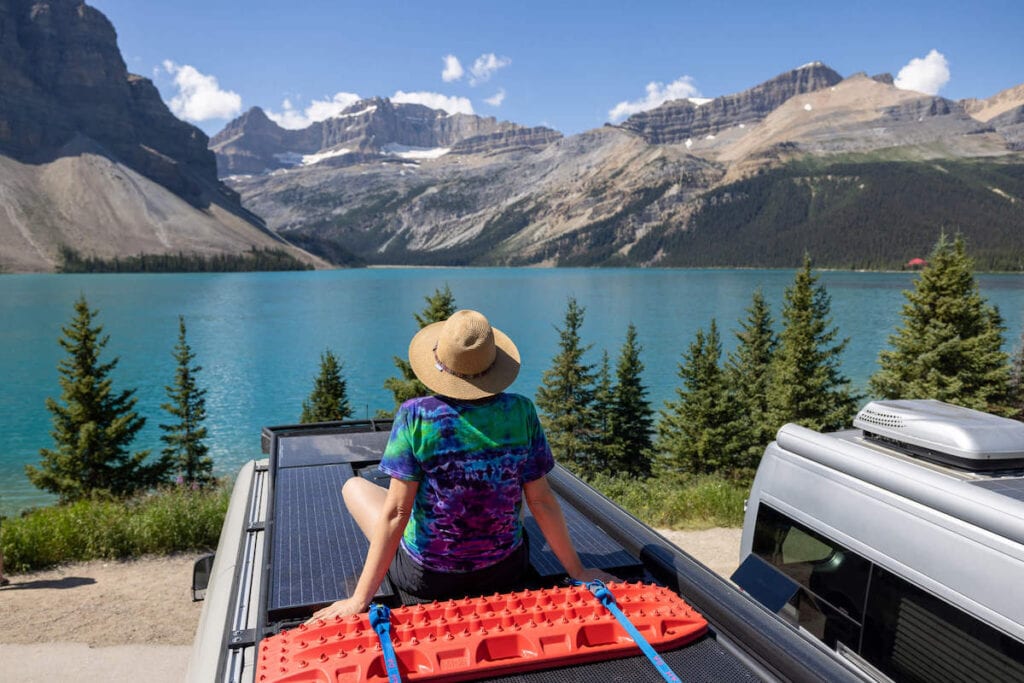
Day 4: Bow Lake
Driving Distances
- Lake Louise to Mosquito Creek Campground (24 minutes / 18 miles)
Today will be your first day on the Icefields Parkway. Drive north from Lake Louise onto Route 93, which is the start of the Parkway.
Tip: Fill up on gas at Lake Louise. The next gas station is at Saskatchewan Crossing which was very expensive and then Jasper which is 232 km (144 miles) north.
Camp at Mosquito Creek Campground
You’ll want to head straight to Mosquito Creek campground to get a first come first served campsite. If there are no spots available, they do allow for overflow overnight parking here.
There are some spots right on the river but they are exposed and not very private. The loop to the right is where we stayed, and there were some nice sites that are just a short walk to the river.
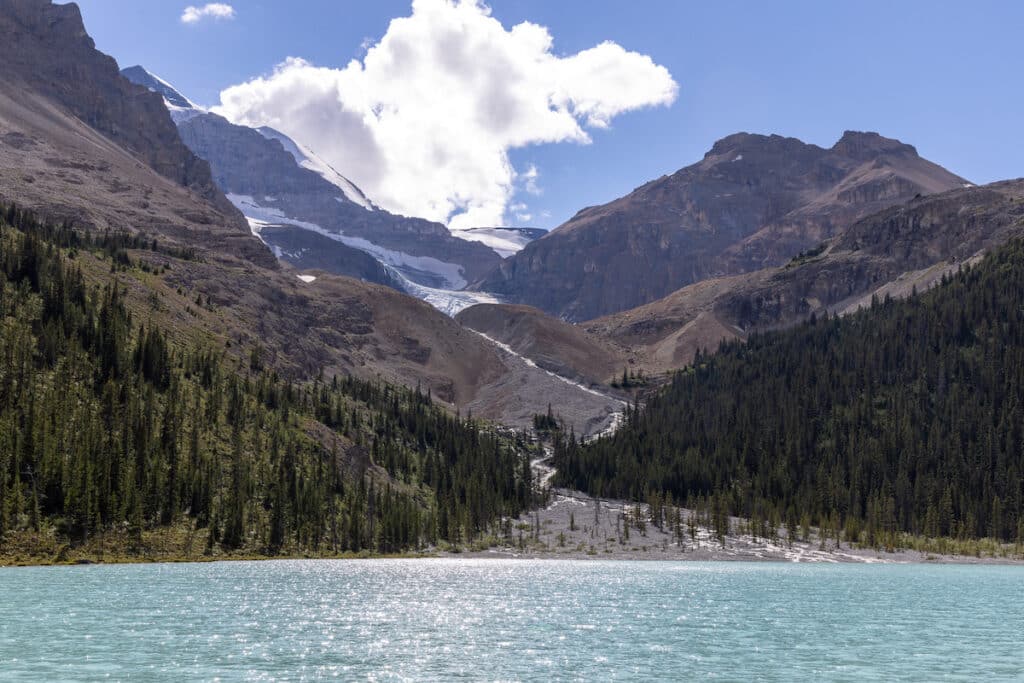
Hike the Bow Glacier Falls Trail
A really nice moderate hike is the 5.5-mile Bow Glacier Falls Trail, which starts at Bow Lake. You can park in the lot where the lodge is or anywhere along the dirt road leading to the parking lot.

This trail has great views the entire time and only one challenging section where there is a series of steep stairs built into the trail.
Afterward, grab a drink at the cafe and go relax on the shores of Bow Lake.
Day 5: Helen Lake
Spend the day exploring Helen Lake, which is just a short drive away from Mosquito Creek campground.
Hike
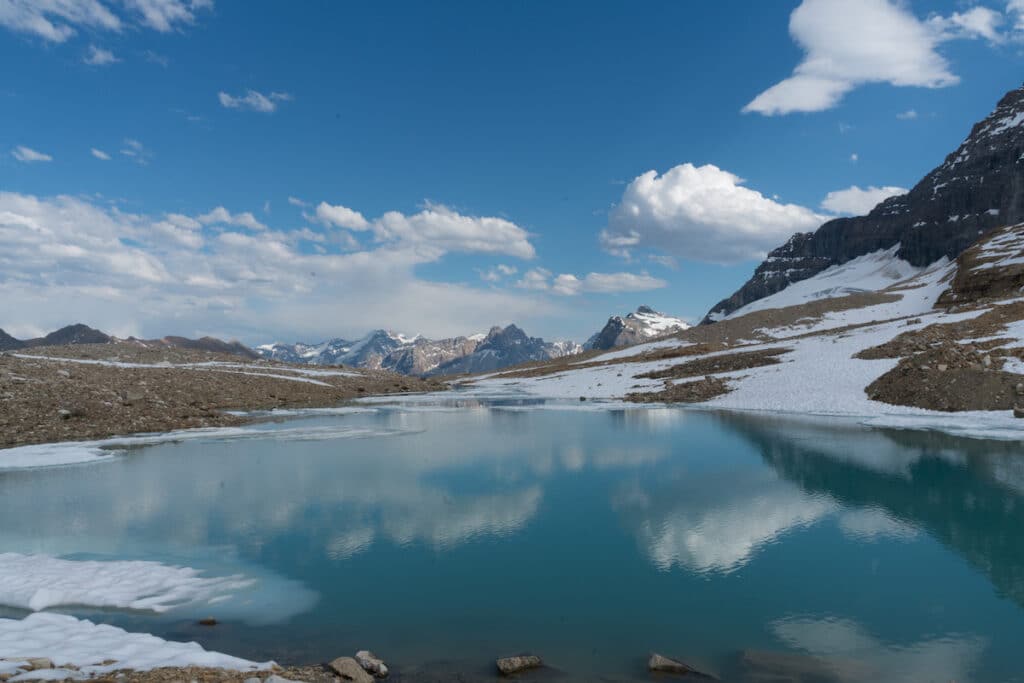
The Helen Lake Trail is a challenging hike if you plan on summiting Cirque Peak (if we were more prepared, and I wasn’t pregnant we might have considered it). At a minimum, it’s worth climbing the 7.2 miles up to Helen Lake. You get incredible views of Helen Lake and the surrounding peaks.
We heard the peak was spectacular but also a bit sketchy with lots of loose scree. If you choose to go up there I would recommend sturdy shoes, long pants, hiking poles, layers, and lots of water.
While we didn’t hike to the peak, we did continue above the lake where we had great views across the valley.
>> Read next: What to Wear Hiking
Camp
Spend another night at Mosquito Creek Campground.
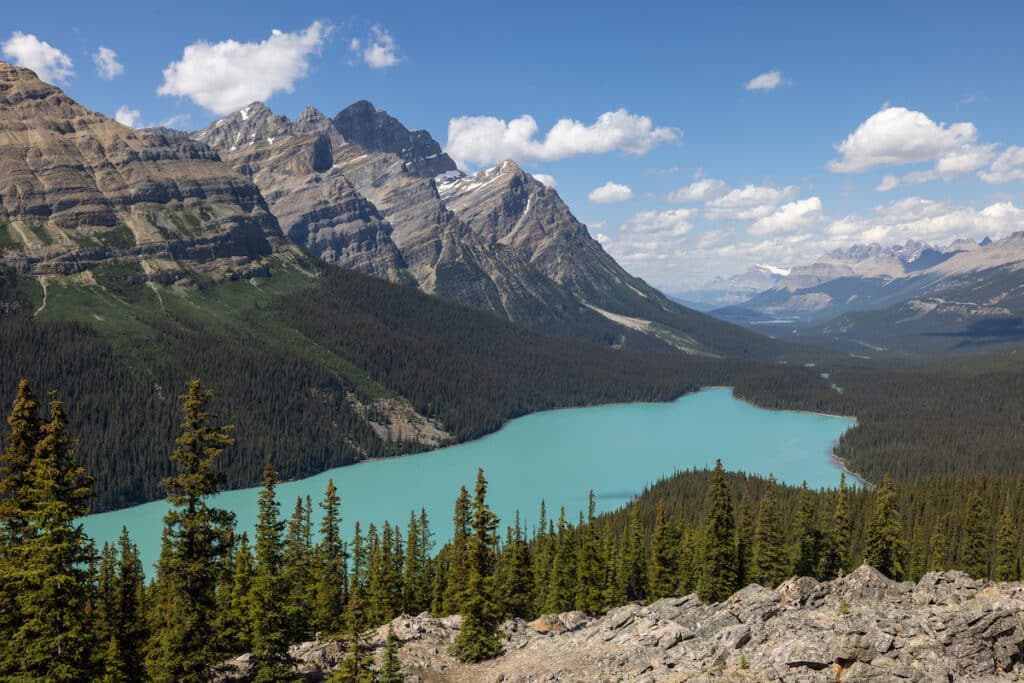
Day 6: Peyto Lake, Boundary Lake, & Athabasca Glacier
Driving Distances
- Mosquito Creek Campground to Wilcox Creek Campground (1 hour 15 minutes / 62 miles)
Get up early to pack up camp and start driving north on the Icefields Parkway.
Stop at Peyto Lake for a scenic overlook. You can follow the trail below the lookout point for a private view and better photo opportunities.
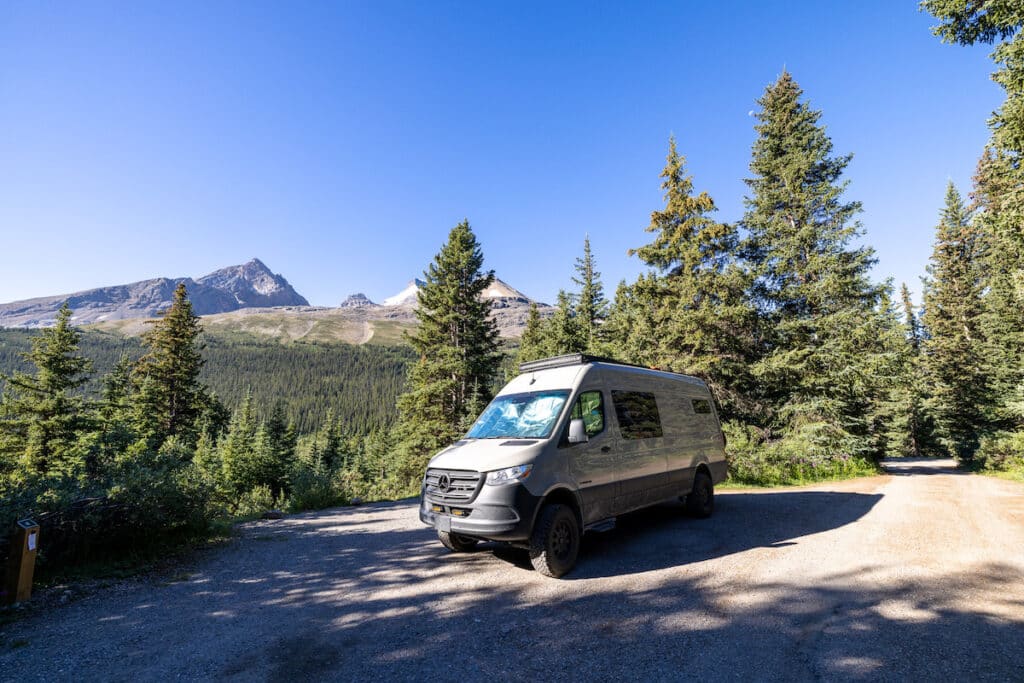
Camp
Continue driving north to Wilcox Campground and grab a first-come-first-serve campsite. The lower sites have the best views.
After you’ve got your site and set up camp, drive 1.8 miles back south to the Boundary Lake Trailhead, which is right on the border of Banff and Jasper National Park.
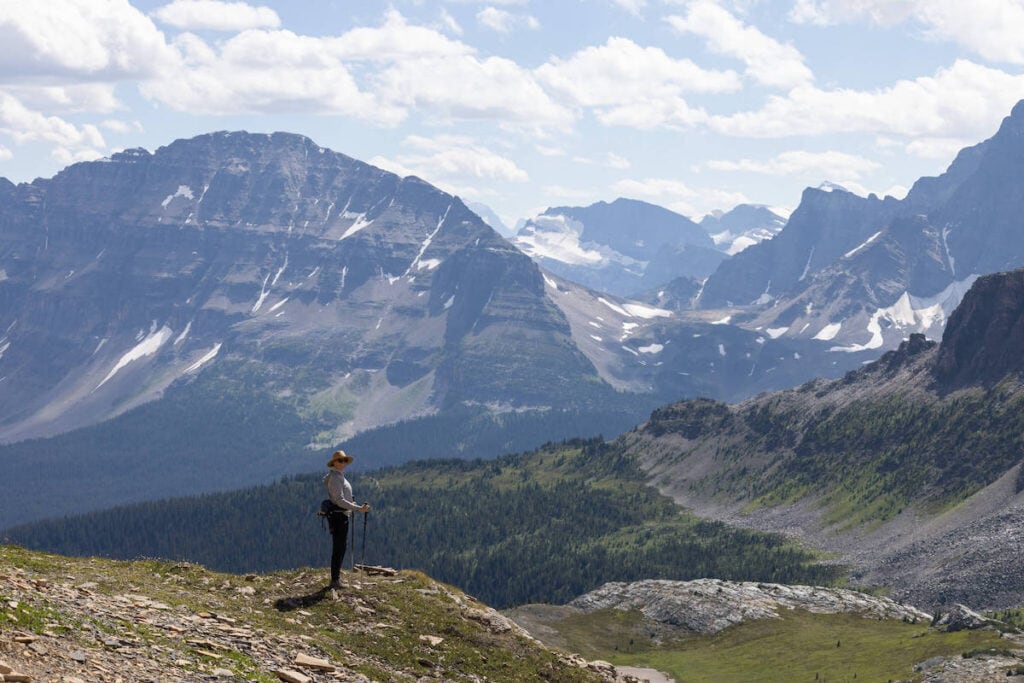
Hike
The trail up to Boundary Lake is an easy afternoon hike to a really pretty lake. We only saw two other people, which is rare to find that much solitude on any of the easier hikes in the region. You can follow the lake all the way around the right side to the glacier moraine.
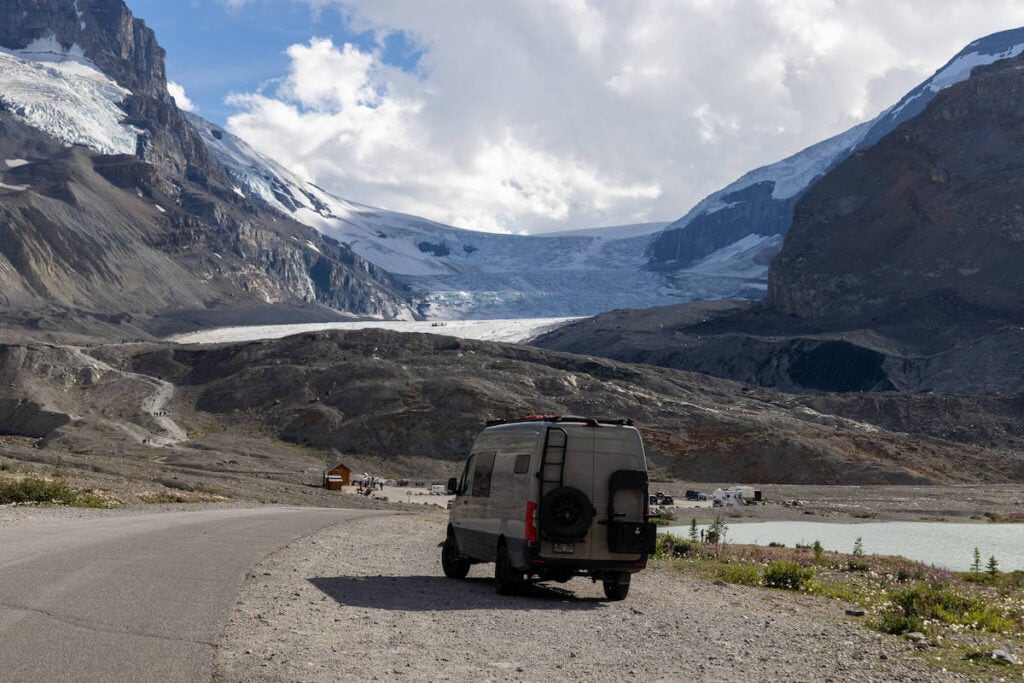
After your hike, drive 3.2 miles north to Athabasca Glacier (if you’re too tired, just skip the hike and visit the Glacier instead). You can take a tour from the Columbia Icefield Centre where you ride on a tour bus out onto the glacier. Another option is to do the Columbia Icefield Glacier Skywalk. This glass-bottom boardwalk sits 918 feet off the valley floor and offers uninterrupted views out over the glacier. Both the bus tour and skywalk should be booked in advance.
We opted to just see the glacier from the viewpoint reached by a short walk uphill. It’s crazy to see how far the glacier has retreated over the last 100 years and especially the last 30.
Day 7: Wilcox Pass Trail
Hike
The Wilcox Pass Trail is a very popular hike and you can walk to the trailhead from your campsite at Wilcox Creek Campground. Start early to beat the crowds and the sun. Bring lunch to eat at the top where you’ll have wide-open views of Columbia Icefields.
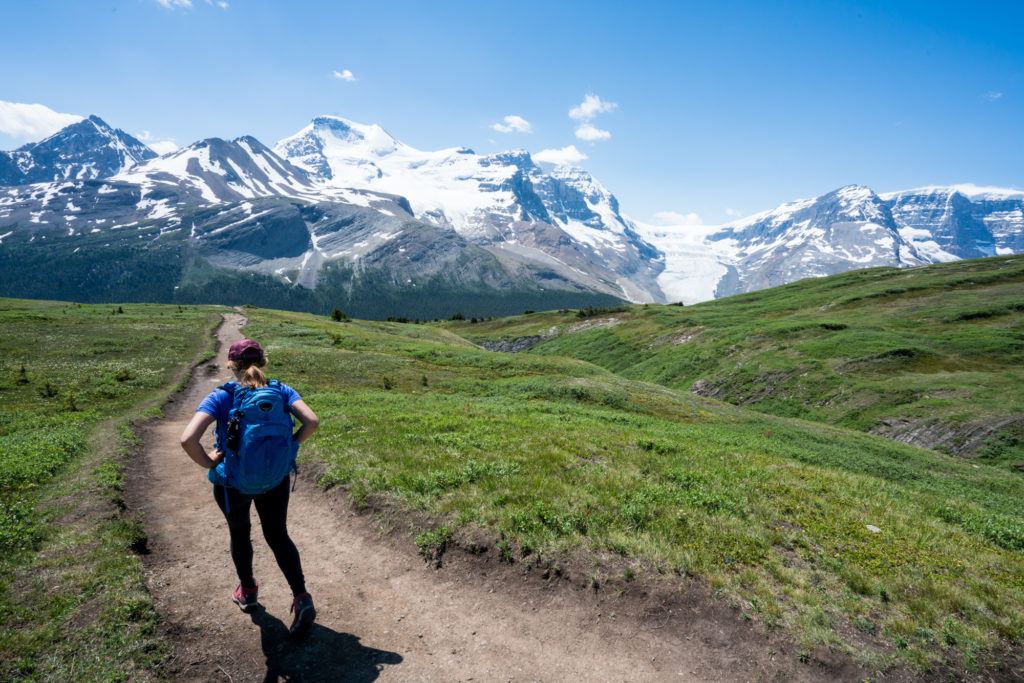
Tip: If you do the full 7.1-mile one-way length of the trail, you’ll descend down the other side and meet up with the Icefields Parkway road. If you don’t want to do 14 miles out-and-back, simply turn around when you feel ready to head back.
Camp
Stay another night at Wilcox Creek Campground.
Day 8: Stanley Falls & Sunwapta Falls
Pack up camp and continue driving north.
Driving Distances
- Wilcox Creek Campground to Mount Kerkeslin Campground (50 minutes / 44.5 miles)
Hike
The first stop along this day’s drive is Beauty Creek Trail to Stanley Falls. This is a 2.4-mile short trail with a moderate pitch right off the Icefields Parkways that follows a gorge and leads to a series of beautiful waterfalls. It’s quiet and a nice place to stretch your legs during the day’s drive.
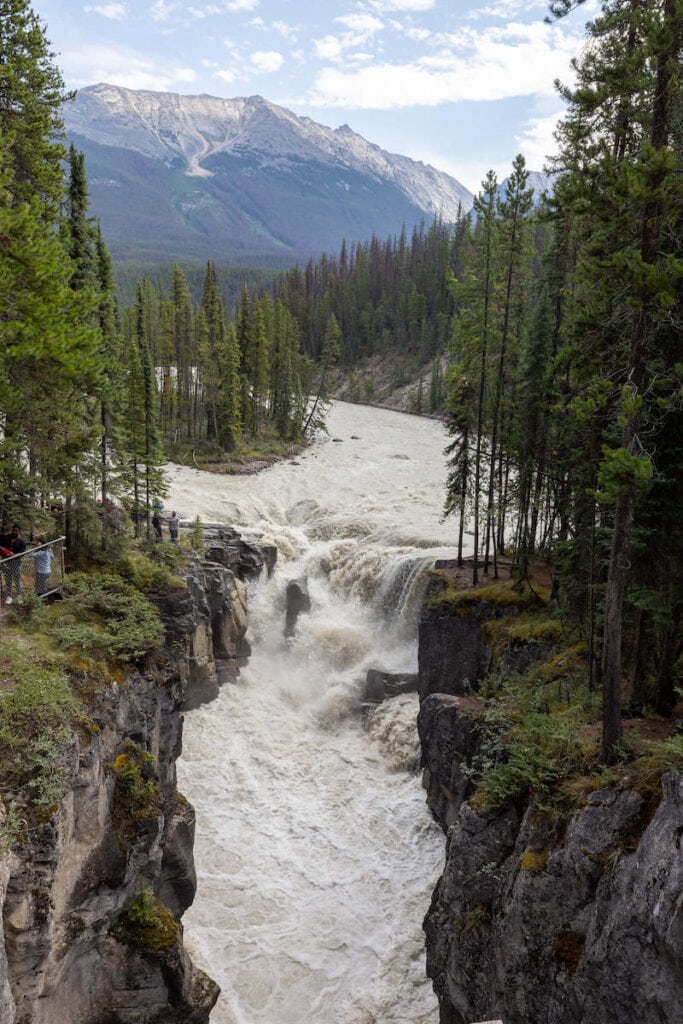
After your hike, continue driving north and stop at Sunwapta Falls where you can enjoy the views of the upper falls. I didn’t think the lower falls were really worth the effort, but it’s a short easy hike if you’re looking to get more steps in this day.
Camp
Get a first-come-first-serve campsite at Mount Kerkeslin Campground (you’ll be here for four nights). The sites near the entrance are closer to the Athabasca river, but way less private and closer to the highway. Follow the road to the second loop for larger and more private sites.
We found that this campsite had more availability than some of the others in the area. It’s about 20 minutes south of Jasper and much smaller than the sites like Wabasso and Wapiti, which are immediately south of town and take reservations.
While it was a further drive than other days, we enjoyed the quiet nature of this campground. If you need a shower, the bigger campgrounds closer to Jasper have more amenities.
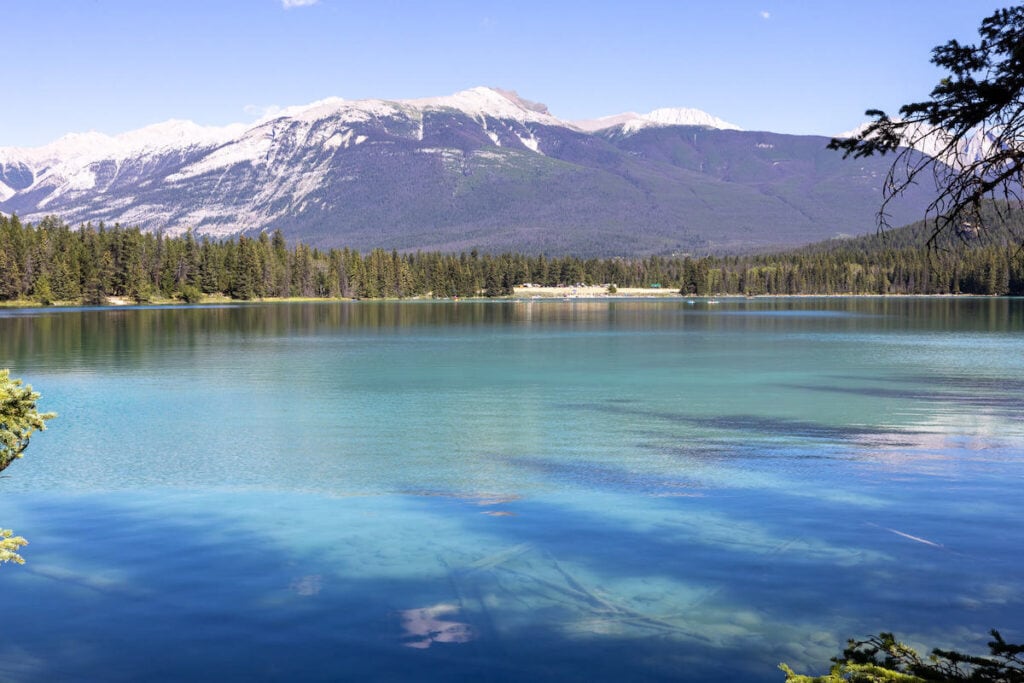
Day 9: Lake Annette and Jasper
Driving Distances
- Mount Kerkeslin Campground to Lake Annette (40 minutes / 26.5 miles) and back
Hike/swim
Drive through the town of Jasper to Lake Annette, where you can do a nice walk around the lake. Lake Annette was one of the clearest lakes I’ve ever seen (and I’ve seen a lot of lakes!). Take a swim or if you have a paddleboard, this would be a great place to bust it out.
If you’re looking for more lake-time, you can also visit nearby Pyramid Lake.
Explore Jasper
After you’re done swimming and paddleboarding, spend some time exploring the town of Jasper. I highly recommend eating at Ravens Bistro. They have great vegan options and a wonderful patio that’s shaded in the mid-afternoon.
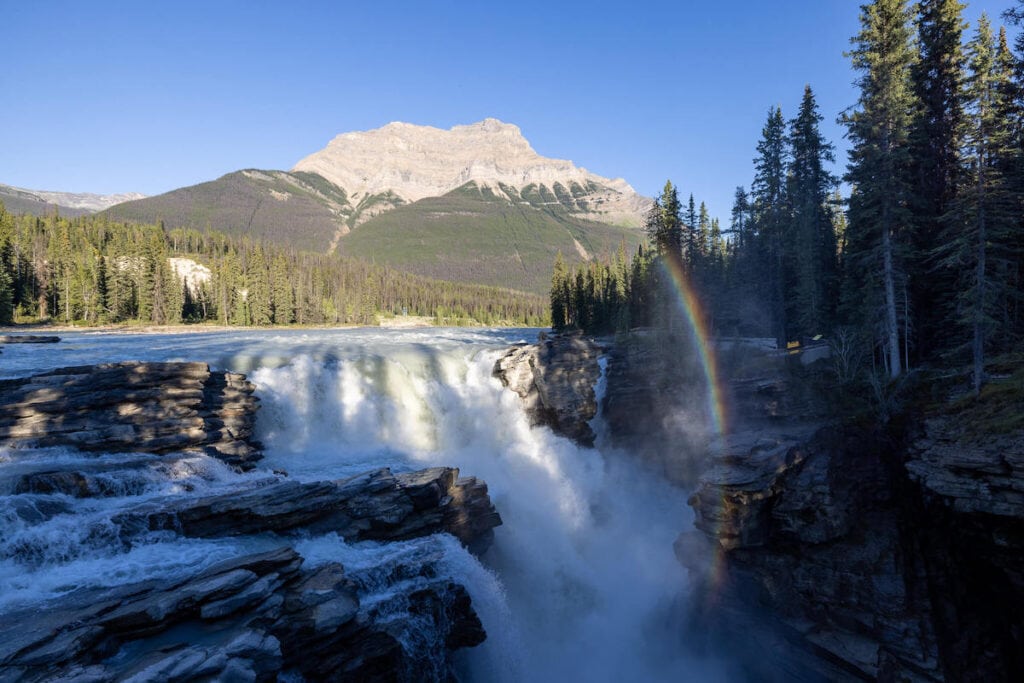
On your way back to the campground, stop at Athabasca Falls just before the sun goes down. It’s less crowded at this hour and the lighting is beautiful. Look for gorgeous sun rays and a rainbow in the waterfall mist.
Camp
Night 2 at Mount Kerkeslin Campground.
Day 10: Valley of Five Lakes or Edith Cavell Meadows
Hike
You have two options for hikes today: Valley of Five Lakes or Edith Cavell Meadows
Valley of Five Lakes
The 2.9-mile Valley of Five Lakes loop is a pet-friendly hike that was extremely busy when we visited due to its accessibility, pretty lakes, and easy terrain. This wasn’t my favorite trail on our trip, but nearly all of the alpine hikes near the town of Jasper are not dog-friendly due to wildlife.
With that said, if you get a very early start this is a pleasant trail. For swimming, there were some nice entry points at First Lake as well as Fourth Lake. If you want to add some mileage, there are options to make it a longer loop.

Edith Cavell Meadows
If we didn’t have our dogs, this is the trail we would have done. Check the National Park website for updates on which trails are dog-friendly around Jasper).
The Edith Cavell Meadows trail is a 5.1-mile loop that offers breathtaking scenery of wildflower meadows, glaciers, and mountains. While the views are epic, the terrain is challenging with over 1,800 ft of climbing. Bring trekking poles, snacks, lots of water, and a layer or two as the temperatures get colder near the top.
Camp
Night 3 at Mount Kerkeslin Campground.
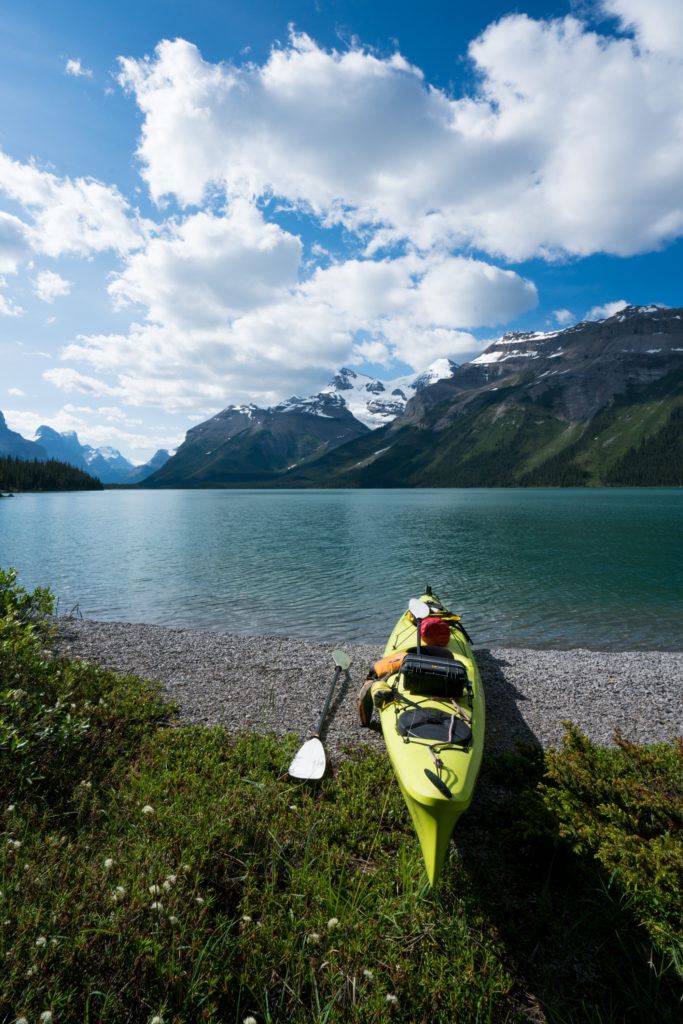
Day 11: Maligne Lake
Driving Distances
- Mount Kerkeslin Campground to Maligne Lake (1 hour 15 minutes / 52 miles)
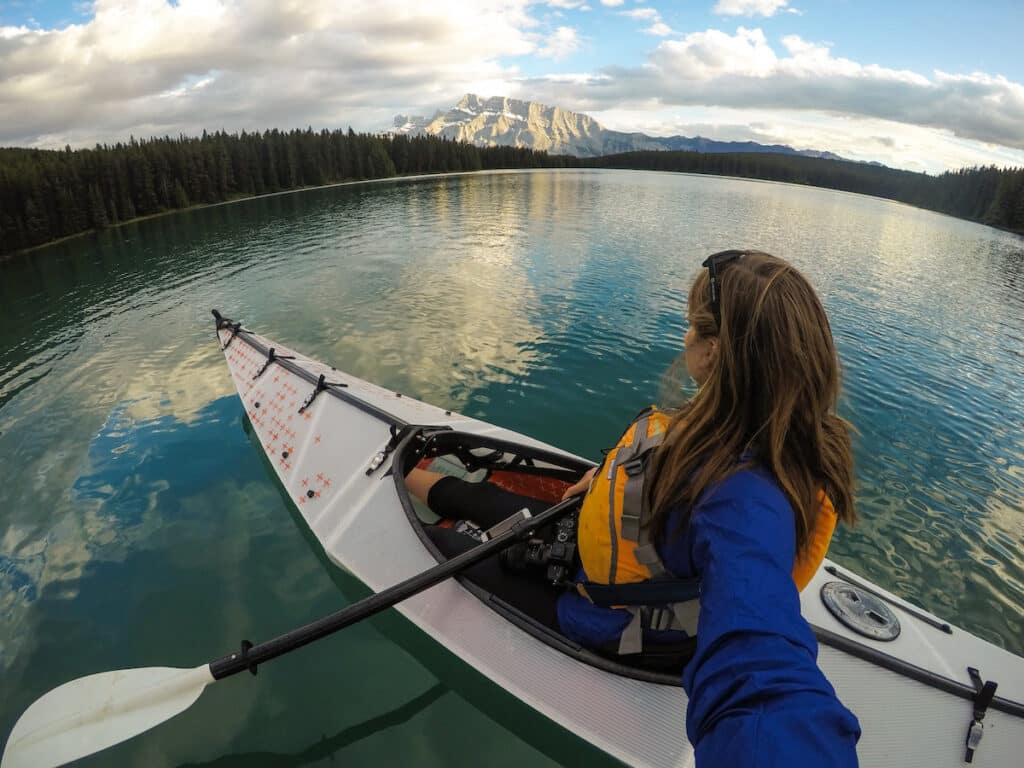
If it’s a sunny day, driving out to Maligne Lake is a must. The lake has some of the prettiest water I’ve ever seen. I was there in 2017 and paddled the entire length of the lake, camping at the end at a backcountry campsite called Coronet Creek Campground.
If you can get a permit and want to do an overnight trip, it’s well worth the effort. If that’s not possible, you can still rent a canoe or kayak for a couple of hours and go exploring. If the water and wind are calm, this is a great way to spend the morning.
If you don’t want to paddle, there is a tour boat that leaves approximately every half hour that takes you out to Spirit Island. The boat tour is expensive, but if you want to see the lake with minimal effort, this is a good option. I also think the lake gets prettier the further down you go. Reservations are highly recommended for the Maligne Lake Cruise.
Opal Hills
If you’re looking for a hike to do after paddling, head out on the Opal Hills (also not dog-friendly). This 5-mile loop climbs up above Maligne Lake for great views out over the water and valley. Be forewarned, though, this is a challenging ascent!
Maligne Canyon
For an easier afternoon, go explore Maligne Canyon. We started at the bottom of the canyon from Sixth Bridge. We did the uphill first and followed the river on the way up and then stayed high on the downhill portion, making a loop out of the trail. The prettiest part of the hike, in my opinion, was between the 5th and 4th bridges where you have a clear view of the river and how it’s carved through the canyon.
Camp
Night four at Mount Kerkeslin Campground.
Day 12: Parker Ridge Trail
Driving Distances
- Mount Kerkeslin Campground to Waterfowl Lakes Campground (1 hour 40 minutes / 86 miles)
Pack up camp and get an early start driving back south. Today you’ll drive about halfway down with a nice hike and layover on the way.
Hike
The 4-mile Parker Ridge Trail is a must-do that is not too hard and comes with big rewards. At the top, you’ll get views of the Saskatchewan Glacier which was even more impressive than Athabasca in my opinion.
This is a busy trail with no shade, so the earlier you can start the better.

Camp
Continue driving south and get a first come-first served campsite at Waterfowl Lakes. If that’s full, you can keep driving to Mosquito Creek Campground.
Day 13: Banff
Driving Distances
- Waterfowl Lakes to Banff (1 hour 15 minutes / 71 miles)
From Waterfowl Lakes, exit the Icefield Parkway and head straight to Banff. There is free parking including for RVs on the way into town just past the train tracks. It’s much easier to walk from there due to traffic and parking restrictions in town.
If you want to stretch your legs, do the quick 2.8-mile Tunnel Mountain Trail to get a great overlook of the town of Banff. If you want to paddle, Two Jack Lake is a great place to get out your paddleboards or kayaks.
Read next: Looking for more trail recommendations? Check out our guide to the Best Hikes in Banff.
If you’ve had enough hiking, hop on the gondola up to Sulphur Ridge where you can take in the amazing Rocky Mountain views from the top. There’s also a trail to the summit, so you can choose to hike up and/or back down.
Camp
Camp at Banff overflow parking lot.
Read next: Best Things To Do in Banff in Summer
Day 14: Drive to Calgary
Driving Distances
- Banff to Calgary (1 hour 30 minutes / 80 miles)
If you’re ending your trip in Calgary, the drive from Banff to Calgary is about an hour and a half.
Bonus Hike
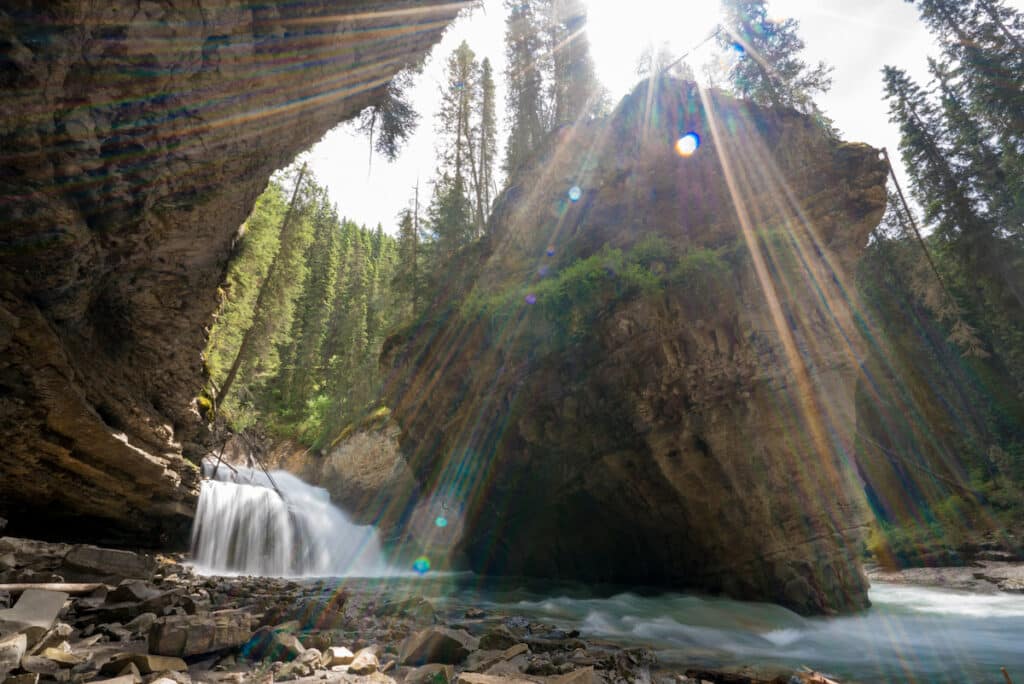
if you have time, another great hike in Banff is the Johnston Canyon to Upper Falls trail, which is 3.2 miles and takes you along the very scenic Johnston Creek with parts of the trail on a suspended boardwalk. The trail ends at a beautiful waterfall with a deep blue pool at its base. However, be aware that this is one of the most popular hikes in all of the Canadian Rockies, so get a very early start to get parking and avoid the crowds.
If you want a less crowded hike, head to Heart Creek Trail, which starts from the small town of Lac de Arcs. This trail is 3-miles and also follows a creek up to a waterfall.
What to Pack for your Icefields Parkway Road Trip
Check out our car camping checklist for a complete list of what to pack for your road trip. Here are a few items especially important for the Icefields Parkway:
- Icefields Parkway Map – there is no cell service between Lake Louise and Jasper
- Bug spray – mosquitos can be ferocious in the summer!
- Layers – depending on what hikes you do, you may come close to ice fields and glaciers. Pack layers to stay warm
- AllTrails Pro App downloaded to your phone – there is no cell phone service along the Icefields Parkway, so be sure to have the AllTrails Pro app downloaded to your phone so you can navigate the trails offline
- Sunscreen
- Bathing suit – for the many beautiful lakes to swim
What questions do you have about this Icefields Parkway itinerary? Have you been already? What would you add to this road trip itinerary? Leave a comment below!
Kristen: I think your itinerary looks great. I am interested in doing this trip in our van. In looking up campgrounds for a trip on Icefields parkway this summer, the campgrounds taking reservations seem to be completely full for July. Do you think we would be ok winging it with no reservations? We are happy boondocking, and even occasionally sleeping in a parking lot if necessary. It is amazing seeing that campgrounds are already booked 3 months out. Thanks
Hi Kurt – There is no boondocking allowed on the Icefields Parkway because it’s all in the National Parks. However, there are lots of first come first served campgrounds, as well as overflow lots that they allow people to camp/park in if all of the camping is full. I didn’t have reservations, but we did book a few spots that became available via cancellations once we are on the road for sites closer to Banff and Jasper. Hope that helps and have a great trip!