A Complete Guide to Camping & Hiking at Lake O’Hara
Four days at Lake O’Hara was the highlight of my Canadian Rockies trip. Get my detailed hiking & camping guide to this British Columbia National Park.
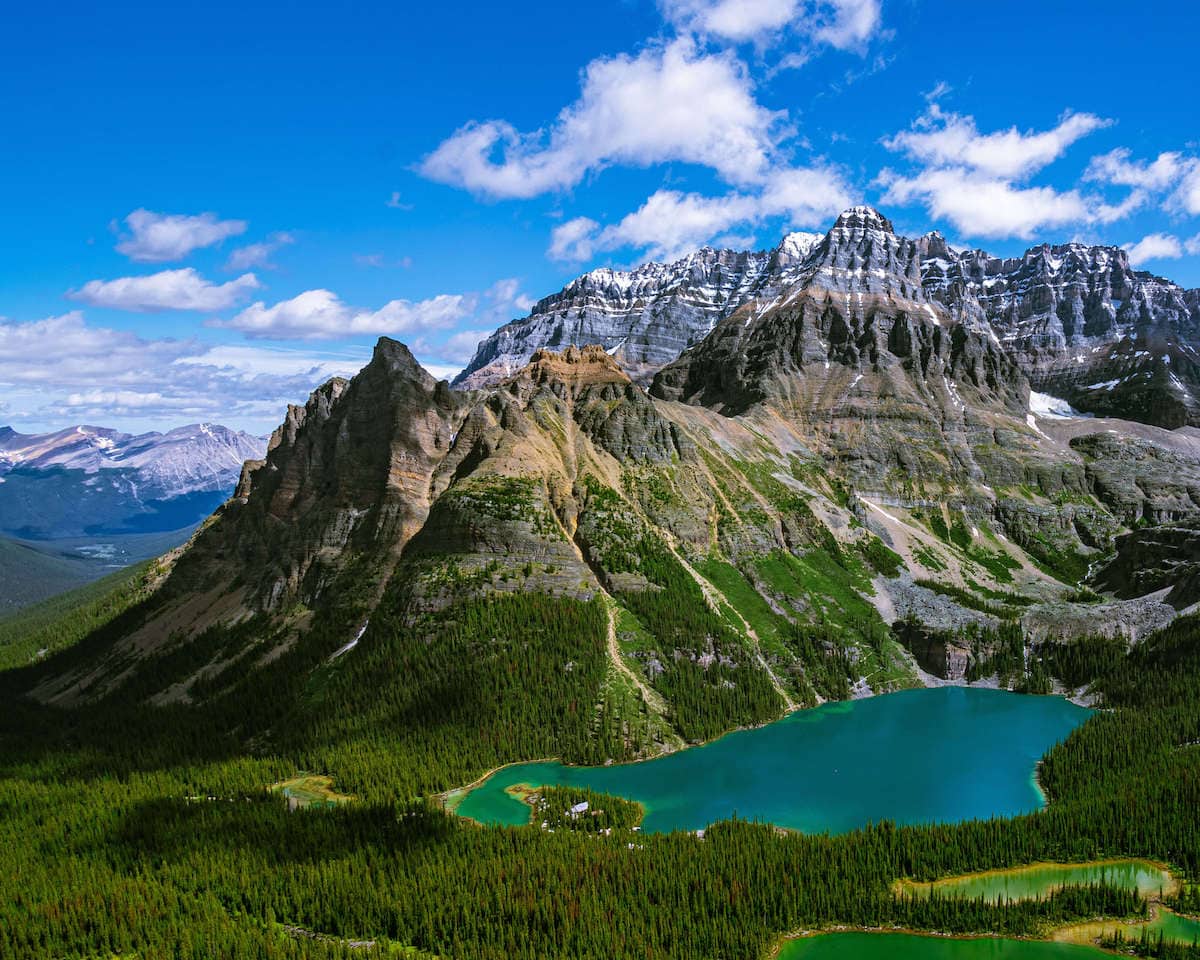
During my road trip to Canada, I scored a last-minute permit to spend 4 days exploring the Lake O’Hara trail system in Yoho National Park which sits on the border of British Columbia and Alberta. It was both the highlight of my Canadian Rockies trip and one of the coolest trail networks I’ve hiked on.
If you are making a trip to the Canadian Rockies, I highly recommend trying to get a camping reservation and working a few days at Lake O’Hara into your itinerary. While I got lucky with my permit, planning ahead is key due to the strict quota system.
Discover everything you need to know about planning a trip to Lake O’Hara in Yoho National Park including permit information, camping tips, best trails to hike, and more.
This post may contain affiliate links.
Why visit Lake O’Hara?
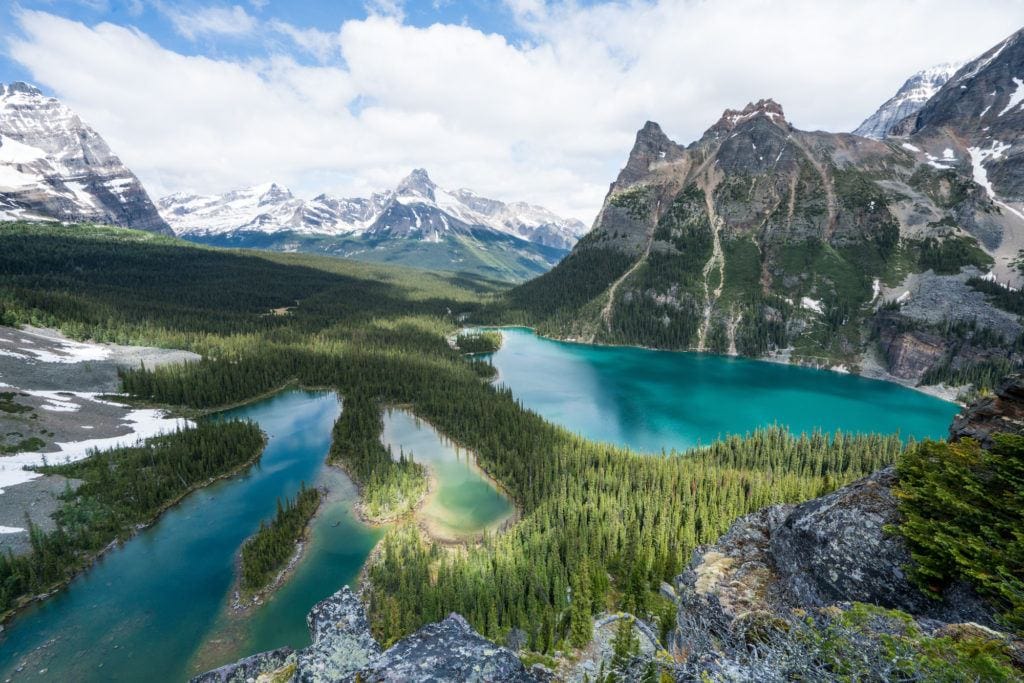
Lake O’Hara is a stunning high alpine lake located in Yoho National Park in southeastern British Columbia, not far from Lake Louise in Alberta. The lake is situated at 6,630 ft and is surrounded by incredible scenery and an extensive network of high alpine hiking trails. The area is known for its crystal clear lakes and beautiful snow-capped peaks. A hike out to Opabin Prospect viewpoint is an unforgettable experience!
Because Lake O’Hara can only be accessed by hiking 11km up a dirt road or by a reservation-only bus system run by Parks Canada, the area never gets overly crowded, making it a great destination for outdoor lovers.
Save this post!
Enter your email & I'll send this post to your inbox! You'll also receive my weekly newsletter full of helpful advice for planning your adventures.
How to Get to Lake O’Hara
Lake O’Hara is located in Yoho National Park in eastern British Columbia. The campground and trail system are 11km up a dirt road that is closed to personal vehicles and can only be reached on foot (bicycles are prohibited) or with a reservation on a Parks Canada bus (see the next section for transportation details).
Lake O’Hara is a 2-hour drive from the Calgary International Airport and a trip to this beautiful area can easily be combined with stops in Banff and Jasper National Park, or as part of an Icefields Parkway roadtrip.
There are four ways you can visit Lake O’Hara:
- Visit for the day by shuttle bus – Between June and October, visitors can take the shuttle bus 11km up to Lake O’Hara. Advanced reserations are required via a random draw reservation system. You can enter the random draw by telephone or online at Parks Canada Reservation System.
- Visit for the day by foot – You can hike the 11km dirt road up to Lake O’Hara for the day. This is a 22km (13.7 mile) round-trip hike and visitors need to be prepared with water, bear spray, food, and appropriate footwear and clothing. Camping is not allowed anywhere along the road and advanced camping reservation are required at the Lake O’Hara campground.
- Camp for up to 3 nights – If you want to stay overnight at Lake O’Hara, you can reserve a campsite for up to three nights. See camping section below for more information on backcountry camping at Lake O’Hara.
Camping at Lake O’Hara
Lake O’Hara Campground Facilities
Camping at Lake O’Hara is managed by a strict quota system in order to minimize the number of people on the trails at any given time. There are only 30 campsites at the Lake O’Hara campground and reservations are on a first-come-first-serve basis.
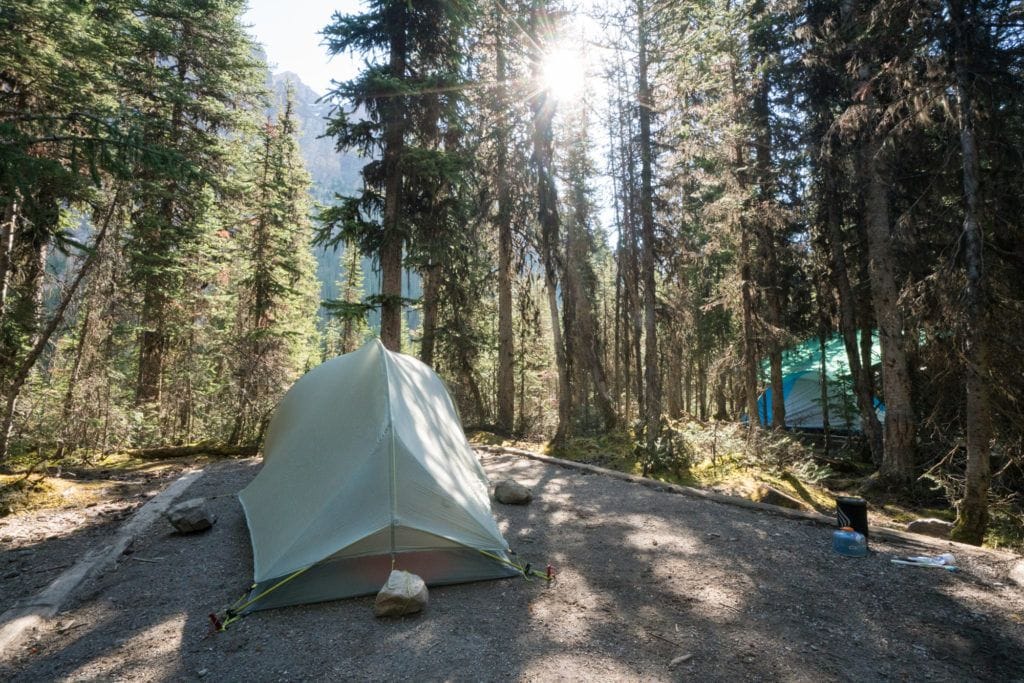
The campground facilities are great and I especially enjoyed staying there as a solo hiker. There is a communal fire pit and communal picnic tables which made it really easy to meet other travelers and folks to hike with. I met my tent neighbors on the first morning and we ended up hiking together the rest of the trip.
The campground also has trash cans, clean toilets, and bear lockers to store your food and any other toiletries with a scent. If it’s raining or cold, they have two covered areas with wood fire stoves that you use to warm up after a day on the trail.
There are two big sinks to do dishes and there is potable water, so you don’t need to worry about filtering the water as long as you get it out of the sink (water from the lakes should be filtered).
I stayed at site #12 which had nice morning sun. The sites up top are a little more private, but I appreciated the proximity of my site to the bathrooms and the picnic tables.
The last piece of info is that there is a spot called the Relais Shelter just past the campground on the main road. Here you can buy coffee, DELICIOUS carrot cake (sells out every day), and some basic snacks. So bring a bit of cash and treat yourself.
How to Make Camping Reservations in 2022
The Parks Canada Reservation system will open on February 3, 2022, at 8 am MST for the entire overnight camping season at Lake O’Hara. The 2022 camping season runs between June 17th and October 2nd.
According to Parks Canada, all camping reservations are expected to be booked early on opening day. That means that if you’re looking to snag a reservation, be ready to go first thing when reservations open at 8am MST. Even better, create an account in advance so you’re ready to roll when the doors open.
Reservations are offered via the Parks Canada Reservation Service which can be reached three ways:
- Online at Parks Canada Reservation Service – Lake O’Hara Backcountry Camping
- By calling 1-877-737-3783
- If outside the U.S. or Canada, by calling 1-519-826-5391
If you are lucky enough to get through online or by phone, you are allowed to book up to 3 nights, which I highly recommend in order to thoroughly explore the area. All of the trails offer something different, and I promise you won’t regret it. You are allowed to book a maximum of 2 sites (1 tent per site) and a total of 4 people per tent.
Getting the bus to Lake O’Hara Campground
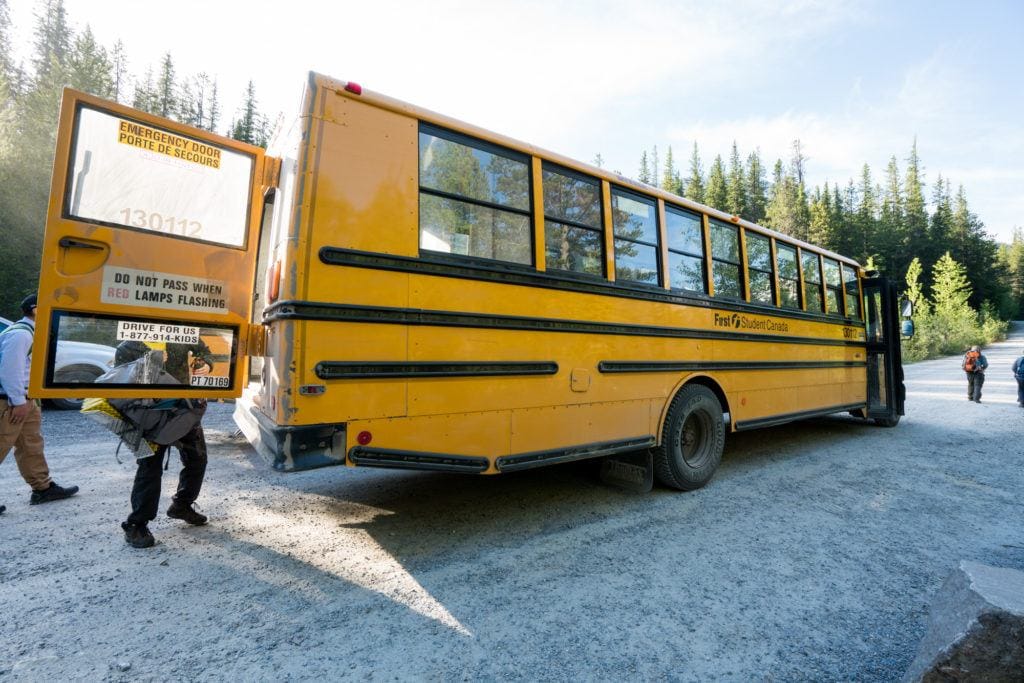
Your camping reservation also includes a spot on the bus that transports campers 11 km from the parking lot up the forest road to the campground. In 2022, buses for campers depart the parking lot at 8:30 am, 10:30 am, 3:30 pm & 5:30 pm. You’ll be able to select your preferred bus time and I recommend requesting the morning bus. By arriving early, you’ll have the whole day to explore.
You only need to sign up for a bus headed for Lake O’Hara (the in-going bus) when you make your reservation. Return buses leave Lake O’Hara for the parking lot every day at 9:30 am, 11:30 am, 2:30 pm, 4:30 pm & 6:30 pm, and you can hop on whichever one you want.
Last-minute camping reservations
If you miss the boat on reservations (like I did) you have a small chance of getting a permit if someone cancels and you have flexible dates. You can check the Parks Canada Reservation Service website to see if there are any available dates. When I was in Canada, I checked and noticed there were some available dates the following week. I called, got through, and immediately booked a campsite and bus ticket.
Other lodging options at Lake O’Hare
If you aren’t interested in camping or you weren’t able to score a reservation, there are two additional lodging options at Lake O’Hara.
Elizabeth Parker Hut
The Elizabeth Parker Hut is located about a third of a mile from the shores of Lake O’Hara with beautiful views of the Rocky Mountains and alpine meadows. The hut is operated by the Alpine Club of Canada and bookings can be made for the entire hut, which sleeps 15 people.
The hut is equipped with mattress pads (bring your own sleeping bag), a propane stove and fully equipped kitchen, an outhouse, propane lighting, and a wood stove. Water can be sourced from the nearby creek. It’s about a 10-minute hike to the hut from the bus shuttle drop-off.
If you have a large group and want to explore Yoho National Park, this is a great basecamp!
Lake O’Hara Lodge
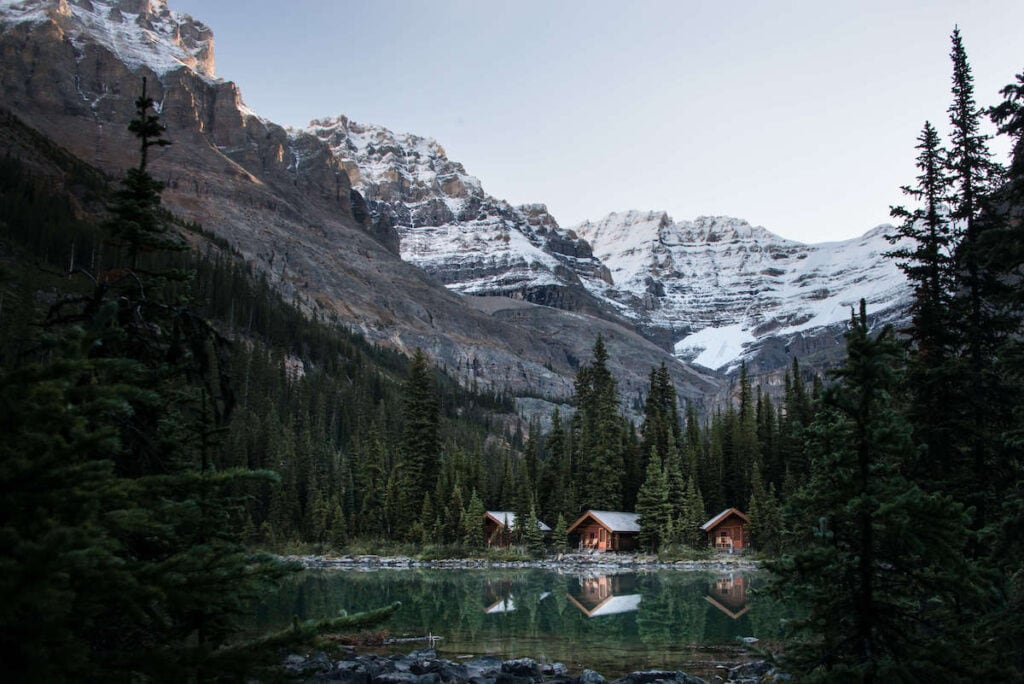
If you’re looking for a bit of comfort and luxury, book a room or cabin at the rustic and beautiful Lake O’Hara Lodge. Built in the 1920’s, the lodge is tucked back into the trees with amazing views overlooking the lake and surrounding peaks. Reservations include all meals and round-trip bus fares.
Visiting Lake O’Hara for the Day
If you don’t want to camp at Lake O’Hara or you are unable to get a camping reservation, it is still worth going up there for a day. Many of the trails are Lake O’Hara are short and fast hikers could cover a lot of ground in a day.
Bus shuttle day use reservations
You still need a reservation to ride the bus to Lake O’Hara. For 2022, applications for the Random Draw lottery are accepted from March 1-30, 2022. You can enter the draw on the Parks Canada Reservation Service website.
Each application costs $10 and applications are then drawn at random. At the end of this process, any unconfirmed and unreserved spots become available online on a first-come-first-serve basis.
Again, I recommend the 8:30am bus as it gives you the whole day to explore. The afternoon in-going buses are for overnight campers only. If you don’t get a reservation through the drawing system, be sure to check the Parks Canada website in the spring for openings.
Walking to Lake O’Hara
If you are unable to get a camping permit or a day-use reservation on the bus, your final option is to walk in. From the parking lot to the trailhead, it’s about 11km (6.8 miles) one-way. The road is slightly uphill, but nothing too crazy. That said, this is not recommended as the round trip walk makes for a very long day.
A few final notes about visiting Lake O’Hara:
- Biking is not allowed on the road
- Pets are not allowed on the bus or at campgrounds, but are allowed on the road when leashed.
4 Best hikes at Lake O’Hara
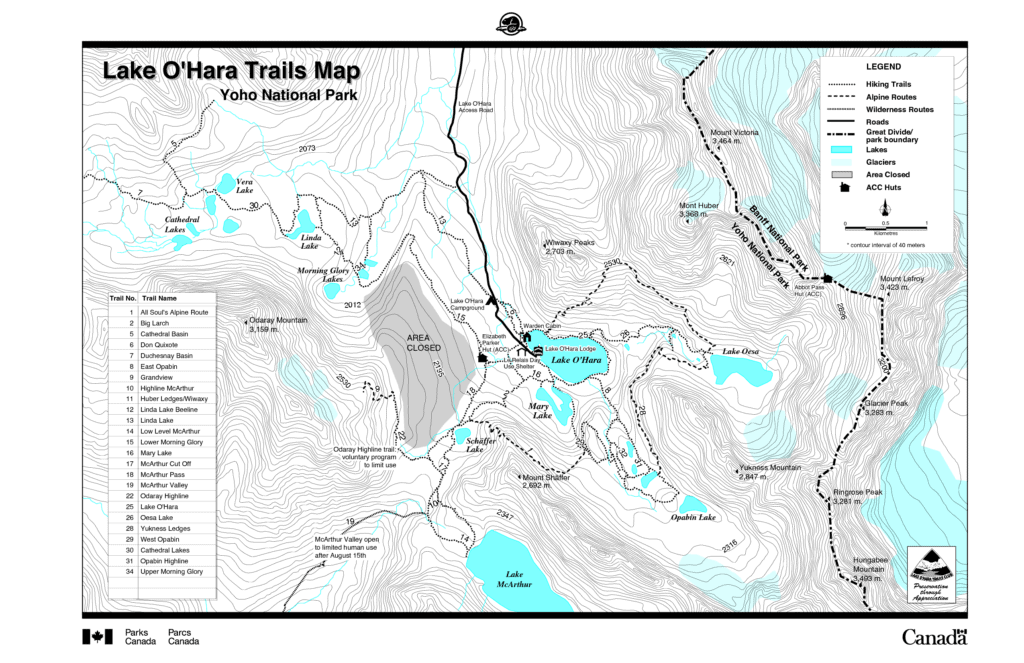
I recommend picking up a map of the region at any of the local outfitters in Banff or Lake Louise before you head out to Lake O’Hara. Once you are there, there is also a map and a list of trail conditions at the campground. If you don’t have a map, at a minimum, take a picture of the map at the campground with your phone and bring it with you on all of your hikes.
The trails are well signed in terms of directions, but the signs don’t have information on distance or estimated times. For that, you’ll need your map.
1. Lake McArthur Hike
- Distance: 4.8 miles round-trip
- Elevation gain: 1,286 feet
- Difficulty: Moderate
The Lake McArthur trail is an 8km (5 miles) round-trip hike with about 1,300 feet of gain. Start your hike at the Le Relais Shelter and head towards Elizabeth Parker Hut. Once you pass the hut, you’ll begin your ascent through the forest reaching Shaffer Lake after 1 mile.
As you continue further, following the signs, the views start to open up. Eventually, you reach a junction where you can take either the High Route or the Low Route to Lake McArthur. As long as conditions permit, I recommend the high route. It’s shorter, the views are better, and you stay high. The low route, on the other hand, has more elevation loss and gain.
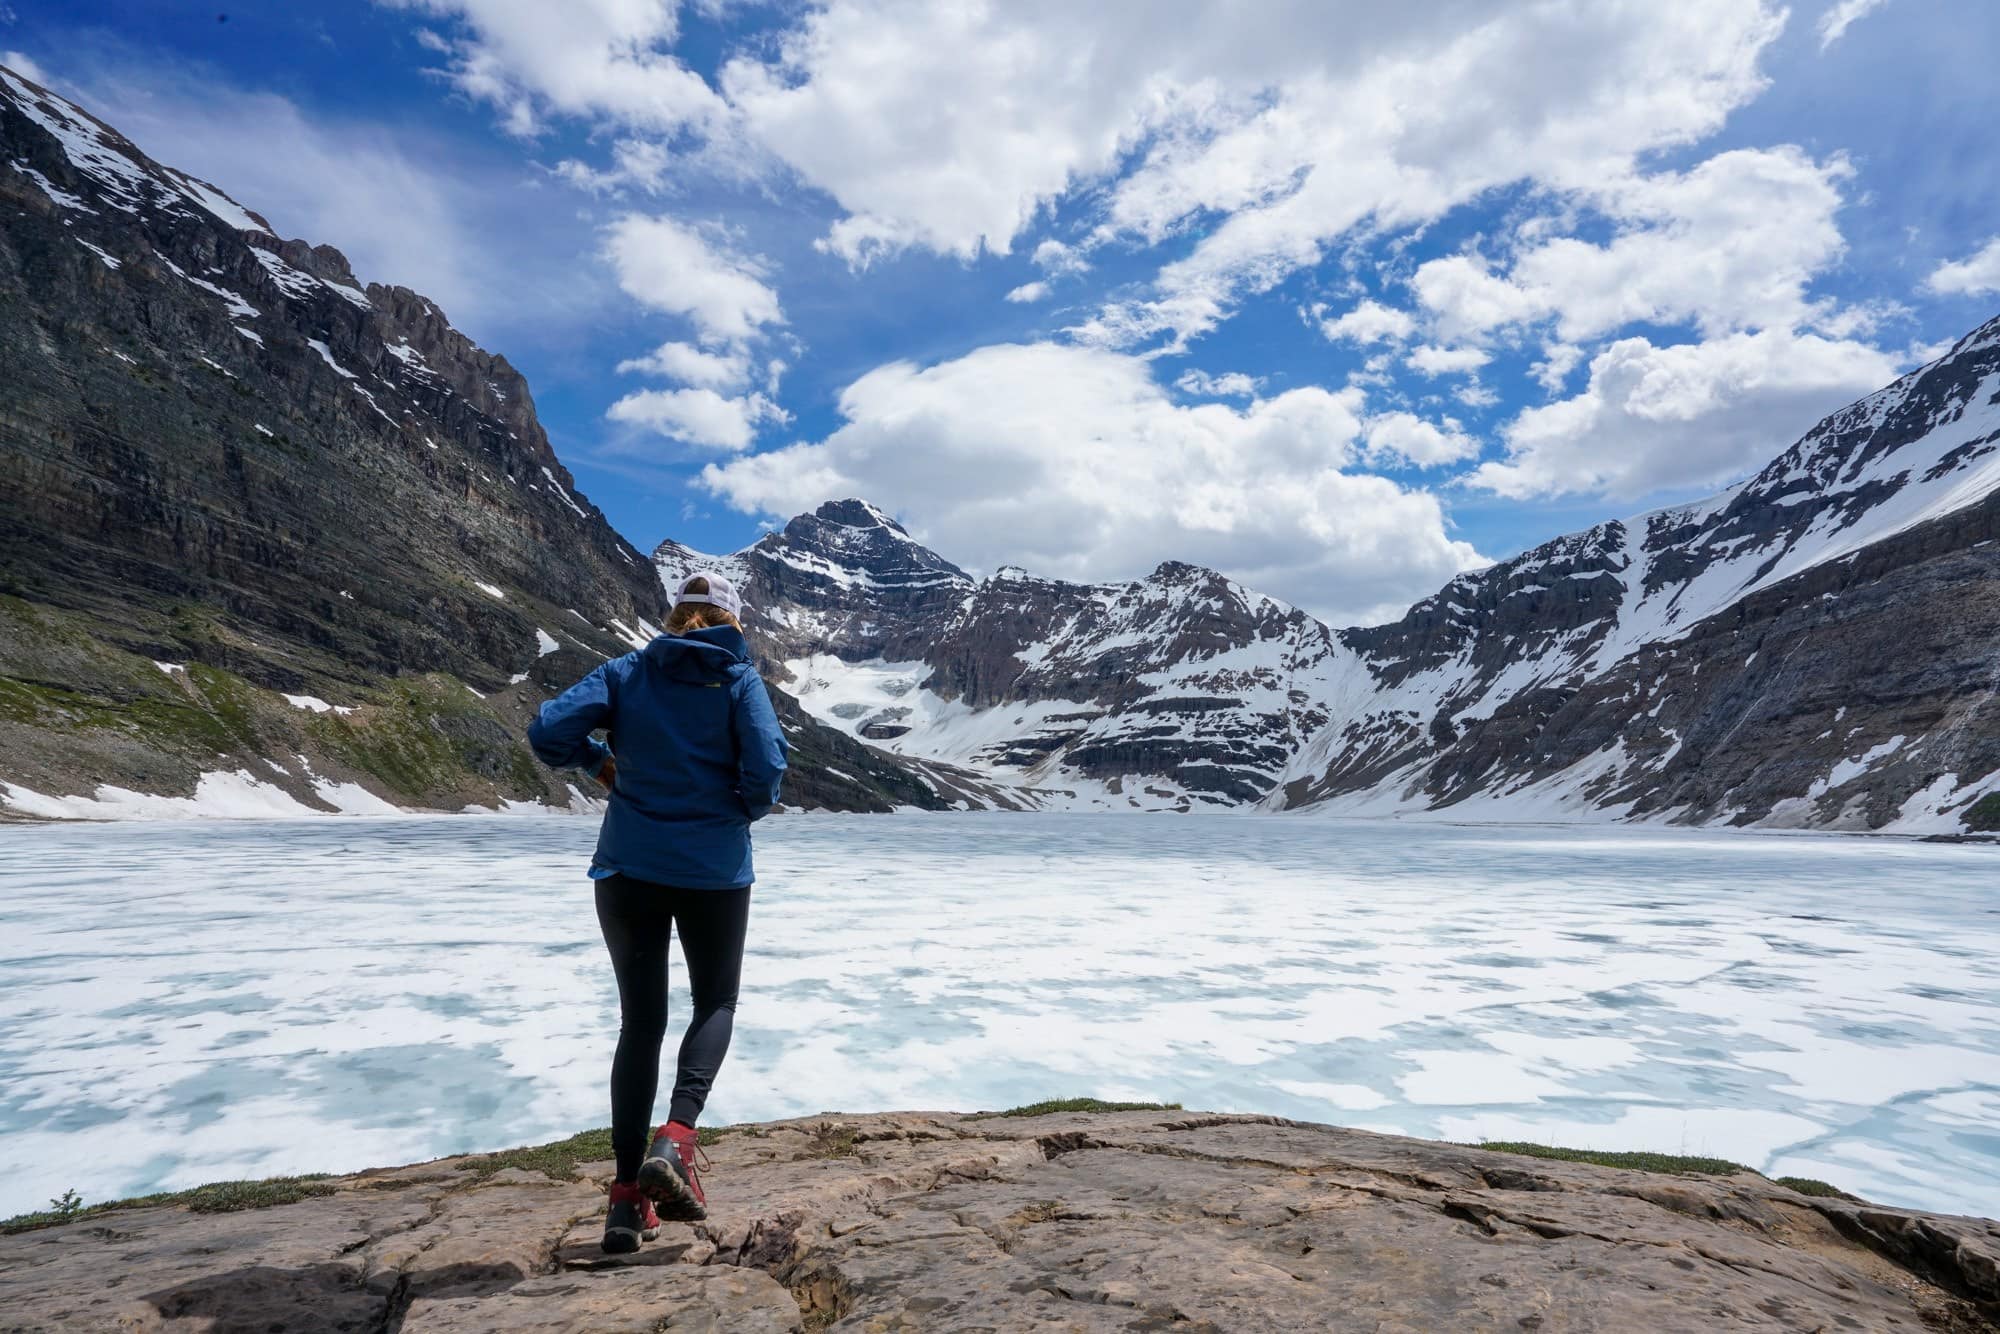
Lake McArthur was frozen over when we were there, but we could see the blue shining through the ice and it was absolutely stunning. Perhaps it was the snow on the trail, but Lake McArthur seemed to see less foot traffic than the other trails.
2. Lake Oesa
- Distance: 4.5 mile loop
- Elevation gain: 1,860 feet
- Difficulty: Difficult
We made a loop out of the Lake Oesa hike by taking the Wiwaxy Gap/Huber Ledges up to the lake and coming back down the Lake Oesa Trail. The Wiwaxy Gap/Huber Ledges Trail starts off on the north side of Lake O’Hara and immediately begins a climb up short and very steep switchbacks.
Once you start to plateau, the trail narrows into a section referred to as the Huber Ledges. It’s quite exposed with incredible views of Lake O’Hara and Lake Oesa. Those who have a fear of heights may find this section challenging. You also need to assess conditions to decide if this approach to Lake Oesa is safe since early on in the season there is a risk of avalanche and rockfall.
As you get closer to Lake Oesa, the trail starts to descend dropping you down right at the foot of the Lake. Lake Oesa was also frozen when we were there in late June.
Returning down the Lake Oesa trail takes you past a series of bright blue ponds, a waterfall, and a braided river, depending on water flows, before leading you back to the shoreline of Lake O’Hara.
If you choose to do the loop and prefer steeper uphill and gradual downhill (like me), I highly recommend hiking the loop clockwise.
3. Linda Lake / Cathedral Basin
- Distance: 8.8 mile loop up to Cathedral Basin. There are several options to make it shorter
- Elevation gain: 2,582 feet
- Difficulty: Easy to Difficult depending on distance
Linda Lakes was one of the few trails that didn’t have ice on it during our late June trip. The lake was incredibly blue and would be a good choice for beginner hikers and those with kids since it requires very little elevation gain. It’s also a nice hike because you can make a loop out of it.
We departed the Le Relais Shelter towards Elizabeth Parker Hut. At the Hut, we hung a right and hiked up to Morning Glory Lakes. Once at Linda Lake, we stayed left and skirted the south side of Linda Lake. Towards the end of the lake, you’ll have to navigate through a very short boulder section. Don’t be deterred, the best views of Linda Lake are coming at the Southwest tip of the Lake.
From Linda Lake, it took about 30 minutes until we reached Cathedral Lakes. Vera Lakes is right below, but the trail to them wasn’t maintained and had a lot of downed trees during our visit in 2017.
For those who are feeling adventurous, you can continue up to Cathedral Basin where you’ll get views of Morning Glory, Linda Lakes, and widespread views of the valley. We ate lunch up here and thought it was well worth the effort. Getting to the Cathedral Basin requires a steep ascent up short switchbacks and a little bit of route finding, so make sure to bring a topo map.
4. Opabin Prospect / Opabin Lake
- Distance: 5.4 mile loop
- Elevation gain: 1,223 feet
- Difficulty: Moderate
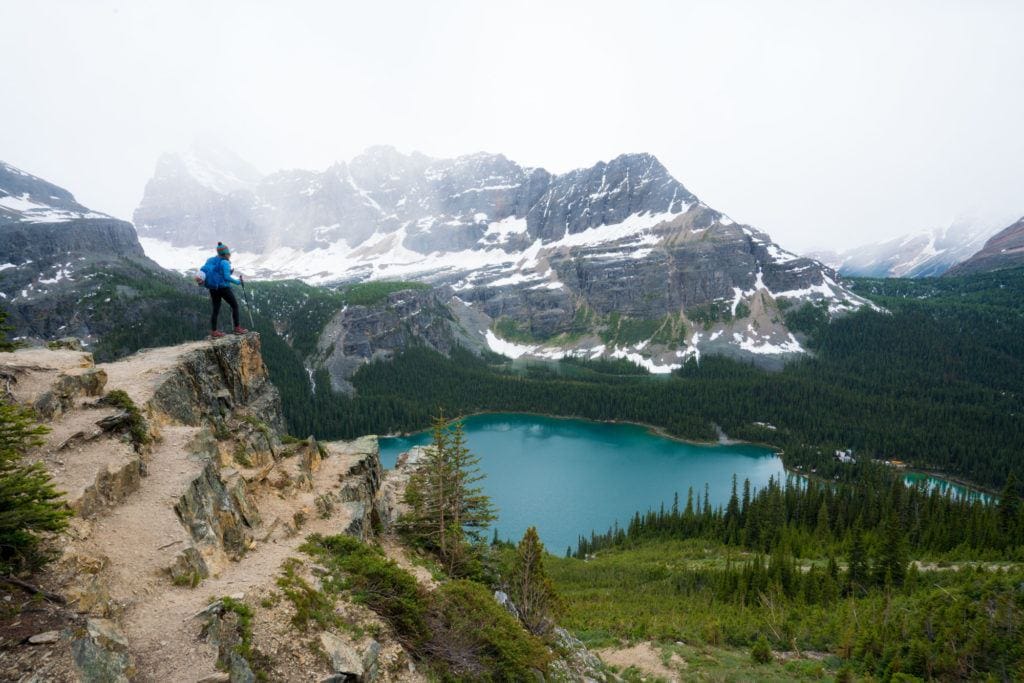
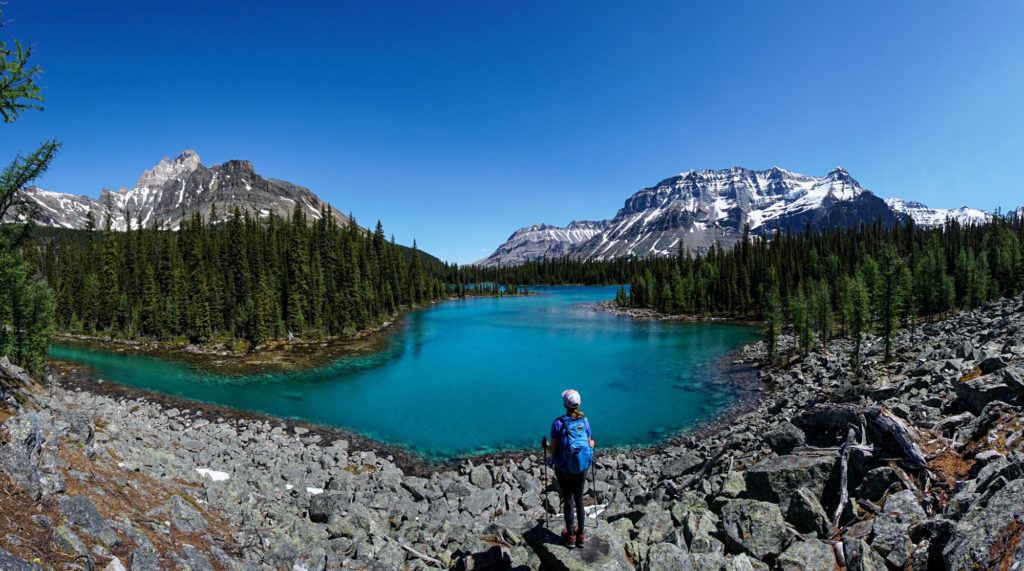
The hike to Opabin Prospect led to my favorite lookout out of all of the trails I hiked at Lake O’Hara. The Opabin Plateau Circuit offers widespread alpine views, lush meadows, and a gorgeous glacial lake at the halfway point.
We climbed up the West Opabin Trail which has more open views than the East Opabin Trail. We figured it would be nice to have something to look at when we needed a break from the climb. The trail starts on the Lake O’Hara shoreline trail. Head south from the Lake O’Hara Lodge until you get to the signed junction and take a right uphill through the forest. Soon after you’ll pass Lake Mary on the right and then the real climb begins. Don’t worry though, the ascent is short and in less than 1.2 miles, you’ll have most of the hard work done.
Once you start to level out, keep an eye for a fork to the left which leads to Opabin Prospect lookout. The short detour is well worth it. Some people choose to end their hike here, but if you have it in you, I recommend continuing on to the Opabin Lake. The trail from the Prospect to the Lake is mostly flat except for the final (short) uphill push to the lake and travels through a gorgeous meadow and larch forest. This section of trail took us about an hour. The lake is a great place to stop and have lunch before turning around.
The hike down is quick. We took the East Opabin Trail which offered a different perspective of the plateau and a steep switchbacked descent through the forest back down to the lake.
Read next: Planning a road trip? Check out more of our top hike recommendations in the Canadian Rockies.
What to Pack
Your packing list for Lake O’Hara will include most items on our 3-day backpacking list, but with the bus shuttle, you can afford to bring along a few luxuries.
Bus shuttle & campground restrictions
Since you will be arriving to the campground via bus, there are some restrictions on what you can take with you. This includes:
- Baggage is restricted to two small bags per person (max. weight: 25 kg / 55 lbs; max. length 97 cm / 38”). I recommend bringing your backpacking backpack plus a day pack for hiking once you’re there.
- Tent pads are 8.8 ft x 8.8 ft (2.7 m x 2.7 m) and can accomodate up to a for 4-person tent. Only one tent is allowed per site.
- These items are not allowed on the bus: hard sided food coolers, storage bins, plastic bags, loose items, musical instruments, electronics, foldable camp chairs and hammocks behind
Camping gear
For basic camping gear, you’ll want:
- A solid tent
- A warm sleeping bag
- A sleeping pad
- A camp stove
Clothing & hiking gear
For clothing, you’ll want lots of layers including an insulated jacket, a hat, and gloves.
In late June, we experienced a variety of weather and temperatures from hot sun to rain and snow. Some days were quite warm and nights got into the 30s (F). I also highly suggest bringing rain gear regardless of the forecast and carrying it with you on your day hikes. The weather can change drastically and quickly at Lake O’Hara, and it’s important that you are prepared.
Trekking poles were very helpful on the steeper hikes. If you don’t have any, the campground has spares that you can borrow.
Bear safety
Remember to be bear aware and always carry your bear spray. The Parks suggest hiking in groups and if you choose to hike alone, they recommend talking out loud (yes, to yourself) and clapping before you turn any corners. The worst thing you can do is surprise a bear on the trail.
Each campsite is assigned a storage locker and you must store all food in these lockers.
For full hiking apparel and camping gear checklists, see these posts:
I hope this detailed camping and hiking guide for Lake O’Hara helps convince you to plan a trip there! If you have questions, make sure to leave them in the comments.

This is such a gorgeous area that really lives up to all the hype. I still remember the first time I saw Lake McArthur – such a stunning colour – and the Alpine Circuit ranks as one of the best day-hikes I’ve ever done.
I’m going there on my honeymoon in a few weeks, but just taking the bus for a day trip. I’d like to combine Oesa and Opabin into one big loop. Which direction would you recommend hiking it?
Brad, congratulations on your marriage! You are going to love exploring Canada. You are going to have incredible views either way you trek. Kristen took the West Opabin Trail up to Opabin Lake which has more open views than the East Opabin Trail. You’ll also pass Lake Mary on your way. For Lake Oesa you only really have one trail down to the Lake. I’d explore Opabin first then end with Lake Oesa and head back to Lake O’Hara. Hope that helps!
At Oesa (or the other side at Opabin) there is a trail called the Yukness Ledges that goes around Mt. Yukness between Oesa and Opabin. This avoids the elevation loss and gain from beginning each hike from the lower trail around Lake O’Hara, and would also save time. In that case you would go up to Oesa by the lone trail up (or the Wiwaxy trail as described earlier), across the Yukness Ledges and down the west Opabin Trail for the views. Or you could do the reverse. The Oesa and West Opabin Trails are both open to views, so resting is welcome on both. What I just described is part of the Alpine Circuit which begins with the Wiwaxy trail before Oesa, traverses the Yukness Ledges to Opabin and resumes branching off the West Opabin trail to the Old Souls “Ledges” along Mt. Schaeffer to Lake Schaeffer. It continues at lower levels either across to Lake McArthur or down to the Alpine Meadows and then on to the campground or lodge. Even if you are in excellent shape and a fast hiker, this wouldn’t be recommended if you are only spending the day. All in all, I would take the Oesa Trail up first, then if you have time, explore Opabin more fully. There are three trails once you are on the plateau and they all lead back to the moraine and Pass. Plus you have the Prospect views. Disclaimer: My wife and I have been staying at the lodge each year since 1995, and while I know a lot about O’Hara, I have never done the Alpine route, nor any of the exposed ledges mentioned above because of a fear of heights. However, I have shared meals with many who have. We have managed to visit Oesa, Opabin and McArthur on many occasions because they have access from Lake O’Hara trail without all the altitude and exposure of the Alpine ledges.
Wow heaven of nature on earth to explore during holidays, really impressive photos of the lake and short brief information too, thanks for promoting Canadian Rockies.
Your blog is so well done. Thank you for the information and excellent graphic layout.
What level of difficulty was the park ?
Is there selection for different levels of ability ?
recently I’m following your blog it’s so interesting Go ahead
I’m getting psyched! Gonna be there in 8 days! Thanks for the guide!
walks are from 1 hour strolls, to “Alpine” routes that are 1/2 or full day steep hikes with lots of elevation gain and descents.
Ed
I like what you share. I went day trip lake ohara three times. But not enough. Tomorrow I will go for one night camp again. Thanks
Awesome read!! Thanks for sharing this
Great blog! I visited Lake O’Hara last year as a day trip because I didn’t have a reservation. This year I really want to make sure to have a reservation and go back for a few days!!! Will do some of your recommended hikes
recently I’m following your blog i like it
Parks Canada process is broken.
We walked in(apparently there was no space on the inbound bus) but we did see empty spots on the bus.
The campground was only half-full.
Too many people book spaces and never utilize them.
It is an exercise in frustration to attempt to get a last minute spot with Parks Canada website. If you are not able to book a spot on the bus six months in advance, including the day/time, then you are not in luck.
Also, Canadians(the ones who fund the show with tax) should be given priority over foreigners.
Hi Jonathan, thanks for sharing your experience with us. It’s definitely challenging to plan so far in advance and there is always room to improve the system.
Thank you for sharing. I’ve booked my camp here this year. I just have one question: since the checkout time for the camp is 11am, is there anywhere near the campground that I can leave my belongings and continue the hike in the afternoon until 6pm (last bus)? Please help me and thank you very much.
Hi Annie, since we haven’t personally done that, I don’t know if that is allowed or not. I would recommend calling the campground directly. Enjoy your trip!
Yes there is a gear locker at the Campground for this.
I’ve camped there 5 times so far and the whole area will change your life.
Mikereidphotography
Thanks for the info, Mike!
I am wondering how strict they are with the campsite people in numbers. I was able to book a campsite- but had to list out each person in my party- it’s me traveling with my 4 kids- so that’s 5 people in my campsite.
Will the host kick me out of campsite bc of the extra unnamed kid?
I may ended up walking the road with my youngest and sending my 3 older boys on the bus with all our camp gear. What would you (or anyone) recommend? I’ve called the park- they are closed and the people on the phone at lake Louise just read a script to me.
I could really use some advice bc this place is incredible and I don’t want to give up my campsite bc of one extra child
Thank you
Hi Vanessa – From what I recall, they are very strict. You check in when you get on the bus and also when you arrive at the campground. There is a host at the campground who greets your group when you arrive. I’d be very surprised if they just let this slide. Sorry I know that’s not the news you want to hear.
Hi Kirsten,
We’re lucky to be able to reserve 2 campsites for 2 nights in August. I do have a question. Can we leave the tent and some
Camping gear behind while we do our day hikes?
Much appreciate,
Maria
Hi Maria – Yes, you can definitely leave your campsite set up and there are bear lockers for your food. Enjoy! It’s an amazing place.
The crystal-clear lakes of O’Hara and the surrounding snow-capped peaks are truly stunning.