How to Pack a Backpacking Pack for a Multi-Day Hiking Trip
Learn how I pack a backpacking pack for maximum comfort and organization with these tips for fitting my gear and balancing the load.
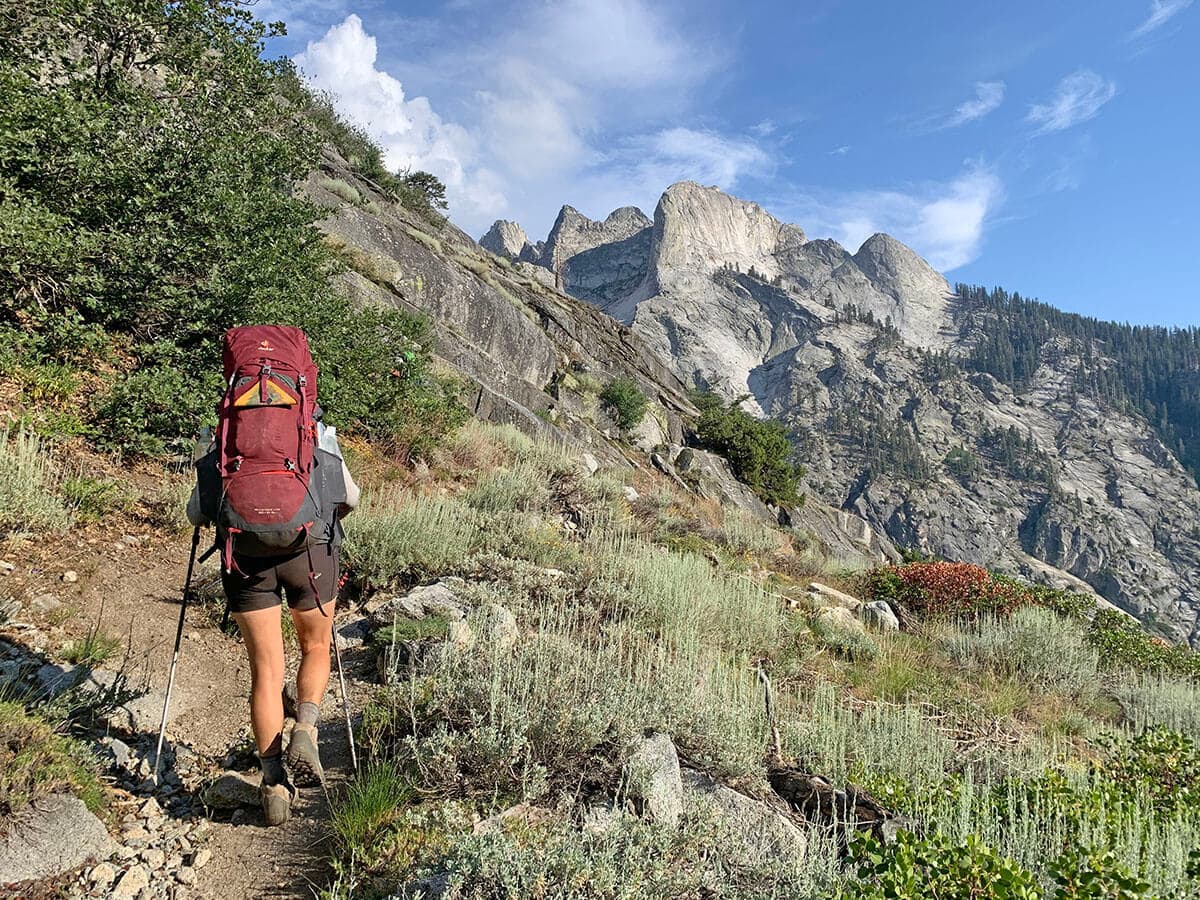
Sometimes a backpacking pack can be a literal pain in my neck. That’s why it’s essential to learn how to pack a backpacking pack properly and evenly distribute the weight – so you can hike longer and pain-free.
While you may think you can just shove everything in your pack and call it a day, I’ve learned that intentionally packing my pack so the weight is balanced – and so the items I need most are easily accessible – makes a big difference. Even with a lot of gear, it’s possible to feel like I’m carrying a lighter load when I have a well-packed bag.
There are some best practices and general rules I always try to stick to every time I load up my pack so it’s easier on my body. All it takes is a little time and practice (and my tips in this post) to learn a system that works best for you and avoid this common beginner backpacking mistake.
So, if you’re new to backpacking or just want to brush up on your skills and backpack in more comfort, keep scrolling to learn how I pack my backpacking pack for a multi-day hiking trip. The list of items may be a little different than yours, but it should serve as a handy guide when you’re organizing for your next trip.
This post may contain affiliate links.
1. Take Stock of Your Gear
Since backpacking the JMT, I’ve learned how to shed some weight from my pack, invested in some lightweight backpacking gear, and developed an efficient system for packing.
Before starting with the 3 parts of packing a pack, the first step is to lay out all of your gear to see if you can cut anything out, then organize your stuff into piles:
- Shelter/Sleeping
- Clothes
- Food
- Cooking gear
- Small stuff that you need easy access to during the day
Getting organized before you put everything in your backpack will allow you to go through your backpacking checklist and make sure you haven’t forgotten anything. It will also prevent you from packing extra items that you don’t really need.

Save this post!
Enter your email & I'll send this post to your inbox! You'll also receive my weekly newsletter full of helpful advice for planning your adventures.
2. “Bottom of Pack” Items
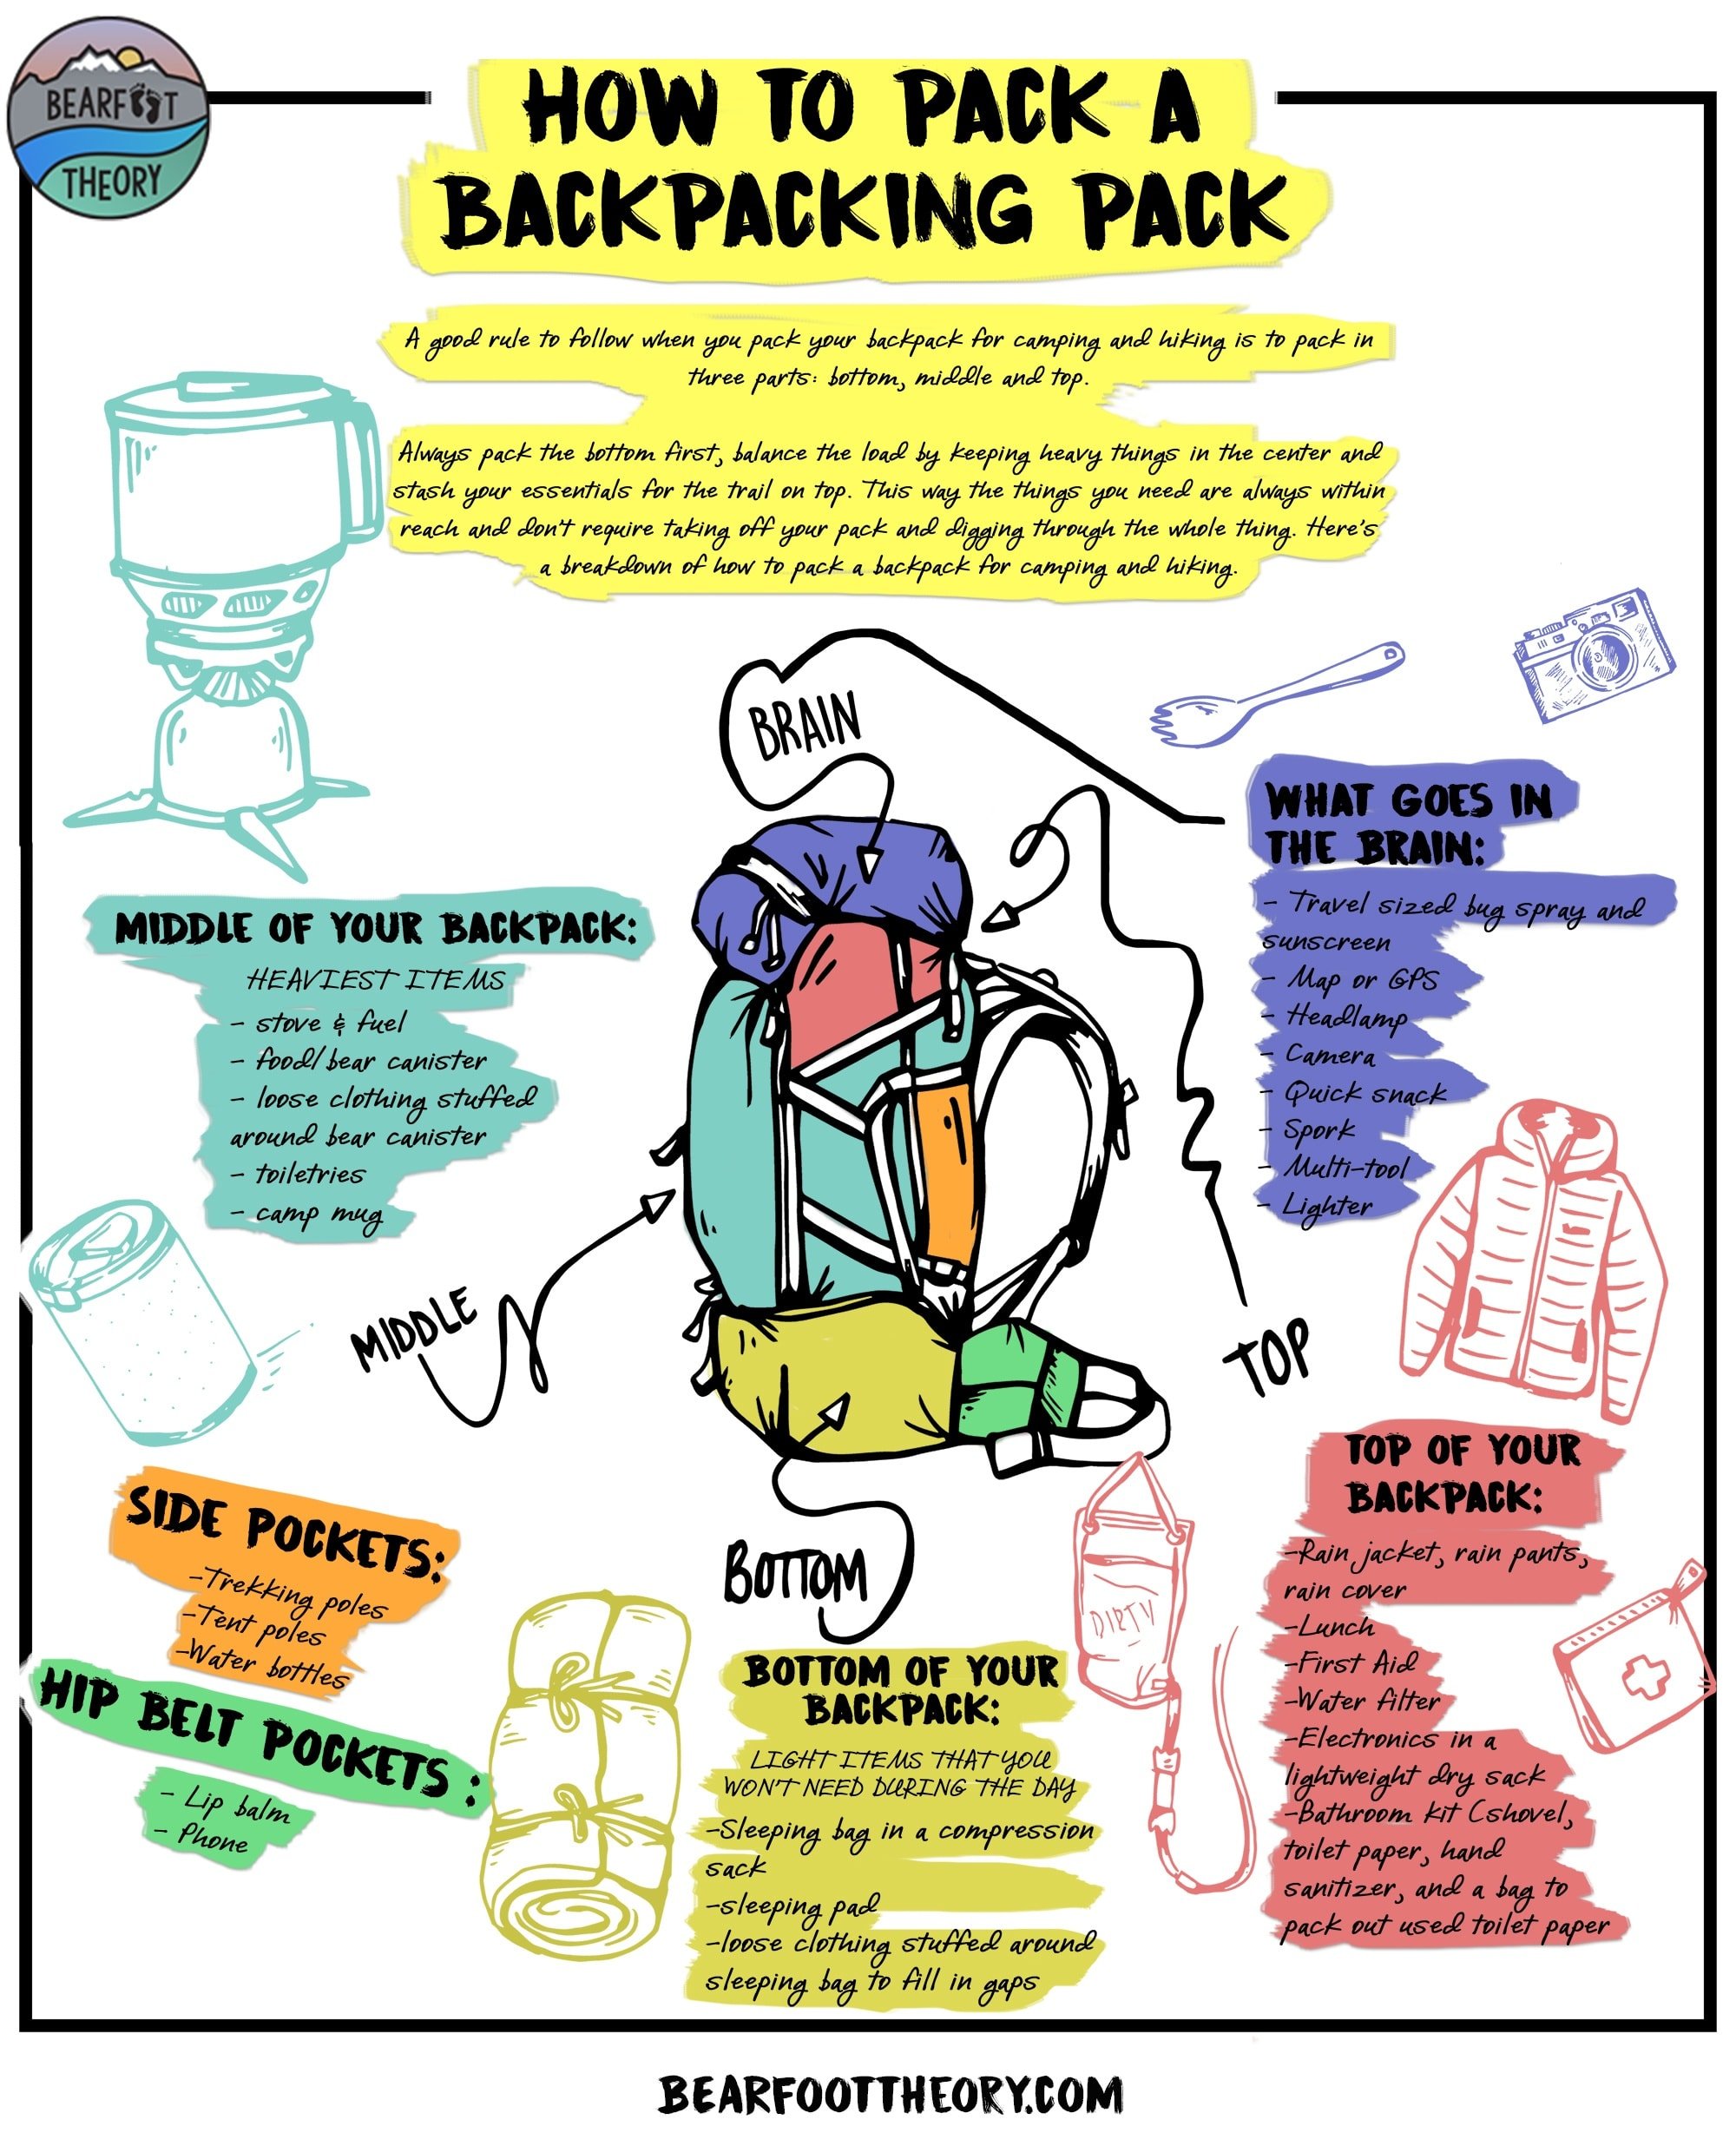
A good rule I follow when packing my backpack for camping and hiking is to pack in three parts: bottom, middle, and top. I always pack my most lightweight gear in the bottom first, balance the load by keeping heavy things in the center, and stash my essentials for the trail on top.
This way, the things I need are always within reach and don’t require taking off my pack and digging through the whole thing.
This section is reserved for things you won’t need until you get to camp. Anything big, bulky, and relatively “squishable” that can be compressed into the bottom of your pack goes here. Think of it as the non-essentials while you’re out on the trail:

Tip: If there’s a chance of rain on your backpacking trip and you don’t have a waterproof pack cover before you put anything in your pack, line your pack with a trash bag and put all your items inside the liner to stay dry.
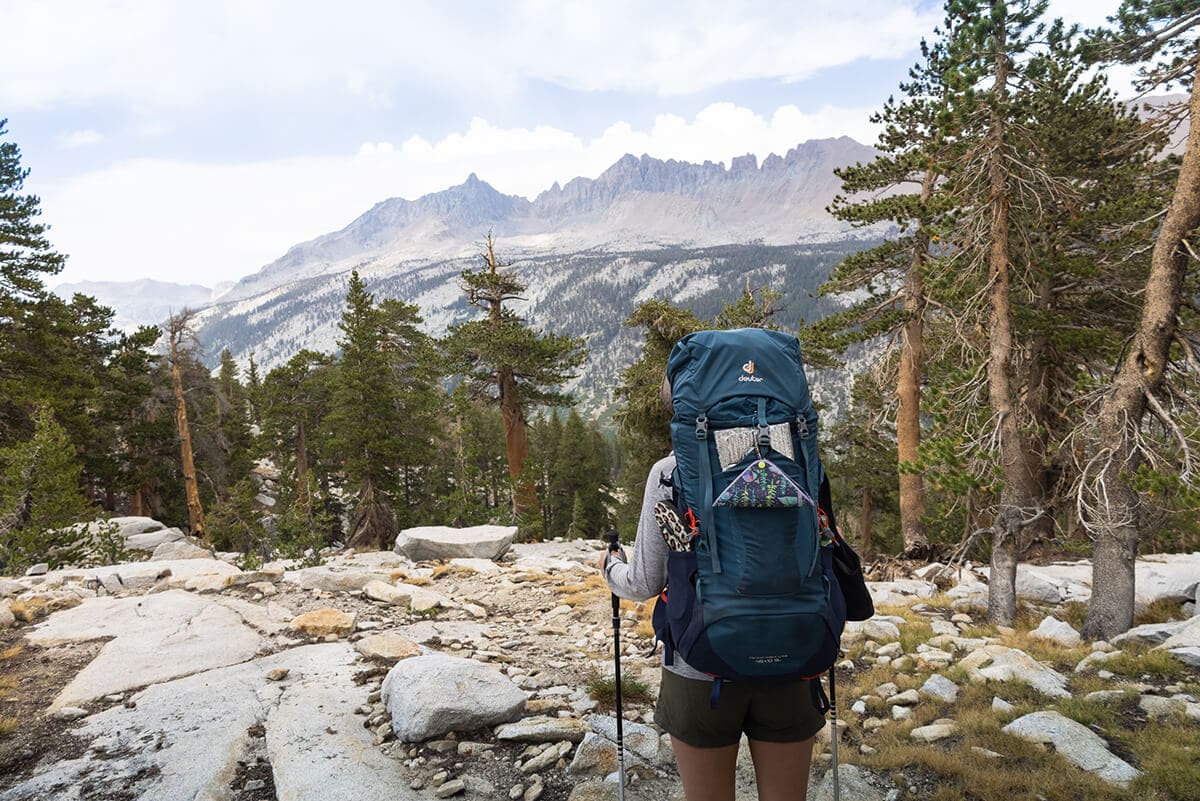
3. “Middle of Pack” Items
The middle section of my pack is designated for heavyweight items. By placing cumbersome things in the center and as close to my back as possible, I relieve my back of unnecessary stress.
Plus, it keeps things from shifting out of place, forcing me to carry an awkward, uneven load. The middle section can feel like a game of Tetris since these items aren’t squishy like the bottom of pack items.
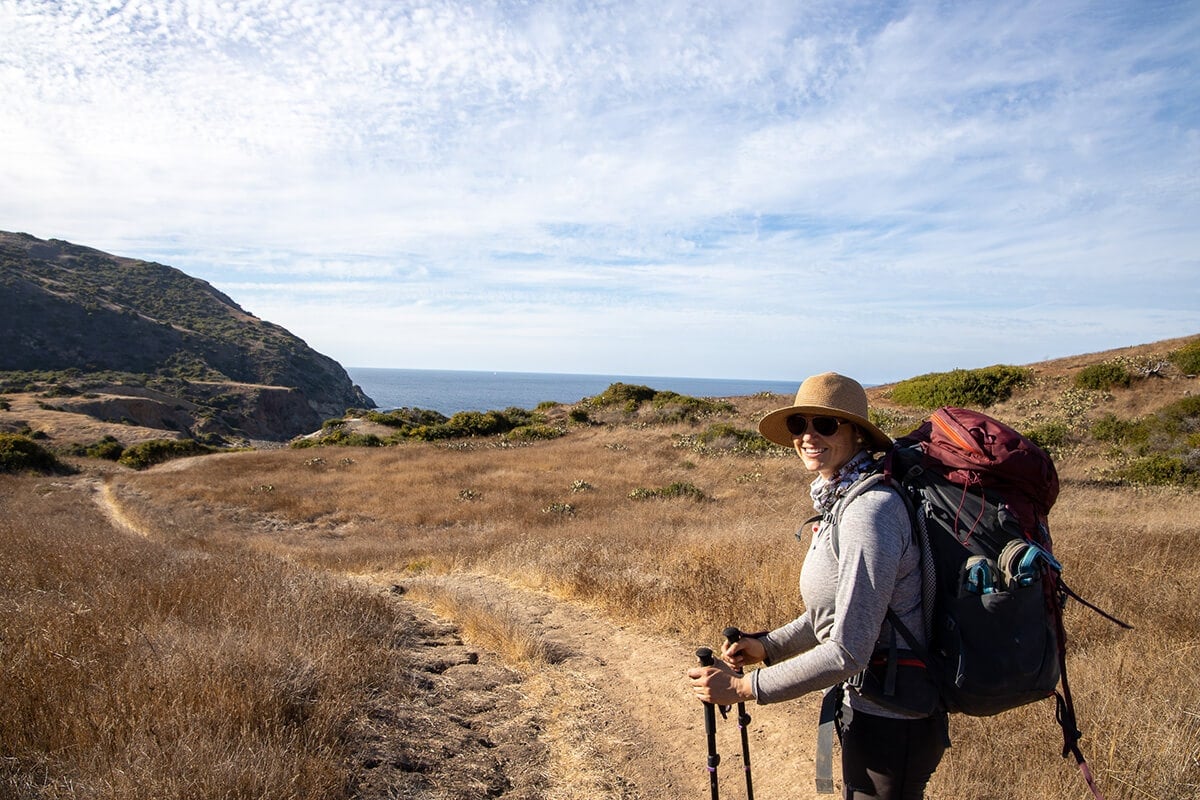
4. “Top of Pack” Items
The top of your backpack is the uppermost portion inside the pack. Here’s what I like to keep at the top of my pack:
5. Brain/Lid and Hip Belt Items
The “brain” is the part of your backpack that’s on top when you close your pack. It’s typically a zippered compartment that can be removed and used as a daypack when you hike.
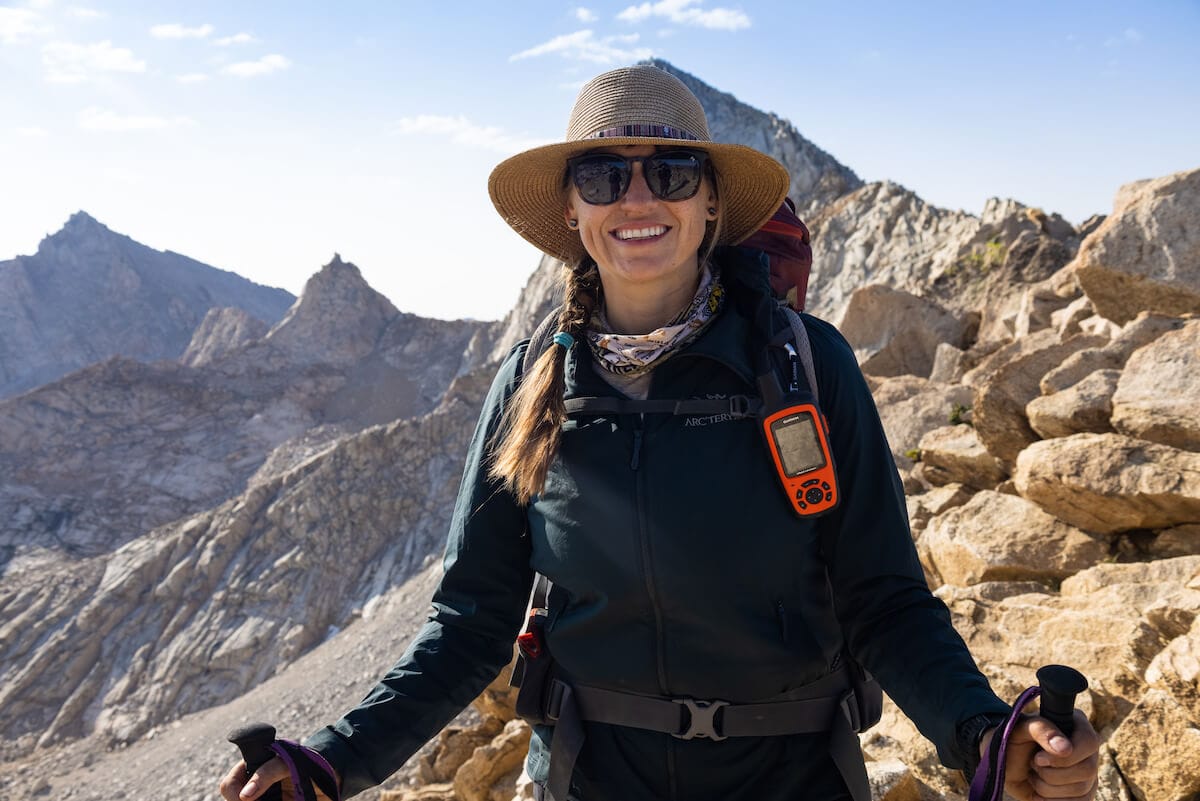
These are the items I like to keep in the brain/lid of my backpacking pack or hip belt for the easiest “grab-and-go” access:
The Best Way to Use Compression Straps
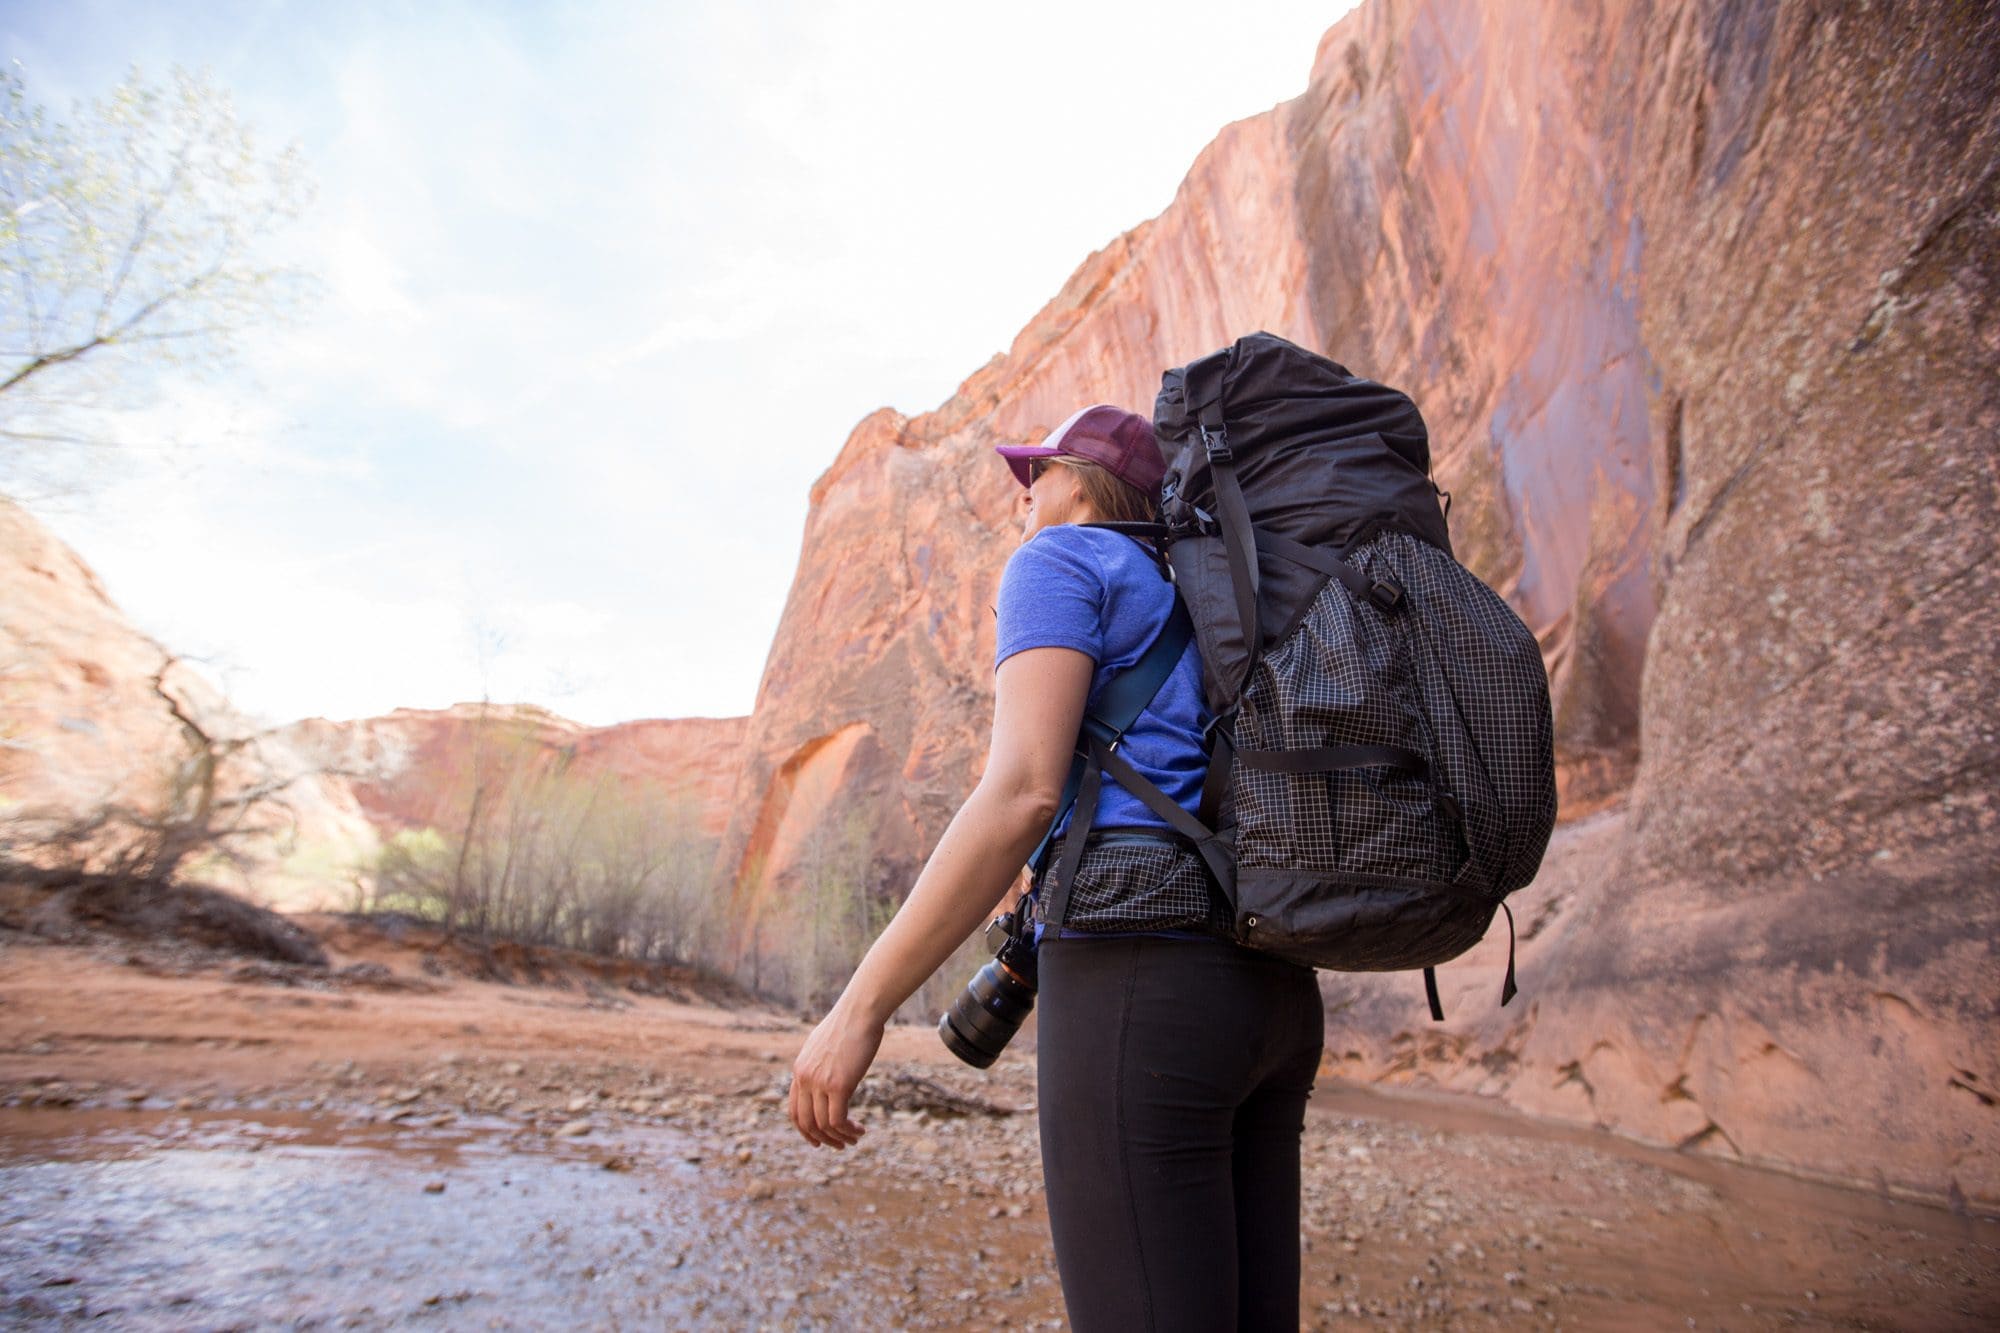
You’ll find compression straps on the exterior of your backpacking pack to help you stabilize the pack and adjust the weight as you need. Make sure these are loose when you are packing your backpack.
Once you’ve filled up the backpack, buckle and tighten the compression straps. These keep things from shifting as you hike and help you feel steady while you’re trekking over uneven terrain. Make sure you also tighten the side compression straps to create an even more snug fit and eliminate any empty space in hard-to-pack places.
Finally, use the compression strap on your pack’s main exterior buckle (which connects the brain to the main compartment) to keep those contents compressed and in place as you move. It can also be annoying when it’s loose and bumps around as you hike.
Strapping Gear to the Outside of Your Pack
Have you ever wondered, “What are those loops on the sides of my backpack?” If so, you’re not alone.
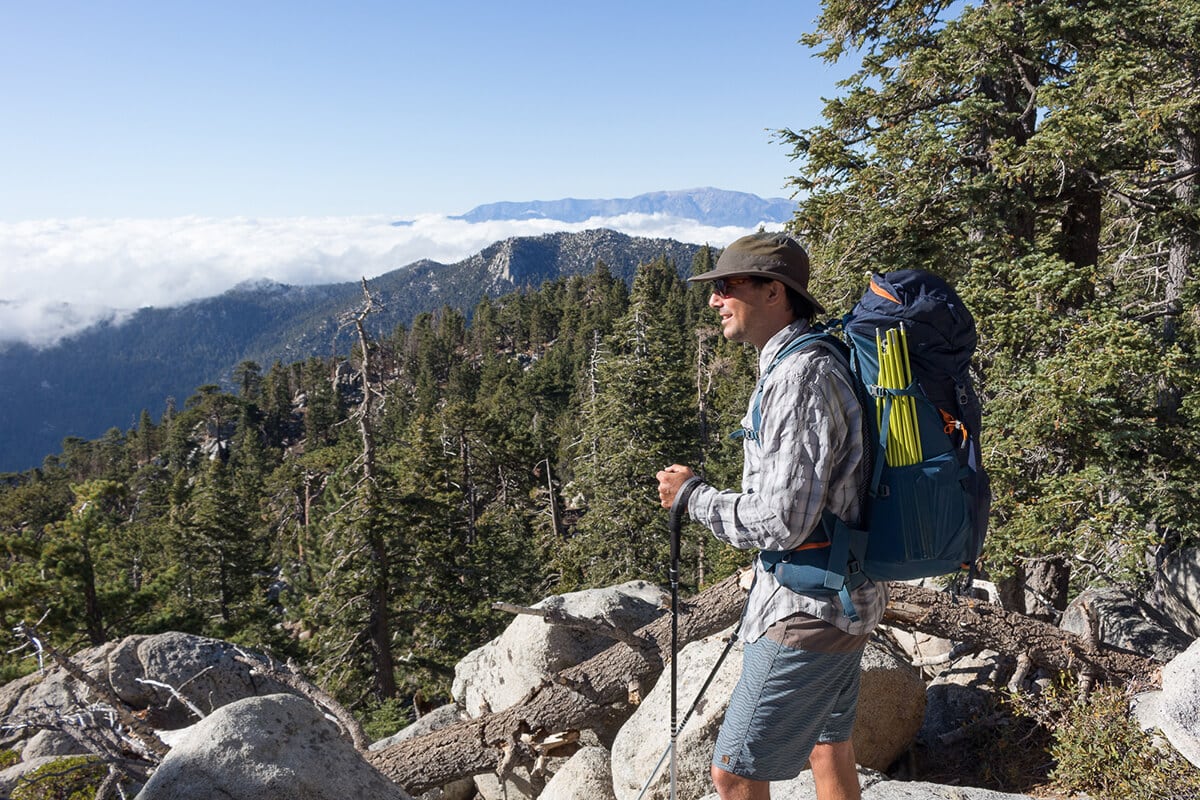
These loops can be used to secure long, stiff, or bulky items to your pack, such as trekking poles, tent poles, or collapsible seating. You can even strap your sunhat to your pack for easy access, and some backpacking packs even have a handy slot for sunglasses.
You might also see some strings of small loops sewn onto your backpacking pack (usually on the straps and the front section of your backpack). These are daisy chains. They make it easy to clip on gear – like a Garin inReach or camp mug – using small, lightweight carabiners.
If you don’t have many loops to use, you can use gear ties to secure anything to your pack that you’d like to carry on the outside.
I also like to keep my Kula Cloth snapped to the outside of my pack for both day hikes and backpacking trips. Learn more about this reusable pee rag in my Kula Cloth review.
Keep Exterior Gear to a Minimum
It’s not a good idea to have anything heavier/larger than a baseball cap dangling off of or swinging back and forth on your pack. You can get caught, upset your balance, hit other things or people, and in general, it’s just sort of annoying.
Relying on strapping excess gear to the outside of your pack can also become problematic if you end up in an unexpected rainstorm. For these reasons, I try my best to keep things tightly secured and manageable.
If you find yourself strapping a ton of stuff to the outside of your pack, you should do a gear audit and see if there is anything you can leave at home. Or, it might be time to get a bigger pack.
A Note on Hydration Reservoirs
I pretty much always use a hydration reservoir when I’m day hiking. But when I’m backpacking, I find hydration reservoirs make it much more difficult to pack efficiently.
They take up a lot of room. And if you run out of water, you’ll probably have to unpack half your bag just to refill your reservoir.
If I’m solo backpacking (which I rarely do), a hydration reservoir is a good choice because I can sip as I go without having to take off my pack (since I don’t have anyone to hand me my water).
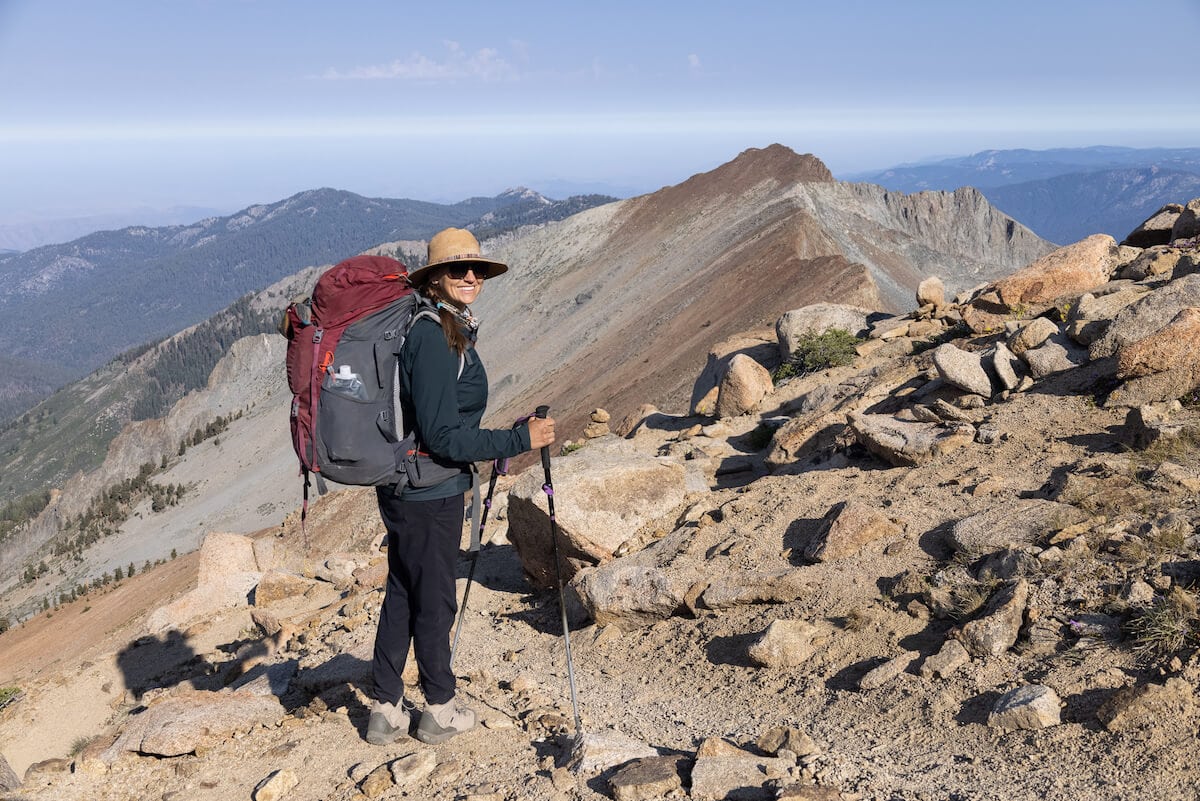
However, if I’m hiking with my partner or friends, I like to bring 3 lightweight, foldable soft water bottles instead. They weigh next to nothing, pack down very small if I don’t need all three liters, and allow me to distribute the water weight evenly onto both sides of my backpack. Plus, they’re easy to access and refill with filtered water on the trail as I go.
Frequently Asked Questions
With proper packing, you can stay comfortable while backpacking. I pack my heaviest items close to my back and ensure the weight is evenly distributed. If my pack still feels uncomfortable, I adjust the shoulder straps and hip belt to fit snugly to prevent strain. It’s also okay to stop and rearrange your pack mid-hike instead of pushing through the pain – I’ve learned the hard way that discomfort tends to worsen the longer you ignore it.
When I pack my backpack, I pay close attention to where I’m packing things instead of quickly shoving items into random places. I’ve found that using packing cubes and dry bags keeps my gear from turning into a jumbled mess. I separate my clothes, food, and other essentials into specific compartments to quickly find what I need. Having a designated spot for everything, like snacks in my hip belt pocket and my rain jacket near the top, saves me from digging through my pack every time I get hungry or the weather changes.
When I’m packing for a multi-day hike, I prioritize the essentials like a shelter, sleep system, and food before adding anything else. It’s easy to get carried away with extra gear and just-in-case items, but I’ve learned that sticking to the basics keeps my pack manageable and my hike more enjoyable. If there’s room, I’ll throw in some comfort items, but only if it doesn’t weigh me down too much.
More Backpacking Resources
Save this post to Pinterest
Got any questions about how to pack a backpacking pack? Or any additional tips to share? Leave me a comment below.

This may be a stupid question but you mention the tent poles going in your side pocket, but don’t mention where the actual tent goes. Does it go in the bottom with your sleeping bag?
Hi there! Yes, putting your tent with your sleeping bag on the bottom is a great idea. I often put it on the sides of my bag and put it in last and that seems to work as well; when I fold it up I more of roll it so it’s easy to fit to the side of my other belongings in the main compartment of my bag.
Great tips! I’m always trying to consolidate and bring more versatile items to prevent overpacking. I was also taught to line the inside of your pack with a trash bag to prevent your stuff from getting wet. Thanks for all the helpful information!
Hi Kristen,
That photo of all of your stuff laid out for a 4-day hike…at first glance all I saw was Dayglo Orange toes! 🙂
Seriously, thanks for this article. The concepts can also be applied to long-distance motorcycle touring. I used a similar method to pack my small motorcycle for a one-year, round-the-world ride. The same basic concepts apply, as far as packing in layers, with the stuff you need quicker access to on top, and the camp stuff on the bottom. I found while planning my trip that studying how backpackers pack can help anyone who wants to travel light but comfortably.
Here you share good knowledge with us.
best weight distribution hitch
So glad that I do not have to worry about bears where I go hiking. Bad enough having to lookout for snakes and tree roots.
Love the info graphic but you left the tent off.