4-day El Chaltén Itinerary for Adventure Travelers
El Chaltén is known as Argentina’s adventure town. I spent 4 days here exploring the trails and surrounding area. Get my best tips for an unforgettable El Chaltén itinerary!
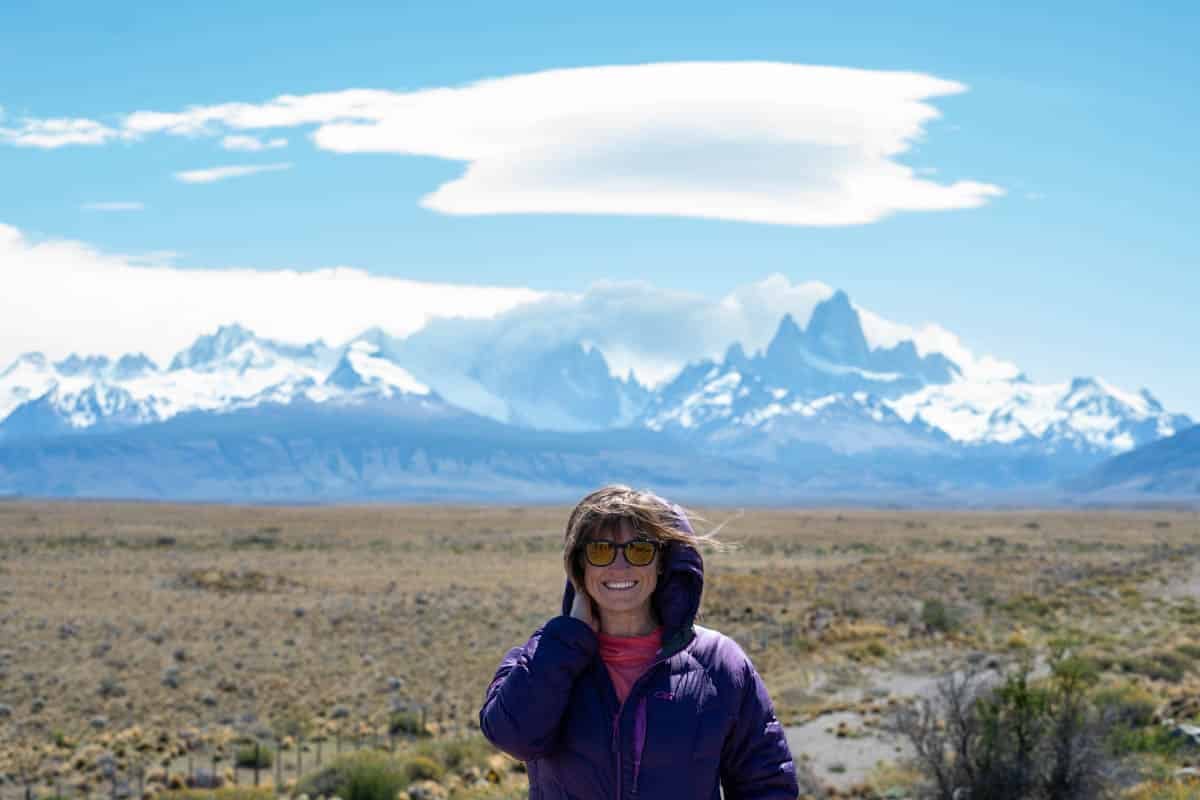
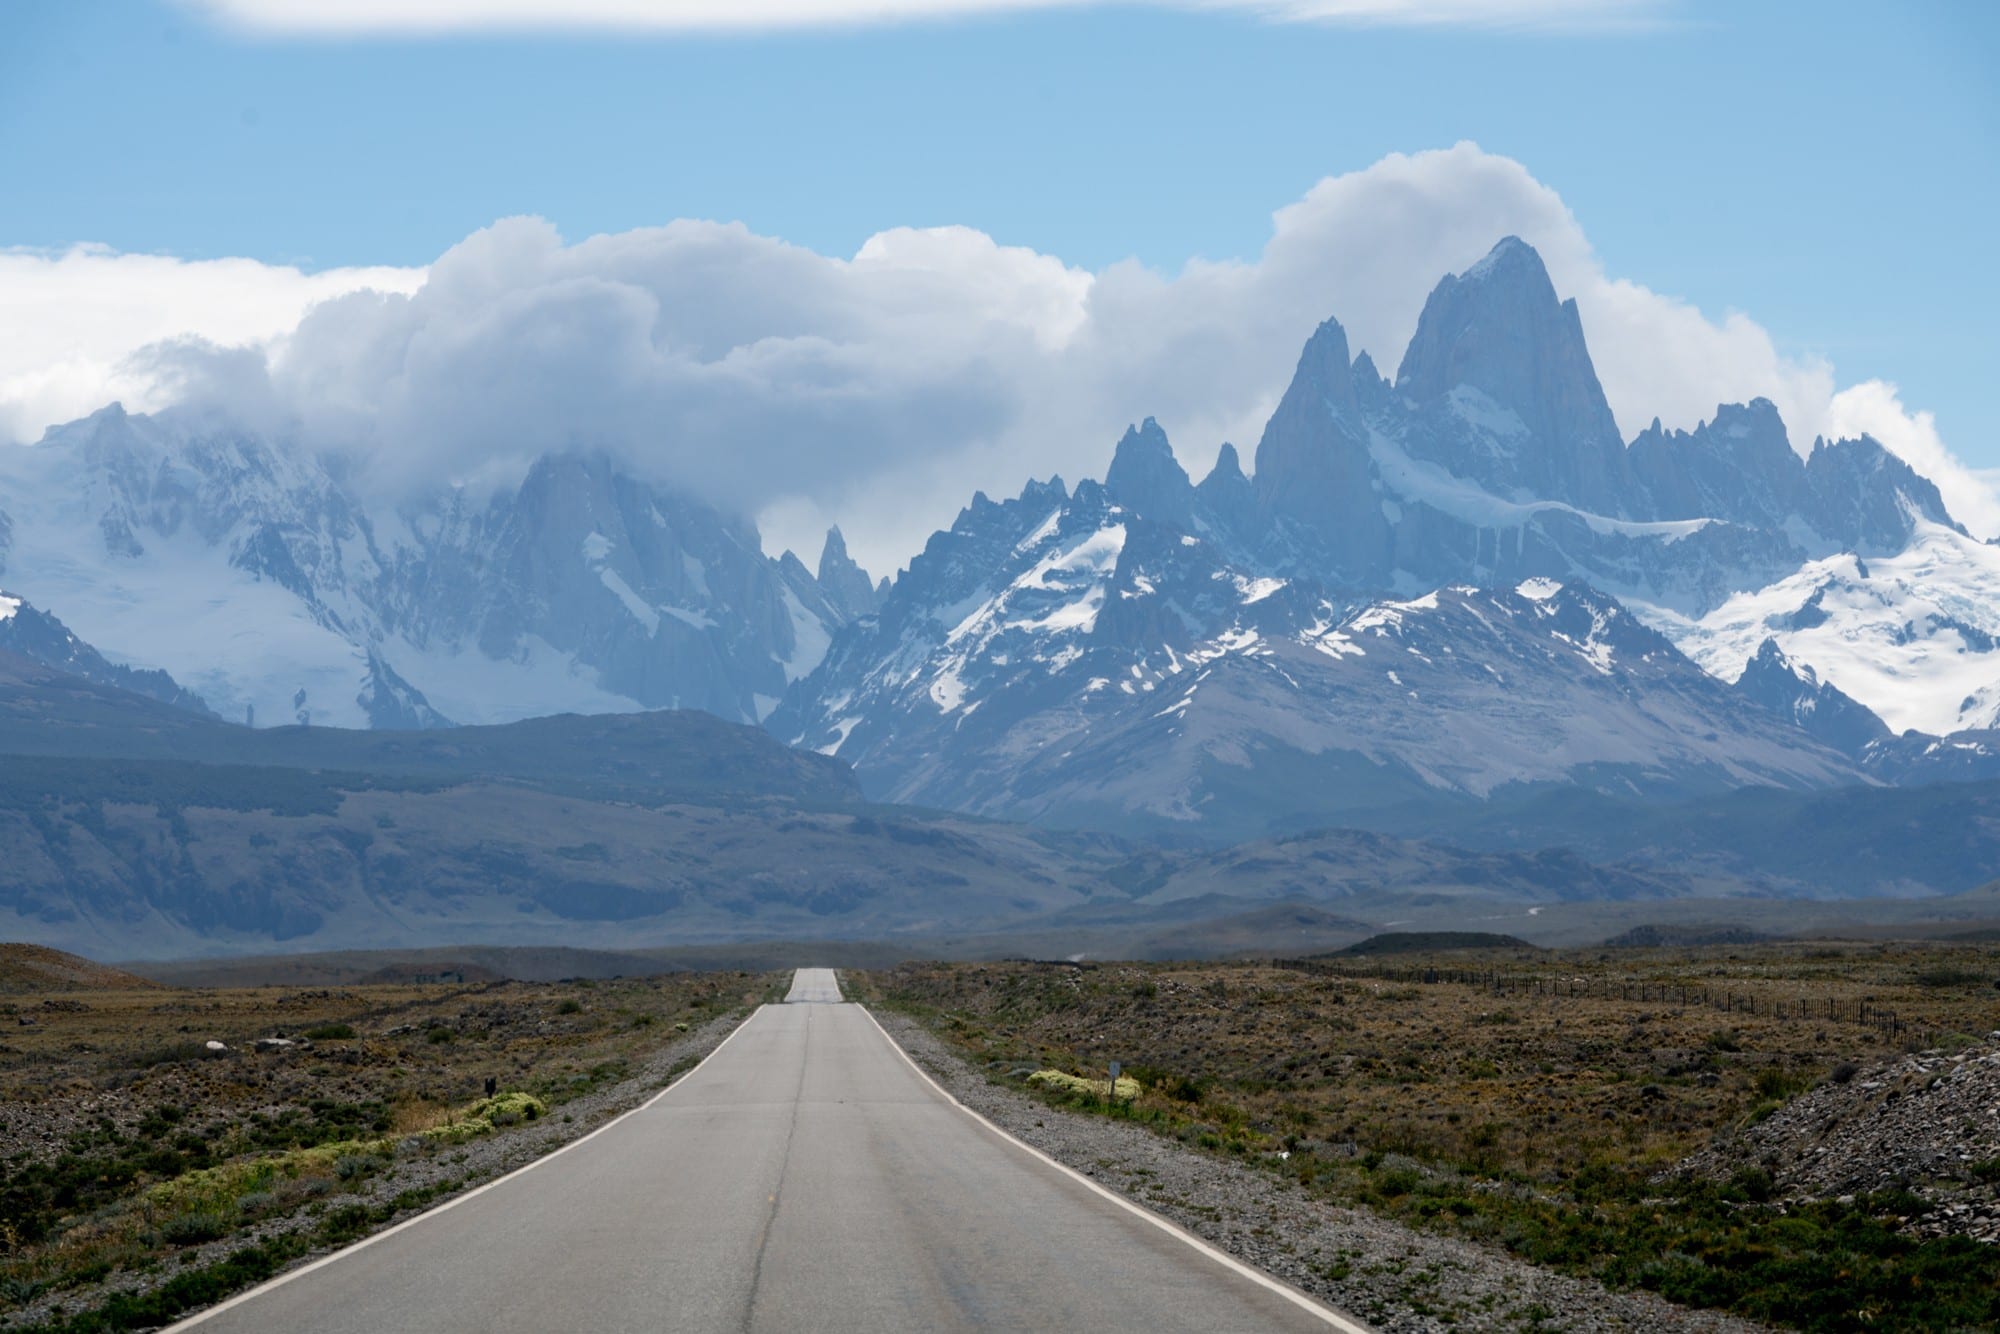
A few years ago, I traveled to El Chaltén in Patagonia as part of a 14-day guided hiking tour with G Adventures. Founded in the 1980s, El Chaltén is a relatively new adventure town in Argentina. It has quickly grown into a hub for travelers because it sits at the base of the iconic Fitz Roy peak (which you might recognize from Patagonia’s – the clothing company’s – logo).
El Chaltén is a cute town with great restaurants, friendly locals, and easy access to world-class hiking trails. I could have easily stayed here for a week or more! Not only is there a ton to do, but the weather can also be temperamental, so building in a few extra days gives you some leeway for checking off your bucket list hikes.
Our tour guide Marina handled all of the logistics for our El Chaltén itinerary, but if you’re putting together your own trip to Patagonia, this post covers everything you need to know about making the most of your time in El Chaltén
This post may contain affiliate links.
Day 1: Arriving in El Chaltén
Day 1 Overview
We caught an early flight out of Buenos Aires to El Calafate, the closest airport to El Chaltén.
Tip: Give yourself plenty of time at the Buenos Aires airport. It was packed when we got there at 5:30 am. If you end up having extra time, there are several places you can grab a coffee and breakfast before going through security.
Once we landed in El Calafate, we had a three-hour drive to El Chaltén. Since I was on a larger Patagonia tour, the transfer was included, but if you’re doing a DIY trip, you have several options for getting to El Chaltén. You can rent a car, take a bus, or hire a shuttle. You don’t need to make prior reservations – any of those options can be arranged right there at the airport (although in the busy season, you might consider booking ahead of time).
The road to El Chaltén is well-maintained and straightforward, so if you are traveling independently, and it’s in your budget, renting a car is a convenient option. Once in Chaltén, a car isn’t really necessary, since the entire town only spans a few blocks and is easily walkable.
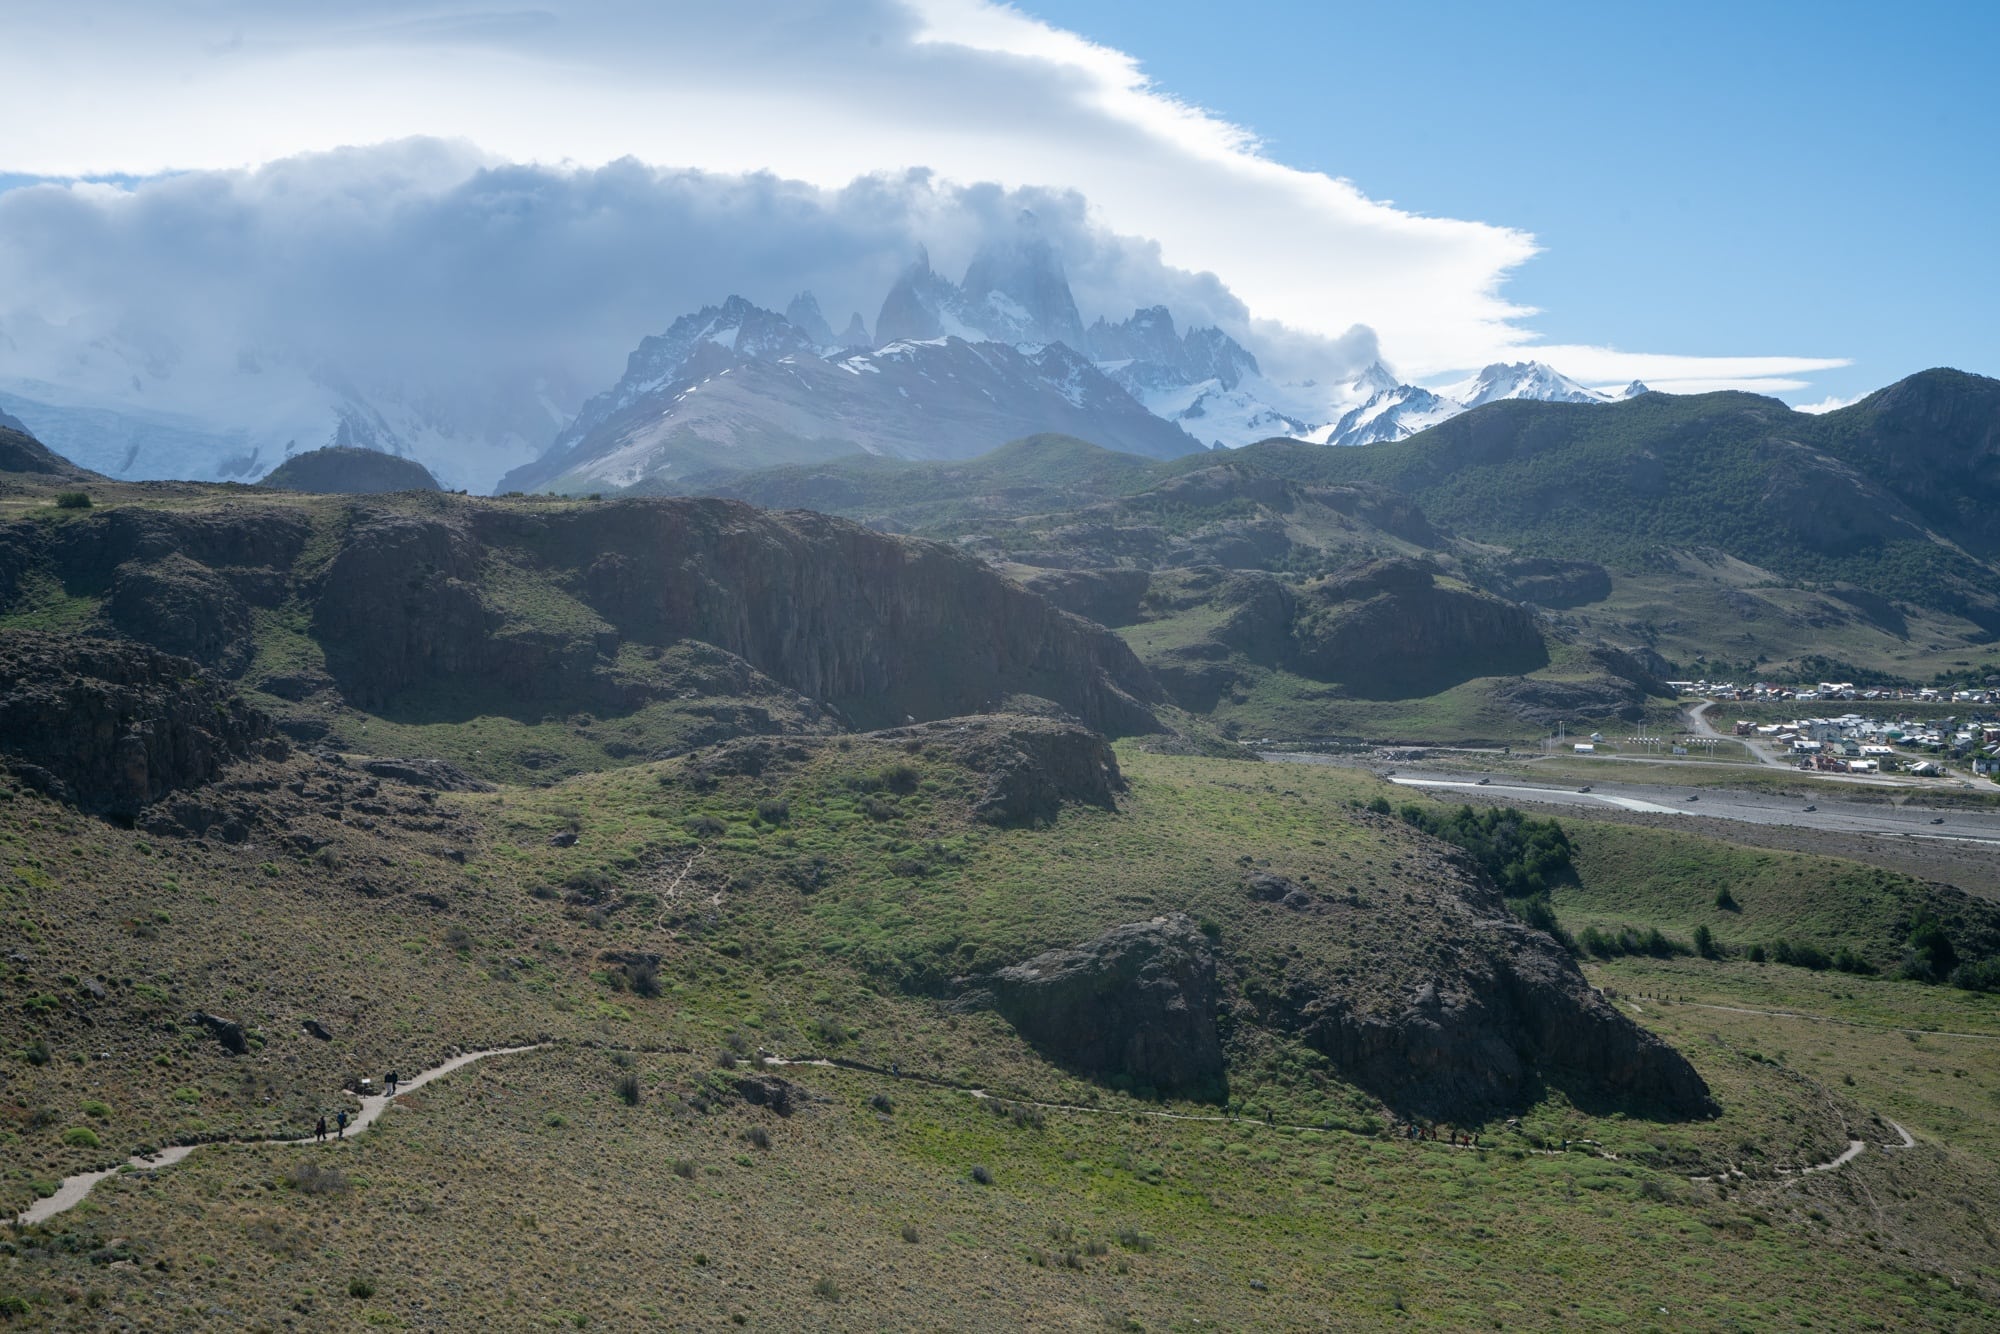
When we arrived in El Chaltén, it was mid-afternoon. We dropped our bags at our hotel and stretched our legs on a short hike up to Mirador De Los Condores. It was awesome with great views of the Fitz Roy and the town below. The 1km trail leaves right from the visitor’s center and is well-signed and easy to follow.
If you have time and energy before dinner, grab a beer or glass of wine at La Vinería then head to Techado Negro for a delicious meal. The interior is bright and fun and they serve vegetarian/vegan-friendly dishes.
Tip: I highly recommend booking accommodations and even restaurant reservations in El Chaltén beforehand. The busy season (mid-December through mid-March) can be very busy.
Save this post!
Enter your email & I'll send this post to your inbox! You'll also receive my weekly newsletter full of helpful advice for planning your adventures.
Day 2: Hike to Laguna De Los Tres
Day 2 Overview
The rest of your El Chaltén itinerary should take the weather into account. If you know you’re going to have a good weather day, use that to check off one of these El Chaltén hikes. If the weather is bad, you can use that as a rest day or do a shorter hike that won’t be disappointing if you can’t actually see the mountains.
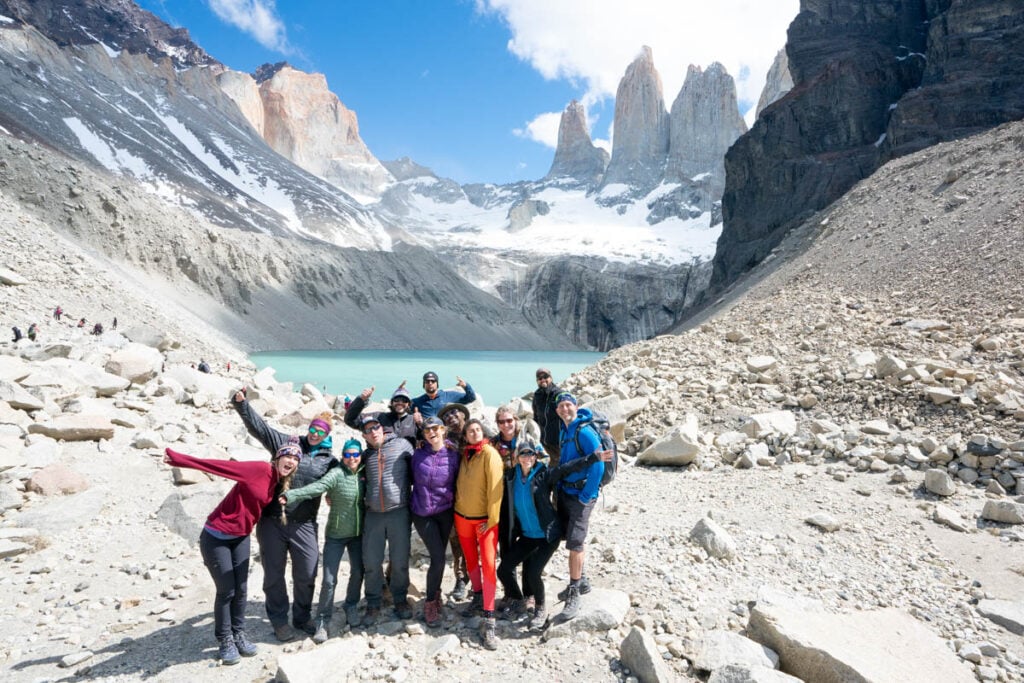
Assuming you have good weather, use Day 2 to hike to Laguna De Los Tres. This is the most famous hike in El Chaltén and it took us to an alpine lake at the base of the Fitz Roy. The hike is 13 miles with 3,300 feet of elevation gain.
Tip: Before you head out on any of your long day hikes, pick up a to-go lunch in town before you set off. Our favorite spot was the Lo de Haydee bakery in town where you can pick up a sandwich and/or empanadas for a picnic lunch.
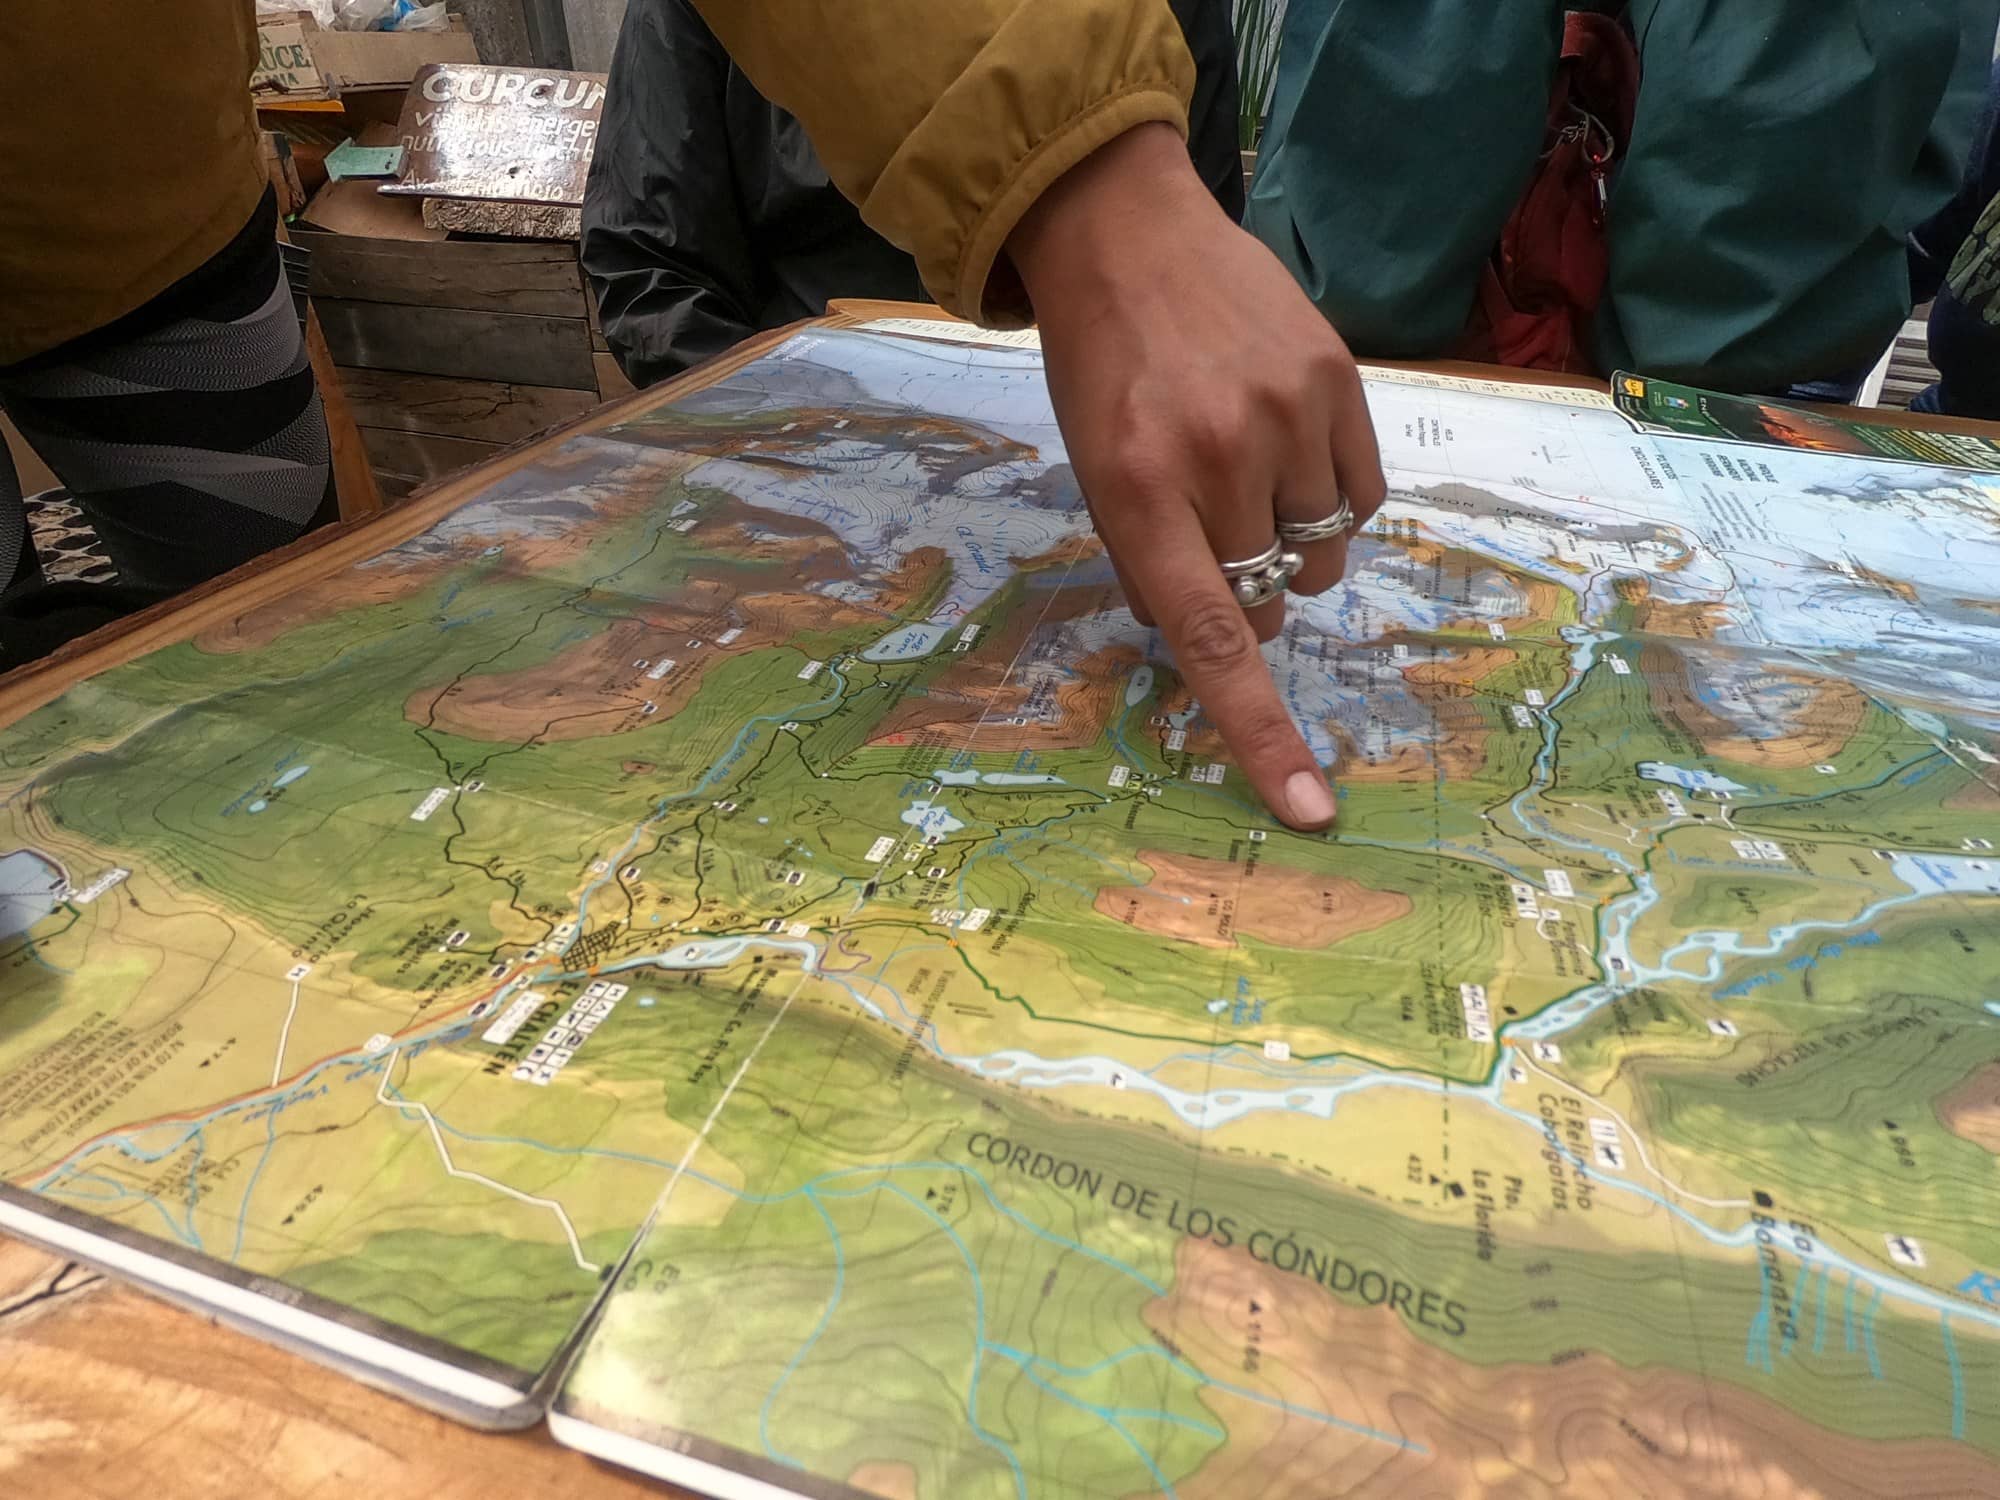
You are not required to have a guide to hike any of the trails in El Chaltén, but hiring a guide is a great way to learn more about the area and connect with a local. Our guide for our Laguna De Los Tres hike was Pablo. He was extremely knowledgeable, spoke great English, and was very friendly. There are several tour operators in town where you can hire a guide for the day.
There are two ways to hike the Laguna De Los Tres trail. The first is to do an out-and-back from town. You can walk to the trailhead right from your hotel.
Alternatively, if you are on a set schedule or the weather looks bad for your whole trip and you still want to hike this trail, I recommend doing it as a one-way hike. Instead of starting in town, we took a shuttle for 300 pesos each ($9) (that can be arranged through your hotel) and got dropped off at Hosteria El Pilar.
As a semi-loop, this route offers different viewpoints and you’ll pass right underneath the Piedras Blanca Glacier which, even on a bad weather day, you should be able to see part of.
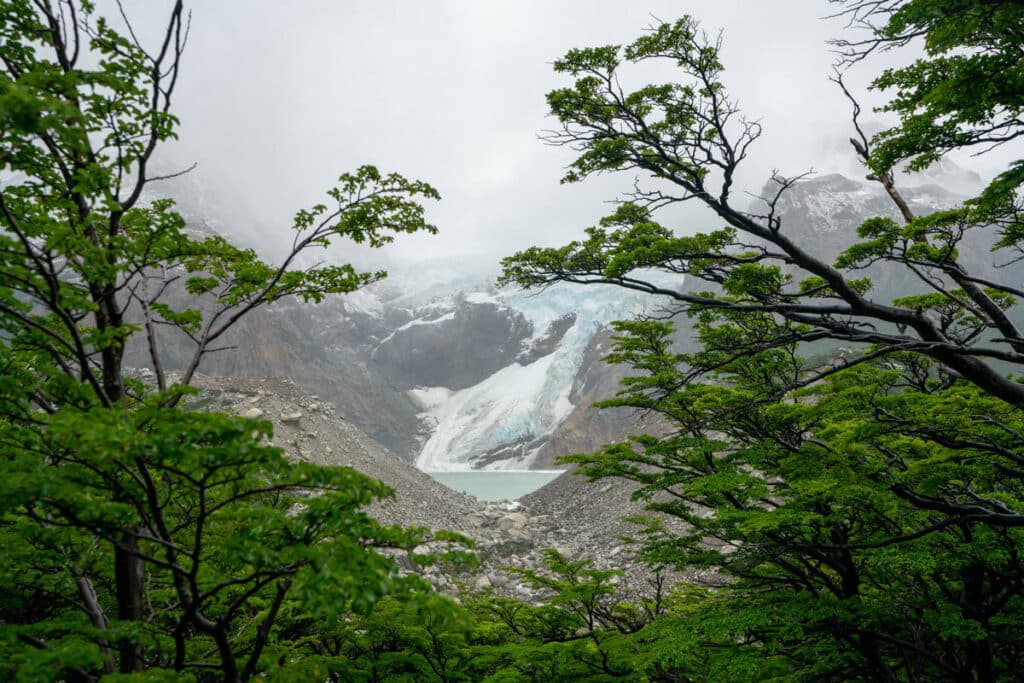
Doing the shuttle also shaves off some of the elevation gain and eventually you link up with the main trail and can continue up to Laguna De Los Tres if conditions permit.
The final stretch of the hike is very steep, very exposed, and can be dangerous in a storm. When it’s raining at that final junction, it can be a blizzard at the lake. Because of this and the fact that we wouldn’t be able to see any good views of the lake anyway, our guide Pablo advised us against continuing up the trail to the Laguna de los Tres.
At that point, we stopped in a shelter near the backpacker campground for lunch before we turned around and returned to town via the traditional trail. Pablo’s decision was confirmed as prudent when we crossed paths with a ranger who was on his way up to close the trail.
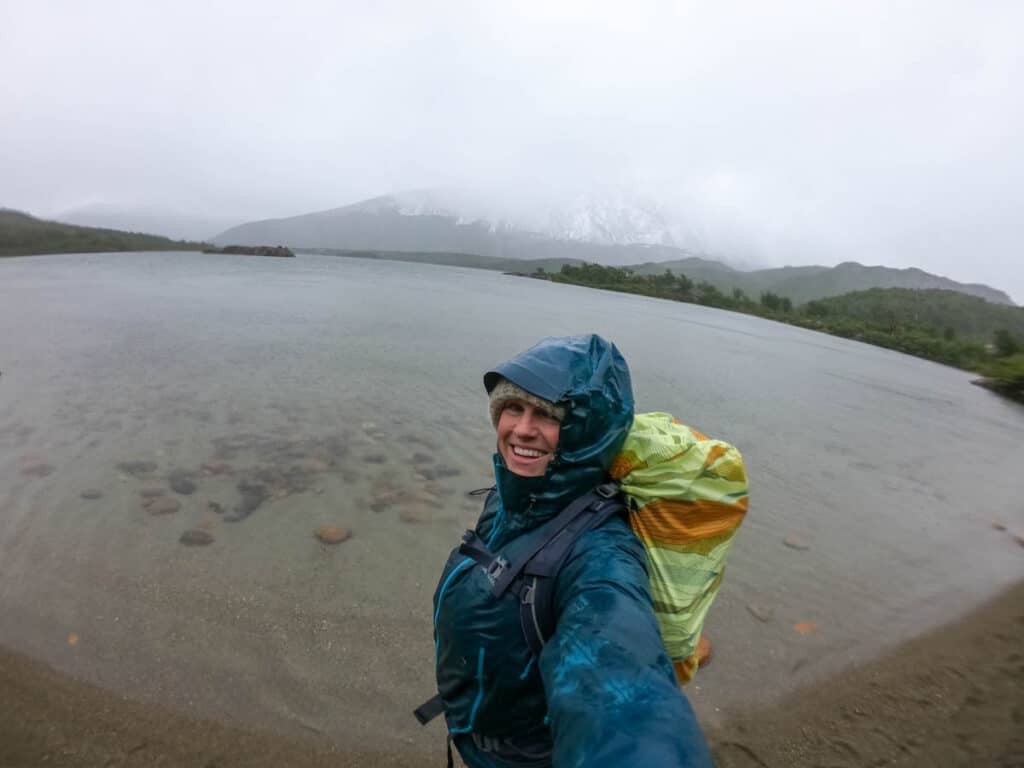
If this happens to you, just know that there are many, many beautiful lakes all throughout Patagonia. This is just one that has become famous on the internet, and in this area, the weather rules everything. Come with no expectations and you won’t be disappointed.
For dinner, we ate at Patagonicus, a pizza restaurant with very good pizza (my pre-vegan days) and a healthy beer list.

Day 3: Hike to Cerro Torre
Day 3 Overview
We got an early start to beat the crowds on day three, but not before first hitting up the Lo de Haydee bakery for breakfast.
Today’s hike was to Laguna Torre, a glacial lake just below the famous Cerro Torre peak. The trail was 18k round trip and took us 6.5 hours including a lot of stops for photos and lunch at the lake. It’s a popular hike, so don’t be surprised if there are a ton of people on the trail.
The hike started with a 3km uphill burst which led to a viewpoint of the mountains. After that, the next 6km were relatively flat with nonstop views of the Cerro Torre and surrounding peaks, with several sections right along a glacier-fed river.
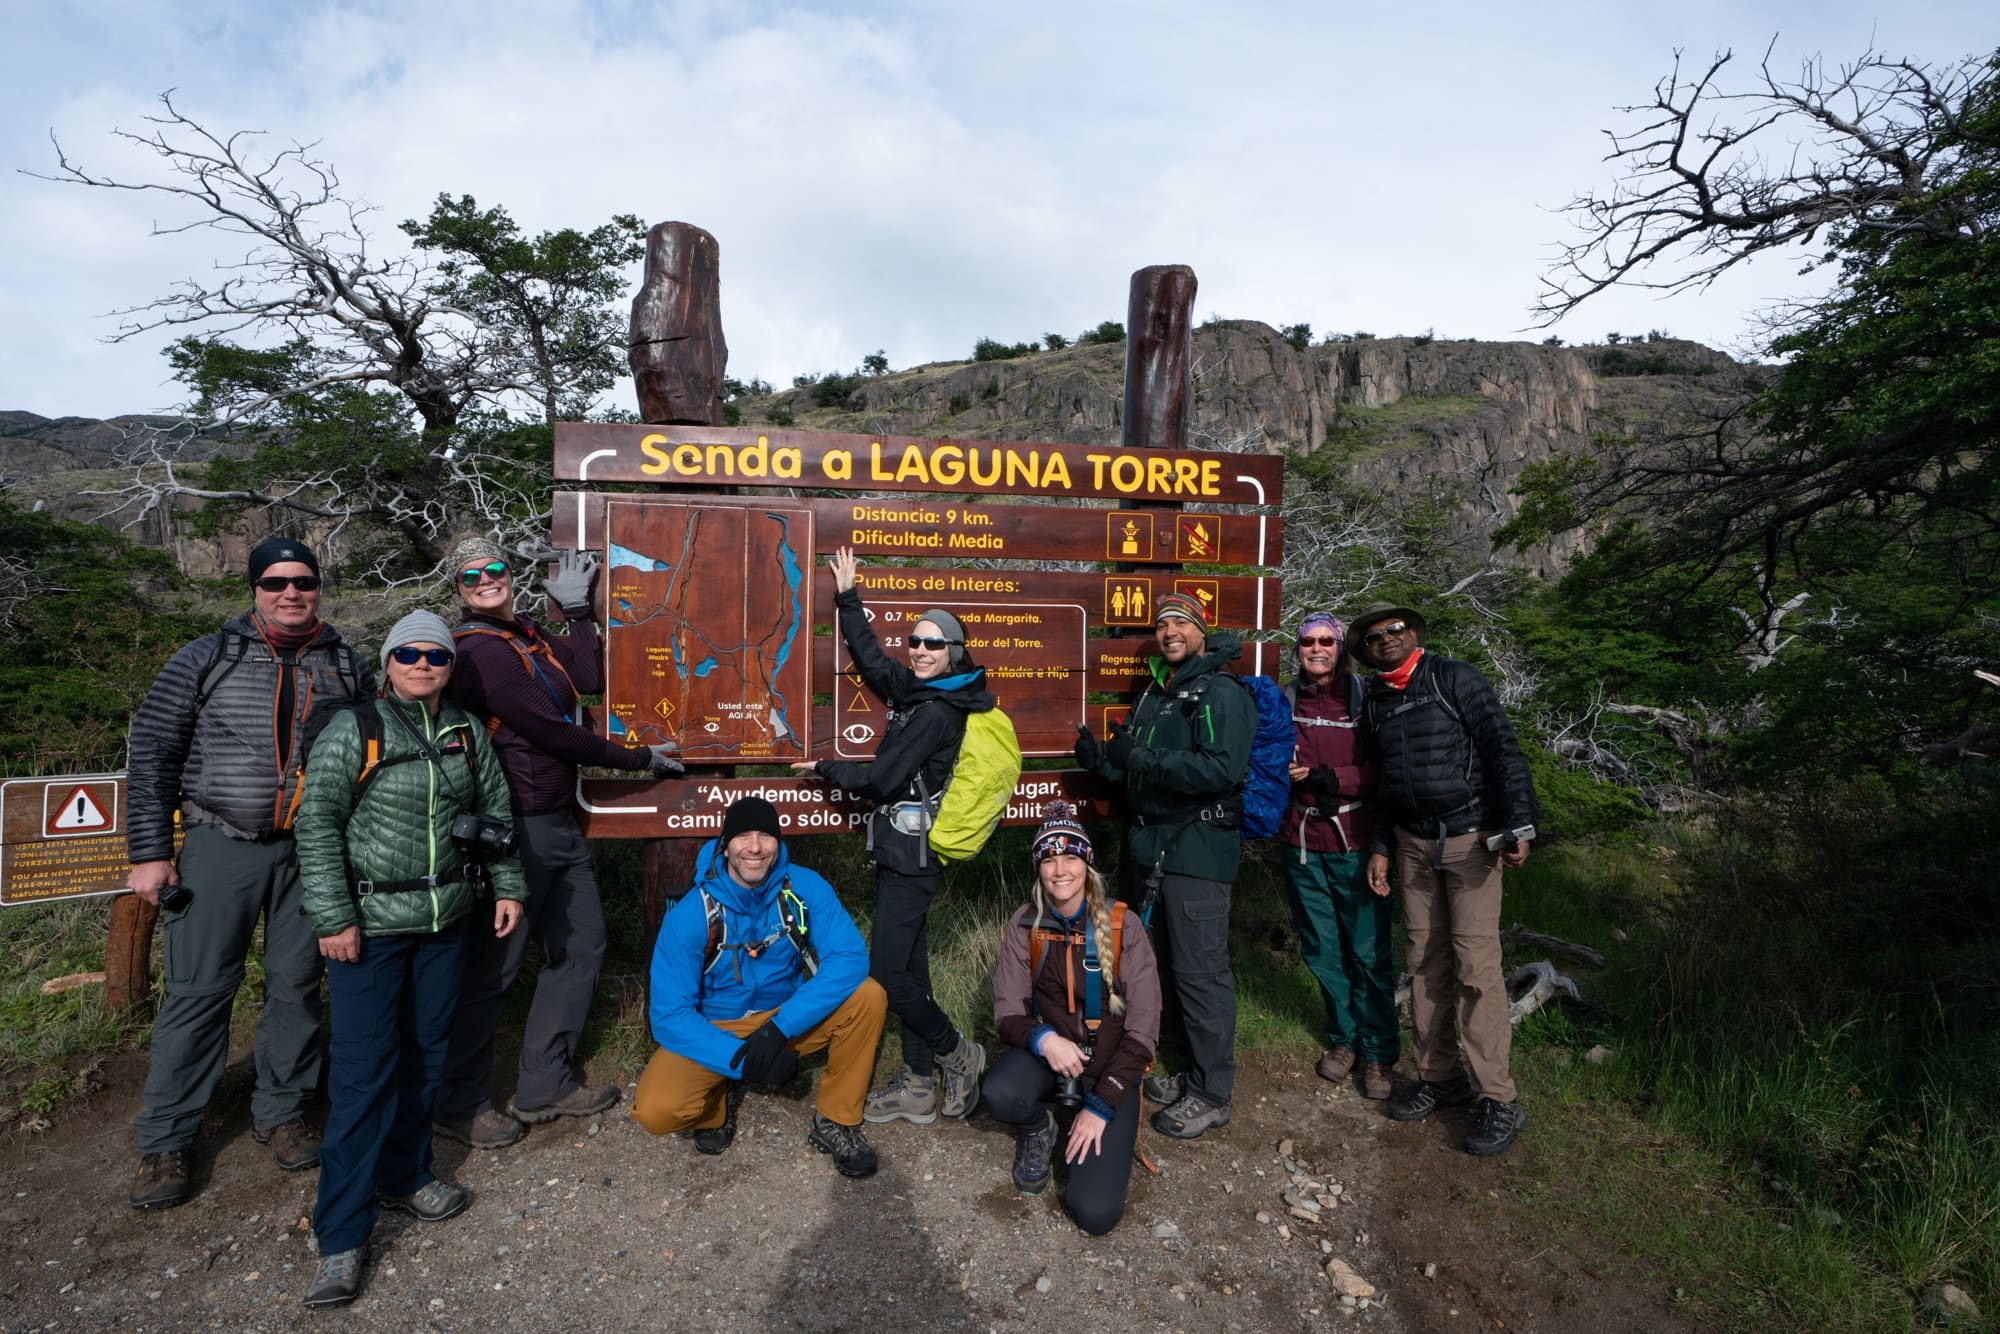
Once we got close to the lake, the trail turned sandy and we passed through an area of glacier moraine. However, the trail is still well-maintained and smooth the entire way.
Towards the end of the trail, we crossed a clear stream (if you need to filter some water). As busy as this trail is and as many people that are going to the bathroom along the trail, I’d recommend bringing a lightweight water filter.
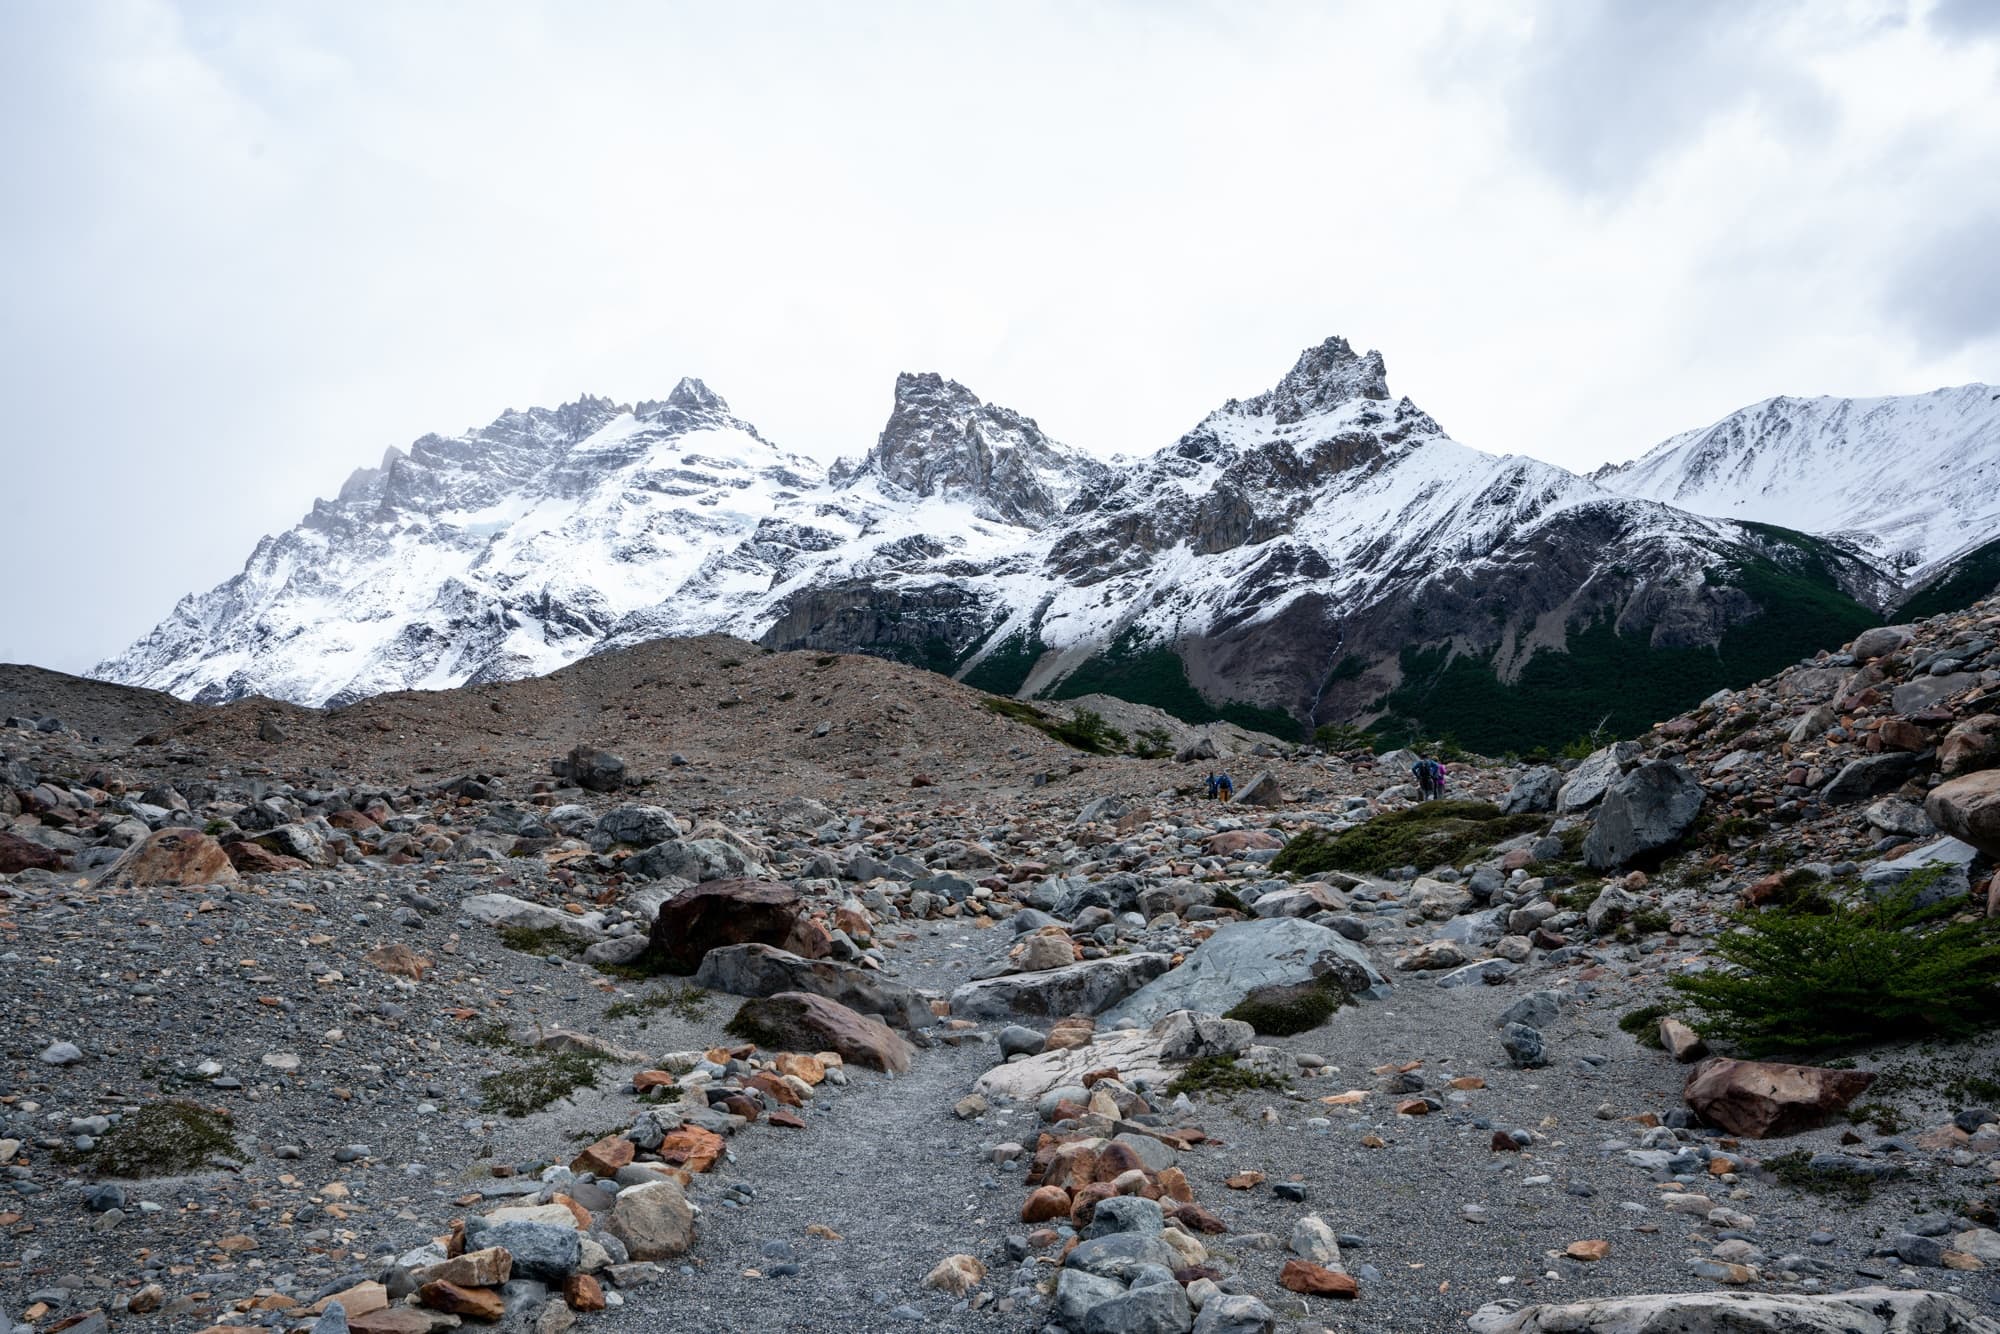
The lake was very large with huge chunks of ice and a large glacier on the far end. It was fairly cloudy for our hike in and it got very windy and cold at the lake when we stopped for lunch. Even if it’s sunny, lots of layers and rain gear are essential for any Patagonia hike.
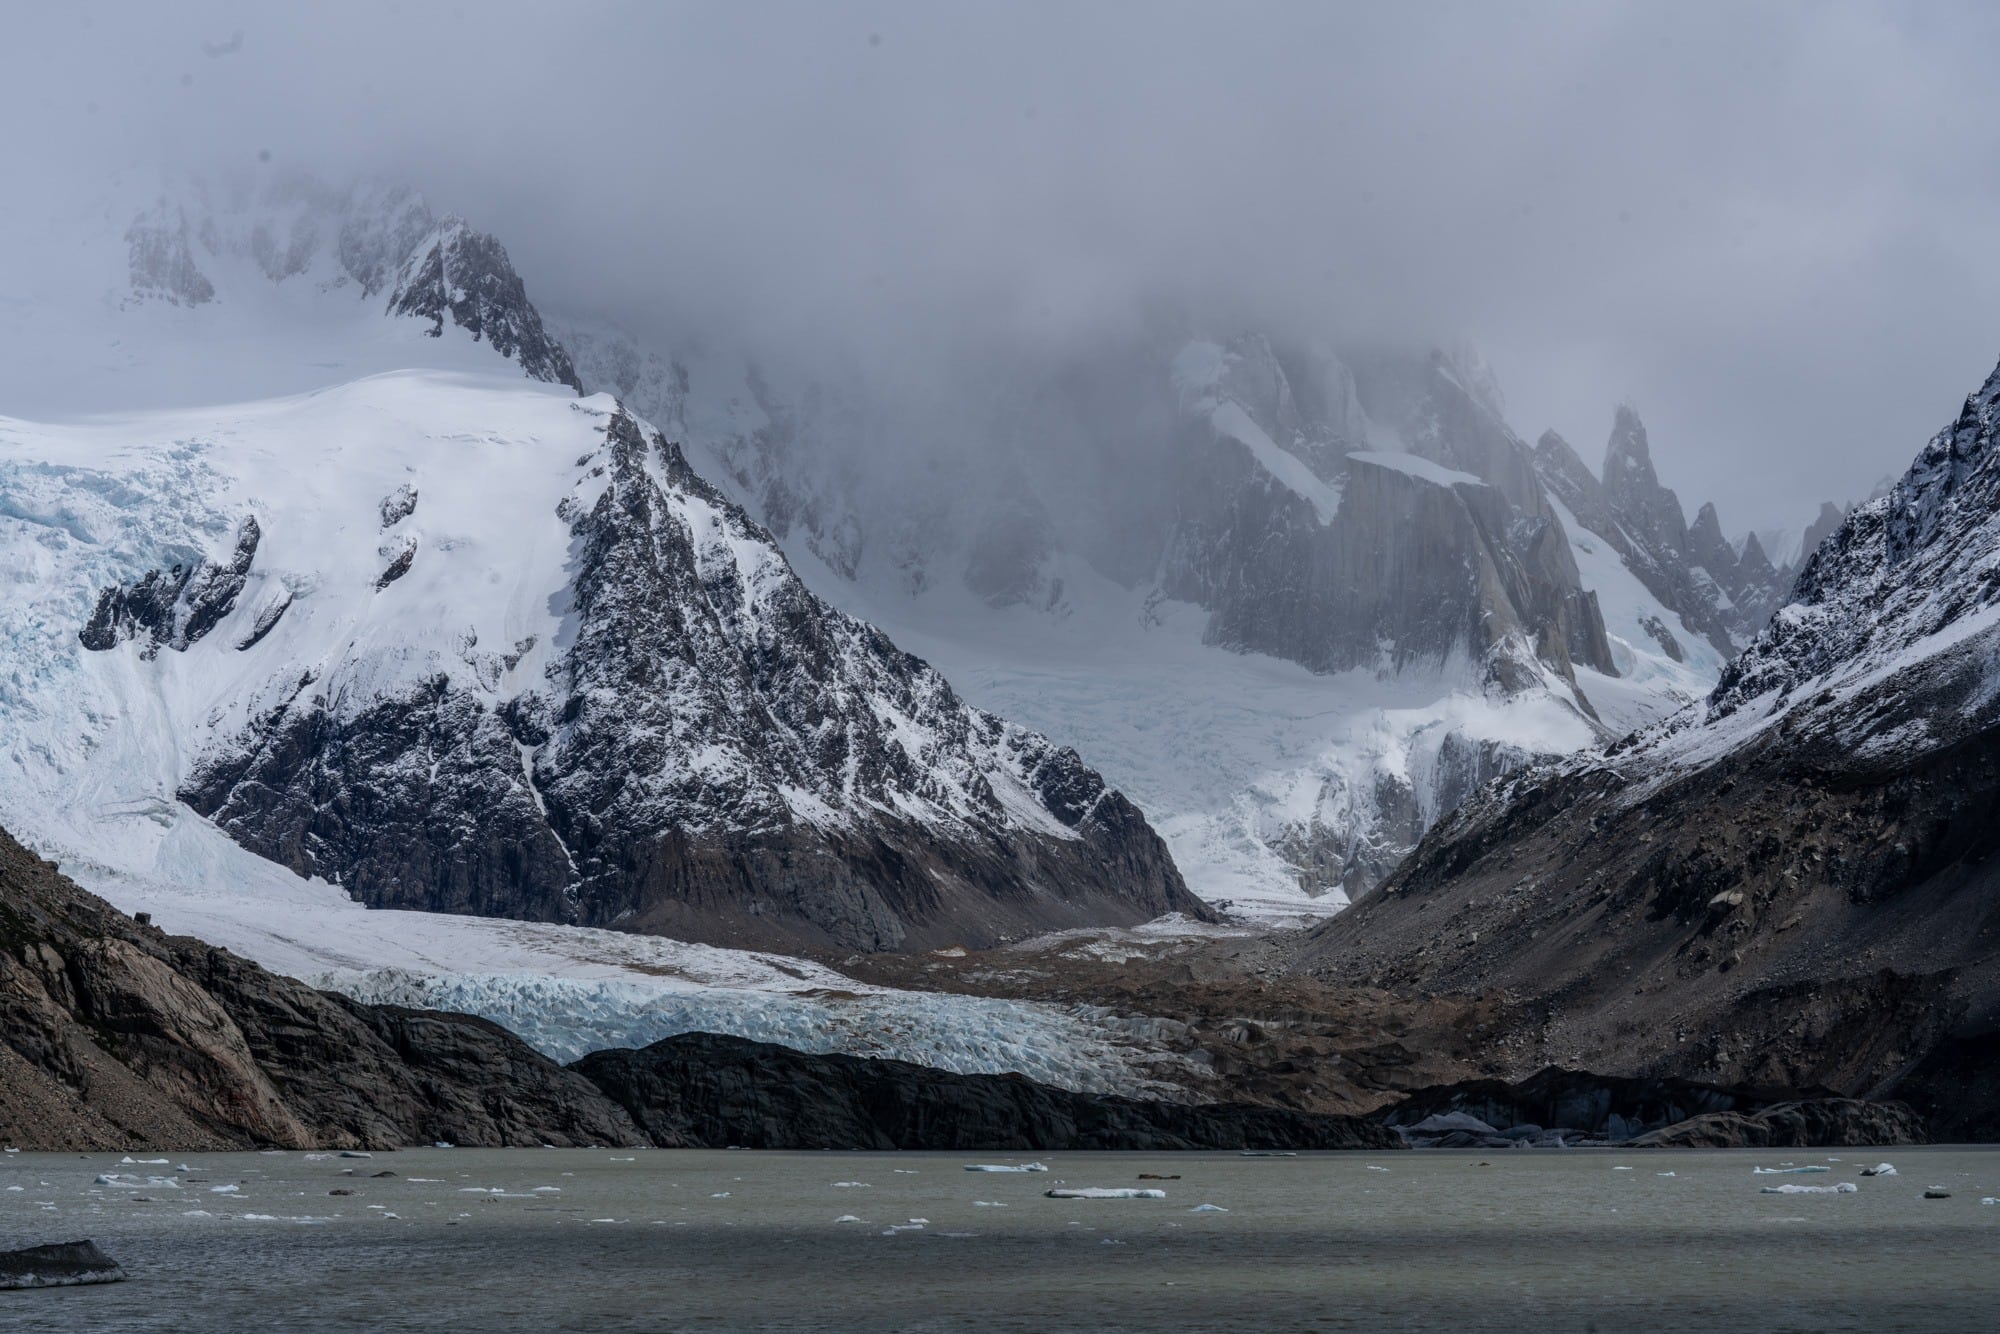
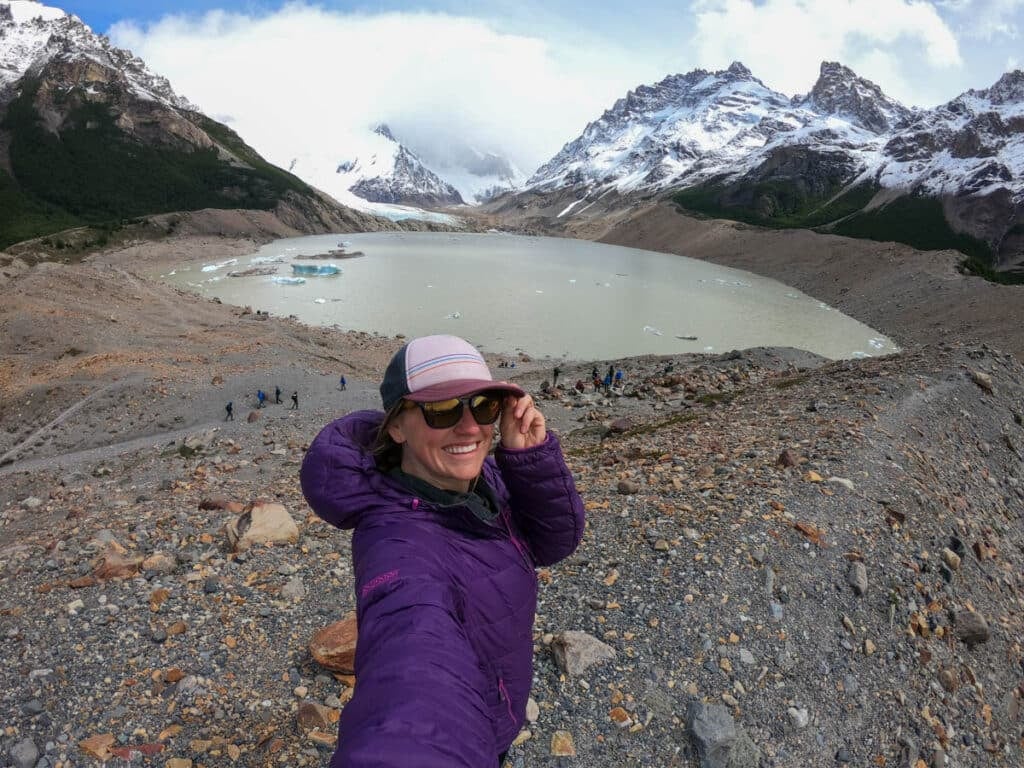
On the way down, the clouds started to lift so we stopped at the viewpoint again to take some more pictures. Even the Fitz Roy started to peak out from the clouds.
For dinner, go to the Italian joint called Maffía Trattoria on the main drag. They make all of their pasta in-house. The best dishes among our group were the lasagna bolognese, the fondue ravioli, and the goulash (for something more local).
Day 4: River Rafting
Day 4 Overview
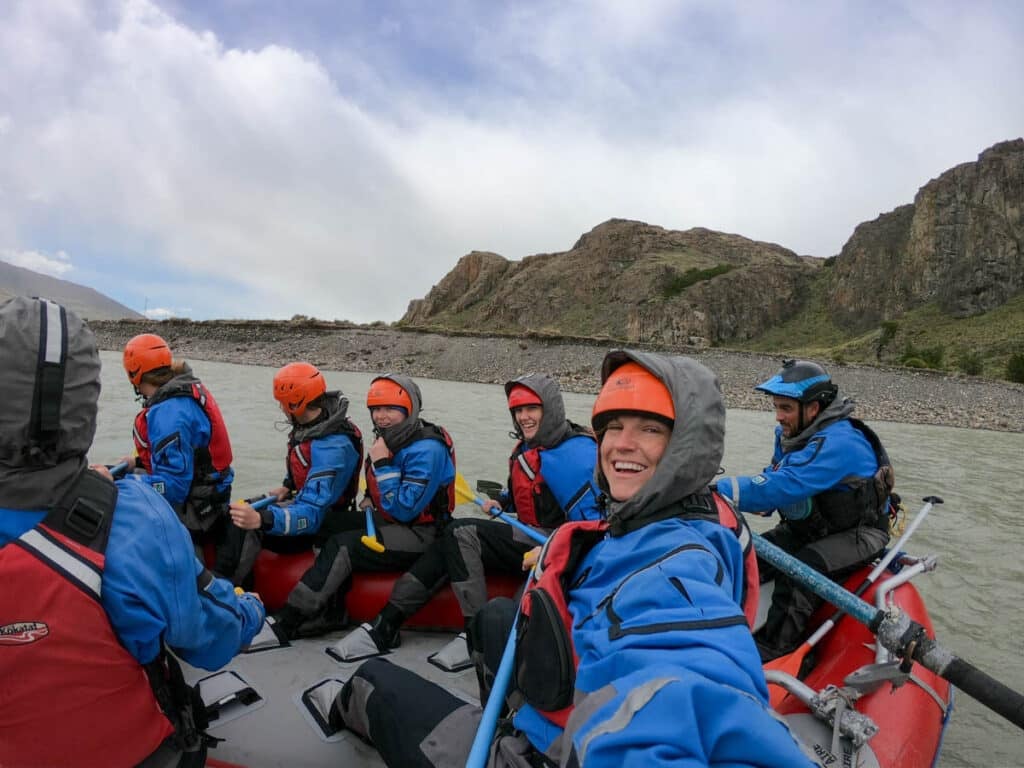
If you like an adrenaline rush, sign up for a half-day rafting trip with El Chaltén Rafting Experience on the Rio De Las Vueltas River. It has some pretty exciting class III and one class IV rapids.
The river cuts through a gorgeous canyon with condors flying above, interesting rock formations, and glacial blue water. Before heading to the river, we were given a onesie base layer, a full dry suit, and booties. The only thing they didn’t provide that I wish I had was a pair of neoprene gloves.
There is nowhere to store dry bags on the boats, so I recommend leaving anything you’d be bummed to lose at home (like a phone or camera). The safety kayaker took photos of us during our trip that they emailed to us for free afterward.
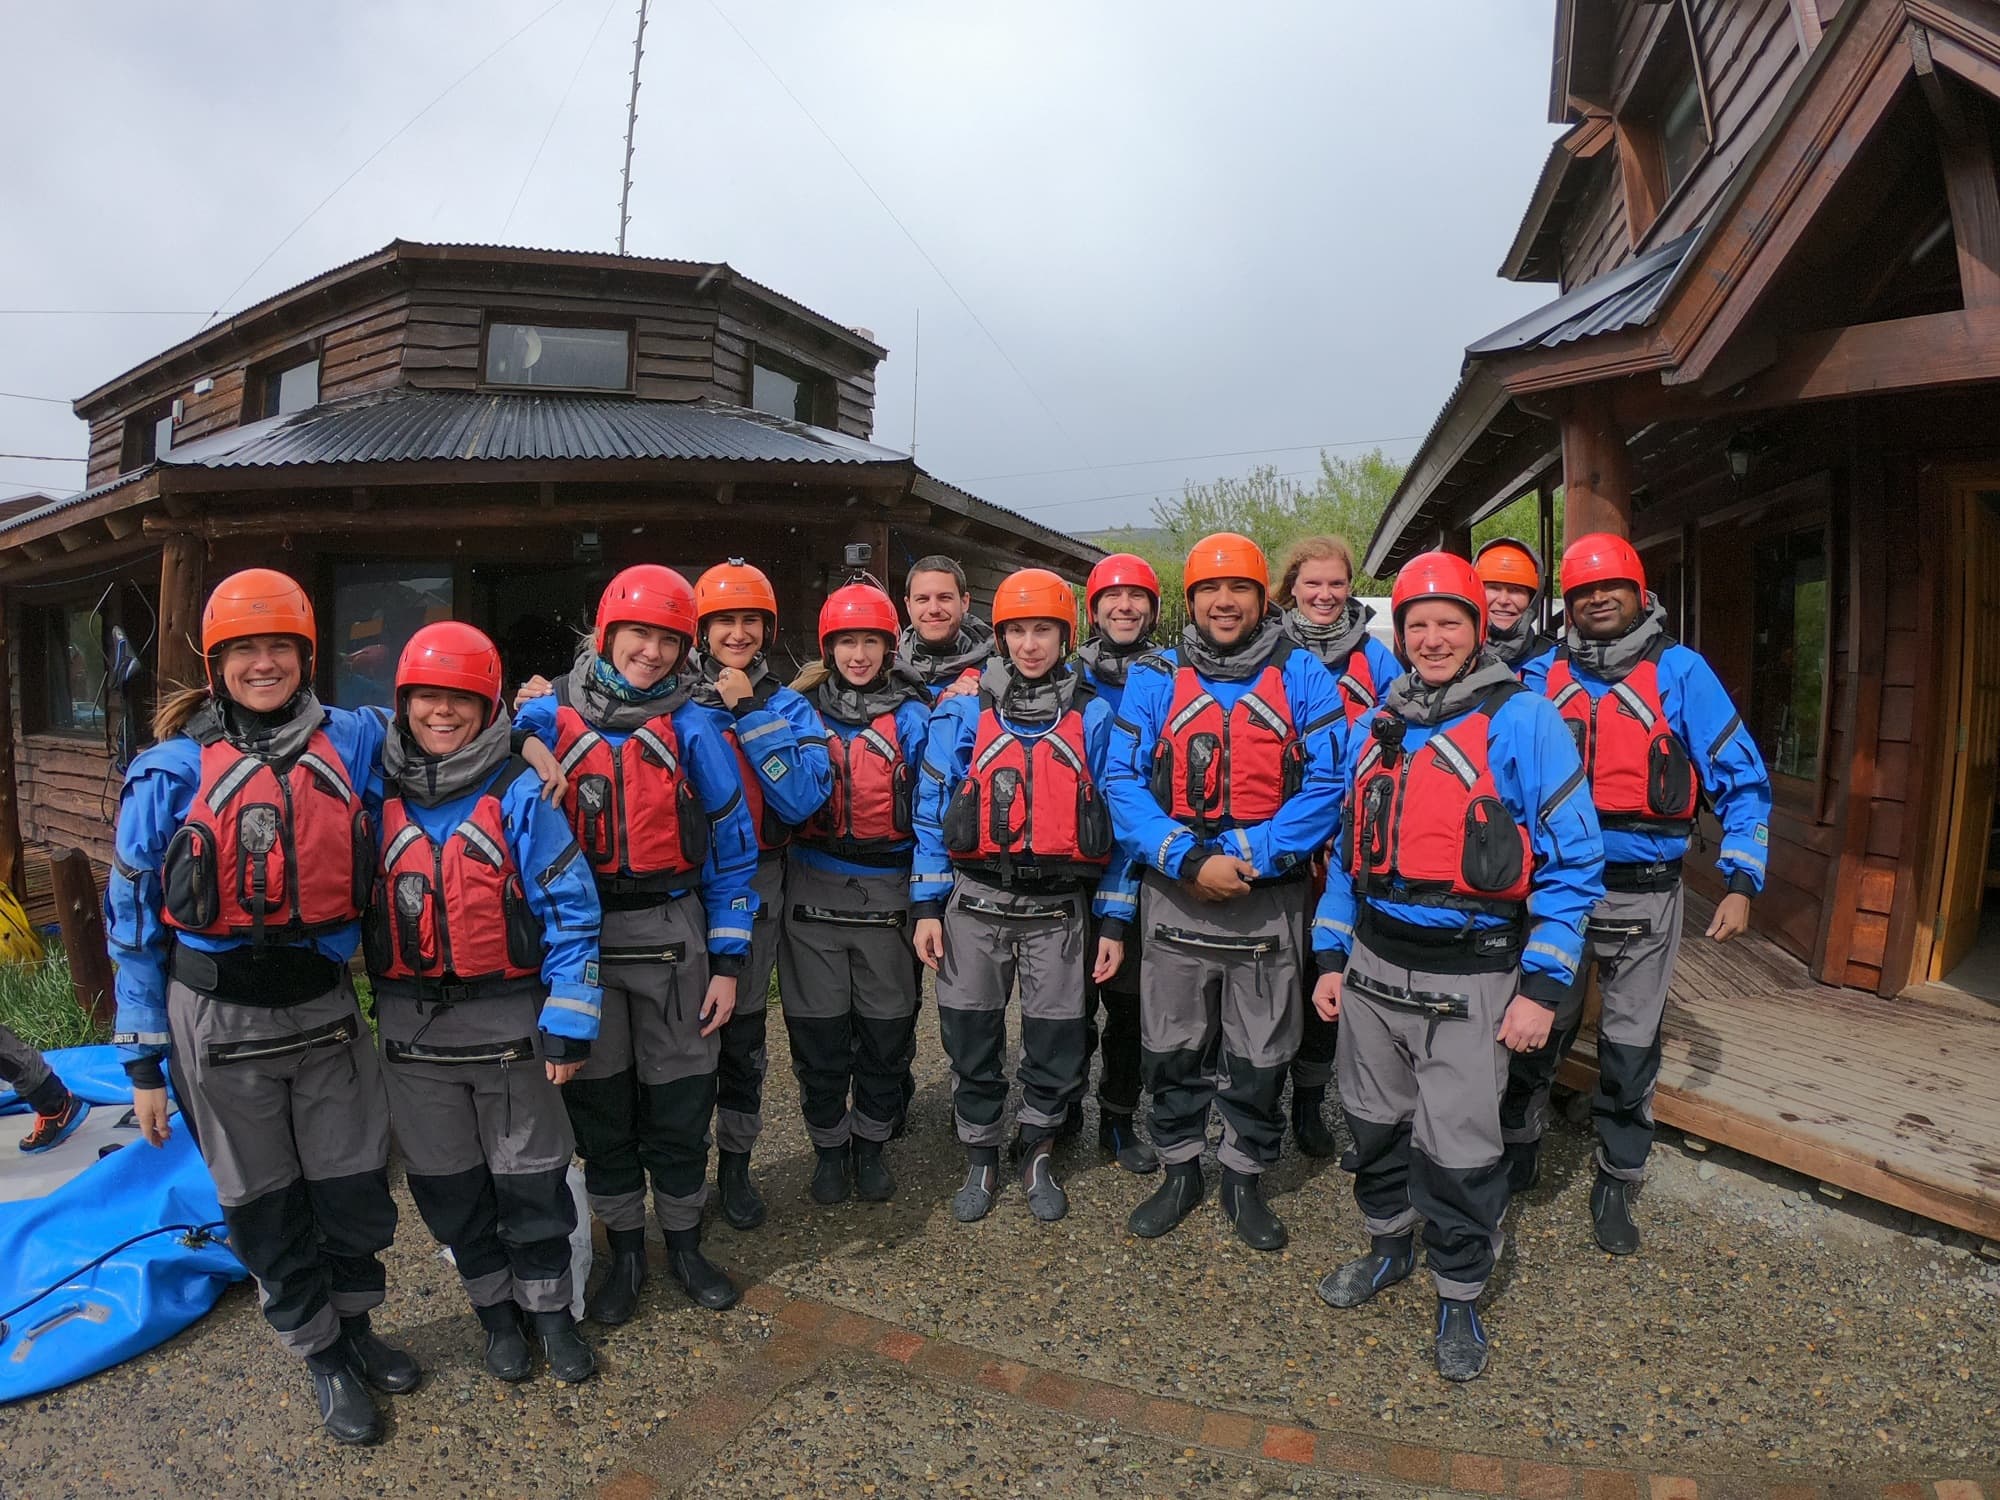
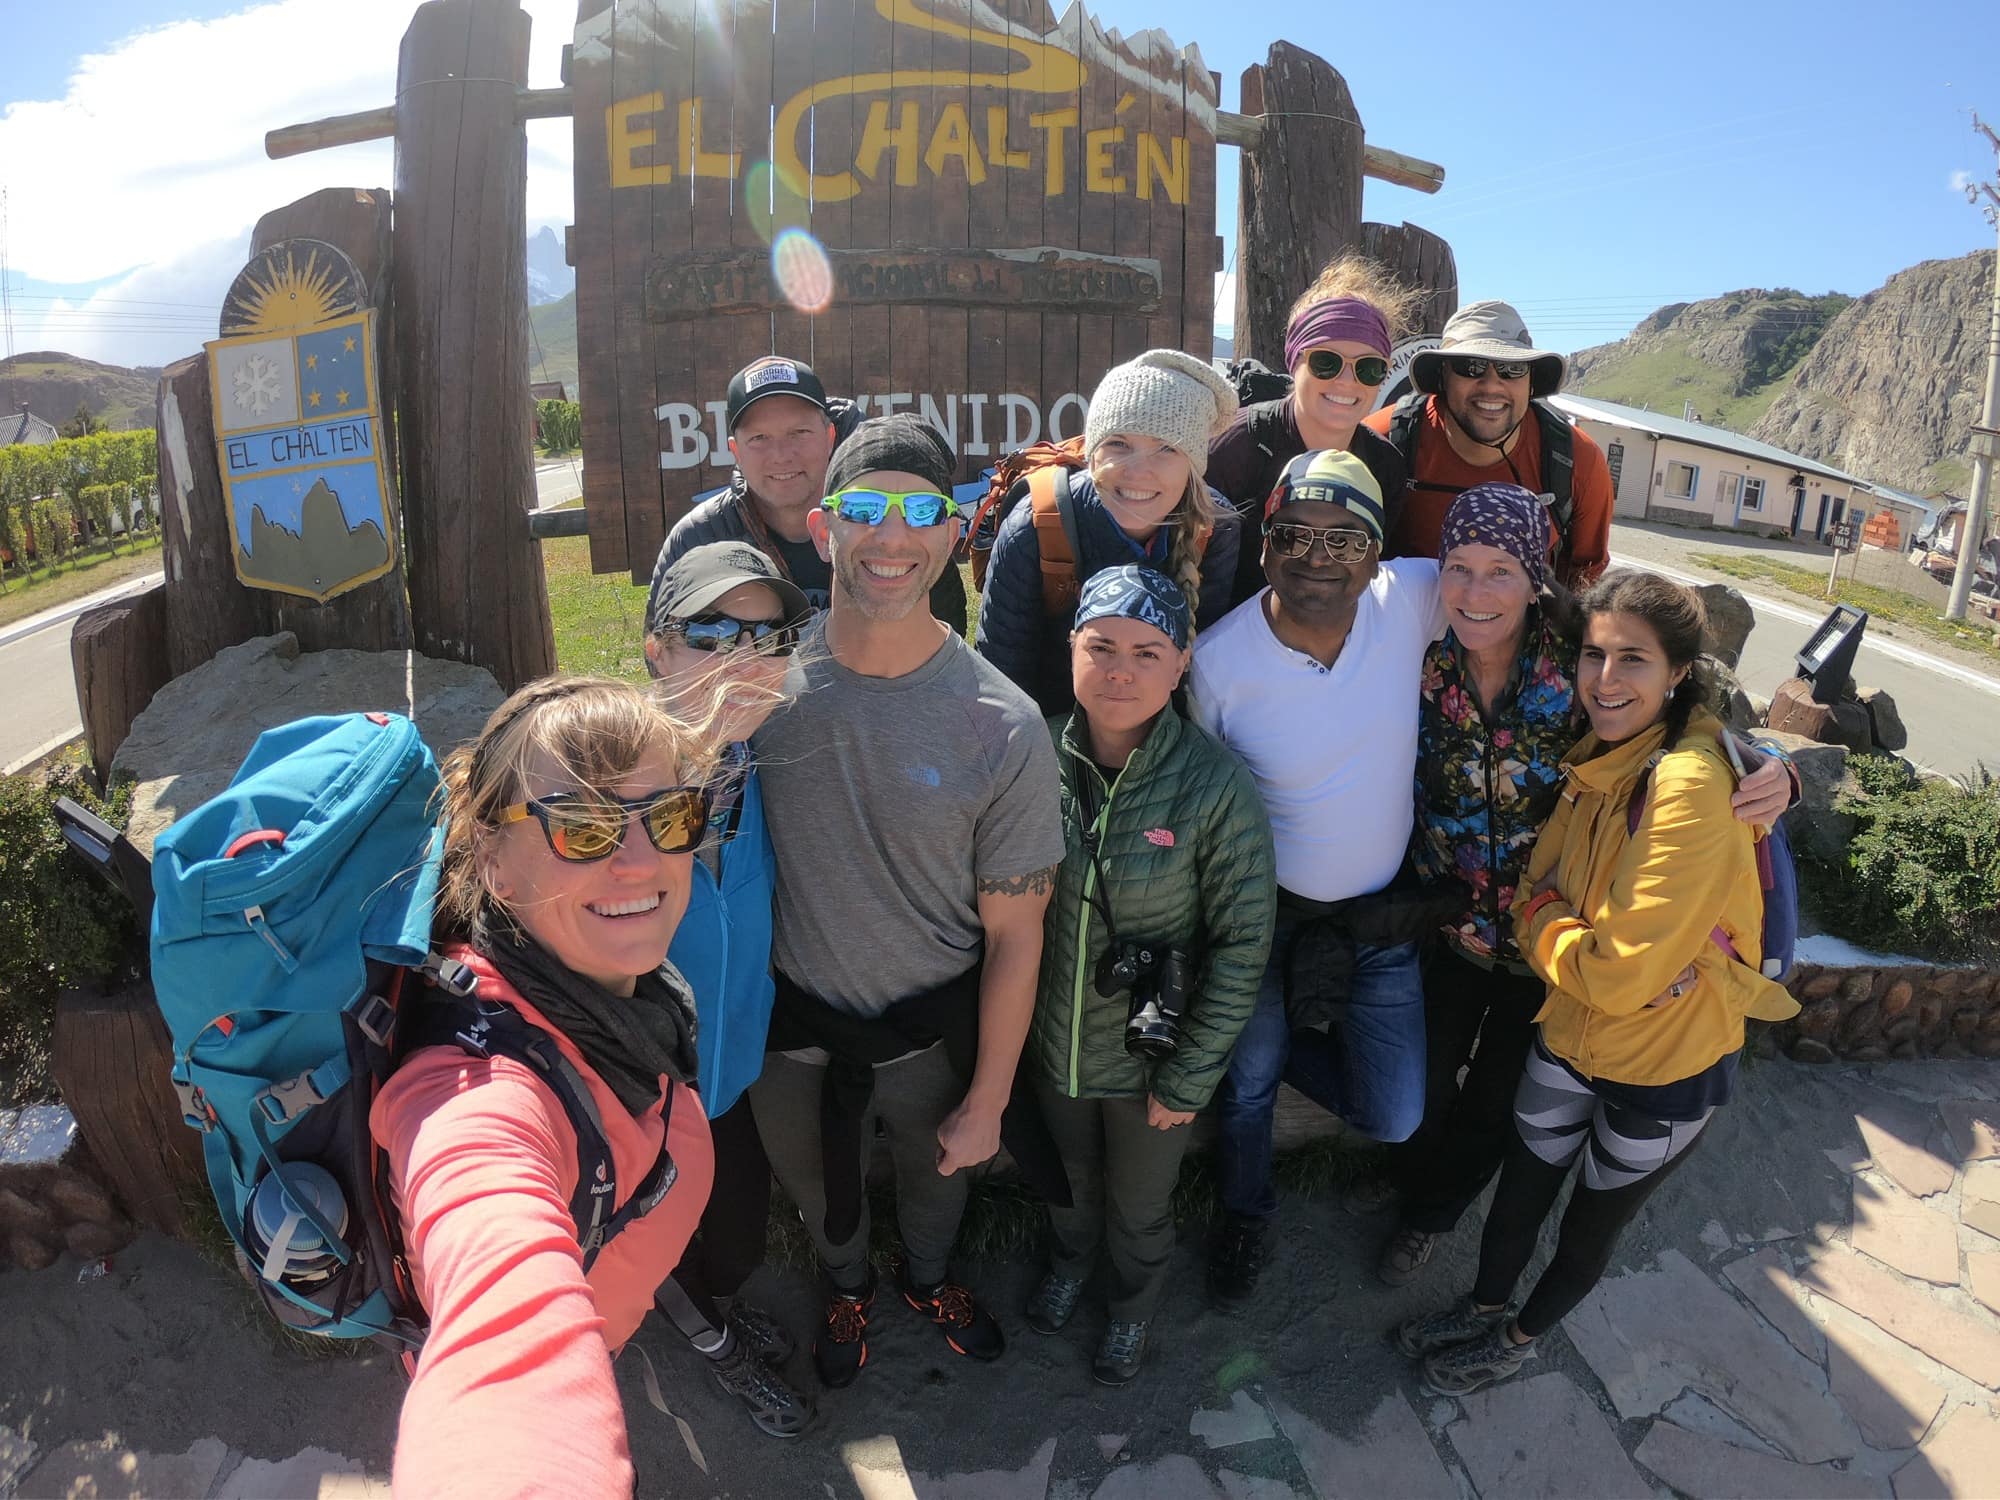
From their office in town, we walked about 5 minutes to the launch point where our group of 11 split up into two paddle boats. The river starts out pretty mellow and as the canyon narrows, we reached the Class IV rapid first (the only one on the river). The guides directed us to pull over and we walked the first section of rapids, while the guides navigated the boats through.
Then right at the top of the waterfall, we loaded back into the boats which were lined up to go smoothly down the tongue of the waterfall. The first boat ran a clean line and it didn’t look too bad. Unfortunately, our boat almost immediately got off track and entered the rapid too far to the left where we got hung up on a rock and Melinda, who was in the front of the boat, ended up taking a swim. We got her back into the boat fairly quickly and the rest of the day went much smoother.
Hit up Restaurante Ahonikenk Chalten Fonda Patagonia for dinner. If you need to warm up after rafting, try the Argentinian stew. It was very hearty with meat and beans. The chicken stir-fry with rice was also a popular dish in our group.
My El Chalten and El Calafate YouTube video.

More Info on G Adventures
G Adventures did a fabulous job on our El Chatélan itinerary and the logistics for our trip. You can read my full G Adventures review or get more details (or even sign up for this itinerary!) on the Hiking Patagonia In Depth page on the G Adventures website.
Frequently Asked Questions
I spent four days exploring El Chaltén with G Adventures and I felt like that gave us a good amount of time to really experience the area. That being said, if you have more time, a full week in El Chatlén would allow you to check off more bucket list hikes and adventures.
While booking a tour does make planning and logistics easier, it’s not totally necessary. El Chaltén is a tourist town, so there are lots of resources and services to help you put a DIY trip together. But do your due diligence to plan and make reservations ahead of time – this isn’t the kind of place where you can just show up and expect to find an empty hotel room!
My trip to El Chaltén included several hikes and a day of white water rafting, but there are lots of other things to do in the area. Other ideas for your El Chaltén itinerary could include:
– Horseback riding
– Mountaineering or ice climbing
– Fly fishing
There are several ways to get from the airport in El Calafate to El Chaltén. You can rent a car, take a bus, or hire a shuttle. All of these can be arranged at the airport, although it is a good idea to make prior reservations during the busy season.
I hope my 4-day El Chaltén itinerary helps you plan an amazing adventurous vacation to El Chaltén, Argentina.
More Patagonia Tips
Save this post to Pinterest
Have you been to El Chaltén in Argentina? What’s missing on our El Chaltén itinerary? Have questions? Leave a comment below!

Hi Kristen! I am headed to Patagonia next week (El Chalten in 2 weeks) and will be doing some of these hikes!
On another note, could you please consider captioning your YouTube videos? Auto-generated captions aren’t good enough (not only are there a lot of errors, but the formatting makes it hard to follow). I am deaf and rely on captions, which is something a LOT of YouTubers overlook.
Thanks!
Hey Laura – I really appreciate that feedback. It’s something I’ve been thinking about and I will talk to my video editor to see if we can do that in the future. Thank you for supporting my website.
Hello Kristen, I could not agree more. Last year, November ’17 actually, while on a photo tour of Patagonia we had the pleasure of spending 3 nights in El Chalten and enjoyed everything it had to offer. One highlight was a 3:30 AM hike, about 8km and all uphill, to an unnamed lake with spectacular views of Fitz Roy at sunrise. For us, the weather was a little too clear, some high clouds would have enhanced our photos. That said, the pictures are great, and that is one of the great memories amongst many from my time in Patagonia.
BTW, love your site and your blogs! Just might start one of my own for the over-60 travel adventure set!
Best regards, Andy
Thanks for this information! We’re going in February. I’m 77 & a bit worried about the difficult bits. Could you tell me , at Laguna de los Tres, is the final bit an up & back to the viewpoint or an up one way & continue on down another way (like at Machu Picchu)? If it’s an up & back I won’t worry so much – maybe I could just wait there while the others go higher? (I’ve hired my own personal porter so I won’t be left alone!)
Many thanks!
Hello,
Thanks for sharing this itinerary. We are thinking of going to El Chalten this November and are wondering if we should join a tour group or do it on our own. Sounds like it is possible to do it on our own and there are a lot of trails heads from the town. If we decide to just book a hotel room, once we get there, is it easy to buy day tours or guide/porter services from the hotels in town?
Thanks.
Alison
Hi Alison, I went on a pre-planned guided trip so I’m not sure how easy it is to book day tours or guides from the hotels. Best of luck on your search & enjoy your trip!