Beginner Kayaking Tips for First-Time Paddlers
Get ready to hit the water with these beginner kayaking tips plus learn about different types of kayaks, what to wear, what gear to bring, and how to paddle.

Interested in kayaking but don’t have a lot of experience? Kayaking can be a great way to get out on the water, whether for a leisurely morning paddle or a more rigorous overnight adventure.
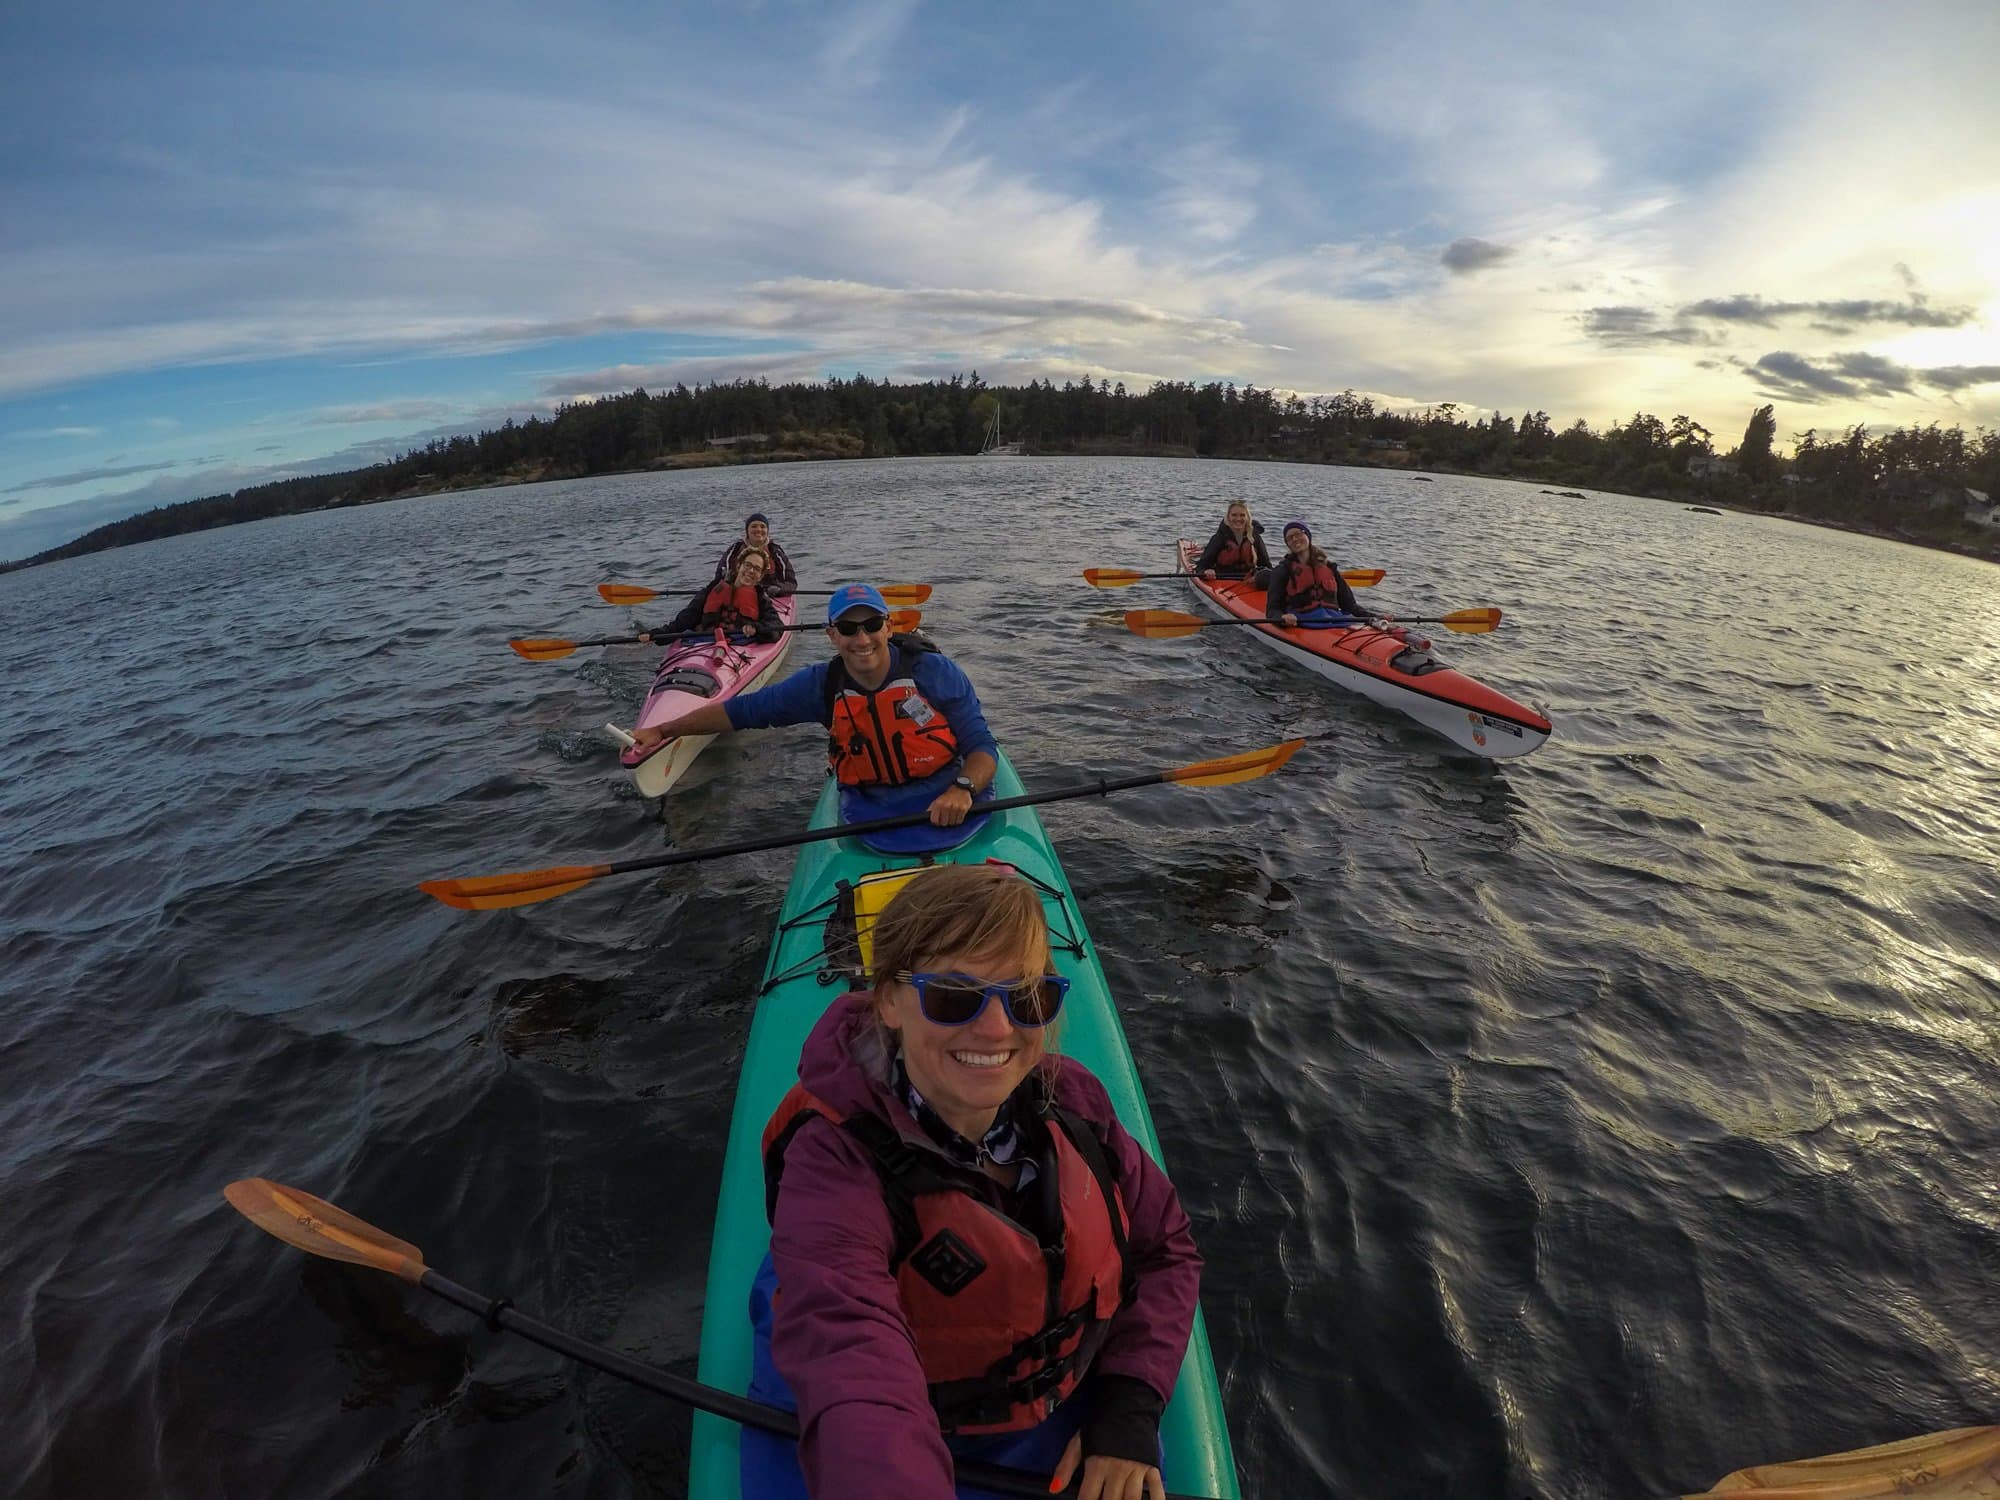
The Bearfoot Theory team and I have done a number of day and overnight kayaking trips across the U.S. In this post, we share some basic beginner kayaking tips so you can get out there, give it a try, and have fun as well!
From kayaking gear to your paddling technique to common questions about what to wear kayaking and where to go, these beginner kayaking tips will have you out on the water with confidence in no time.
Sponsored by REI Co-op
REI Co-op is my favorite outdoor gear retailer and a long-time supporter of my work here at Bearfoot Theory. Their 1-year return policy for Members is hands-down the best in the industry, and Members also get 10% back on their purchases every year.
This post may contain affiliate links.
Types of Kayaks
Sit-On-Top vs. Sit-Inside Kayaks
There are two main types of kayaks – sit-on-top and sit-inside kayaks.
Sit-on-top kayaks tend to be the easiest for beginners. They are very stable and easy to get in and out of, and for those of you who might feel nervous, a sit-on-top kayak won’t leave you feeling trapped.
Sit-on-top kayaks are great for warm water, especially if you think you might want to swim from your kayak. On the other hand, if it’s cold, you will get wet on a sit-on-top kayak, which is something to keep in mind.
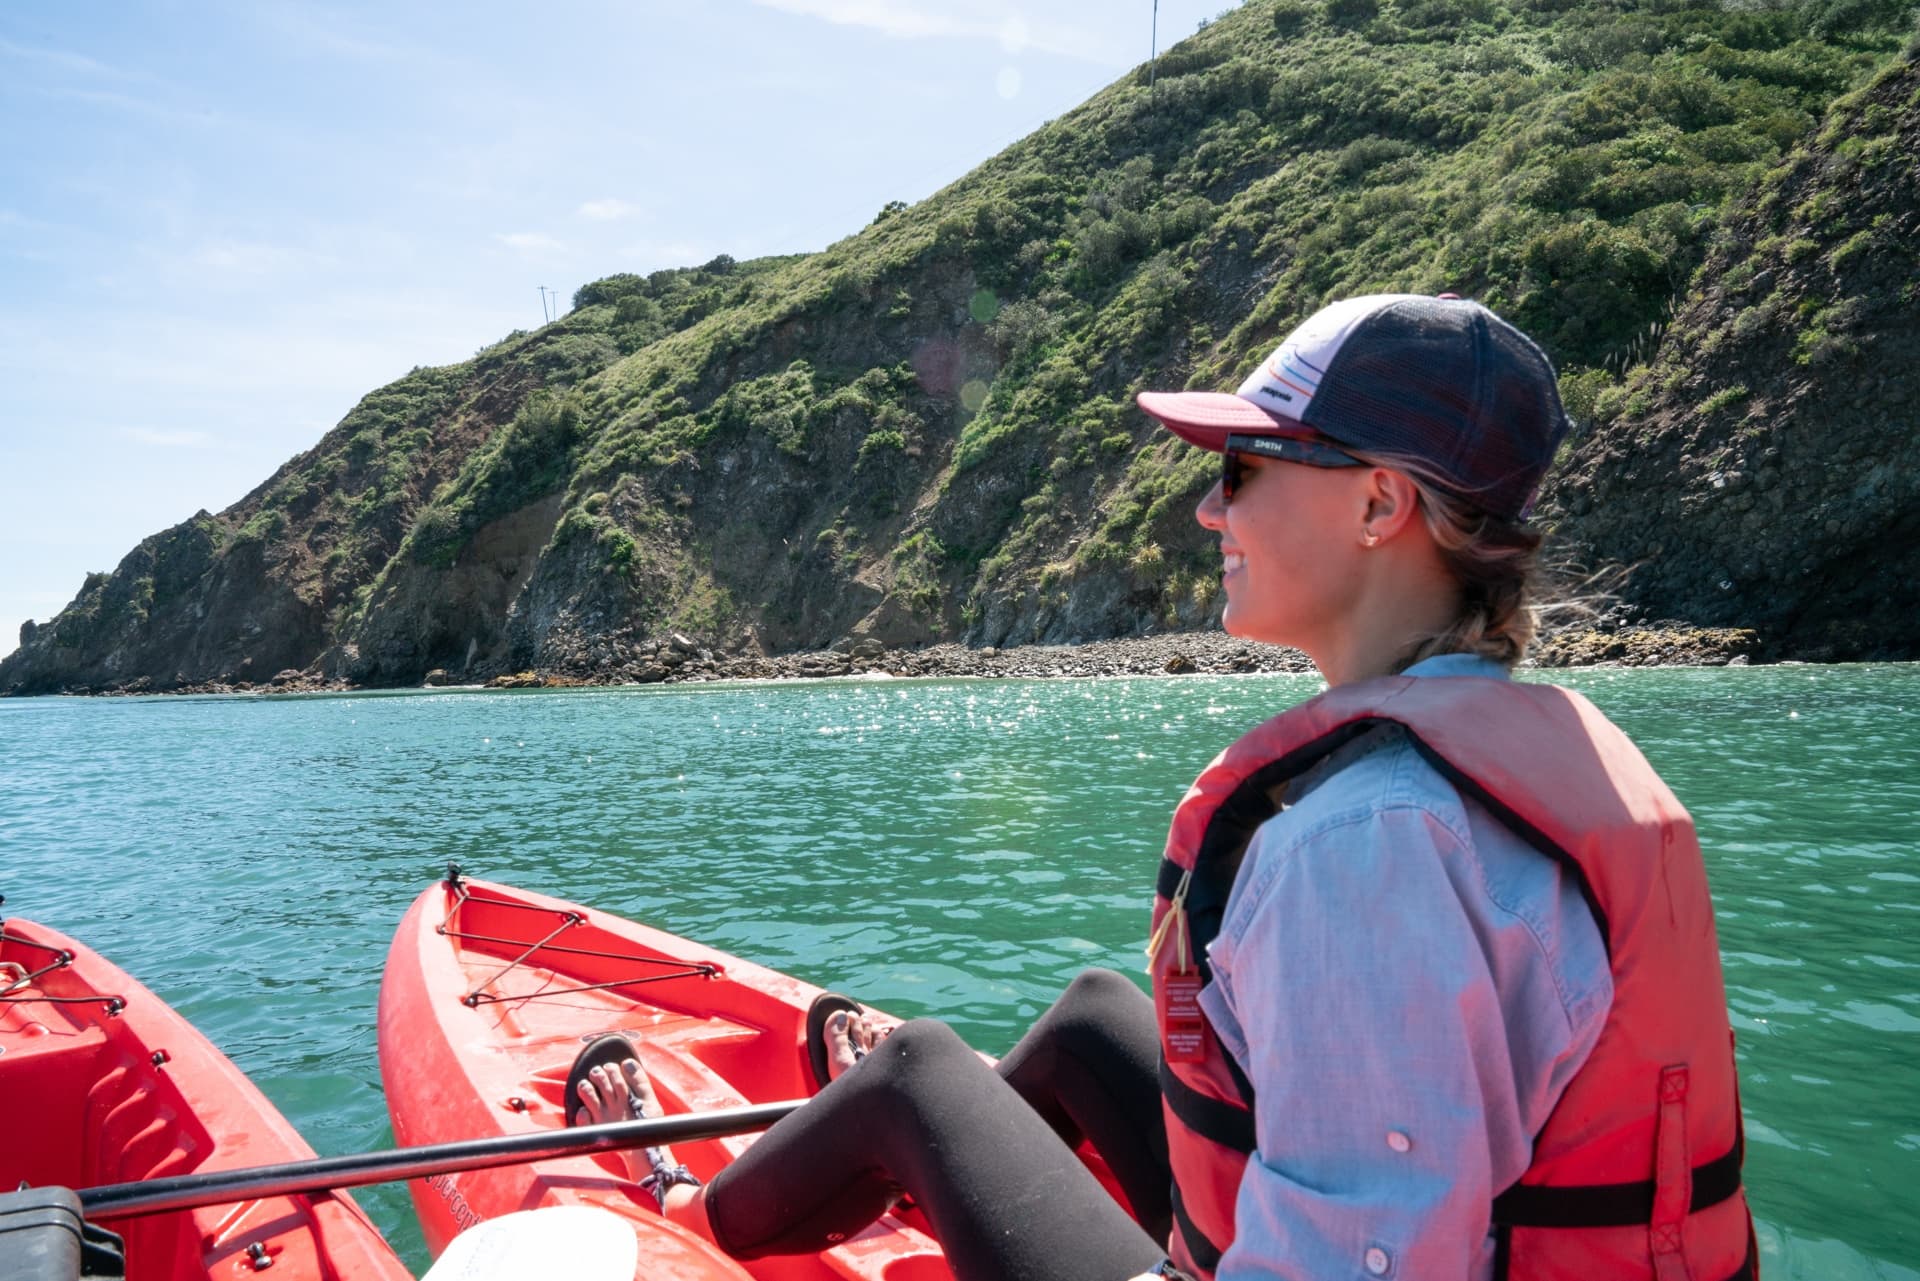
Sit-inside kayaks have a “cockpit” where your legs go inside the hull of the kayak. For beginners, a sit-inside kayak may feel a little more confining until you get the hang of it.
However, sit-inside kayaks are a lot more efficient and if you are paddling a long distance, sit-inside kayaks will be more comfortable for the long haul.
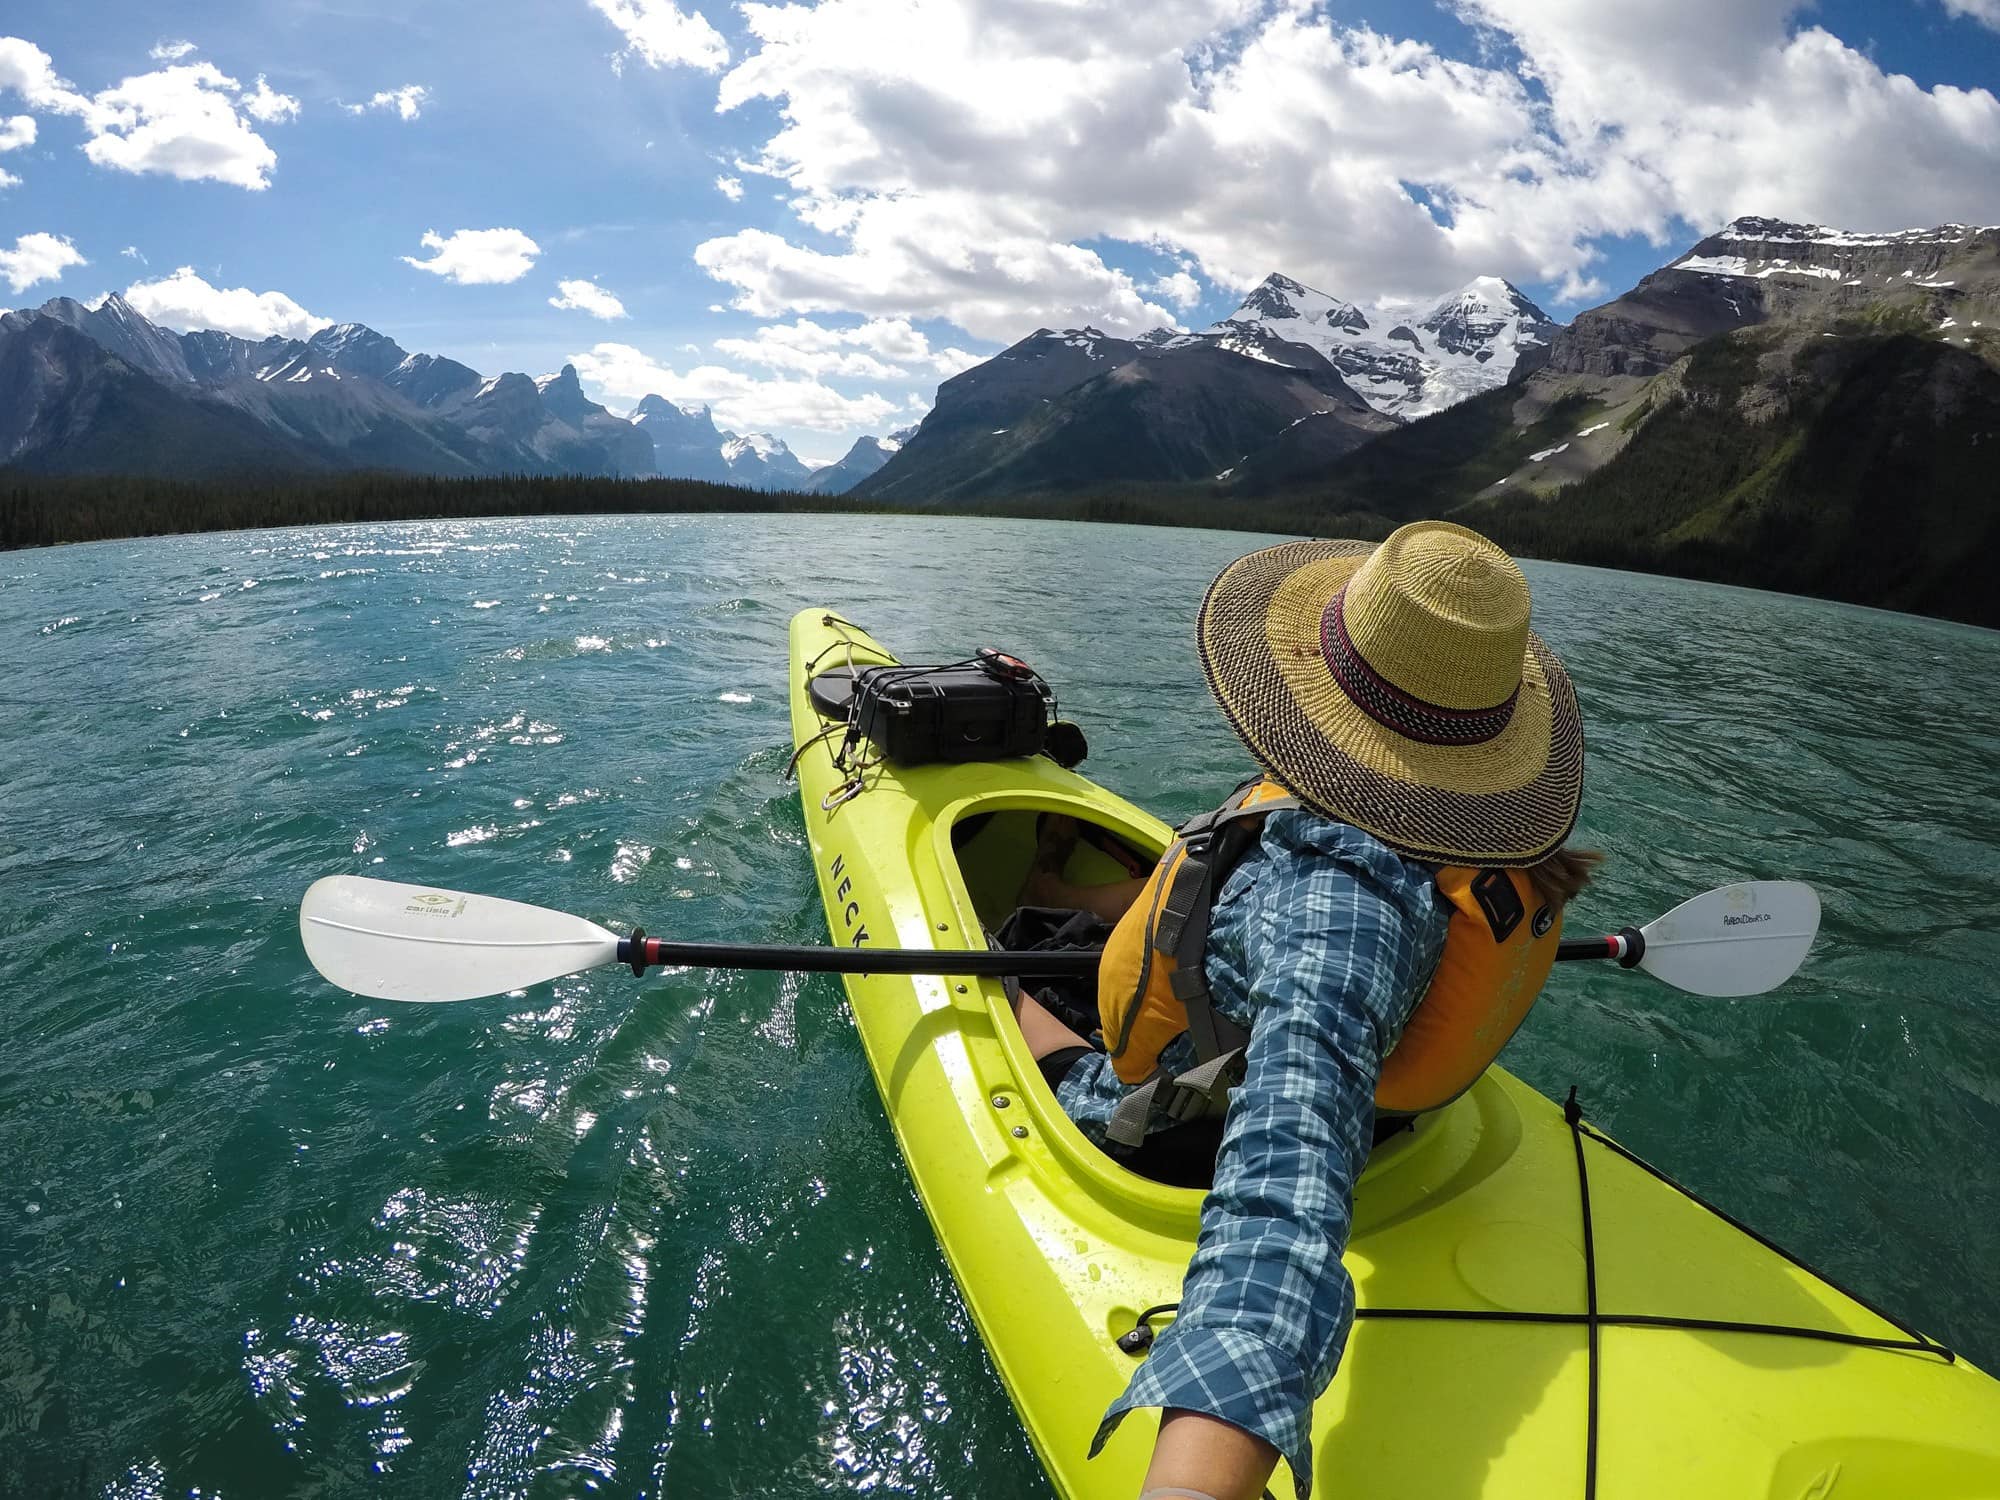
Sit-inside kayaks aren’t as easy to get in and out of, but if you are kayaking in colder water and want to stay dry, sit-in kayaks can be adapted with a “spray-skirt” to prevent water from getting inside the hull.
Single Kayaks vs. Double Kayaks
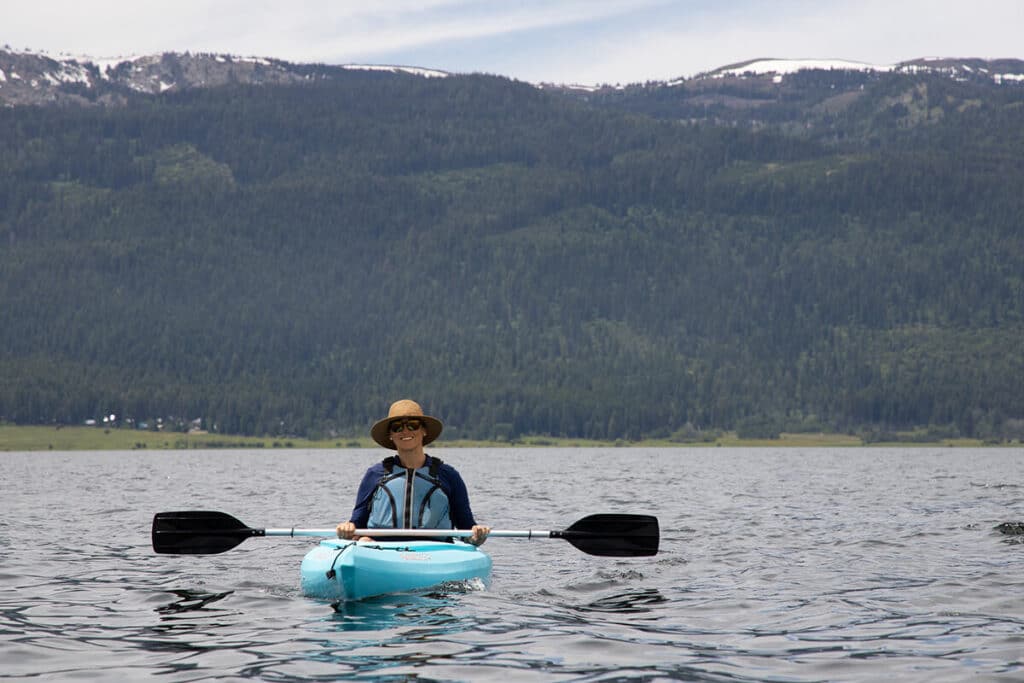
If you don’t have a partner, then a single kayak it is. Single kayaks are lighter and quicker on the water.
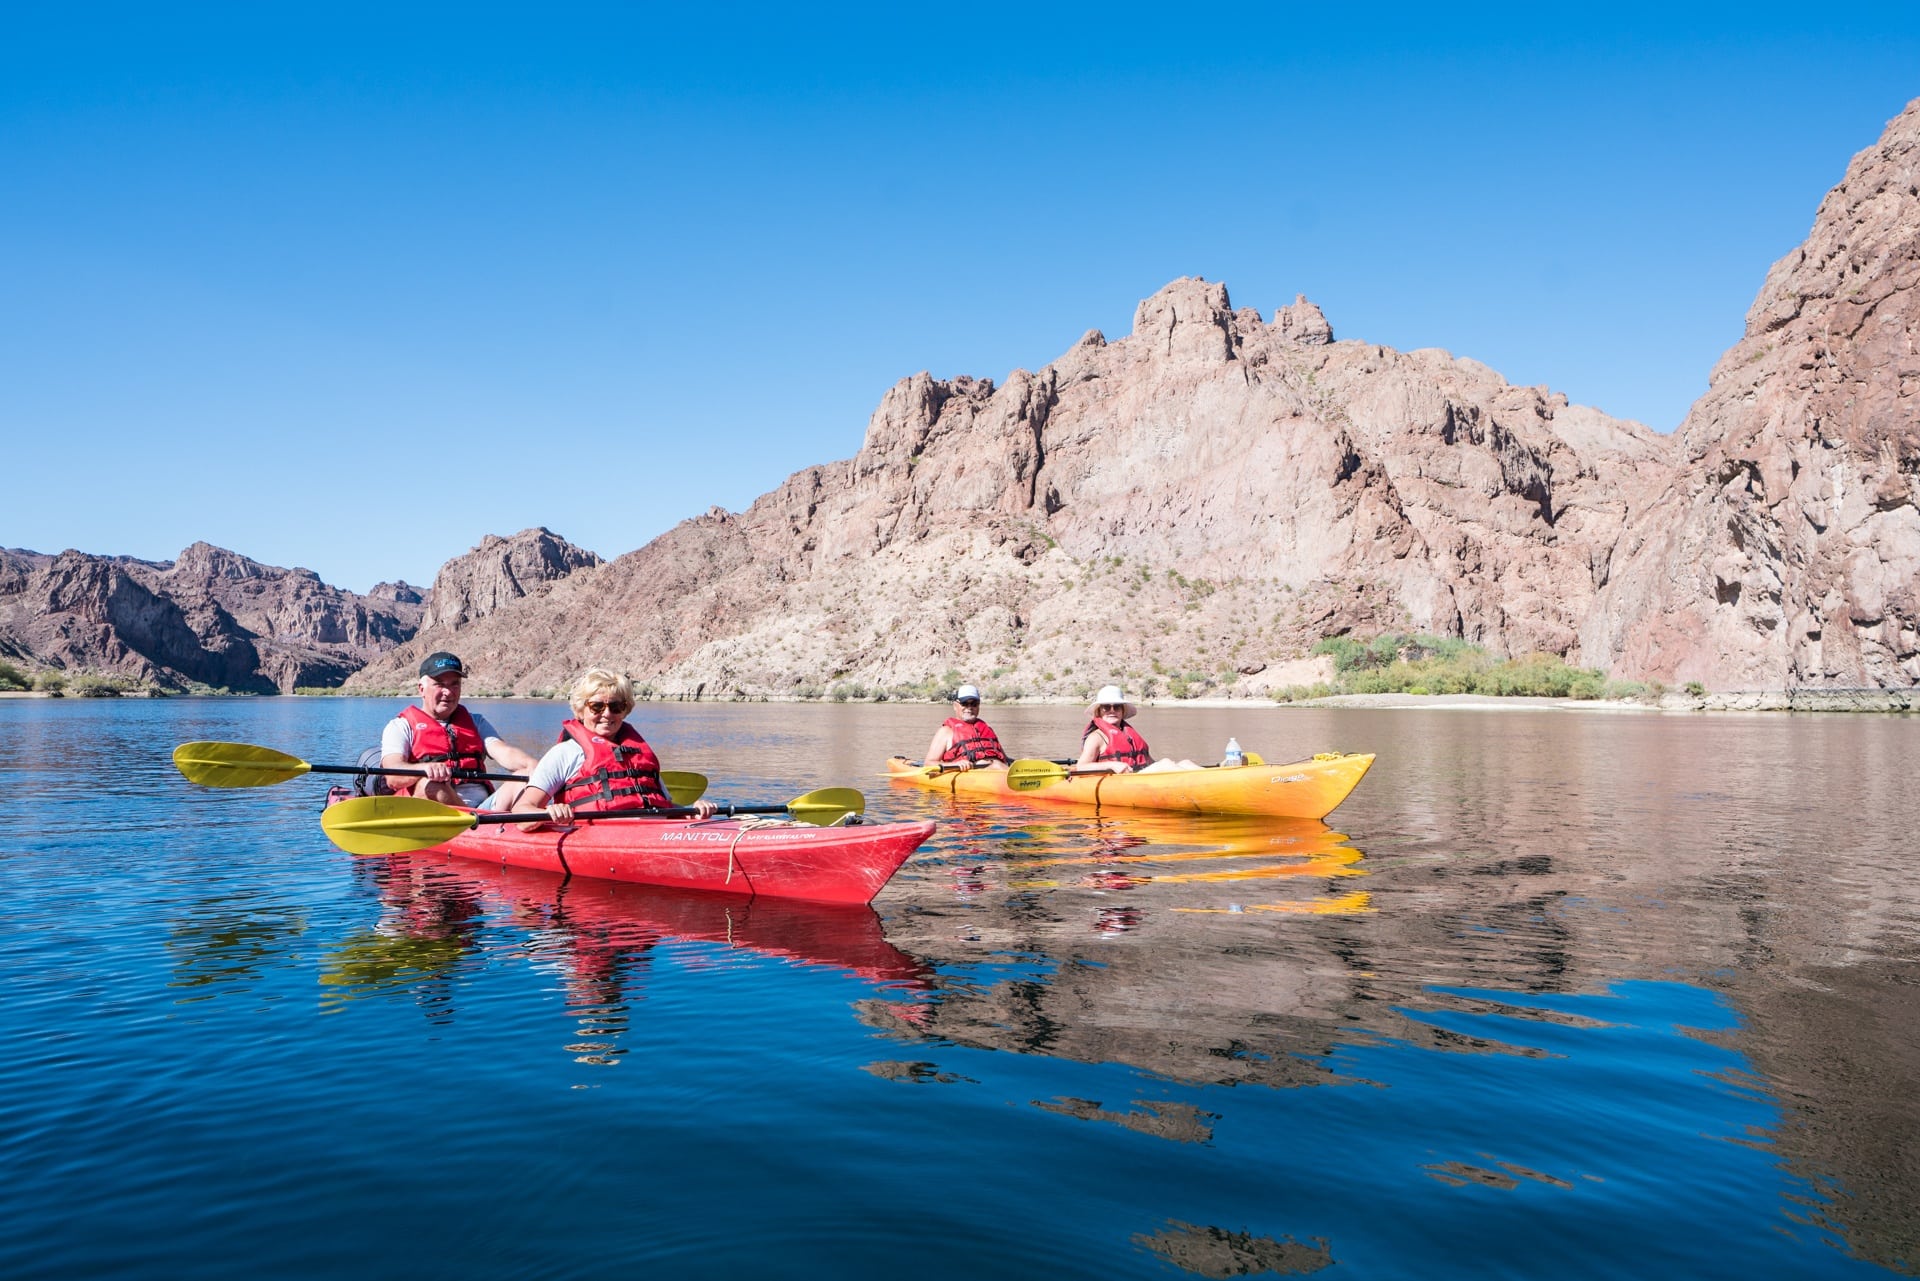
Double kayaks, also known as tandem kayaks, have two seats. Double kayaks are heavier than single kayaks and take a bit of synchronization between the two paddlers to maneuver. Once you get into your groove, however, a double kayak can be very efficient.
Double kayaks are a great choice for pairs where one person might not have the strength to power a kayak on their own. If you are on an overnight kayaking trip, double kayaks often have bigger hulls for storage too.
Save this post!
Enter your email & I'll send this post to your inbox! You'll also receive my weekly newsletter full of helpful advice for planning your adventures.
What to Wear Kayaking
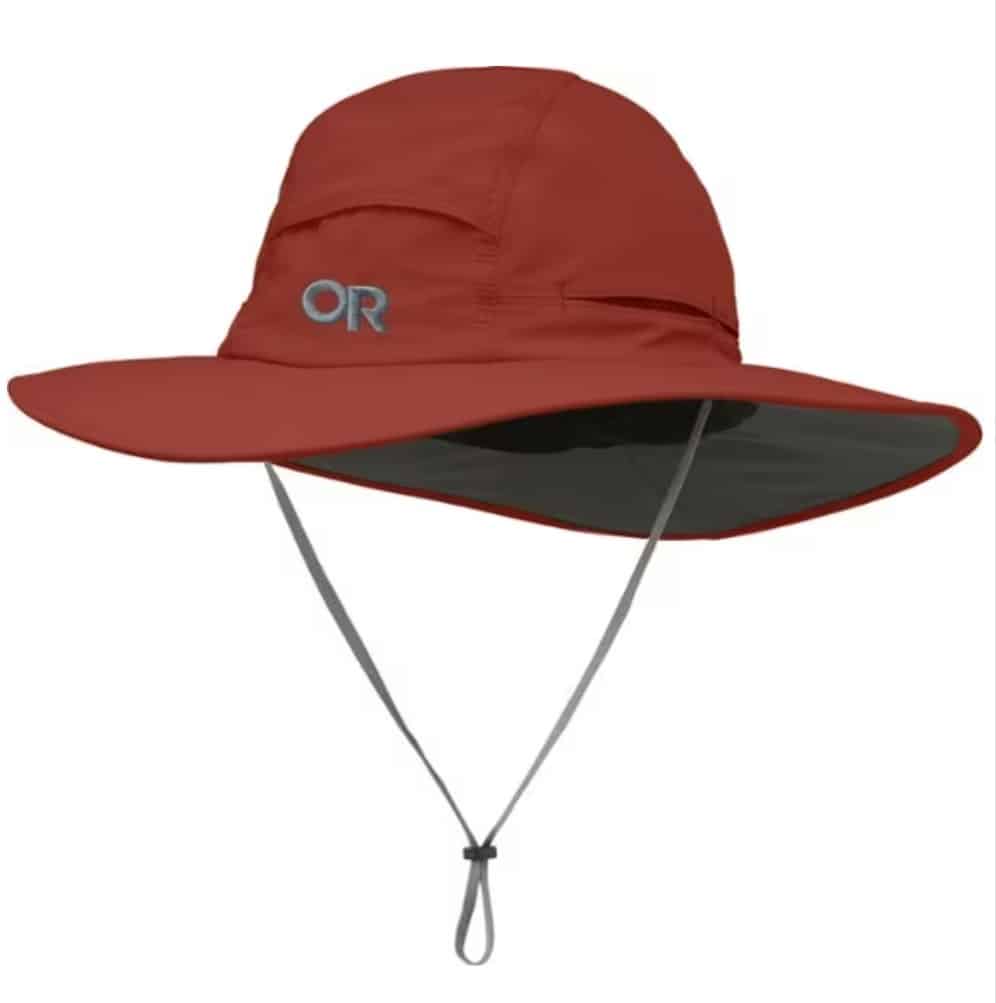
When kayaking, it’s good to have clothing that you can easily move around in, dries quickly, and will help protect you from the sun.
Since you’ll likely be getting wet, you want to stay away from anything cotton which will leave you dripping and soggy all day (and could cause chafing).
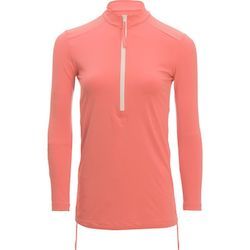
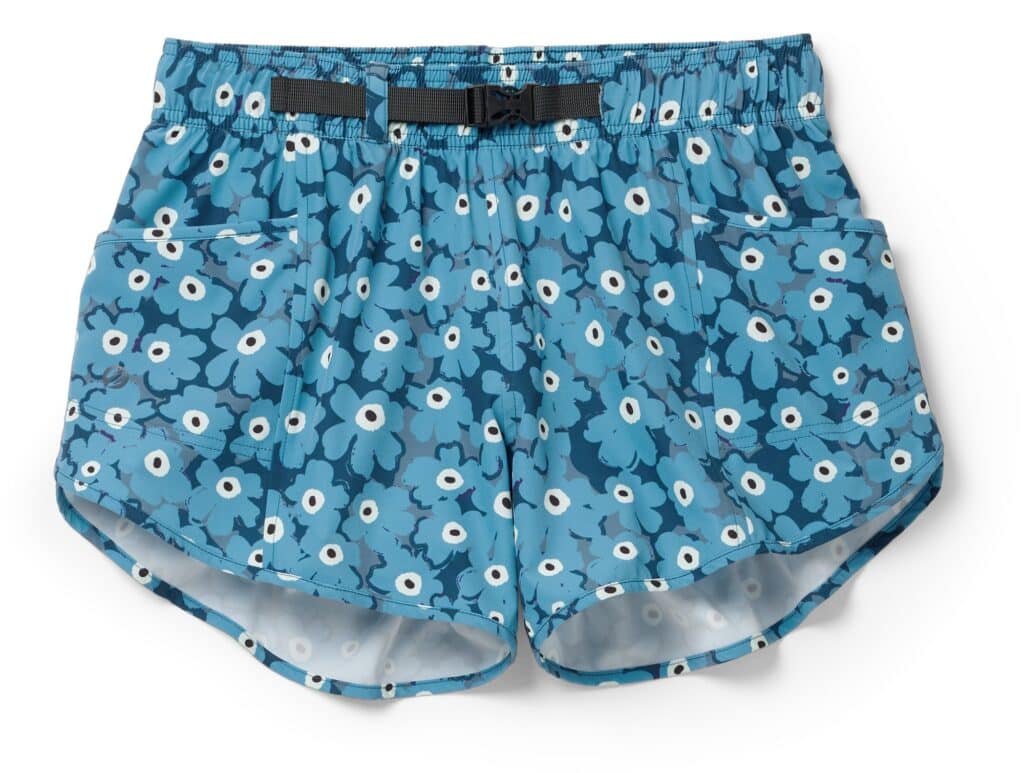
Assuming it’s warm and you don’t need a wetsuit or drysuit of any kind, you’ll want lightweight, quick-drying layers – like a rash guard or sun protection shirt and boardshorts.
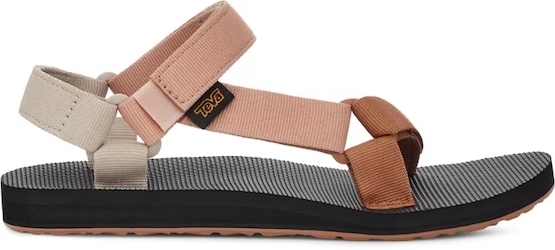
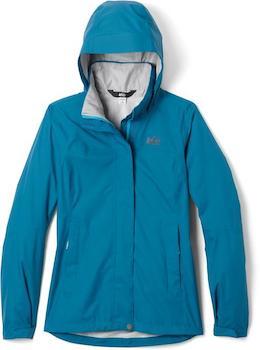
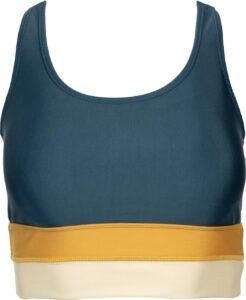
Below are a few of my favorite pieces of clothing and accessories for kayaking (and really any water activity):
Essential Clothing for Kayaking
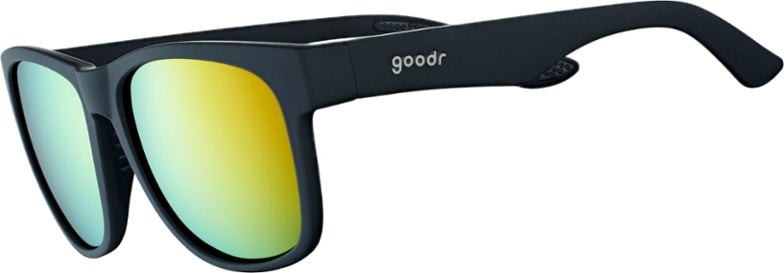
Goodr Polarized Sunglasses
Polarized glasses are best for the reflection of the water. I like to wear budget-friendly sunglasses paddling and I always wear a retainer so I don’t lose them in the water.
Essential Kayaking Gear
As a beginner kayaker, you don’t need to go out and throw down a ton of money on fancy gear right off the bat. Renting’s likely the way to go as you get started, and once you know what kind of kayaking you enjoy you can invest in the right gear for you.
If you’re renting kayaks, the life vest and paddle are usually included and other “nice-to-haves”, like paddling gloves and drybags, may be available for rent.
If you’re ready to hit the water regularly and are looking to invest in kayaking gear, here are our top picks:
Kayak
If you’re looking to purchase a kayak of your own, the Perception Joyride Kayak is a great pick. It gets rave reviews from both beginner kayakers and experienced paddlers. Plus it has everything you’d want in a kayak like secure storage space, a bungee for quick access storage, a padded, adjustable seating system, drink holders, and even a “Selfie Slot” to hold your smartphone.
Kayak Paddle
Look for a paddle that is durable and budget-friendly like this entry-level paddle when you’re just starting out (no need for an expensive carbon fiber paddle right away unless you have the budget for it). You might also want a paddle that breaks down into pieces if you want something more compact that you can easily travel with.
Life Vest
Always have a life vest, known as a PFD (personal floatation device) with you. In some cases, it’s the law.
I recommend always wearing your PFD when you launch, and always have it within arm’s reach so you can quickly put it on.
If you decide to pull over and beach your kayaks for a bit, make sure to secure your PFD to your boat so the wind doesn’t blow it away.
The NRS Ninja PDF is unisex, lightweight, comfortable, and doesn’t get in the way of your paddle stroke.
Paddling Gloves
If you’re paddling for a long distance, a pair of paddling gloves, like the NRS Boater’s Gloves, can help prevent blisters and callouses. We also like wearing them for added sun protection on our hands.
Durable Drybag
A drybag is essential for keeping your clothes, towel, phone, wallet, and any other essentials dry. The inside of your boat will get wet! 10-15 liters is a good size for a day trip. The SealLine Discovery 10L bag has a valve to let air out for easier compression which we love.
Quick Dry Towel
I love packing a small quick dry towel in my drybag in case I need to wipe down my seat or want to go for a dip while paddling. I’d also recommend keeping a quick dry towel and set of dry clothes on shore or in your car to ensure you can dry yourself (and the kayak) off before hopping in the car.
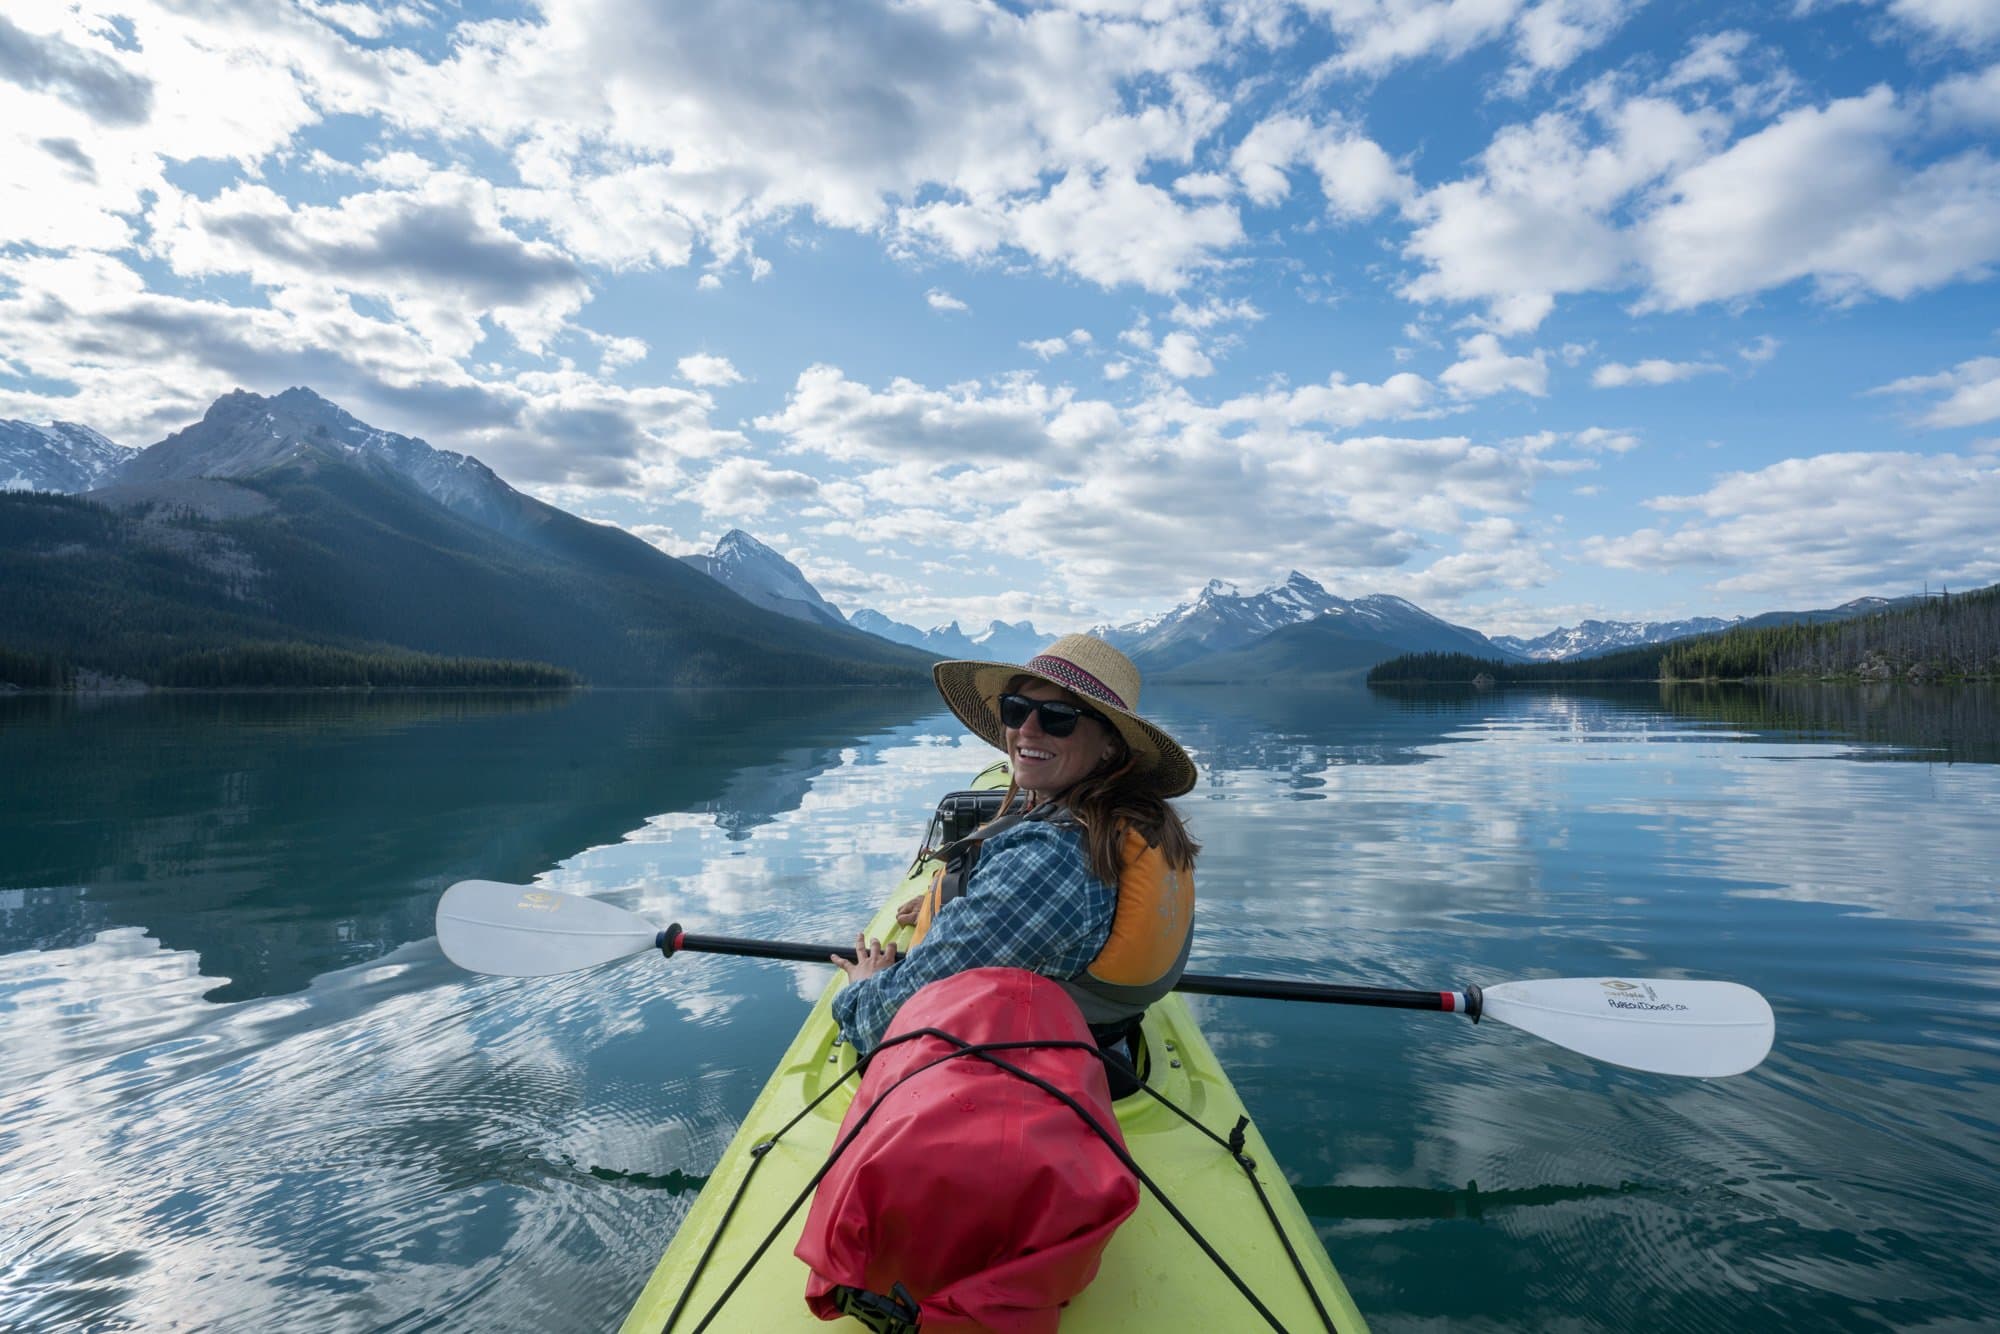
Other Kayaking Essentials
Here are a few other kayaking essentials that I like to bring with me when I paddle.
- Sunscreen
- Lip Balm with SPF
- A reusable water bottle
- Snacks (you can see all of our favorites here)
- Camera – A GoPro is an awesome choice for kayaking because it’s waterproof, great for POV shots, and can easily mount to different spots on your kayak.
- Binoculars – bring along a waterproof pair to spot wildlife right from your kayak!
- Paracord – Bring along a compact rope to tie up your kayak in case you want to leave it on shore to explore.
- Carabiner – you can use this to clip your dry bag or water bottle to your kayak.
- Garmin Mini – if you are out of cell reach, I always advocate bringing an emergency communication device just in case.

Tip: Check REI’s Used Gear Shop to snag great deals on gently used (often like new) clothing and kayaking gear.
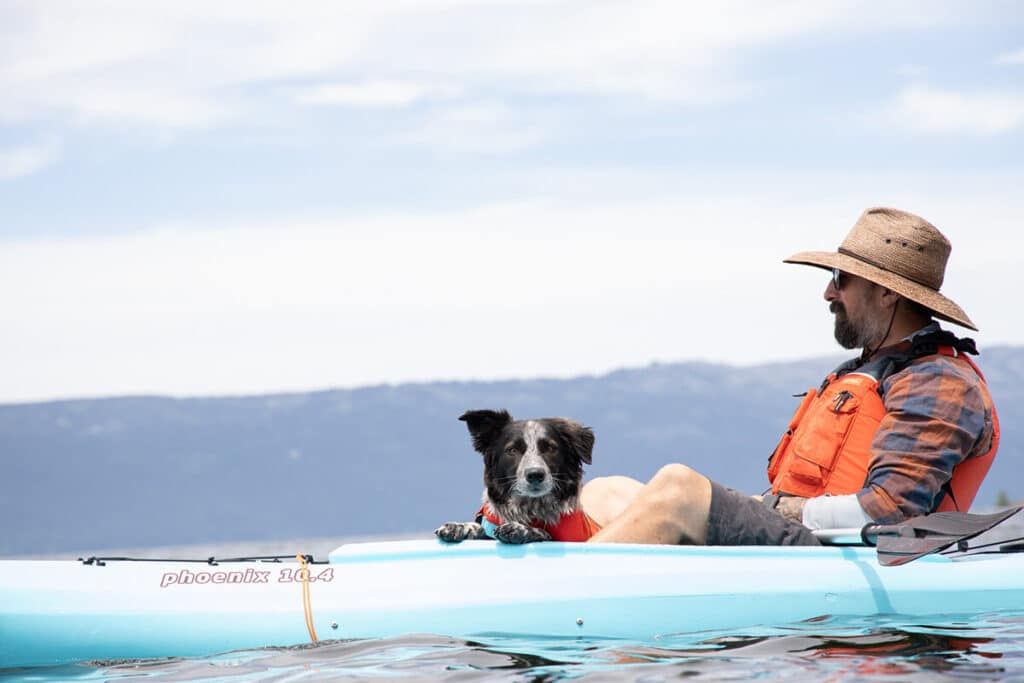
How to Transport a Kayak
This is likely one of the trickiest things for first-time kayakers. How the heck do you get the boat from the rental shop to the water?
For your first time, I’d recommend renting a kayak from somewhere on the water so you can bypass this step, but if you do need to load a kayak on the top of your vehicle, this video gives you step-by-step instructions:

If you don’t want to invest in a fancy rack setup, this is a budget-friendly solution for securing the kayak to your roof.
If securing a kayak to your roof seems like too much work, there are more portable kayak options to consider that are good for flatwater paddling.
- Inflatable Sit-Inside Kayak: This Aquaglide Deschutes Inflatable Kayak packs down into a bag for a very reasonable price. Simply unpack it at your launch point, hook it up to an air pump (not included), and you’re ready to go. If you’re looking for a two-person option, check out this Advanced Elements Tandem Inflatable Kayak.
- Inflatable Sit-On-Top Kayak: We’ve seen a number of inflatable sit-on-top kayaks out there, and some are even made to double as stand up paddleboards. You can check out a few inflatable sit-on-top kayaks here.
- Folding Sit-Inside Kayak: Oru Kayak makes a variety of lightweight, folding kayaks that make transportation and storage easier. This Oru Kayak Lake Kayak is a good option for lakes and other calm, protected waterways with minimal current.

Important Note: If you plan to use your kayak in multiple bodies of water, learn how to prevent the spread of aquatic invasive species with 3 easy steps that have a huge impact on our ecosystems.
How to Sit in a Kayak
Body Posture
When you sit in a kayak, you want to be sitting with a straight back and your legs out in front of you, but you don’t want to be tense or uncomfortable.
Slightly bend your knees and place them against the side of the kayak. This contact gives you more stability and power in your strokes.
Most kayaks have a backrest that you can pull tighter or make looser to help you sit up straighter and relieve lower back strain. Make sure to adjust your backrest to your personal comfort.
Foot Position in a Kayak
If you’re in a sit-in kayak, there will be a pair of footpegs at the front of your kayak near your feet. When you place your feet on the footpegs and slightly bend your legs, your knees should move outward and touch the side of the kayak comfortably.
If your legs are fully extended or bent too close to your body, adjust the footpegs as needed.
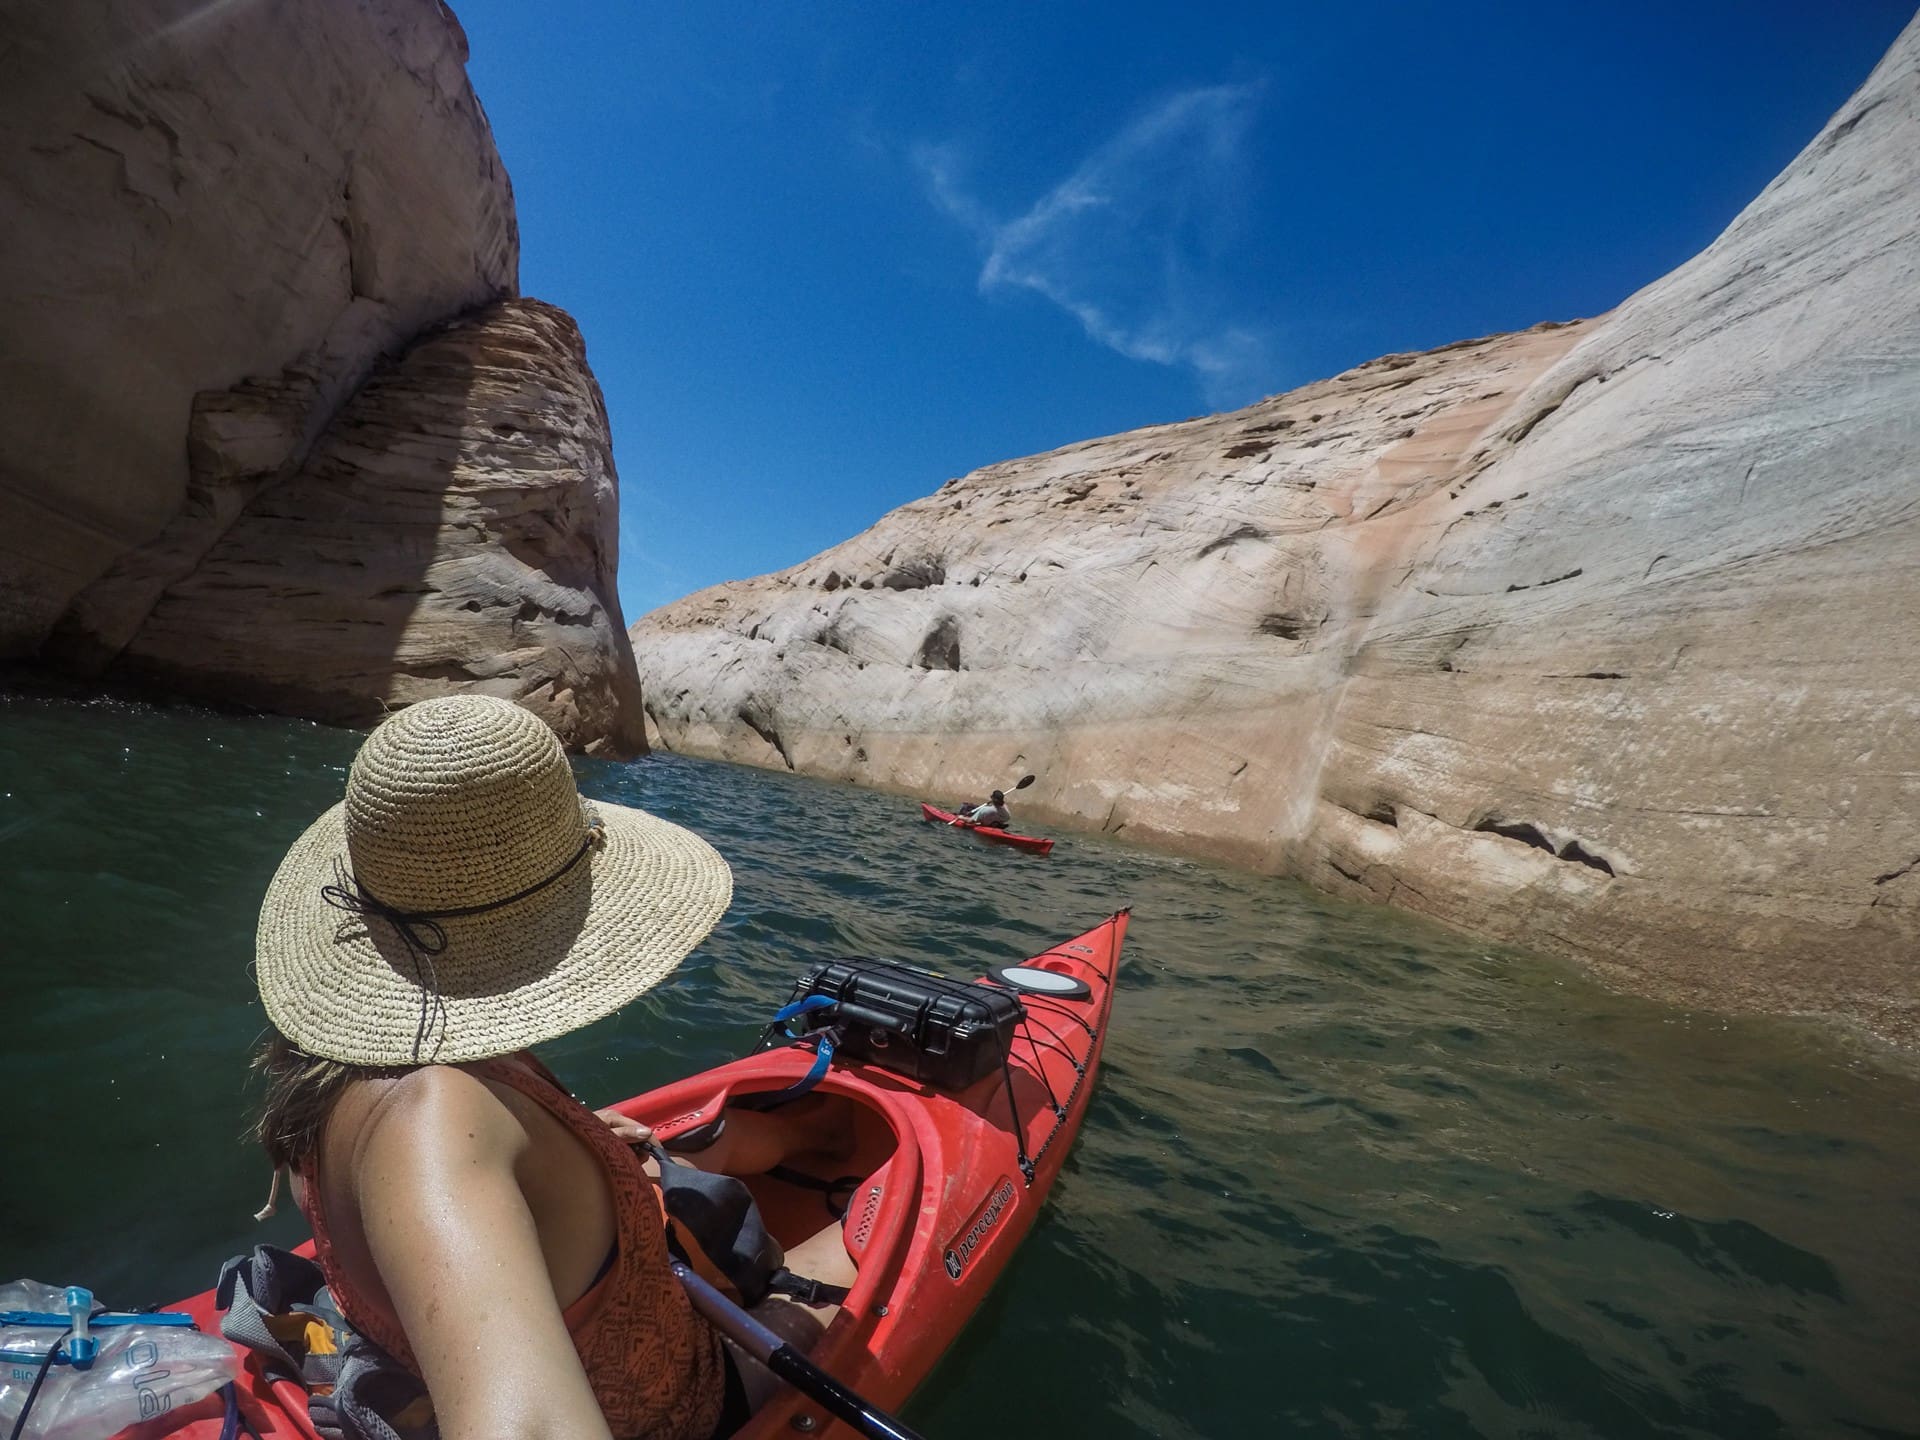
How to Paddle a Kayak
How to Hold a Kayak Paddle
You’ll want to hold a kayak paddle similar to how you hold the handlebars on a bicycle with your hands gripping down on the paddle.
If you rest the paddle on top of your head, your elbows should make a 90-degree angle. This is called a paddler’s box and tells you how far apart your hands should be spaced.
You’re going to want to also make sure the scooped sides of your paddle blades are facing you.
Remember you don’t need to have a death grip on your paddle, most paddles float if you drop it. You want to have a relaxed grip that is in the shape of an “o”.
For more information on how to hold your kayak paddle, check out this helpful post on the REI Blog.
How to Paddle Forward
Engage your core and twist your torso to lean forward and put the paddle blade fully into the water near your feet. Then pull back to your seat with the blade and remove it from the water.
Just remember, long strokes from your feet to your seat is the way to go. Don’t forget to paddle on both sides or you’ll just paddle yourself in a circle!
How to Paddle Backwards
To paddle backwards in a kayak, do the forward stroke in reverse. Put the paddle in the water at your seat and push it towards your feet then remove the paddle from the water and switch sides doing the same motion.
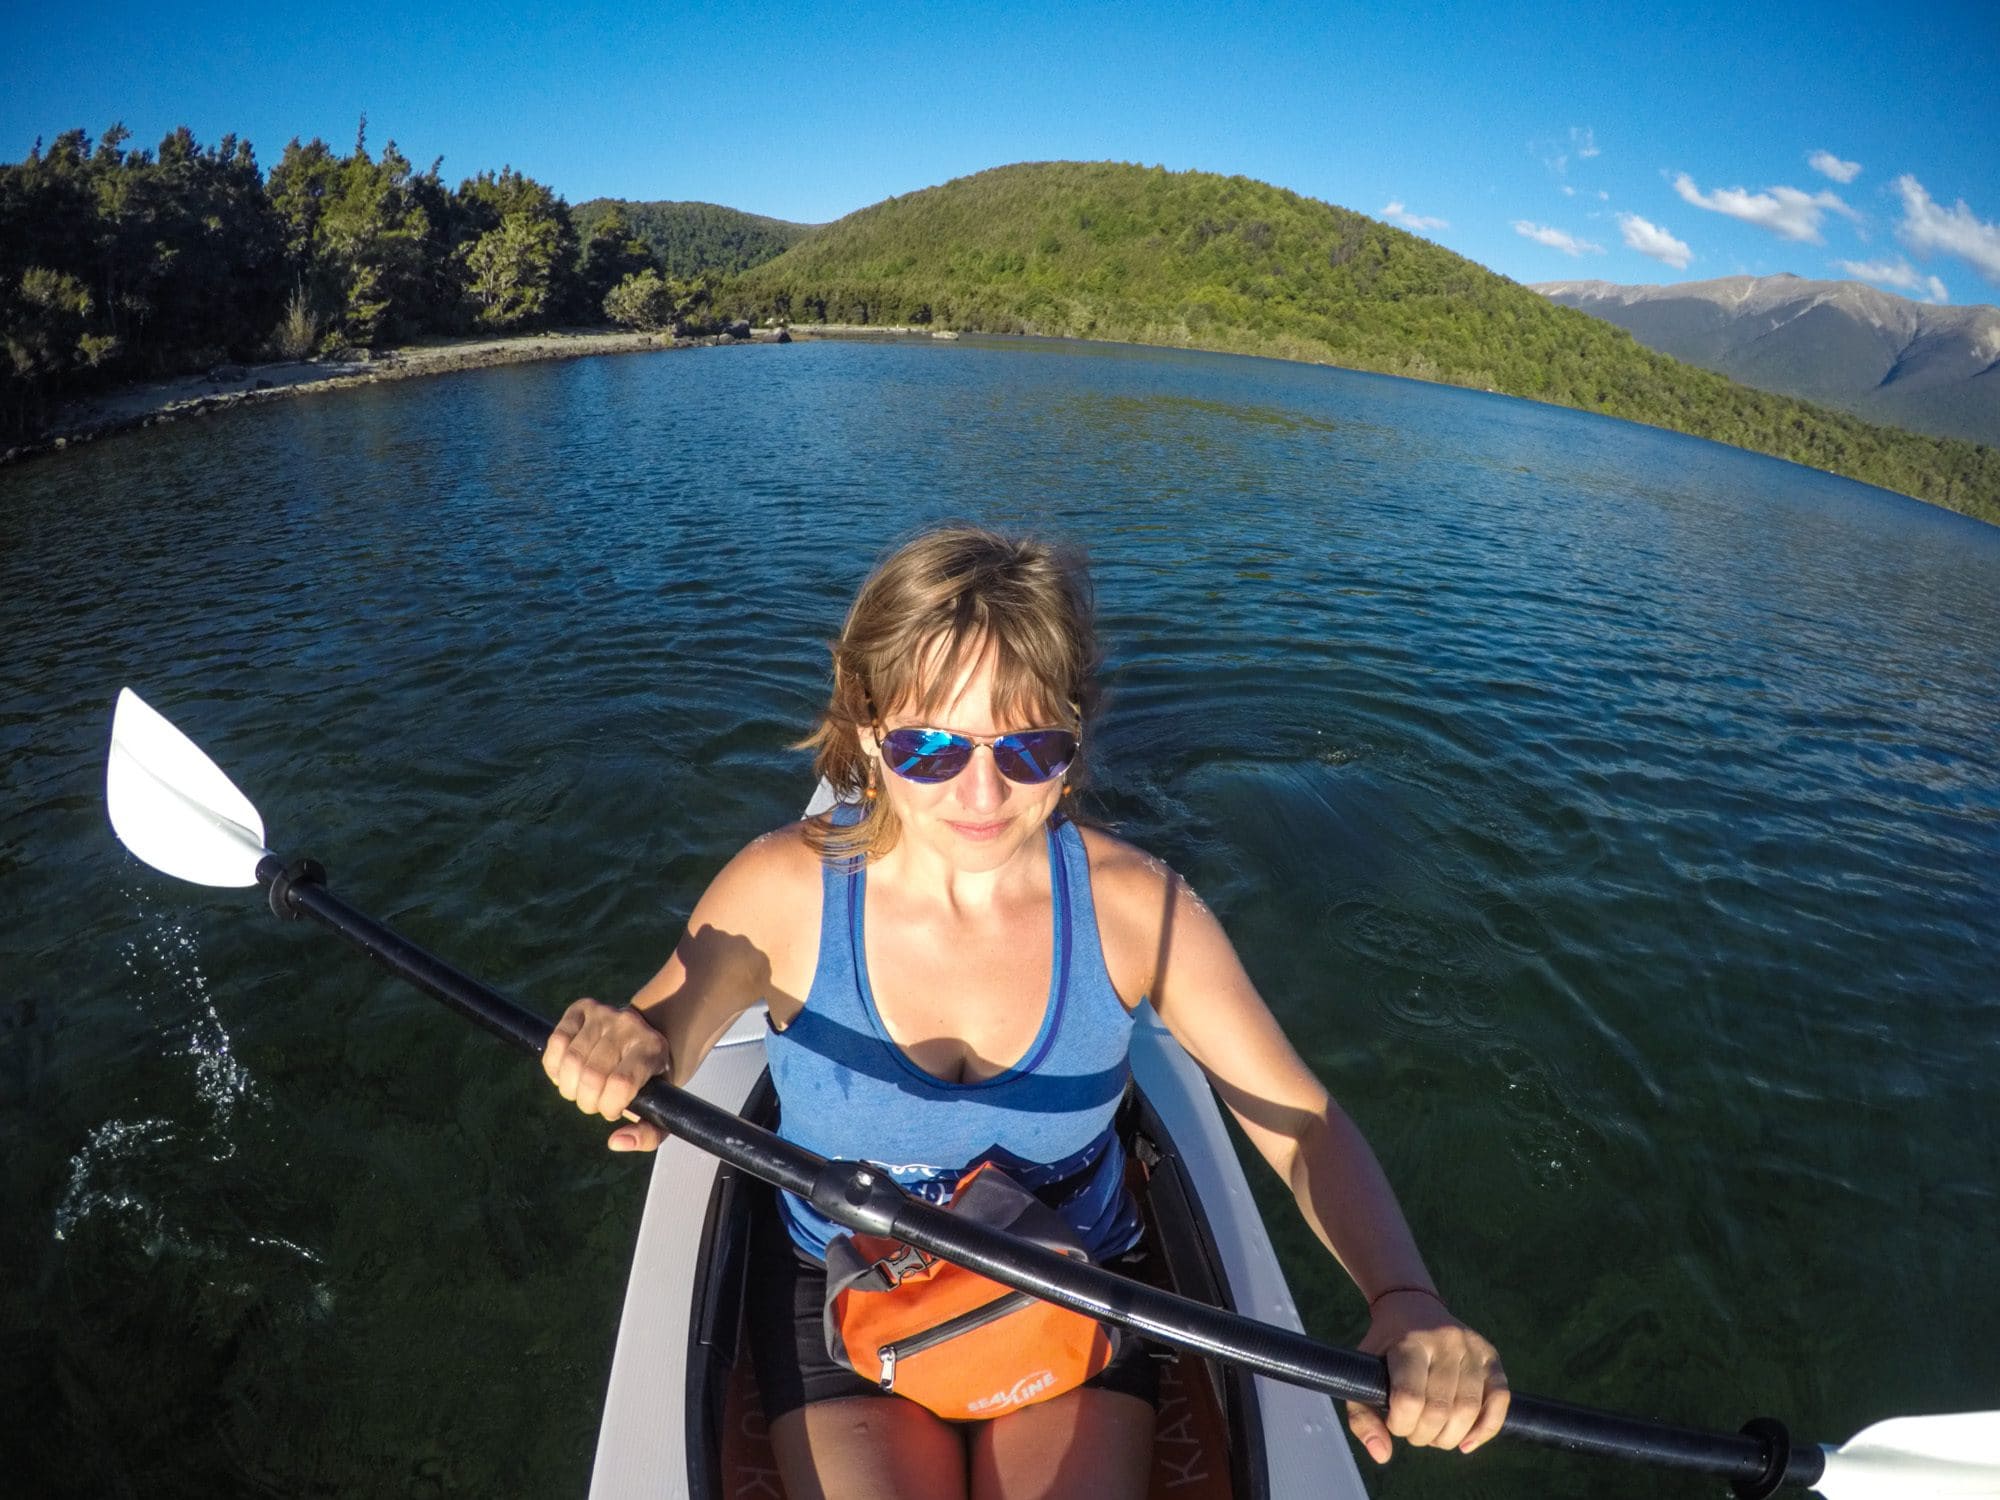
How to Stop a Kayak
Put your paddle in the water like you are doing a backstroke and hold it there, dragging it against the water. This will slow and then halt any movement you were making in the water.
How to Turn a Kayak
If you want to turn LEFT, then paddle only on your right. If you want to turn RIGHT, then paddle only on your left.
Tips For Your First Kayaking Excursion
When you are planning your first kayaking trip, there are a few considerations you’ll want to make:
- Trip Length: For your first-time kayaking, plan a trip that is less than three hours. You don’t want to exhaust yourself or bite off more than you’re ready for. 2-3 hours gives you enough time to get a feel for kayaking and decide if you like it.
- Wind/Water Conditions: If it’s really windy, you might opt for another day. Wind poses an additional challenge that sometimes is unavoidable, but we recommend trying kayaking for the first time when it’s calm out. Also, lake, calm river, or bay conditions tend to be easier than the ocean for new paddlers.
- Take a class or go on a guided tour: If you’re nervous, consider taking a class or joining a guided tour for your first trip. Use REI’s Class Finder to see if there’s a class near you. You’ll build a foundation, familiarity with the gear, and the confidence to go on your own next time. Or who knows? Maybe you’ll meet a new paddling partner in the class.
Feeling comfy in the water and want to tackle an overnight? Read our full guide to kayak camping.
Where To Go Kayaking
Once you are comfortable and ready to advance to the next level, check out my all-time favorite kayaking trips for inspiration:
- Kayaking Maligne Lake in Alberta’s Jasper National Park
- Overnight Kayak trip on Arizona’s Lake Powell
- Kayaking the Black Canyon near Las Vegas
- Kayaking the Abel Tasman Coast in New Zealand
Common Kayaking Fears FAQ
We hope these beginner kayaking tips inspire you to try paddling for the first time this summer or to get back out there if it’s been a while. What questions or tips do you have? Leave them in the comments below!

I have found your article very informative and interesting. I appreciate your points of view and I agree with so many. You’ve done a great job with making this clear enough for anyone to understand.
I like the tip about practicing to fall in the water so you can know how to get back in if you do. My sister loves kayaks, and she also wants to go on a camping trip soon. I wonder if she could rent some kayaks so we can play in the lake near the campsite.
It’s interesting to know that ti-on top kayaks will be the best choice for beginners. My husband and his friends want to go kayaking next month, and we are looking for advice. I will make sure to follow your tips to make my first experience with kayaking a good one.
My first time ever was in Morro Bay. It was awesome and I was immediately hooked. I have since kayaked 3 week+ salt water tours and of course countless days and overnighters.
It’s not hard and if you have a guide you’ll find it’s a breeze. Only a couple of things that’s a bit of a pain is getting used to the feel of your kayak. Depending on the model some are a little wobbly until you get dialed in. The trade of is they tend to be a little faster and they also may have better handling in rougher water than a more flat bottom boat which are more stable. Either way, you’ll be dialed in within 15 minutes. However I did see a guy roll out of a boat once when he got in it. He had never been in a kayak before and got in an 18 foot slender touring boat. Was pretty funy. he was totally fine but lost his glasses.
The other thin is just getting in and out of the boat can be a pain sometime depending on where you’re landing. If your beach landing expect to get wet feet.
You’re going to have the time of your life in a Norwegian fjord. So jealous!
I’ve got a 10 day section cruise coming up in the inside Passage of BC that I’m prepping for and am almost out of my mind with excitement over.
Have a great time!
What does a person wear for kayaking ?? When is the best time of year to start
Hi Veronica – we give some tips on what to wear for kayaking in the post above. If you’re just starting out, it’s best to learn during the warm summer months, but kayaking can be a year-round sport if you have the right gear!
Every single point is included in which is very necessary for beginners. I am very pleased to have this to read. You are just an awesome and a good teacher too.
Every single point is included in which is very necessary for beginners. I am very pleased to have this to read. You are just an awesome and a good teacher too.
Usually, I never comment on blogs, but your article is so convincing that I never stop myself from saying something about it. You’re doing a great job Man, Keep it up.
I really love the content you posted, it is always super helpful and informative. Keep posting such an amazing article, I love reading all your blogs.
Helpful and informative
Thanks for reading, Joseph!