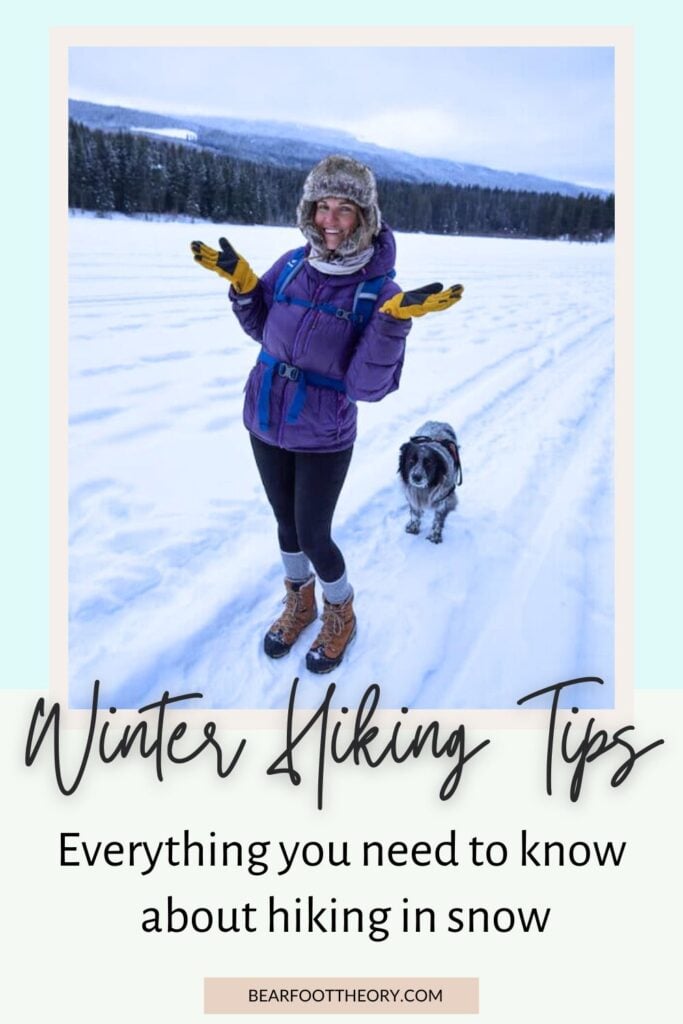
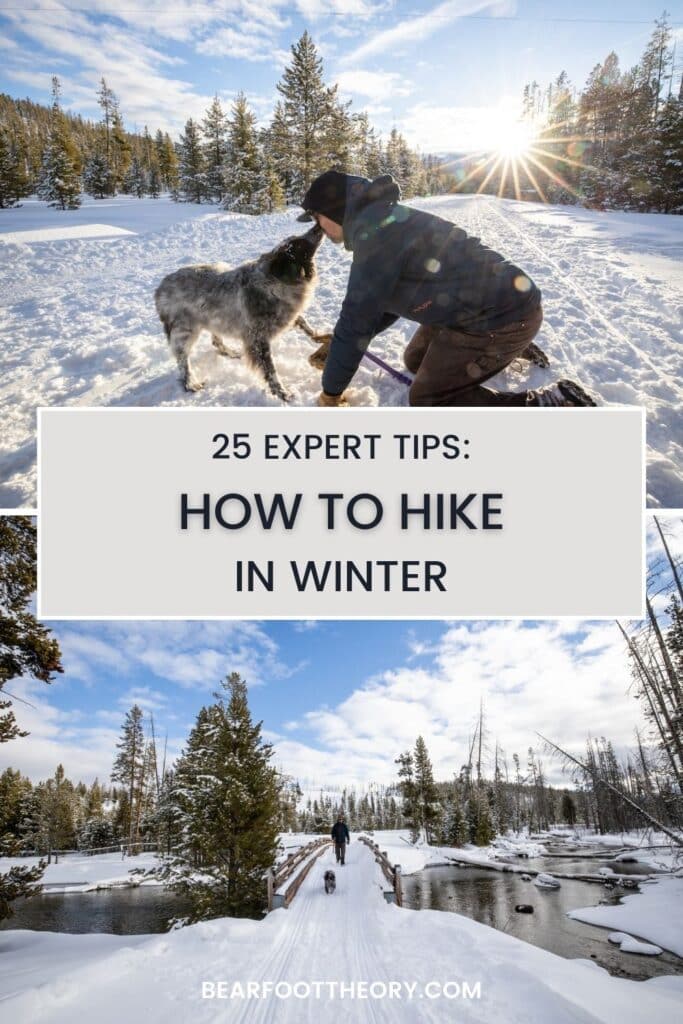
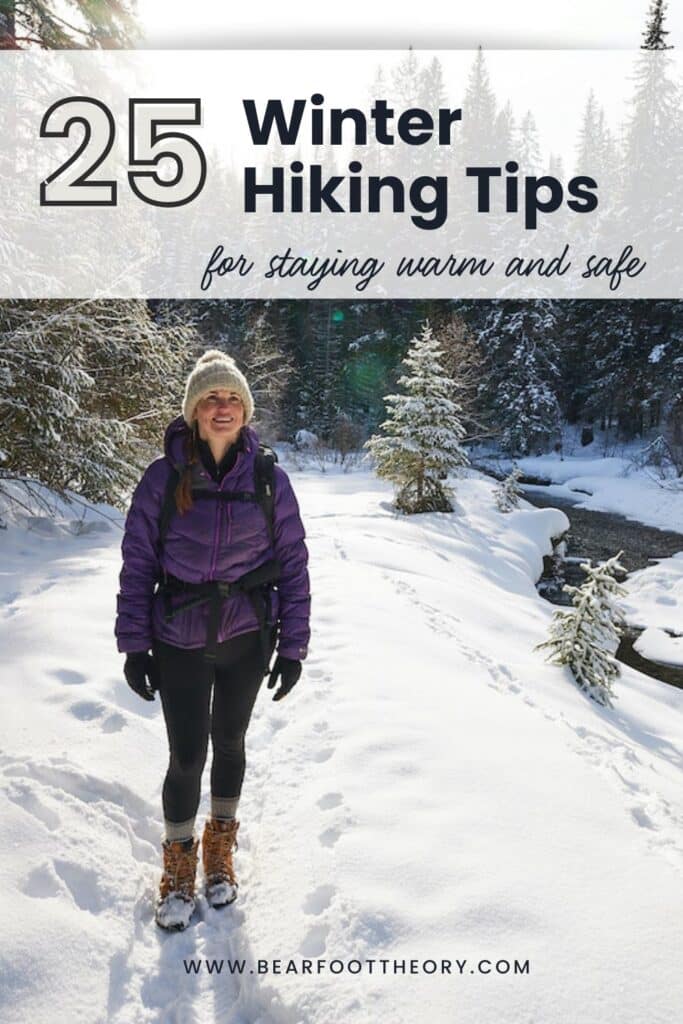
25 Winter Hiking Tips for Staying Warm and Safe in the Snow
These winter hiking tips will keep you warm and safe on cold weather hikes including what to wear, how to hike in snow, what to pack, and more.
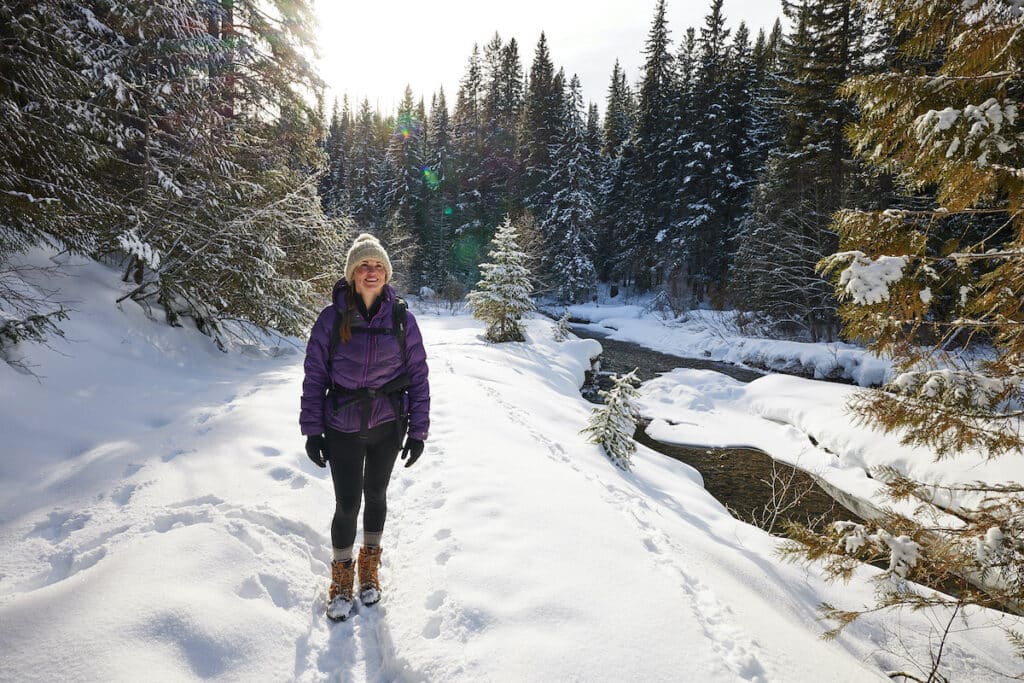
As the days get shorter and the weather gets colder, it’s easy to lose the motivation to get outside. It’s not as simple to head outdoors in winter as it is in the warmer months when you can just throw on your shoes and hit the trail.
But, with a shift in your mindset, the right cold weather apparel, and important safety precautions, hiking in winter is actually really fun and can even boost your mood and improve your mental health. Spending the last 7 winters in Utah, I’ve personally found winter hiking to be a great way to stay active and healthy during the darker months when I might otherwise feel inclined to hunker down in front of the tv.
Whether you are winter’s biggest fan or not, I want you to feel comfortable getting outside and enjoying all four seasons. Here are my best winter hiking tips and recommended winter hiking gear for staying active and getting outside in the snow!
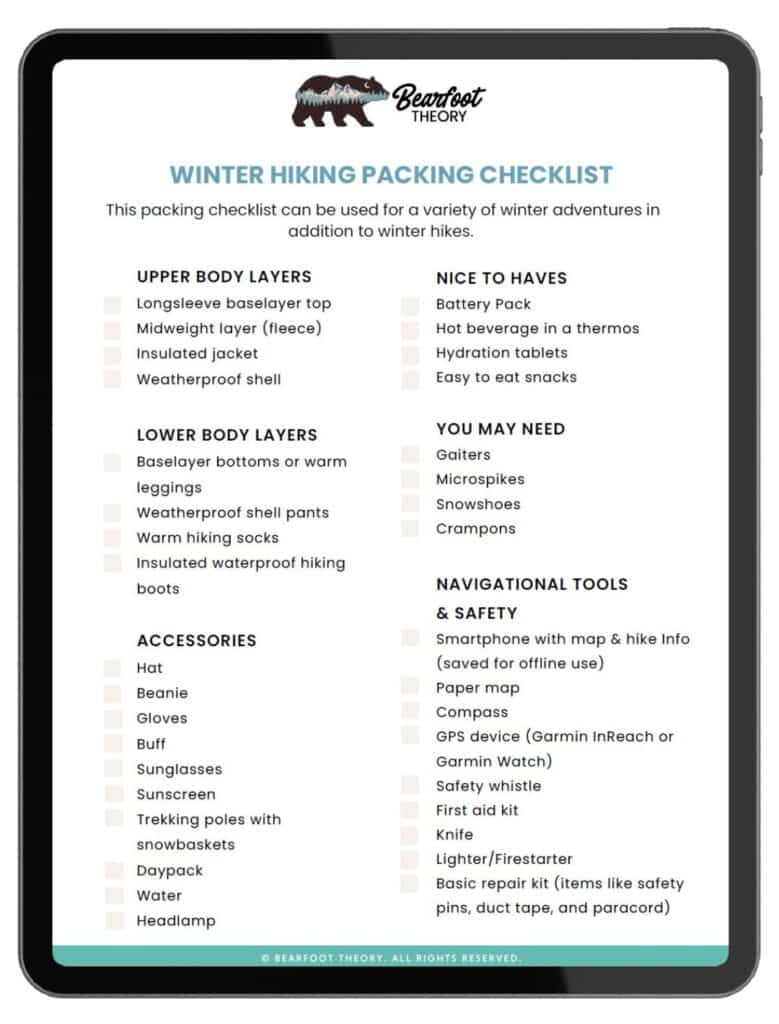
Get my Winter Hiking Packing Checklist
when you enter your email below
This post may contain affiliate links.
Save this post!
Enter your email & I'll send this post to your inbox! You'll also receive my weekly newsletter full of helpful advice for planning your adventures.
1. Research winter trail conditions
When choosing where to go winter hiking, one of the first things you’ll need to do is look up current trail conditions. Many trailheads are not accessible in winter, so you’ll want to make sure you can get there safely in your vehicle.
Be sure to check snow conditions and weather before leaving the house as well. If it’s a blizzard with poor visibility, it increases your chances of getting lost…so maybe it’s not the best day to go hiking. When in doubt, don’t go out.
The trail conditions will also determine what type of winter hiking gear you need. If the trail is well-traveled with hard-packed snow, you can hike in winter hiking boots and a pair of microspikes. If the trail is not compacted, then you may need snowshoes to avoid sinking into the snow.
You’ll also want to be aware of avalanche conditions. This is of particular concern in the Western US, and it’s not only backcountry skiers that fall victim. Read to the end of this post where I share some specific tips for avoiding avalanche danger.
2. Get an early start
Set your alarm! Daylight hours are shorter in winter, so hit the trail early to avoid being out in the dark (which is can be a lot more dangerous in the winter than in the summer). Winter hiking also takes longer than summer hiking – you tend to move slower and encounter more obstacles. By starting early, your risk of a stressful situation is minimized.
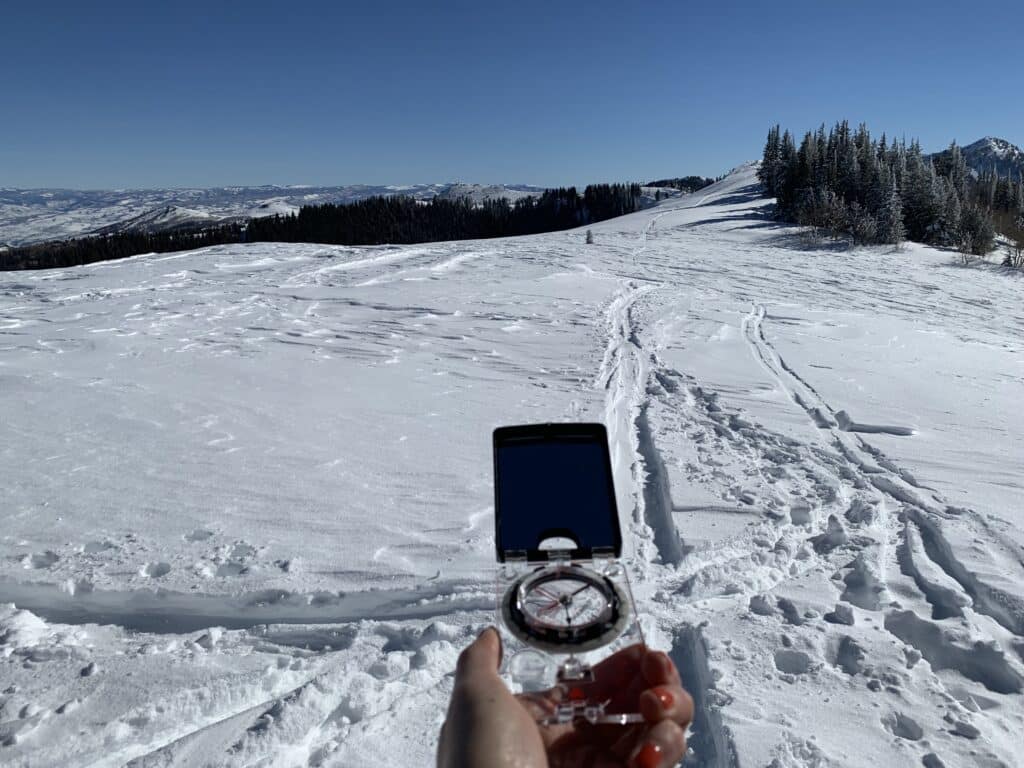
3. Have a reliable navigation tool (and a backup)!
For hiking in snow, I suggest you bring a good map, compass, and GPS device. Snowpack can hide the trail and trail markers making it easier to get lost. You’ll want to pay attention and know how to avoid getting off-track.
While a paper map is best, I know that realistically most people (myself included) tend to rely on their phones for day hikes. Before beginning your winter hike, make sure you download any maps and routes to your phone so you can use them offline. That way if you need to, you can put your phone into airplane mode to conserve your battery and still access your maps.
Also, electronic devices tend to go dead quickly in cold temperatures, so if you plan to use your phone for navigation, be prepared by bringing extra batteries/battery packs and try to keep your devices warm. You’ll also want some sort of backup for navigation, such as a GPS or Garmin Watch with preloaded topo maps, so you aren’t relying solely on your phone.
4. Carry an emergency communication device
Depending on how far you are out in the backcountry, you may not have cell service. My top winter hiking tip (and really a tip for anyone who spends time outside) is to invest in a Garmin inReach Mini 2-way satellite communicator. This allows for 2-way texts and gives you the ability to call for help in case of an injury, an avalanche, or if you get lost.
5. Tell someone your hiking plans
While this is important all year round, a key winter hiking tip is to tell someone your hiking plans, especially if you are hiking solo. If something were to go wrong, this could be your lifeline to help. Your hiking plan should include when you are starting and when you plan to finish your hike (and be back in cell service), the trailhead, your route, and who you are hiking with. When you wrap up your hike, send that person a quick text and let them know you are off the trail.
What to Wear Winter Hiking
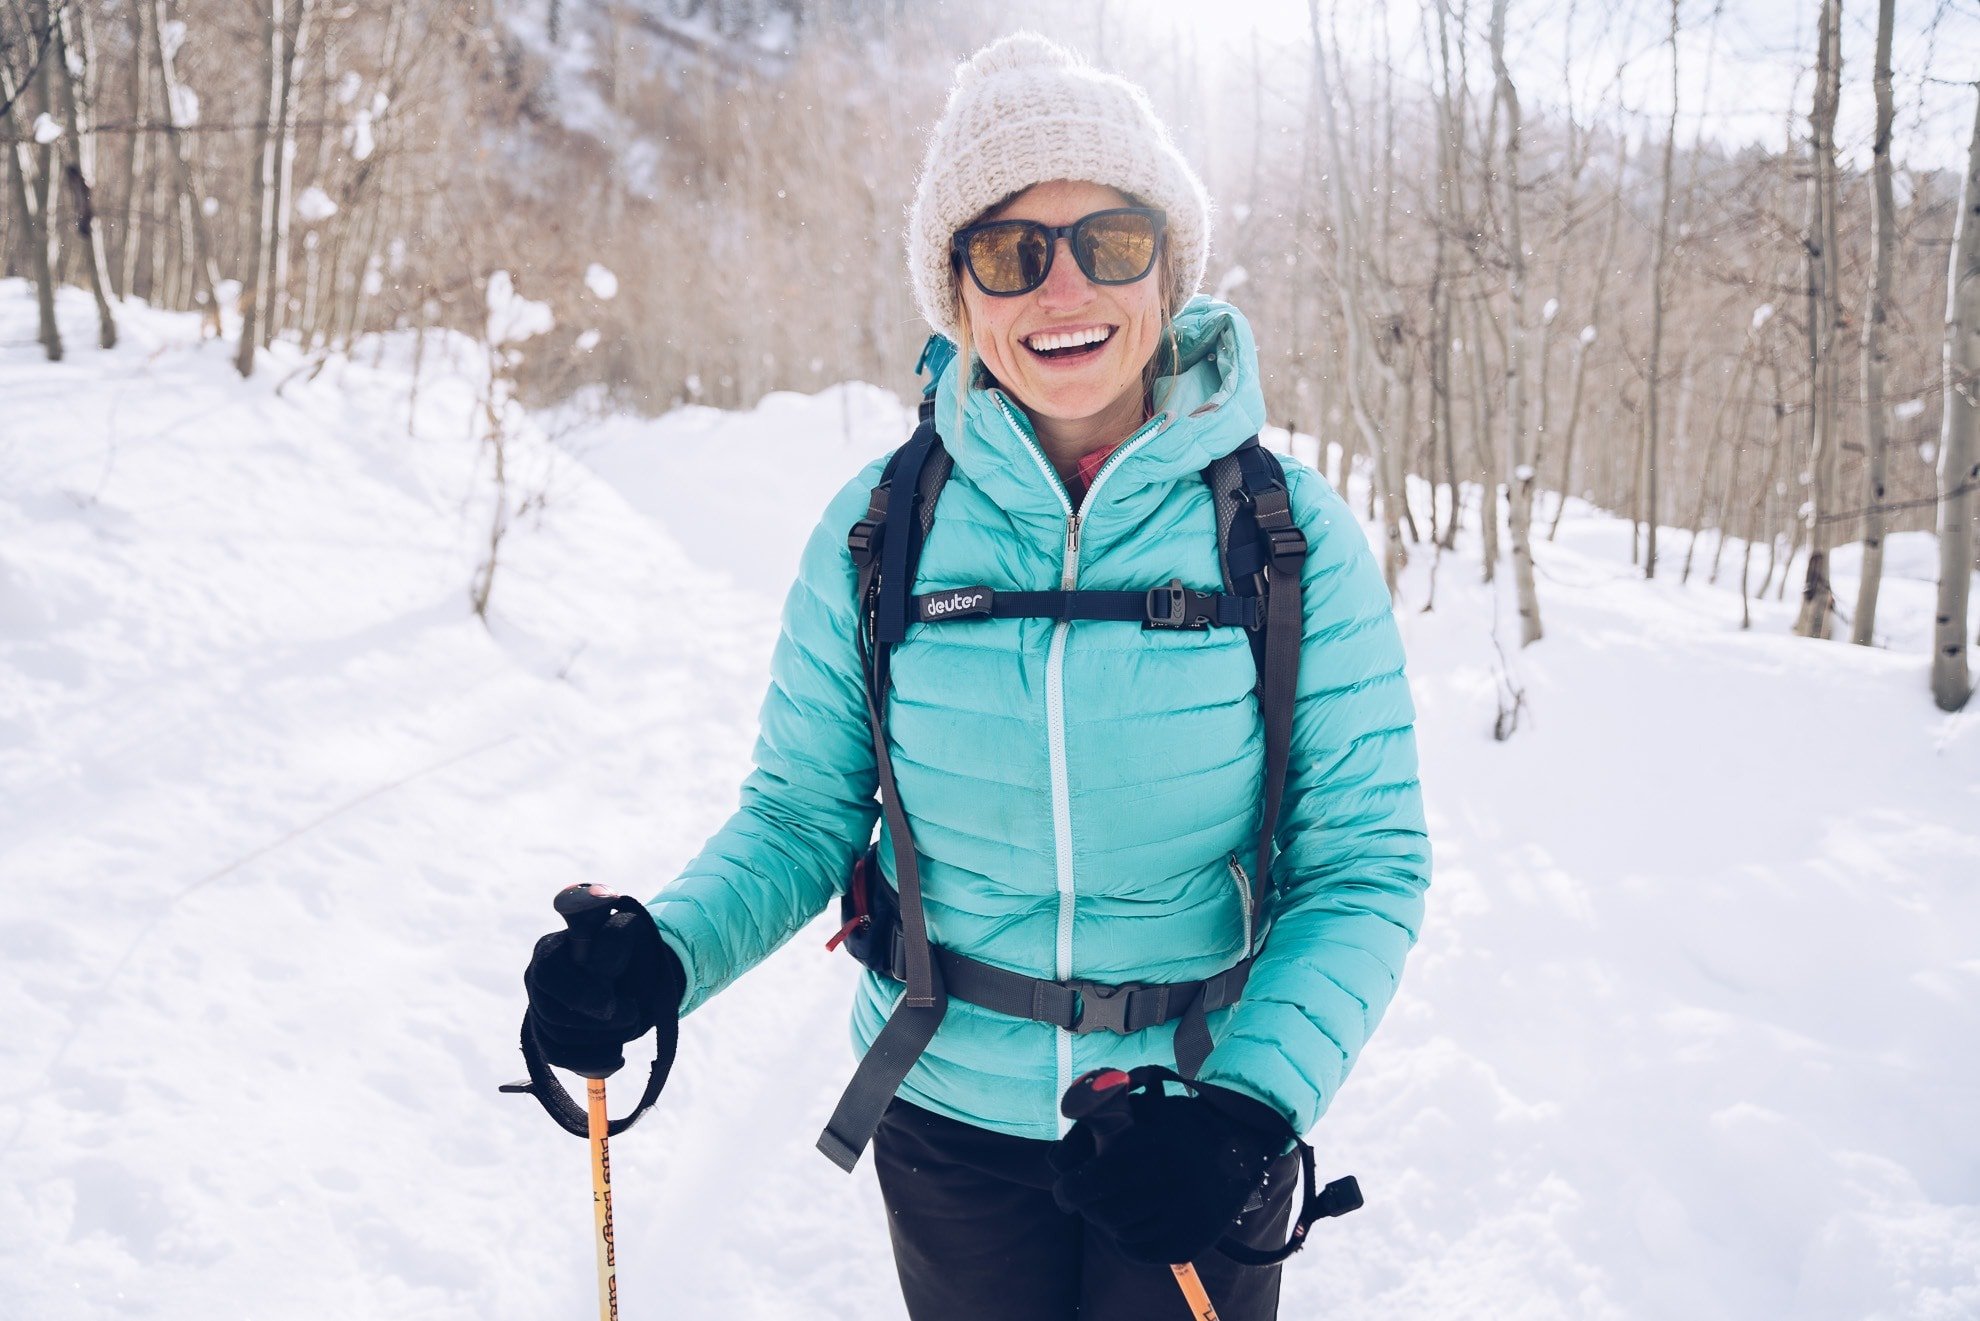
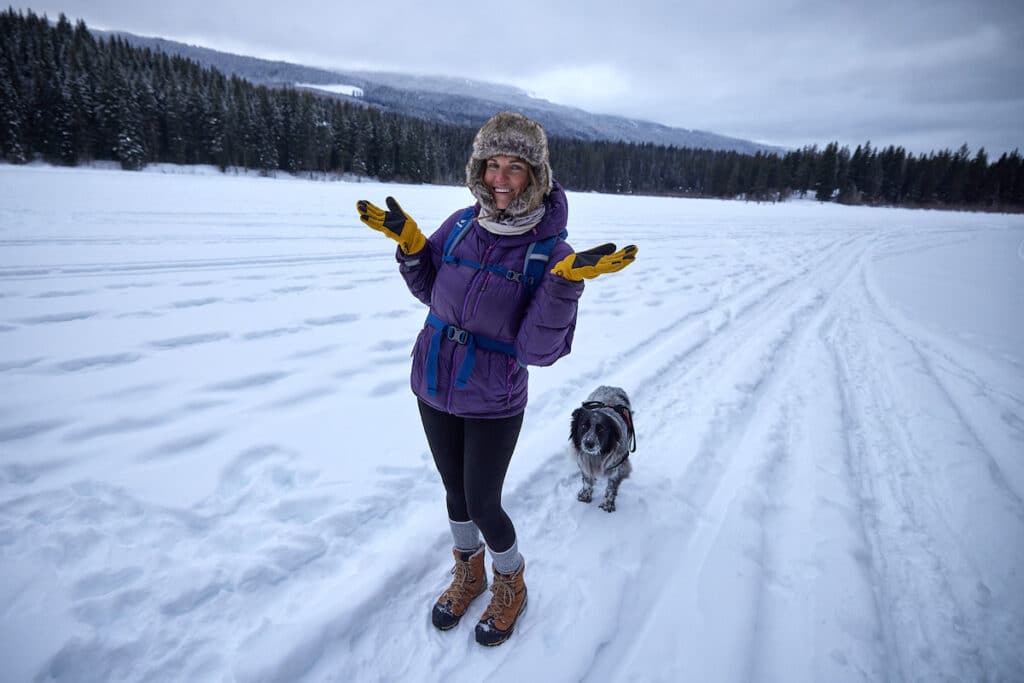
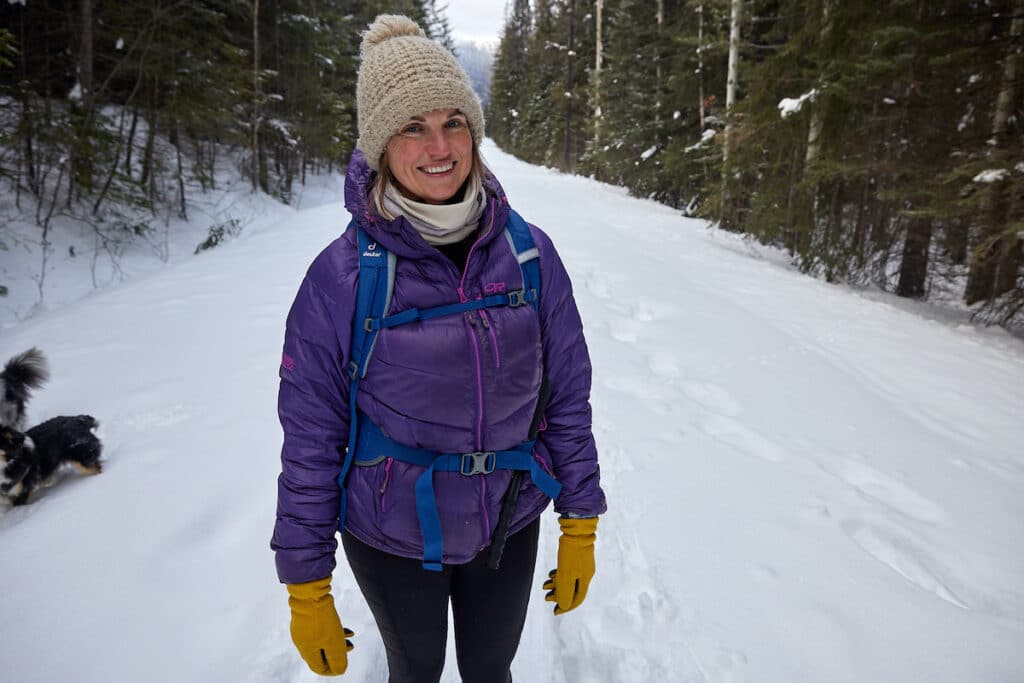
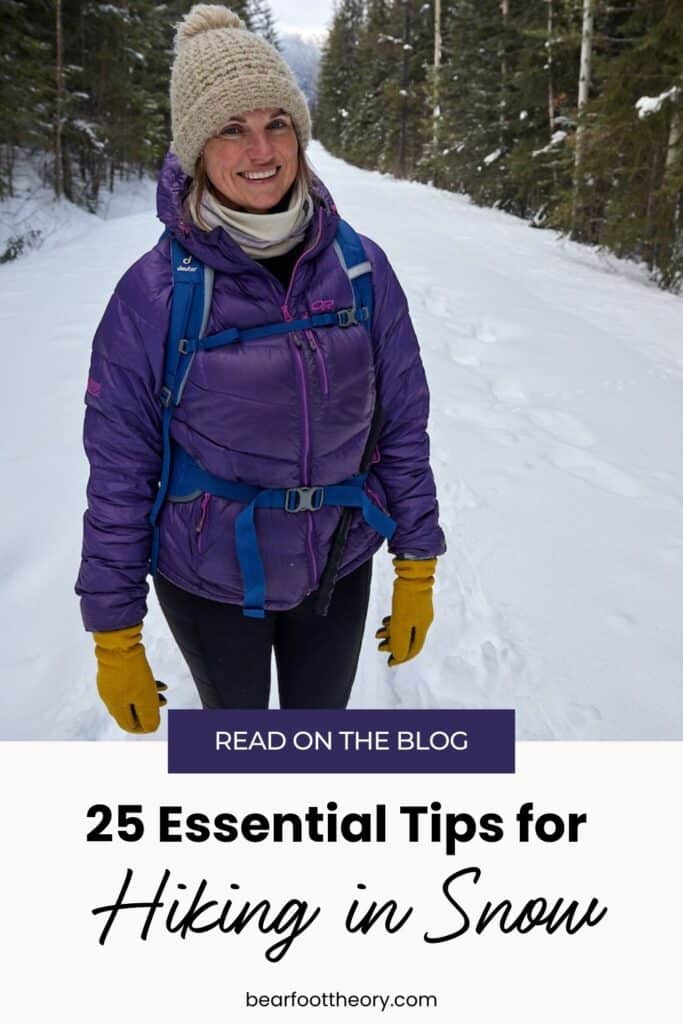
6. Dress in layers
The key to comfort when hiking in the winter is staying warm AND dry. If you start to sweat and are wearing the wrong material, you’ll end up wet and cold. This means you’ll want to avoid cotton and opt for baselayers that wick moisture and are quick-drying instead. Below are some suggestions on what I wear for winter hiking. I share additional recommendations for women’s winter hiking apparel here.
What to wear on top
When hiking in cold weather, you should have 3 layers on top plus a neck warmer. These are my go-to’s:
What to wear on bottom
On the bottom, you’ve got some options. If it’s really cold or snowing, you’ll want to consider wearing a base layer and a waterproof layer over it. You can even wear rain pants or ski pants. Otherwise, on a more mild day, a pair of fleece leggings will do the trick, keeping you warm and comfortable. For specific recommendations, check out my favorite winter hiking pants.
7. Adjust layers as often as needed
On the uphill sections of your winter hike, it’s important to take a layer off if you start to get sweaty. All of that moisture will eventually make you cold when you get to the top, and it’s time to go back downhill. The same goes for adding a layer as soon as you start to get cold.
It may seem like a pain in the butt to constantly stop to add or take off a layer, but being proactive in regulating your body temperature will ensure you stay dry and comfortable throughout your hike.
8. Keep your extremities protected
When I hike uphill in winter, I find my hands run warm, and I can often hike without any gloves on. But as soon as I turn around and hike down, my hands get chilly again. Out of all of the areas on your body, your fingers are one of the most prone to frostbite. This is why it’s important to always pack a pair of gloves, even if you don’t think you’ll need them.
I recommend insulated gloves (men’s) that have touchscreen capability. That way you don’t have to take them off to use your phone to navigate or to take photos. Ideally, you also want your gloves to offer water resistance in case they get snow on them.
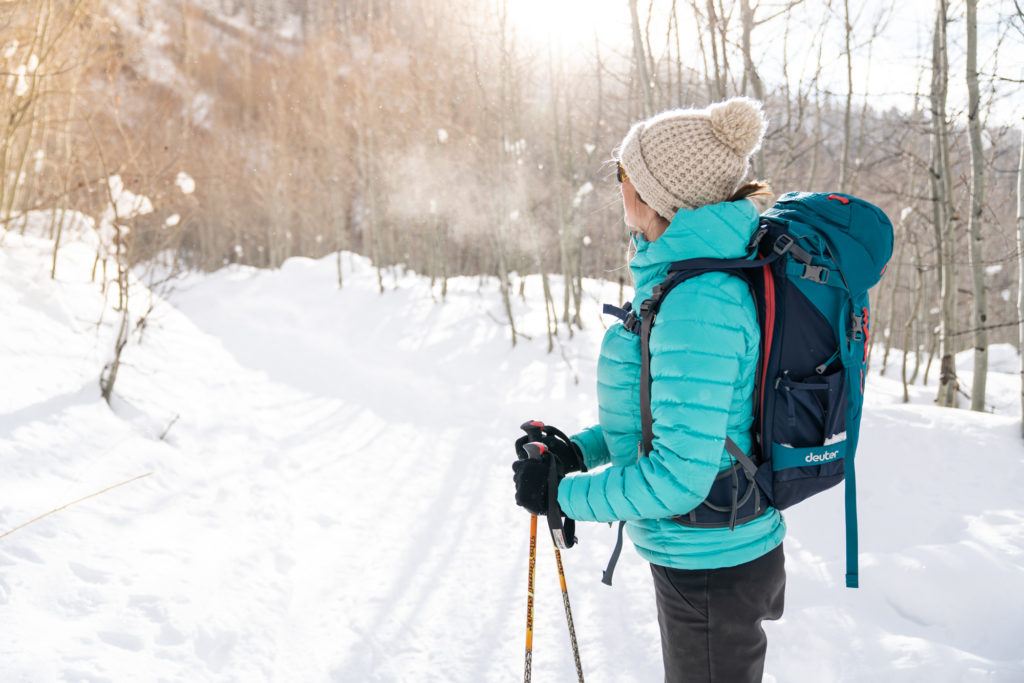
9. Pack a beanie AND a baseball cap
You lose a significant amount of heat through the top of your head. Wearing a hat is one of the most important winter hiking tips to retain your body heat. It also keeps your ears protected from the wind. Even if you don’t think you’ll need one, it’s smart to carry one in your pack just in case.
And while I’m a sucker for a cute beanie with a pom on top, it’s most practical to bring a simple beanie that packs down small and doesn’t take up too much room in your bag for when you don’t need it.
I also always pack a normal baseball cap. On the uphill stretches, I easily overheat if I’m wearing a beanie, so I’ll swap it out for a baseball cap to keep the sun off my face. Speaking of the sun….
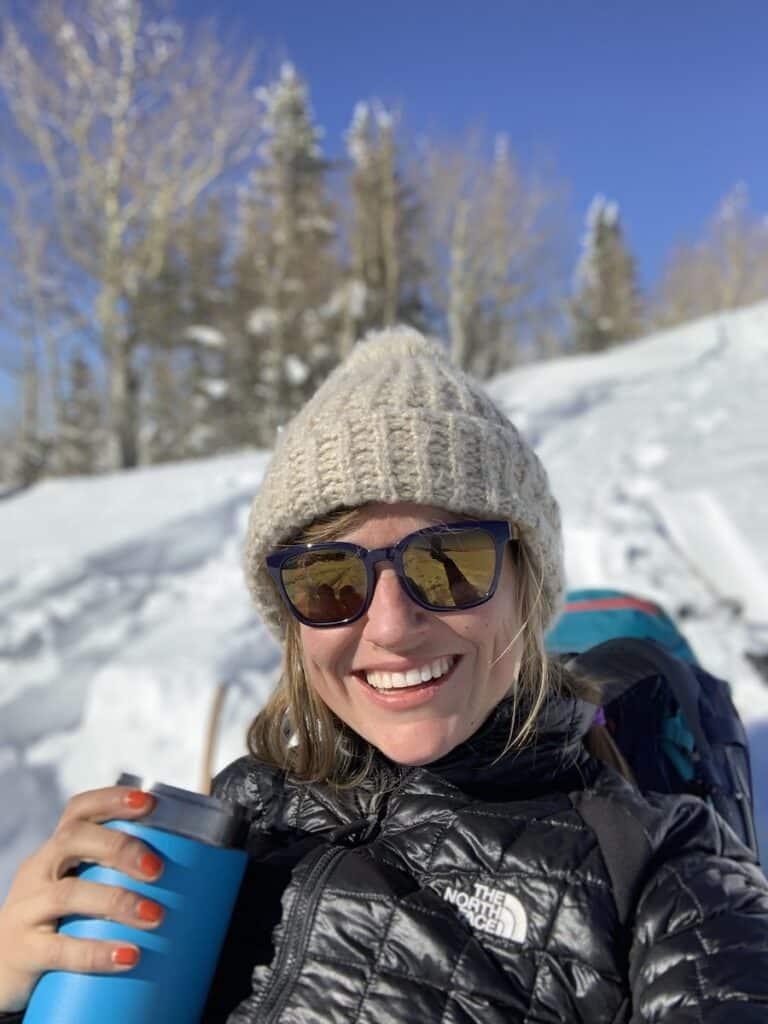
10. Use sun protection
While sunscreen might not be the first thing you grab when you’re preparing for a hike in the snow, you’ll want to lather up. Snow can reflect up to 90% of UV rays and can cause pretty potent sunburns if you’re not careful.
Before you start your hike, apply sunscreen to your face, ears, and any other part of your body that is exposed. Don’t miss the bottom of your nose near your nostrils – a spot that is notorious for burning due to reflection off the snow and is easy to overlook. I also like to apply chapstick with SPF (my absolute favorite is Jack Black) to avoid cracked and sunburnt lips.
Finally, bring a good pair of polarized shades that provide full coverage for the areas around your eyes.
11. Say no to cotton socks
If you happen to get snow in your boots, cotton socks will cause your feet to stay wet and cold for the remainder of your hike. You may even get blisters. Instead of cotton, opt for wool socks that insulate even when wet. My go-to socks are made by Darn Tough Vermont. For winter hiking, you’ll want a long, thick pair, but not so bulky that your boots feel too snug.
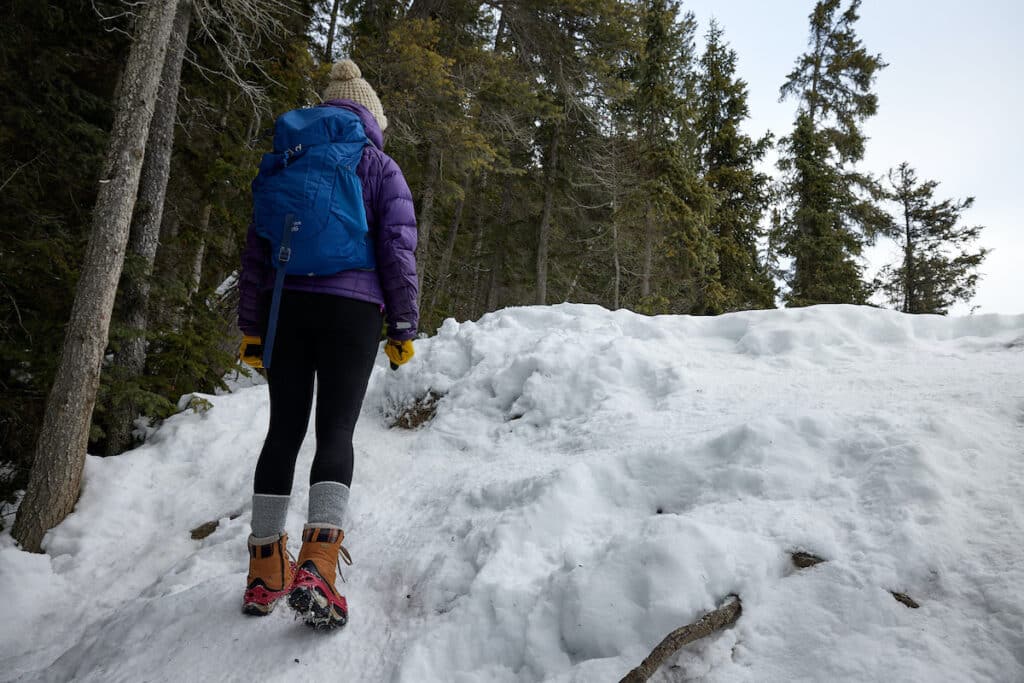
12. Wear waterproof, insulated hiking boots
You may be tempted to wear your normal hiking boots on a winter hike. If it’s cold, but there’s no snow, then that likely will be fine. However, if you are hiking in snowy terrain, you’ll thank yourself for getting a pair of insulated winter hiking boots. Like your fingers, toes are also prone to frostbite, and once you get frostbite, it’s likely to be a repeat offender. So for me, having a winter-specific hiking boot that will last me several seasons is worth the expense.
I personally wear the Oboz Bridger Insulated Hiking Boots. The women’s (9″ cuff) and men’s (10″ cuff) have 400g of Thinsulate, and the insoles incorporate a thermal layer top and a mylar bottom to further insulate your feet from the cold.
The outsole is also designed to provide grip in icy and snowy conditions. You’ll still potentially want microspikes (more on that in a sec), but a winter hiking boot’s beefy lugs will give you more confidence than your regular ol’ summer hiking shoes.
Also, at the beginning of every winter, I always clean my boots using a footwear cleaning gel that’s designed to restore the waterproofing properties of my winter boots. That way I’m sure the water isn’t going to seep through and make my feet cold.
13. Use gaiters to prevent snow from getting in your shoes
If you’ll be traversing across ungroomed snow, wear a pair of gaiters to prevent snow from getting inside your boots. They easily clip on by running a strap under your shoe, creating a barrier to entry for snow falling into your shoes. Gaiters will help keep your socks and ankles dry, keeping your feet warmer as you winter hike.
14. Consider whether you need snowshoes
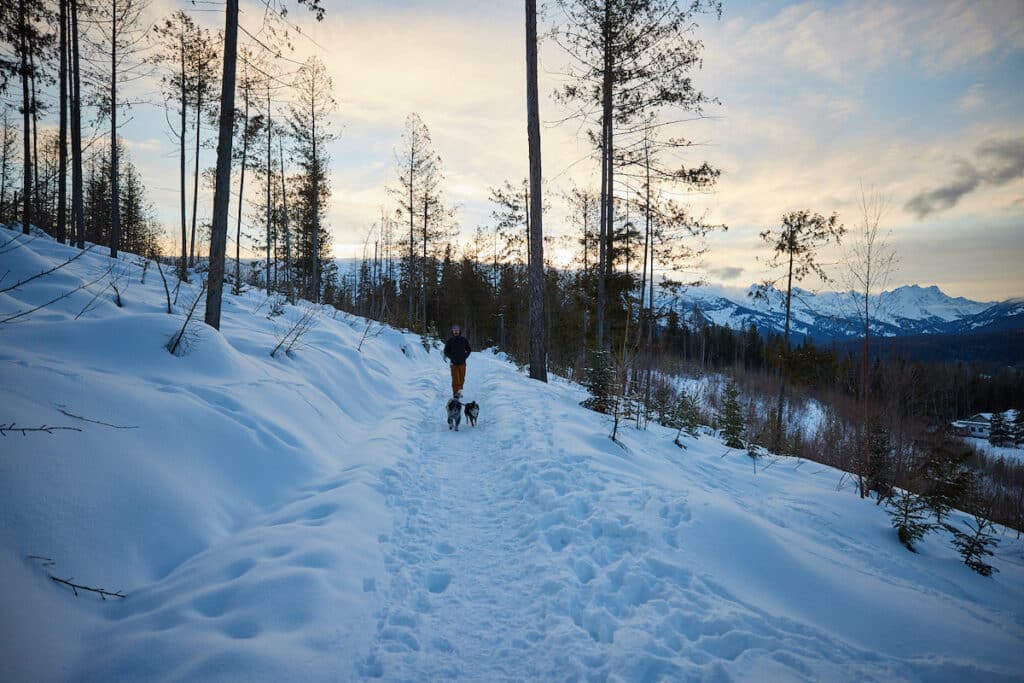
This winter hiking tip I learned the hard way. Lugging snowshoes around may seem like a pain, but snowshoes come in very handy for hiking in snow. A couple of years ago, Ryan and I were in Fernie, British Columbia on a Powder Highway road trip. We rented snowshoes at a local shop and prepared for a fun day outside.
Once we got to the trailhead, we took a look at the trail, and against the advice of the shop employees, we decided we didn’t need the snowshoes. We left them in the car and set out. At first, it was fine. The trail was firm, but not icy, and we were happy with our choice.
But once we got just far enough from our car, the trail started to get softer. Before we knew it, we were post-holing (sinking down into the snow with each step) like crazy, and Ryan actually ended up hurting his knee. The hike ended up taking forever and could have potentially ruined the rest of our trip. Never again!
Of course you don’t need snowshoes on every winter hike, but if you plan to take the trail less traveled – one that isn’t plowed or packed down due to foot traffic – snowshoes are extremely helpful. And the good news is, they are way lighter and more efficient than they used to be.
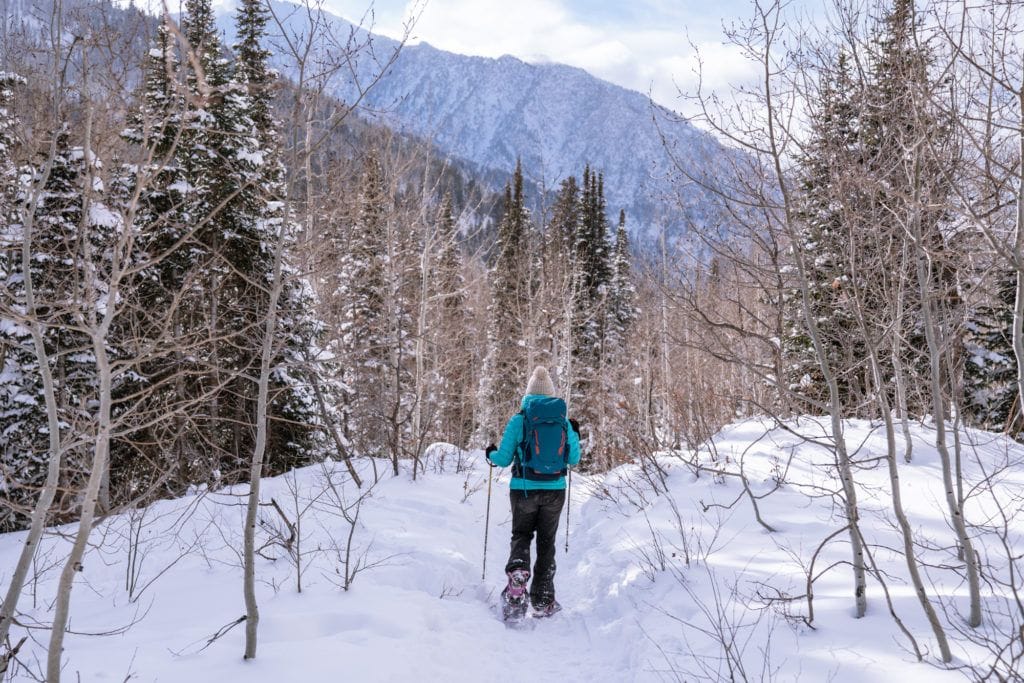
Snowshoes are light with wide frames that attach to your shoe, ideal for hiking on deep snow. By increasing the surface area of your feet, you’re able to float on top of the snow without sinking in too deep.
When choosing a pair of snowshoes, you’ll want something designed for the terrain and conditions that you typically encounter on a winter hike. For soft, deep snow, you’ll want a longer snowshoe, while a shorter snowshoe is perfect if you typically stick to densely packed trails.
If you’re looking for an all-around versatile snowshoe that is efficient on the trails, but can still perform in deeper snow, the MSR Lightening Ascent Snowshoes are as good as they get.
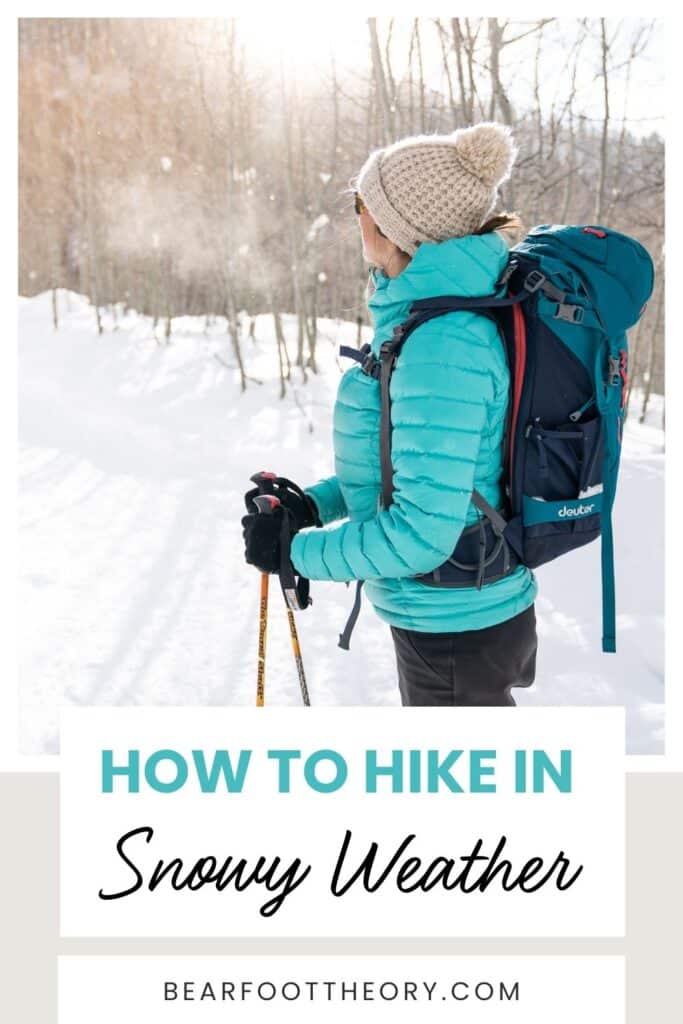
You’ll want to pair your snowshoes with a set of trekking poles with interchangeable ski baskets so when you plant the pole, it doesn’t sink into the snow.
For more on snowshoeing, see my guide to Snowshoeing 101.
15. Use microspikes or crampons when the trail is icy
If the trail is hardpacked, you might not need snowshoes. However, on this type of trail you are more likely to encounter ice, and microspikes can add a huge amount of traction to prevent slipping.
Kahtoola Microspikes are made of chains and tiny spikes that slip on over your boots, and they make a world of a difference. They are compact enough to throw in your pack, and you can quickly pull over and put them on when you need them.
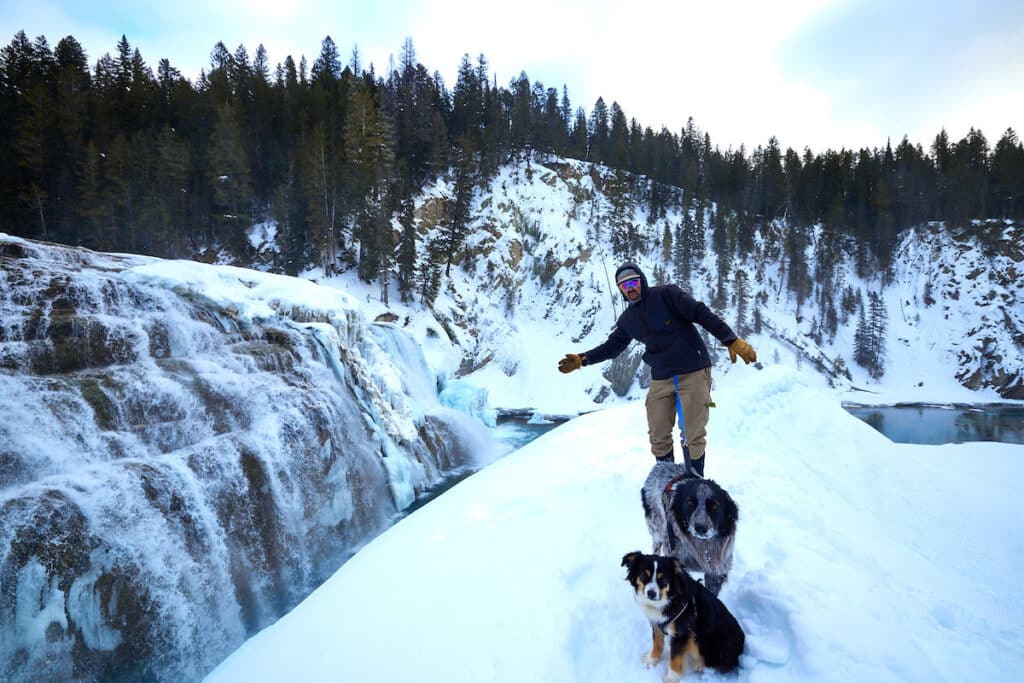
16. Stay off frozen lakes and rivers
It’s very hard to tell how thick the ice is over frozen lakes and rivers, so stay off the ice and away from bodies of water when hiking in winter. When hiking in cold weather, it’s always best to play it safe.
17. Bring a warm drink in a thermos
One of my favorite winter hiking tips is to fill up an insulated thermos with your favorite hot beverage. Hot cocoa, cider, chai tea, or even soup broth is great for quick sips to warm you up on the trail.
While I probably don’t need to say it, go without alcohol on cold-weather hikes as alcohol reduces your body temperature. You can enjoy that hot toddy once you’re back at home!
18. Stay hydrated
Dehydration expedites the onset of hypothermia, so stay hydrated. If you feel thirsty, it’s time to drink up. Even better if you throw in some electrolytes (Nuun Tablets are an easy, tasty fix for replenishing your electrolytes).
On 99% of my hikes, I use a hydration reservoir to make it easy for me to drink water without stopping. The problem with using a hydration reservoir on winter hikes is that if it’s cold enough, the water in the hose can freeze (or at the very least, the water may give you brain freeze).
To combat this, you can either fill up your reservoir with warm water or you can use an insulated hydration reservoir that will prevent your water from icing up.
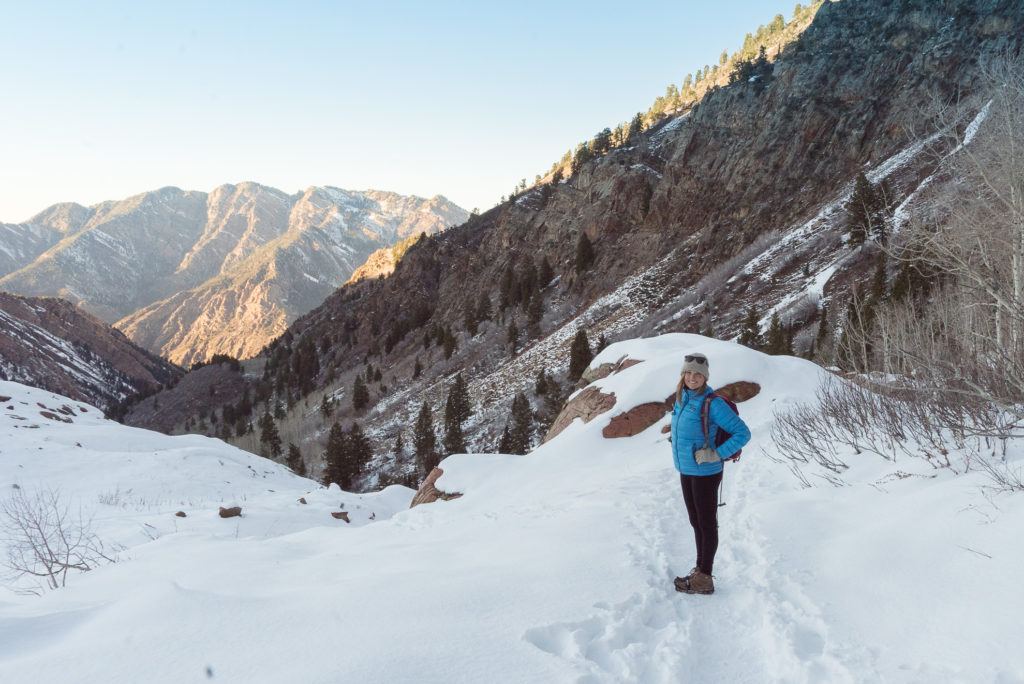
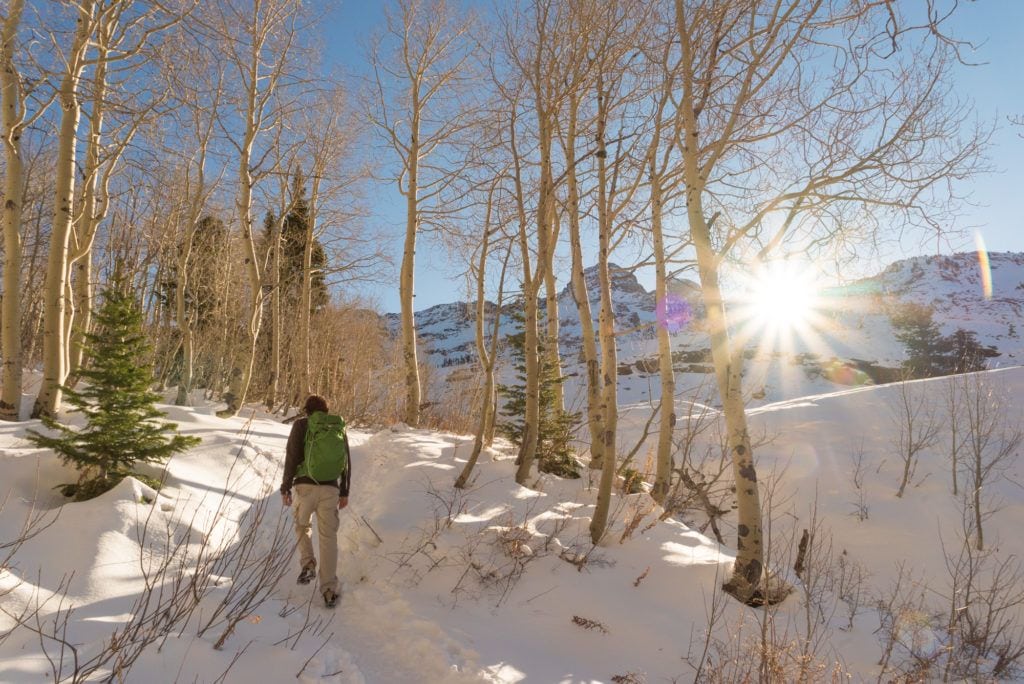
19. Choose sunnier trails
In the summer months, you want to choose shady trails to avoid the blazing sun. In the winter, it’s the opposite. For winter hiking, try to choose a trail that gets some decent sun exposure. Thick evergreen forests are going to be a lot colder than a forest where the leaves have dropped and the sun can penetrate or a trail that traverses more open terrain.
Remember that the sun sets pretty early in winter (usually by 5pm in most places in the US)! As soon as the sun drops behind the mountains and the trail becomes shady, temperatures can drop significantly.
If you plan on catching the sunset, I recommend not being too far from the trailhead and making sure to pack extra layers. See this post for more tips on how to choose an appropriate hiking trail.
20. Choose trails with some uphill
Just like climbing stairs, the uphill sections of your winter hikes will get your heart pumping. This helps to increase your circulation and raise your internal body temperature, which will keep you nice and toasty. This is especially helpful if you start your hike in the early morning when the temps are really cold and the sun isn’t out yet. To find a trail with some uphill sections, check out this guide to the best hiking trail apps.
If you do get sweaty on the uphill sections, it’s important to wear delayer before you get too wet as I’ve previously mentioned.
21. Bring easy-to-eat snacks
Exercising in winter burns more calories because your body burns calories in its efforts to stay warm. Staying nourished on the trail is important, and I suggest you pack snacks that are high in protein and carbs to give you energy.
It’s important that the snacks you bring for hiking on snow are quick and easy to eat while on the move. Leave the sandwich fixings and picnic at home. You want to make your lunch stop quick since your muscles have to work harder to warm up again. I also prefer snacks that I can eat while wearing my gloves. Check out my roundup of the best easy hiking snacks for ideas.
Another option if you want to eat something warm is to make some soup, chili, or mac and cheese at home. Throw it in a thermos and pack your favorite spork for a quick pick-me-up.
22. Have a safety plan
Hiking in snow always starts with a solid safety plan. Here are a few important tips to follow:
23. Pack the 10 essentials
While you may leave some of these at home in the summer, in winter, you really want to pack the 10 Essentials for Hiking. The consequences of a mishap can exponentially increase if you don’t have the proper safety gear. While I’ve covered some of these items in the previous winter hiking tips, here’s the full list of the 10 Hiking Essentials as a refresher.
- Navigation
- Headlamp
- Sun protection – sunscreen, hat, sunglasses
- First Aid Kit
- Knife/Multitool
- Way to start a fire
- Shelter/emergency bivy
- Extra food
- Extra water
- Extra layers
Unlike summer when you can get away with a 10-15 liter day pack, in winter, you should plan to bring a larger hiking pack that can fit all of the 10 hiking essentials. The Gregory Jade 28 is one of my favorite daypacks for hiking (the men’s version is the Zulu 30). If you are hiking in avalanche terrain, a backcountry ski pack specifically will have a pocket that makes it easy to access your shovel and probe.
24. Know the signs of hypothermia
Hypothermia occurs when your body’s core temperature decreases to a level in which normal muscular and cerebral functions are impaired. Hypothermia can affect your ability to think clearly as well as your ability to evacuate quickly to safety.
Before you go hiking in winter, it’s important that you know the warning signs and are able to recognize them if you or a friend start to show symptoms of hypothermia.
Conditions That Can Lead to Hypothermia:
- Cold temperatures
- Improper clothing and equipment for changing weather conditions
- Wetness
- Fatigue, exhaustion, dehydration, inadequate food intake
- Alcohol intake expands your blood vessels which can lead to increased heat loss
Symptoms of Hypothermia:
- Uncontrollable or violent shivering
- Slurred speech or inability to communicate
- Fumbling or feeling lethargic
You can read more information on treating and preventing hypothermia here.
25. Know (about avalanche risks) before you go
“Know Before You Go” is a common saying in avalanche training courses, and it’s exactly that – know the avalanche conditions before you head out. While this doesn’t apply everywhere, it’s certainly important out West where slopes are steep and can be prone to sliding. Here in Utah, there are some trails that I simply won’t hike in the winter due to the avalanche risk.
As a hiker, it’s critical do your research, avoid avalanche terrain, and stay home on high-risk days. Your best source of information is the local avalanche forecasting office or the nearby Ranger Station.
Here are some basics to be aware of to avoid unknowingly putting yourself into danger:
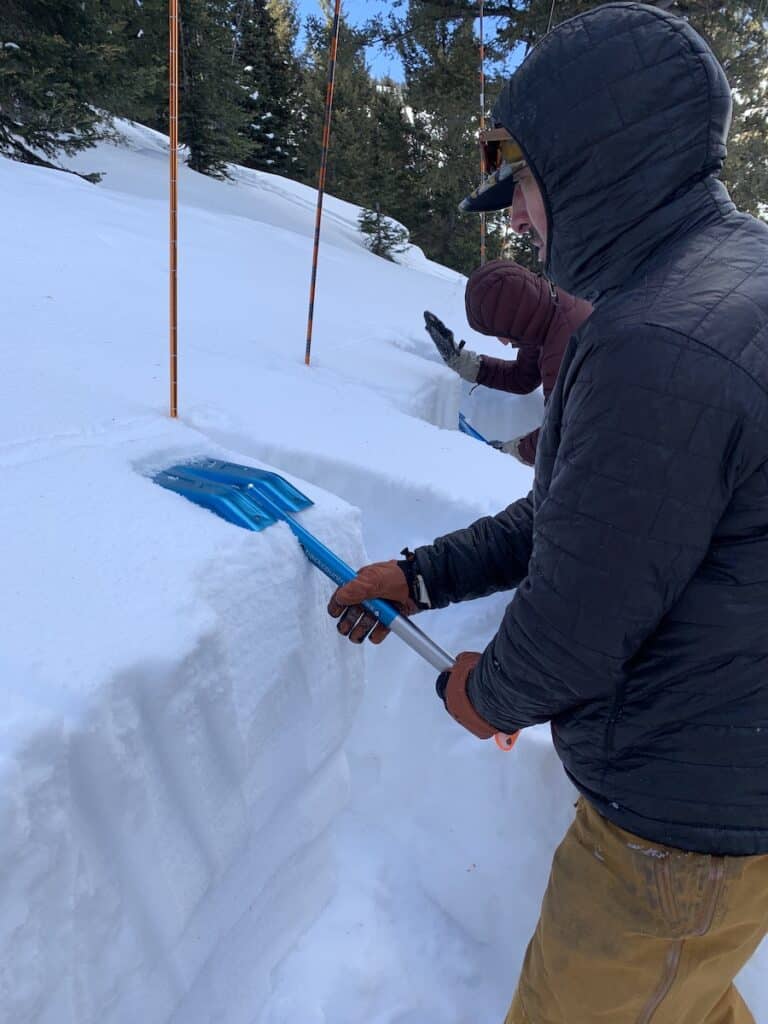
While not necessary for mellow winter trails, if you plan to frequently hike around steeper winter terrain where avalanches are possible, you should invest in avalanche gear. This includes a beacon, probe, and shovel.
A beacon is a critical piece of backcountry winter hiking gear that allows search and rescuers to find you if you were ever in an avalanche. You can also use a beacon to find others who are buried by an avalanche if they too are wearing a beacon.
A probe is a tool that allows you to pinpoint the location of someone who has been buried by an avalanche, and the shovel is how you dig them out. If you do get a beacon, probe, and shovel, learn how to use these tools and get really comfortable with them before venturing into the backcountry.
More Winter Tips
Save this post to Pinterest

If you have any questions or comments about hiking in the snow or any other winter hiking tips or gear, leave a comment below!
This is the right web site for anybody who wishes to find out about this topic.
You understand so much its almost hard to argue
with you (not that I really would want to…HaHa). You definitely put a new spin on a subject which has been written about for decades.
Wonderful stuff, just excellent!
Great article but I would argue that the YakTrax you have on aren’t microspikes and are pretty limited in value for most hikes. Hillsounds and Kahtoolas are well worth the initial extra $$ as they work and they last.
Thanks for the suggestion Carol!
I love travelling. This is a very informative article!!
Brilliant ideas and very useful, many thanks
Glad you enjoyed it. Thanks for reading
Do you have any tips for hiking on steep inclines/declines where you have to climb up and down on icy/snowy rocks? I read that microspikes are used in winter snow but I also read that it shouldn’t be used on rock. The ice is pretty shallow on the rocks.
Ideally microspikes would just be used on snow or ice, but if there’s a bit of rock on the trail in places between the snow and ice it’s not the end of the world. If you are hiking on steeper/icier pitches you may want to consider burlier crampons instead.
Thanks a lot for your advices ! This is the first time I’m hiking Angels Landing – UTAH in Winter and I just want to be prepared for the unexpected.. God bless you!
That will be fun. Make sure to pack microspikes. I’d say that’s a must for winter and take it very slow! and have fun!