Camper Van Floor Layers & Materials
Get tips for picking out and installing van flooring. We cover the pros and cons of different types of floor materials and layers in a van conversion.

Installing your van flooring is typically one of the first camper van build projects since all the floor makes up the bottom layer of your van and you won’t be able to build anything else until that’s in place.
In addition to all the layers that go into a van floor like insulation and sound dampening which we’ll cover here, you’ll also want to consider things like cost, height, durability, aesthetic, and cleanliness. No matter what type of van lifestyle you live, your van will gather a lot of dirt and dust, even if you stay on the main roads. So it’s best to choose a van floor that will be easy to clean (no carpet!).

This post may contain affiliate links.
Learn about the best van flooring options and key layers that make up a long lasting, comfortable van floor.
Important Considerations for Van Flooring
Before deciding what flooring is best for your van build, consider the following:
- Durability: Your van floor is going to take a beating so you want something durable and easy to keep clean. Consider materials that can handle moisture and constant use. If you have pets, look at flooring that is easy to clean but scratch-resistant. There’s nothing worse than hitting the road and really putting your van flooring to work only to realize it peels, cracks, or scratches easily or is mold-prone.
- Weight & Thickness: Using lightweight materials should always be top of mind in your van build. Consider the total thickness of your subfloor and flooring materials and how that will affect the interior height of your van as well, especially if you’re tall.
- Cost: There are many budget-friendly flooring options out there, but be sure to do your research and balance cost with durability. If you are DIY’ing, check out Facebook Marketplace or Craigslist to see if you can find a good deal on leftover subfloor or flooring materials since van floors don’t require a lot of material.
- Aesthetic: How do you want your van floor to look and feel? I recommend a mixed-grain color so dirt and dog hair blends into the floor until you can sweep.
Save this post!
Enter your email & I'll send this post to your inbox! You'll also receive my weekly newsletter full of helpful advice for planning your adventures.
Van Floor Layers
Your van floor will have a few different layers, depending on your choices. Your first step will be to remove the factory floor. In a Sprinter Van, the factory floor is a wood composite and has a lot of flex, so as you load up the floor with varying weights, it can create a bubble or bow in places…hence why you want to remove it.
Van flooring is comprised of three layers, typically:
Sound Dampening & Insulation
First, you’ll install sound dampening and then insulation. Proper insulation is an important and necessary component in creating an energy-efficient and comfortable camper van. Without insulation, you lose a ton of heat and cool air through the floor, and in the winter, that means very cold feet when you are walking around in the van. Plus, insulating your floor, with or without additional sound dampening material, will help reduce road noise.
Outside Van insulated my van floor with 3M Thinsulate, the same material they used to insulate the walls.
Here are three popular brands of sound dampening materials:
- FatMat Self-Adhesive Rattletrap Sound Deadener
- Kilmat Automotive Sound Deadener
- Noico Automative Sound Deadener
Subfloor
After sound dampening and insulation, you’ll want to install a plywood subfloor layer.
If you’re DIYing your build, I suggest using the factory floor as a template for your new floor. This will save a lot of time and headache involved in measuring the curves of the van.
For the subfloor of my second Sprinter van, Outside Van used 7-layer marine grade plywood. It’s a little thicker and heavier than some van builders might use, but it’s very strong and durable, so there’s no flex in the floor when you place heavy items on it.
Keep in mind here, everything you build into the floor and ceiling will reduce the overall standing space in the van. If you’re tall, pay attention to the thickness of the materials you’re using.
Top Layer
Once you have your subfloor installed, then comes the top layer of flooring – the one you’ll be standing on and looking at every day.
Depending on your van layout and floor plan, you might need different types of floors in certain spaces. For example, you might want a smooth, aesthetically pleasing floor in the living space but a durable, utility floor in the garage space under the bed. You’ve got options for both since typically the garage space will not be seen from the living area (and vice versa).
If you’re DIY’ing, although your sound dampening, insulation, and subfloor need to be installed early on in your build, you can decide whether to install your top layer in the beginning or once you have other key pieces of your build (like the kitchen and bed) installed. Although it’s a bit more work to install your top layer later on, it does protect your van flooring from spills and scratches during your build, and it will save you money since you’ll only be covering the floor where you will see it. The downside of installing later on is that you will have to make more custom cuts of your flooring to fit the layout of your van.
Best Van Floor Materials (Top Layer)
Laminate
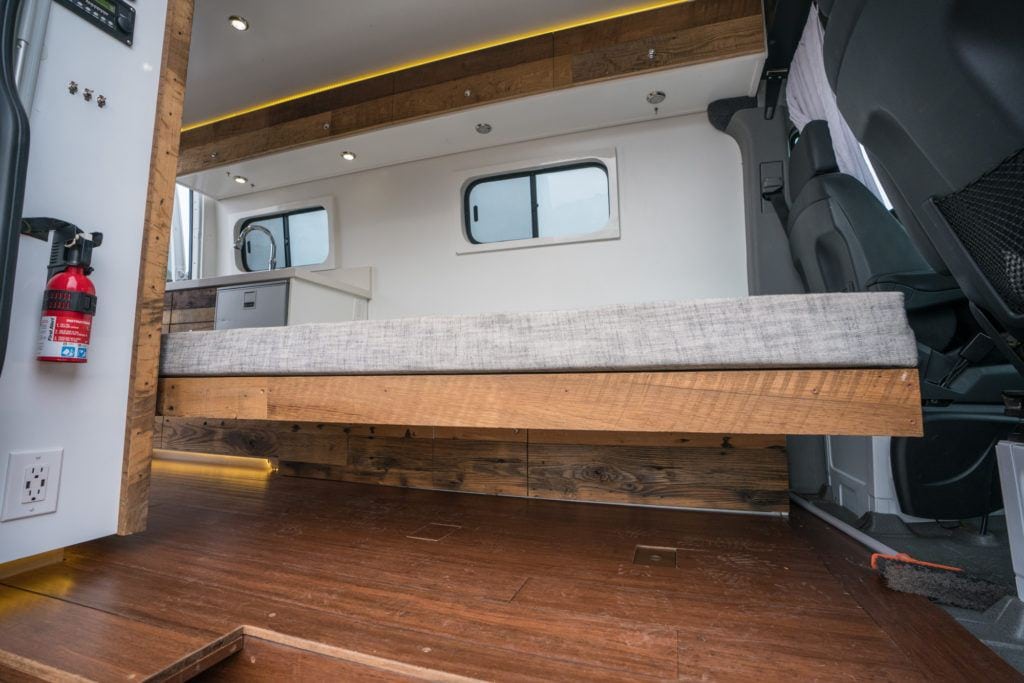
Laminate tongue-and-groove floors are inexpensive, easy to install, and come in a wide variety of colors and designs, making them popular for DIYers. Hardwood flooring is beautiful but tends to be very thick and heavy (and more expensive), so laminate is a wiser choice for your van floor.
If you’re going for a wood look, I recommend something that has a mixed grain of darker and lighter colors (like the image below), so all the wood you use throughout the van will complement the floor. Plus, it will hide both light and dark debris.
In my first Sprinter van, I had a dark tongue and groove laminate wood floor that looked nice when it was clean, but otherwise, all I saw was my dog’s dirt-covered paw prints. If wood isn’t your look, tongue and groove is also available in tile designs and other solid prints, so you should be able to find something that suits your style.
The biggest downside to laminate flooring is that it’s not the most moisture-resistant and it can swell or warp with moisture, which can cause mold issues. If you choose laminate flooring, look for a high-quality, water-resistant laminate.
Luxury Vinyl Plank
Luxury Vinyl Plank (LVP) is a great van flooring option because it’s waterproof, has the look and feel of wood, and it’s very easy to install with a click-lock mechanism. Luxury vinyl plank is more expensive than laminate, but it’s definitely more durable and can withstand more moisture. It also has a texture on top, which makes your van floor more slip-resistant. Another perk of luxury vinyl is that it can be installed without an adhesive – called a “floating installation”, which makes it easy to replace one plank if needed instead of the entire floor.
The downside of luxury vinyl plank is that it can be pretty expensive, however, when you weigh the durability, it’s worth the cost.
Vinyl
Vinyl is another popular option because it’s relatively thin, lightweight, waterproof, and strong. A company called Lonseal makes a variety of high-density vinyl flooring, and you can browse options on their website.
In my second van, I went with a high-density vinyl in the front living space. It’s a lighter-colored vinyl weave with a hint of black, so it tied in with some of the other black features inside the van. While it looks great from a distance, the texture of the weave made it very difficult to clean. In hindsight, I would have chosen something with a smoother texture upfront to make sweeping and wiping up messes easier.

Vinyl Rubber
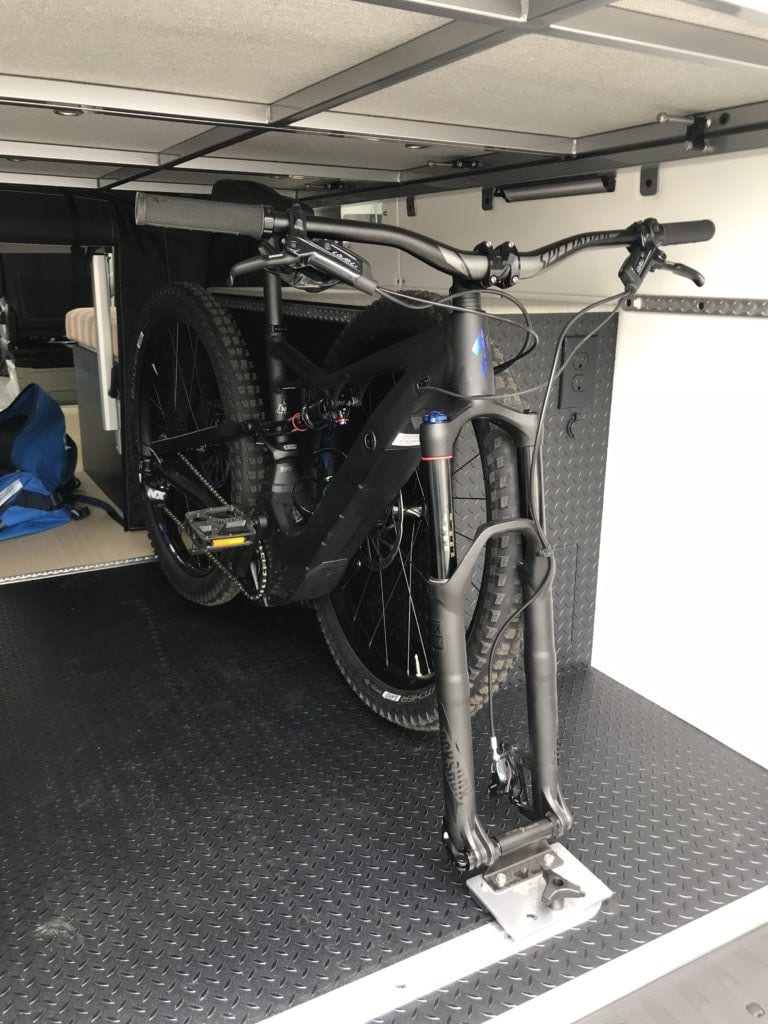
Vinyl rubber is a great flooring option for your van garage, although people who haul a lot of gear and want an industrial van look may use it throughout the entire van. It’s easy to install, waterproof, easy to clean, and can withstand a lot of wear and tear. The downside of rubber flooring mostly comes down to aesthetics, which is why people typically only use it in the garage. Coin grip is another vinyl pattern that is a little more aesthetically pleasing to use if you want your entire van floor covered in vinyl rubber.
In my second van, I had Lonseal’s diamond plate style vinyl floor in the garage because it’s one of the most durable floor types and is highly scratch-resistant, so I can store my bikes and gear without worry.
Cork
Cork flooring is another van flooring option, but it’s much more expensive than the other options. The benefits of cork are that it’s the most eco-friendly flooring option, it’s naturally anti-microbial, and acts as natural insulation and sound dampening (it about doubles vinyl’s R-value). Cork also has a nice, soft feel to it which may feel nicer on your feet.
The biggest downside to cork is that it requires resealing and regular upkeep to prevent damage, it takes longer to install than other flooring options, and it’s the most expensive flooring option. Cork is also prone to scratches and the floor absorbs spills if you don’t immediately clean up.
Other Flooring Considerations
Rugs
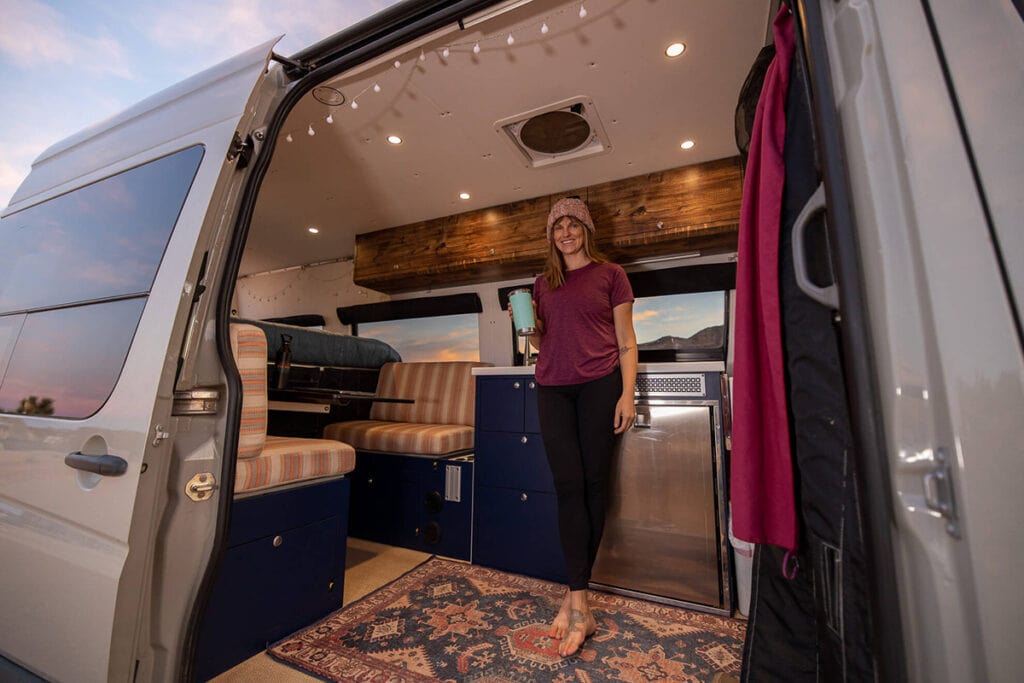
Some van lifers choose to use a rug on top of their van floor to protect the top layer from scratches and wear and tear. Plus, a rug adds a bit of color and personality to your van! I would not recommend using a thick, plushy rug in your van. Although it feels nice on your feet, it traps a lot more dirt and is harder to keep clean.
A Ruggable Rug is great for van life because it can be washed and dried in a regular washing machine. Keeping the van floor clean is an almost impossible task, but with a durable, washable rug like Ruggable, it’s a whole lot easier. Plus you can always remove it to shake it outside. I had a Ruggable Rug in my second Sprinter and with two dogs, I couldn’t imagine my van without it.
Inhabit Designs Custom Floor Mats
I’ve now had three different Sprinter Vans and found that no matter the floor type, it’s hard to keep them looking nice and clean. I finally invested in a set of Inhabit Design Works floor mats for the inside of my Sprinter Van.
These mats are made of Chilewich vinyl – a material made in the USA that is Green Label Plus™ and GreenGuard® certified for low VOC emissions and free of phthalates and heavy metals.
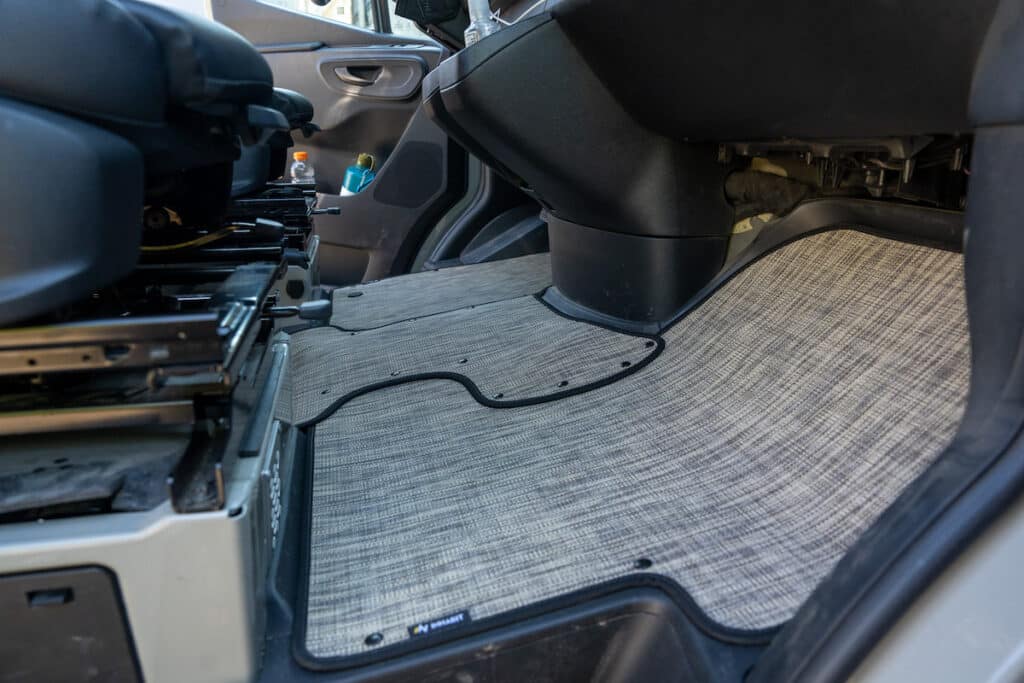

The mats are incredibly durable and made to withstand the heavy foot traffic in a van, and due to the pattern options, they hide dirt incredibly well. The best part is that when they get dirty, you simply take them out of your van and hose them off. We’ve done so using our outdoor shower off the back of our van. Once they are completely dry, you put them back in your van and they are as good as new.
Inhabit Design Works can make custom mats, or if you have one of the model vans – like the Storyteller Overland or Revel – you can buy them pre-made right off their website.
What material are you considering for your van flooring? Share your questions, tips, and experiences in the comments below, and make sure to sign up for our van life newsletter!


Can I ask where you purchased the Lonseal steel plate style vinyl from? I am having a hard time finding it online.
Thanks!
Allison
The Lonseal flooring in Kristen’s van was installed by Outside Van so we don’t have any information on where it was purchased. Have you tried contacting Lonseal to see where it’s sold? You should be able to find information on their website: https://lonseal.com/. Best of luck!
I have read several articles on van flooring, but I can’t find one that addresses the ridges in the floor. Since I’m not starting with a flat surface, I feel I should do something about this, but surprising everyone seems to brush right past. What did you do to address this? Anything?
Is the diamond industrial flooring you have in the garage lighter than luxury vinyl? I’m wanting to know if it’ll save weight.
Hmmm.. not sure on that. Maybe do a quick Google search?
Where did you purchase the High-density vinyl weave flooring?
thanks
We used Outside Van to build out our van, so the vinyl weave was purchased and installed by them. There are many places you can buy woven vinyl flooring online, though.
You can buy Luxury Vinyl Plank (LVP) or many different type of flooring for really cheap/free on craigslist, usually people sell it after they done with remodeling their house.
I put a 4’X8′ sheet of foam insulation (meant for house walls) down first, and then laid linoleum over the foam. The result is a very soft floor that is comfortable on the knees when crawling around on it.
MIke: it seems the foam I put down first has “molded” itself to the ridges in the metal floor so well, that I don’t see the ridges from my view on top of the linoleum at all.
Hello,
Your van looks amazing ! Was the marine plywood glued, screwed or not attached. I plan to use 3/4 marine grade plywood as well.
I had my builder install Lonseal marine grade flooring on my van. With two dogs and traveling four seasons to national parks and other rural areas, we track in grit, mud, rain and snow no matter what. It has a very slight texture ( considered the diamond plate and coin textures, and realized I didn’t want to be constantly cleaning around the edges), so it doesn’t get slippery. It has a subtle pattern to it and hides dirt well. Most importantly, it holds up to constant sweeping, dogs jumping in and out and wipe ups. It’s been one year and very happy with it.
I live in chevy express (2010…oldie)….. I saw your website page about flooring….. I am about to gut the flooring out and put in new flooring…. i writing to ask advice/opinion? If you not available to respond, that is fine i understand. So okay when i gut the floor……….naturally i will be washing/scrubbing the bare metal van floor before putting in new floor… My question to you may sound silly but am assuming you may know better than I….what do you recommend i wash/scrub the bare van floor WITH? i know silly question….but not often one strips a vanfloor bare… So before laying down new floor i want to make sure i really kick ass on really sterilizing sanitizing that bare floor (cause who knows when next opportunity…)
Hi Michelle – Unfortunately I don’t have an answer for you. My best advice would be to go to an auto parts store and see if they have any suggestions.