How to Hike Emerald Lake Trail in Rocky Mountain National Park
Explore the beauty of the Rocky Mountains by hiking the Emerald Lake Trail. This guide covers everything you need to know for your adventure.

Rocky Mountain National Park has no shortage of amazing hikes and the 3.6-mile Emerald Lake trail is one of the best. It passes by three stunning alpine lakes (Bear Lake, Nymph Lake, and Dream Lake) before ending at the clear, green waters of Emerald Lake. The vibrant color comes from sunlight refracting off the glacial silt in the water.
We completed the Emerald Lake hike as a family while visiting Rocky Mountain National Park over the summer. It’s a great choice for all ages and overall hiking experience.
In this post, we share everything you need to know about hiking the Emerald Lake trail including where to start, entry requirements, best places to stop, and more.
Emerald Lake Trail Basics
- Length: 3.6 miles roundtrip
- Difficulty: Easy to moderate in sections
- Trail Type: Mostly packed dirt, some rock and log steps
- Total elevation gain: 650 feet
- Max elevation: 10,110 ft
- Time needed: 2-3 hours
- Permit required? A Park Access Plus timed entry pass is required for entry to the Bear Lake Trailhead from May through September
- Dogs allowed? No
This post may contain affiliate links.
Emerald Lake Trail Map
Save this post!
Enter your email & I'll send this post to your inbox! You'll also receive my weekly newsletter full of helpful advice for planning your adventures.
Rocky Mountain National Park Timed Entry Requirements
If you are traveling to Rocky Mountain National Park between the months of May and October, a timed entry pass is required to enter the park. These passes help to lessen traffic and congestion in the most popular areas.
The timed entry Park Access Pass is different from your National Park Annual Pass or entrance fee.
There are two timed entry permits:
- The Park Access grants entry to most areas of the park, but excludes the Bear Lake Corridor where the Emerald Lake hike begins
- The Park Access Plus grants entry to all areas of the park including the Bear Lake Corridor and Emerald Lake trailhead.
Important: If you are camping at Glacier Basin or Aspenglen Campgrounds OR have a reservation for a guided tour you do not need the extra timed entry access pass. Campers at Timber Creek Campground will need a Park Access Plus pass for the Bear Lake Corridor (which includes Emerald Lake).
Park Access timed entry passes are available online on a first-come first-serve basis.
You can find more information about the time entry passes and how to get one on the Rocky Mountain National Park Timed Entry Permit System website.
Where To Begin Your Emerald Lake Hike
The Emerald Lake hike starts at Bear Lake Trailhead located off Bear Lake Road just 20 minutes after entering the park from the Beaver Meadows Entrance.
Our family found the Emerald Lake Trail to be one of the best family hikes in Rocky Mountain that gives you the most bang for your buck: not too strenuous, but very rewarding. For this reason, it’s one of the most popular trailheads inside Rocky Mountain National Park.
To get to Bear Lake Road, enter the park from the east in Estes Park and drive approximately 0.2 miles until you see the sign leading you to Bear Lake. Bear Lake Road is a winding paved 9-mile-long scenic path rising to over 9,000 feet in elevation. This area is known as the Bear Lake Corridor.
The Bear Lake Corridor is home to over 20 hiking trails, alpine lakes, waterfalls, fall foliage, and abundant wildlife.
Bear Lake can get very congested and it is highly recommended to park in one of the designated park-and-ride lots to take the shuttle bus to the trailhead. The buses are clean and airy and run every 10-15 minutes in the summer months. And they are free!
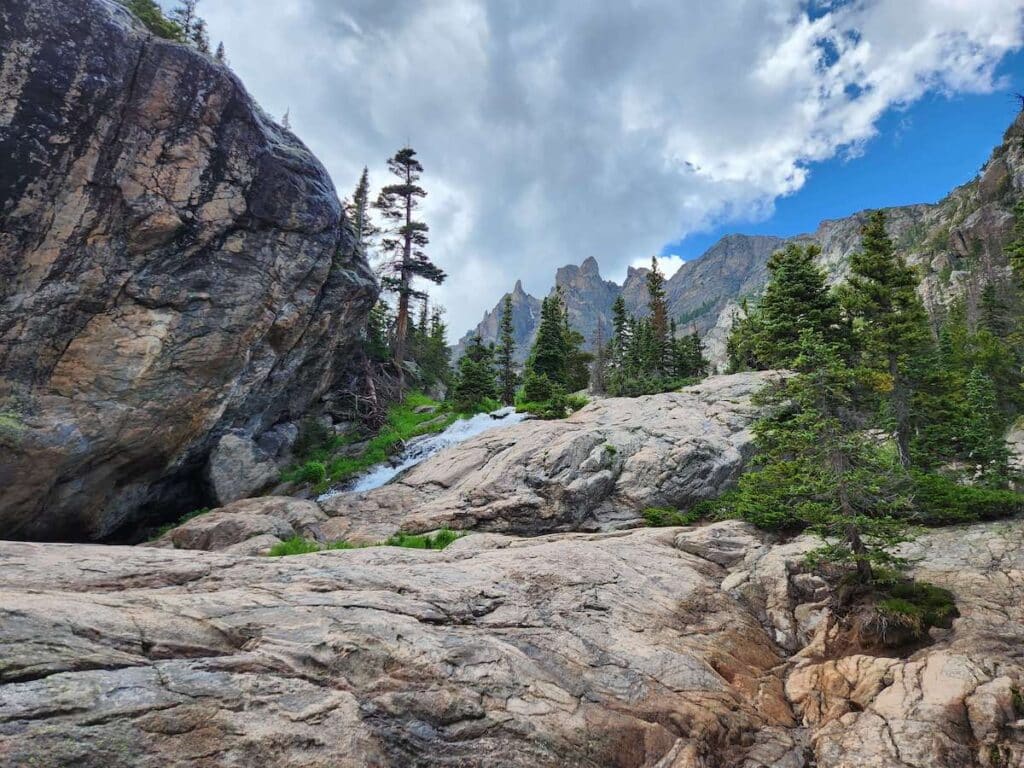
Emerald Lake Trail Guide
Starting Your Hike from the Bear Lake Trailhead
Once you arrive at the Bear Lake Trailhead, stay left and follow the marked signs to Nymph Lake. There are vault toilets available in the parking area.
Nymph Lake
Nymph Lake is a picturesque alpine lake surrounded by a dense forest and is the most accessible lake along this trail.
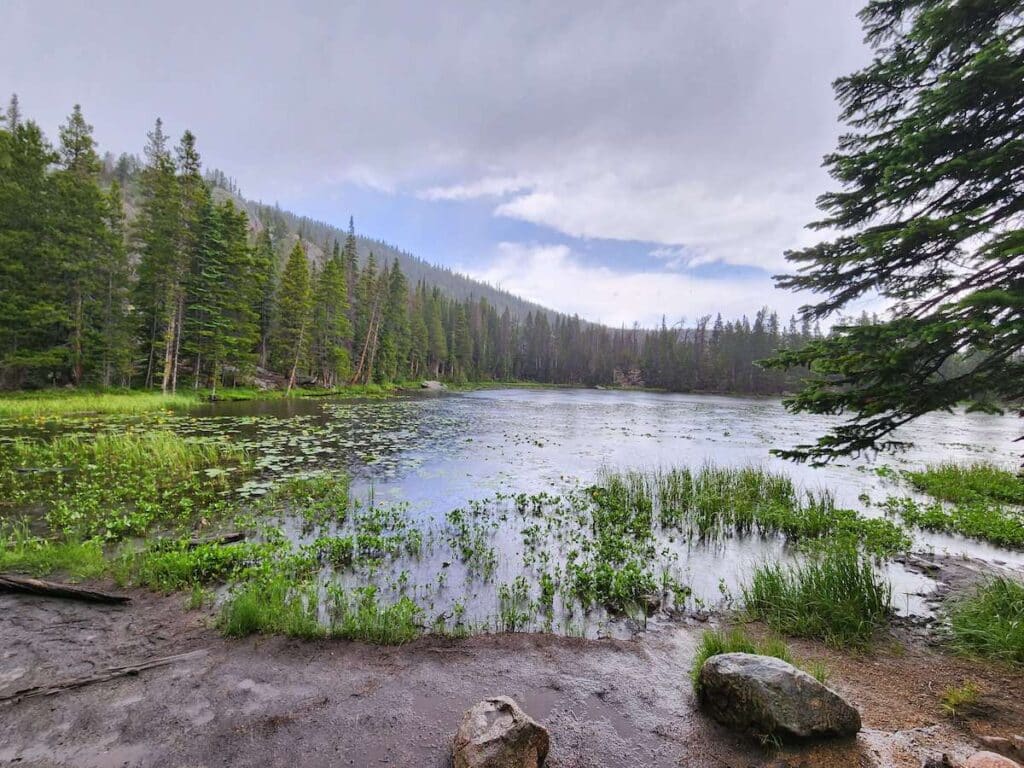
The hike to Nymph Lake is relatively easy since the trail is well-maintained and is perfect for hikers of all skill levels.
From the trailhead, getting to Nymph Lake takes about an hour and is approximately a 1.1-mile round-trip trek.
Along the way, you’ll come across several small waterfalls and landscape changes as you slowly gain about 245 feet in elevation.
Once you reach Nymph Lake, take your time to soak in the views of the mountains and the lake’s tranquil waters. It’s an excellent spot for a quick break before continuing on to Dream Lake.
Dream Lake
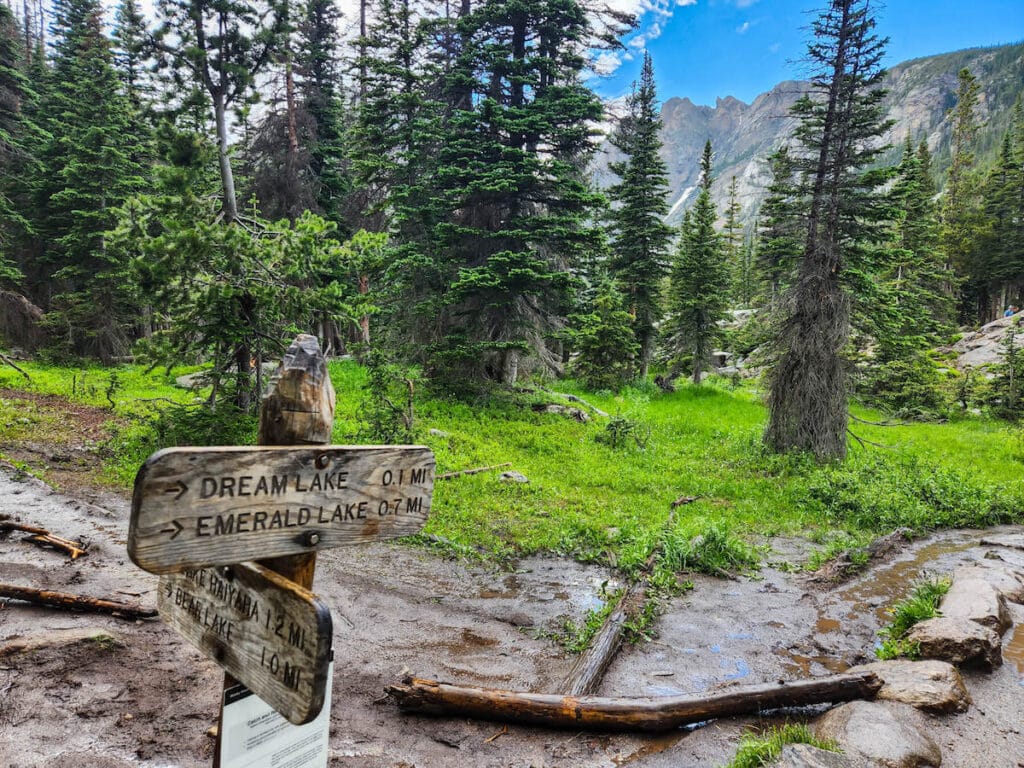
The hike to Dream Lake from Nymph Lake is another 0.6 miles along the same trail. It’s a steeper climb, gaining over 400 feet in elevation in just over half a mile.
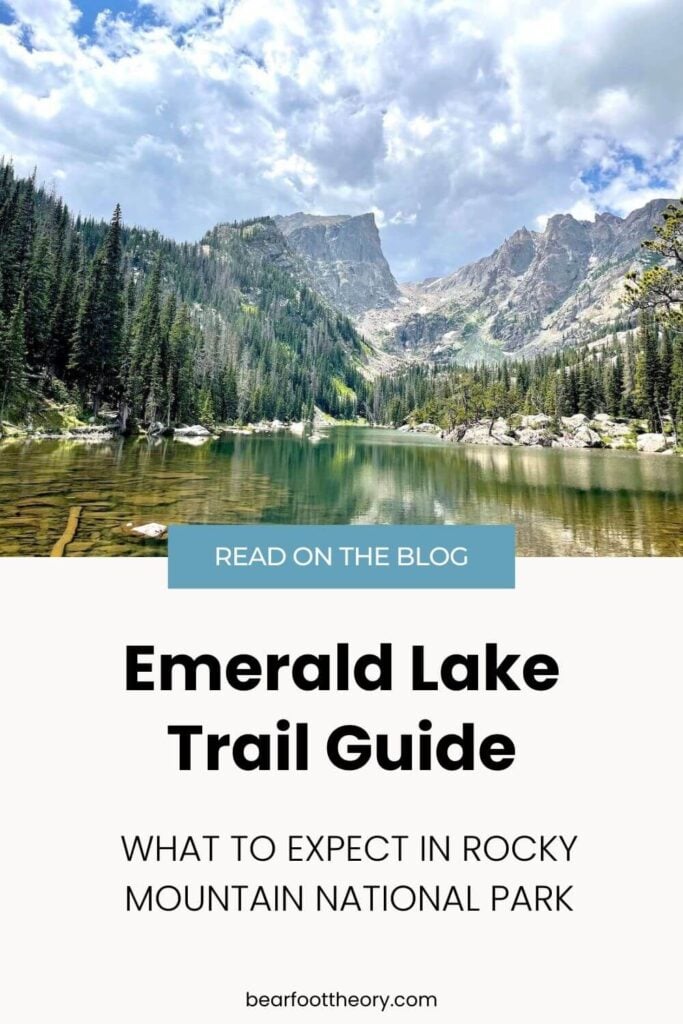
But it is definitely worth the hike and once you arrive, it’s easy to see why it is named Dream Lake- it is spectacular!
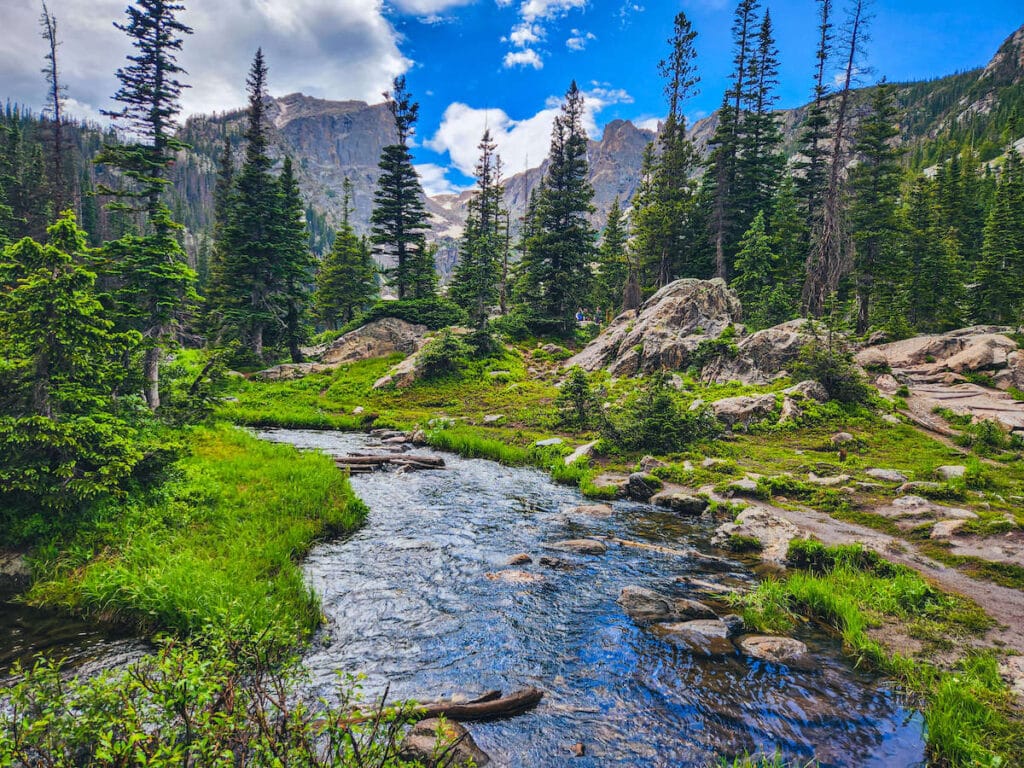
The turquoise-blue water reflects the surrounding mountains and highlights Hallett Peak with beautiful wildflowers lining the path during the summer months.
Dream Lake is a popular spot for fishing, wading, and picnicking and is considered one of the prettiest lakes in Rocky Mountain National Park.
However, be prepared for crowds, especially during peak season. Try to plan your visit for hiking early in the morning or on a weekday for a quieter experience.
Read next: Tips for Avoiding Overcrowded National Parks
Dream Lake is also a good place to stop your hike if the little ones are tiring. There are plenty of rocks to climb and cool streams to play in to make this an epic hike.
Several families were enjoying a snack on the surrounding large boulders while taking in the view. The total distance to Dream Lake from the Bear Lake trailhead is 2.2 miles roundtrip.

Tip: While hiking from Nymph Lake to Dream Lake, look to your left to see glimpses of Longs Peak. This 14’er rises 14,259 feet high and is the tallest mountain inside Rocky Mountain National Park!
Emerald Lake
For those wanting to complete the hike and see all three of these beautiful lakes, continue on the trail to Emerald Lake.
This section of the trail has a lot of log stairs and is the toughest portion of the hike. You’ll reach an elevation of over 10,000 feet and hiking at this elevation can make you breathless if you aren’t acclimated to it. Take it slow and rest as needed.
The distance from Dream to Emerald Lake is another 0.6 miles. This section of the trail offers stunning scenery including meadows, small waterfalls, streams, and wildflowers. Continue to follow the trail signs to reach Emerald Lake.
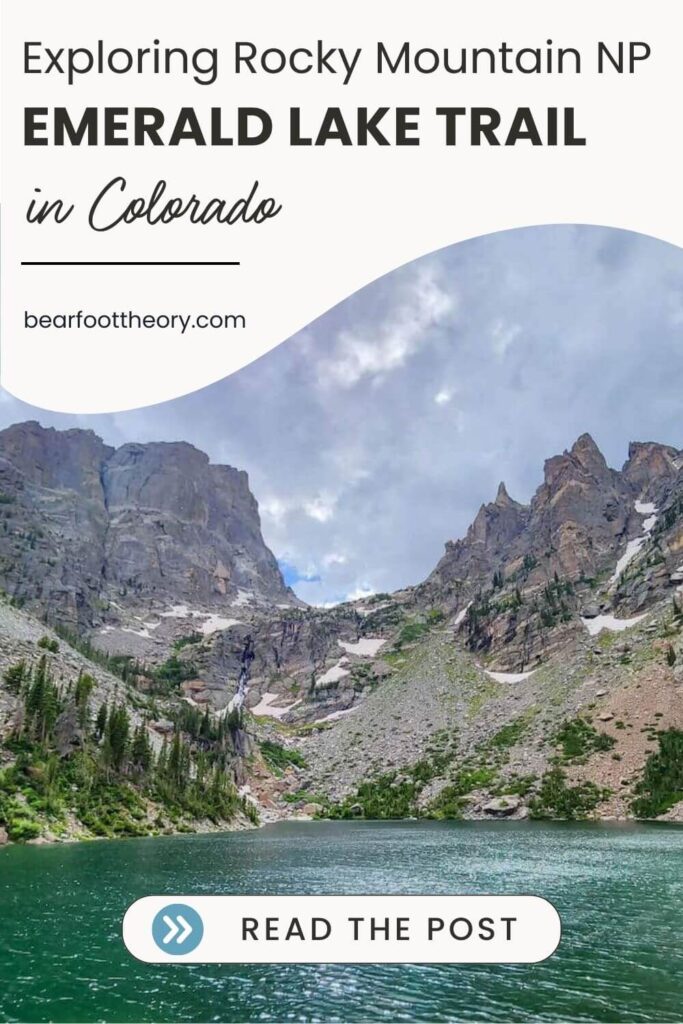
Once you feel as if you don’t want to see another stair in your life, you reach the picturesque landscape surrounding Emerald Lake. Here hikers are met with views of Tyndall Gorge, Flattop Mountain, and sparkling Emerald Lake.
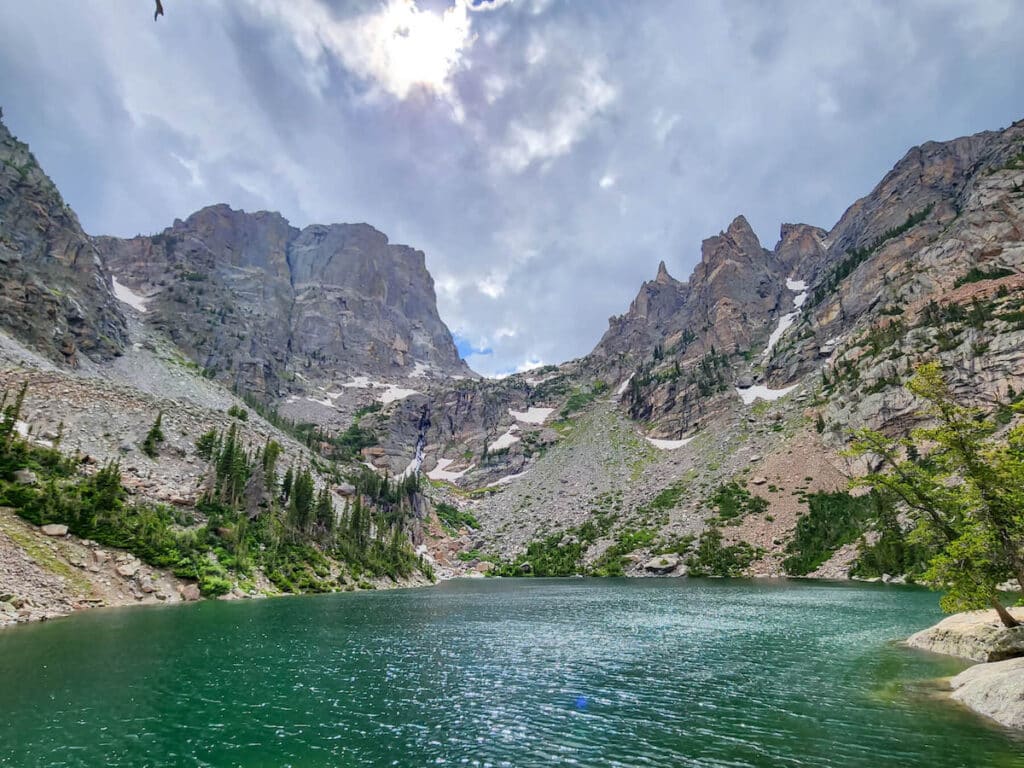
The total distance from the Bear Lake Trailhead to Emerald Lake is 3.6 miles roundtrip with an elevation gain of 702 feet from the trailhead.
It is much faster heading back to the parking area as the trail is mostly downhill. Just don’t forget to look around at the picturesque landscapes surrounding the trail to get a different angle!
Overall this hike takes anywhere from 2-3 hours depending on stops and hiking abilities.
Tips for Hiking Emerald Lake Trail
Before setting off on your hike in Rocky Mountain National Park, take these tips into consideration.
Elevation Changes
The trails in Rocky Mountain National Park range in elevation from 7,500 to over 12,000 feet. The hike to Emerald Lake has about 650 feet of elevation gain roundtrip.
Anyone can experience altitude issues when coming from lower elevations. Altitude acclimation takes time and can be different from person to person. Typically, it takes a few days for the body to recognize and begin to adapt to higher elevations, but it can also take weeks.
In order to prevent symptoms of altitude sickness be sure to drink plenty of fluids, limit alcohol consumption, don’t skip meals, and get plenty of rest.
If you notice any altitude sickness symptoms like headaches, dizziness, confusion, or nausea, seek medical help.

Sun Exposure
Ultraviolet light is more intense at higher elevations due to the thinner atmosphere, meaning there is less air for sunlight to travel through.
As a result, sun damage can occur more easily at higher altitudes. It’s important to protect your skin from UV exposure if you plan on spending time in the sun for an extended period of time.
Applying sunscreen with a high SPF rating, wearing a sun hat that shields your face and the back of your neck, and wearing UPF clothing and sunglasses to protect your eyes from harmful UV rays are recommended.
Weather Changes
Any time you are hiking at higher elevations it is essential to be prepared with layers of clothing. The temperature can vary significantly from the beginning to the end of a hike, especially with elevation changes.
Also, the weather conditions can change rapidly in the Rockies. Hiking with a packable waterproof jacket is always a good idea.
We began our hike with sunny skies and were met with a random hailstorm on our descent from Emerald Lake.
It’s helpful to be prepared with an extra set of clothes and lightweight shoes in your car to change into just in case you are met with inclement weather.
Read More
Dress Right For Your Hike
Save this post to Pinterest
READ NEXT
Looking for more tips on visiting Rocky Mountain National Park? Check out these posts:
Are you planning on visiting Rocky Mountain National Park? Is the Emerald Lake trail on your agenda? What questions do you still have? Leave a comment below!
To check out more of Erin’s work, head over to The Simply Salty Life.



I’m planning to hike the Emerald Lake Trail in Rocky Mountain National Park next month. I’m wondering, how early should I arrive at the Bear Lake Trailhead to avoid the crowds? I’ve heard that it can get very busy, especially in the summer.
I’d recommend getting up at sunrise and hopping on the first shuttle of the day. Otherwise you can do it in the late afternoon (bring a headlamp for the way back) to avoid peak crowds.