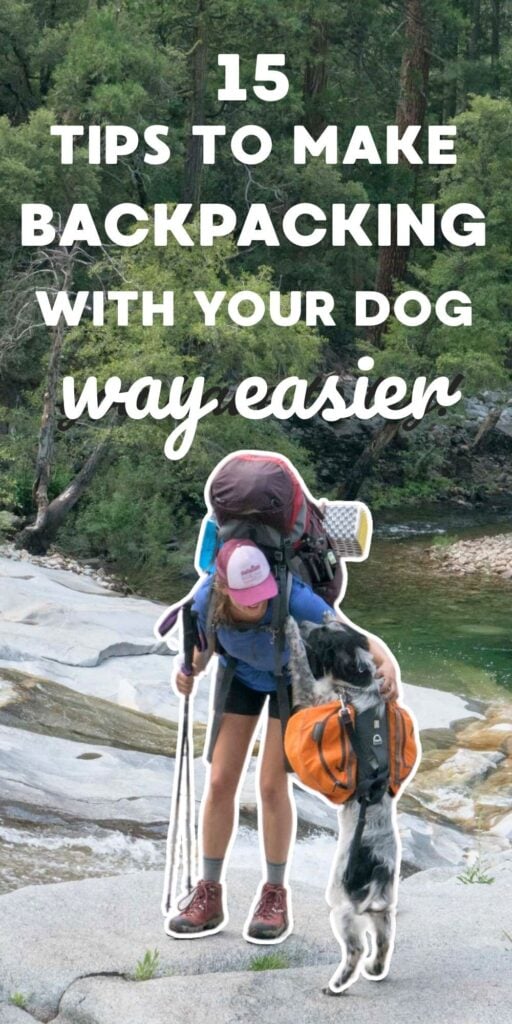
15 Trail-Tested Tips for Backpacking With a Dog (What I’ve Learned)
I’m breaking down my best dog backpacking tips — from safety and wildlife to packing lists and sleeping setups for you and your pup.
The first time I ever tried backpacking with a dog was back in 2010 with my Rhodesian ridgeback, Johnny. Honestly, I had no idea what I was doing—and it showed. Partway through the hike, Johnny overheated and just… stopped. He refused to move.
At 80 pounds, carrying him wasn’t an option. I panicked. It took a lot of coaxing (and a lot of treats) to get him down to a stream where he finally cooled off. It was scary, and I was so worried for his safety that I never took him backpacking again.
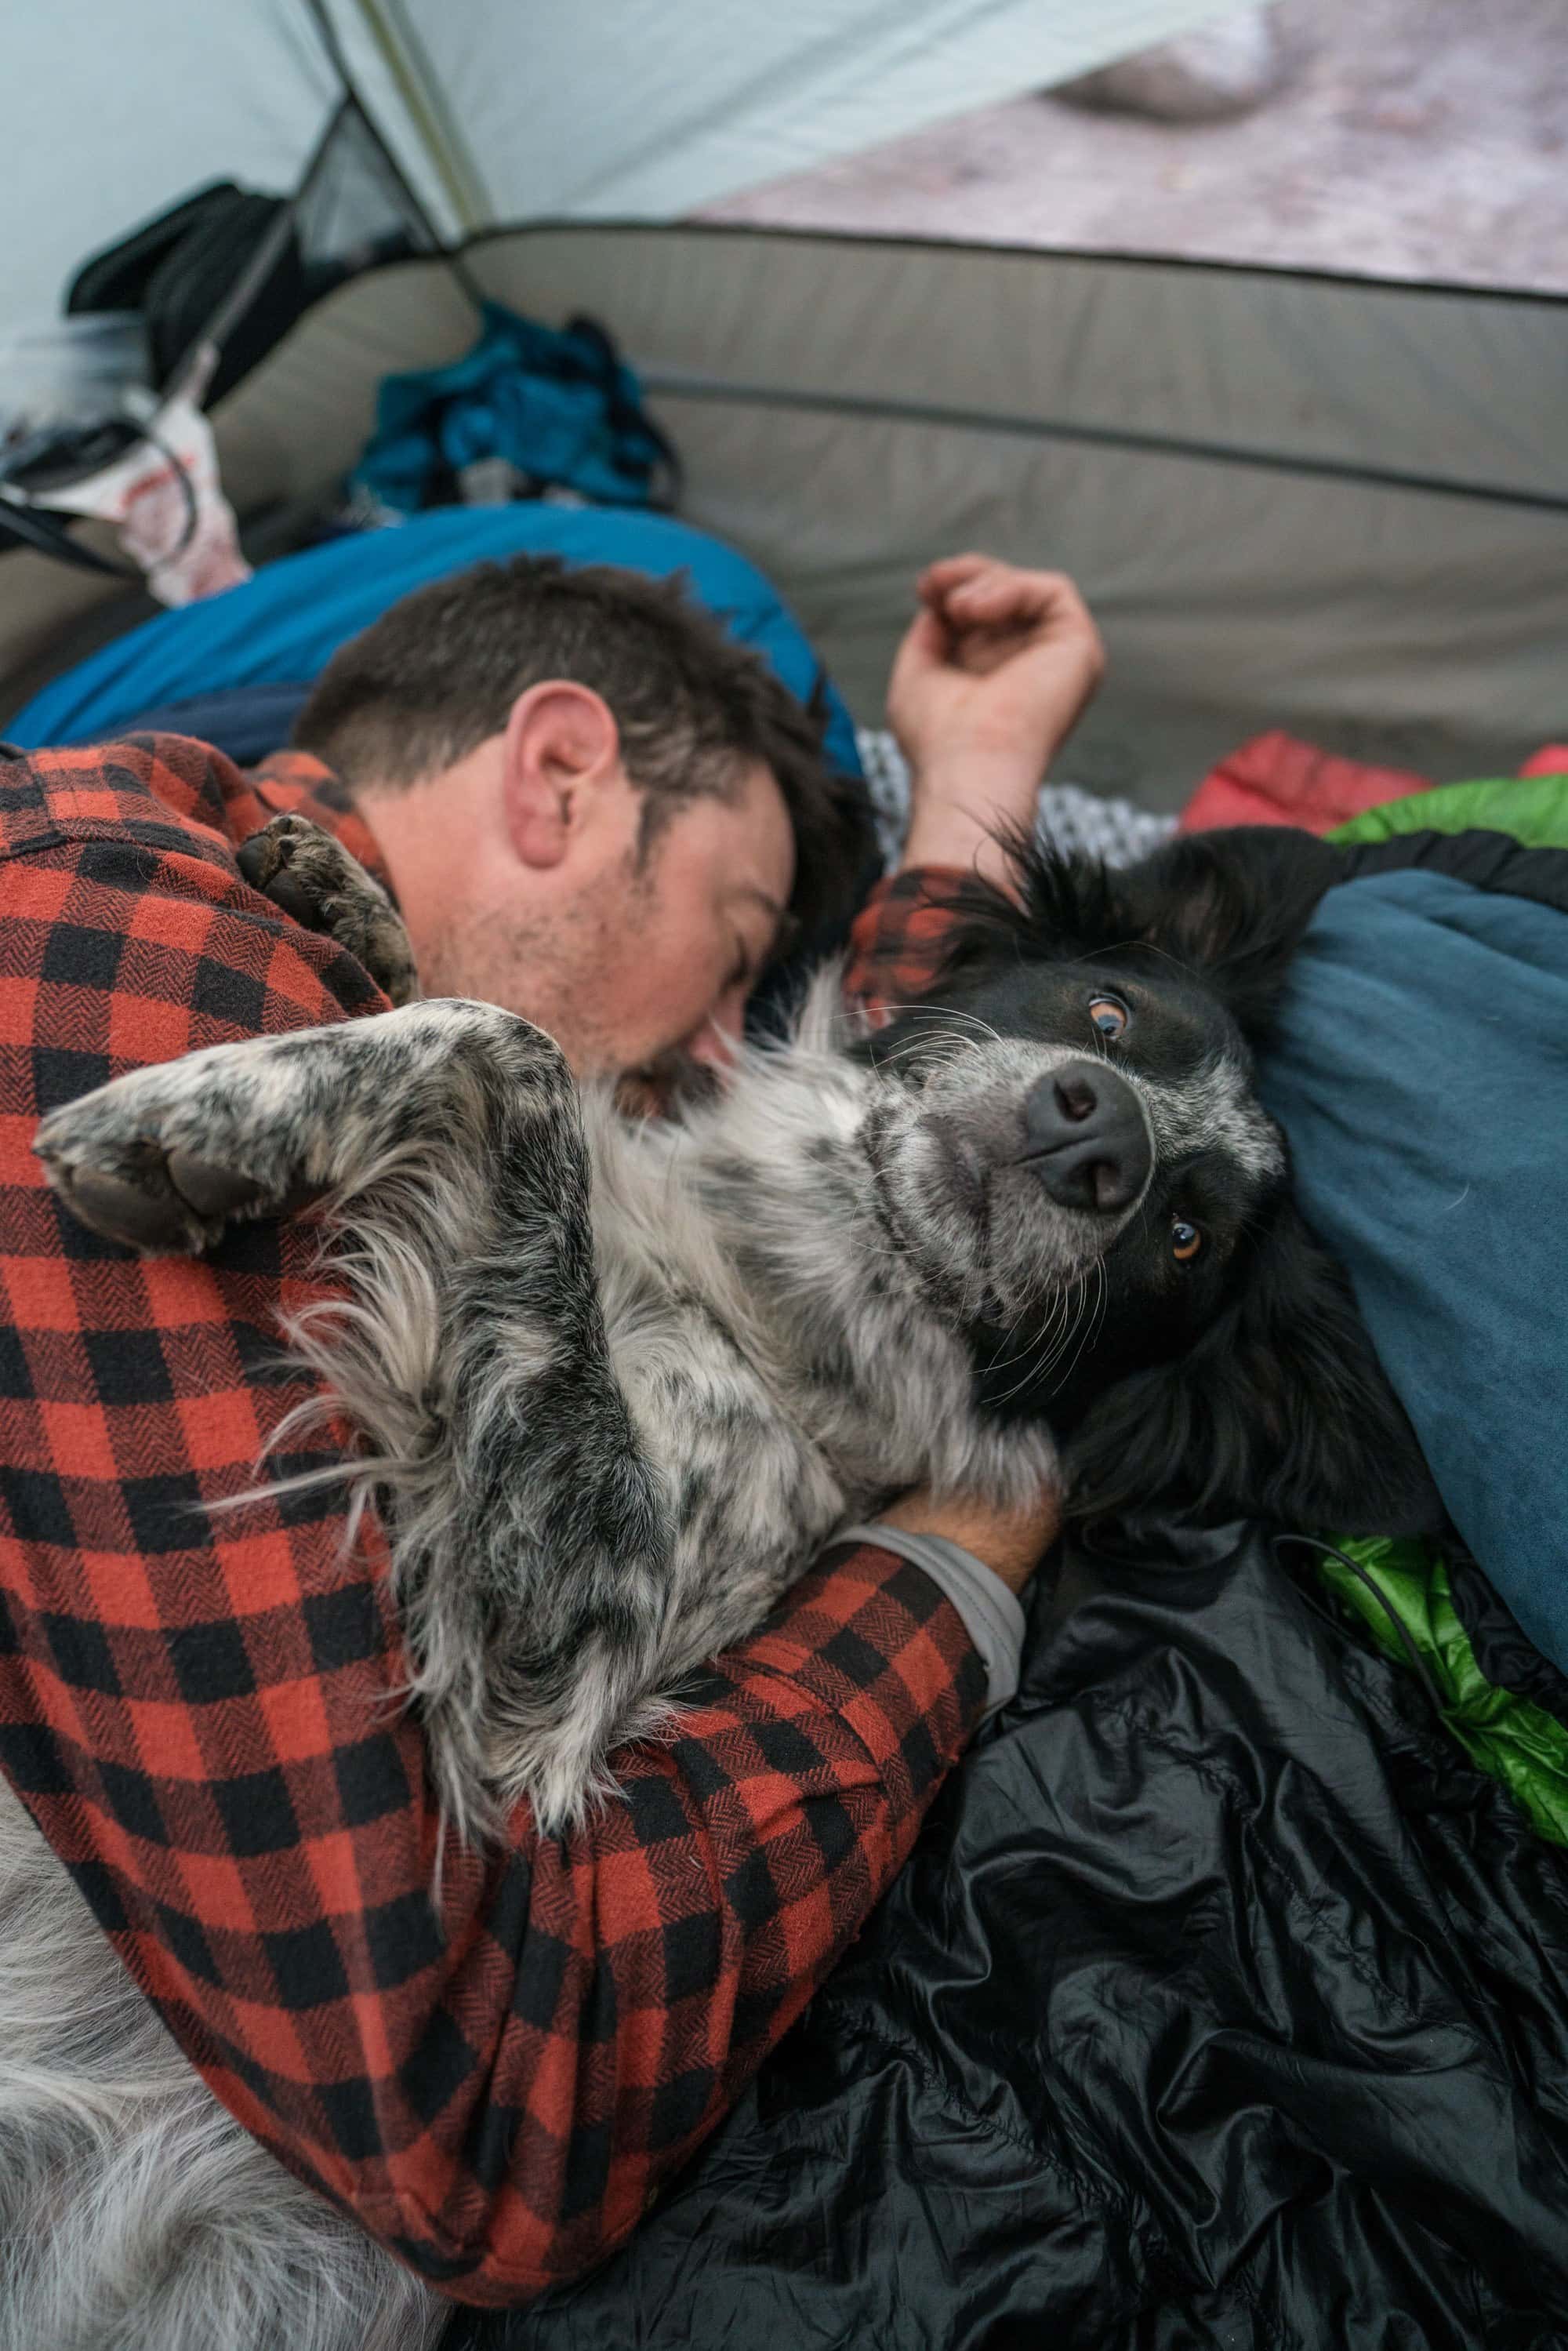
Fast forward to now, and things look a lot different. The dog I got next is Charlie. He’s a border collie with boundless energy and trail smarts to match. He’s the ultimate hiking partner, and thanks to his athleticism—and everything I’ve learned over the years—I felt confident giving backpacking with a dog another try.
Since then, Charlie and I have done tons of overnight trips, and I’ve picked up a lot of knowledge about what makes for a safe, successful backcountry adventure with a canine companion.
In this post, I’m sharing everything I’ve learned from experience, including:
Whether it’s your first overnight or your tenth, I hope this helps you and your dog have an amazing trip.
This post may contain affiliate links.
1) Choose a Dog-Friendly Trail
The very first thing I check before planning a backpacking trip with my dog is whether the trail even allows dogs. A lot of National Parks are off-limits, which is a bummer, but National Forest and BLM lands are usually much more welcoming. When I’m not sure, I just call the local ranger station and ask.
Once I’ve confirmed dogs are allowed, I start looking at whether the trail is actually good for a dog. Just because dogs are permitted doesn’t mean the trail is going to be safe or comfortable for them. These are the things I personally look for:
Save this post!
Enter your email & I'll send this post to your inbox! You'll also receive my weekly newsletter full of helpful advice for planning your adventures.
2) Make Sure Your Dog is Physically Prepared
Not all dogs are built for backpacking. Breeds like bulldogs struggle with heat and endurance, so if you’re still choosing a dog, look for an active breed that enjoys exercise.
That said, size isn’t everything—small dogs – like my mini-aussie Gumbo – can totally hit the trail. They just might need help over obstacles and won’t be able to carry much.
If your dog is new to hiking, start with short day hikes and build up slowly. Dogs need to condition just like we do, especially if they’ve been mostly indoor pets. When Charlie was getting started, I took him on gradually longer hikes to see how he handled it.
Once your dog has some trail experience, pick routes that match their ability. Charlie can do big mileage now, but when he was a puppy, I kept it easy so he could build stamina and confidence. Don’t expect your dog to do 10-mile days right off the bat—they’ll enjoy it a lot more if you ease into it.
3) Keep Your Dog Under Control at All Times
Even if your dog is great off-leash (like Charlie usually is), I always carry a leash where I can grab it fast. You never know when you might run into wildlife—or a hiker who doesn’t love dogs as much as you do. If your dog starts to bolt after a deer, you’ll want a way to reel them in quickly.
When our dogs are off-leash, we use e-collars set to vibrate mode. It’s super effective for getting their attention when they start to wander or get distracted. If we need them to heel, a quick buzz usually does the trick.
If we’re on a trail where leashes are required—I use a hands-free waist leash. It makes hiking with trekking poles – see my favs here – way easier and keeps my hands free for navigating rougher sections.
If you’re thinking about letting your dog off-leash, make sure they’re fully trained and have solid recall. If they don’t come the first time you call, they’re not ready. And just in case something goes wrong, make sure your dog has current ID tags and a microchip.
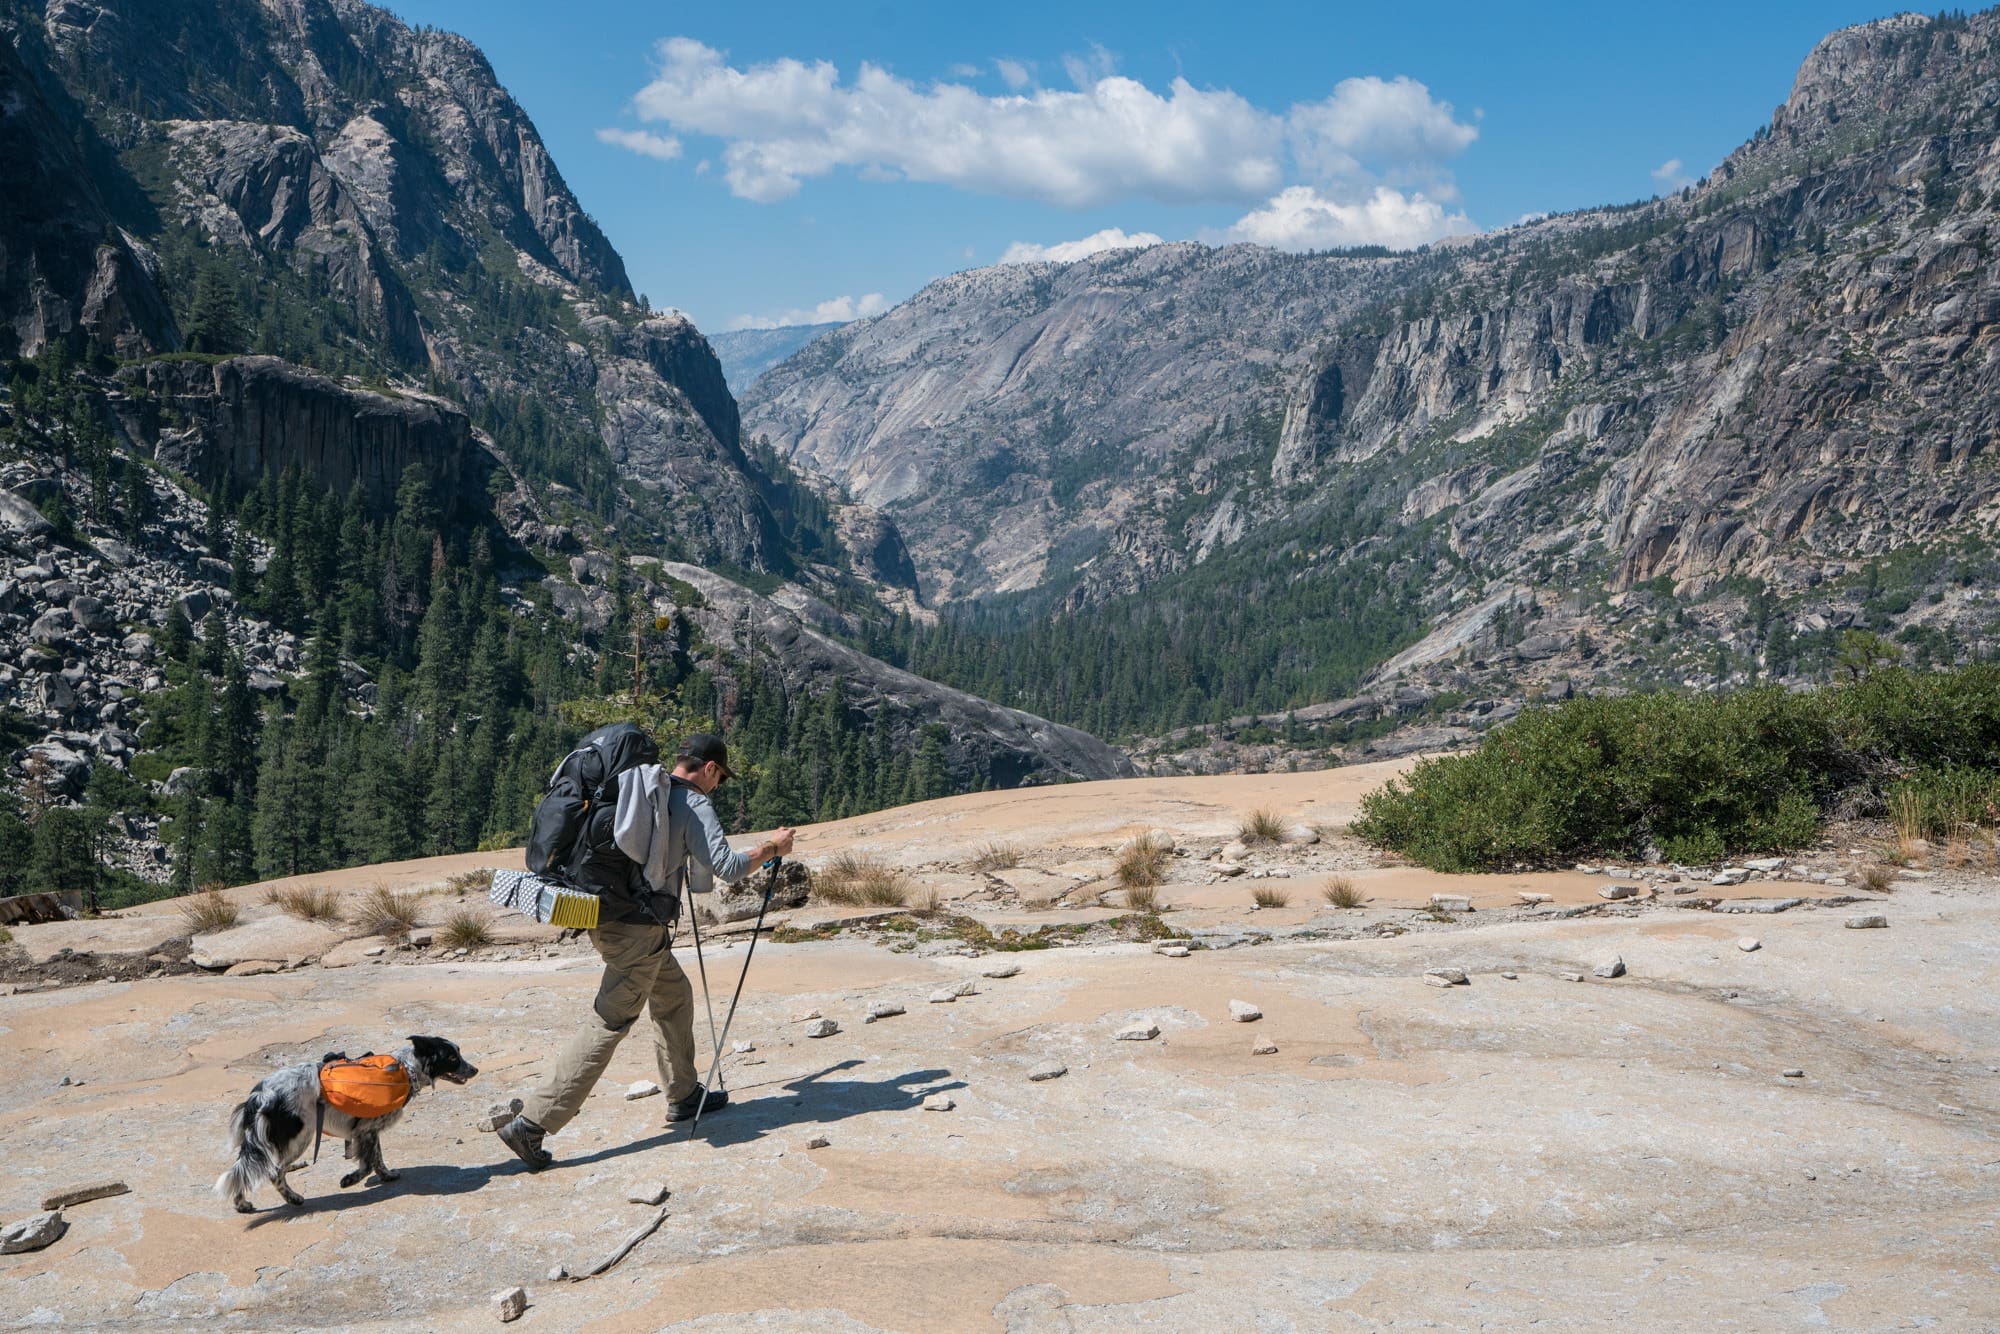
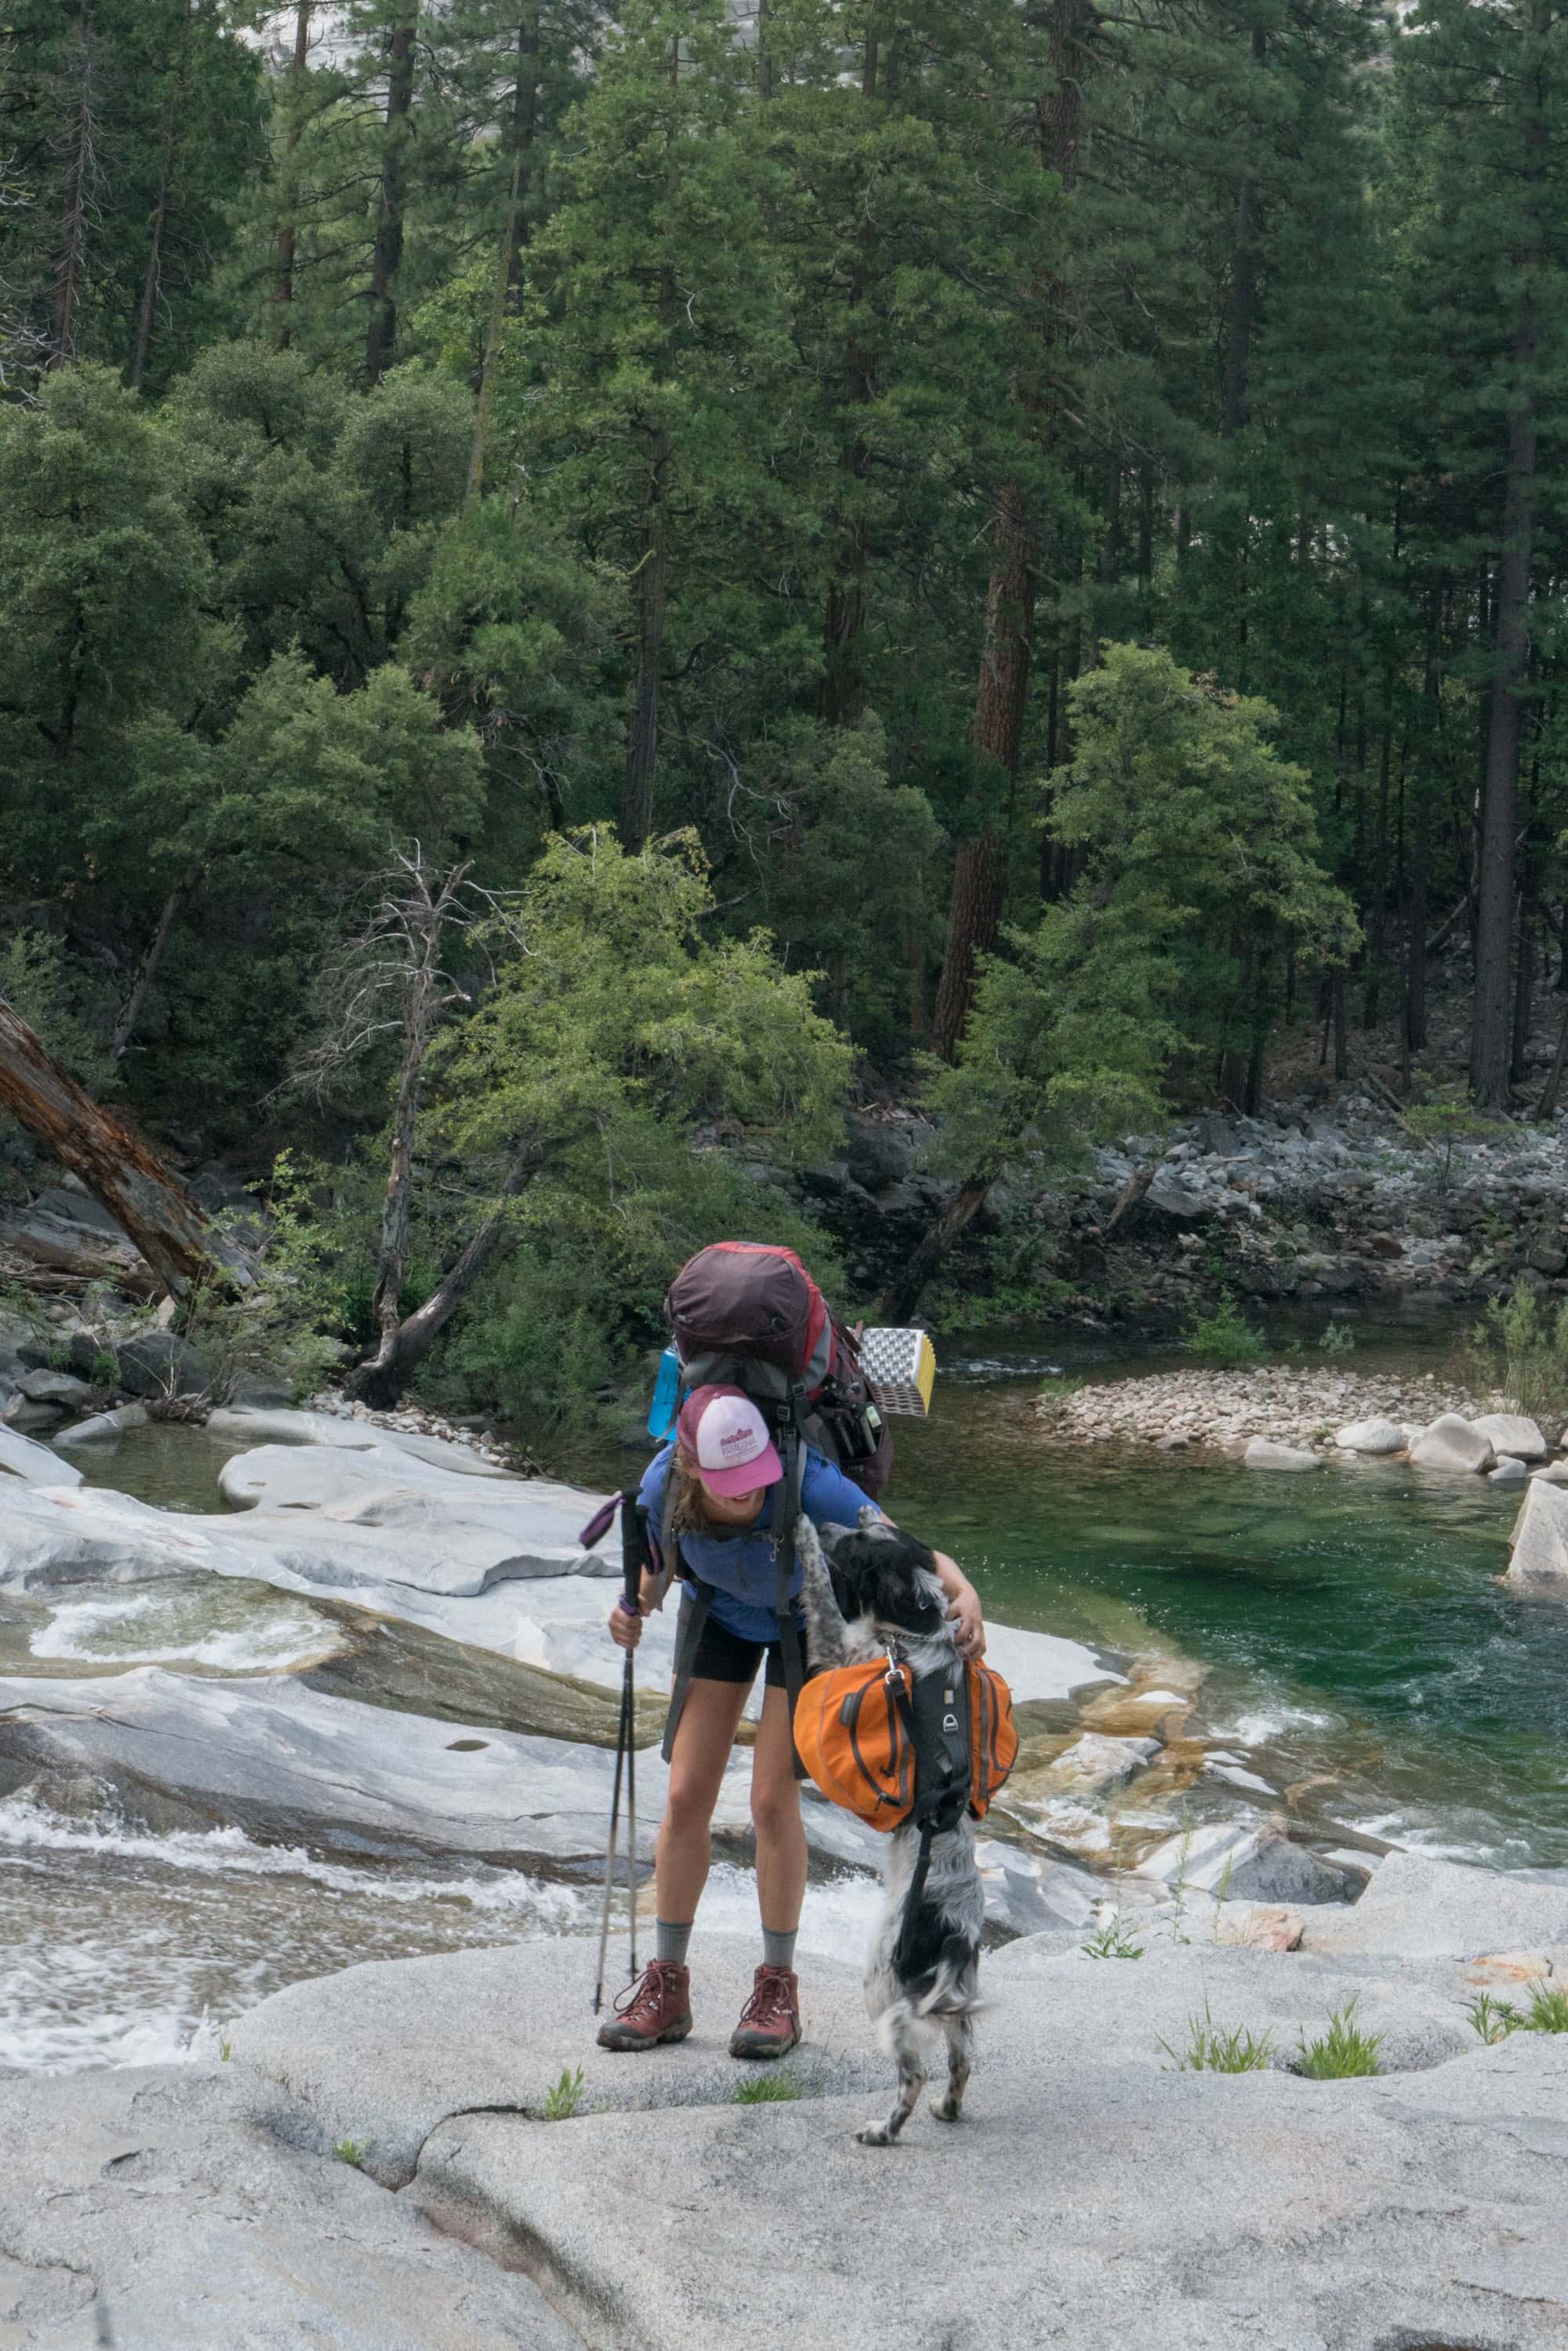
4) Let Your Dog Carry Their Own Gear
Once Charlie started joining us on backpacking trips, getting him a backpack was a total game-changer. It lightened my pack and gave him a little job to do—which, as a working dog, he loves. Many dogs enjoy having a “task,” and carrying their own food and gear is a great way to keep them engaged on the trail.
I recommend starting with no more than 10% of your dog’s body weight.
We use the Ruffwear Approach Pack, which has been perfect for Charlie. It’s durable, fits well, and the saddlebags are streamlined enough that they don’t flop around when he runs or scrambles over rocks. Ruffwear also makes a lighter version called the Front Range Pack if your dog’s carrying less weight or just getting started.
In his pack, Charlie carries a little bit of food, a collapsible bowl, a ziplock of treats, and poop bags – so nothing too crazy, but I find that it keeps him focused on the trail.
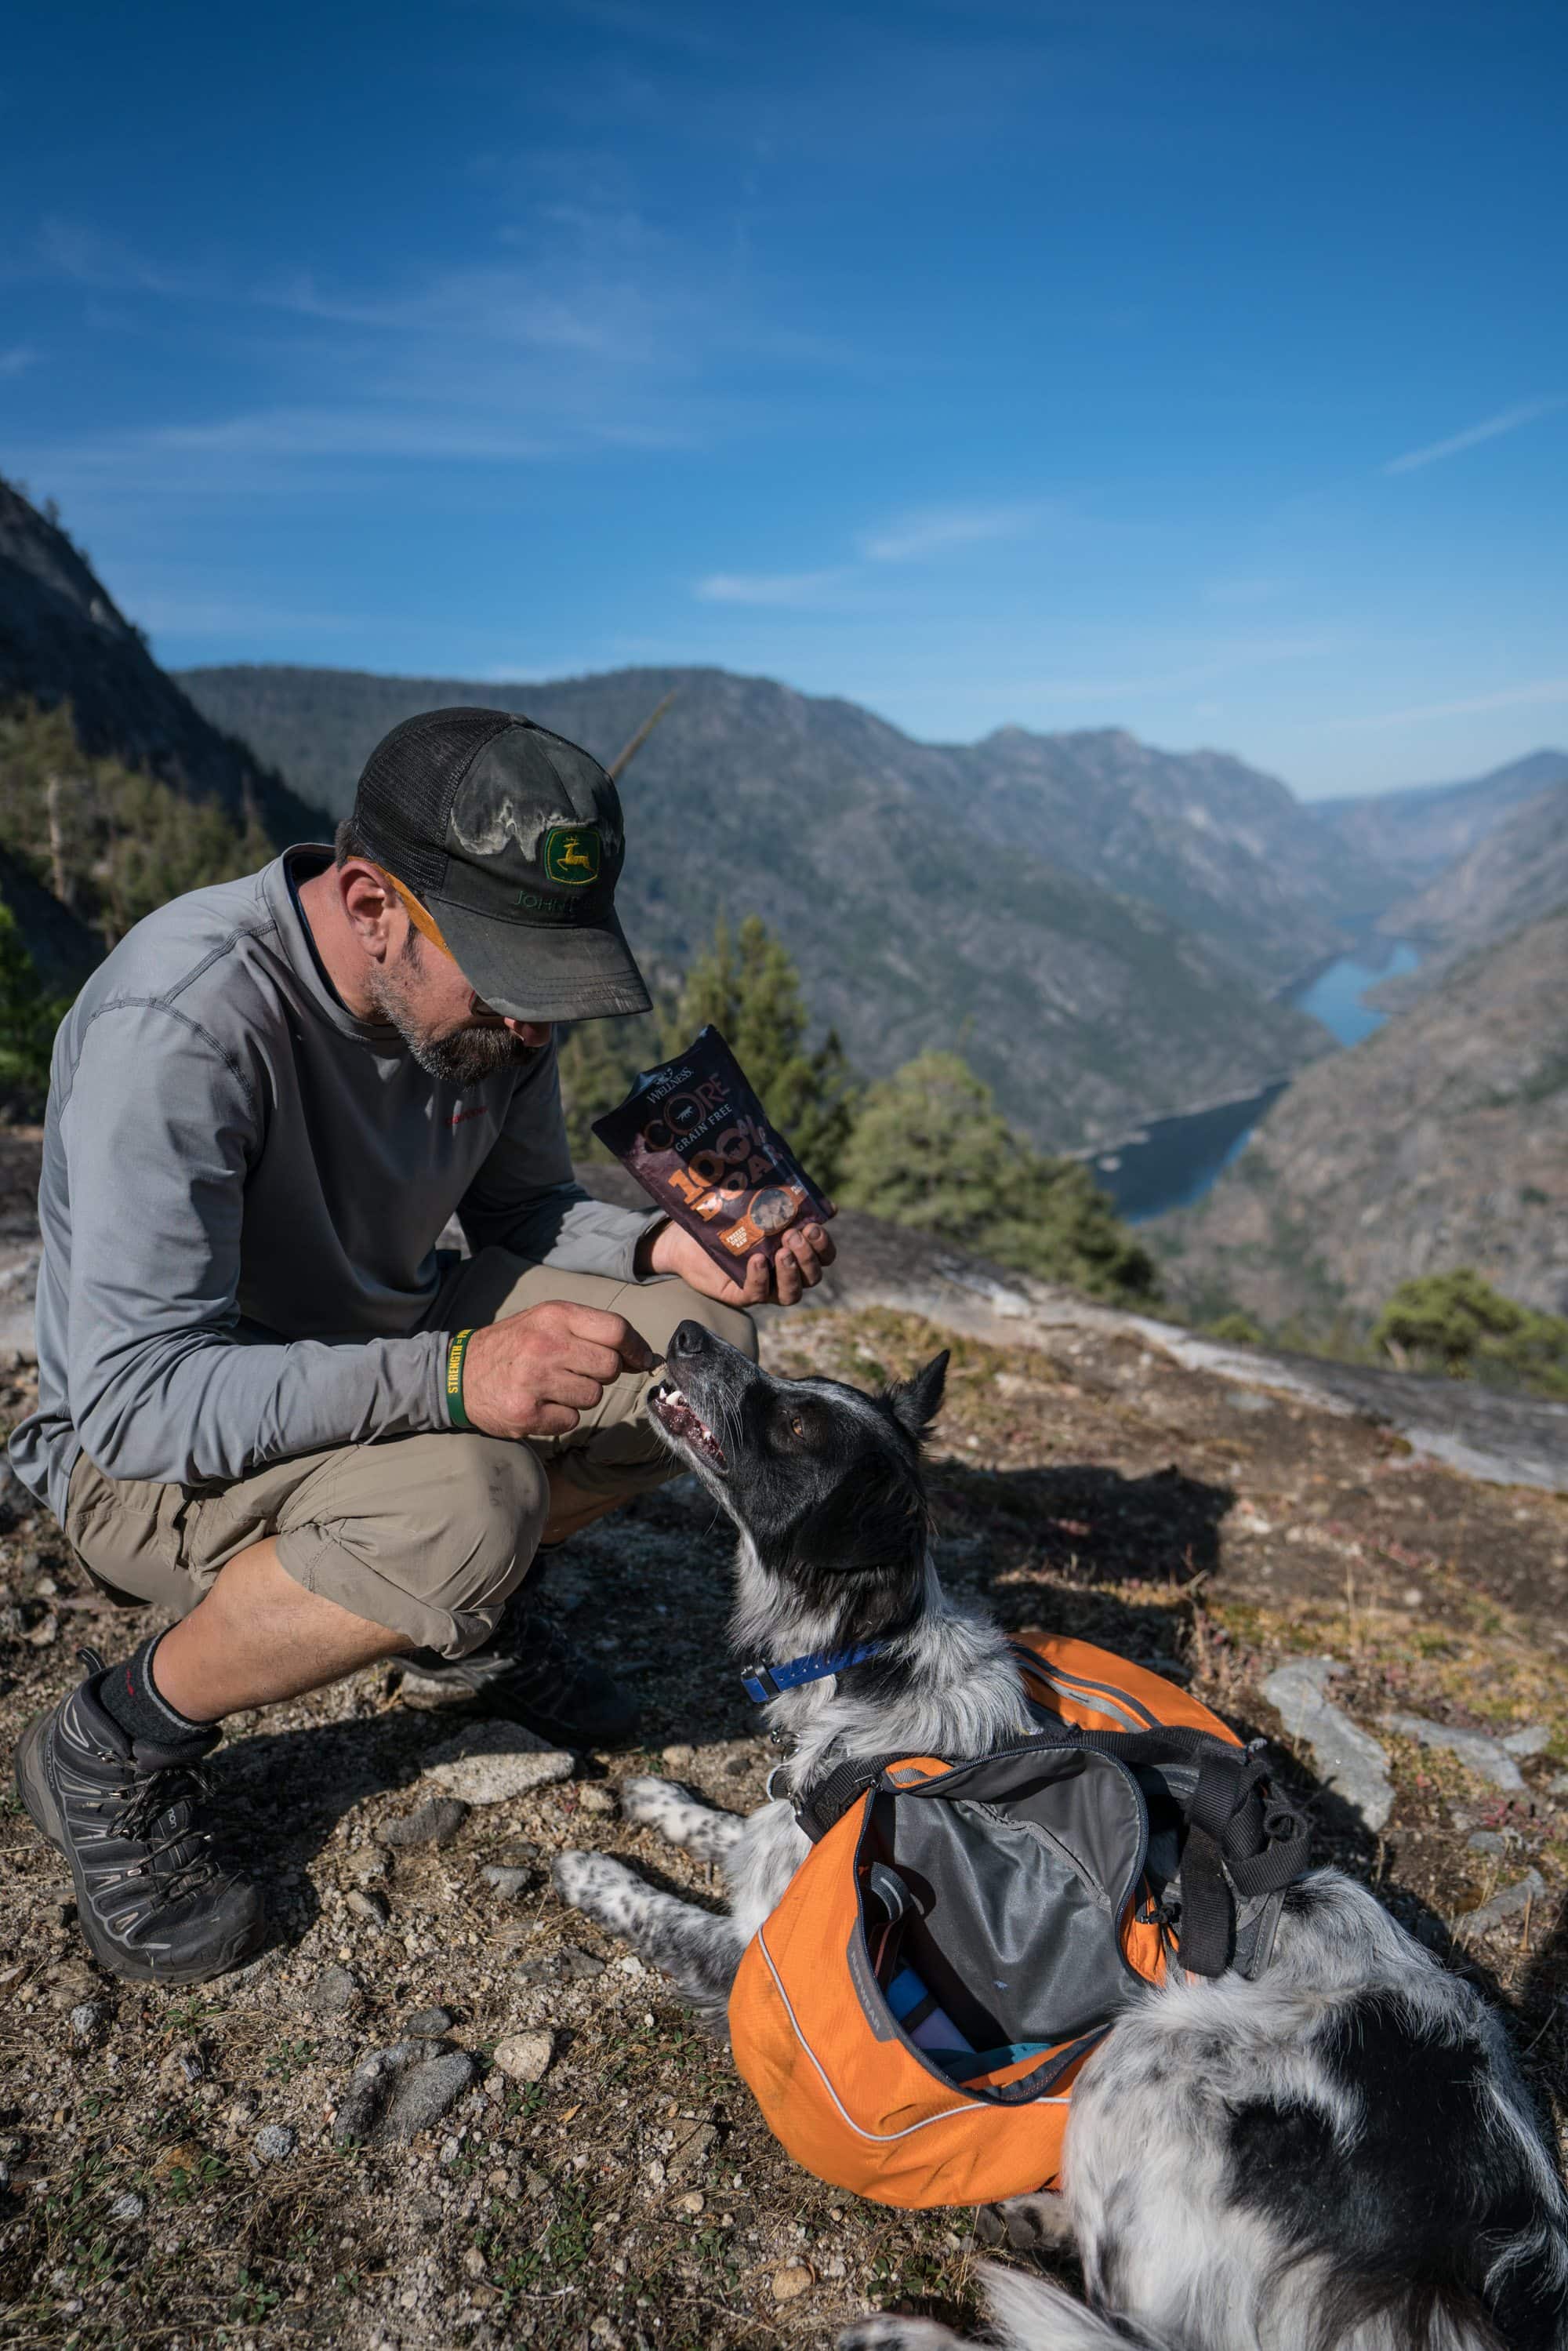
5) Make Sure Your Dog Gets Adequate Nutrition
Backpacking burns a ton of calories—for both you and your dog. When Charlie’s on the trail, he definitely eats more than usual, so I always bring a little more food than I think he’ll need.
I also pack lightweight treats to reward good trail behavior and give him an energy boost. Freeze-dried treats are my go-to—they’re light, don’t crumble, and Charlie will do pretty much anything for them.
If you’re backpacking in bear country, make sure your dog’s food and treats go in your bear canister, right along with your own. Not only will this protect it from bears, it’ll also keep out mice, squirrels, and other critters who would love to chew through your pack for a snack. If you’re not using a canister, still be smart—never leave dog food unattended in your tent or backpack.
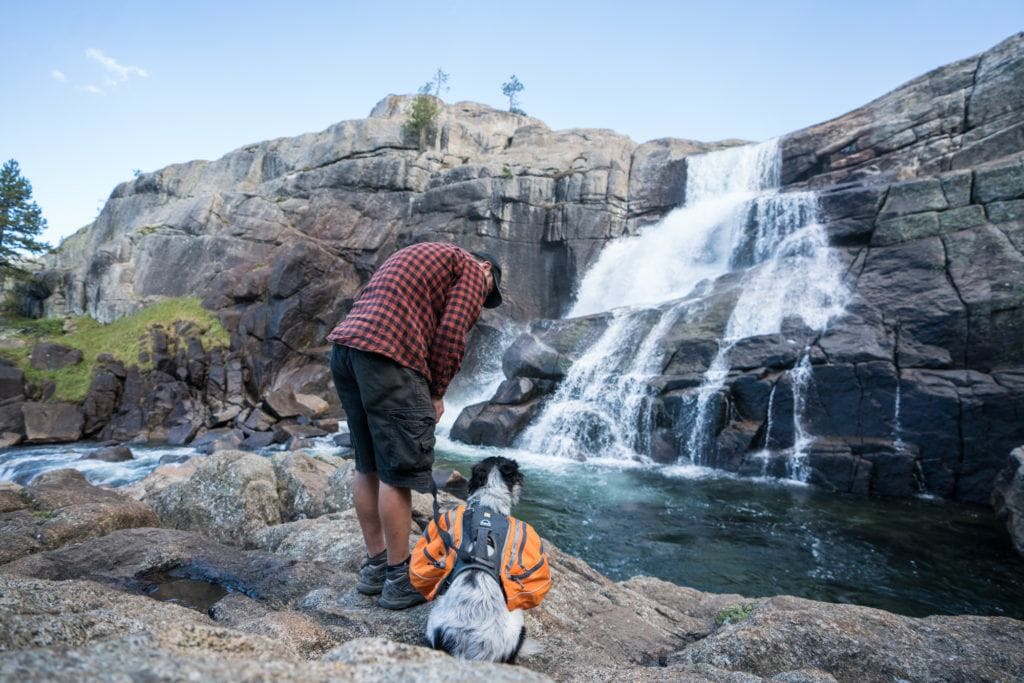
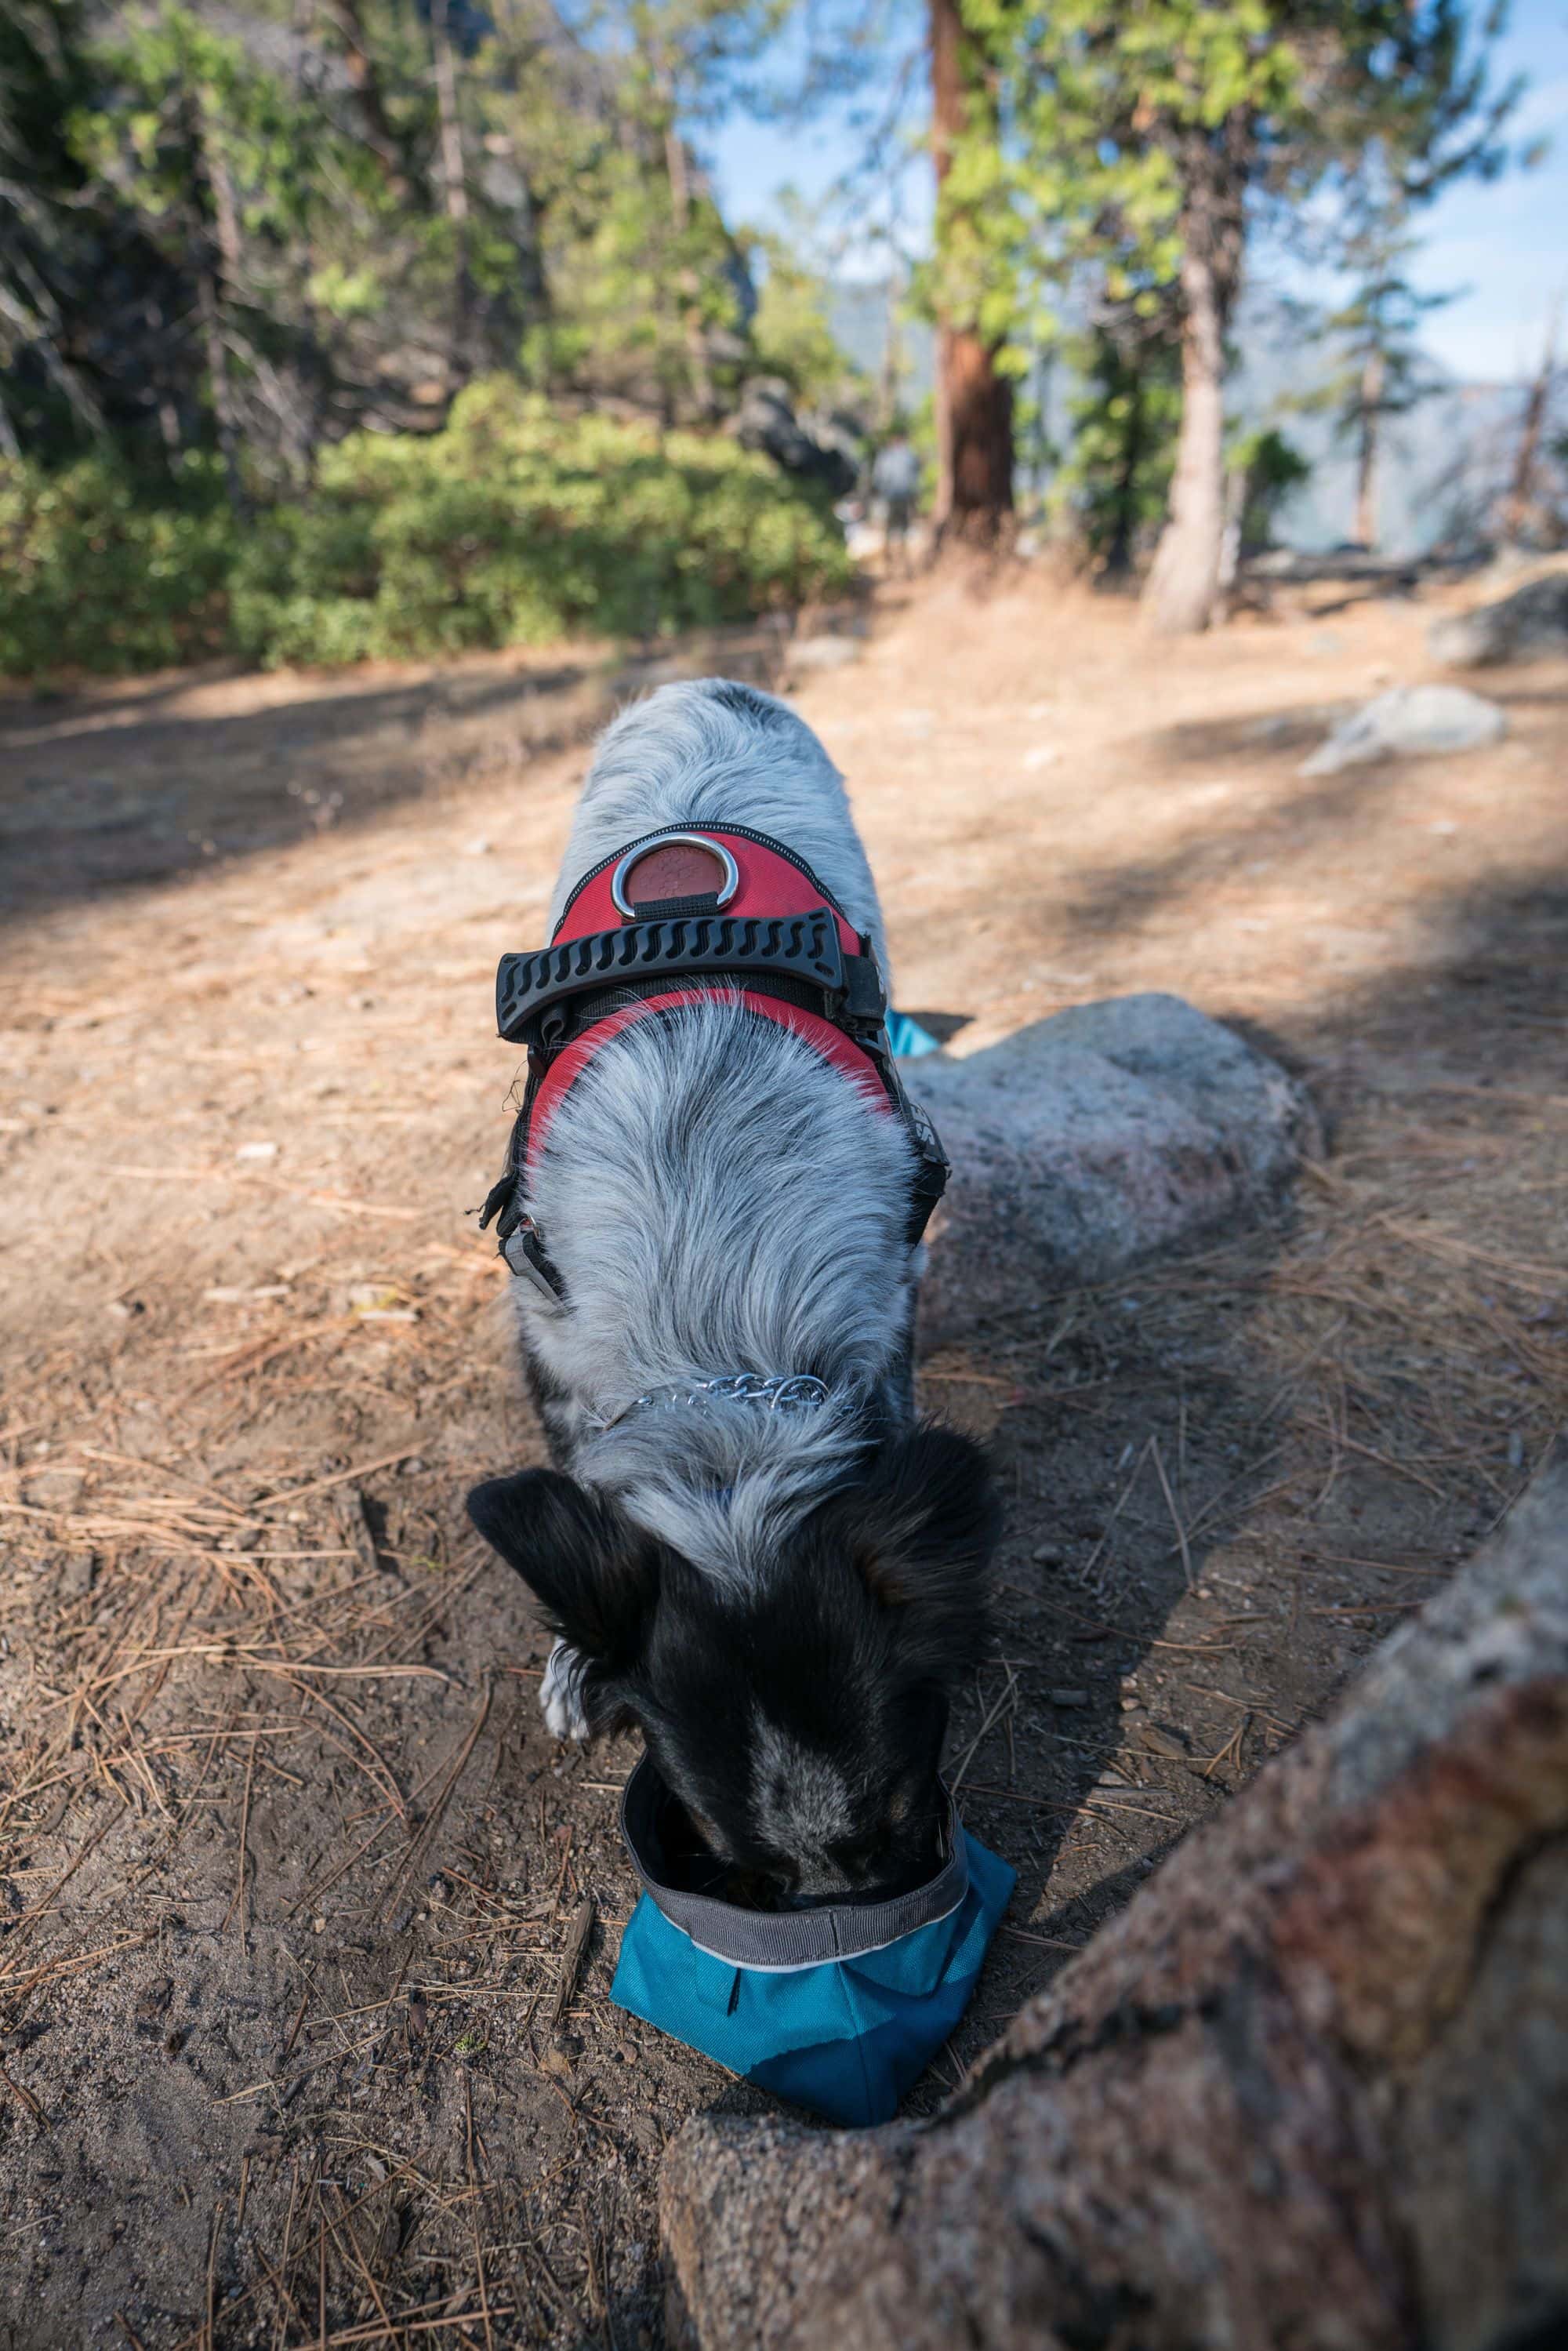
6) Keep Your Dog Hydrated
Staying on top of hydration is one of the most important parts of backpacking with a dog. I always make sure Charlie has access to clean water throughout the day—just like I do for myself. And yes, I filter his water too (see my next point).
When we’re at camp or taking a break, I set out his collapsible bowl (we use one from Ruffwear that fits right in his backpack) and offer him water. On the trail, I make a point to stop every hour or two for a drink, and I watch for early signs of dehydration like a dry nose or extra panting.
7) Filter Your Dog’s Water
Just like I wouldn’t drink straight from a stream, I don’t let Charlie drink untreated water either. Dogs can get sick from the same pathogens we can—like giardia or other parasites—and the last thing you want is a sick dog in the middle of the backcountry.
So whatever I’m using to filter my own water, I use it for his too. I just filter some into his collapsible bowl, and we’re good to go. It’s quick, easy, and totally worth the peace of mind.
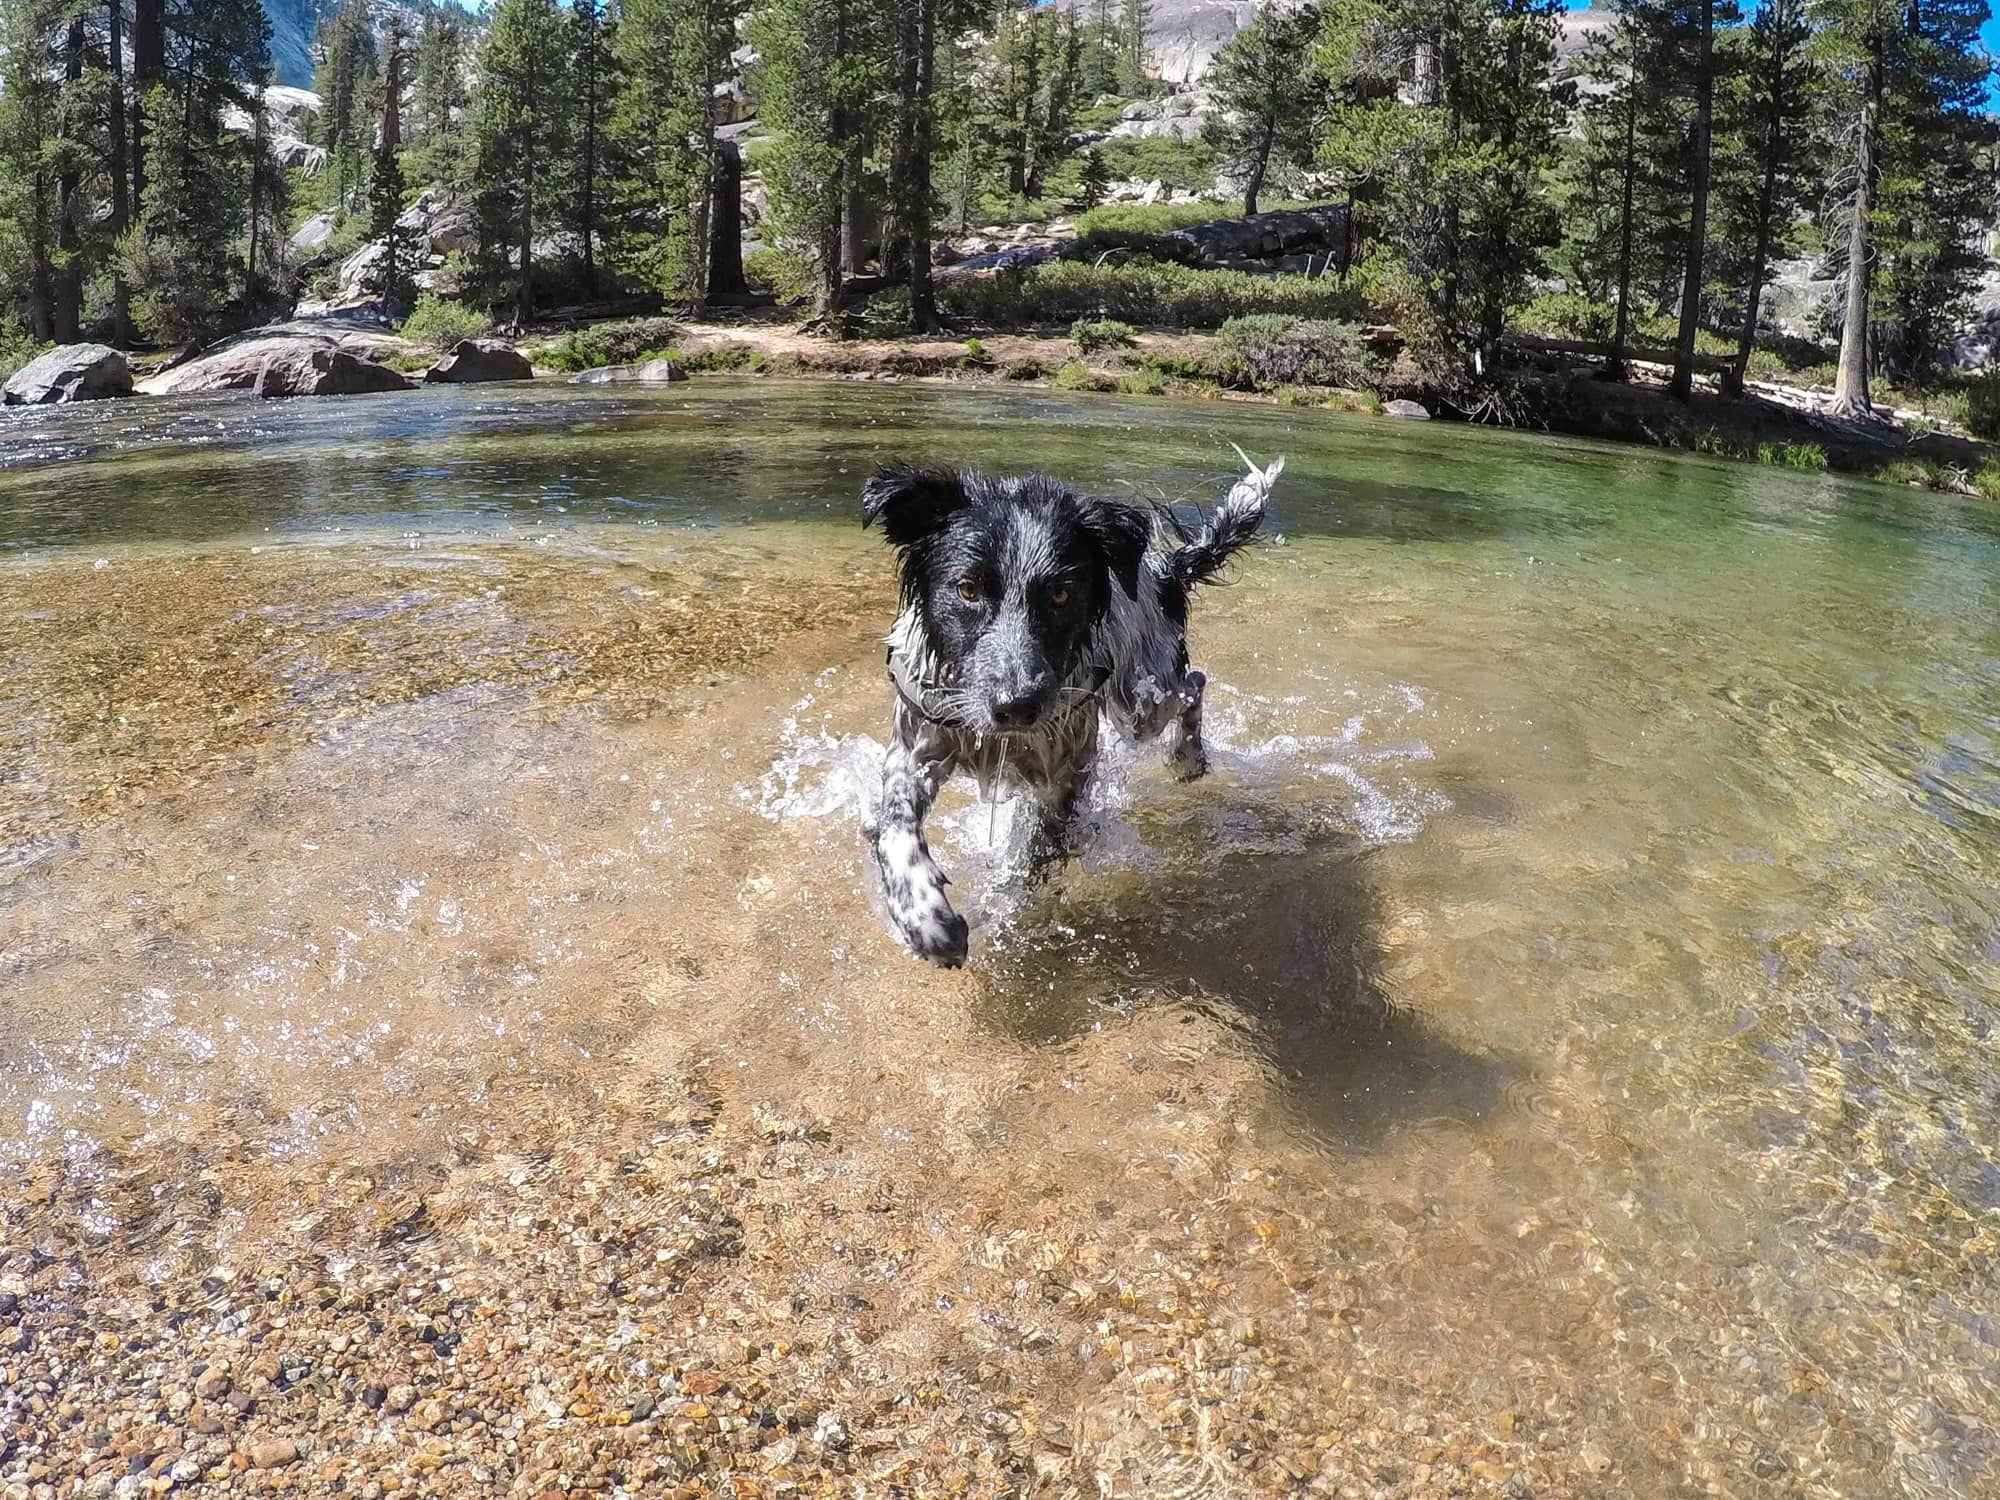
8) Keep Your Dog Cool in the Heat
After what happened with Johnny, I’m super cautious about hiking in hot conditions. Heat exhaustion is no joke, and dogs can overheat fast—especially on exposed trails with little shade.
If it’s hot out, I build in more breaks, find shady spots to rest, and let Charlie cool off in streams whenever we come across one. He loves splashing around, and it does wonders for keeping his core temperature down. I avoid hiking in the middle of the day if I can, especially in hotter climates.
The main thing is to watch your dog closely. If they’re panting heavily, slowing down, or looking uncomfortable, stop and cool them off—don’t try to push through it. I’d rather arrive at camp late than risk my dog’s safety.
9) Protect Your Dog’s Paws While Backpacking
Your dog’s paws take a beating on the trail, especially if you’re hiking on rocky or rough terrain. I’ve learned to check Charlie’s paws regularly—usually at breaks and definitely at the end of the day—to catch any cuts, cracks, or rubbing early before they turn into real problems.
We’ve tried booties, but Charlie absolutely hated them. He would do anything to get them off. What works way better for us is a wax-based paw balm called Musher’s Secret. I put it on in the morning before we start hiking and again at night. It helps moisturize his paws and adds a layer of protection against rough surfaces and hot ground. You just have to make sure they don’t lick it off.
If you’re not sure how your dog’s paws will hold up, start by doing a few longer hikes on similar terrain and see how they do. And always pack a small paw care kit—mine includes Musher’s Secret, some gauze, tape, and a small pair of scissors—just in case we need to deal with a cut on the trail.
10) Keep an Eye on Your Dog at Night
Once we’re at camp, I like to give Charlie a little freedom to move around—but I still want to know exactly where he is. To make that easy, I clip a small LED light to his collar so I can spot him at a glance, even if he wanders into the trees or behind a bush.
It’s such a simple trick, but it gives me peace of mind. I don’t have to constantly call him or worry that he’s wandered too far—I can just follow the little glow bouncing around the campsite.
11) Follow Leave No Trace Practices with Your Dog’s Poop
Leave No Trace principles apply to your dog just like they do to you.
I was told by rangers in Yosemite that when you are backpacking with your dog, all poop should be buried in a cathole 6–8 inches deep and at least 200 feet from water and camp. If your dog goes too close to a stream or right in the middle of camp, you can use your poop shovel to move it to an appropriate spot and bury it properly. Alternatively, you can carry it out in poop bags.
I store my backpacking poop shovel in a ziplock bag inside Charlie’s backpack to keep things sanitary and easy to access.
Leaving dog waste out in the open isn’t just gross for other hikers—it can contaminate water sources and disrupt the ecosystem.
12) Know Basic Dog First Aid
I’m not a vet, and I won’t pretend I know how to handle every possible dog injury on the trail—but I do believe in being prepared for the basics.
Before I took Charlie backpacking, I made sure that I understood how to treat common, minor issues like a cut paw or a scraped nose. I don’t need to be an expert—I just need to be able to keep things from getting worse until we can get off the trail.
I carry essentials like gauze, tape, antiseptic wipes, and tweezers, plus a few dog-specific items like paw balm and sometimes backup booties if they are absolutely necessary.
* Fun tip: If your dog hates booties, try putting a toddler-sized sock over their paw instead. You can use tape to tighten it so it doesn’t fall off.
If you’re not sure where to start, there are plenty of pre-made dog first aid kits available online, and you can always customize one to fit your trip.
13) Give Your Dog Room to Sleep in Your Tent
If your dog is sleeping in your backpacking tent with you (which I definitely recommend), make sure there’s enough space for everyone to get a good night’s rest. When it’s me, my partner, and Charlie, we bring a 3-person tent so he has his own space.
To make Charlie more comfortable, we pack a closed-cell foam pad just for him. It weighs barely over a pound, but it gives him insulation from the cold ground and a soft spot to crash after a big day. It also helps him settle in quickly—he knows it’s his space when we set it down.
14) Be Prepared for Emergencies (Even If You Hope You’ll Never Need To)
I never expect something to go wrong on the trail—but I’ve learned to think through the “what ifs” anyway. Especially when I’m backpacking with Charlie, I like to have a rough plan in mind in case he gets injured or something unexpected happens.
I carry a Garmin InReach on all of our trips. I’m obviously not going to hit the SOS button if Charlie’s injured, but it’s peace of mind knowing I can text a friend or family member for help if we need to bail early or I can’t get him out on my own. It’s also a good backup if we lose the trail or run into bad weather.
Before heading out, I usually ask myself:
I don’t obsess about worst-case scenarios, but having a loose plan helps me feel more confident out there.
15) Wildlife Awareness on the Trail
Before you go hiking with your dog, it’s essential to brush up on basic wildlife safety tips so you know how to react if you have a run-in with an animal on the trail. I always carry bear spray, leash my dogs, and stay more alert than usual. It’s just not worth the risk to let them roam in areas where a wrong move could escalate fast.
Some animals, like moose, are especially aggressive toward dogs, and a loose dog can make a dangerous situation worse. When we were in the Canadian Rockies, our dogs stayed leashed the entire time.
I also treat dog food like human food—everything scented goes in a bear canister to avoid attracting unwanted visitors around camp.
Backpacking with your dog is one of the most rewarding ways to experience the outdoors. It’s not always easy—there’s extra planning, extra gear, and a few more variables to manage—but sharing those quiet mornings, trail miles, and campfire hangs with your pup makes it all worth it.
If you’re heading out soon, I hope this guide helps you feel confident and ready. And if you’ve already hit the trail with your pup, I’d love to hear about it—drop your best tips or trail stories in the comments!
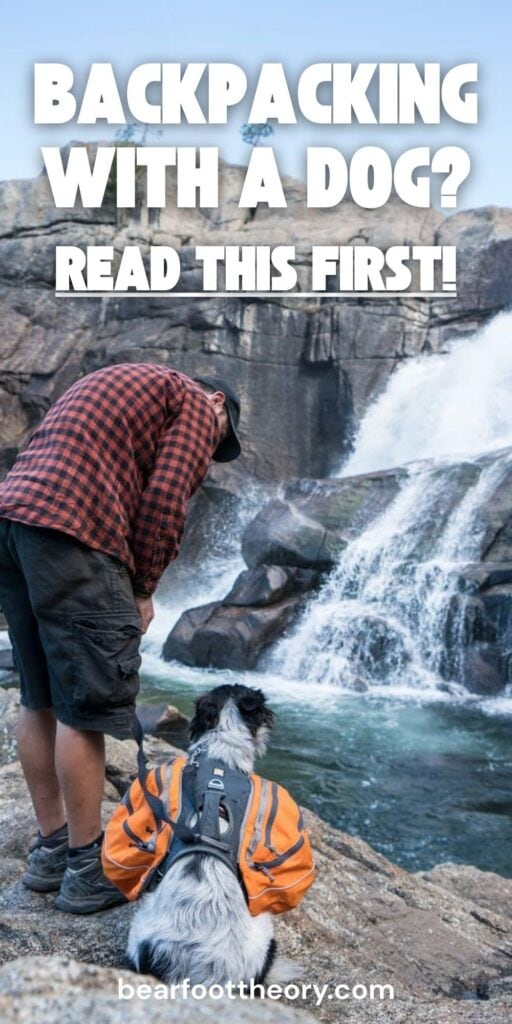

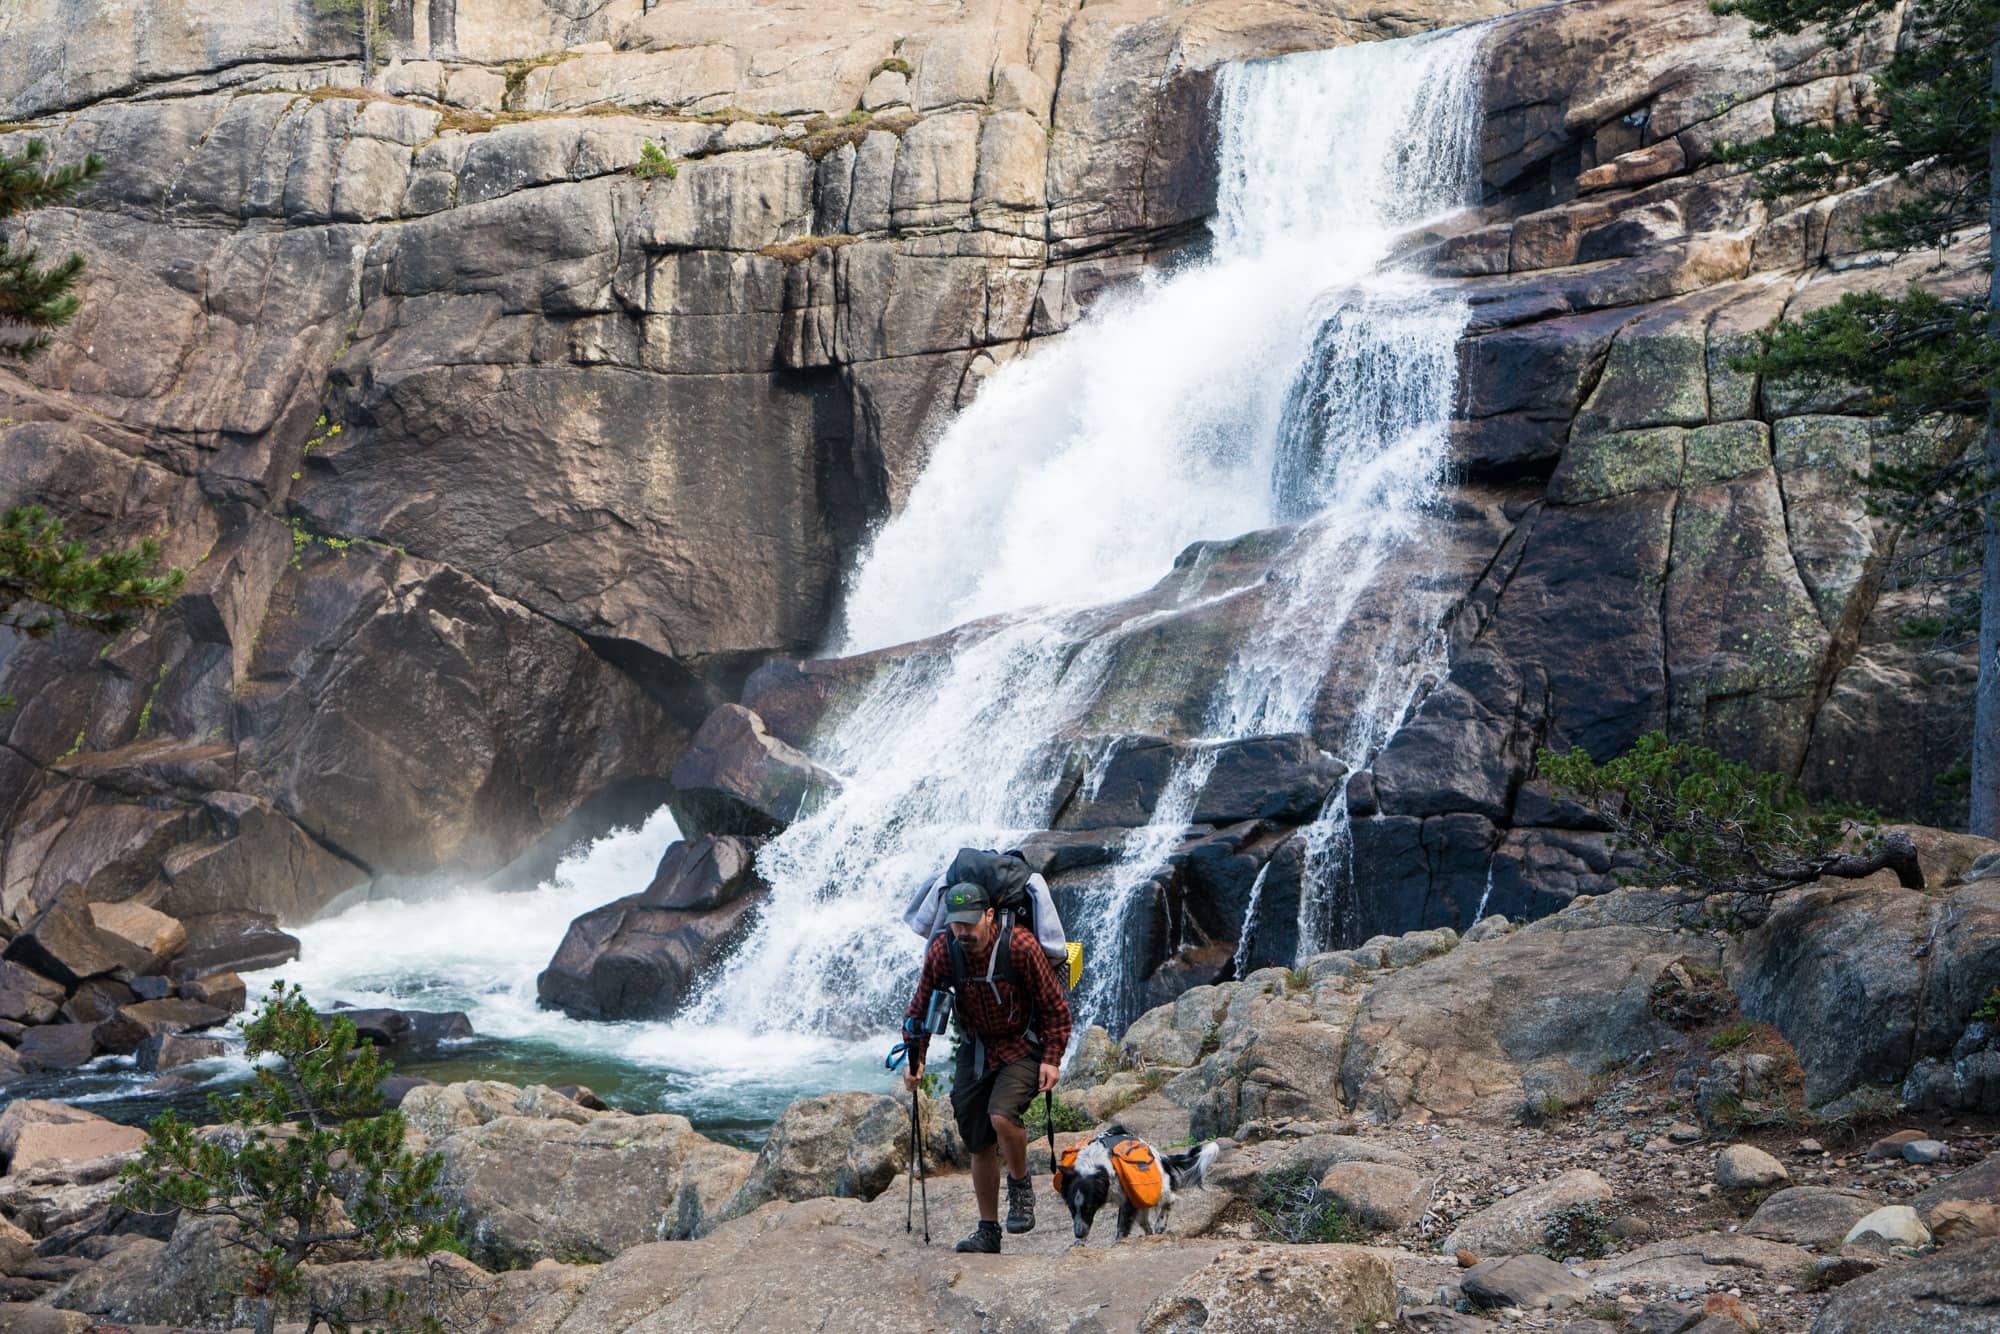
Where are these photos taken? Specifically the one with the waterfall. It’s beautiful.
Hi Jamie, that’s Yosemite’s Grand Canyon–isn’t it incredible? Check out the full review of the adventure here: https://bearfoottheory.com/trail-guide-backpacking-yosemite-grand-canyon-of-the-tuolumne/
Hi Kristen,
I’ve also read your guide for hiking the JMT.
Do you think it’s possible to take a dog on a thru-hike on the JMT (skipping the Yosemite portion)?
Thanks!
Morgan
Hi Morgan! My name is Kim & I am Bearfoot Theory’s Community Manager. I hiked the Pacific Crest Trail and saw numerous hikers doing section hikes with dogs but honestly most of them I came across had issues–pet was sick and they needed help carrying them to the next town, they had run out of food, they didn’t filter water for their dog and they had the squirts, etc. You’d also need to skip Kings Canyon/Sequoia as well so you’re missing a large section of the trail. Given the JMT’s remoteness, I don’t think it’s the best trail to take a pet with you.
Kristin thanks for the article. I want to shut out to hiking community some suggestions for hiking with a dog on a hot weather. #1)dogs have harder time handling a heat than human. They don’t sweat. Any tempeture over 80 °ferenheight I consider hot and strongly not do a hiking more than 3 miles especially on a mountain trail where there is no shade at all. My story I had pomerianian mixed 35 lbs.At first we walked a lot on the city streets mostly asphalt. Gradually we did hiking gradually increases a distance and a difficulty. We did hiked Mt.Lukens as far as 11 miles on both directions. No matter how early we got started we will face the sun. It got high as 90° plus.Toward the end of hiking Patrick (my dog) was constantly sitting on a shaded areas or constantly taking breaks. I didn’t know he was signalling me that he was being over heated and exhausted.Unfortunatly I had another small dog with me as well.She to did 11 miles here at the same mountain. Her name is April. She was huffing and puffing.i carried April at the last 1.5 miles. I fed lots of cold water to April. I was scared she maybe having a serious trouble because of the heat.April was very vocal.Patrick was quiet and hitting my legs for attention. I ran out of water at. The end.when we reached eventually to my car Patrick was laid down on the ground at a fixed position(similar to the sleeping position).He was awake(eyes opened and breathing).i gave him water and he wouldn’t take it.We rested a good 30 min. Before I loaded them up to go home. He stayed the same position.I wished that I had driven straight to an animal hospital. I thought he was just exhuasted and resting. At home I carried him to air conditioning . There was no changed. I was in another room about 25 min. or so.When I came back to check upon him. He is body was frozen and no longer breathing. He passed away.This was confirmed by a doctor. To clarify my suggestion: 80 ° and 3 miles. Any combination of high tempeture and a long distance are deadly. If the dog is in reasonable shaped and experience hiker,he should be able to hike 3 miles even in a hot tempeture. Within 3 miles I as a dog owner I am able walk and carry the dog in a reasonable time for safety and to share area. At 9.2 miles at a mountain trails and tempeture over 85° or higher it was deadly.To make it worst I had two dogs it was not practical to save both of them. Another first#1)Read dog and over heat exhaustion and post care#2)Take only one dog.Be prepared to carry this dog#3)If the dog constantly sitting or a constant break go back if it is possible.#4)if cannot take a long and frequent breaks.There will be pressure to go on a)middle of no where/dirt trail.b)it’s getting dark.c)it may ended up 6 hrs or longer.#5)Be sure to monitored tour water supply.If the water supply is running low try to take a long break in shaded area for the dog.
It’s great to learn that all dog poop should take place at least 200 feet from a water source. My wife and I are wanting to go on a hiking trip with our dog and we were wondering where he could go to the bathroom. I’ll be sure to tell her that we should take our dog away from any water source when he needs to defecate.
One thing to remember when hiking with your fur buddies is that the temperature of the ground and near the ground can be substantially higher than the temperature of the air surrounding most of your body. It can be a comfortable 85 degrees with a light breeze at torso / head level but the granite you are crossing can be 100+ degrees with no breeze where your pet is.
Try to know your dog’s limits and don’t push too hard. Many pups have a lot of ‘game’ in them and will push themselves past their limits to stay with you even though they should take a break.
Happy hiking!
Hi Kevin, those are both great things to keep in mind – thanks for sharing. Enjoy the trails!