15 Beginner Skier Tips for Adults Learning How to Ski
Learn how to ski this winter with these beginner skier tips for adults. Find advice on gear, technique, form, lessons & more!
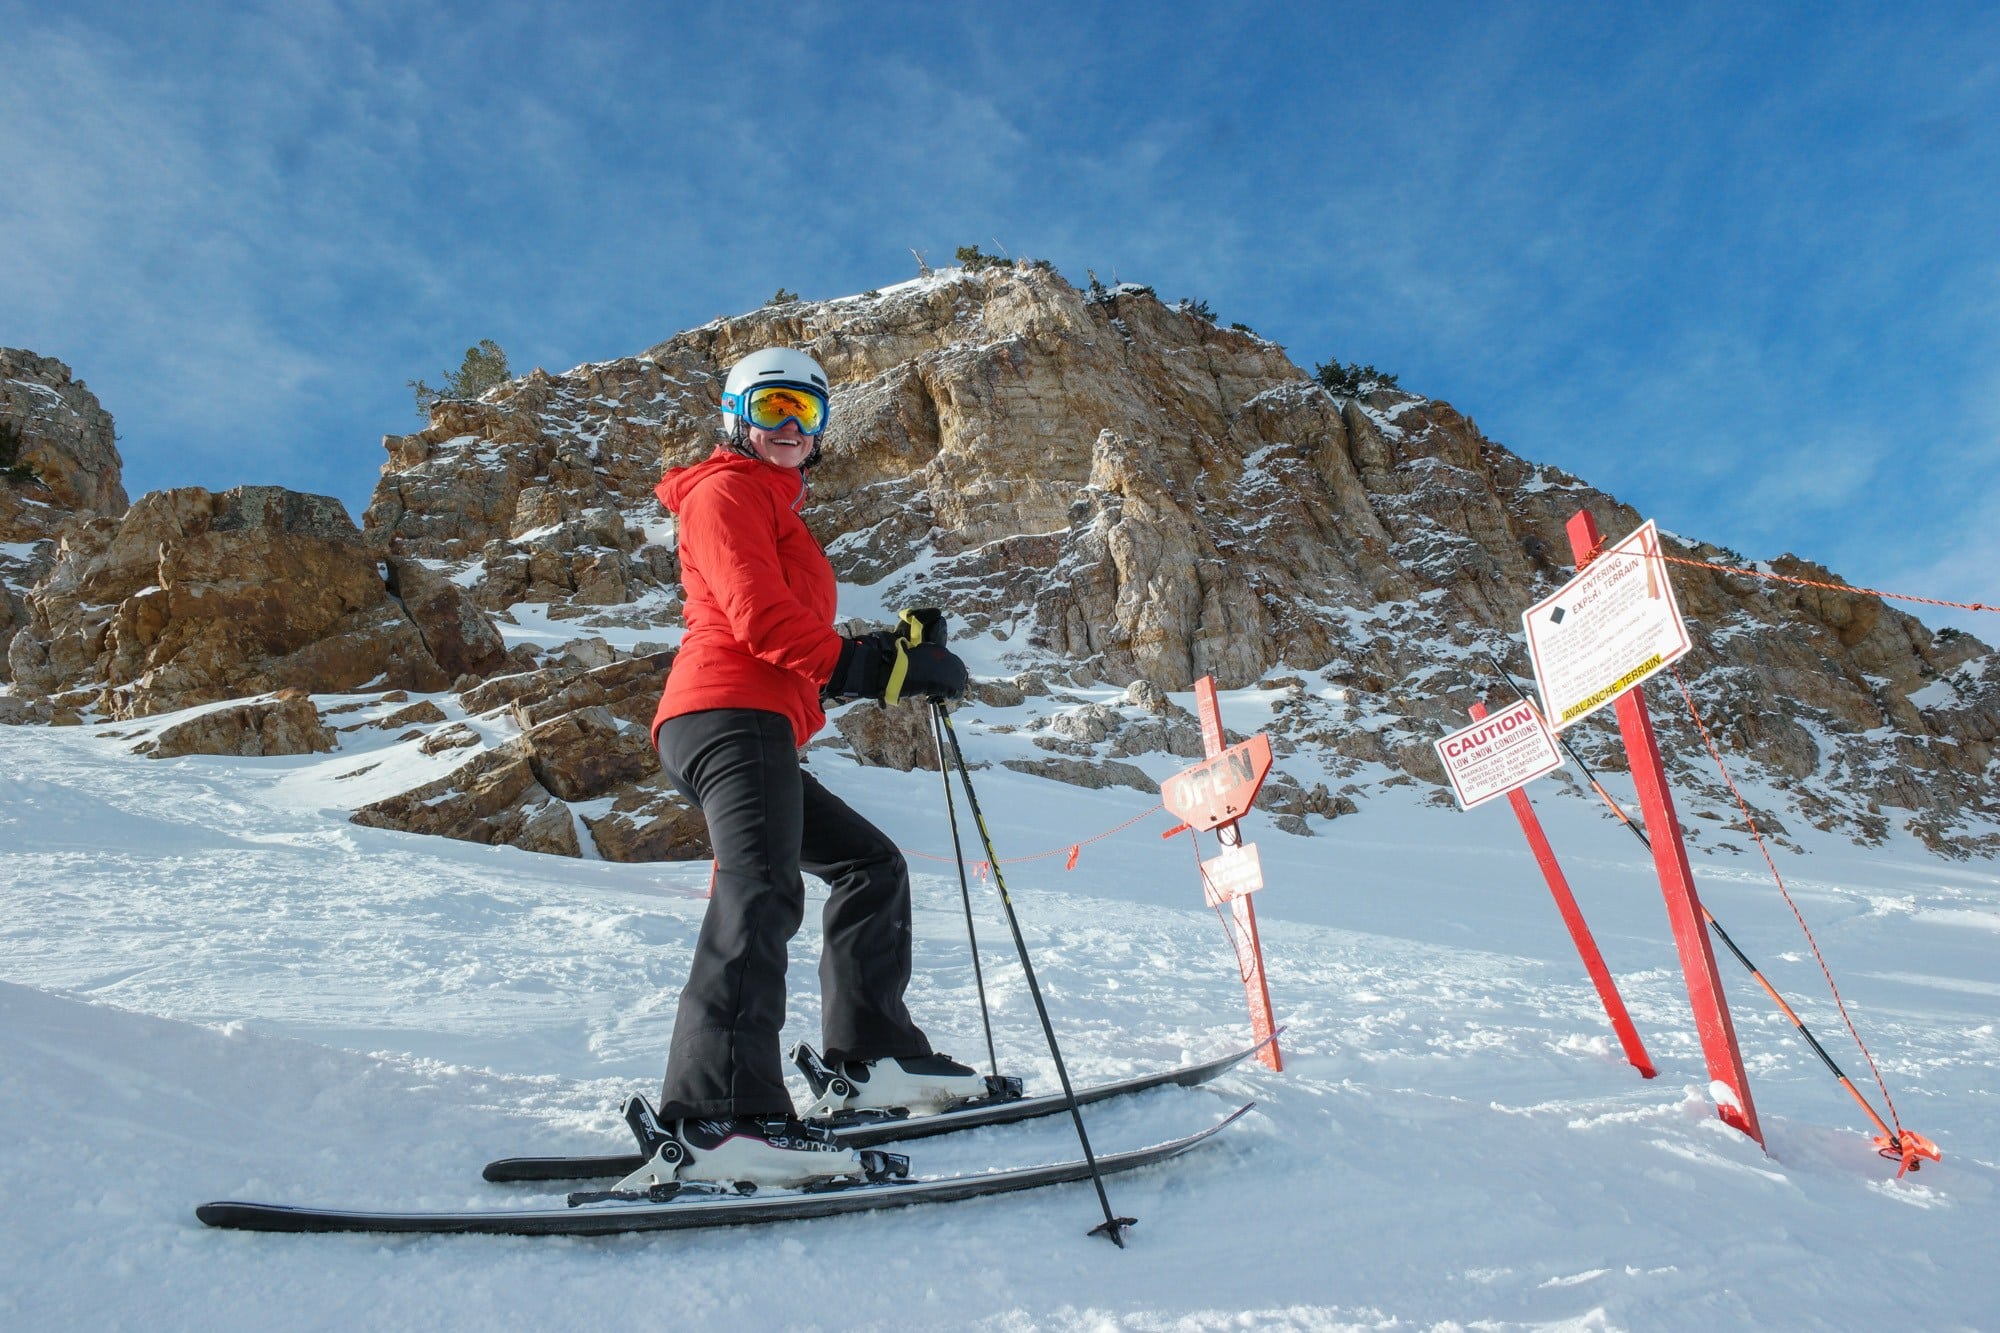
Did you miss out on skiing as a kid? Or are you looking to hit the slopes for the first time this winter?
I’ve talked many times over about the benefits of skiing: fresh air when you’d otherwise be cooped up, big mountain landscapes that are even prettier than in the summer, new friends… I could go on and on about all of the positive benefits I’ve experienced as a beginner skier who took up skiing at age 31.
Being new to skiing as an adult isn’t easy, but armed with the right tools, equipment, and mindset, you can overcome the challenges. And you might just end up with a new favorite winter hobby!
If you want to learn how to ski, in this post I share 15 tips for the beginner skier that I wish someone told me before I started.
This post may contain affiliate links.
1) Get a pass & ski as much as you can
Getting a season pass is a tough choice. It’s expensive, you don’t know if the snow is going to be good, and if you want the best price you have to buy it way in advance.
But I’ll tell you, it’s worth it.
Once you have that pass, you can head up to the mountain and ski a couple of runs anytime you want.
If the snow is good, you can ski all day until you can barely walk. If the snow is terrible, have a beer, enjoy the views, and head home. Either way, it’s no big deal since the day is already paid for.
Furthermore, paying for a pass upfront provides an incentive to get your money’s worth and ski as much as you can.
If a season’s pass isn’t in your budget, see if your local mountain offers a bundle package that gives you a discount for buying a certain number of days in advance.
Save this post!
Enter your email & I'll send this post to your inbox! You'll also receive my weekly newsletter full of helpful advice for planning your adventures.
2) Take a lesson for beginner skiers
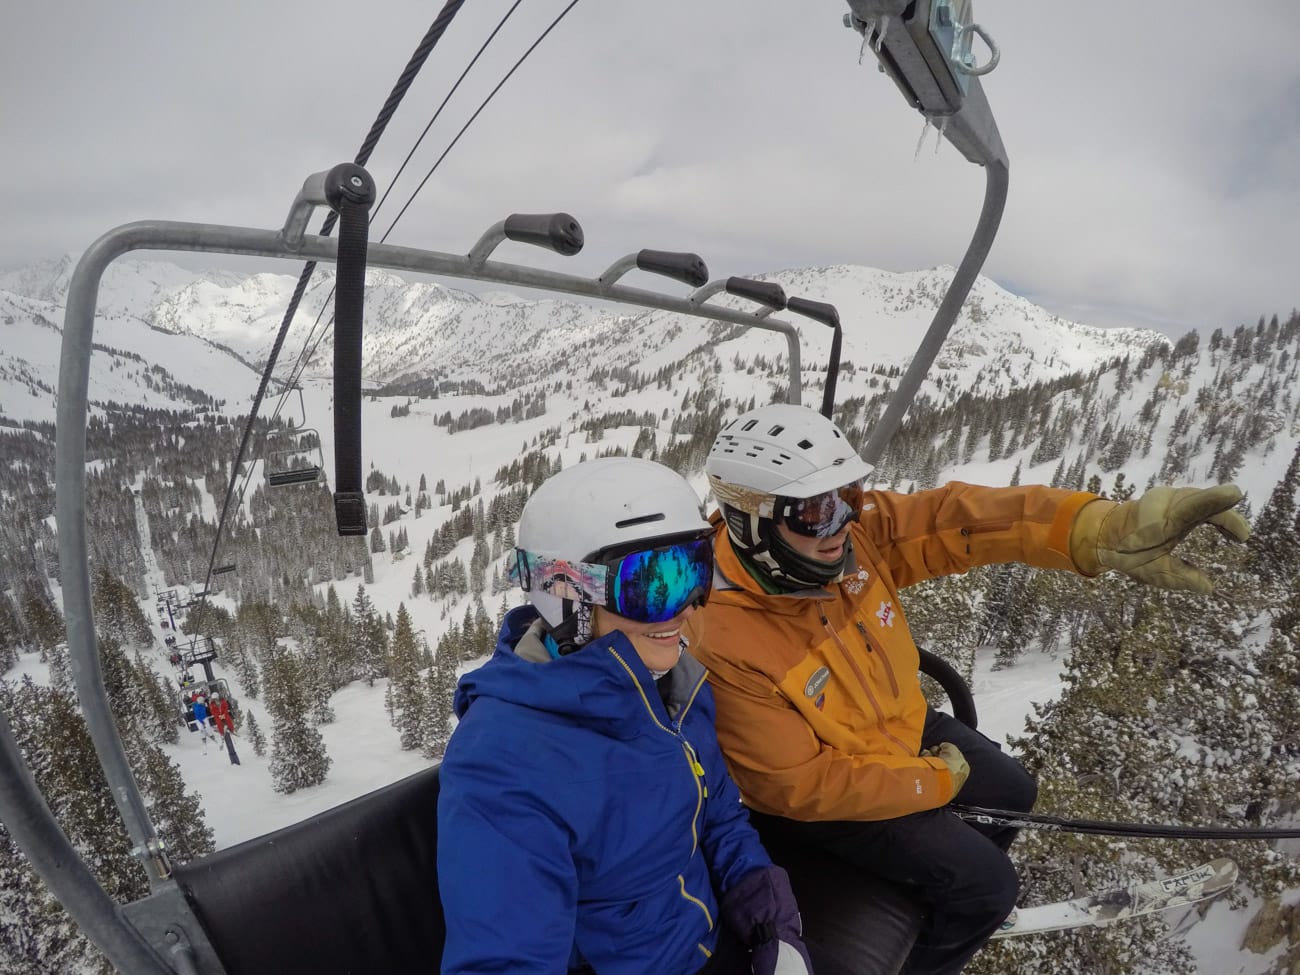
When I was first getting into skiing, I took a 3-hour private lesson at the Alta Ski School, and it did wonders for my form and confidence.
If you are a beginner skier, your instructor will teach you proper form and help you avoid bad habits from developing.
If you have a little bit of experience as I did, a lesson can help you advance your skills to the next level and introduce you to new terrain that you probably wouldn’t discover on your own.
Lessons can be expensive, however, so you should also check if your local mountain has a weekly group clinic for adults.
Many mountains also have female-specific ski groups where women can get some awesome beginner ski tips and meet other women to ski with.
3) Buy your own boots & get them fitted
Ski boots shouldn’t hurt, but they also shouldn’t be comfortable like a pair of slippers.
When you rent boots, it’s common to end up with a pair that’s too big because that’s what’s comfortable in the shop. The problem with a boot that’s too big is that once you’re on the hill, your feet will be sliding around in it and you’ll be scrunching up your toes for balance – a common cause of foot cramps. A boot that’s too big also gives you way less control over your skis.
Boots are the most important piece of ski equipment you will buy and are like the steering wheel in your car. With a proper boot fit, you will feel the snow under your feet and you will be in charge of your skis rather than having your skis take you for a ride.
If you are serious about learning how to ski, buy a good pair of ski boots that can be molded to your foot shape.
Don’t be tempted to buy a boot that is roomy and comfortable – a very common beginner skier mistake.
The boot should be very snug. A boot fitter at a ski shop can punch out areas of the boot that are rubbing in order to give you a little more room in the areas you need it. On the flip side, if the boot is too big, there is nothing they can do.
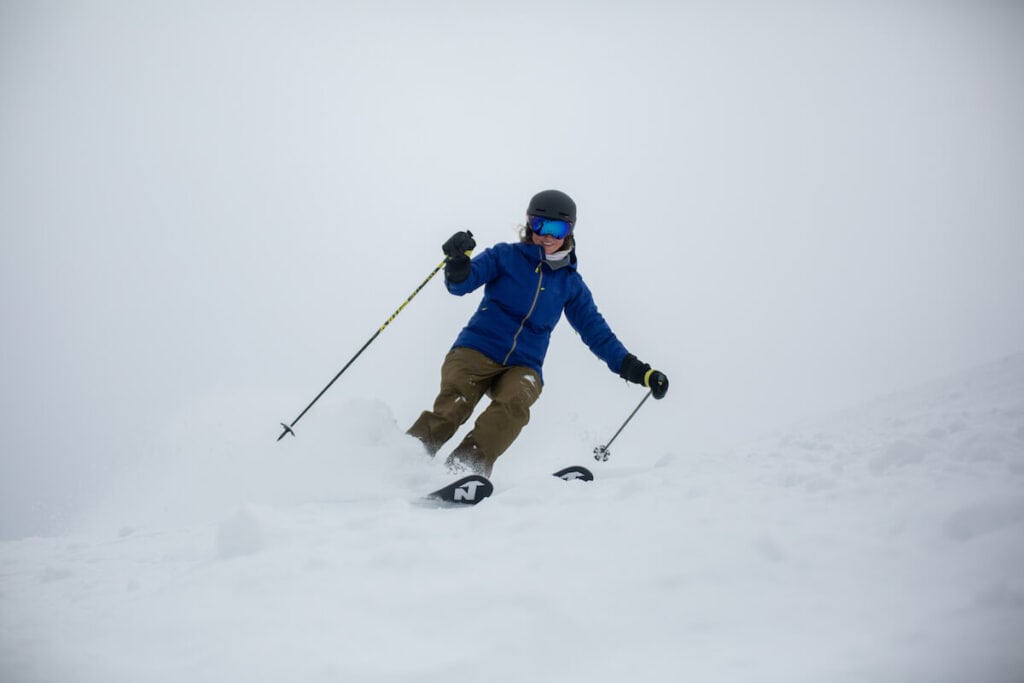
I learned this the hard way. At the beginning of the season the other year, I got a pair of boots that were size 26.5. People told me that was too big, but I didn’t listen. To put that size in perspective, many of my tall male friends wear a 26.5 boot. The first day out skiing, my feet were cramping so badly, I had to quit. Turns out, everyone was right.
After that, I went and met with a proper boot fitter, and I ended up with a boot two full sizes smaller. I also got a custom food bed, and I couldn’t believe what a difference it made.
On my first day with those boots, I realized what it felt like to have your skis be responsive to your movements. Turning was easier, my feet hurt less, and I could actually focus on my skiing rather than the pain in my arches.

Tip: Don’t leave your ski boots in the car overnight. Putting cold boots on in the morning is an uphill battle if your feet get cold easily.
4) Rent skis before you commit
Skiing is an expensive sport, but once you invest in the equipment, it should last you a very long time.
While I recommend buying your own ski boots (at minimum), I totally understand not wanting to buy a bunch of other new gear as a beginner skier.
Before you buy brand new equipment, I recommend renting at the ski resort first. Nearly every ski resort in the country has a rental shop and renting at the mountain means that if your boots don’t fit right or you don’t like the skis, you can swap them out after a couple of runs.
The best time to buy skiing clothes and gear is at the end of the season when everything goes on sale, so if you’re interested in getting into skiing but want to save money, wait to invest in gear then.
The other place you can look for discounted ski gear is your local ski swap. These usually happen in October and November every year.
As far as resorts, look for the mom-and-pop type mountains. These are going to be cheaper for first-time skiers – not just the tickets, but rentals, lessons, and the whole shebang.
Read next: Looking to save some dollars? Here are the Best Places to Buy Discounted Outdoor Gear.
5) Unbuckle your boots on the lift
If your feet are cramping while you ski, give them a break on the lift or while you are grabbing lunch by unbuckling your boots.
It only takes a few seconds to tighten them back up at the top of the lift and it can make a big difference in how tired your feet get over the course of the day.

Tip: If you get too cold, go to the lodge and unbuckle your boots to allow your blood to circulate better. Grab a coffee or hot chocolate while they warm up and go back out when you are feeling a little toastier.
6) Ski with people who are better than you
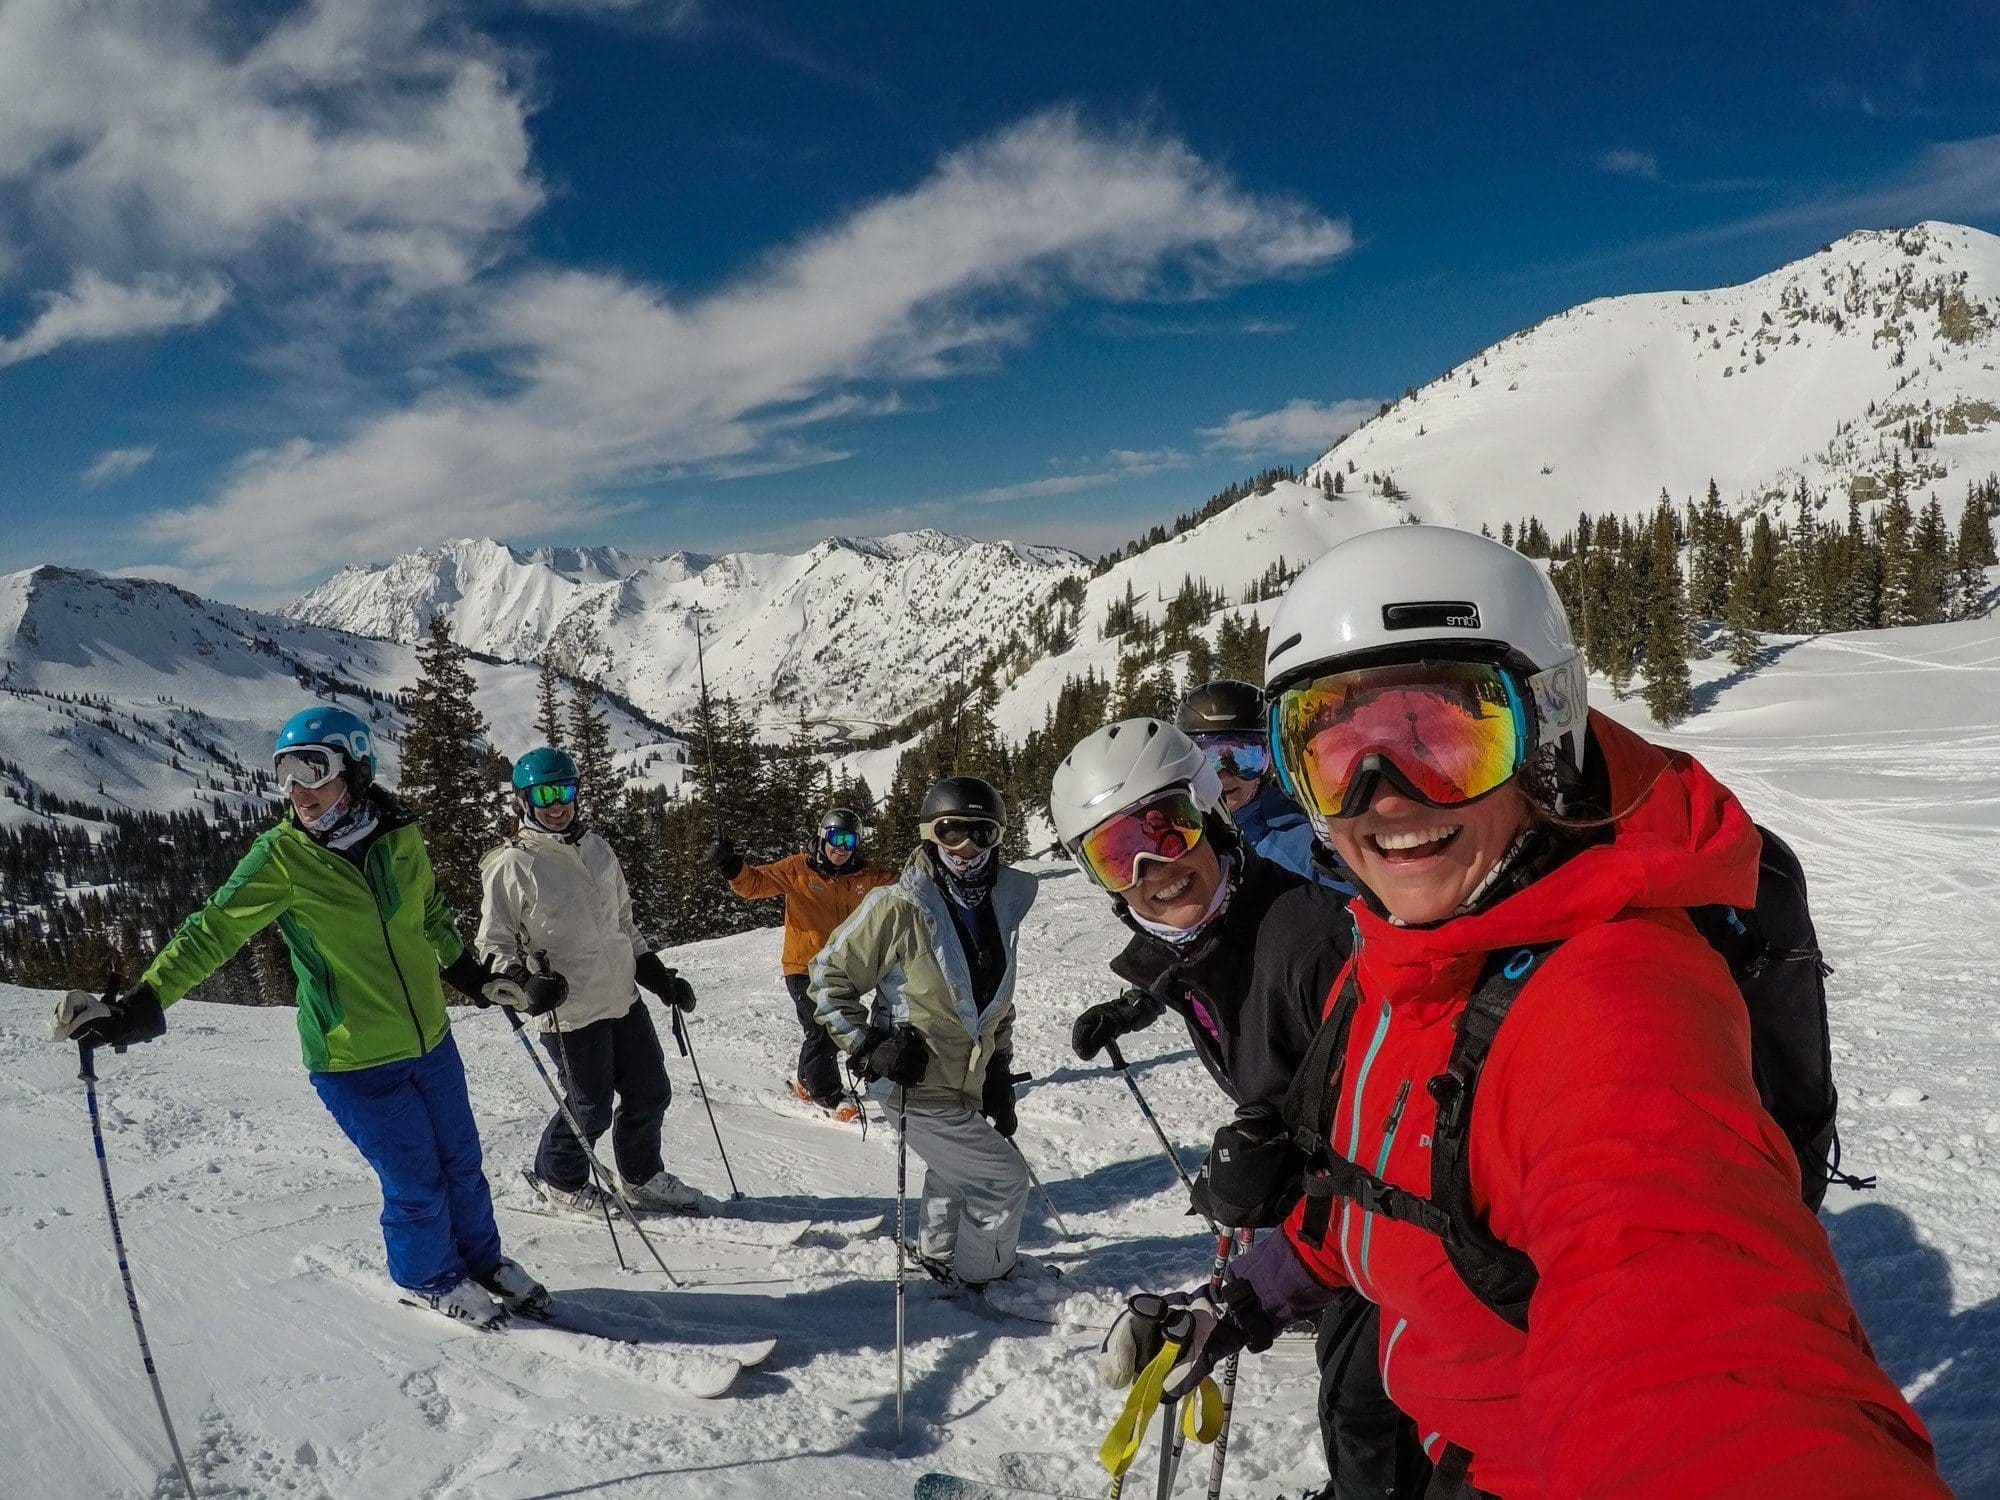
The key to improving your beginner ski skills is to find people you trust who are better than you and ski with them.
These should be people who are patient, understand your comfort level, and will not take you down something that is way beyond your capabilities (since that can do the opposite for your confidence).
But you’re a slow beginner and you don’t want to hold up your friends, you say? That’s totally understandable. They might not want to wait for you either, especially on a powder day. But you can ride the chair up together and they can point you in the right direction. Then, make plans to meet up at the bottom after they take a few laps.
7) Ski Solo
Wait, what? You just said to ski with friends! Well… skiing alone can be just as fun as skiing with friends. Seriously, I did it all the time last year and ended up meeting some really cool new people in the process.
If your friends are busy, don’t be scared to head up to the mountain and tackle some runs on your own.
Skiing solo allows you to focus on your form rather than worrying about your speed and trying to keep up.
And, don’t just ski the same green run over and over again. Push yourself to go a little harder as you get more comfortable because after all, no one is watching if you take a little spill.
8) Lean forward & be aggressive with your skis
Leaning forward when you are moving downhill may seem scary, but it will give you a lot more control over your skis. This isn’t easy as a beginner skier (and still something I struggle with now), but if you want to improve, you’ll need to show those skis who’s boss.
Control your skis. Don’t let your skis control you.
9) Stay on the groomers… at first
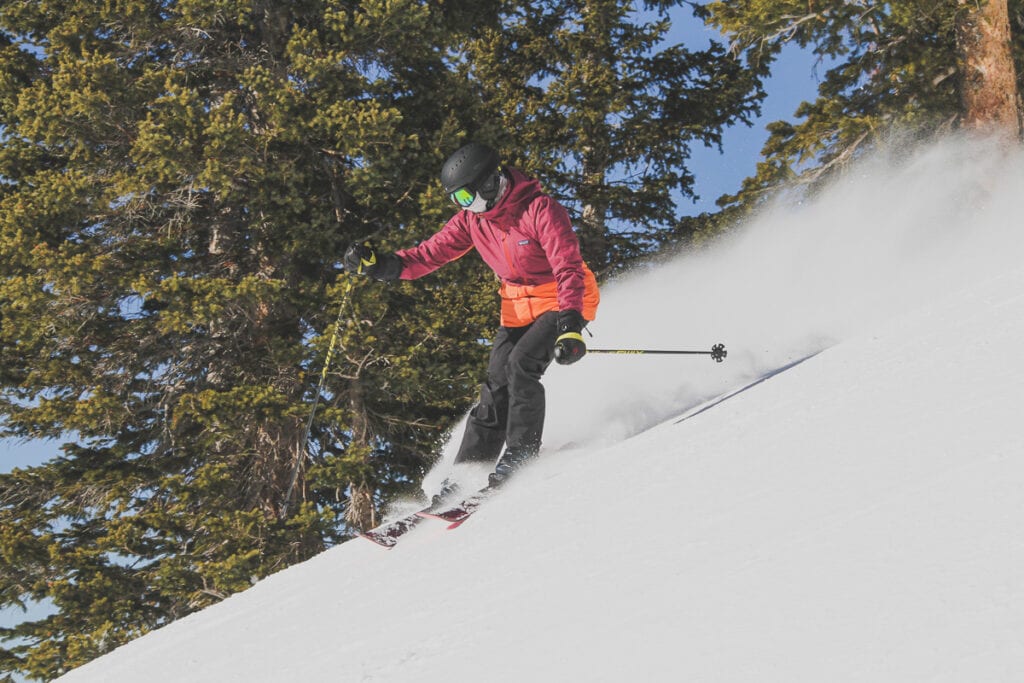
But isn’t the goal to be floating through waist-deep powder? Of course! Eventually… But as a beginner skier, focus on getting strong on the groomed runs first.
Skiing powder is a whole different skill with a different type of ski. If you want to test the waters, try some powder right next to a groomed run, so you can easily get back on the run if you find yourself getting stuck or unable to control where you are going.
10) Dress appropriately
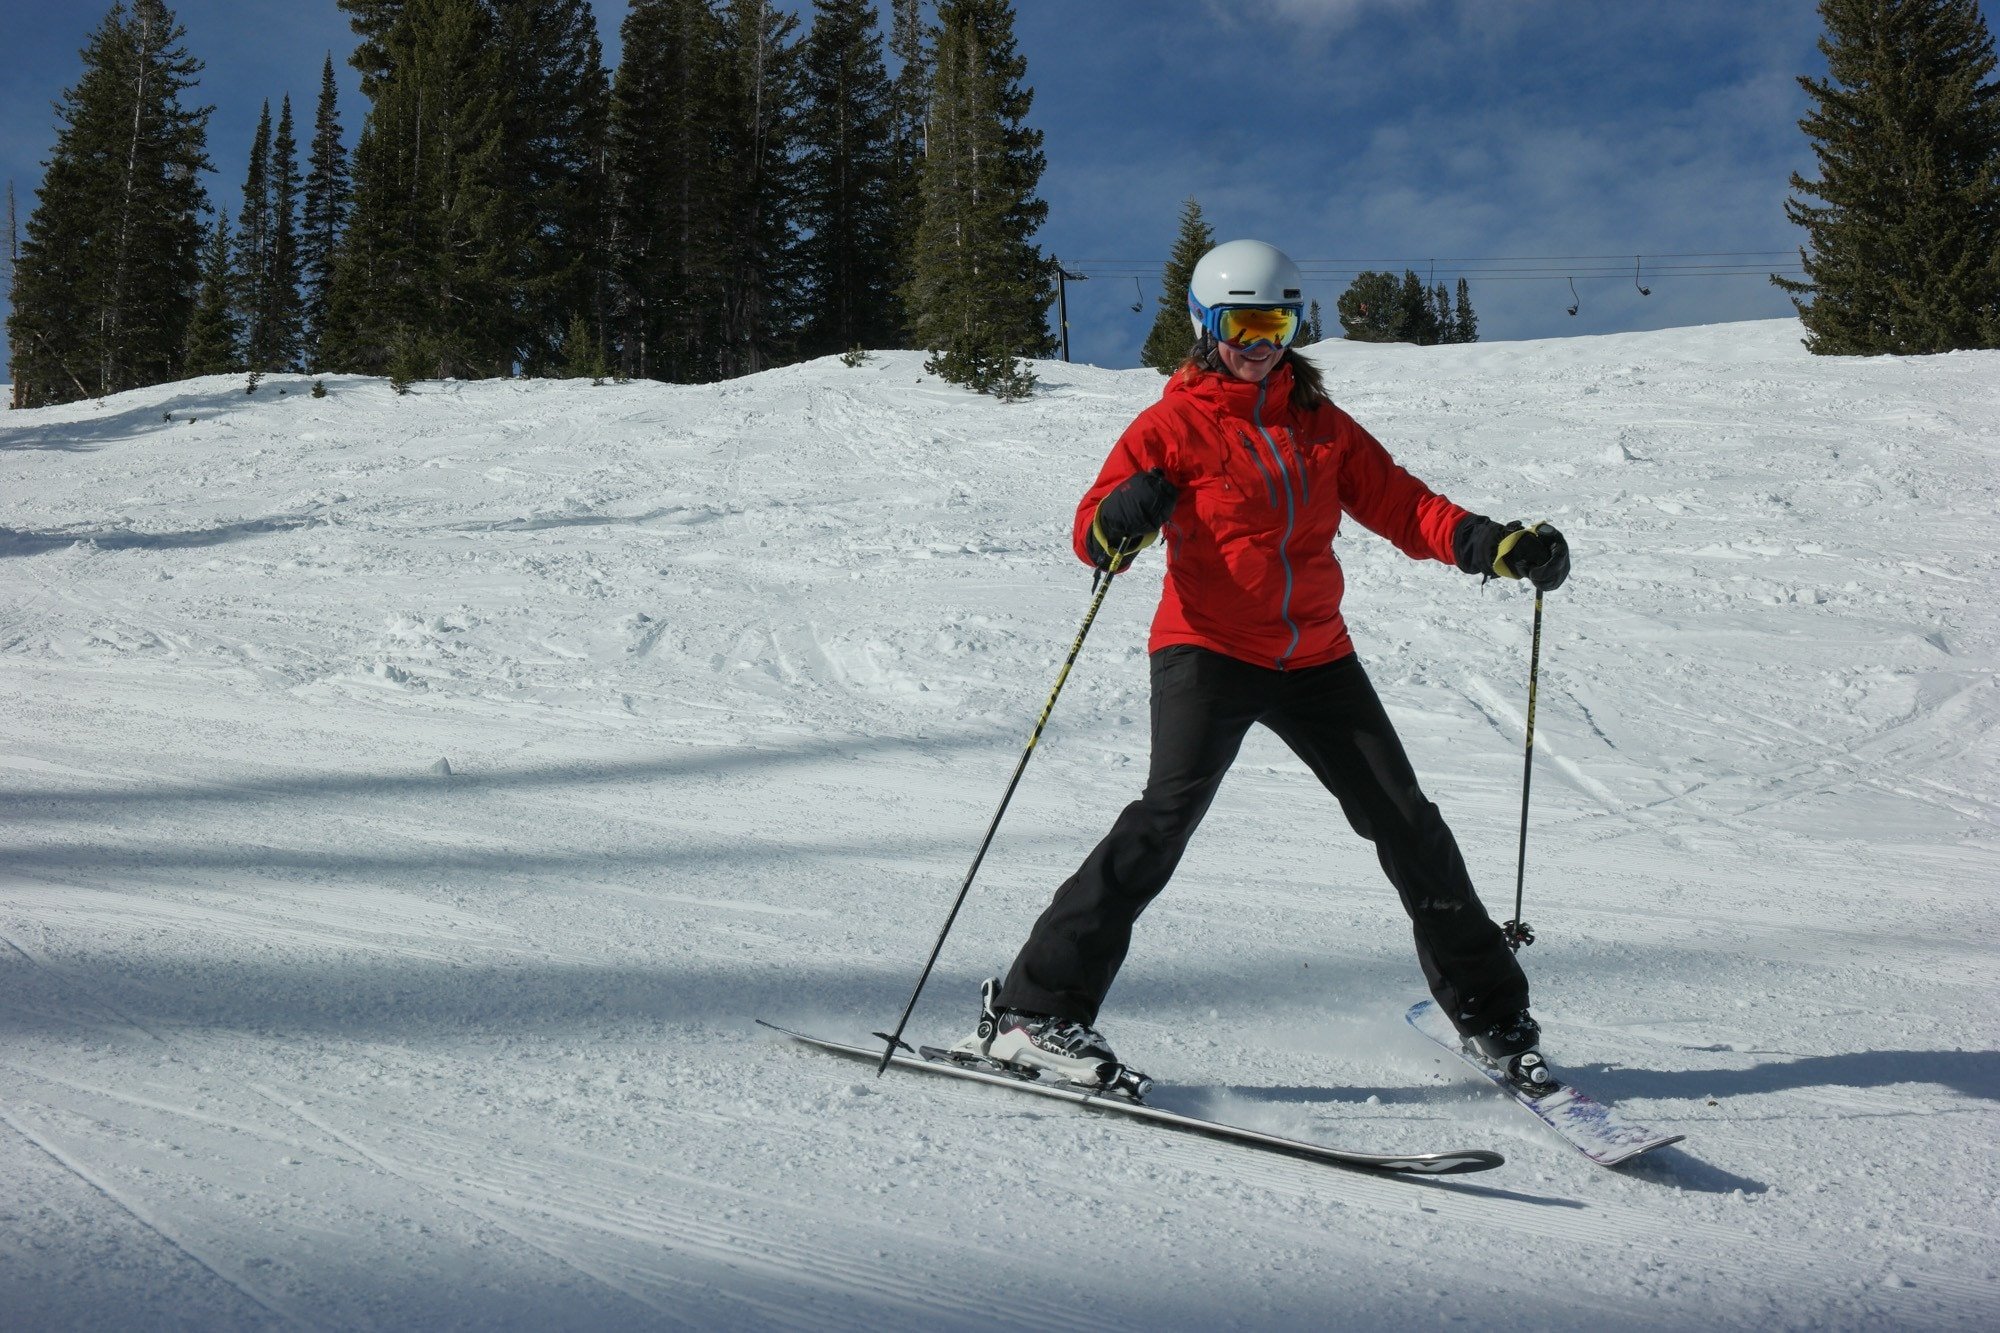
It’s dumping snow outside, which means the skiing is awesome. But if you’re freezing cold and can’t focus on anything but those numb fingers, that’s not fun at all.
Make sure your clothing is waterproof (no jeans!), and remember that the top of the mountain might be windy and 20 degrees colder than the base.
Wear layers so you can add and remove them as necessary. Most of the layers you wear underneath your ski pants and jacket are the same type of layers that you’d wear for hiking in cold weather.
Below are my favorite ski gear items. For a more complete guide, head over to our post on What to Wear Skiing.
- Insulated Jacket and Pants: You want something that is windproof, waterproof on the outside, and insulated to keep you warm and dry on the inside.
- Base Layers: These are next-to-skin layers that keep you super warm but wick away moisture.
- Wool socks: Avoid cotton, and don’t be tempted to wear super thick socks. Thin ski socks result in a better boot fit and will allow your feet to breathe, meaning they won’t get sweaty and cold.
- Sunscreen: The sun reflects off of the snow, and without it, you can end up with a gnarly sunburn.
- Ski Goggles: Protect your eyes from the elements, including the reflecting sunlight.
- Helmet: Be smart and wear one. Look for a helmet with MIPS technology that will protect your head from rotational impacts.
- Buff: Always a good idea in order to keep the wind, cold air, and sun from hitting your neck and face directly.
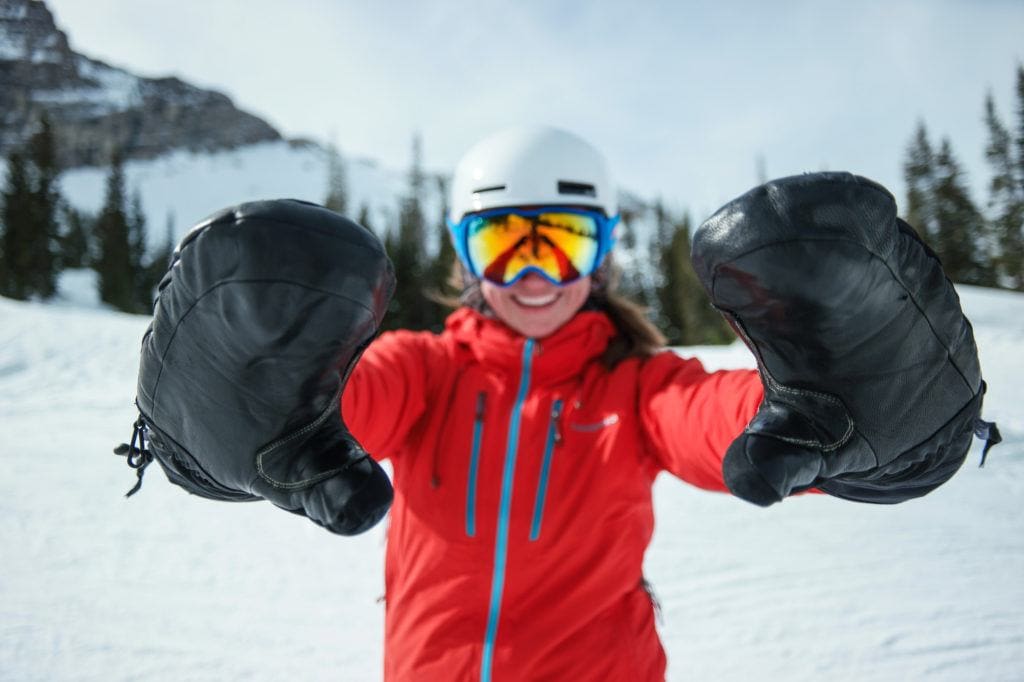
- Mittens: If your hands are prone to getting cold easily, stick with mittens over gloves.
11) Work on building leg strength
Don’t wait until you get to your destination to think about building up your leg muscles. The stronger your quads and calves are, the more endurance you’ll have on the mountain. And the more runs you’ll be able to get in each day.
You don’t need to go crazy at the gym, but adding some lunges and squats to your daily routine and taking the stairs instead of the elevator will go a long way. Stretching is also super important to keep yourself limber.
12) Know how to read ski symbols
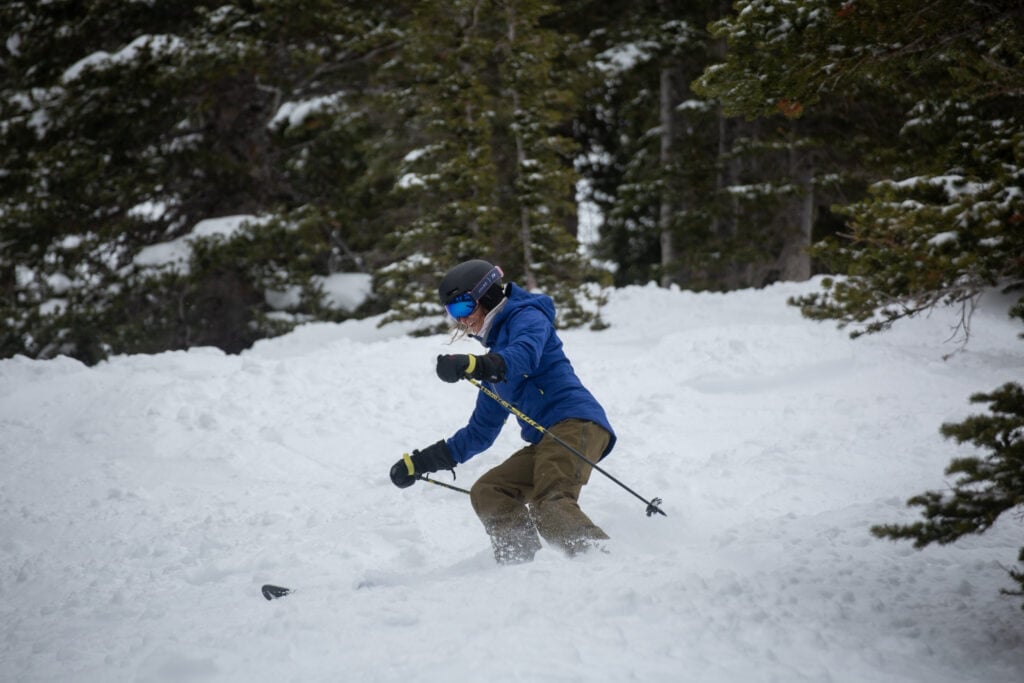
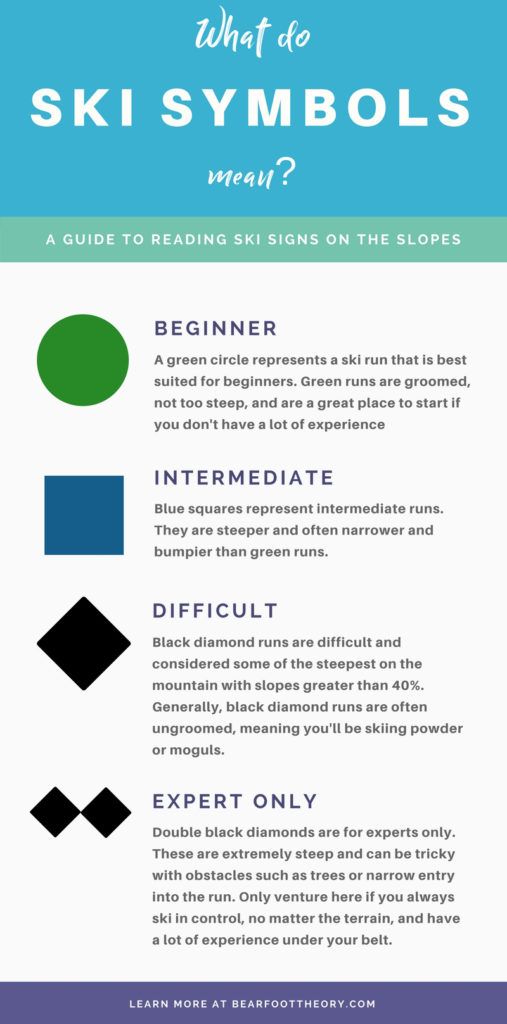
Knowing the difficulty of ski runs on the mountain makes a huge difference. You don’t want to accidentally bomb down a black diamond before you’re extremely comfortable on the snow.
When you’re learning how to ski, stick to green and blue runs to build up your skillset and confidence.
I’ve put together this handy infographic that breaks down the different symbols:
13) Know the differences between skis
What kind of skis you rent/buy depends on the conditions you will be skiing the most in.
The three factors you need to consider are width underfoot, turning radius, and length.
Width Under Foot
In the most general terms, fat skis are for powder while skinnier skis are for the groomers.
If you are looking for an all-mountain ski that can handle a variety of conditions, from soft groomers to choppy snow after a storm, something in the 96-103 mm range will be a good option.
The number is the width underfoot and is measured in millimeters.
A skinnier ski will be easier to get an edge on if you are skiing in hard-packed, icier conditions.
If you live on the East Coast where conditions tend to fall into that category, you might look for something in the 88-93 mm range.
If you live out west and will be skiing deeper snow, then you can go a little wider like 105-113mm.
Turning Radius
A shorter turning radius means that the ski will be easier to make quick, tight turns.
As a beginner, you should look for a ski with a turning radius that’s less than 18 meters.
Length
Shorter skis are easier to maneuver for first-time skiers. Longer skis are more stable at high speeds.
As a beginner, you probably won’t be bombing it down the mountain, so you’ll want something on the shorter side. But don’t go too short because that means the ski won’t grow with you as you progress.
The proper length is also determined by how tall you are. For reference, I’m 5’5″ and my skis are 165 cm long.
My favorite skis are currently the Nordica Santa Ana 98 (165 cm long). It’s a great all-mountain ski and stable in the bumps and crud which helps me feel more confident.
I’ve also skied on the Elan Ripstick which is also a great, nimble ski that is very easy to turn.
14) Learn How to Use the Ski Lift
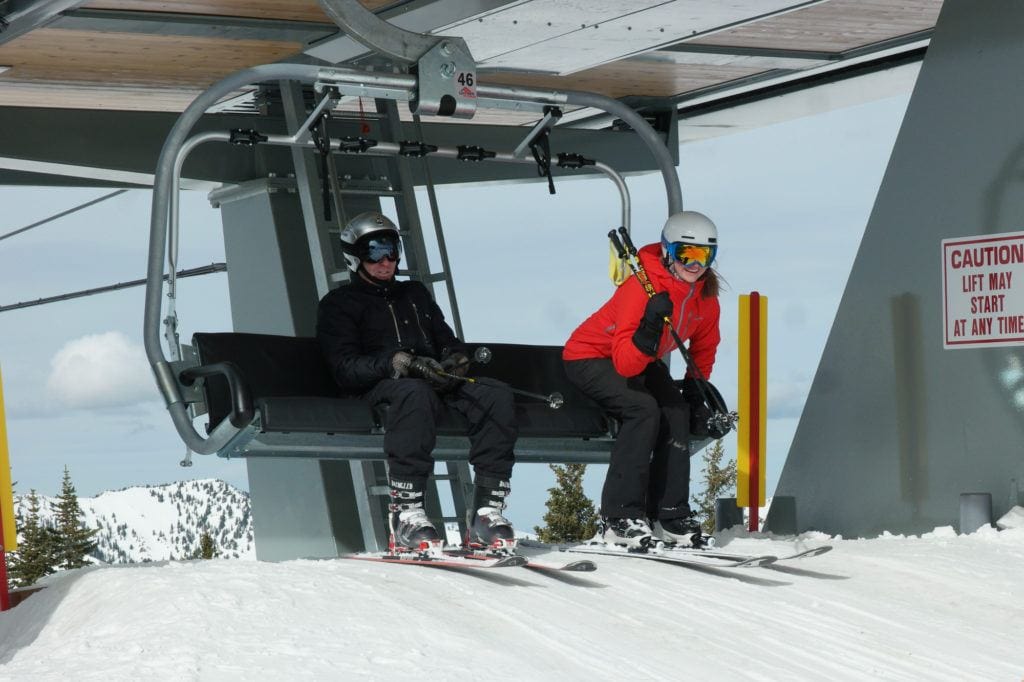
Getting on the lift is easy. Wait until the chair before yours passes, then make your way out to the loading point. There’s usually a strip on the ground telling you where to stop. Put your poles in one hand, look backward and grab the bench of the chair with the other hand, and then just sit down.
To get off the ski lift, keep your ski tips up. When the chair gets to the flattest part of the offloading point, put your poles in one hand, and use the other to stand up and push yourself off the chair.
15) Don’t Carry a Backpack
Backpacks are distracting on the chairlift, and if you are already nervous, a backpack will only get in the way.
If you have extra layers, snacks, or anything else that you want handy, grab a locker at the base to store your stuff.
If you get thirsty, just stop in any cafeteria or lodge on the mountain, rather than lugging around a water bottle all day.
I hope this gets you pumped to try skiing for the first time or to get back into it if it’s been a while! As someone who started skiing at age 31, I can tell you that it’s never too late to start.
READ NEXT
Looking for more outdoor winter adventures? Check out these blog posts to help you enjoy your next beautiful winter wonderland:
Save this post to Pinterest
Do you have any additional beginner skier tips or questions? Leave a comment below!


A friend of mine just signed up for a buy-one-get-one-free ski lesson package and decided I will be the friend she brings along. (This might be payback for last January, when I did the same thing to her but with rock climbing.) I’m excited! I’ve never been skiing before, so I need all the advice I can get. Thanks especially for the headsup on the boots. I always tend to buy things big (running shoes, climbing shoes, etc) and it always bites me in the ass.
Lynn, sounds like you and your friend have an awesome relationship challenging one another and helping one another get outside! That is awesome! Have a blast and let us know how it goes!
I am so excited to spend my holiday on a ski resort. I am also planning to learn how to ski. Thanks for sharing these tips.
Hi there to all, it’s truly a pleasant for me to visit this web site, it contains precious Information.
Wow! Such awesome vital information in regard to skiing, I love skiing in different places, but I was worried to be able skiing in first time! But review this article my confusion is clear, I remember there were awesome days when I’d just skiing in the first time for the fun of it and it was fantastic, Thanks.
Thanks for sharing this helpful information. You are inspiring me for skiing in winter. I’m sure most people can take notes from this article. One thing most people lack experience while skiing. I have a couple of young friends that are going to get skiing soon. Well, this post gives me some good ideas for our skiing.
I want to share my opinion for kids skiing and snowboarding tips. I think, We spoke to skiing and snowboarding experts to find out what you need to know to help your child advance from novice to snow bunny in no time. If you and your kids are new to skiing, you probably aren’t going to make it down the big hills dozens of times on the first day. First of all, it will probably take a half hour just to get all the forms filled out, pick up the equipment, and get it on your kids. Then you’ll slowly make your way to the ski area, and will need to spend some time on the learner hills getting basic skills down first.
thank you, you just took the fear out of it and added inspiration to it. excellent initial advice for someone who wants to dive back in. will check out website too for gear purchase. returning after many years. always hated the lack of control i felt now i realize it was’t just me, but also equipment. will do equipment right! feel like i will love it and be so glad but it is still to be determined. LOVE the mountains…and want to live life enjoying them. 🙂 do not yet feel cool enough or young enough for this yet lol! we’ll see maybe i’m wrong.
only thing i have wondered is whether just to get the season pass immediately and dive in or take a lesson first and see if it’s for me. saw the recommendation to buy a clump of days in advance maybe a good alternative option. sometimes it is good to wait and see and sometimes it’s good to dive! i’m feeling i can’t lose 😉
I am so grateful I found your post, You’ve really covered up almost all the possible tips that a beginner should follow while making a ski trip. My husband and I have been thinking of going on skiing soon. Actually, I got a lot of information from your blog which can make our trip much more relaxing and enjoyable. Thanks.
I sort of hit a plateau or a point of hesitation on my first day of lessons and my son, who is a good snowboarder added the extra push and encouragement to help me not give up. At 43 years of age; i may have found my new hobby to get through these long Wisconsin winters. Thanks for the tips!
Jeremy, this is SO awesome to hear! Nice job! Way to stick in there!
Lots of good advice including skiing with people who are better than you and the importance of well-fitting boots. If you can’ buy anything but ski boots when you start out, make that investment.
We already have a plan set for ski, we always do that, I remember the first time I get to ski… there indeed the learning curve and so much fun in learning though its better to have some lesson before getting into the field, anyways thanks for the recommendation hopefully we are able to apply some in our this year trip 🙂
Many ski resorts have new-to-the-sport package deals that take the punch out of the expense of starting this expensive sport. Sometimes this is for a specific weekend or week – do the research and take advantage of this.
Also, my beginner tip: always keep your hands in your field of vision. This will keep you forward on your skis, ready to react to the next turn.
Thanks so much for the advice about the boots! I’m 36 and I’ll be skiing with my 10-year-old locally. I’m so nervous! I’m not very outdoorsy. I feel like this is the sport for me. I know I can’t hold my daughter back and I’m all she has so I have to learn if she wants to learn. Here we go!
Just have fun with it, Joss!
Getting off the lift! My advise would be to wait, wait, wait until you can stand and gently push off. If you try and stand too quickly you will lose your balance and fall. Super embarrassing when they have to stop the lift and pick you up. Also go straight ahead so you do not end up colliding with your fellow ski lift riders! Learned this from experience!
Thanks for sharing those tips, Susan!
I went for the first time at age 46 in Colorado after listening to a couple 70 year old guys talking about their ski adventures from the previous weekend.
That’s amazing!