Everest Basecamp Female Packing List
If you are headed to Nepal for an Everest Basecamp trek, you’ll want to be prepared for a variety of weather and conditions….
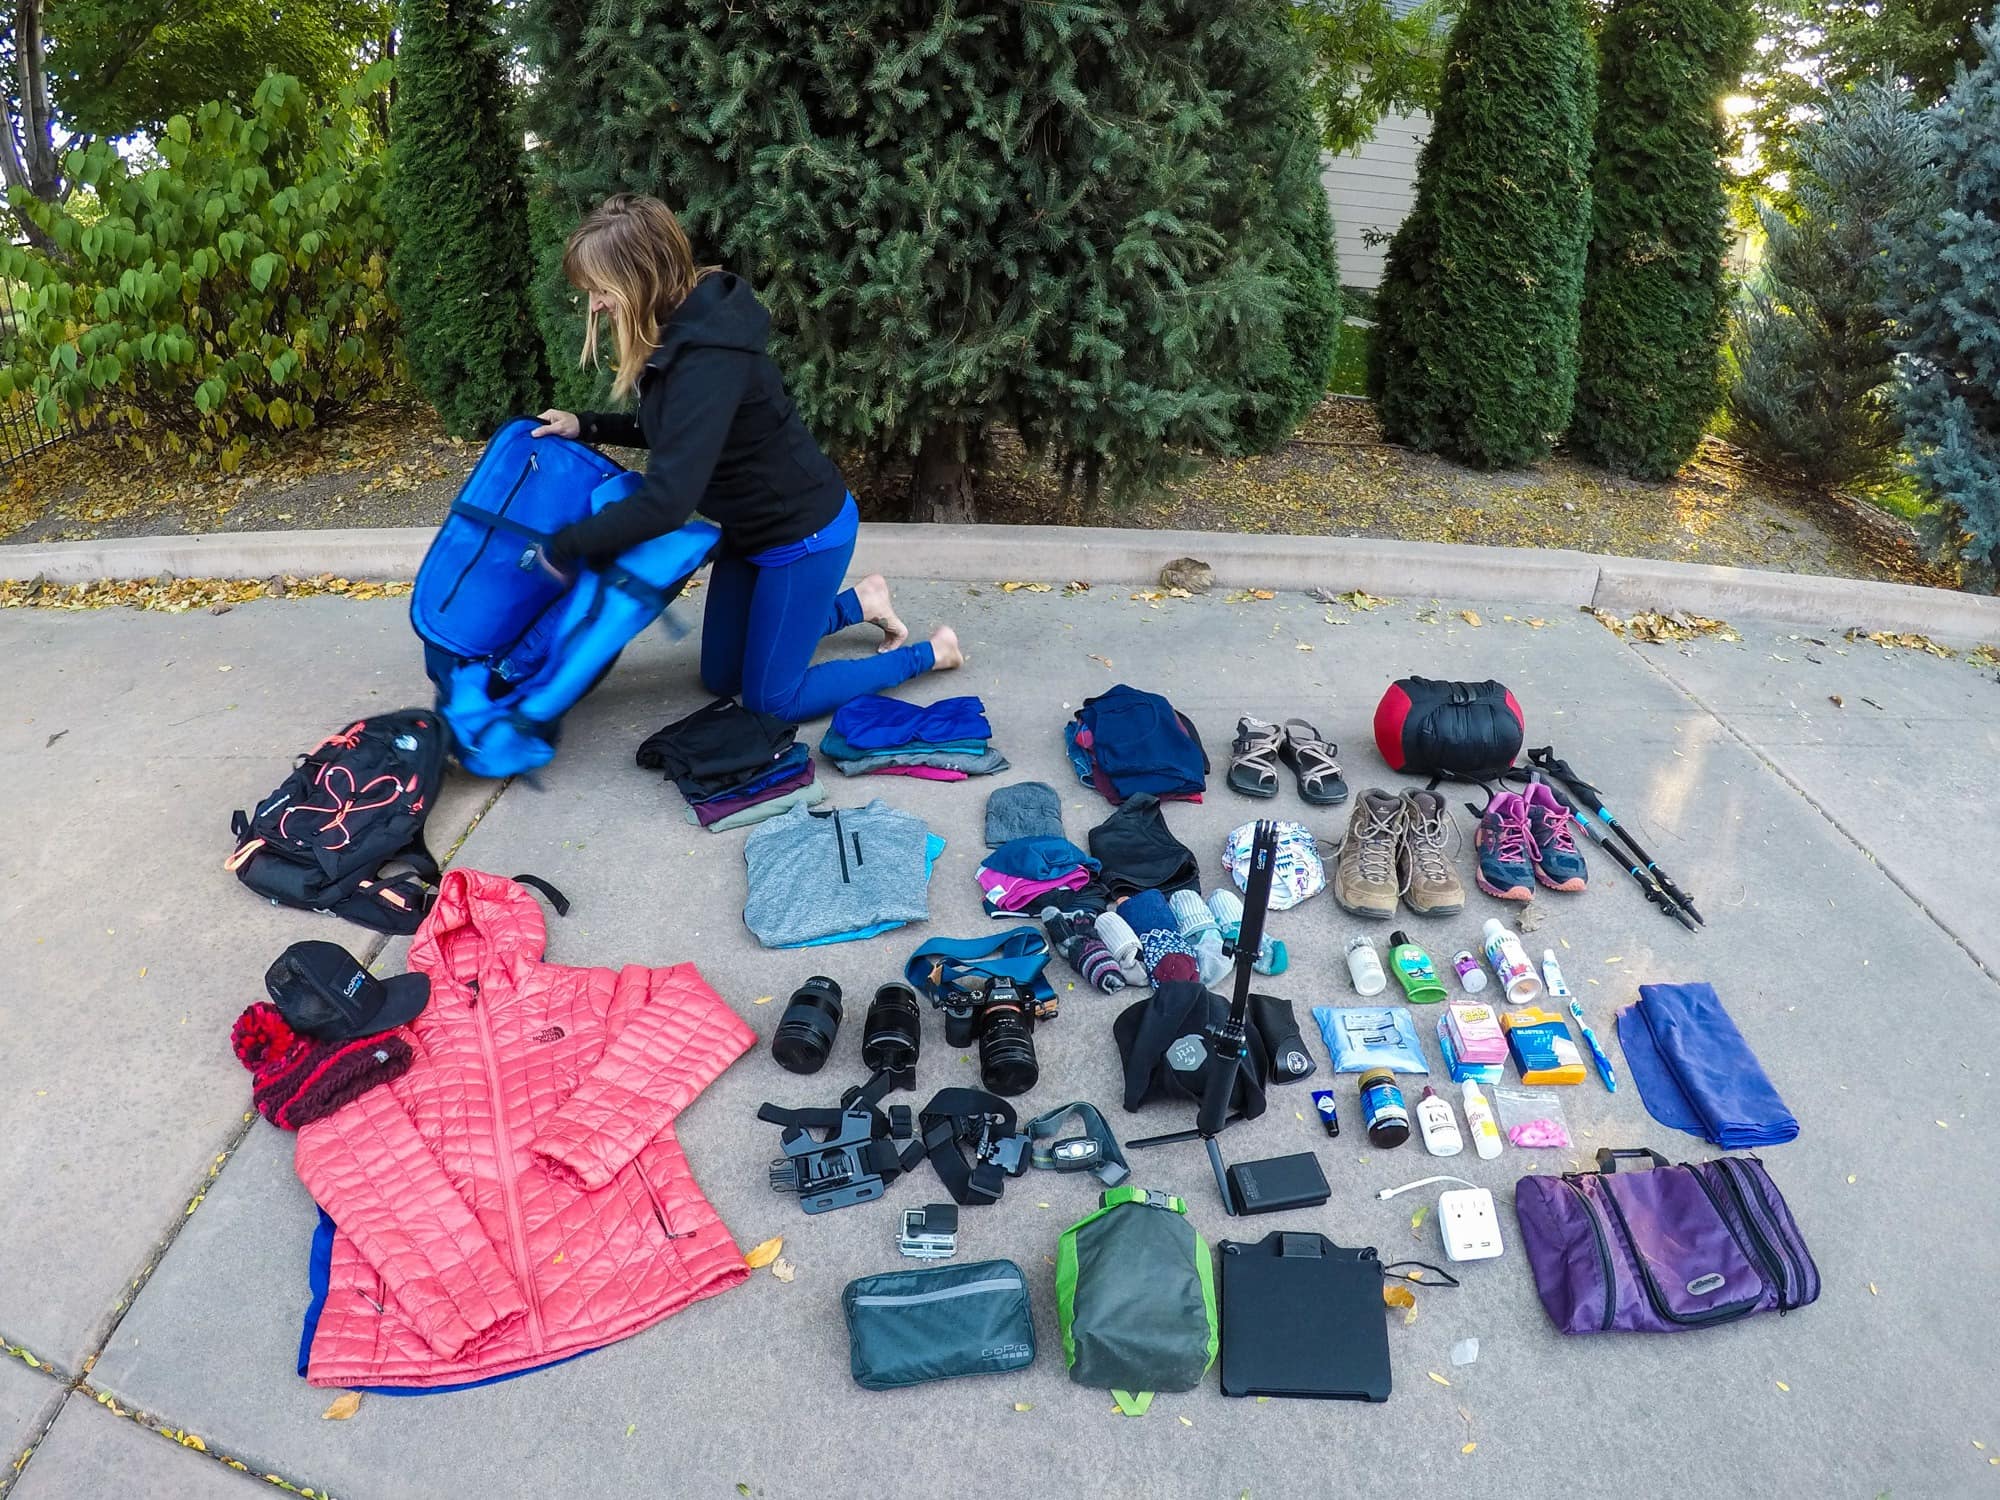
If you are headed to Nepal for an Everest Basecamp trek, you’ll want to be prepared for a variety of weather and conditions. Gaining over 9,000 feet in elevation, the temperature can drop drastically over the course of your trip and there’s even a chance that you could encounter snow depending on the time of year you visit. With that in mind, it’s very important that you come prepared with the right gear. In this post, I share my detailed Everest Basecamp female packing list that has every item I brought with me on my 11-day Everest Basecamp trek.
*If you’re a dude this list is still helpful…Everything in the list applies except you’ll need to take my recommendations for apparel and find the male version.
If you are missing a lot of things from this packing checklist, you can also purchase gear in Kathmandu. There are a number of real and knock-off shops in the main tourist area of Thamel. You can score some deals at the knock-off shops, but the quality varies. Prices at the real stores, like the North Face, Marmot, and Mountain Hardwear stores are the same as here in the United States.
First, before you delve into the list, check out my Everest Basecamp packing video where I explain what is in my Everest Basecamp female packing list and why.

This post may contain affiliate links.
Trekking Clothes
One important key to staying healthy on the trail is to wear the right clothing that will keep you warm and to adjust your layers as needed. At the beginning of the hike it was warm enough to wear shorts and a short-sleeve shirt, but by the end, I was hiking in pants, a short-sleeve shirt, a mid-weight long-sleeved base layer, and my North Face Thermoball jacket. Read more about how to layer for winter hiking.
No matter what I started with each morning, I always carried my warm jacket, shell, a buff, and towards the end, gloves and a hat. When you take a break, the minute you get cold, it’s wise to throw something warmer on to decrease your likelihood of getting sick.
You’ll also want a completely separate pair of clothes to wear at night in the lodges. As soon as you get to your lodge at the end of the day, you’ll want to change immediately out of your sweaty clothes and into your dry night-time outfit. Nights can get very cold, and most of the rooms do not have heat. This is another reason it’s important to have extra clothes since your damp hiking clothes might not always dry overnight.
Full disclaimer: The North Face hooked me up with some gear. I got to test it out in the conditions it was meant for, and I fully stand behind all of my recommendations here. Got questions? Shoot me an email!
Short-sleeve Shirts: Smartwool Merino 150 Base Layer Top – Pack 3-4 short-sleeve shirts. Avoid cotton and choose quick-dry, wicking fabric. These shirts don’t stink even after several days of wear. Read more about our favorite basic clothing recommendations for hiking.
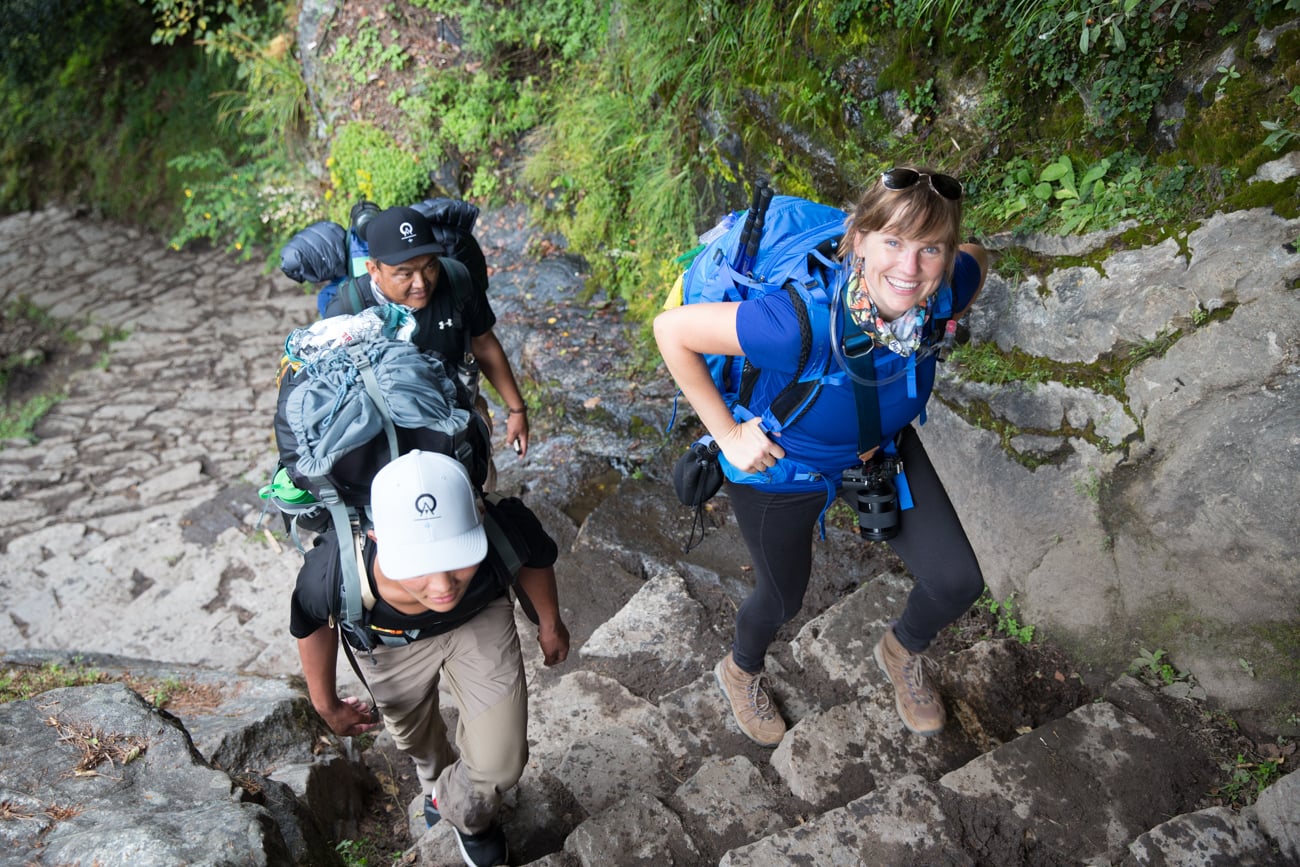
Long-sleeve Mid-weight Layer: The North Face Women’s Impulse Active 1/4-Zip Shirt & Nike Women’s Element Half-Zip Long Sleeve Running Top – Bring 2 long-sleeve mid-weight layers that you can throw on as an extra layer while hiking. The Nike top was lighter and was my go-to for the beginning of the hike. As it got colder and at night-time, I wore the North Face layer.
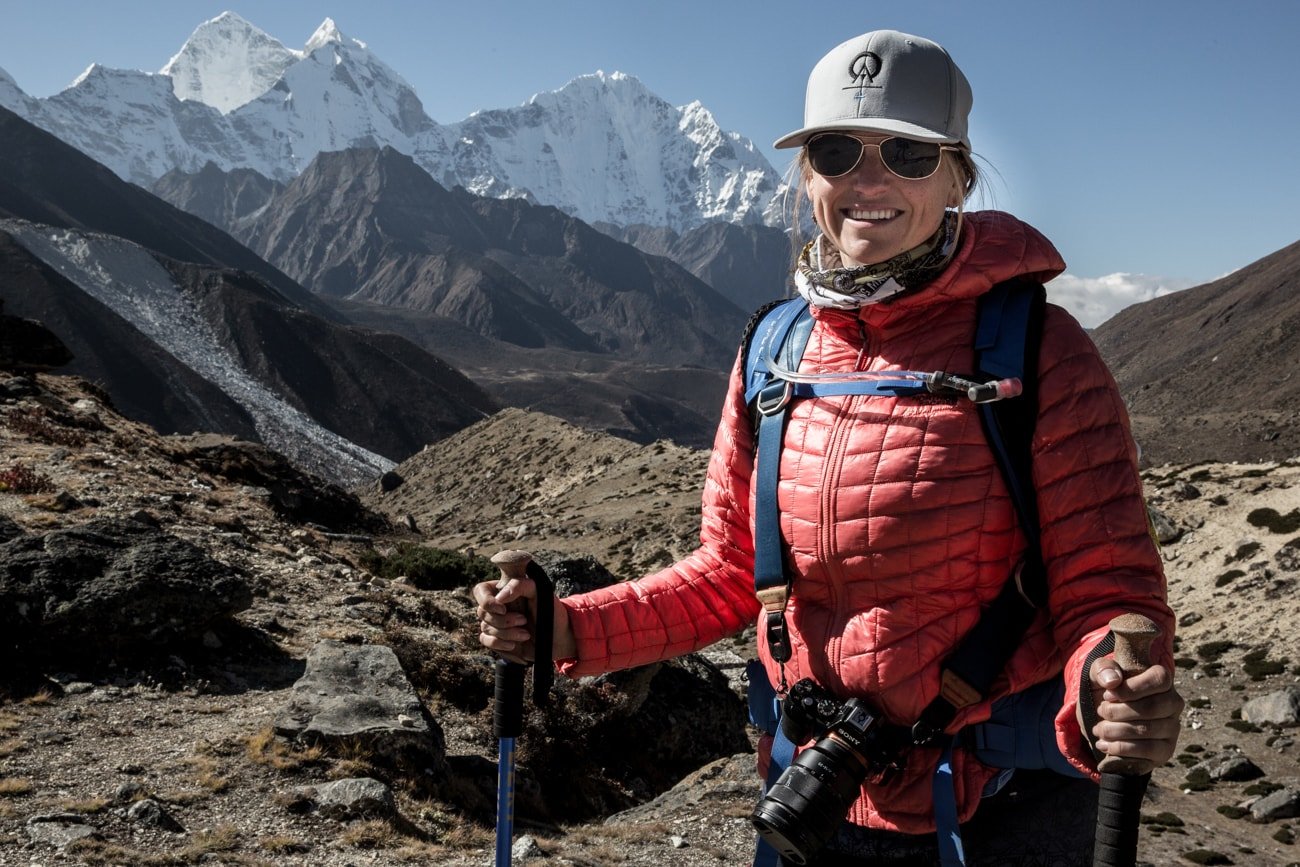
Warm Jacket: The North Face Thermoball Insulated Hoodie – This jacket was warm enough to stay cozy in the lodges at night but I didn’t overheat it in while hiking. I also liked the cut. It was long enough so I never experienced any drafts up the back, and having a hood was also a big advantage in the evenings. Finally, it is light and packed down very small, so I could carry it at all times in my daypack without it taking up too much room.
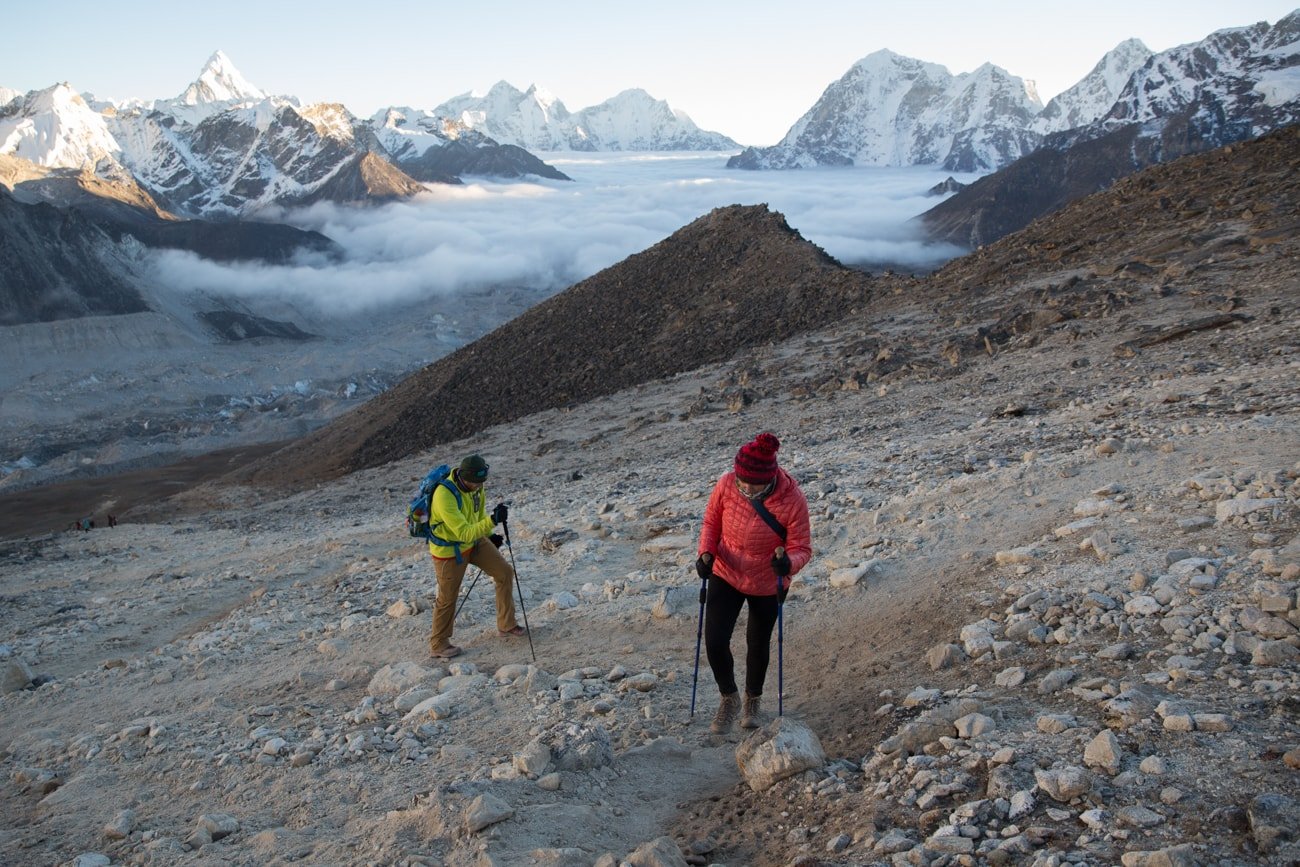
Shell: The North Face Dryzzle Shell – With chances of snow, you’ll want a waterproof, breathable outer layer. I only wore this Gortex rain jacket in cold, dry conditions, but it seemed pretty bombproof, and I never felt too sweaty in it.
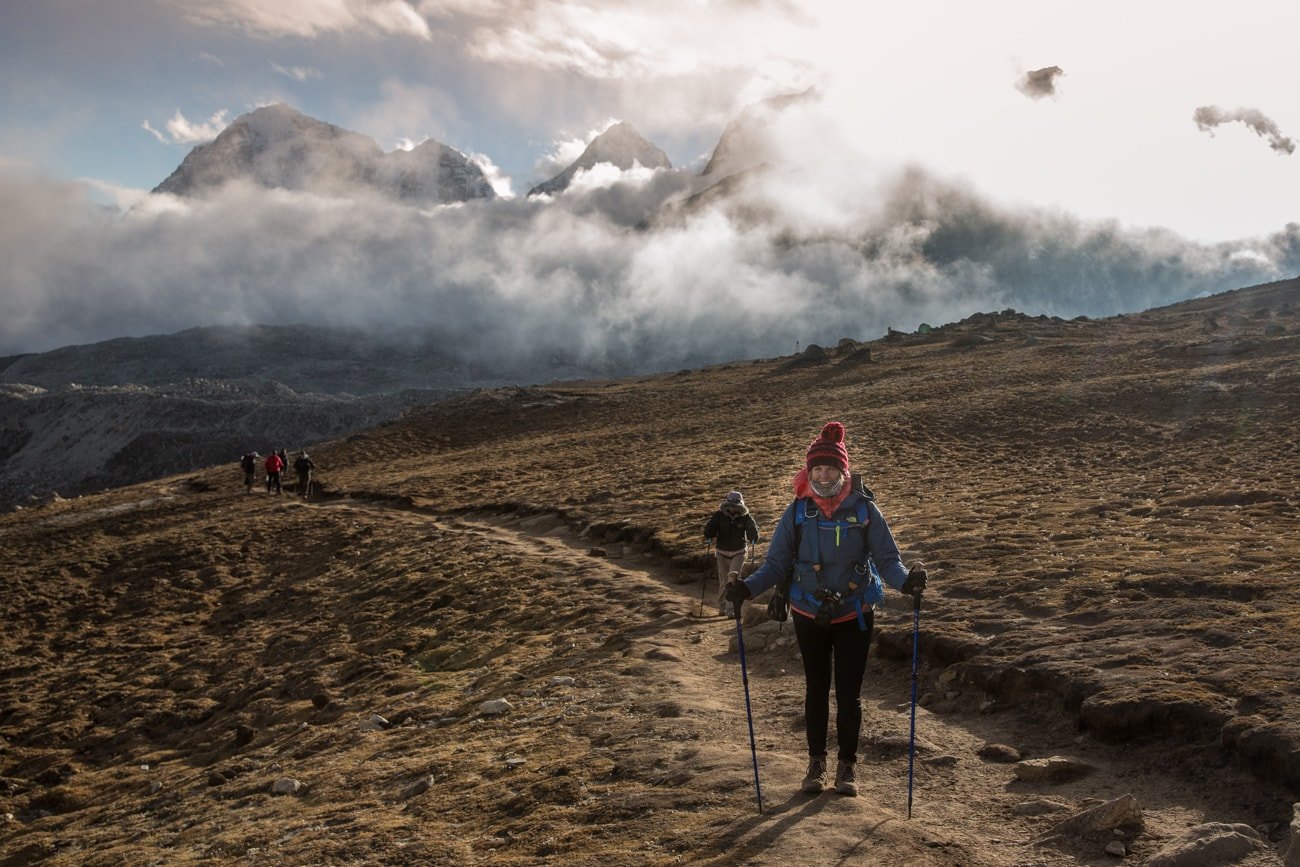
Shorts: Road Runner Sports Women’s R-Gear SpeedPro Compression 8″ Shorts – Many people in our group did not bring shorts and regretted it. Bring 1 pair. Even if you don’t wear them on the trail, you’ll likely want them for Kathmandu.
Light Hiking Pants: The Mountain Hardwear Women’s Mighty Activa Tights that I wore are no longer available but these Smartwool PhD Wind Tights look like they’re similar. I always hike in leggings. You’ll want something that’s comfortable, breathes well, and that will be durable.
Warm Hiking Pants: The North Face Winter Warm Tights – Women’s – These pants were awesome. They are fleece lined leggings and were perfect for the final days, and I also wore them to bed every single night.
Long Johns: Only once did I need to wear a second pants layer underneath The North Face tights, and it was to hike to the summit of Kala Patthar for sunset on our final day. These Merino Midweight Base Layer Tights are warm, soft, and reasonably priced as a backup second layer.
Gloves: The North Face Etip Gloves & Mittens – You’ll definitely want a lightweight pair of gloves to hike in – both for warmth and sun protection. If you use your phone as a camera, consider getting a pair with touchscreen capability. Then depending on how cold your hands get, you’ll also want something insulated. For a super cheap mitten option, wait till you get to Kathmandu and go to one of the knock-off shops. I ended up buying a down pair of mittens there for $6, and I never ended up needing them.
Warm Hat / Ball Cap: The North Face Nanny Knit Beanie – You’ll need a warm beanie for night-time and also something to wear during the day if it gets cold. Also, bring a ball cap to keep the sun off your face during the day.
Socks: Darn Tough Coolmax Micro Crew Cushion Socks – Ever since backpacking the John Muir Trail, I’ve been hooked on these socks. I’ve never gotten a blister, my feet never feel sweaty, and they provide just the right cushion.
Underwear: Give-n-go Sport Mesh Bikini Briefs – I’ve tried nearly all of the different “outdoor” underwear out there and these by Ex-officio are my favorites. They clean easily, don’t retain smells, and wick moisture. I’d recommend bringing at least 6 pairs of quick dry underwear. There is paid laundry available at some places along the trail, but not many options towards the end. Also if it’s cold, you won’t want to wash them since they aren’t likely to dry overnight.
Sports Bras: Nike Women’s Fitness Bra – Bring 2 sports bras so you can switch every other day. This Nike sports bra is comfortable and doesn’t stretch out after several days of wear.
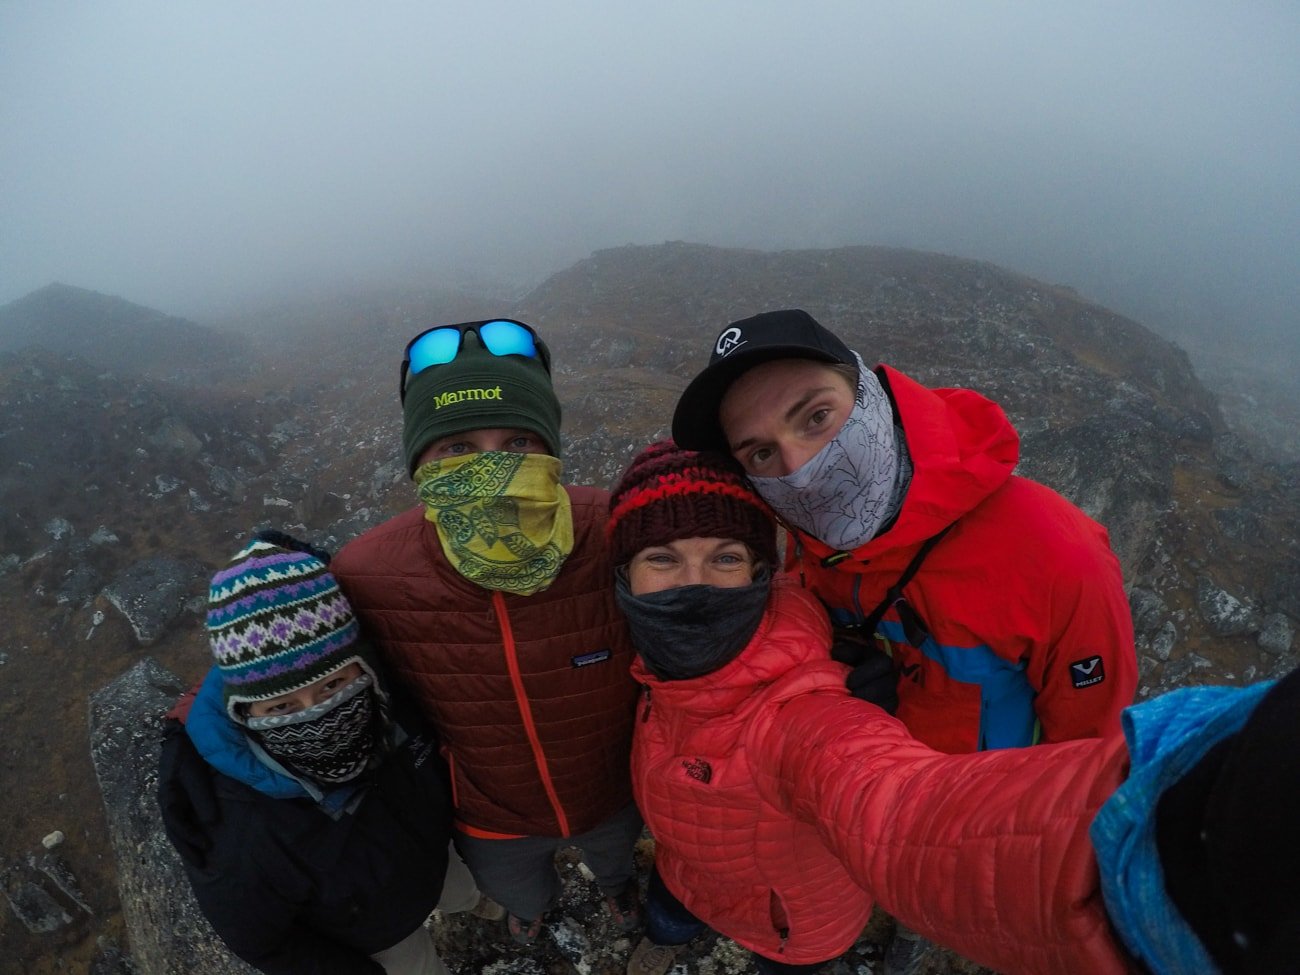
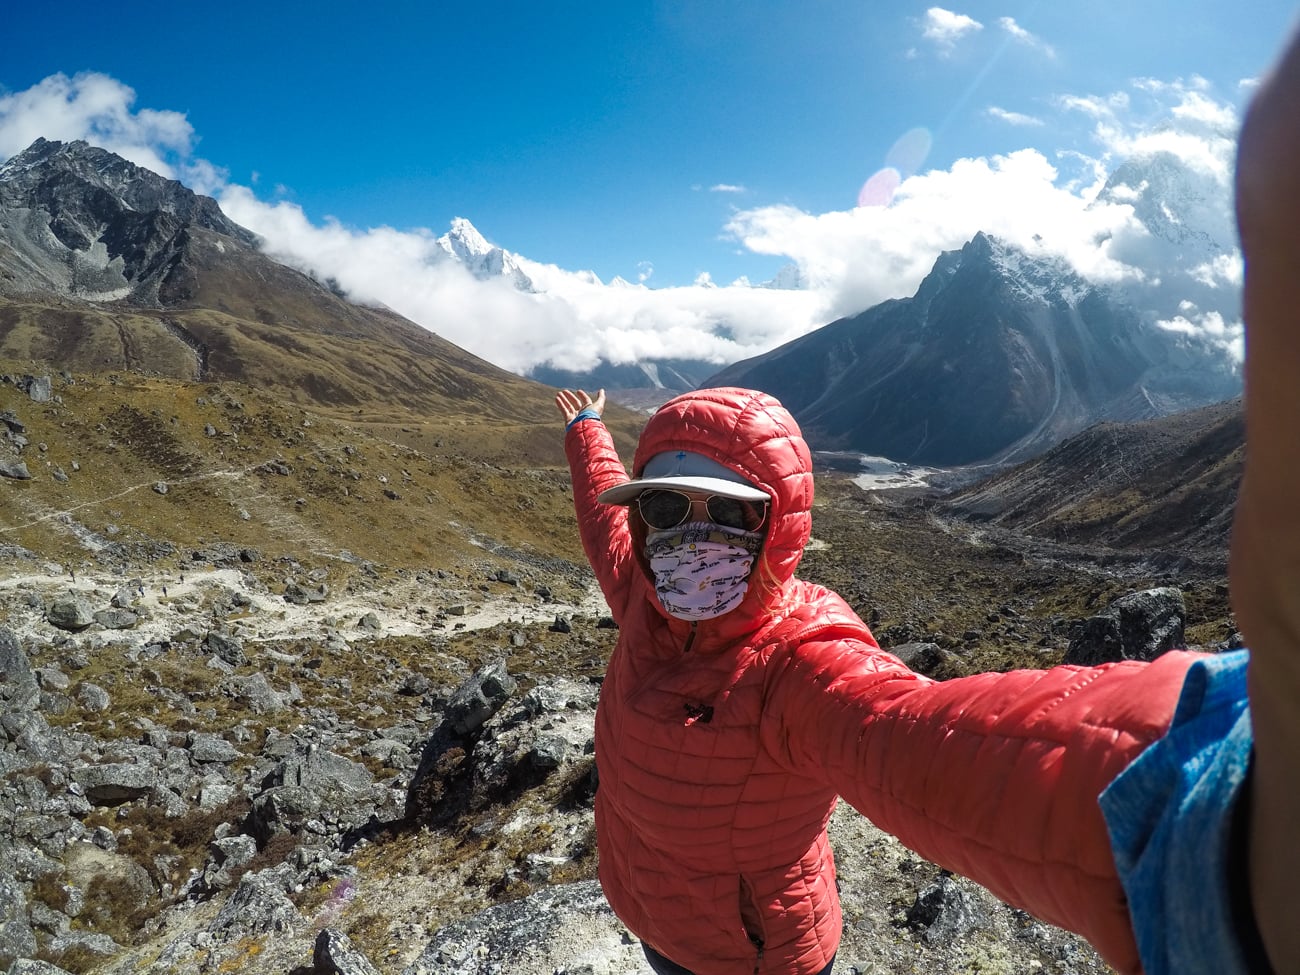
Buffs: Original Buff – Buffs are great for protecting your neck from the sun and keeping the cold, dusty air out of your lungs and nose. I’d bring at least 2 so you have one for both day and night and can rotate between them.
Sunglasses: Make sure that the sunglasses you bring are big enough to protect all areas around your eyes and offer UVA/UVB protection.
Hiking Boots: I wore a pair of Montrail hiking boots in Everest but have sense started wearing Oboz Bridger BDry Hiking Boots and love them. No matter what boots you chose, I’d recommend something waterproof with good soles and solid ankle support.
Save this post!
Enter your email & I'll send this post to your inbox! You'll also receive my weekly newsletter full of helpful advice for planning your adventures.
Toiletry Kit
First Aid: Bring any personal medications. In my first aid kit, I also brought Pepto Bismol, Imodium for diarrhea (which is very common), Advil, and a blister band-aid kit. Many people also take Diomox for altitude sickness. I didn’t take it, but a few people in our group who were showing signs of altitude sickness did. If you have questions about Diomox, you should consult your doctor before leaving on the trip.
Hand sanitizer: You should carry hand-sanitizer with you at all times. In many places there is no place to wash your hands after going to the bathroom, and you should hand sanitize before eating anything or after shaking hands with people, etc. The more diligent you are, the less likely you will be to get sick.
Female products: Bring tampons or a cup so you are prepared in case you get your period.
Travel shampoo / conditioner / soap: After about halfway through the hike, you probably will not shower. First, most lodges don’t offer in-room showers and you must pay if you want to take one. Second, it gets very cold, and it’s a bit of a cold shock to your body when you get out of the shower. So you’ll only need a very small amount of shampoo, soap, etc.
Sunscreen: Thinksport Sunscreen SPF 50+ – The sun at altitude is incredibly intense. Even if it doesn’t feel hot, make sure to lather up and reapply often. You can buy sunscreen in Kathmandu but this one works great and doesn’t have many of the harmful chemicals that are present in sunscreen.
Lip Balm: Jack Black Intense Therapy Lip Balm SPF 25 – It’s dry up at altitude, so you’ll want to keep lip balm with high SPF in your daypack and reapply often so your lips don’t get burnt.
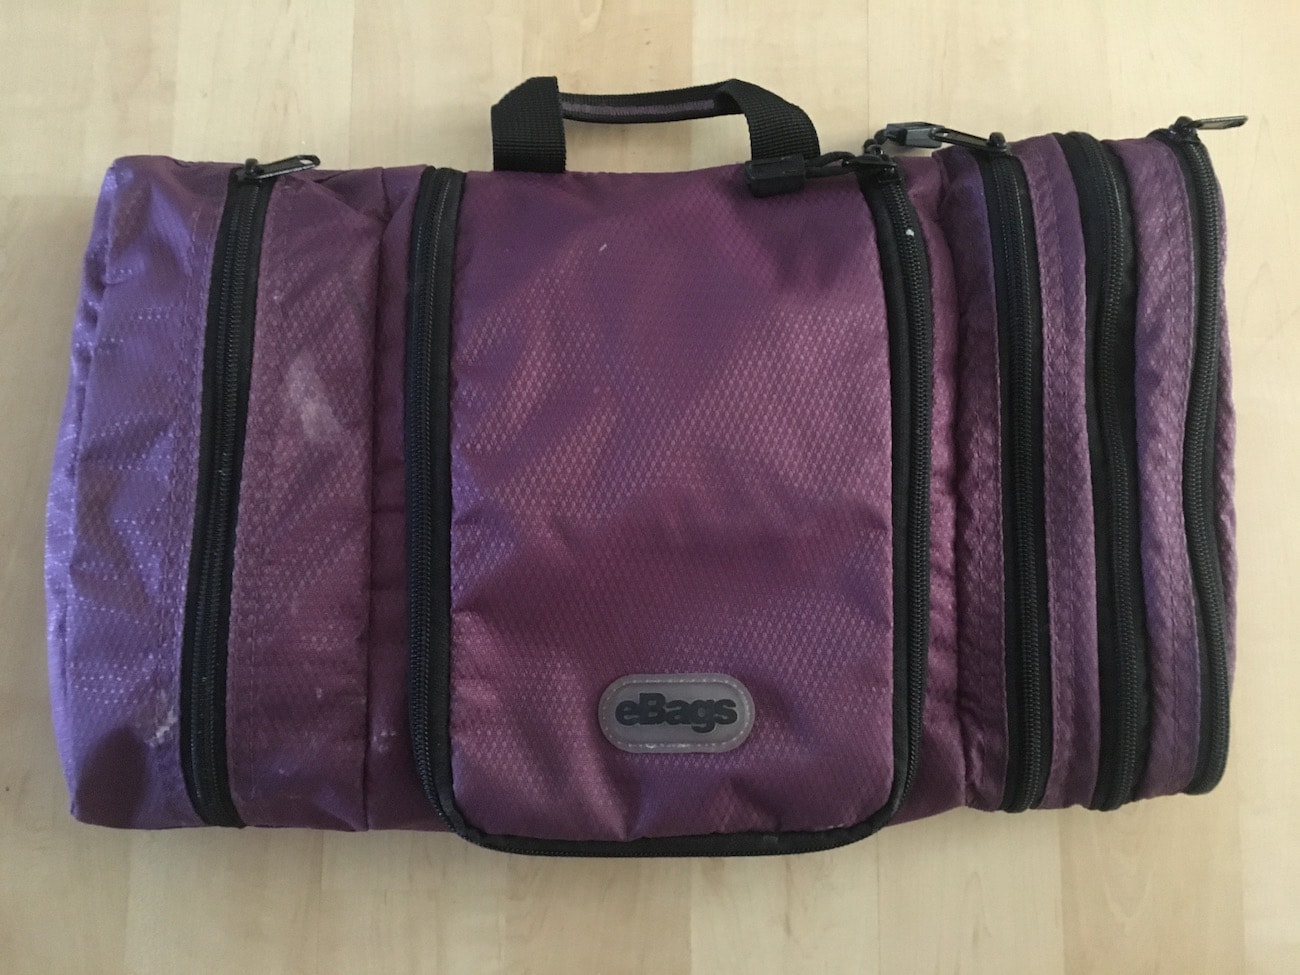
Toiletry Case: eBags Pack-it-Flat Toiletry Kit – This ebags toiletry bag has tons of space but packs flat so it doesn’t take up too much room in your duffel bag.
Toilet Paper: Obviously something you can buy in Kathmandu or many places along the trail….but none of the bathrooms/squat toilets, including some in the lodges, provide toilet paper.
Probiotics: Probiotics are good for women’s health and also your digestional tract. I took Garden of Life vegetarian probiotics with me, and I didn’t have any stomach issues the entire trip. Not a guarantee, but taking these can’t hurt when you are traveling in a place where there is more bacteria than you are used to. The Garden of Life capsules don’t need to be refrigerated, which makes them ideal for a trip like this.
Toothbrush / toothpaste
Earplugs: The walls at the lodges are thin, and it can be noisy at night. I brought earplugs and was very happy I had them.
Quick Dry Towel: REI MultiTowel Lite X Large Towel – Wherever we had a chance to shower, most of the lodges had towels in the rooms, but it’s not a bad idea to have a quick dry towel just in case.
Cameras / Electronics
Camera: Sony A7S with 16-35 mm lens & 24-240 mm lens – This is my go-to DSLR body and lens combo for all of my landscape shots. That said, it’s probably overkill for 98% of you. Instead, I suggest the Sony a6000 and kit lens if you are starting out and want to invest in something awesome but still relatively affordable. For the lens, if you can only bring one, I suggest a wide-angle like a 16-35mm that will allow you to get awesome landscape shots. If you can bring a second, then something with a big zoom range, like the 24-240, is a great walk around lens that is good for distant landscapes and portraits.
Peak Designs Slide Strap – This is the best camera strap I’ve ever owned. It’s comfortable, adjustable, and it easily slides up to meet your eye even when it’s underneath your pack.
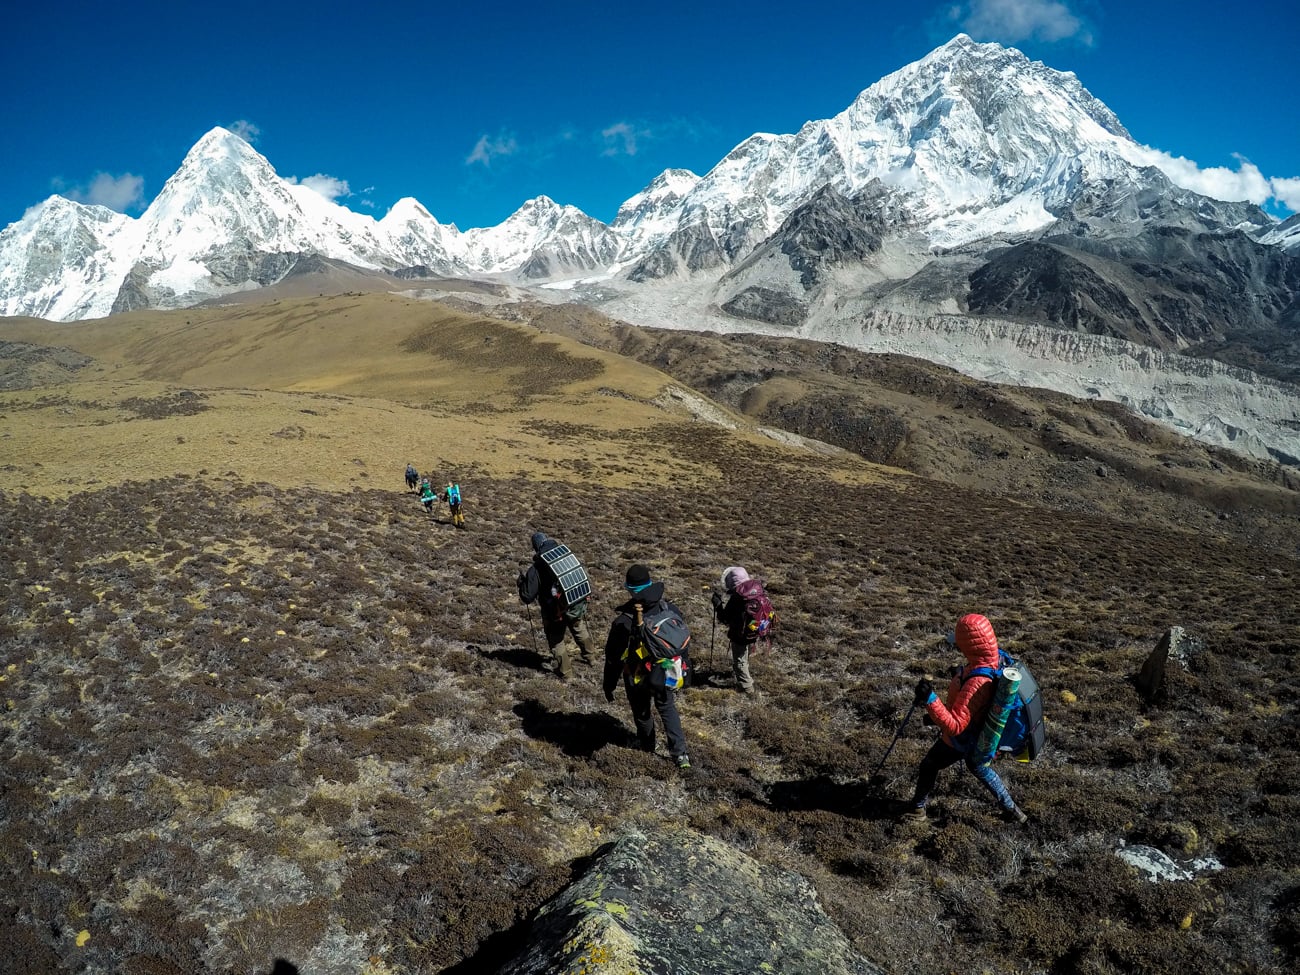
Solar Panel & Battery Packs: Nekteck 21W Solar Charger & EasyAcc Monster 20000mAh Power Bank – After about day 6, it’s unlikely that you’ll have outlets in your room at the lodges. In some of the lodges you can pay to charge your stuff, but it’s not cheap. This solar panel isn’t the most powerful out there, but it’s small, light, and can easily be strapped to the outside of your pack. I used the panels to charge a portable power bank which I later in the evenings used to charge my GoPros and phone. If you have a lot of thing to charge, this international travel adapter which has 2 plugs and 2 USB connections is also really handy.
Headlamp: Black Diamond Spot 325 Headlamp – Many of the lodges do not have electricity at night, so bringing a headlamp is essential.
Backpack / Duffel Bag / Other Gear
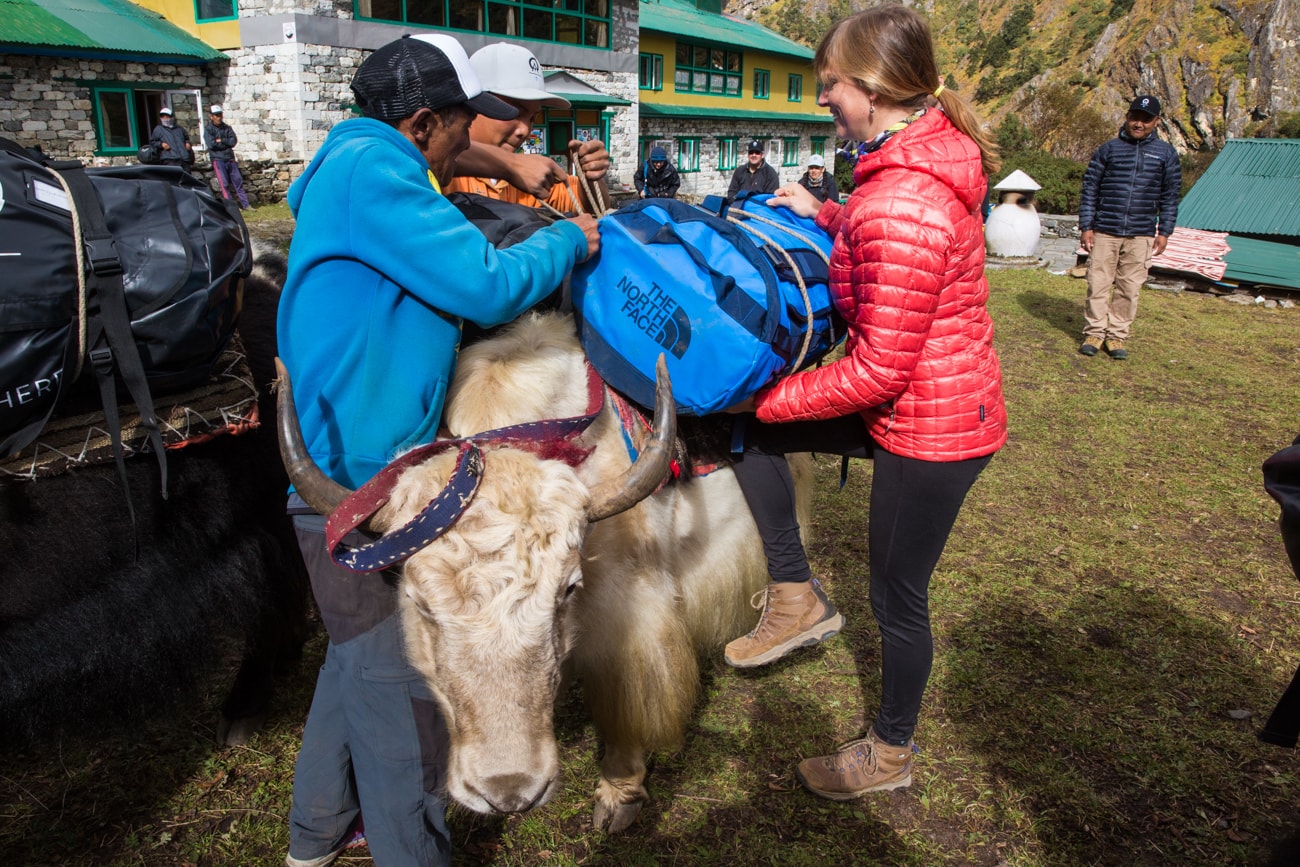
If you are self-guided, you may or may not have a porter to help carry your gear. If you are on a guided trip like I was, your bags will be carried by porters, yaks, or both. You’ll need to pack all of your stuff in a durable duffel bag and keep your personal belongings in a daypack. Also, keep in mind that the weight limit for your luggage on the flight to Lukla is 15 kilograms. If you exceed this, you will have to pay a baggage fee.
Duffel Bag: The North Face Large Basecamp Duffel – The North Face Large duffel is 95 liters, which was plenty big to carry all of my stuff. It is also water-resistant and has compression straps that can be used to cinch it down if it’s not full. Inside your duffel bag, I’d recommend organizing all of your stuff using Eagle Creek Compression Packing Cubes. This allowed me to keep my underwear and socks separate from shirts and pants and to fit a lot more in my bag than I would have without them. Finally, if you are having porters carry your duffel, I’d recommend bringing a small lock for your bag.
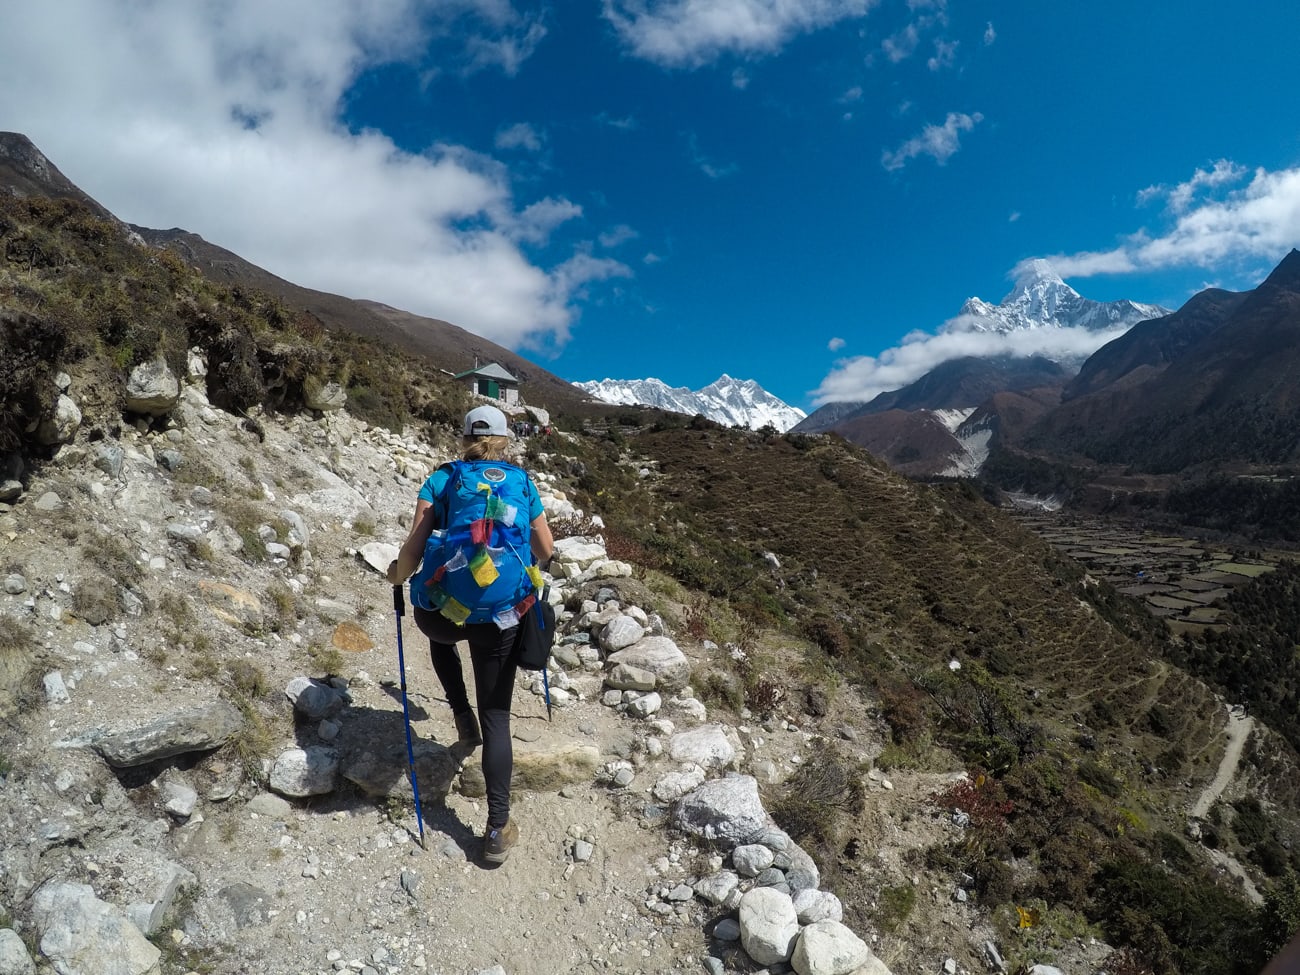
Daypack: Osprey Mira AG 26 Hydration Pack – This was an expensive pack, and but I was 110% happy with it and now plan on using it on all of my day hikes or on future trips. The pack offered a ton of support, had good airflow on my back, and I really liked the pocket layout….but what really made this pack awesome was separate hydration sleeve and the water bladder that came with it. The mouthpiece had a magnet that attached it to the chest strap so it was also easy to find. This also prevented the mouthpiece from dragging on the ground when you took the pack off. The hose also detaches from the bladder so when you want to fill up the bladder, you don’t have to take the whole hose out of the pack. Either way, whichever pack you choose, I’d definitely suggest one with a water bladder. Not having to take your pack off to drink means you stay more hydrated and not lose momentum every time you’re thirsty. Here are more of our favorite daypacks for hiking.
Water purification: Steripen – Paying for bottled water not only gets expensive but the plastic is really bad for the environment, especially given that all of the waste has to be carried out by the locals. We used a Steri-pen, which uses UV rays to kill bacteria and viruses, to sterilize the water at the lodges. We have an entire guide for choosing the best water filter for your next adventure.
Sleeping Bag: If you don’t have a sleeping bag, you can rent one in Kathmandu at one of the many outdoor shops. If you are looking to invest in a high quality, sleeping bag, I have the Western Mountaineering Versalite 10 Degree Down Sleeping Bag. At 10 degrees, it was the warmest I could find for its weight, which is a mere 2 pounds – making it an excellent bag for backpacking. Read more about how to choose the best sleeping bag for you.
Trekking Poles: I wasn’t sure I’d use trekking poles on my Everest Basecamp Trek, but after day 2, I never put mine away. You can buy a really cheap pair in Kathmandu for around $10 US which is what I did….or bring some from home. Several people on the trip had these Black Diamond poles and seemed to really like them. Learn more about how to protect your knees while hiking.
I hope my Everest Basecamp packing list helps you ladies (and gents!) who are preparing for the trek of a lifetime!
DO YOU HAVE QUESTIONS ABOUT MY EVEREST BASECAMP FEMALE PACKING LIST? LEAVE A COMMENT BELOW.

Great list! I just have one question regarding the Thermoball jacket – how does it work when it’s windy? I know it insulates great and it’s nicely light and pack-able but the baffle construction doesn’t seem to be the best for windy conditions. Would love your feedback on that 🙂
Hey Karo – You’ll definitely want an additional layer for wind…the thermoball is great for trekking but under any sort of extreme conditions, you will want something extra. Hope that helps!
Hey! the name of the boot that you list and the one that you link to differ slightly. I am looking for boots for Patagonia, and want to try out your recommendation. Please clarify!
Hey Megan – That is just the updated version….but unfortunately Montrail just got discontinued. Check out Ahnu boots. This is what I’ll be switching too I’m pretty sure: http://bit.ly/2lkEMjp
Kristen … Im just buying some clothing for EBC … we are doing a summit (Island Peak) and I too like you prefer leggings to walk in … are the Warm Hiking Pants: The North Face Winter Warm Tights sufficient for day wear?
Hey Cryss – If it’s not too cold, you can hike in them. When it got really cold I doubled up with another pair of leggings underneath. I also recently tried Oros Leggings which are insulated. I’ve worn those hiking in snow here in Utah so you might check those out.
Hi, I also prefer to hike in tights, however I’ve heard that you should dress conservatively in Nepal and not wear tight clothing. Was it common for people to wear tights, or did most people wear loose fitting hiking pants?
Hi there
AbFab list!
What time of year did you travel?
Did you leave much behind in Katmandu or did you pack everything in the duffel?
I went in late October, and I did leave some stuff at my hotel in Kathmandu.
What sunglasses do you recommend for the trek? Do you need Julbo mountainteering sunglasses or are polarized ones ok? We are doing the EBC trek this October.
Hi!
Great suggestions for ladies! What month did you go? How cold are the tea houses? How warm for the first couple days at lower elevations. I am going in November for the 3 passes so maybe double the time spent with the same amt of clothes. We will have porters with a weight limit. I am concerned about lower temps at night. Many of the awesome clothes you recommend are no longer available 🙁
Thanks,
Patti
Sorry it took me so long to respond to this. I went in late October. Temps were pretty cold at night, but not freezing. Hope you had a great hike!
Hi, thanks for putting this together, this list helped me a lot! I am heading to do the Everest Basecamp trek next week and am super stoked. I am curious about your rain shell, as I have heard that one isn’t super waterproof in pouring rain. My understanding is that the weather in the Everest region is quite dry this time of year. Did you experience any rain or snow at all? Thanks 🙂
Hi Kristen! Really appreciate the detail in your packing list and how thorough it was! I had one question about Water Purification. I have a Katadyn Hiker Pro Microfilter, which uses a pump action. is this good enough or is the Steripen (which I don’t have) a better idea? Thank you!
Hi Mike, you could use the pump filter.
Hi!
Thank you for the list above. Question: I’d like to bring a 1-person tent. Would i be able to utilize it at camp? Are there permits specific to base camp with setting up a tent?
thank you!
Ed
Question about the sleeping bag, are the blankets in the tea houses not enough? Or are there no blankets?Also, do you know, if you aren’t going with a guide, do you need to make reservations at the tea houses along the way? Is that even a thing?
This list is by far the most helpful I’ve come across! Thanks so much for putting it together. I am prepping for my ebc trek this October and wanted your recommendations on the down jacket:
I know when you did the trek you used tnf thermoball, but I noticed you’ve since recommended the nano puff. I am also considering Eddie Bauer’s. Microtherm 2.0? I know you might not have used the microtherm vat in your opinion do you think would work best for this trek?
I think synthetic is good, just in case you encounter weather. I haven’t used the eddie bauer coat, but anything similar to the nanopuff or the thermoball would work.
Hello! I’m inspired to trek the EBC after reading a few blogs, yours is 1 of them. Im also interested in photography along the way. I would be bringing an A6300. Do u have any idea how long the batteries will last for the trip during the May period? Is bringing 2 spare batteries enough? Thanks! 🙂
I would definitely suggest bringing more than 2 batteries. I think I brought 5. There isn’t a lot of electricity available along the way to charge your stuff, so better safe than sorry!
Super old post but… What do you bring to clean your clothes when backpacking? Soap or detergent or something similar?
Hi Cat! We don’t normally bring anything specific for washing clothes when backpacking – we usually just give them a rinse (no soap) in a river, stream, or lake to give them a refresh when needed. For a longer trip we might bring some biodegradable soap so we can give them a hand wash when passing through a town or in a collapsible bucket of water 200 ft away from any rivers, lakes, streams or other water sources. Hope that helps!