Trail Guide: Hiking Mt. Tallac in South Lake Tahoe
Challenge yourself by hiking one of the tallest peaks on Lake Tahoe – Mt. Tallac. Learn everything you need to know in this complete trail guide.
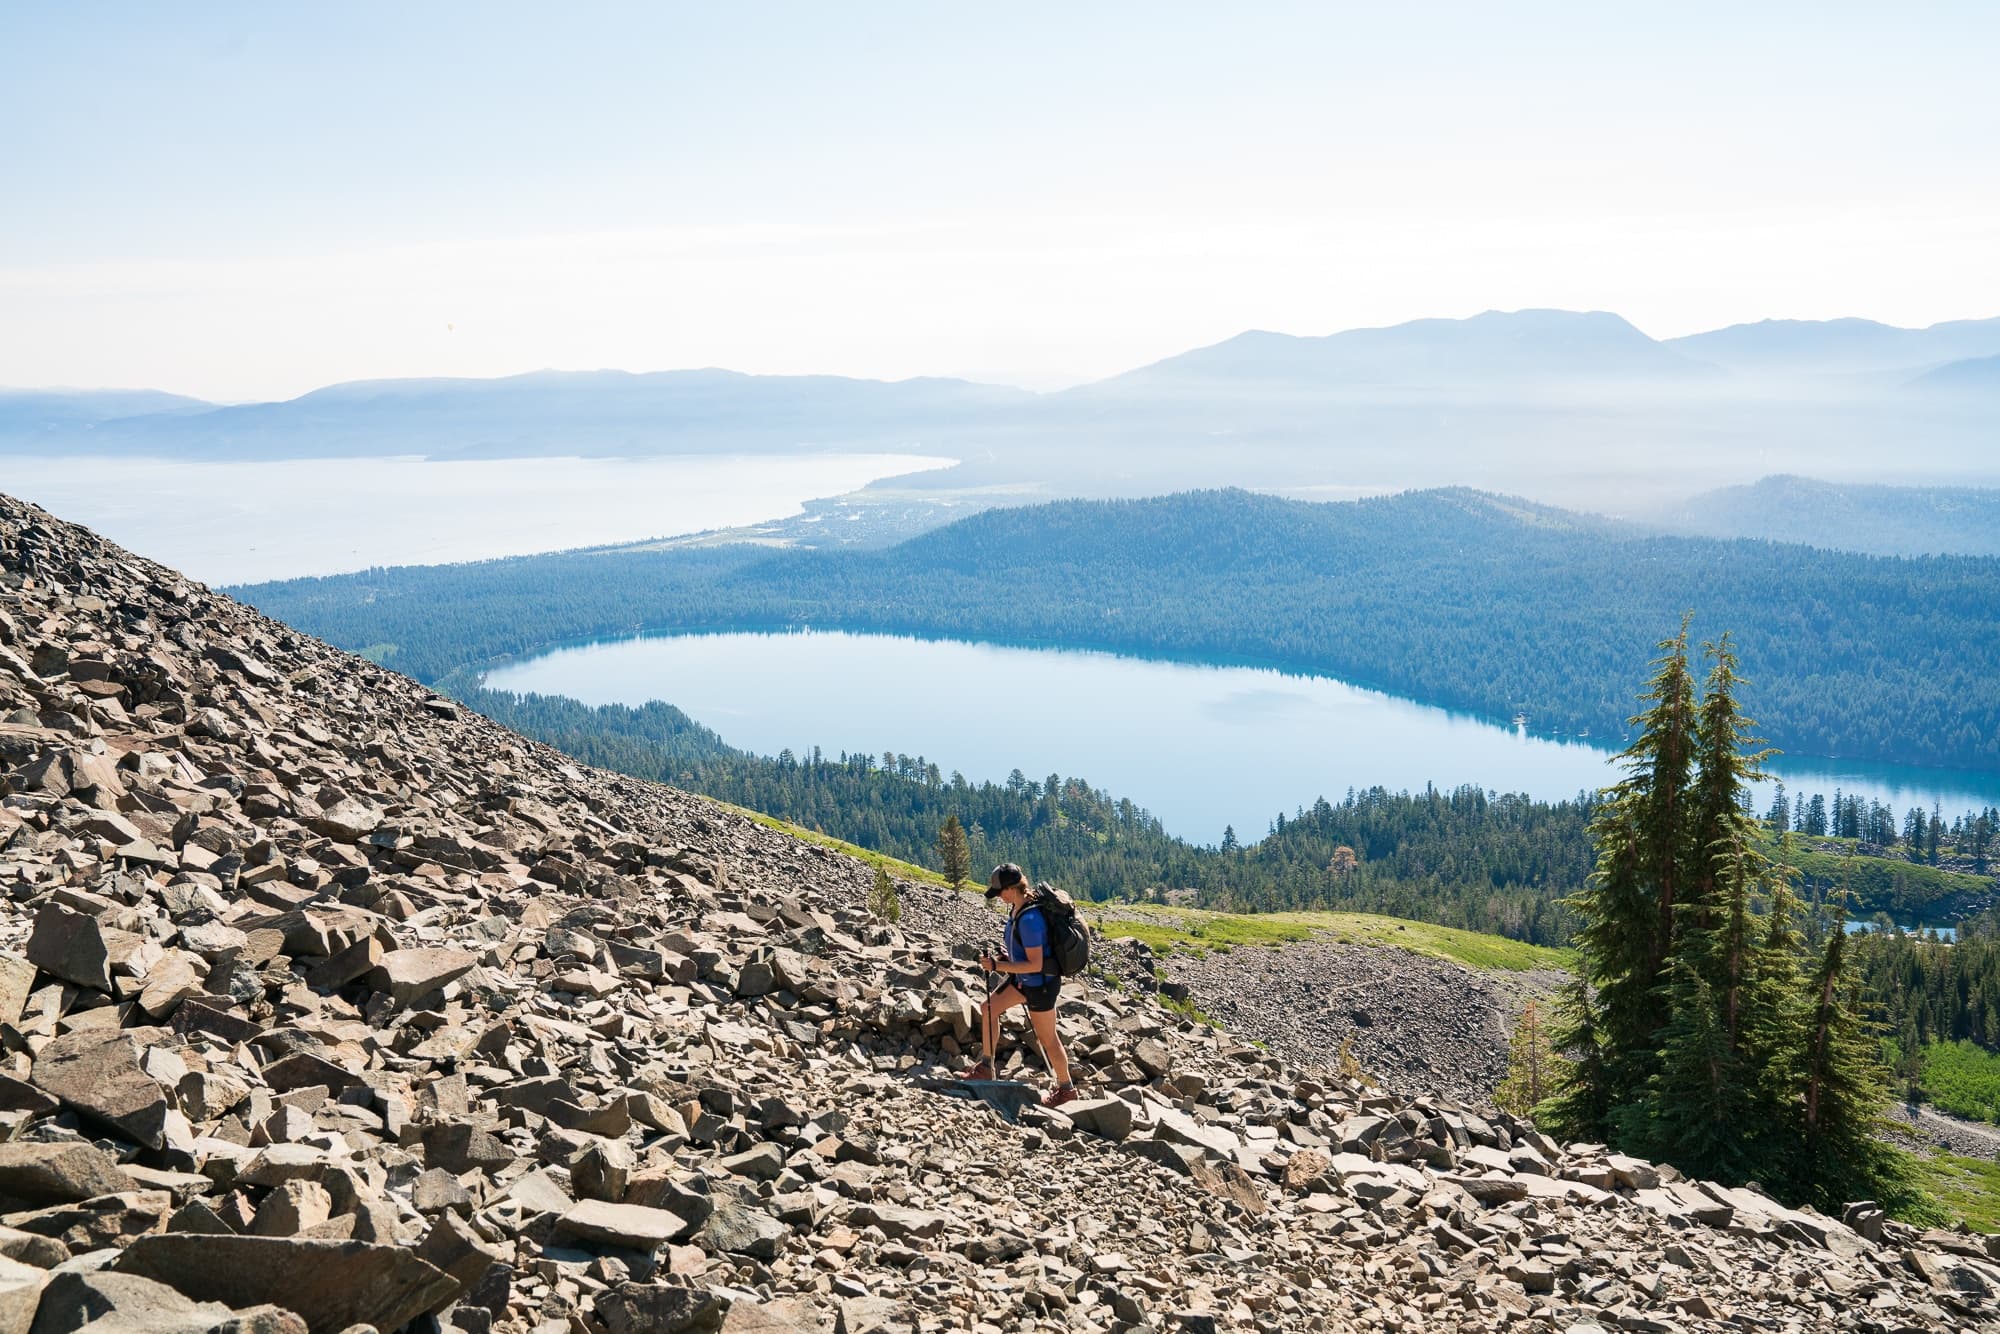
If you’ve visited Lake Tahoe, you know part of the Lake’s beauty are the majestic mountains that ring the aqua-blue lake. Mt. Tallac is one of the highest peaks surrounding Lake Tahoe at 9,753 ft. above sea level and hiking to the top is on many visitors’ bucket lists. Not only will you have non-stop views of Lake Tahoe and Desolation Wilderness on the way to the summit, but the Mt. Tallac trail offers a diversity of landscapes on your way up. From lush green forests, stunning ridgeline walks, small alpine lakes, and alpine meadows filled with wildflowers, the trail will not disappoint.
In this Mt. Tallac Trail Guide, you’ll learn everything you need to know to successfully hike to the summit of Mt. Tallac in Lake Tahoe.
Best Time To Hike Mt. Tallac
Generally, the hike is accessible from May to October but depending on the snowpack, it might only be accessible from June to September. You can check the current conditions here. There is a risk of snowfields and dangerous conditions in the spring & early summer.
Getting to the Mt. Tallac Trailhead
The Mt. Tallac Trailhead is located east of South Lake Tahoe near Fallen Leaf Lake. Take Highway 89 to the Camp Shelly/Tallac City Camps turn-off. If you are coming from the north, this is first right turn after Spring Creek Road (just after the “25 MPH” right-hand curve). If you are coming from the south, it is a left turn about 3/4 mile past the Lake Tahoe Visitor Center. Once you are heading east on this paved road, follow the signs to “Tallac Trailhead.”
Preparing for Your Mt. Tallac Hike
Trail Details
- Length: 10.5 mile out & back hike
- Elevation gain: 3,500 feet
- Difficulty: Strenuous
- Time needed: 6 hours
- Permit: Yes
- Dogs: Dogs are allowed on the Mt. Tallac trail. It’s important to understand the conditions of the trail though. Sharp talus & granite can be difficult for inexperienced pups. Bring hiking booties to help protect their paws and be aware that these rocks can also be very hot underfoot in the summer. For more safety tips on hiking with dogs, check out this post.
What to know before you go
Cell phone service
Cell phone service is limited at the trailhead, so if you are meeting friends make sure everyone knows where to meet and has directions ahead of time.
Water availability
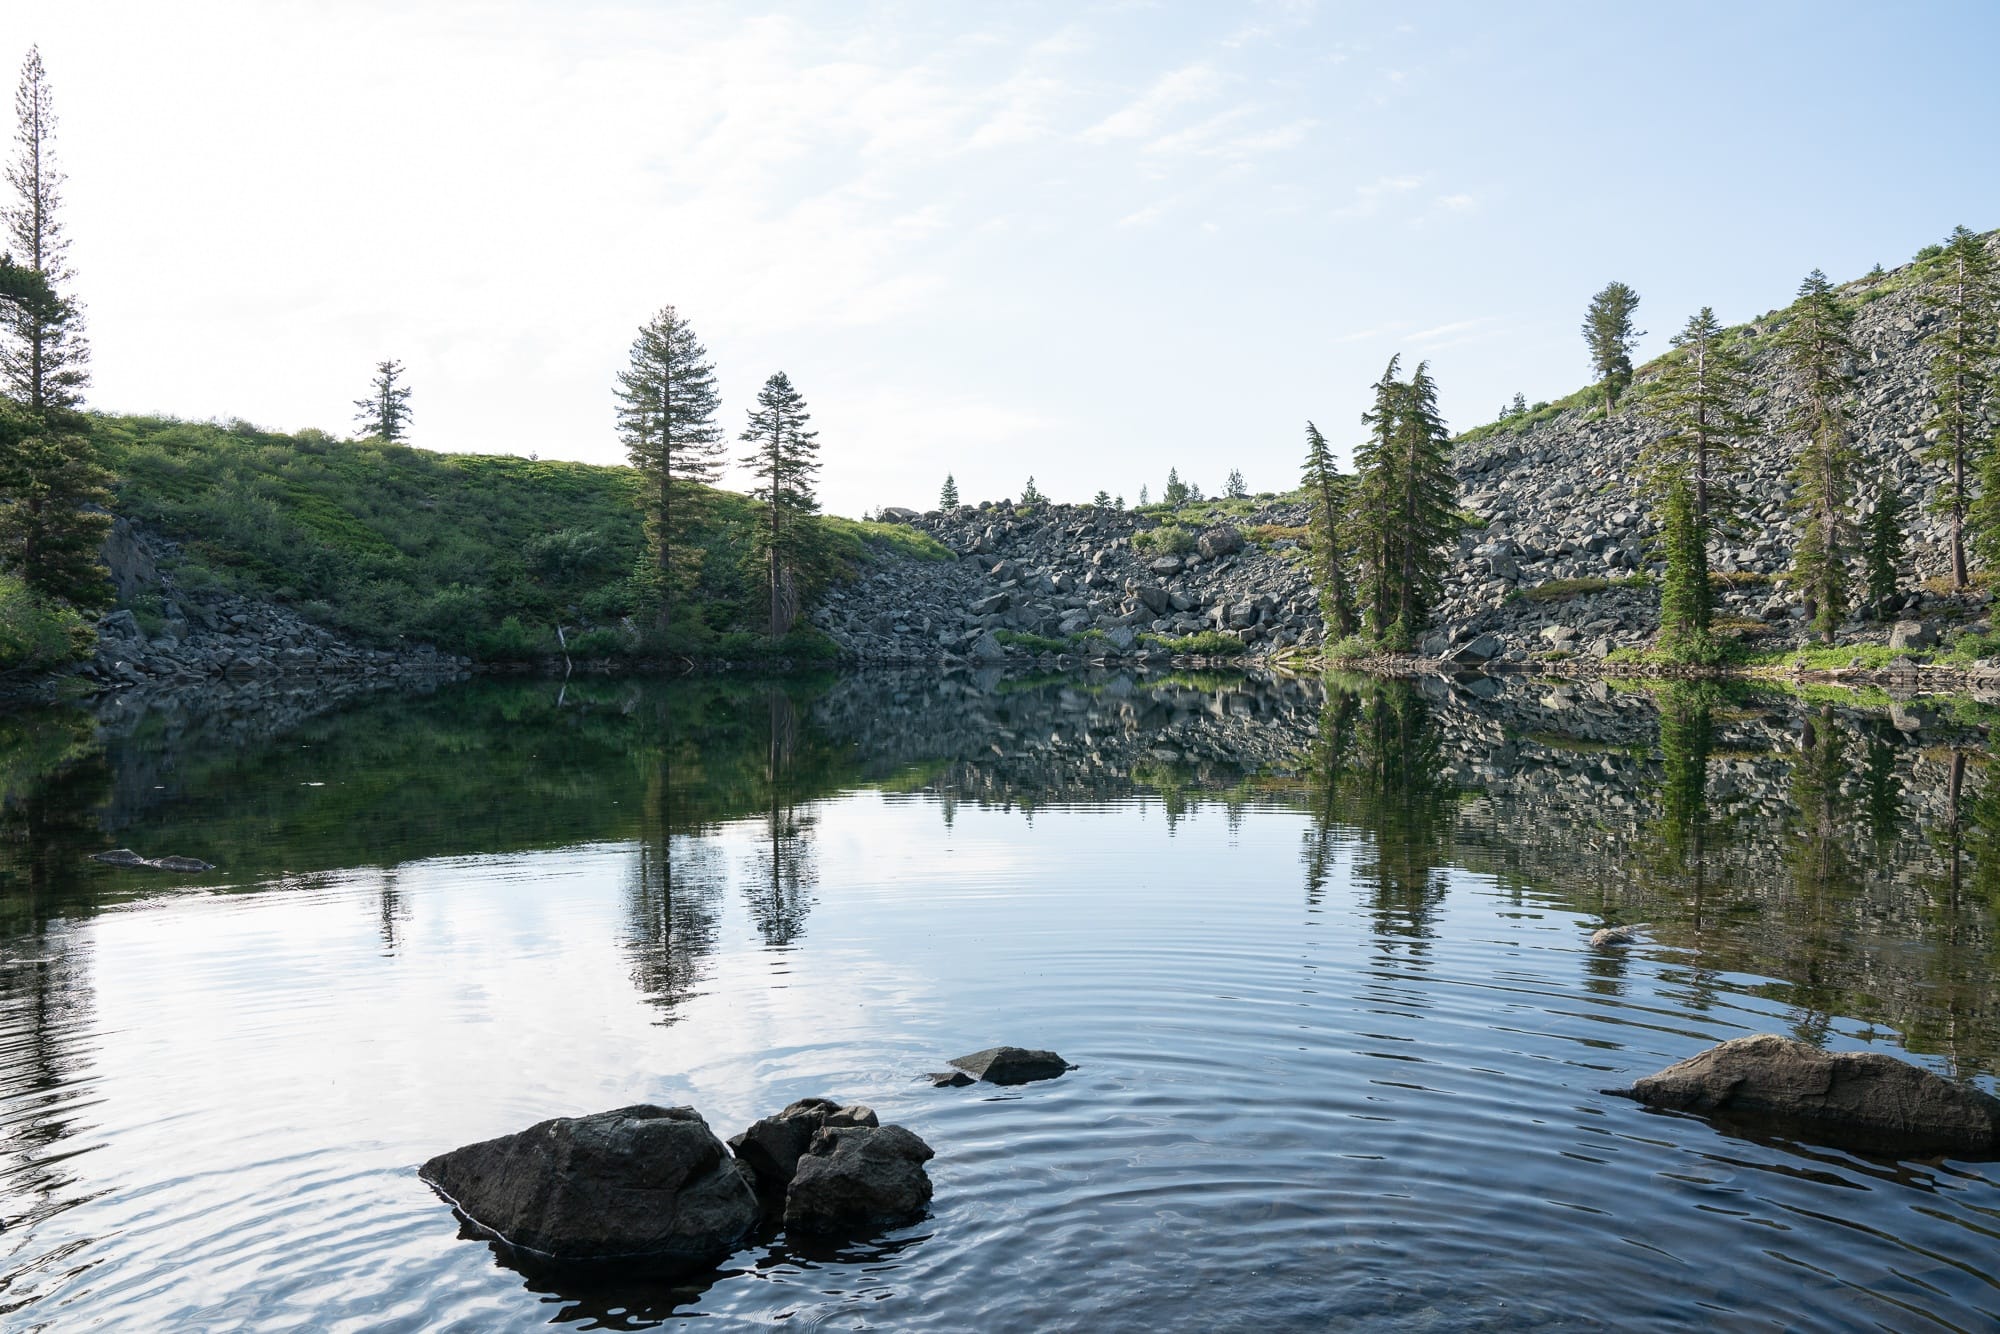
You should pack plenty of water (at least 3 liters) and snacks for the hike. There is a small running creek right after the start of the hike and two small lakes that you pass on the way up. If you want to carry less water on the beginning portion of the hike, you can pack a water filter and refill at one of the lakes. Cathedral Lake is the last water source on the Mt. Tallac trail, so plan accordingly.
Trail conditions
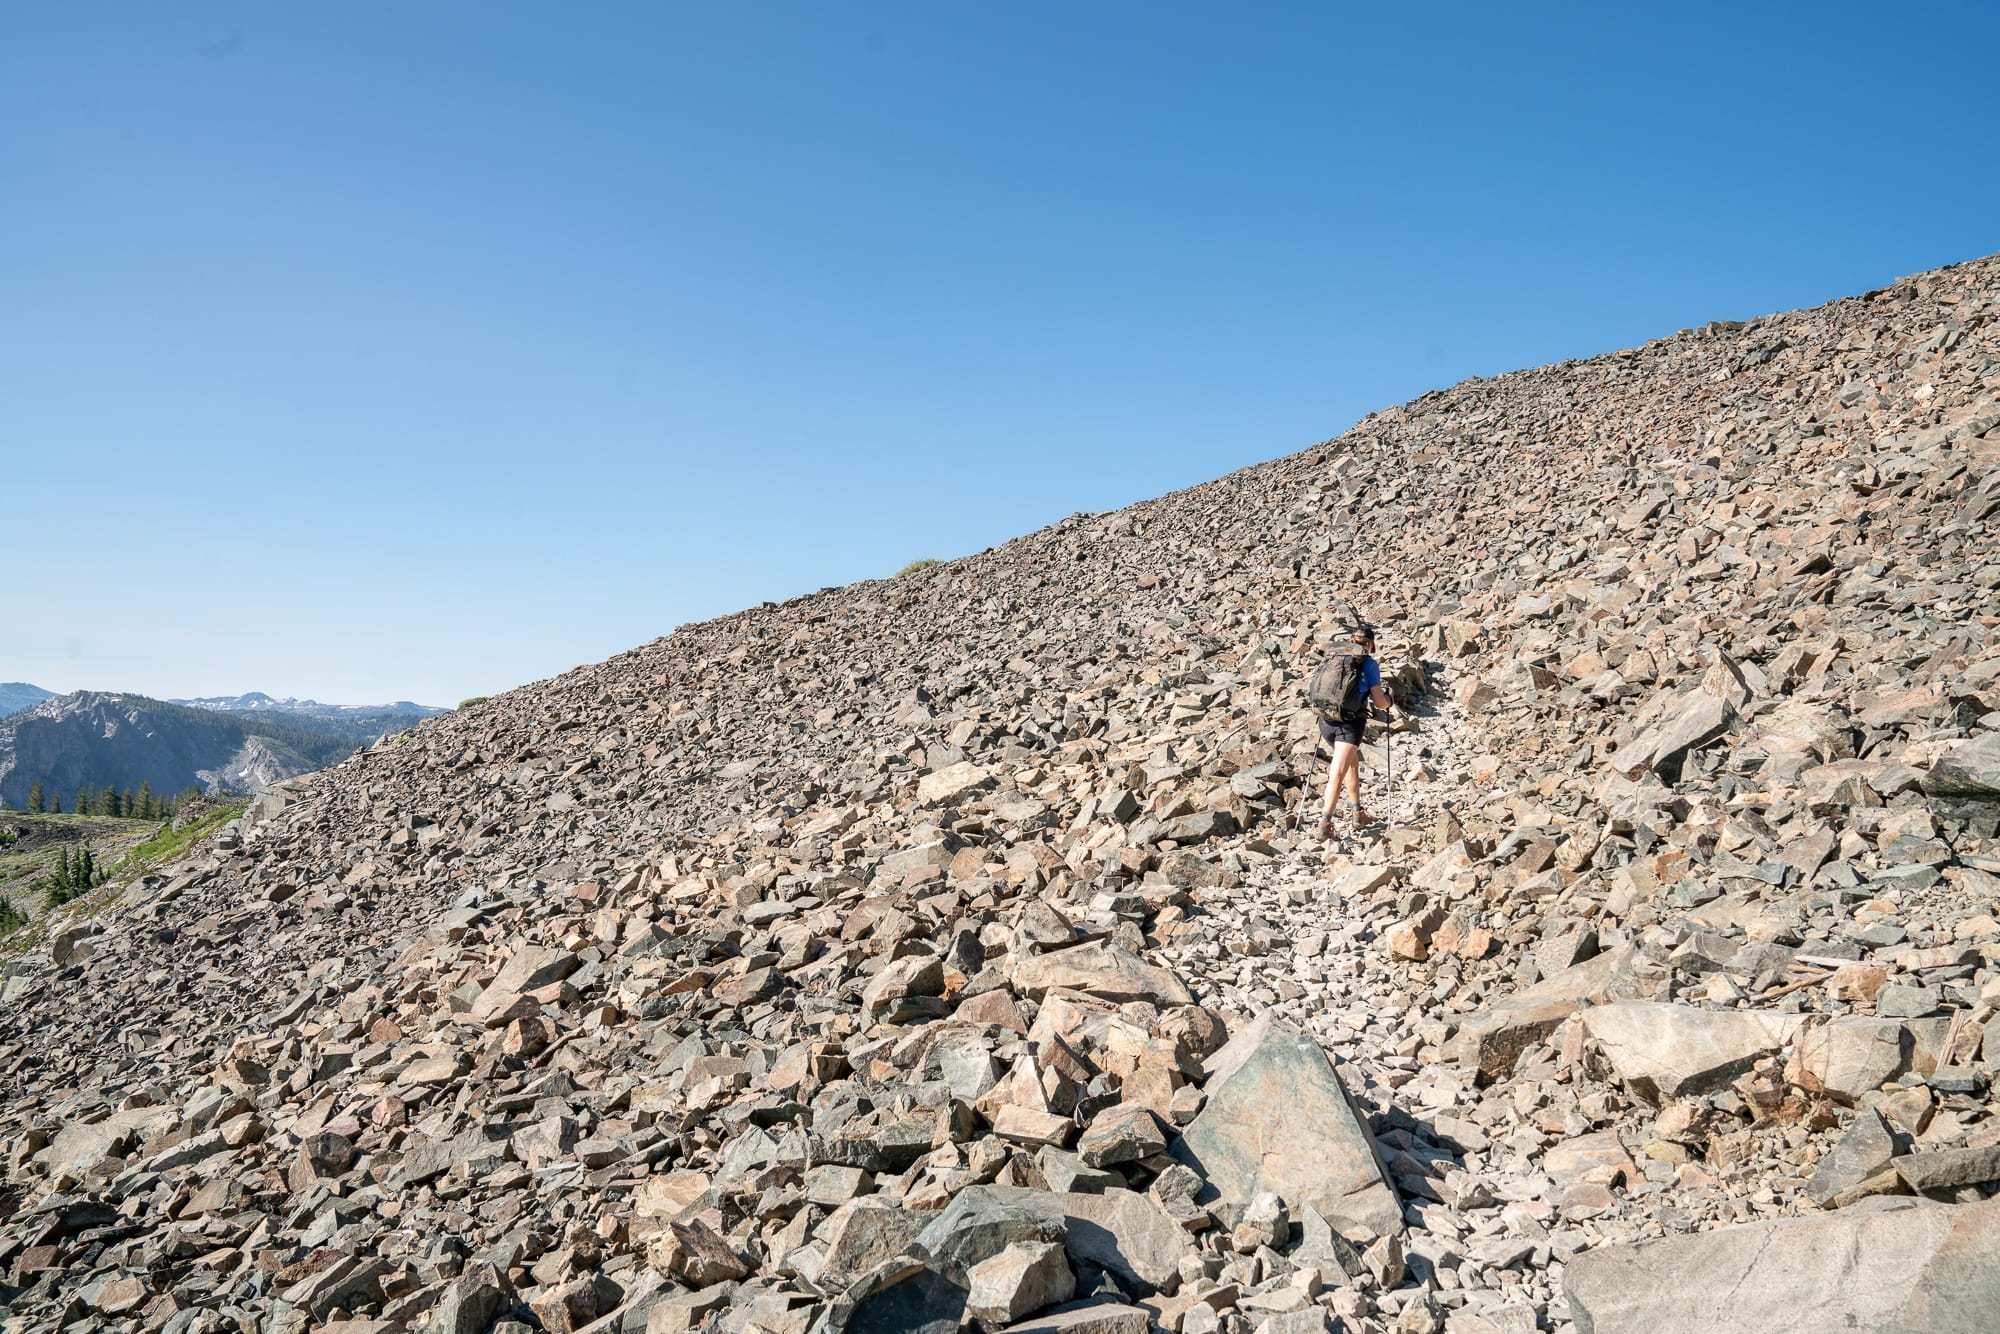
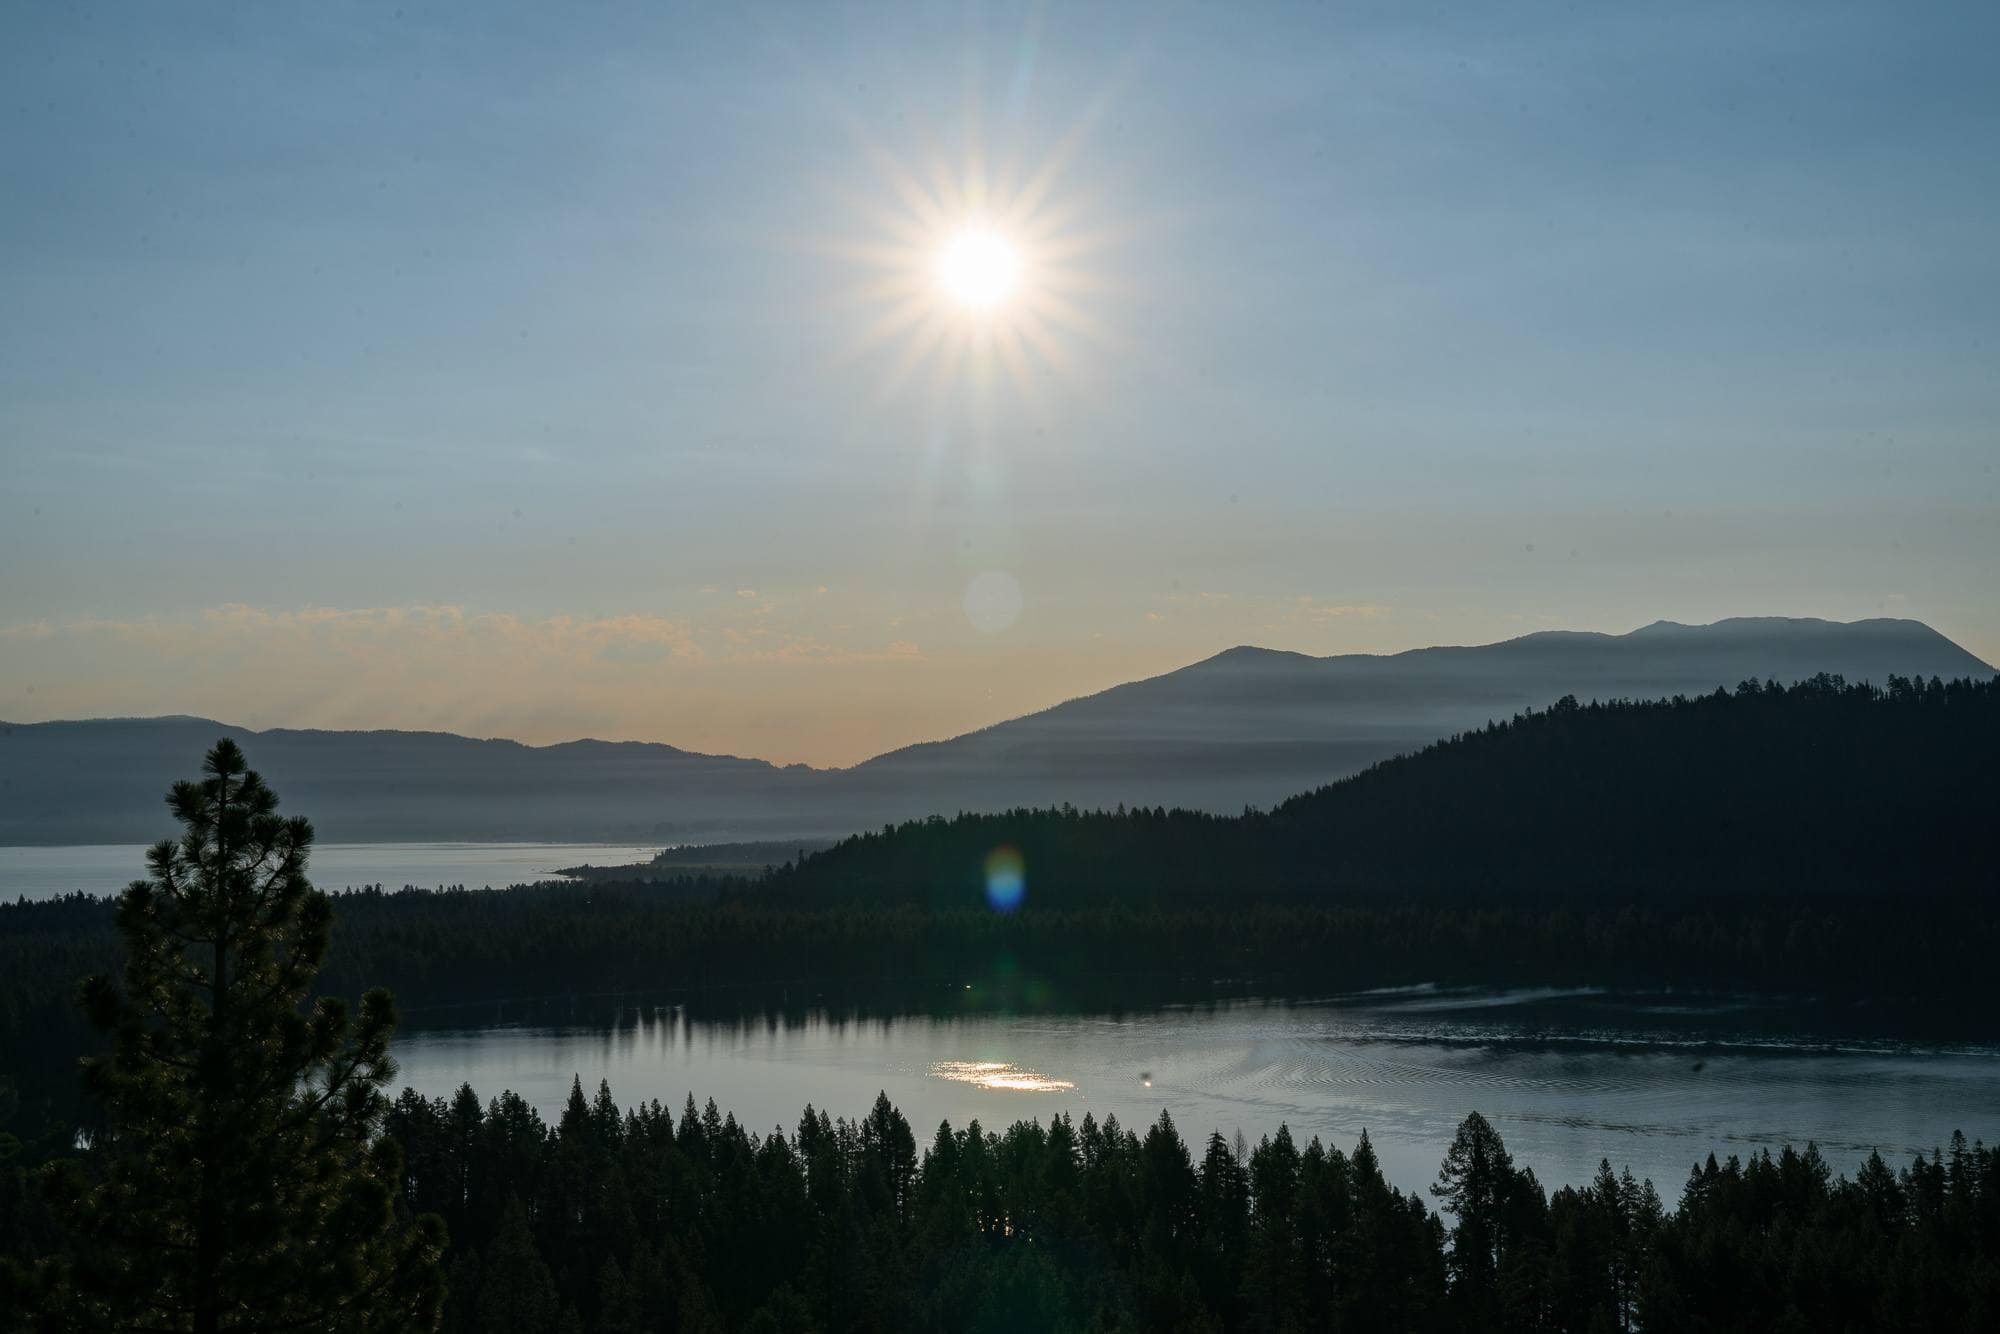
Mt. Tallac is a challenging hike! There is no shade on the steepest part of the ascent, and it can be VERY hot. I recommend starting at or before sunrise to beat the heat (and the crowds). We were coming down around 11am and it was uncomfortably hot.
We saw people who were very unprepared, carrying little water, no backpack, and wearing poor footwear. You’ll want to be prepared with the important day hiking essentials, including a hat, sunglasses, sunscreen, water, and snacks. Make sure you wear supportive hiking footwear. Parts of the trail are rocky and can be tiring on your feet.
If you aren’t sure you can make it all the way to the summit, you can hike 1.7 miles (one-way) to Floating Island Lake or also 2.3 miles (one-way) to Cathedral Lake. The stretch of trail from the trailhead to Cathedral Lake is great for beginners. After Cathedral Lake the trail gets more strenuous & steep.
Mt. Tallac Day-Use Permits
Do you need a permit to day hike Mt. Tallac? Yes, and it is free! At the Mt. Tallac trailhead, you can self-issue a required wilderness permit for day hikes.
Looking to do more than just day hike? If you’re interested in staying overnight in the Desolation Wilderness you will need a permit. Overnight permits are subject to quota and must be issued at the Visitor Center or Forest Service Ranger Stations.
Mt. Tallac Trail Guide
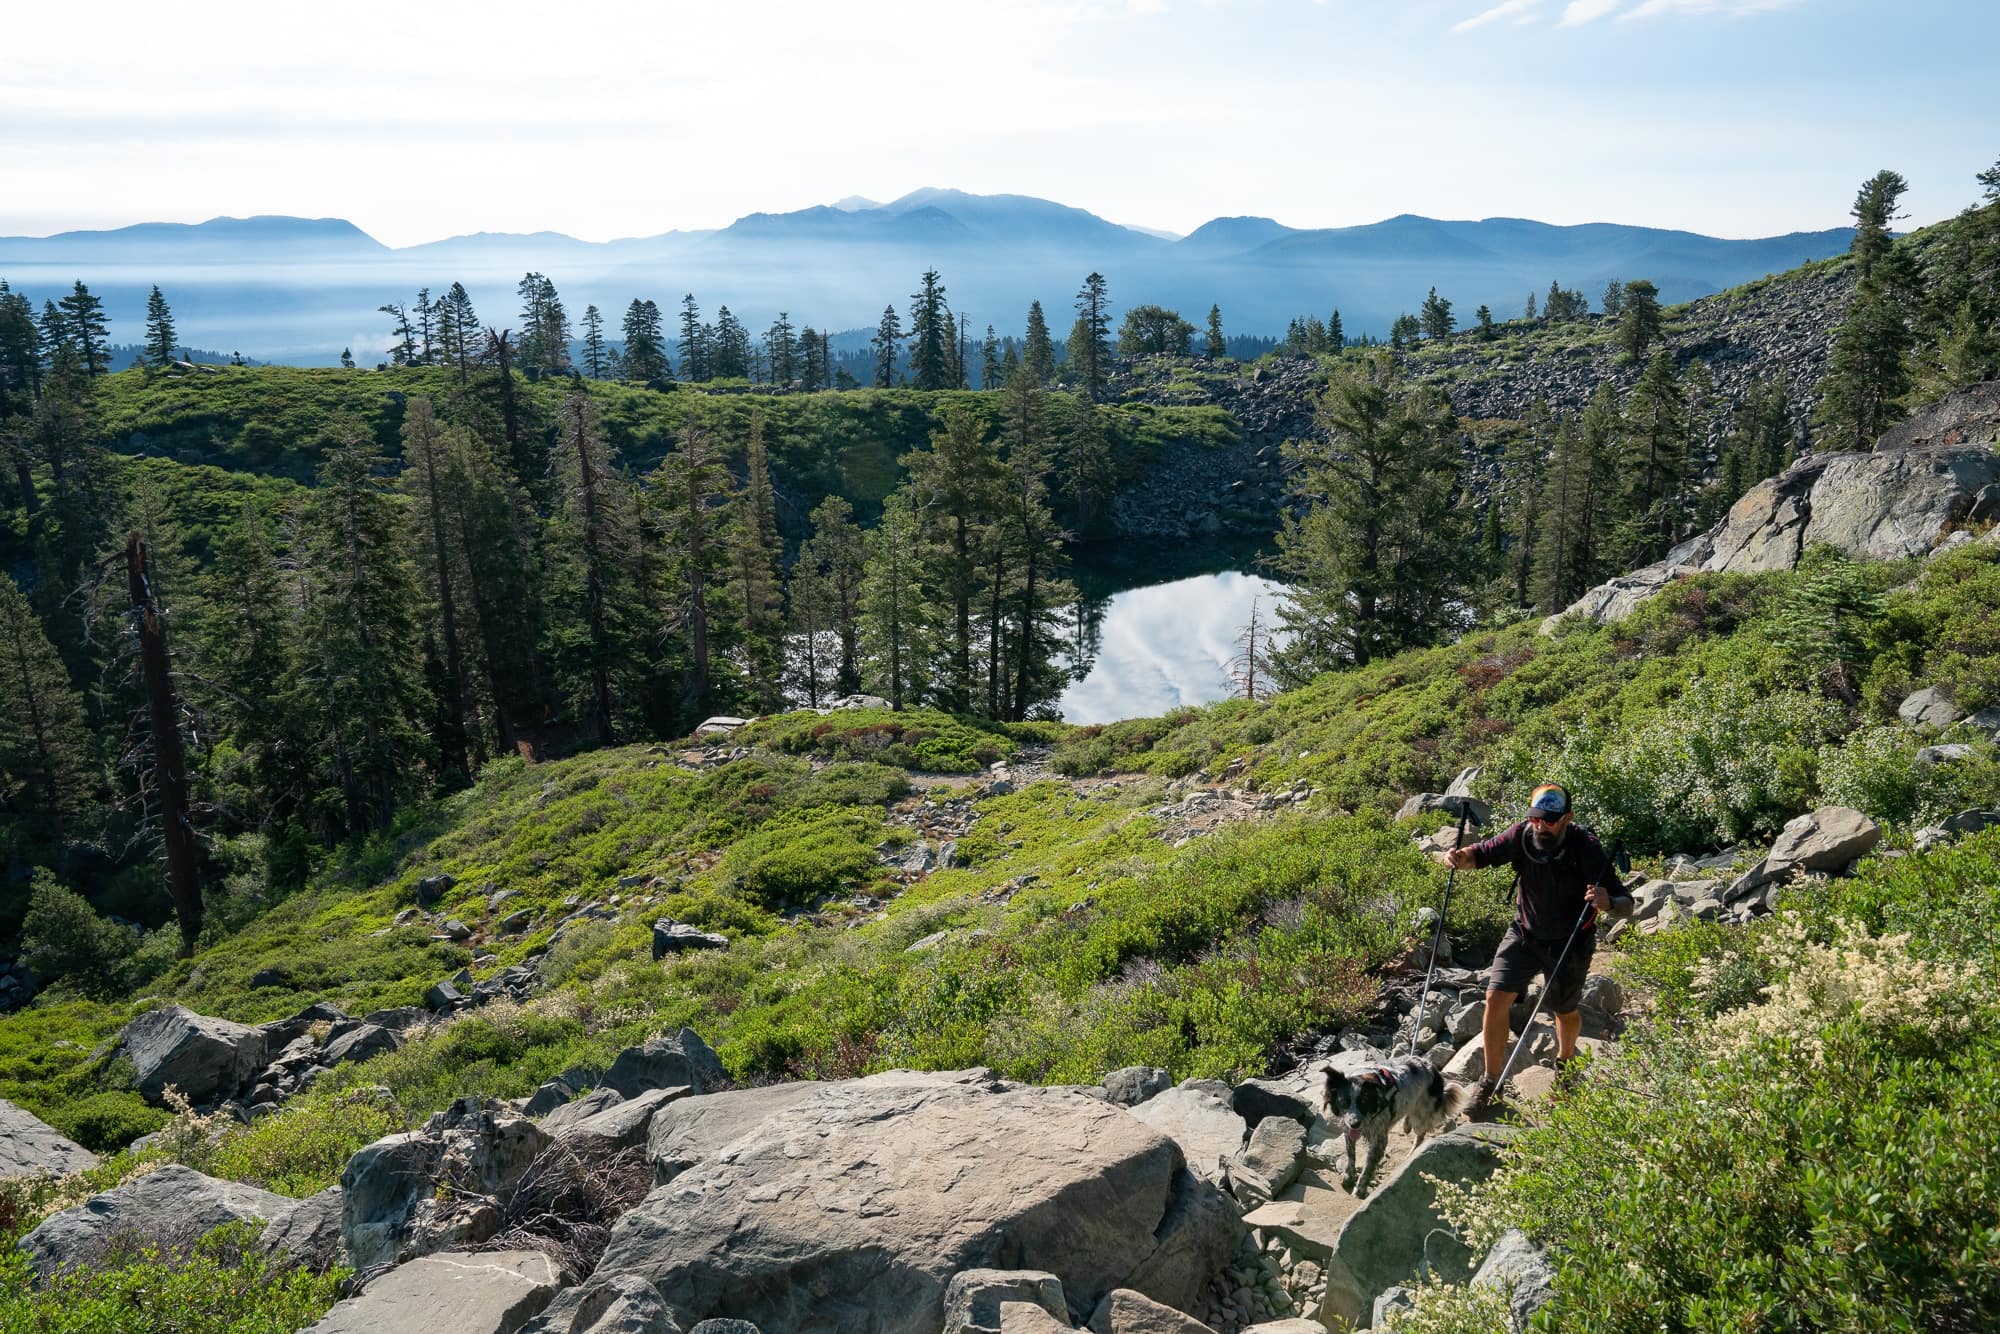
We started our Mt. Tallac hike at sunrise (highly recommended) when the trail was quiet and cool. As soon as you leave the parking lot, you begin hiking up. Luckily you aren’t in the trees for too long and quickly into your hike, you’ll have views of Fallen Leaf Lake and Lake Tahoe.
Your first point of interest is Floating Island Lake (1.6 miles), followed by Cathedral Lake (2.3 miles)
Cathedral Lake is a great place to take a short break and refill on water if you brought a filter. After the lake, you’ll begin to work your way through the Cathedral Bowl and will gain 2,000 vertical feet in just 2.4 miles. This is the toughest part of the trail.
Don’t be fooled. When you are hiking up the rocky slopes, you’ll see a peak above you. I thought, “well we are almost there.” Turns out, this is a false summit and is not Mt. Tallac!
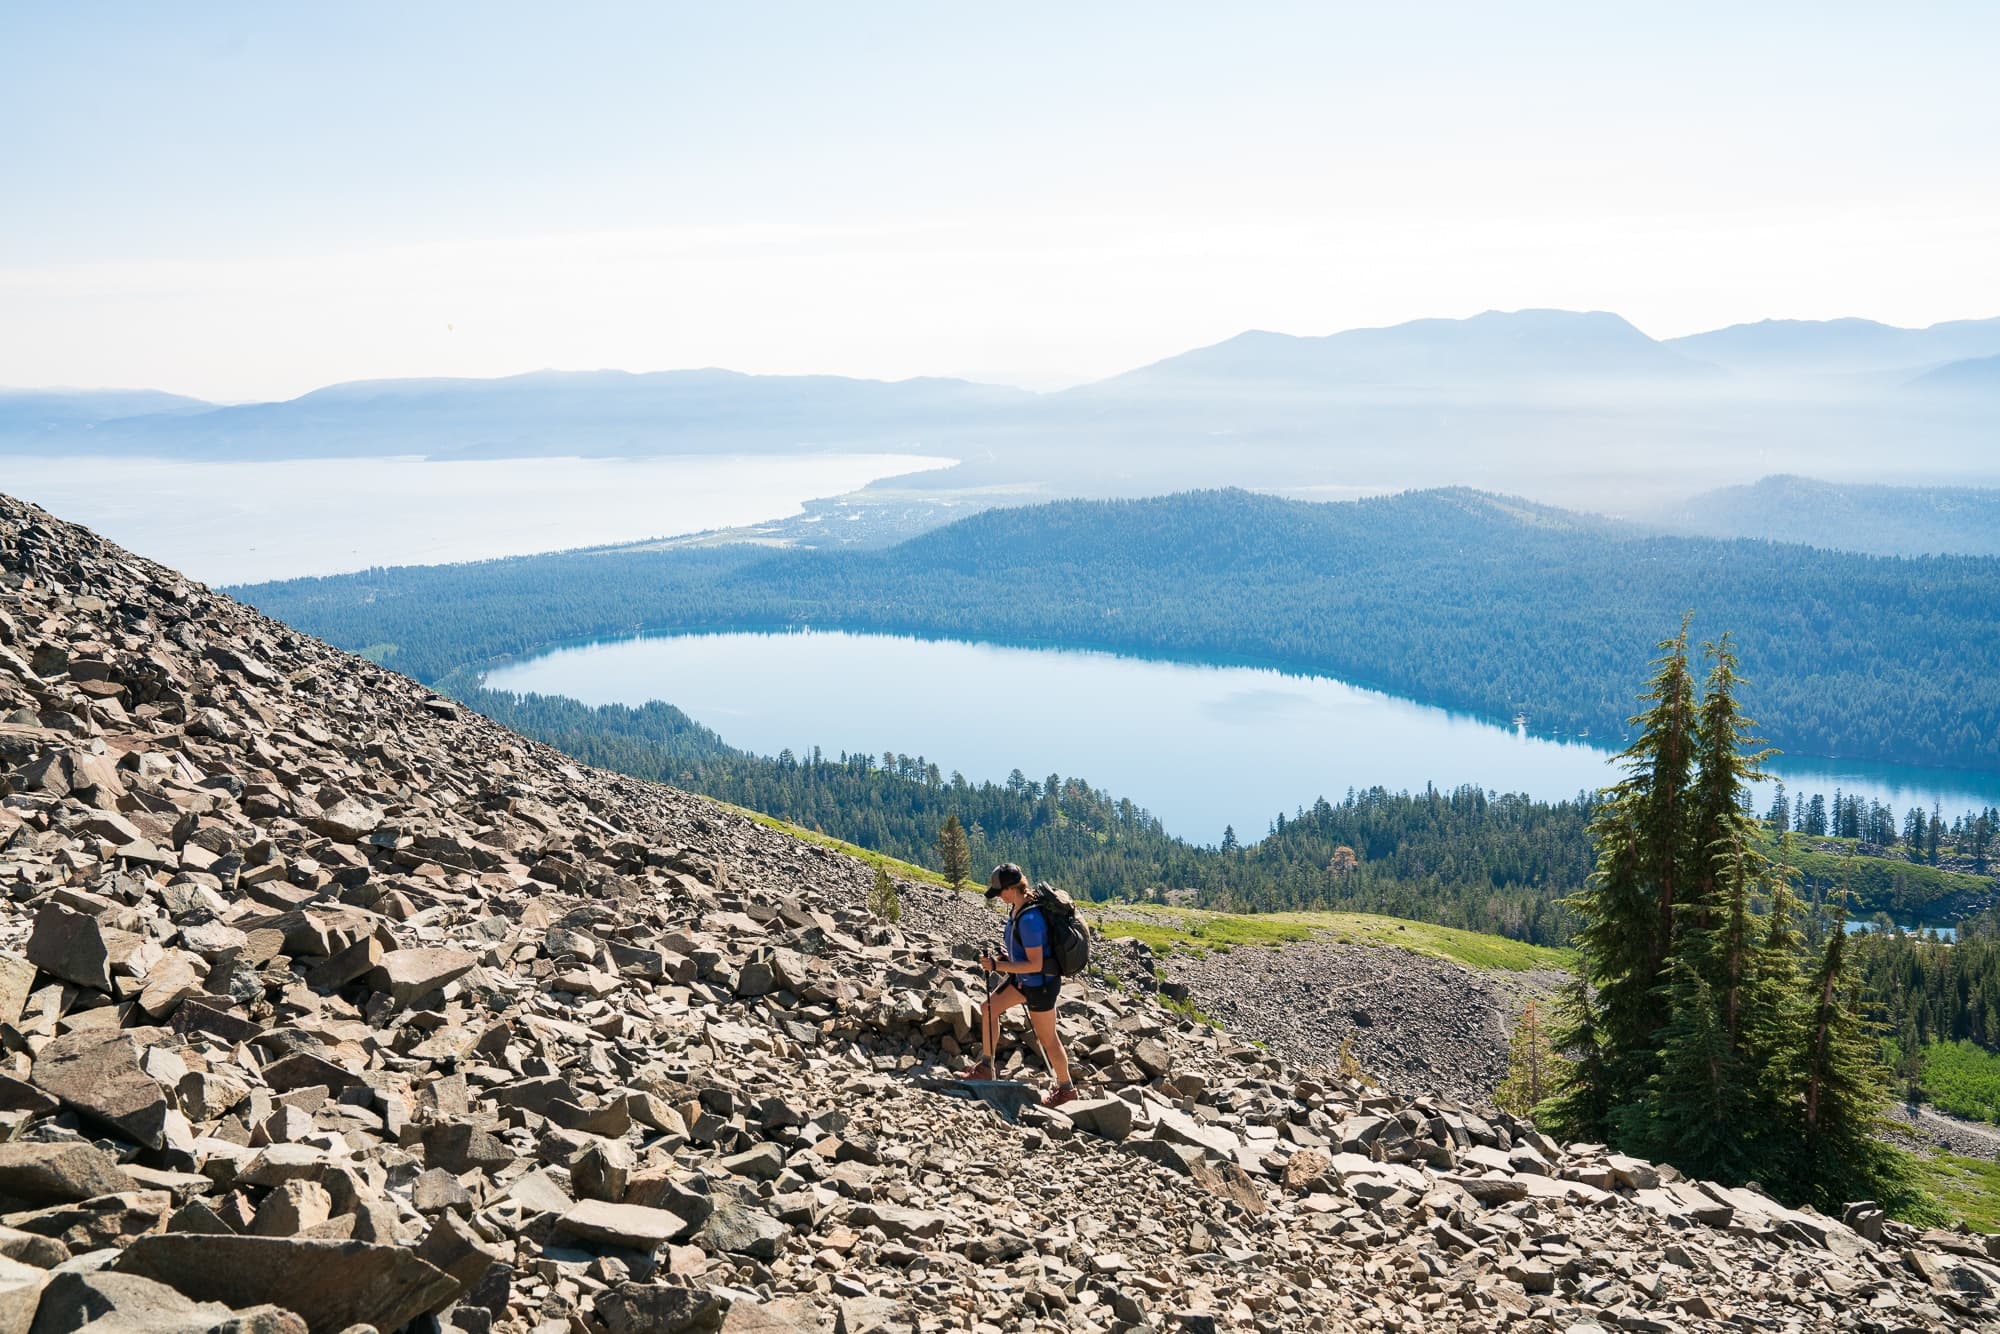
Eventually, you’ll reach the top of the tallus field and the trail will flatten out a bit. Here you’ll also get your first views of Desolation Wilderness. If you need a break, this is another good place to refuel. We hiked in mid-July and the wildflowers were going off!
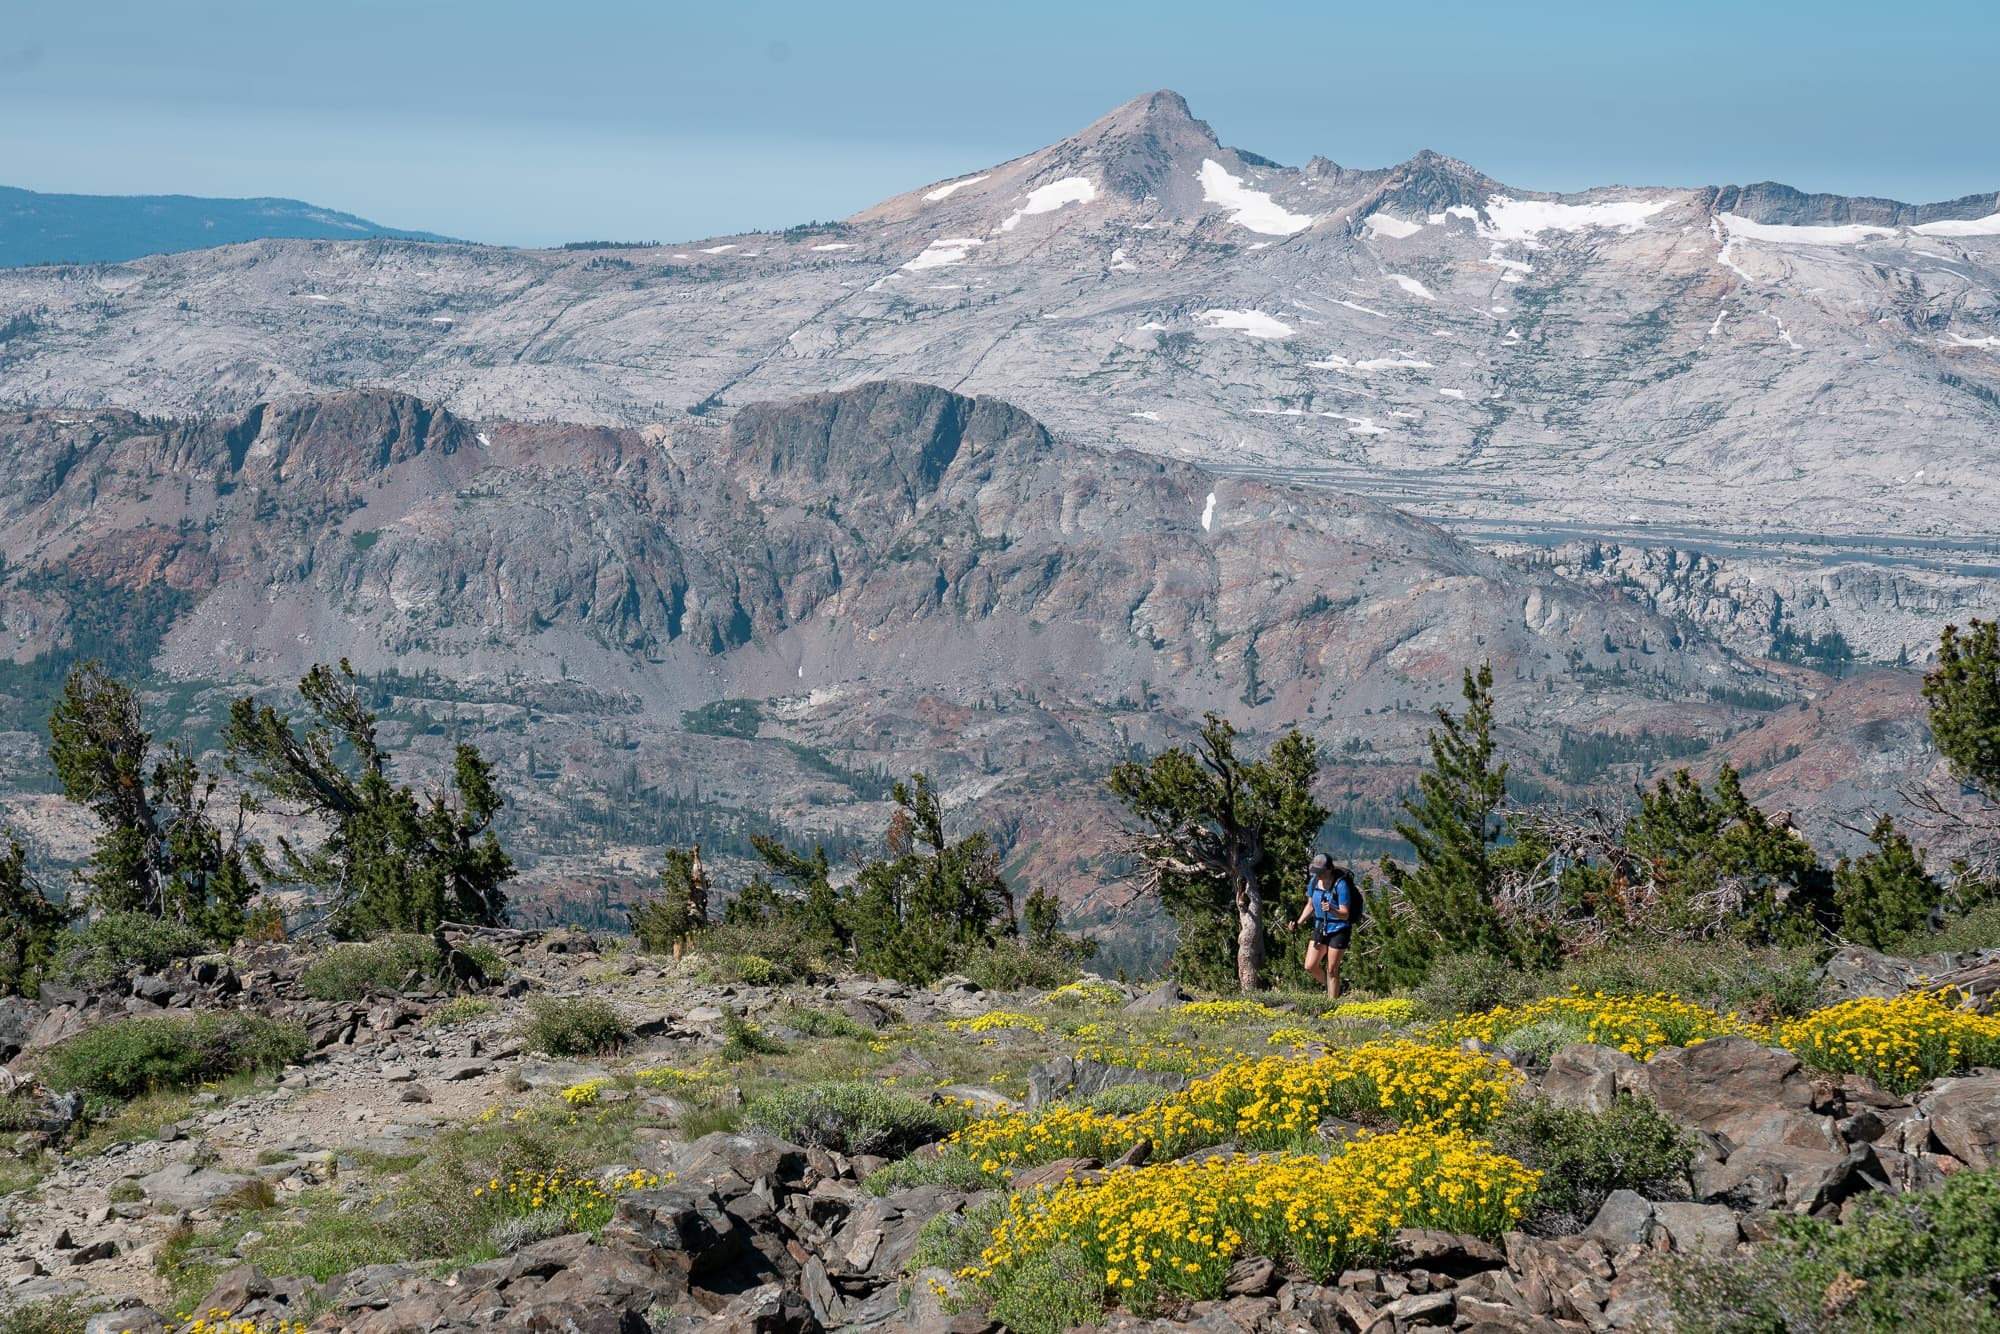
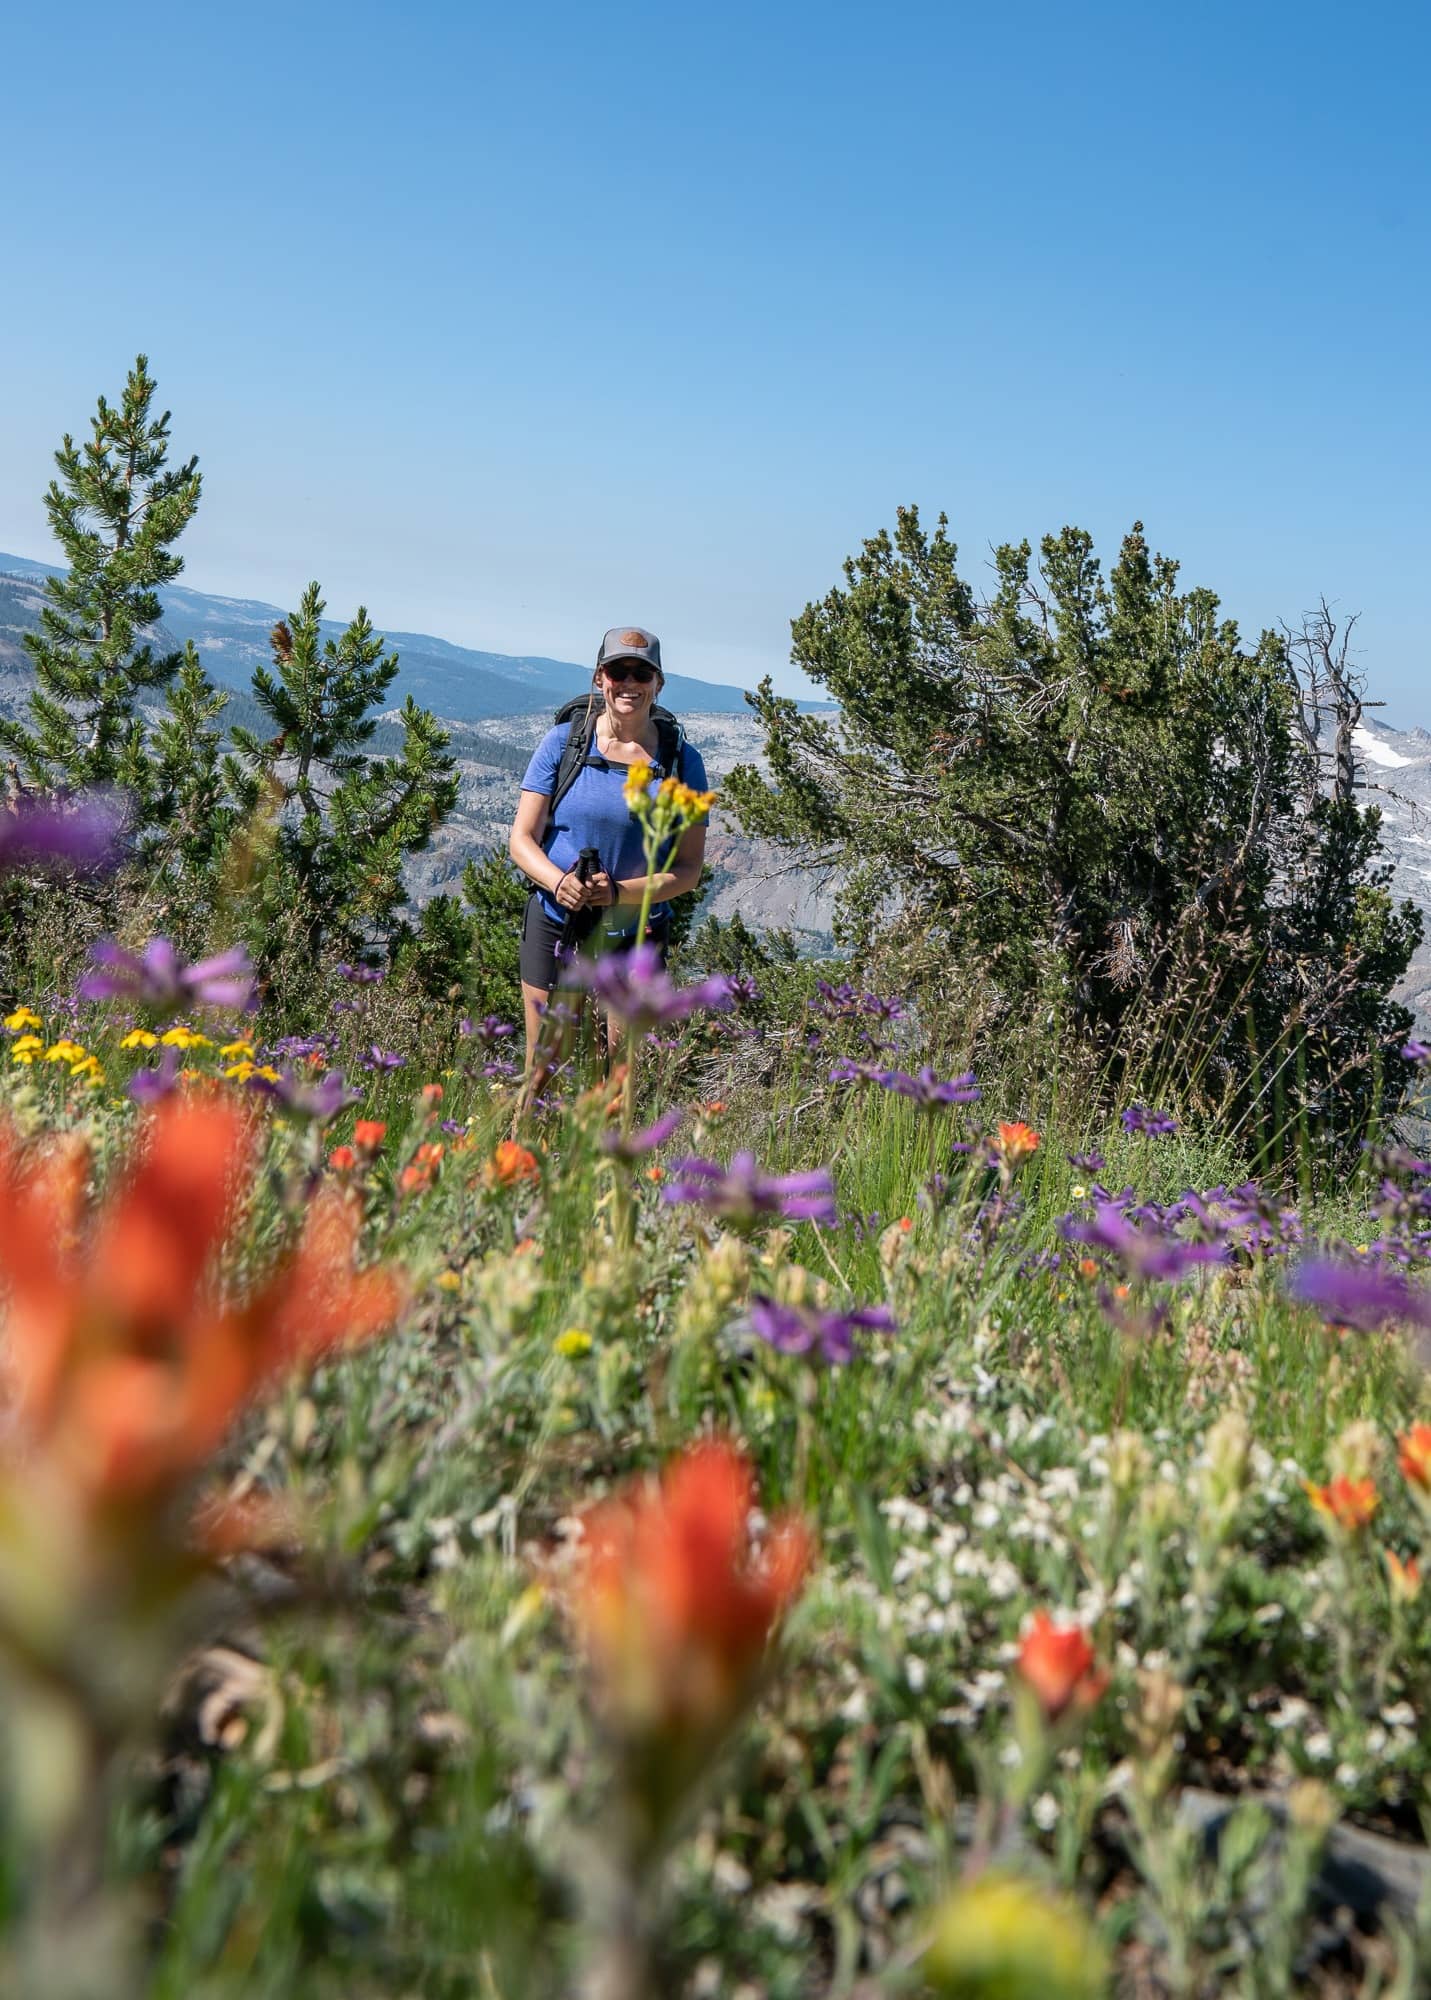
You’ll gradually make your way up through a series of alpine meadows. After a bit of hiking, you’ll reach a junction. Follow the signs to the summit. Here you have one last steep push to the summit. The trail gets pretty rocky at the very top, but the terrain never gets too technical.
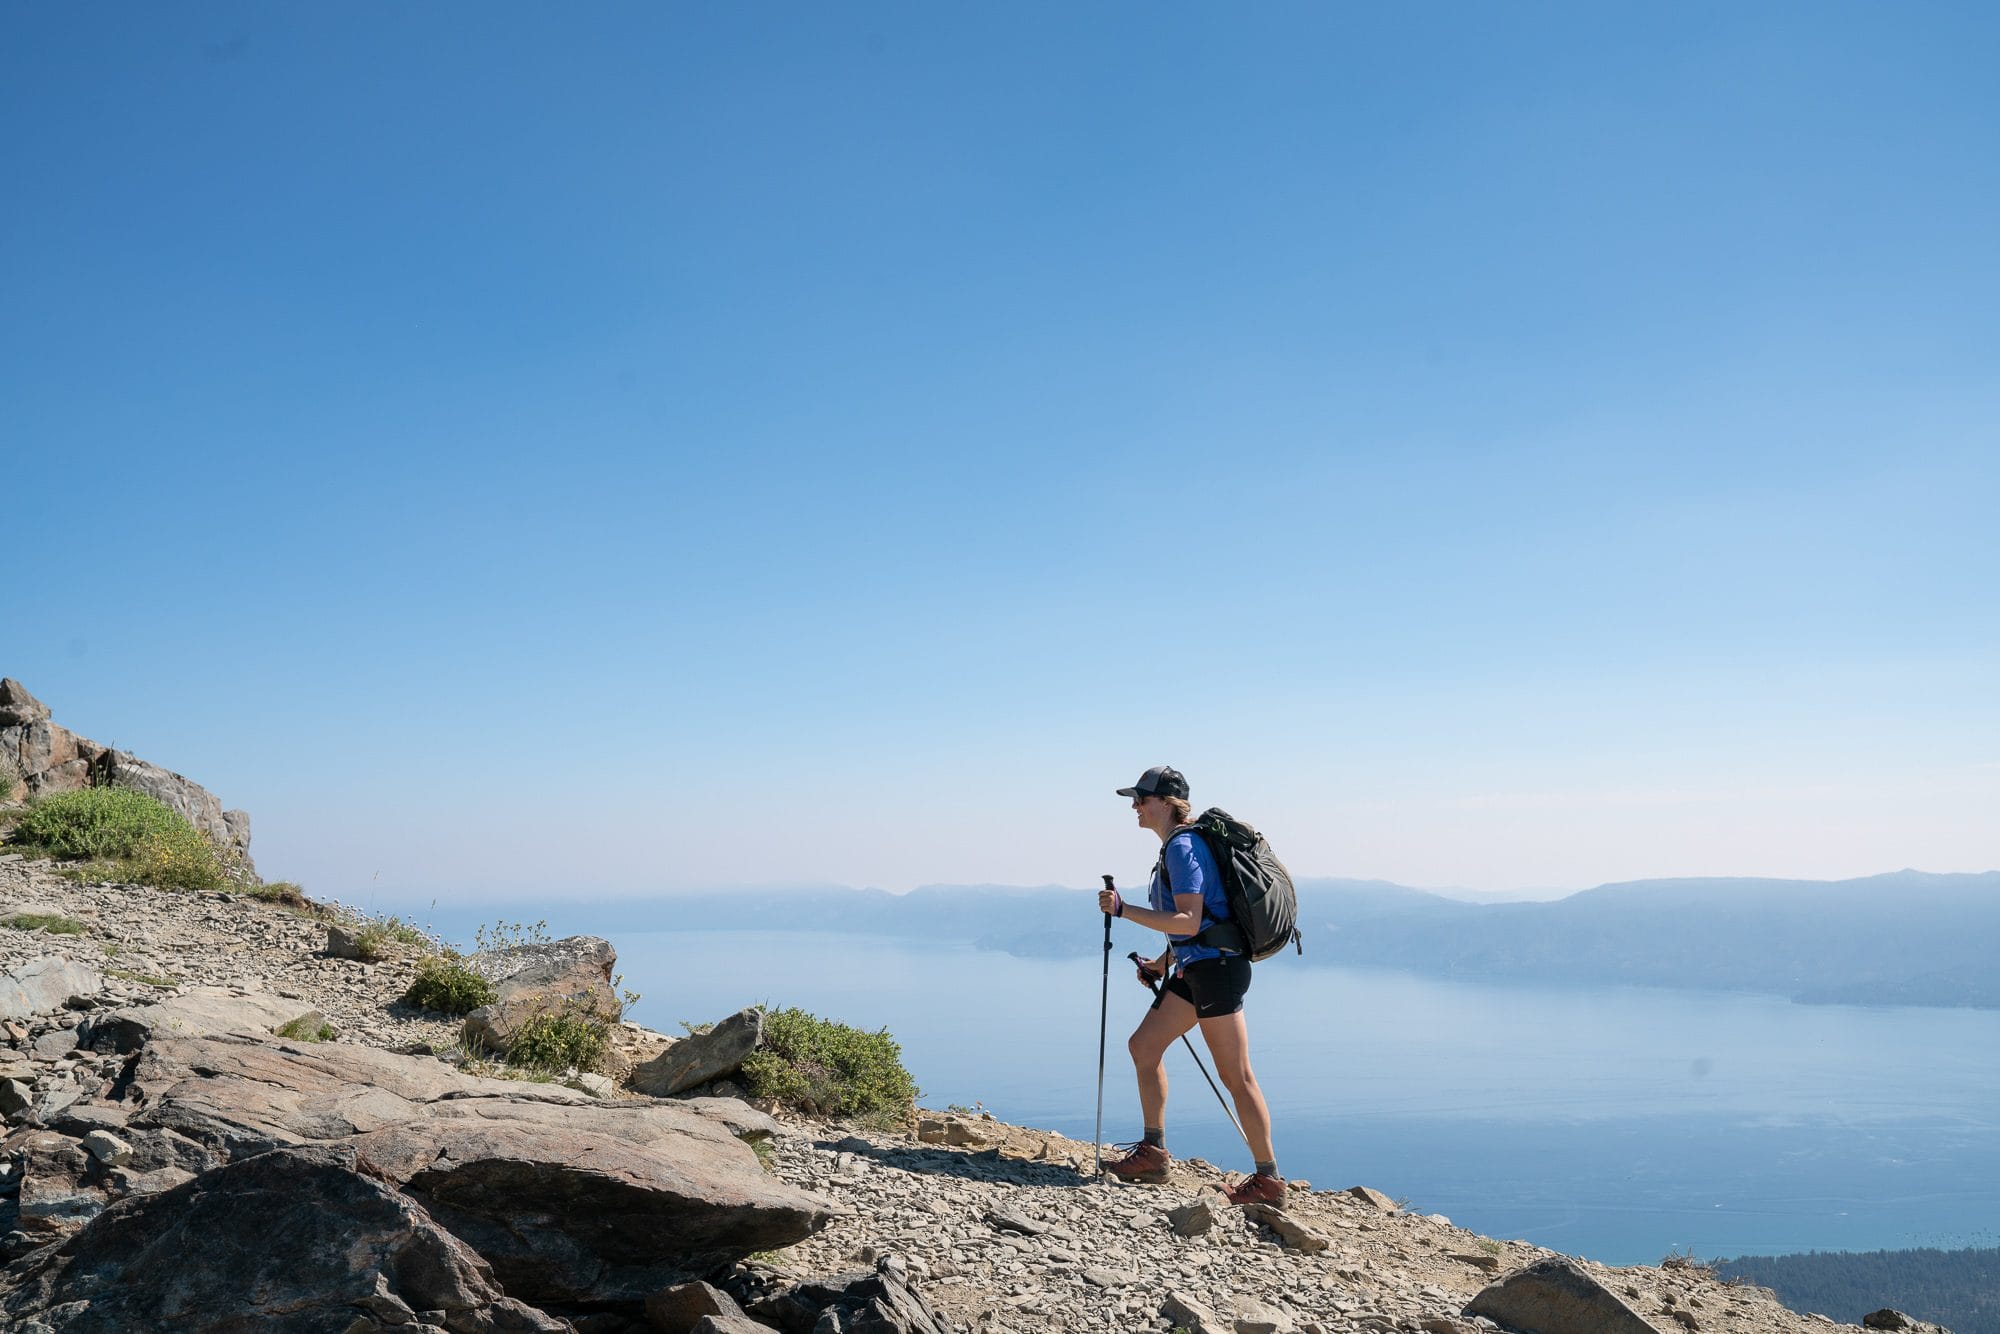
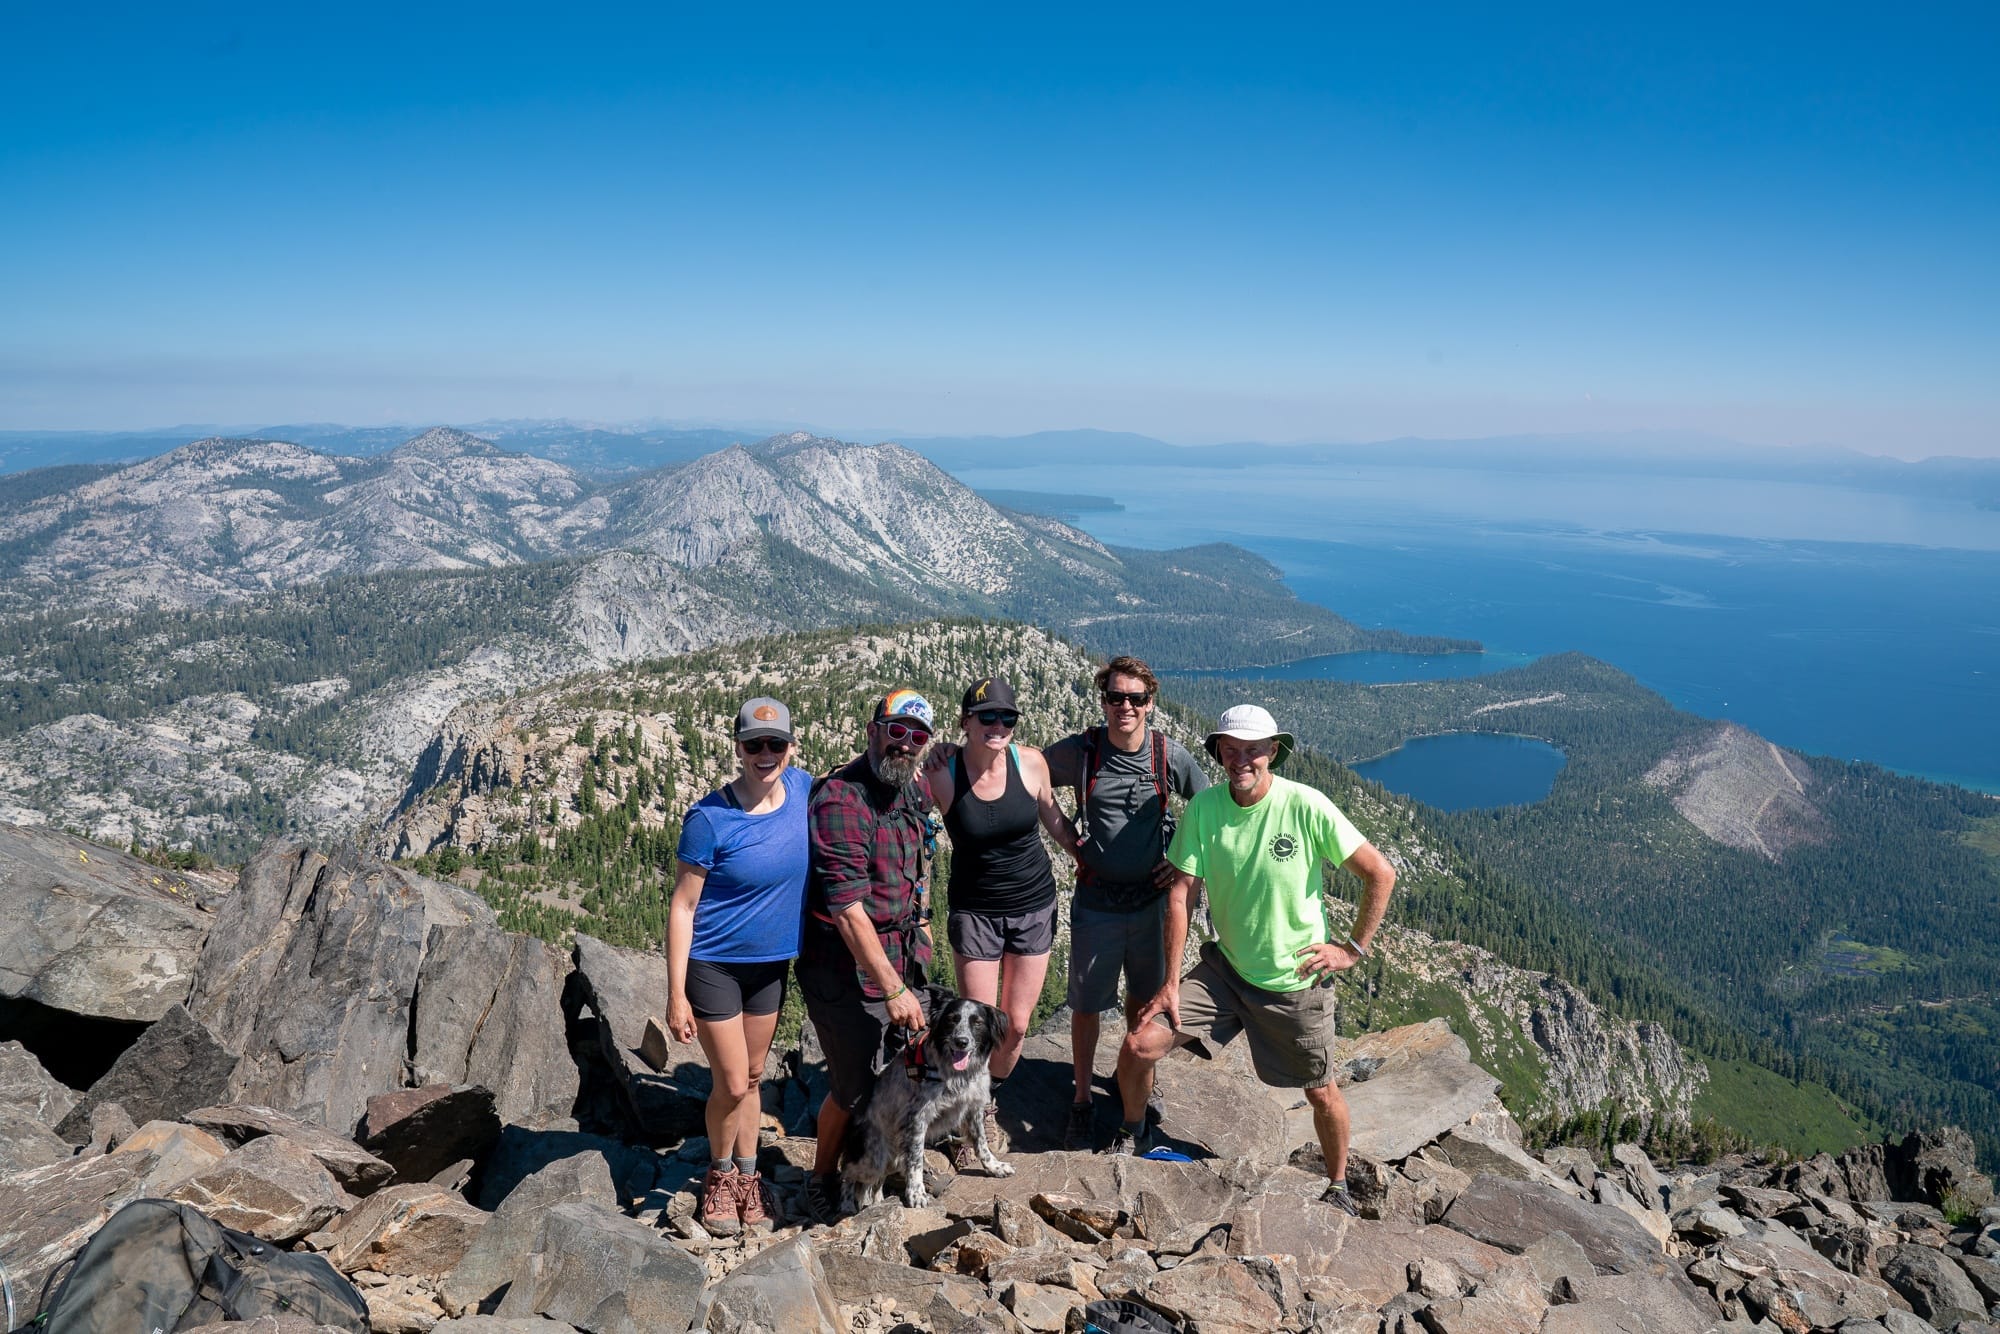
The summit area is quite large so even if there are other groups up there, you can find a place to sit and take in the views. The actual summit (the very top) was infested with flies when we were there, so we chose to hang out right below with expansive views of Lake Tahoe.
Campsites Near Mt. Tallac Trailhead
Each of the campgrounds listed below are typically open from mid-May through mid-October and are a bit off the beaten path from the busyness of the main Lake Tahoe area. They can be popular with folks looking to avoid the crowds so plan ahead as they tend to fill up quickly.
Camp Shelly is a campground on the south end of Lake Tahoe on highway 89 across from Baldwin Beach. It is run by the Livermore Area Recreation and Parks District on Forest Service land. There are 25 sites with the following amenities: flush toilets, wash basins, hot showers, faucets with potable water throughout the campground, bear boxes, fire rings with grills, volleyball, table tennis and basketball.
Fallen Leaf Campground is situated less than 1 mile from the south shore of Lake Tahoe on the north shore of Fallen Leaf Lake and adjacent to Taylor Creek. The campground features 206 sites that include six yurts and standard tent and RV sites. Other amenities include bear-proof food storage lockers, campfire rings, pedestal grills, picnic tables, coin-operated shower facilities, water spigots, and accessible restrooms with flush toilets are scattered throughout the campground. A camp host is on-site, and firewood and supplies can be purchased from the camp store.
Bayview Campground is right across the street from Inspiration Point (Emerald Bay) and is a 10 minute drive from the Mt. Tallac Trailhead. This campsite is first-come, first-served and is where we camped during our time on Lake Tahoe. There are no hookups or drinking water available, and there are only pit toilets. It’s no frills but a great option for those who come to Tahoe during the busy season without any campsite reservations. The campground is situated at 7,100 feet, so opening and closing dates are subject to snow conditions and weather.
For additional campgrounds located in the Lake Tahoe area see this National Forest Service map & chart.
Have you hiked Mt. Tallac? What was your experience like? What other trails do you love around Lake Tahoe? Leave a comment below!

Great post! Thank you!!!
At the trailhead, are there Bear Boxes for storing food away from our vehicle?
Cheers,
Pamela