Oru Kayak Review: The Go-Anywhere Foldable Kayak
I took an Oru Kayak with me on my solo road trip in New Zealand. Check out my Oru Kayak review & time lapse video to learn whether this portable, foldable kayak made the grade.
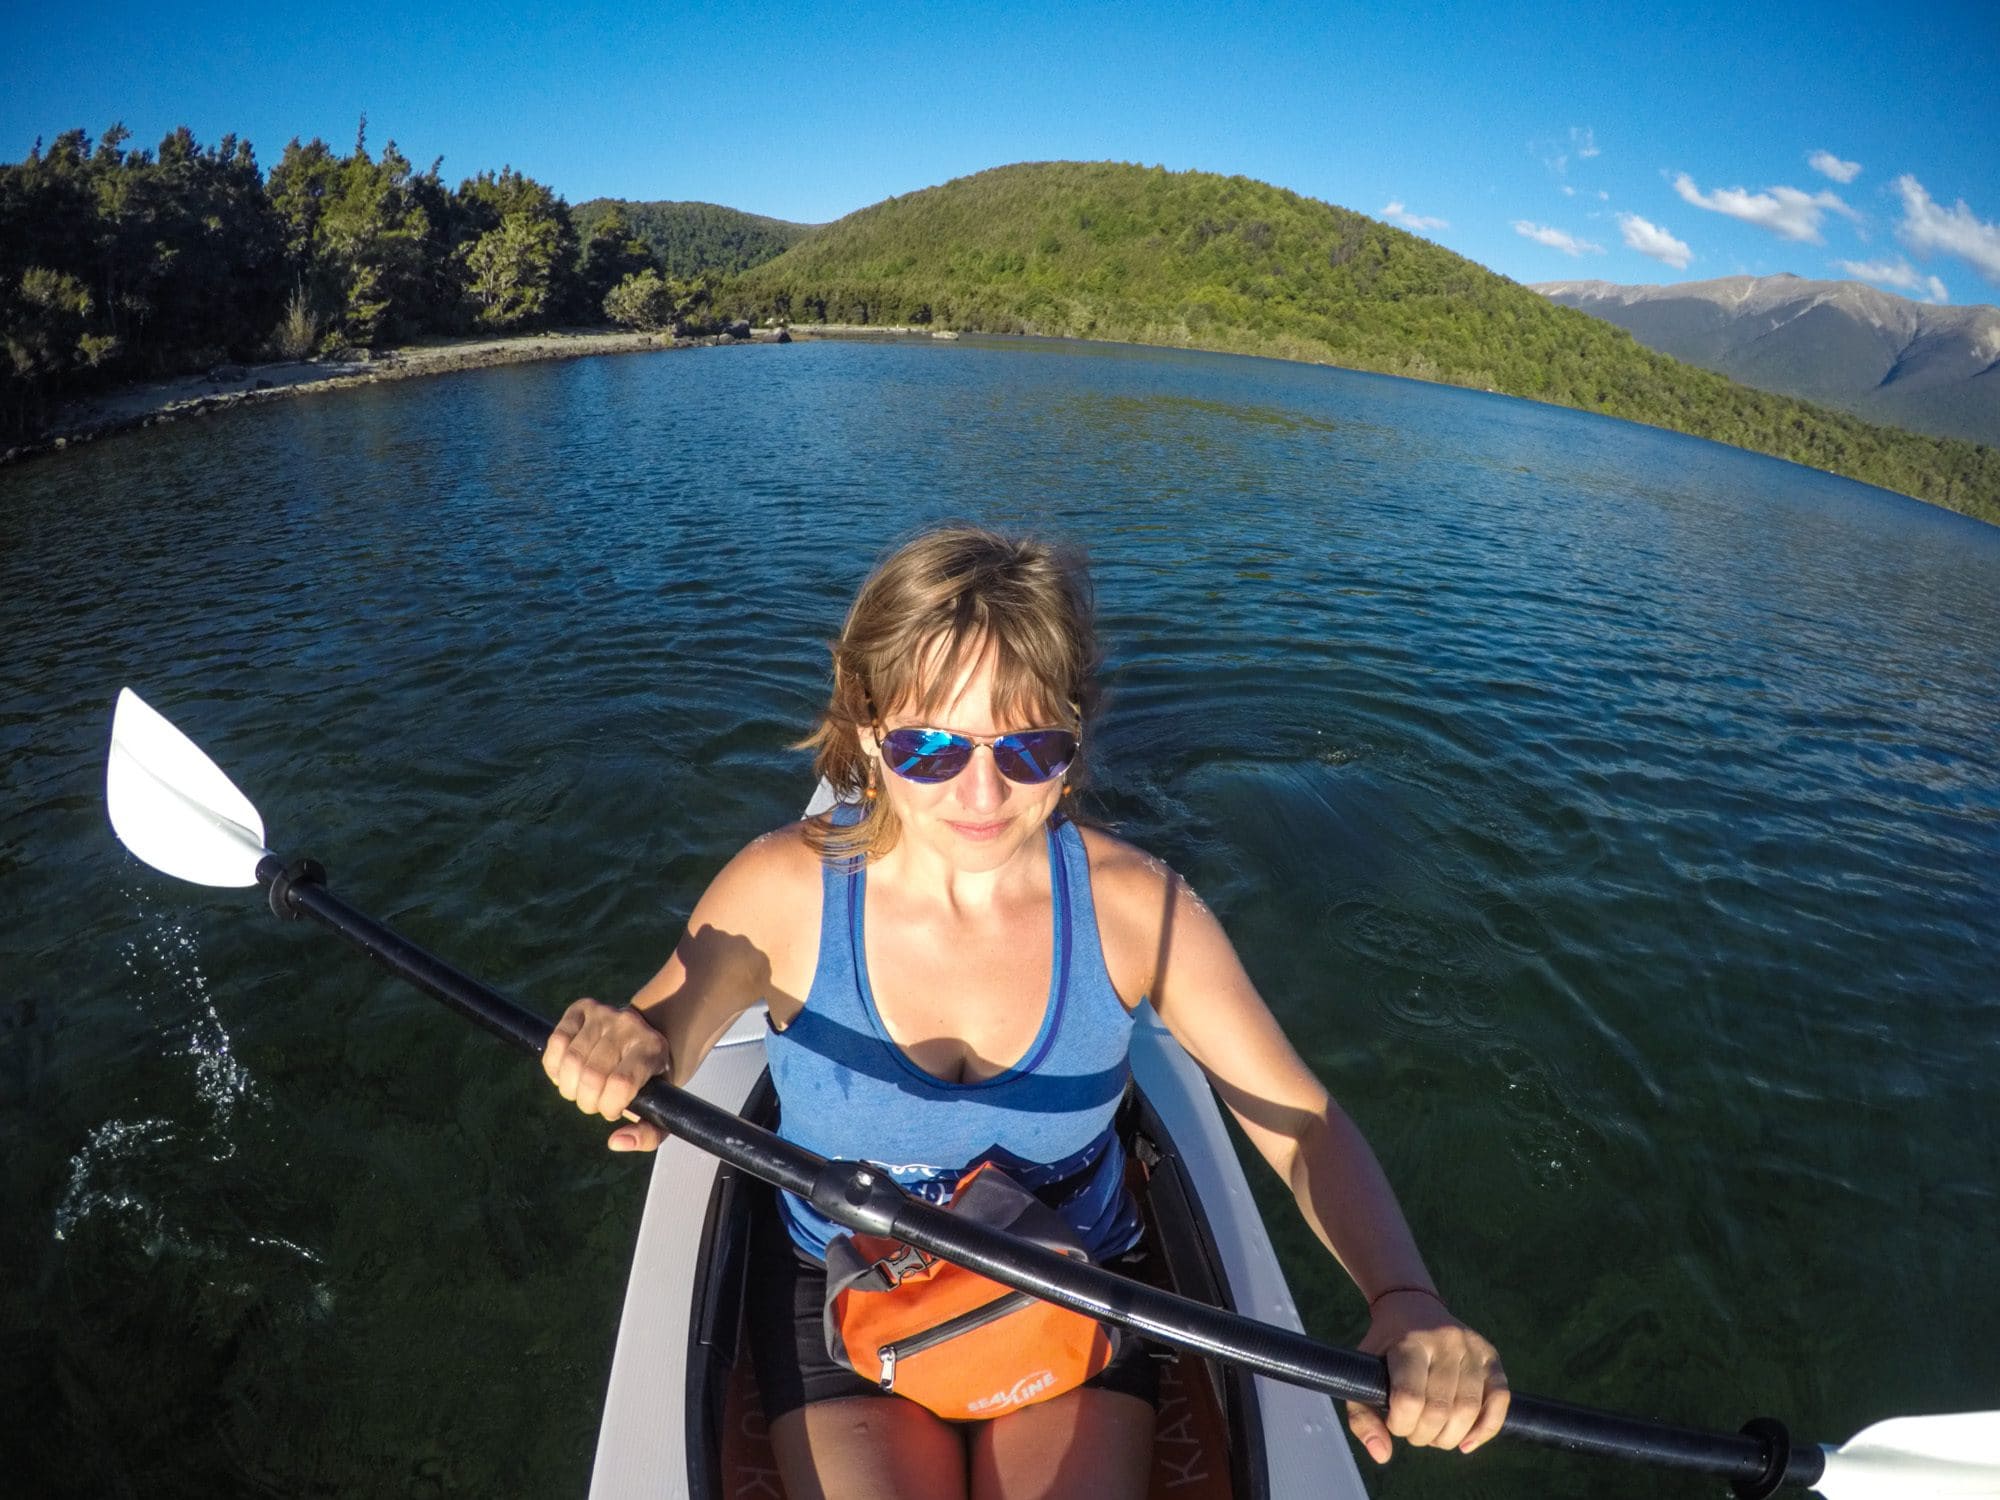
Let’s face it, kayaks are not the easiest piece of outdoor equipment for solo adventurers or people who live in small places (I’ve lived both!). They can be heavy to lift onto the roof of your car (assuming you even have a roof rack…) and where do you even store one if you live in a tiny apartment?
Oru Kayak saw these obstacles and decided to create a solution for people like you and me who like to get out on the water without the hassle of lugging a heavy, awkward kayak around.
I first saw Oru Kayak at Outdoor Retailer, a big outdoor trade show that showcases the season’s newest gear. I learned that Oru Kayaks fold down into a box and weigh in the ballpark of 25-30 pounds, although they have models that weigh as little as 18 pounds!
But the best part? It only takes 10 minutes to put an Oru Kayak together. This means you can store it in a closet and then throw it in the backseat of your small car whenever you feel like going out for a paddle. You don’t need anyone to help you carry it.
A few years ago, I went on a 3-month solo road trip around New Zealand, and with all of the lakes there, it seemed like the perfect opportunity to play around with an Oru Kayak to see if it really was as easy and convenient as it sounded.
I think post, I share my honest Oru Kayak review to help you decide if this is the right piece of equipment for your paddling adventures.
This post may contain affiliate links.
Why choose an Oru Kayak?
Oru Kayaks aren’t your typical kayak and they have their pros and cons. Here are a few things to consider before pulling the trigger on buying one:
Oru Kayak Pros
Oru Kayak Cons
Save this post!
Enter your email & I'll send this post to your inbox! You'll also receive my weekly newsletter full of helpful advice for planning your adventures.
Choosing an Oru Kayak Model
Oru Kayak has added several more models to its foldable kayak line since I purchased mine for my New Zealand road trip. I opted for the Bay+ Model (now called the Oru Bay ST Kayak). It’s a 12-foot kayak designed to be versatile and fast in both calm and choppy waters. I chose this model because I knew I’d probably be encountering a variety of river and lake conditions during my trip (and after).
Here’s a brief overview of all the Oru Kayaks and what conditions they are best suited for:
| Model | Best for | Key features | Weight | Price |
|---|---|---|---|---|
| Lake | Calm water | Lightest and cheapest model | 17 lbs | $499 |
| Lake Sport | Calm water | More comfortable seat & footrest and higher carrying capacity | 18 lbs | $699 |
| Inlet | Calm water | Longer length for more efficient paddling | 20 lbs | $899 |
| Beach LT | Calm water | Large hull can accommodate a dog or small child | 28 lbs | $1,199 |
| Beach LT Sport | Calm water | More comfortable seat & footrest and higher carrying capacity | 28 lbs | $1,499 |
| Bay ST | Calm & choppy water | The closed cockpit can be used with a spray skirt | 26 lbs | $1,499 |
| Coast XT | Open ocean & kayak touring | Designed for long expeditions | 32 lbs | $1,999 |
| Haven TT | Calm water & tandem paddling | Most stable Oru Kayak, can convert to a single-person kayak | 41 lbs | $1,999 |
My Oru Kayak Bay Review
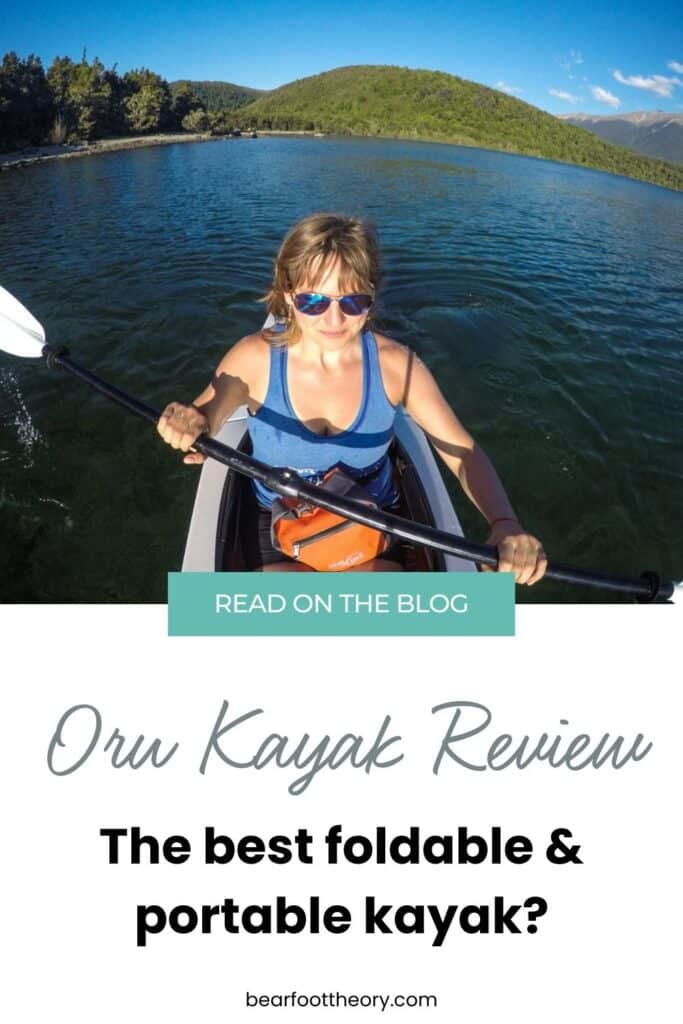
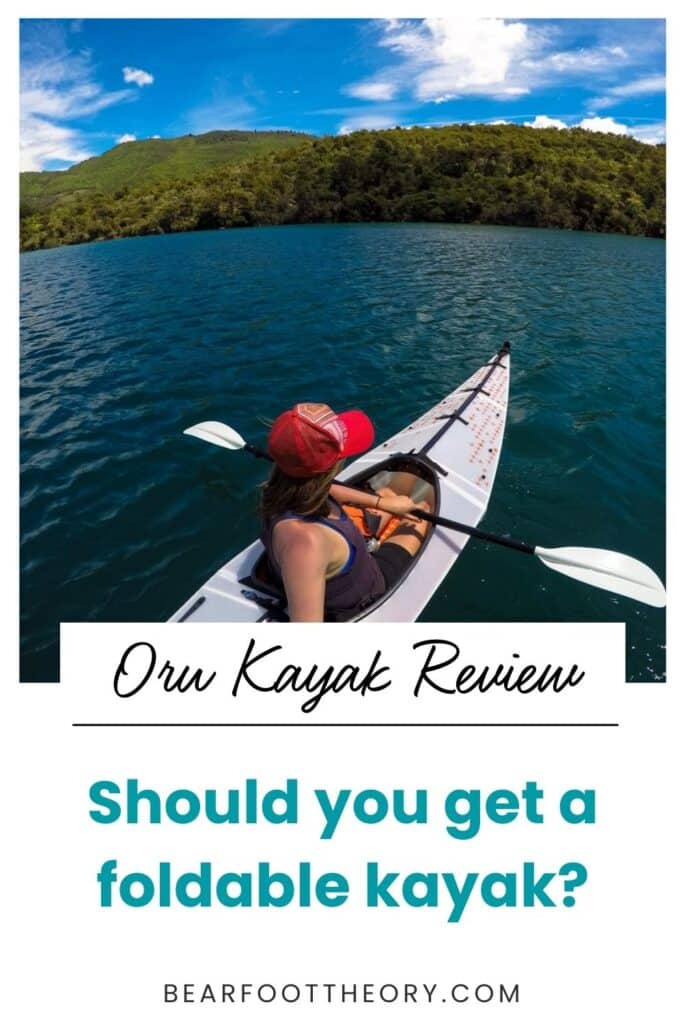
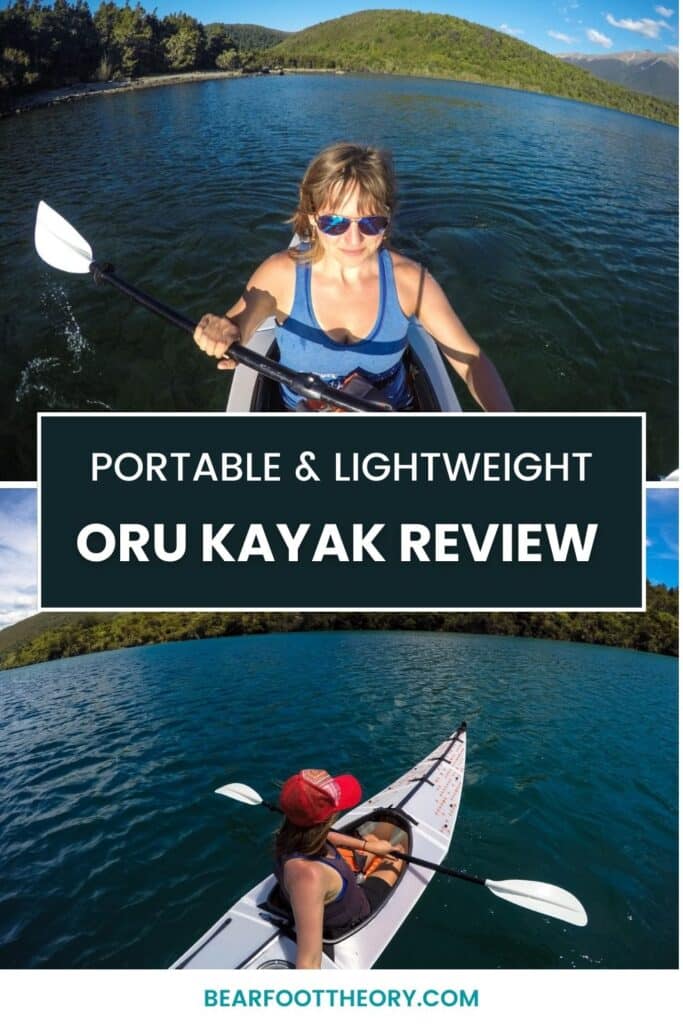
As I mentioned above, I have the Oru Kayak Bay+ Kayak, which is now called the Bay ST. I used it numerous times on my trip to New Zealand and still take it out occasionally when I want some solitude on the water.
Here’s my detailed review of the Oru Kayak Bay:
Assembly
When I initially unpackaged my Oru Bay Kayak, I was a little overwhelmed. I turned to the interwebs and found the Assembly Guidelines page where there are step-by-step instructional videos for each model.
With some patience and a little more man-handling than I expected, I put it together for the first time in about 30 minutes. For your first time, I suggest being somewhere with internet access (as opposed to a mountain lake where your phone doesn’t work) and just know you may struggle with it a bit.
That said, assembly does get easier each time you do it. Now, after taking it out a couple dozen times, I’m able to go from the backpack to a fully assembled Oru Kayak in about 10 minutes. It also doesn’t require any tools or a pump, so you don’t have to worry about bringing anything extra along on your kayaking adventures.
For the nitty-gritty details on how to assemble an Oru Kayak, I’ll refer you to the detailed instructions on their website…. but, in a nutshell, the thing literally unfolds into one giant piece. Then you just connect it in the middle using the fasteners, pop in the floorboard and seat, and you are ready to go.
Here’s a quick one-minute timelapse I put together that shows me assembling my Oru Kayak in Queenstown, New Zealand – from the van to the water!

Durability
Despite being so lightweight, my Oru Kayak is very durable and can handle being dragged over rocks. The shell is made from high-quality and UV-resistant polypropylene (a type of plastic) and even though the sides are pretty thin, it doesn’t feel flimsy or cheap.
That being said, repeated folding and unfolding of the panels does naturally cause wear and tear, so that is something to keep in mind. The awesome thing about Oru Kayak, though, is that you can buy almost any replacement part from their website, which isn’t the case for many other kayak brands. You can also purchase a repair kit if you do get a leak.
Performance on the water
I opted for the Bay model because it’s designed for both calm and choppy waters and I didn’t want to be limited by conditions. The 12-foot length makes it efficient, smooth, and sturdy in calm waters. Even with a bit of wind, it’s pretty easy to paddle, but I found it to be slightly more squirrely than a traditional boat. I (personally) wouldn’t feel super confident taking the Bay out in rough conditions.
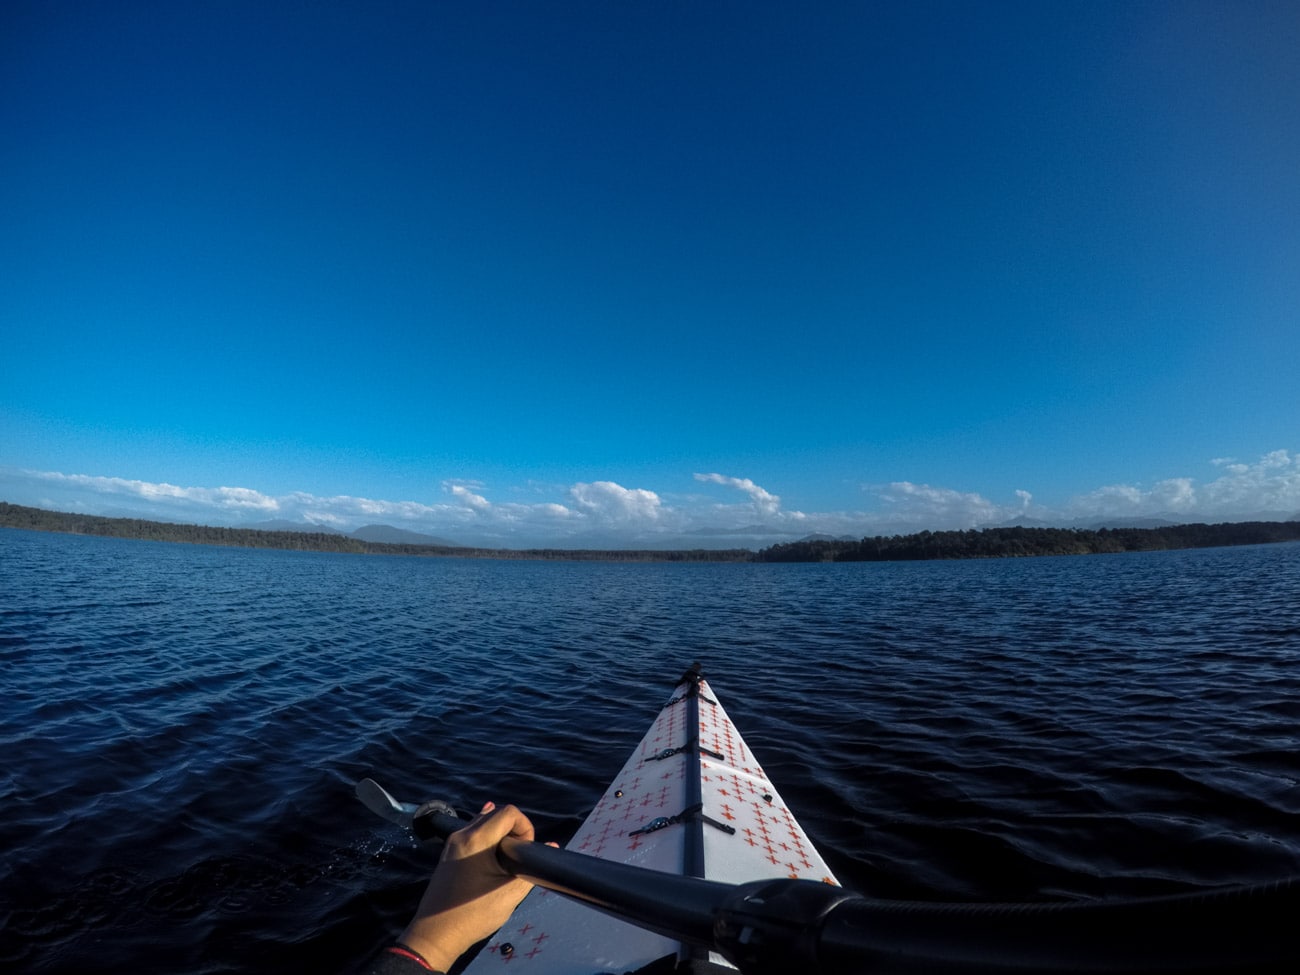
The kayak also has a skirt (purchased separately) that you can use to keep the inside of the boat (and yourself) dry in slight swells or in cold conditions.
Comfort
My Bay kayak has an adjustable backrest which provides ample support. I can paddle comfortably without feeling lower back pain (an issue I’ve had in the past with other kayaks).
The legroom is pretty standard for a kayak. Getting in and out takes a bit of finesse, but once you are in, you shouldn’t feel too cramped. There is an adjustable bar to rest my feet on. My friend who is 6 foot took my kayak out for a spin and didn’t have any issues when he adjusted the footrest to his height, but Oru Kayak does list 6’3” as the max height for someone in the Bay Model.
Gear storage
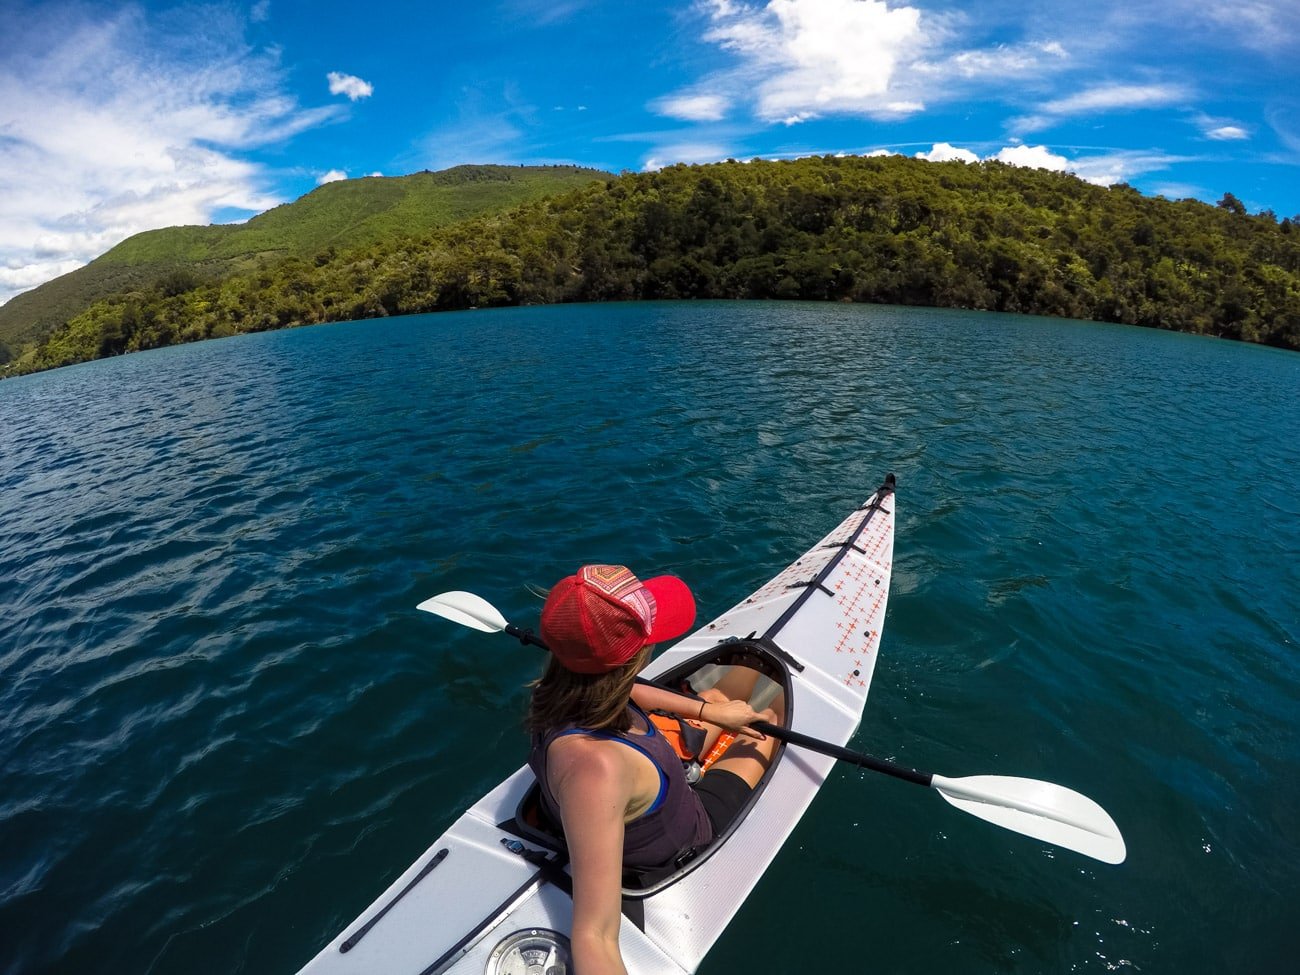
The Bay Model has enough storage for an overnight kayaking trip if you are a light packer. While I haven’t done a camping trip in mine, I believe there is enough room to stow a couple of small dry bags in the bow and hull of the boat (you would place those in the kayak before fastening it together).
The boat also has some rubber straps that go across the top of the boat where you can attach small items, like a raincoat, water bottle, or anything else that you want quick access to.
Kayak storage and transportation
Oru Kayaks fold down into a box (no additional container needed) and the floorboard serves as the lid. The seat and other loose parts fit right in the box, making it a simple and easy storage process.
They also come with a padded shoulder strap that you can use to carry it. If all you are doing is carrying the boat from your house to your car and then driving right up to your launch point, it’s perfect.
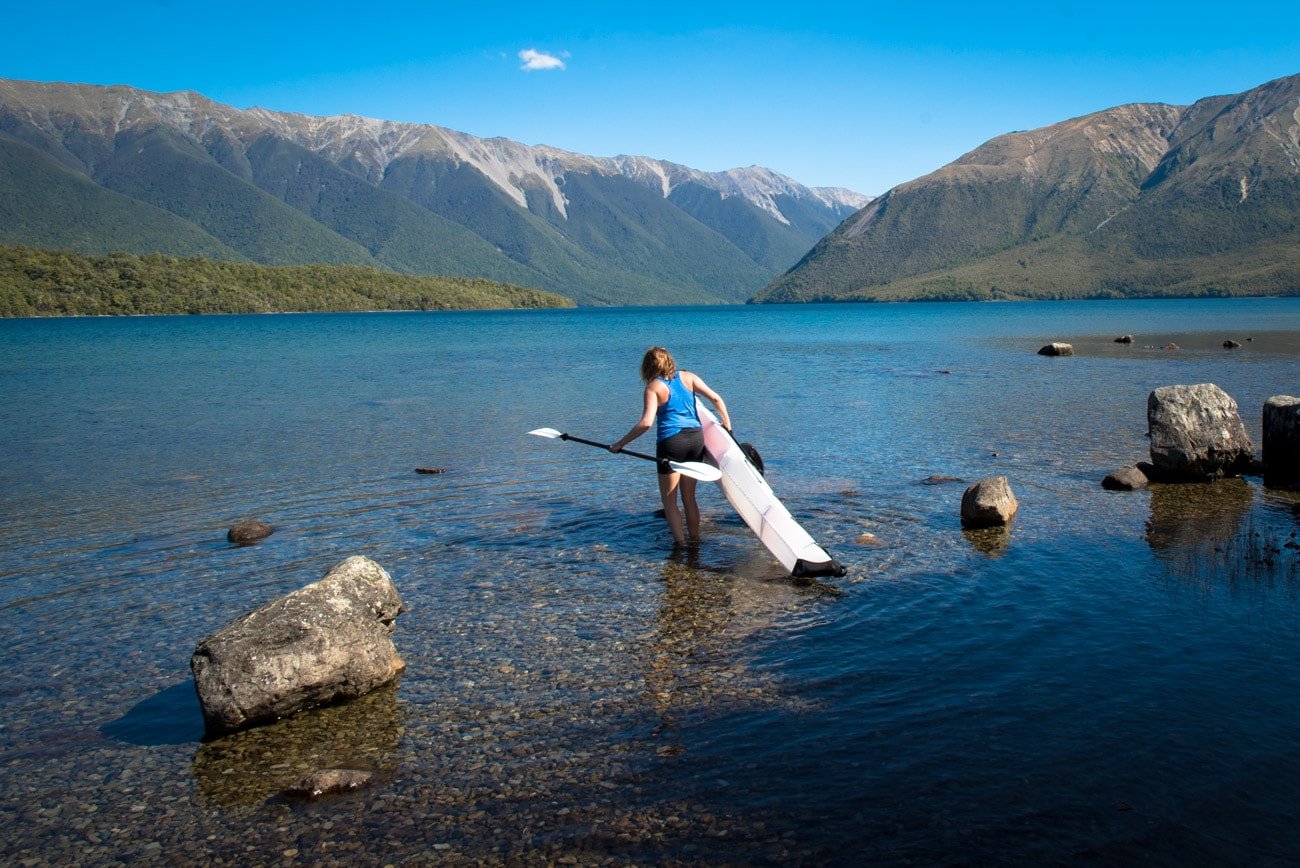
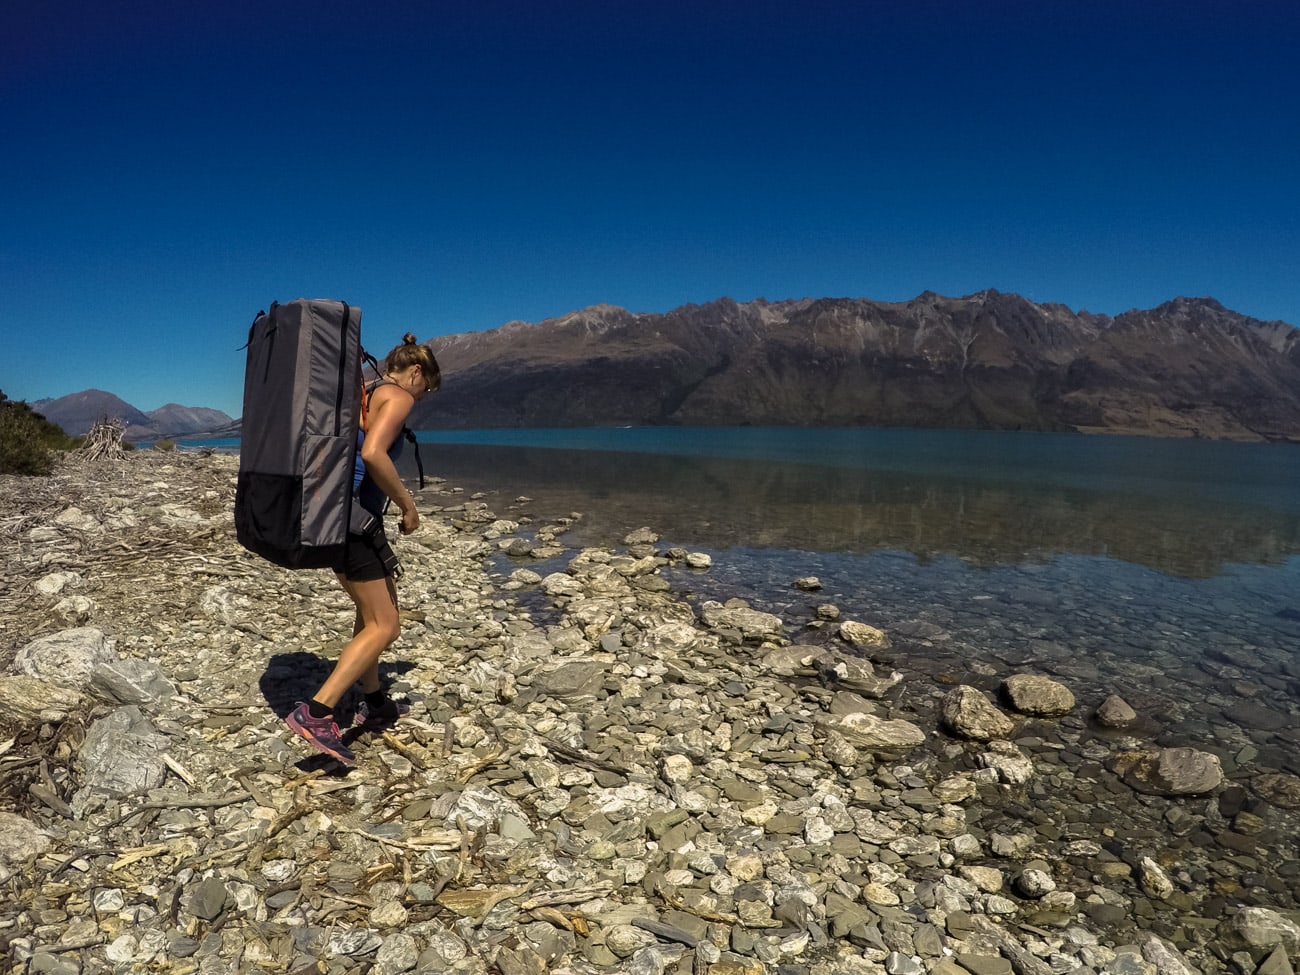
If you want to access more off-the-beaten-path paddling spots with your kayak, then you’ll probably also want the Oru Kayak Pack. This backpack is the exact dimensions of the stowed boat and has an exterior pocket for the paddle.
The pack has comfortable shoulder straps and a padded waist belt. It’s still a little clunky but totally manageable for a mile or two, as long as the trail isn’t too narrow.
Where to find Oru Kayaks
Ready to buy your Oru Kayak? Here’s where you can find them:
If you’re still unsure about whether an Oru Kayak is the best choice for you, the company offers a ‘try before you buy‘ program where you can connect with an Oru Host near you so you can see, feel, and test and Oru Kayak before purchasing your own.
Frequently Asked Questions
Yes! The Lake, Inlet, and Beach models are great options for new kayakers. They are lightweight, easy to maneuver, and stable on flat, calm water.
All Oru Kayaks come with a 3-year warranty. This warranty does not cover normal wear and tear, though, or damage from accidents on or off the water.
No, all Oru Kayaks come with a paddle (or two for the Haven tandem kayak). You can buy extra paddles and other accessories if you wish.
The company claims that their kayaks are designed for up to 20,000 folds.
Each model is different, but Oru Kayaks can hold between 250 and 400 pounds.
Yes! I brought my Oru Kayak with me to New Zealand. It counted as one piece of luggage.
Final Thoughts
The Oru Kayak is one of the most innovative pieces of outdoor gear I’ve seen. For a solo, condo-dwelling van-dwelling traveler like myself, it gives me the freedom to get out on water in new places where that would otherwise be impossible.
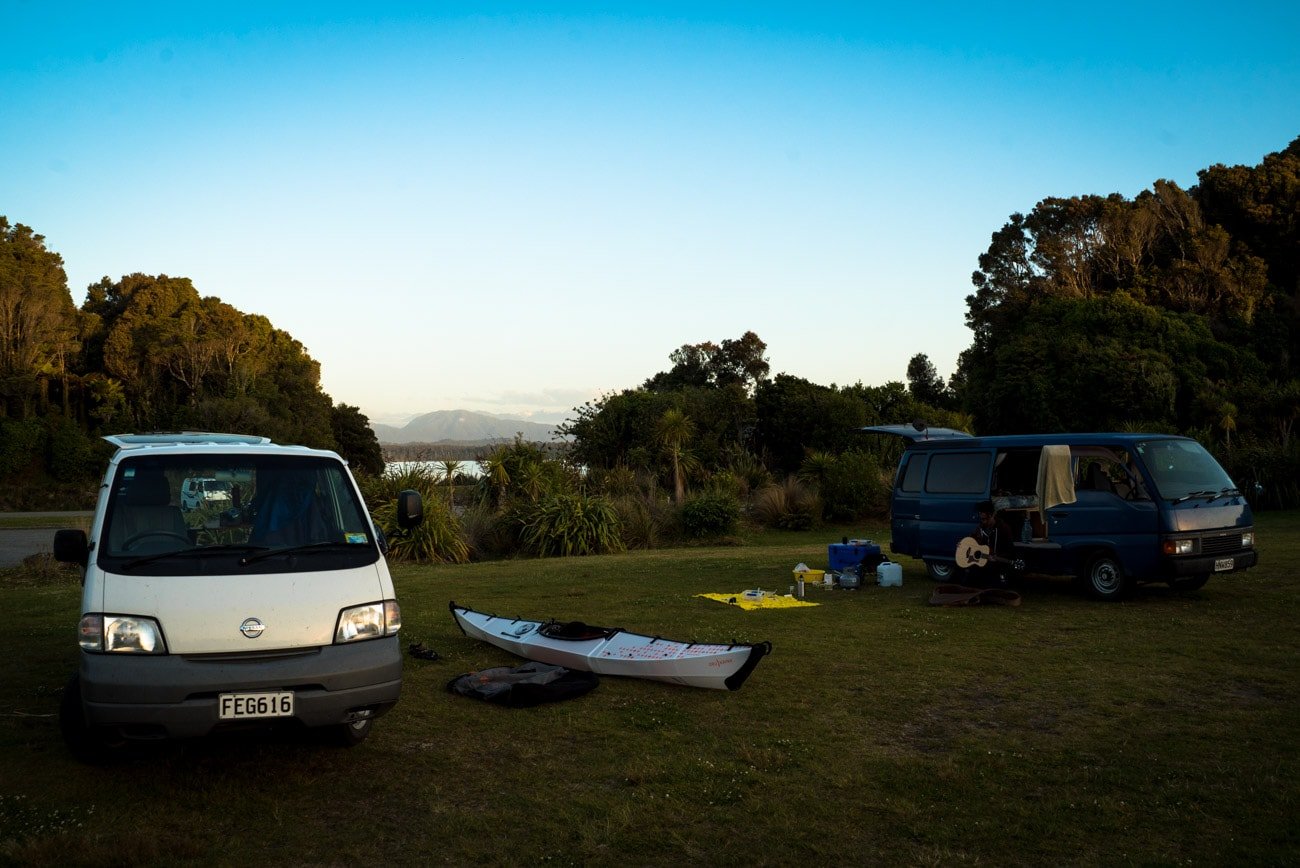
I mean… I brought a kayak… to New Zealand…. on the airplane. And I’ve been driving around with it in my van…. And I can put it together all by myself… Whenever and wherever I want!
More Paddling Tips
Save this post to Pinterest
Have you tested out an Oru Kayak or do you have one of your own? Which model? How has it worked out for you? What questions do you still have? Leave a comment below!

Wow! I need one of these! I really love the idea of having something so portable (and still sturdy enough) for calm water trips. Especially love the video showing how “easy” it can be to assemble
Katie @Katie Wanders
Hi there,
looks like a lot of fun.
I don’t want to spoil the above, fun bit, only ad a few comments on safety.
-This boat needs flotation.
This might be anything from a white water style flotation bag bow+stern to maybe 4 or 6 inflated 10l water bladders you know the 10l water cartons you buy in the supermarket. Drink water, take of karton and inflate. Works with wine kartons to, you just need more of
them.
If you fall out of this boat without flotation and it fills up with water you are in trouble. Maybe a video on how long it takes to bail a half full kayak 🙂
-Wear a PFD
Needs no explanation.
-Get info on weather, tides, currents and swell.
Weather changes, currents if against you can push you back faster than you can paddle forward. Wind on a decent Lake can whip up waves that exceed your competence in handling a kayak. etc
Especially don’t go out in an off shore wind if you are not 100% certain you can paddle back against it. And more important, the water is always so nice and flat with an off shore wind, very inviting, but as you go further this wind starts making waves which you might not be able to handle. Here in Melbourne on our pretty sheltered Port Philip Bay we have a couple of deaths every year because of this.
-Know your limits/skills
Practise in a safe environment on how to handle your boat. Fall out on purpose and try to get back in, empty it on the water. Help a buddy back in the boat, swim with your boat etc.
Join a club or follow some courses, this will improve your ability to have fun in a kayak and might save your life.
Also there are other folding kayaks out there, Google Featherkraft, Nautiraid, Klepper, Folbot.
Disclaimer, I am a Sea kayak instructor and Guide so am biased towards safety as I have seen the other side.
I was surprised with the now PFD in the shots above. Maybe they were just for picture taking? It always surprises me when people don’t where them. Being a strong swimmer is great… until you get hit in the head and can’t swim. Things can happen fast on the water and IMO it’s best to minimize the risks.
Really good point on flotation in the boat and also the need for a hand pump in case there is a lot of water. Anyway, the boat looks cool and from a price point is less expensive than other options out there.
How did you find the water tightness of it? I’ve read that some foldable kayaks can be a bit leaky. Also, do you have to dry it out really carefully before packing it away? Trying to figure out how they compare to an inflatable kayak.
I haven’t had mine leak on me unless the waves are really big. Then you might get some spill ove…..and yes it’s important to dry it out before putting it away.
Hey Kristen,
Thanks for the review, I was not aware of this company.
BTW, I’m also planing a trip to New Zealand later this year. What spots would you recommend for kayaking?
Any other tips or suggestions for more outdoor activities there?
Thanks!
Hey Jack! So awesome to hear you are heading to New Zealand. Have you seen our New Zealand archive on Bearfoot Theory? Kristen did a 9-week road trip through New Zealand. Here is the link to our New Zealand posts: https://bearfoottheory.com/tag/new-zealand/ We have tons of information about New Zealand including the best places to kayak–definitely don’t miss Doubtful Sound, we have a full write-up of kayaking here with Go Orange.
I would add that there are LOTS of Stepanakert but are SO much easier with two people putting it together. Hey they even used two in the store and on their own videos. I am a strong and mechanical woman and I am in a full sweat every time I put it together. Also, the do now include inflatable bladders for front and back (Those tips aren’t even rally watertight) but don’t advertise their use, but don’t wait til end to try to put them in!)
Oh wow just bought what was already the second version in June and I think they’ve already come out with a better new version! Damn!
So I bought one of these babies a couple of years ago and let me just say: I love it! Especially for those of us who live in apartments or don’t have a means to carry a hard shelled kayak or canoe, the Oru kayaks are super convenient and trek so well. Glad to see someone else enjoy it. Oh, and totally agree: “For a solo, condo-dwelling van-dwelling traveler like myself, it gives me the freedom to get out on water in new places where that would otherwise be impossible. I mean…I brought a kayak…to New Zealand….on the airplane.”
Freakin’ mind blowing 🙂
The Oru Kayak is really an interesting option. Thanks a lot for sharing! I have this one now in my list to try out 😉