Best Joshua Tree Hikes for First-Time Visitors
Headed to Joshua Tree National Park for the first time? Here are the 3 best trails in the Park for the best views and scenery.
A couple of years ago, I had plans to spend Thanksgiving in Joshua Tree National Park but thanks to an unlikely spell of torrential rain, my plans got thwarted. Ever since, I’ve been wanting to reignite my Joshua Tree mission and explore the best Joshua Tree hikes that this beautiful National Park has to offer.
Here are the three best Joshua Tree hikes for first-time visitors and a few more tips to help you make the most of your trip.
This post may contain affiliate links.
Intro to Joshua Tree National Park
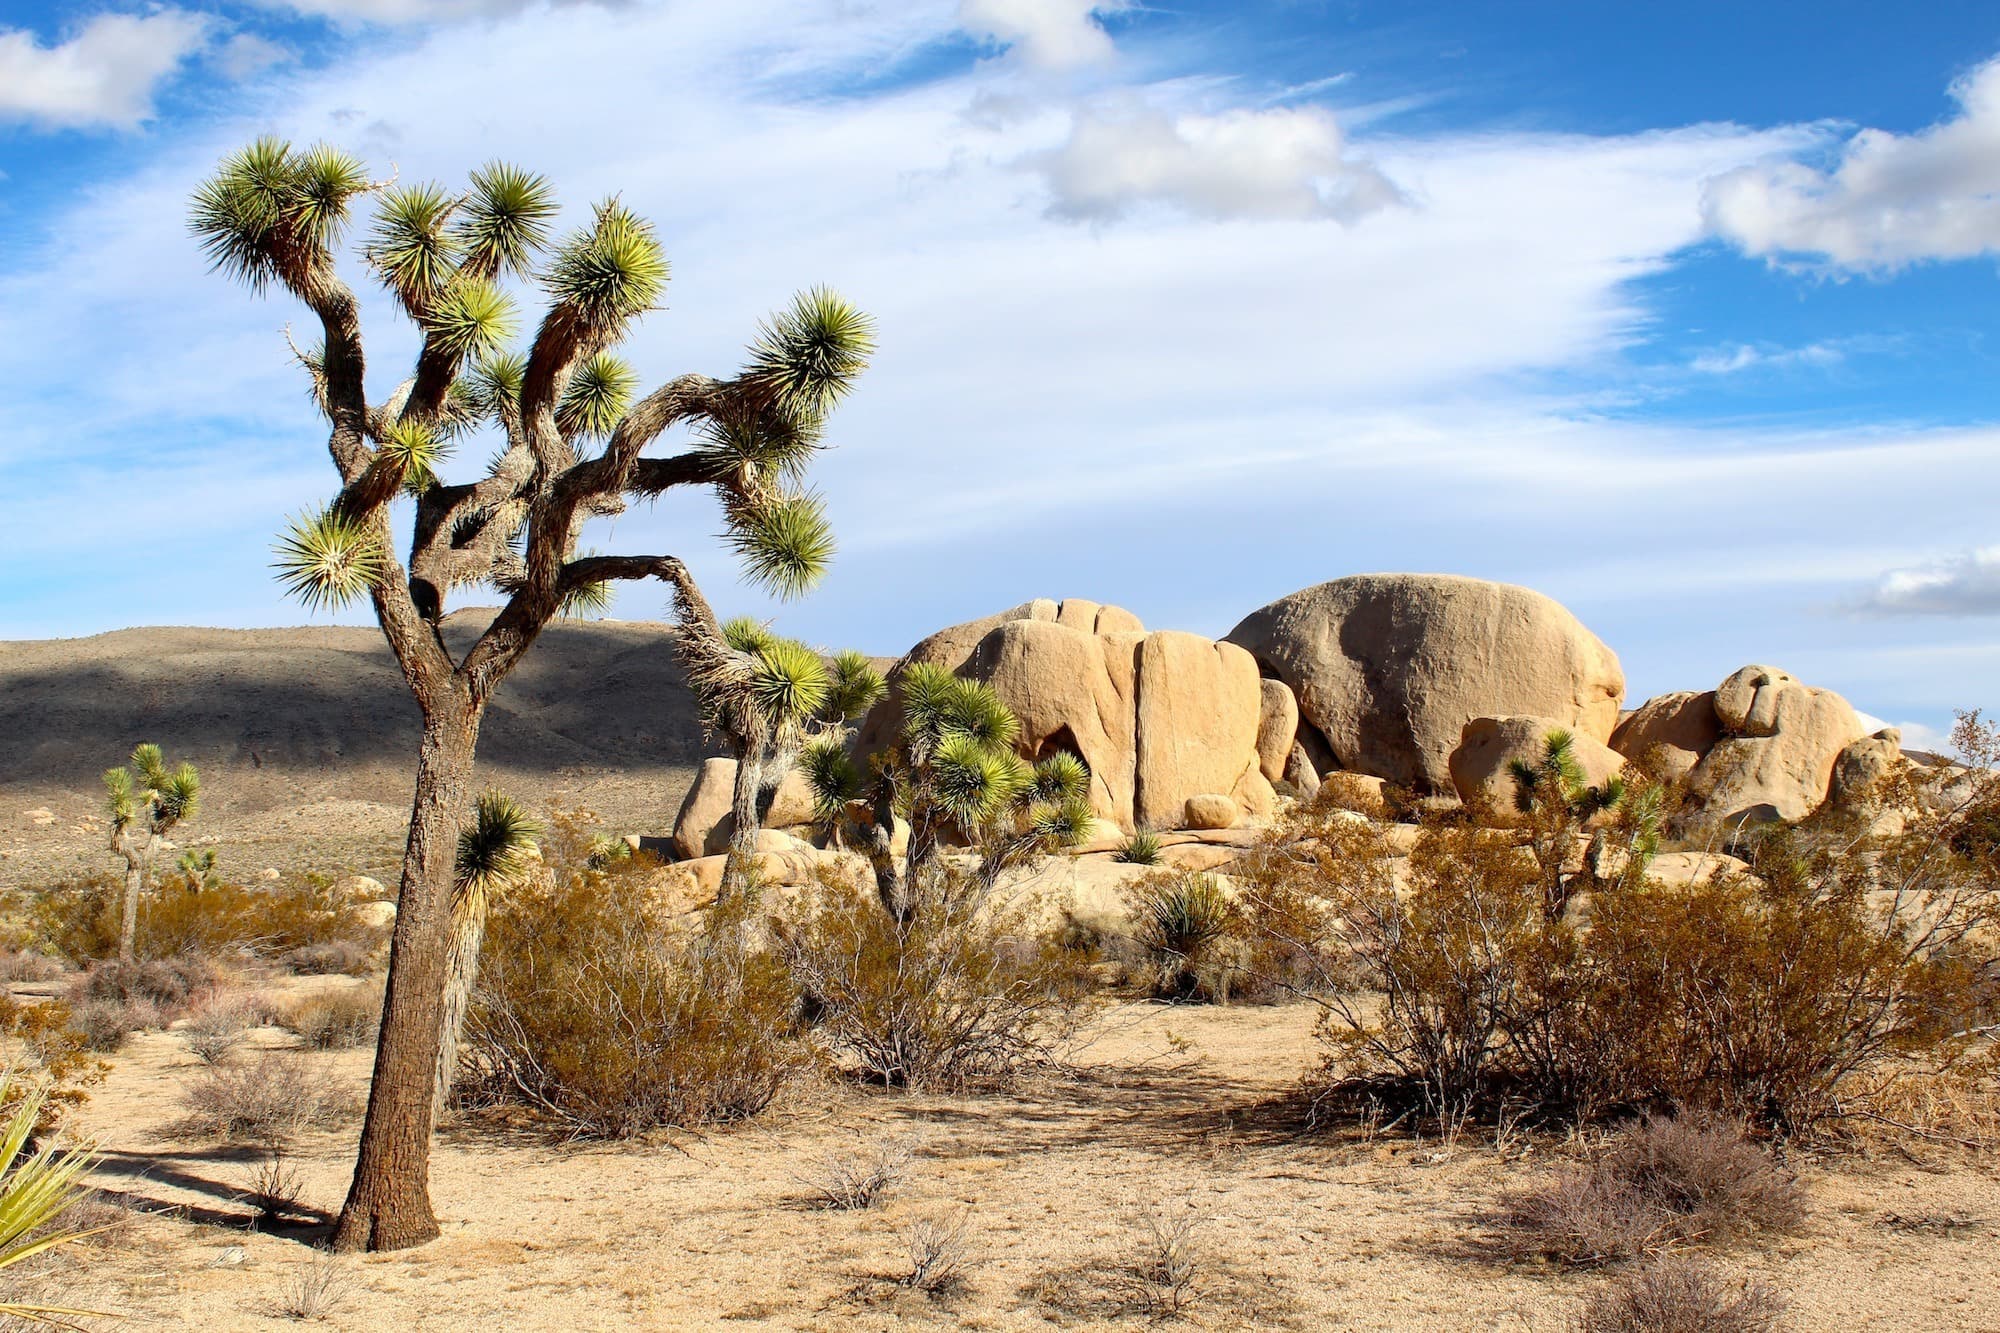
Joshua Tree National Park is made up of 794,000 acres that straddle the Mojave and Colorado deserts. The first time I drove through the western gate into the Park it felt like I was stepping into one of Dr. Suess’s books with the spiny Joshua trees shaking their pom-poms across the valley floor.
Legend has it that Mormon pioneers saw the outstretched arms of the trees and were reminded of the biblical character Joshua who was to lead them to the promised land. The name stuck.
Hiking in Joshua Tree is an amazing experience. There are unique landscapes, incredible views, desert life, and an otherworldly feel. If you don’t have the time to scour every inch of it, though, this post includes three of the best Joshua Tree hikes for first-time visitors that will highlight the best of what the national park has to offer.
All three of these Joshua Tree hiking trails are easily accessible, moderate in length, and require little more than some water, a map, and comfortable hiking clothes. I’ve also included some recommendations for accommodations if you’d rather stay in a bed as opposed to camping in the national park.
Save this post!
Enter your email & I'll send this post to your inbox! You'll also receive my weekly newsletter full of helpful advice for planning your adventures.
Joshua Tree National Park Layout
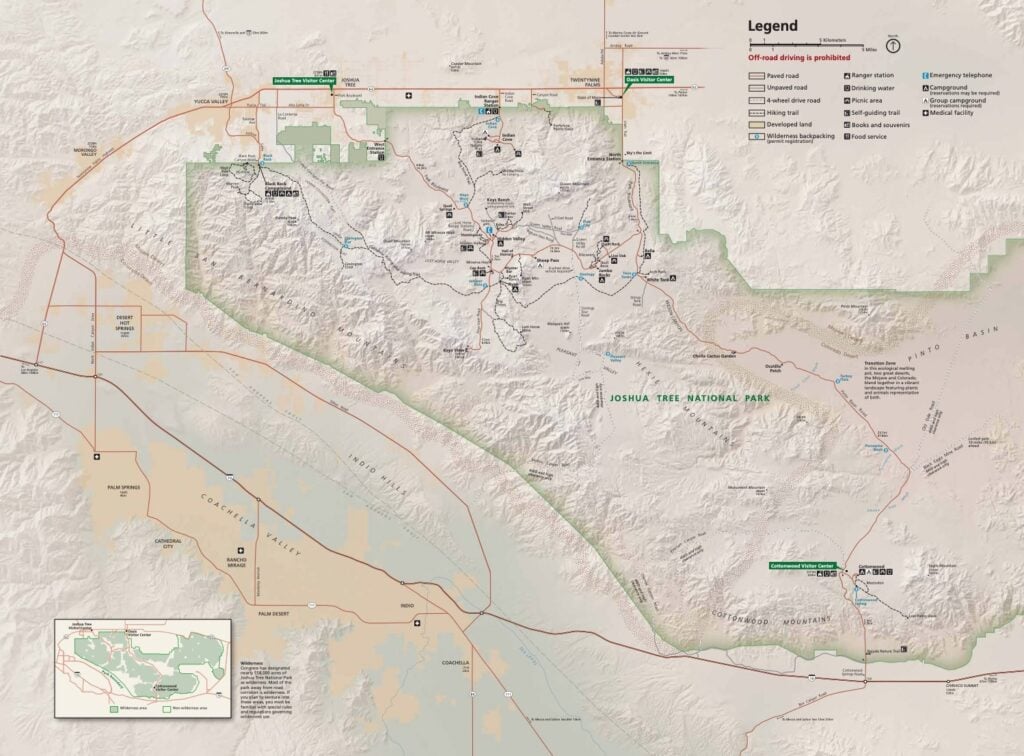
The West and North entrances of Joshua Tree off of Interstate 62 open up to the Mojave side of the park while the southeast entrance off of Interstate 10 opens up to the Colorado Desert. This is important to know because the scenery is dramatically different between the high and low deserts.
The west side of the park near the Mojave Desert stands above 3,000 feet and is covered with expansive Joshua Tree groves that are speckled with gigantic piles of monzogranite boulders. The hikes in this guide are located in this area of the park.
Conversely, the east side of the park sits well below the Mojave Desert and is covered in creosote bushes, a signature plant of the park that produces small yellow flowers in spring and summer. The towering mountain peaks of Cottonwood, Eagle, and Coxcomb provide a dramatic backdrop to this region.
Both sides of the Park are memorable, but if you’re limited on time make sure to hit the west side first.
Best Joshua Tree Hikes
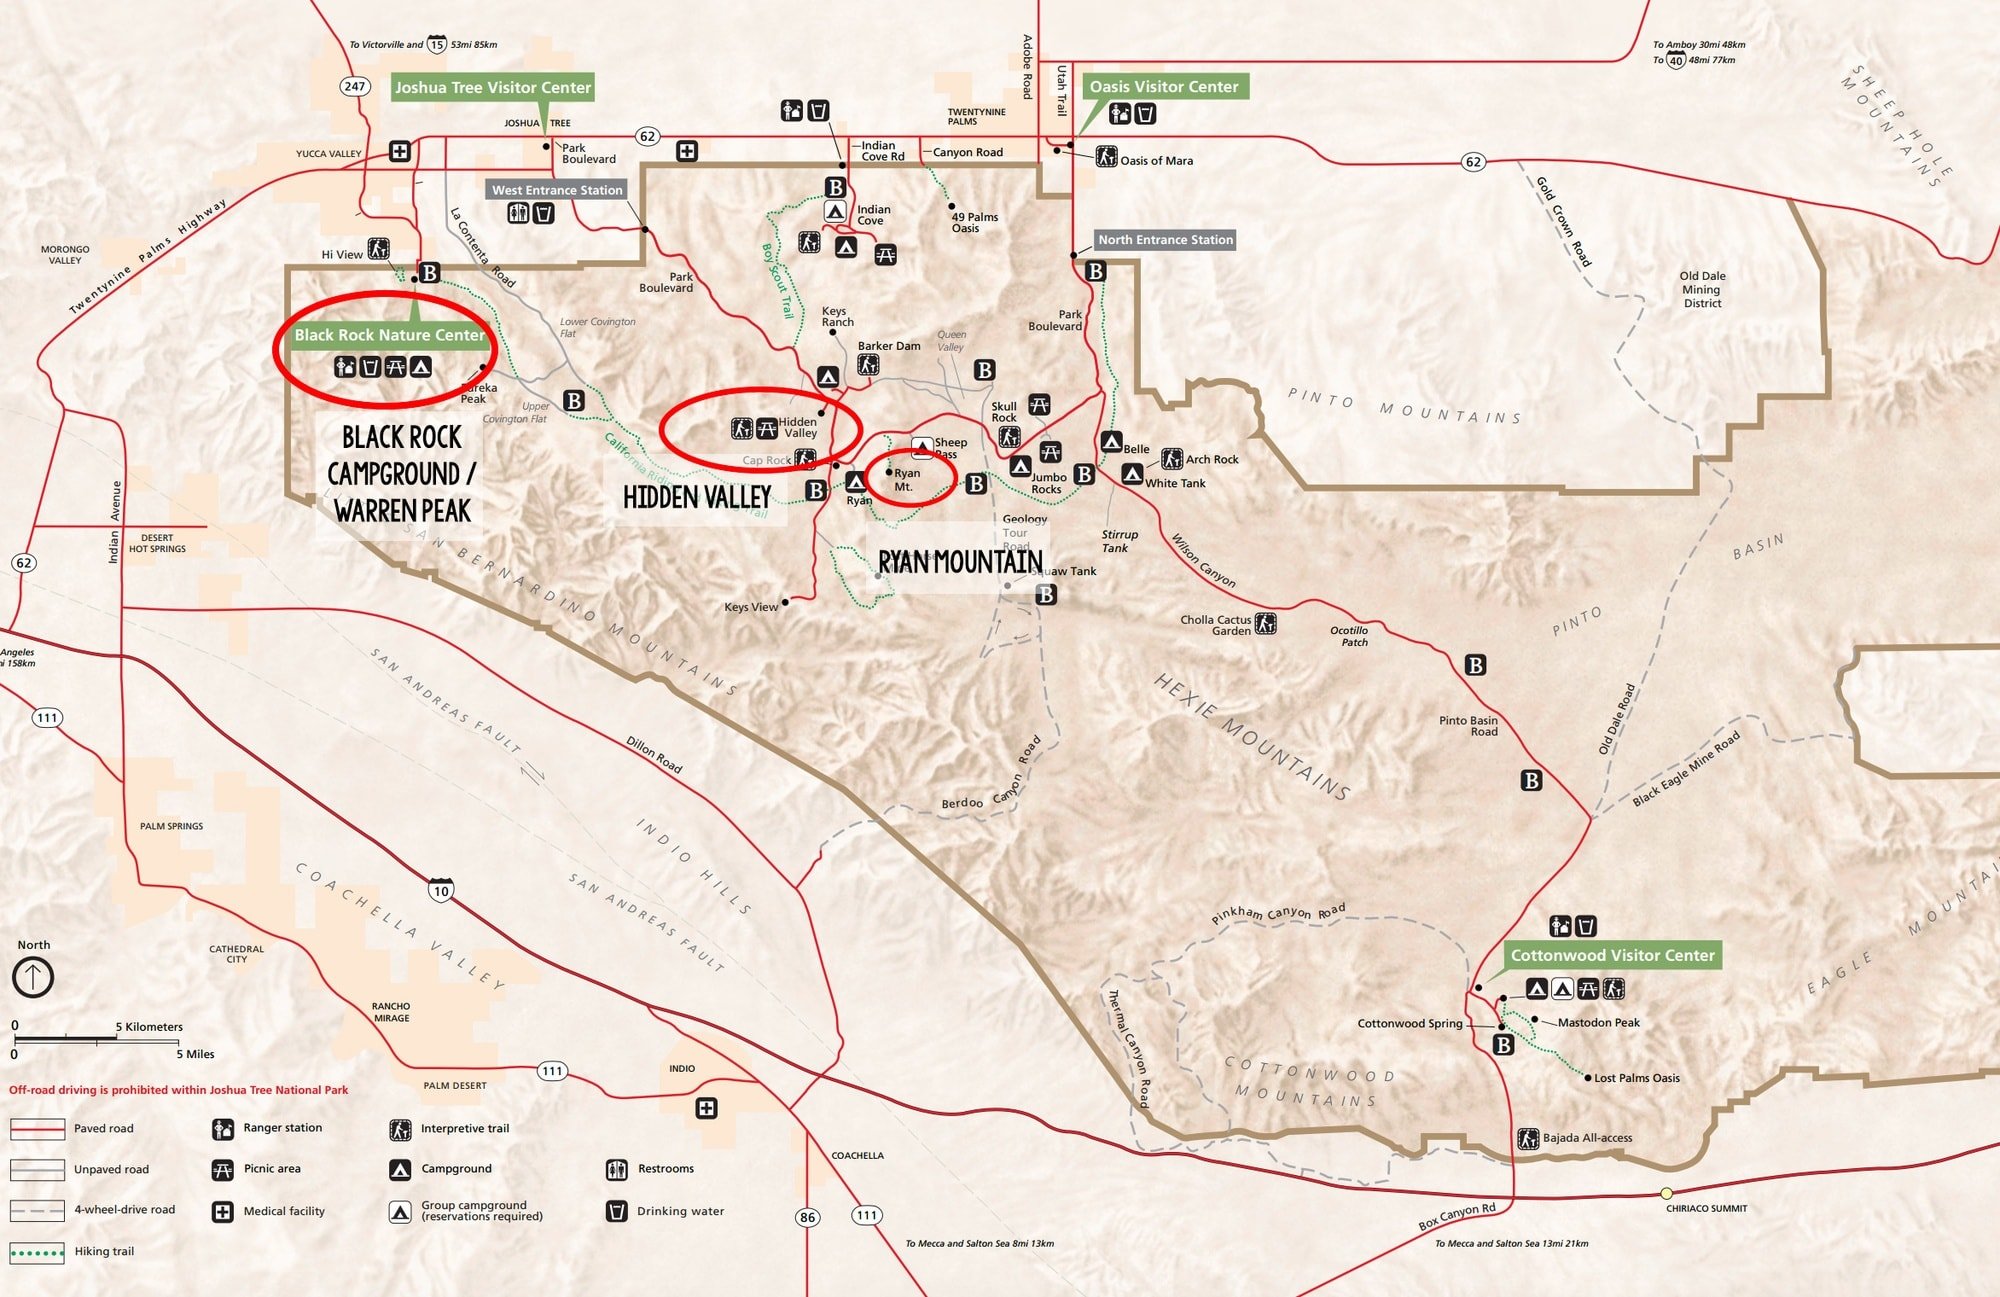
Now for the best hikes in Joshua Tree. In my opinion, these are the top three hikes in the park where you can experience unique scenery, views, and more. These three hikes are circled in red on the map below.
1. Warren Peak
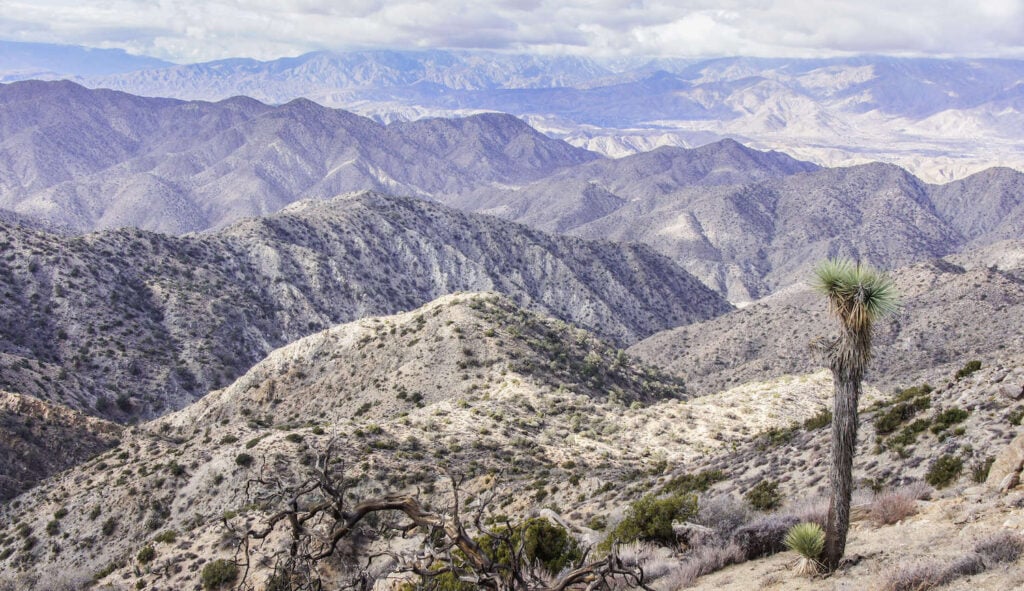
Warren Peak Trail Stats
- Distance: 6.0 miles
- Elevation Gain: 1,000 feet
- Time: 3.0 hrs
- Difficulty: Moderate
- Trailhead start: Black Rock Campground
Warren Peak is located in the northwest corner of the park adjacent to the Black Rock Campground. It’s a 6-mile round trip hike that is a great place to start your Joshua Tree adventure, especially if you’re coming from the West as it’s the first stop off of CA-62. (Don’t make the same mistake that I did and camp at the Black Rock Campground. The campground is nice and clean but is a bit removed from the park and is located much closer to civilization than most of your other options.)
The trail up to Warren Peak starts on the Black Rock Canyon Trail, which can be a challenging find. To find the trail, walk directly east of the Ranger station through all of the campsites at Black Rock Canyon Campground and across a section of dense shrubs about the size of a football field. When you hit the trail you’ll know it. It’s wide, sandy, and flanked by black brush. Take a right once you hit the trail and start heading up the hill. Along the way, you’ll pass a number of Joshua trees, Mojave yucca, and some huge blocks of black and grey gneiss.
Make sure to stay right as you work your way up. You will pass up a number of opportunities to turn left, but if you have your eyes set on the peak, keep right.
Once you hit a post in the ground with a PL and a WP painted on it you are about 80% of the way there with the most difficult portion of the hike to go. The last 20% takes you up a fairly steep grade that will undoubtedly get your heart pumping. There may even be one or two places where you have to scramble on all fours. As you climb higher and higher the view of the surrounding mountains will get bigger and bigger. The payoff atop the 5,103-foot peak is a 360° view of Southern California’s tallest mountains.
*If you are looking for additional hiking trails near Black Rock Canyon, Eureka Peak is another nice option, but it’s a solid 6-hour trek, offers very similar views, and doesn’t feel quite as remote with car access available from Covington flat.
Directions to Warren Peak Trail:
From I-10, take CA-62 north 18.3 miles to the town of Yucca Valley. Turn right onto Kickapoo Trail and then take a left onto Onaga Trail. Drive on Onaga trail for 2.4 miles and turn right onto Joshua Lane. Joshua Lane dead ends into San Marino Drive. Take a right when you hit San Marino. San Marino quickly turns into Black Rock Canyon Road. The trail is directly east of the ranger station past the campgrounds and through 100 yards of brush.
2. Hidden Valley Nature Trail
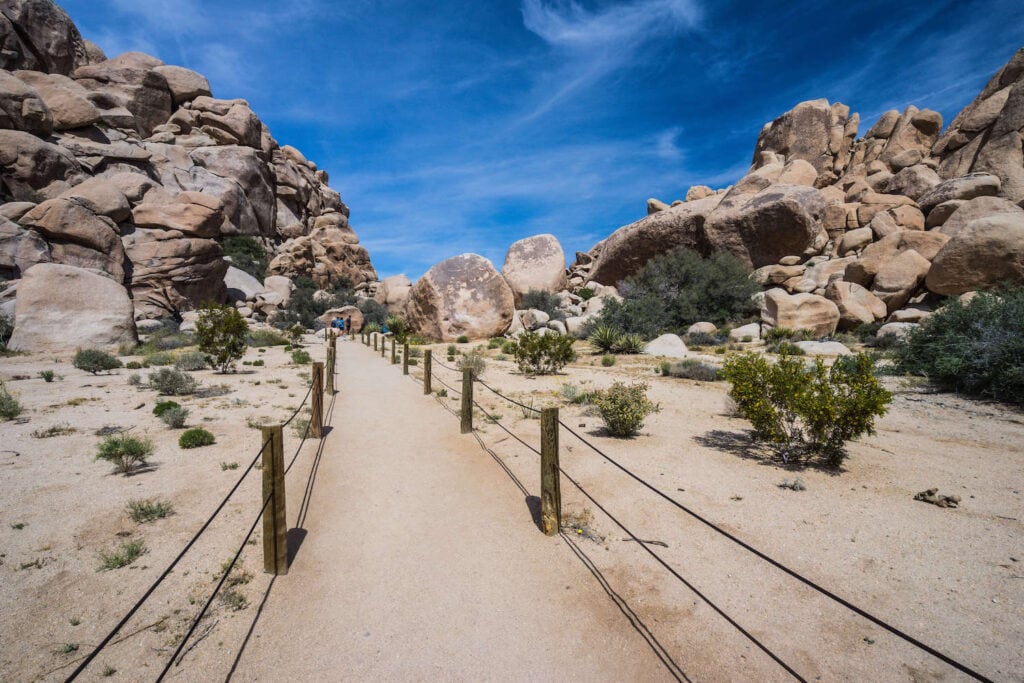
Hidden Valley Nature Trail Stats
- Distance: 1.0 mile
- Elevation Gain: flat
- Time: 30 minutes to 3 hours
- Difficulty: Easy
- Trailhead start: Hidden Valley Campground
Hidden Valley Trail is located off of Park Boulevard 12 miles southeast of the west entrance. It looks a bit like a real-life Bedrock from the Flinstones with huge piles of white tank monzogranite piled up in every direction. The trail is rumored to have been a famous hideout for cattle rustlers and you can see why as you work your way through the trail. The huge stacks of boulders that create distracting acoustics that make it difficult to determine where anyone is.
While the loop is only 1 mile long, you can easily spend hours exploring the rock formations, which are very easy to climb. The white tank monzogranite has a very solid and tacky surface, but be careful as it’s often easier to go up than come down, especially without climbing equipment.
The trail is well-groomed and much more popular than the trail to Warren Peak.
Directions to Hidden Valley Nature Trail
From CA-62 take Park Boulevard (which turns into Quail Springs Road before changing back to Park Boulevard) for 14 miles until you see the Hidden Valley Campground on your left. The nature trail is just a bit further up the road on your right. Parking is available at the trailhead.
3. Ryan Mountain Trail
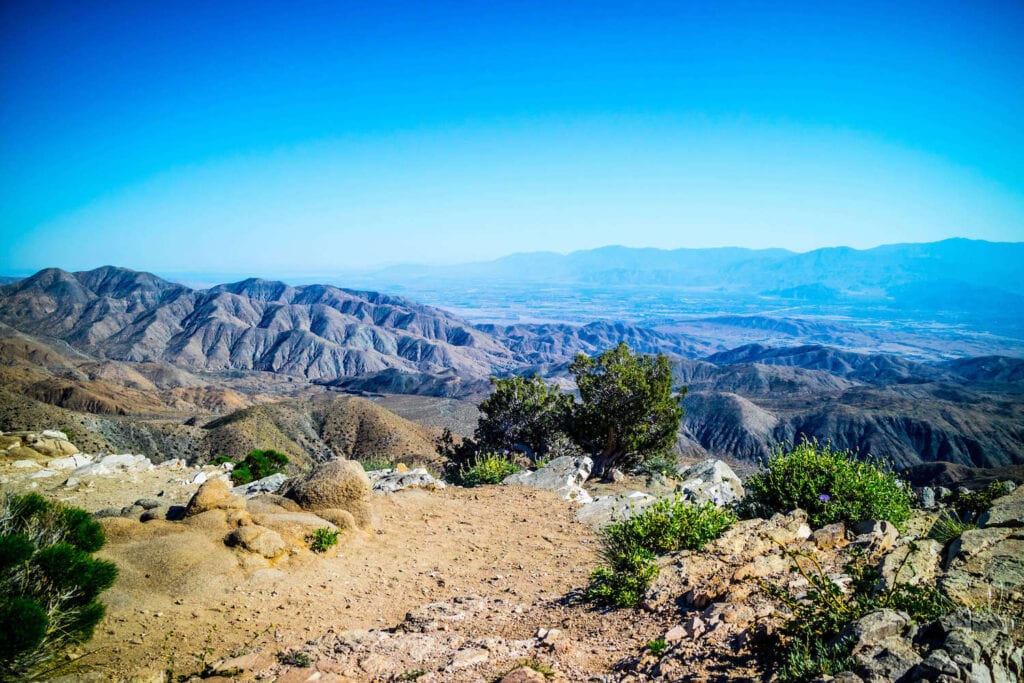
Ryan Mountain Trail Stats
- Distance: 3 miles
- Elevation Gain: 1,075 feet
- Time: 2 hrs
- Difficulty: Moderate
Ryan Mountain is located 3 miles south of the Hidden Valley trail off of Park Boulevard. There is no signage that points the way until you are right on top of the Ryan Campground so just keep following signs to Keys View. The 5,470 ft peak offers some of the best panoramic vistas of the park including views of San Jacinto, San Gorgonio, Wonderland of the Rocks, and Pleasant Valley.
The march onward and upward to the top gets going as soon as you leave the parking lot. The trail has 1,075 feet of elevation gain that is moderately steep but very well maintained with great foot-holds. In fact, an impressive stone staircase winds up and around the vast majority of the mountain.
As you climb, the drama builds. The views change from the expansive desert floors of the Queen and Lost Horse Valleys to the rich red and orange stone piles of Wonderland of Rocks. The payoff at the top includes huge views of the San Gorgonio and the San Jacinto Mountains.
Directions to Ryan Mountain Trail:
From CA-62 take Park Boulevard (which turns into Quail Springs Road before changing back to Park Boulevard) for 16.7 miles until you see the Ryan Mountain Campground on your right. The trail is just a bit further up the road on the right-hand side. Parking is available at the trailhead.
What to Pack for Your Joshua Tree Hikes
Below are a few hiking gear recommendations and tips for what to bring on your Joshua Tree hikes. For a more complete list, be sure to read our What To Wear Hiking In The Desert post.
- Hiking boots or trail runners. The terrain in Joshua Tree is reasonably flat, so you don’t need heavy-duty hiking boots for these trails, although lightweight high ankle hiking boots or shoes will help keep sand and dirt out.
- Hiking layers – mornings and evenings might be cool but expect the days to be warm
- A brimmed hat to keep the sun off your face
- Trekking pole(s) – optional for these trails since the terrain is flat and not rocky.
- Sun protection – the desert sun can be brutal even if it doesn’t seem super hot, protect your skin!
- Sunglasses
- Water – Carry plenty of extra water, especially if hiking during the summer months.
- A trail map from the Joshua Tree National Parks Visitor Center
Additional Joshua Tree National Park Resources
If you’re planning on spending more time in Joshua Tree, here are a few resources for finding more hikes and things to do in the Park:
- Best Easy Day Hikes in Joshua Tree National Park – This small paperback book includes a good variety of easy day hikes around the park including detailed maps and descriptions.
- Joshua Tree: The Complete Guide – For a more complete guide on Joshua Tree National park, pick up this book filled with Park highlights and hidden gems.
- Hike the Parks: Joshua Tree – This book includes a wide variety of hikes in Joshua Tree if you want to explore more challenging and remote terrain.
Frequently Asked Questions
Unfortunately no. No pets are allowed on any of the trails in Joshua Tree.
Cell service is very limited in Joshua Tree. You should enter the Park with the maps of the trails you want to hike downloaded to your phone.
The trails can be rocky and a bit slick in Joshua Tree, so I recommend wearing proper hiking shoes or hiking boots with good traction and tread on the sole. You don’t need waterproof hiking boots as the trails are typically dry. Ankle support can also be helpful on the uneven terrain.
Joshua Tree is a popular National Park and the trails can get busy, particularly on holidays and on weekends, as many people day trip from Los Angeles. If you want to enjoy more solitude on the trails, I recommend hiking mid-week.
While Joshua Tree National Park can be visited year-round, temperatures are most pleasant in the fall and spring months of October-November and March-May when daytime temps are in the 70’s. Spring typically brings an abundance of wildflowers, which turns the desert into a colorful bloom.
I hope you have as much fun as I did on these Joshua Tree trails. If you hiked any of them, let us know what you thought in the comments below!


The Hidden Valley Trail looks incredible. And the trail work! We have nothing like this trail work in Thailand. It’s really beautiful.
Very interesting. I wish I could go there !
Joshua trees can get BORING after first minute of hiking. Basically nothing to see here .. move along!
A problem is the off-highway road is a speed trap – we got a ticket doing 65 and no speed limit signs were posted all the way from main highway to trailhead. So avoid like the plague – just makes Barstow police make their quotas!
So sorry you feel that way! I live less than 3 hours from Joshua Tree and love to hike there. Sorry to hear about your ticket, there is a large concentration of police in this area, similar to other National Park locations.
I just got back and agree w Kim, Ryan Mountain and Warren Peak were very enjoyable and doable 6 mile hikes. Go early to avoid crowds and heat… ideally by 7-8 am. Only downside was the crowds after about 11 am. Also we got lucky one day when it drizzled non stop and was cloudy — no sun beating down and great for taking photos. Also helps to queue up Joshua Tree by U2, they captured the spirit and essence of the whole place.
Joshua Tree is a beautiful place. I never thought of a desert being beautiful until I went there. One of my favorite places and I travel internationally too. Joshua Tree is a very special and magical place.
FYI, we were there a couple weekends ago and we were also told that all the campgrounds inside the park were closed. Lo and behold the hidden valley campground was open, but unfortunately full. We talked to a couple rangers who said that the rest of the campgrounds would open in the next few days. It was a beautiful weekend and we did the hidden valley trail along with a couple other trails.
Perfect timing, I’m camping in Joshua Tree right now!!
Have fun!
I’ve lived in, Joshua Tree, Yucca Valley, and 29 Palms for close to 30 years. In that time I have found hundreds of great hiking and sightseeing outside of the tourist areas. Old caves, mines, and hidden oasis with waterfalls. These places are apart of the National Park but far enough away that tourists would never find them.
What are some of your favorite places?
Should be noted that the campgrounds are open again; albeit reservations are required for all but two walk-in camp areas. Both are hard to come by, fyi. We were there in April 2021 and the campgrounds were entirely full.
Thanks for the update, Christine!
49 Palms hike out of 29 Palms is my favorite! Sunrise is absolutely gorgeous!!! It’s a pretty easy hike, roundtrip is about 3.5 miles. The best part is the oasis. It’s stunning. Definitely don’t miss this one!!
My adult son and I just hiked in the park last weekend (4/23/22), we did Contact Mine near the 29 palms entrance. I’m a bit out of shape, and we hiked with a family that had 2 kids (ages 5 and 8). It took us about 2 hours with stops to get to the “top”, and about 45 mins to get back down. Absolutely beautiful- but we are east coasters that love the desert! The trail starts and ends pretty flat with a soft trail. Once you get to the start of the climb the trail narrows in quite a bit. You will need to follow the red trail markers until you get to the climb as it all kind of looks the same (like a dry riverbed), but the climb is pretty much obvious.
We went back the next day and drove through from the JT entrance back to 29, stoping for shorter walks, some scrambling and pictures- love JTNP all around!
Hi Shannon, thanks for the hike suggestion! Sounds like you had a great trip – Joshua Tree is a pretty awesome park.