West Rim Trail Backpacking Guide in Zion National Park
Plan your Zion West Rim Trail backpacking trip with this detailed guide that includes info on permits, campsites, gear, and more.
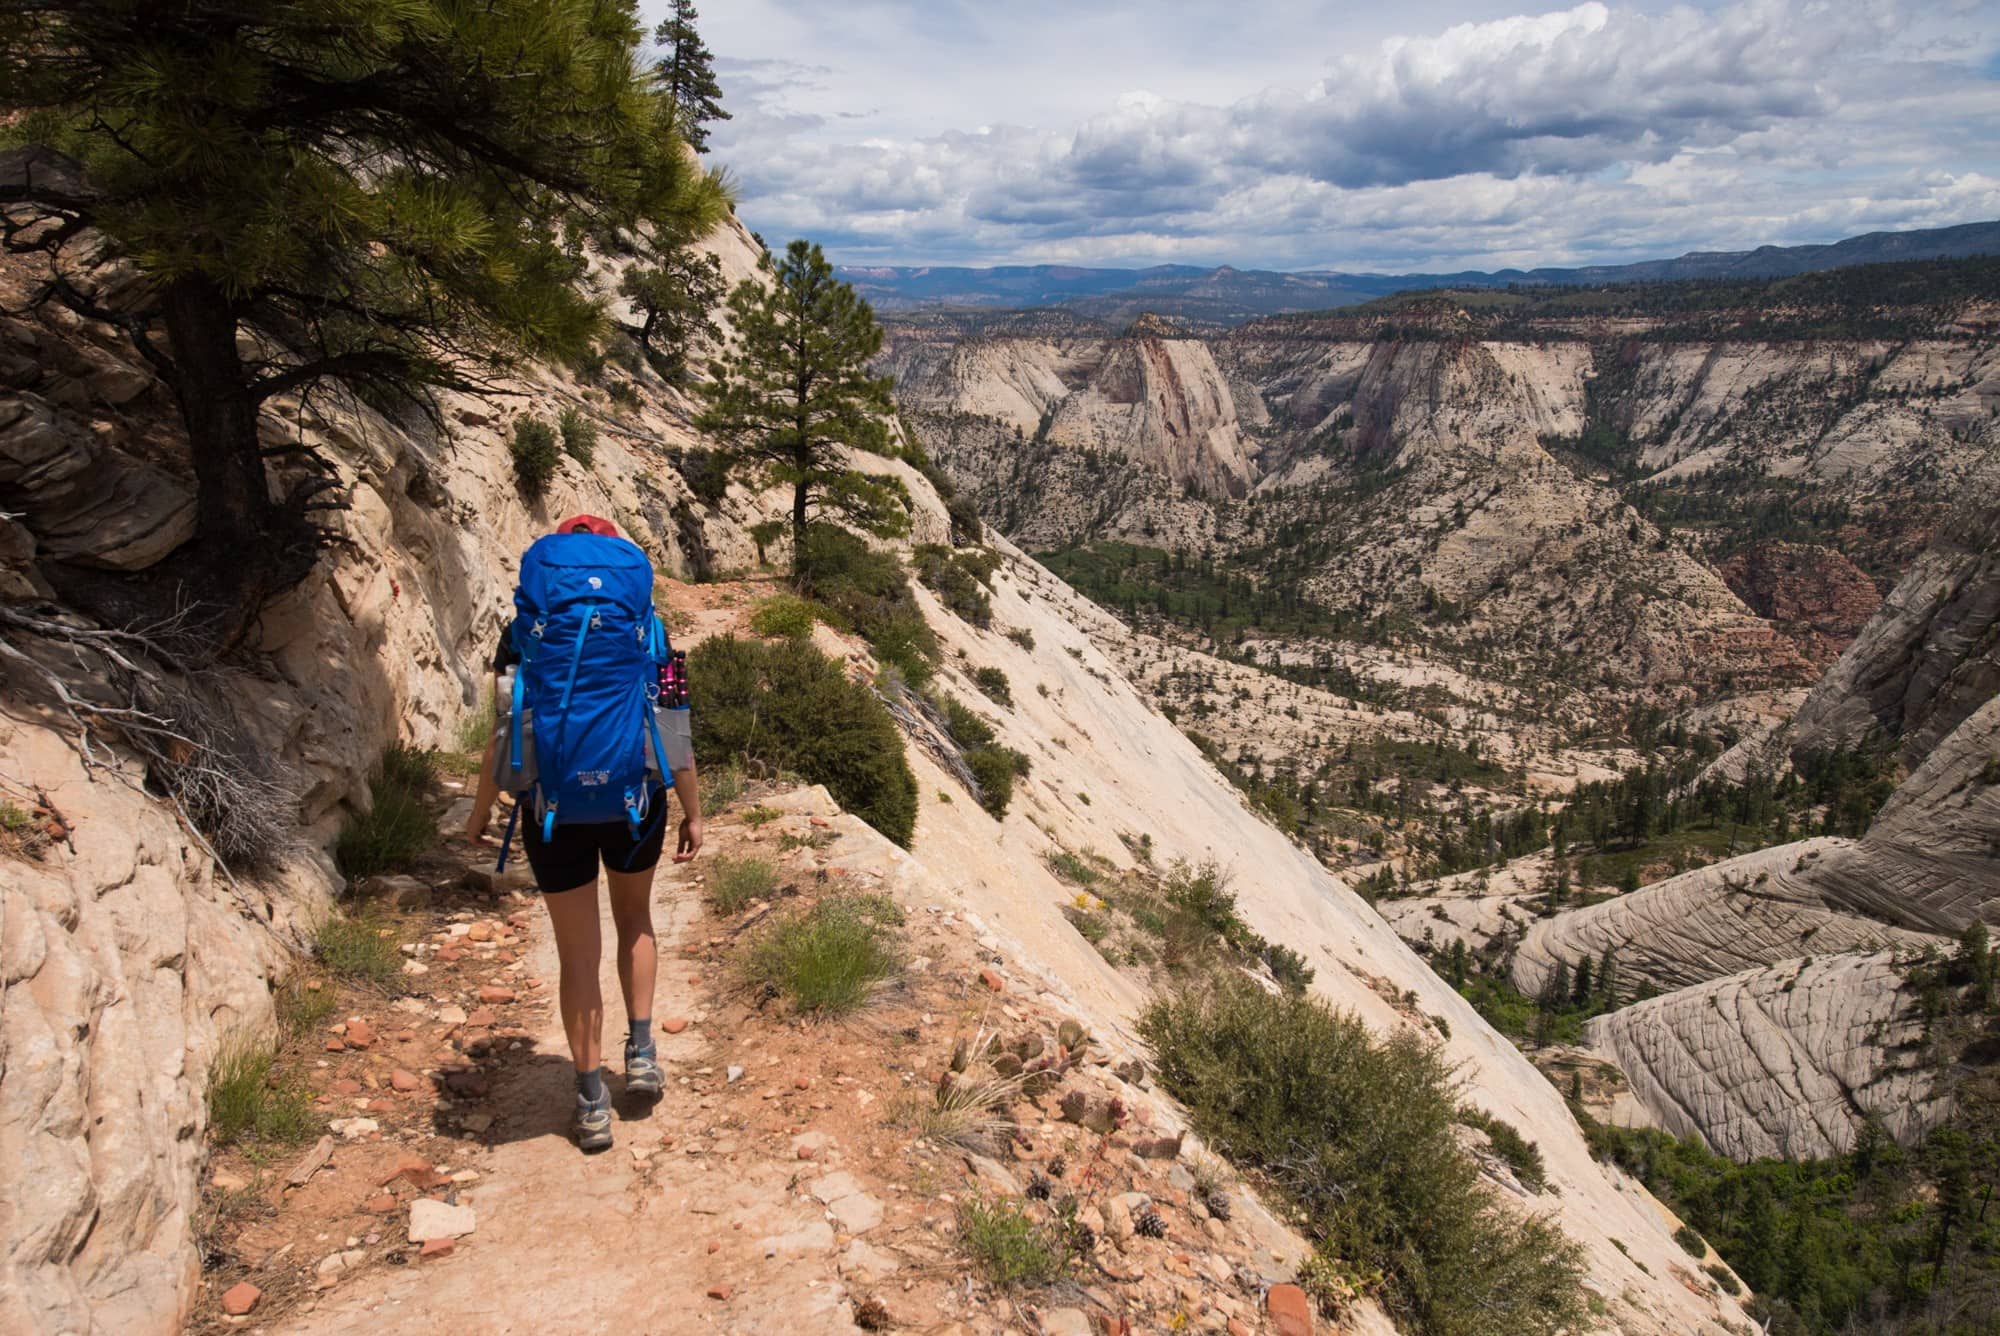
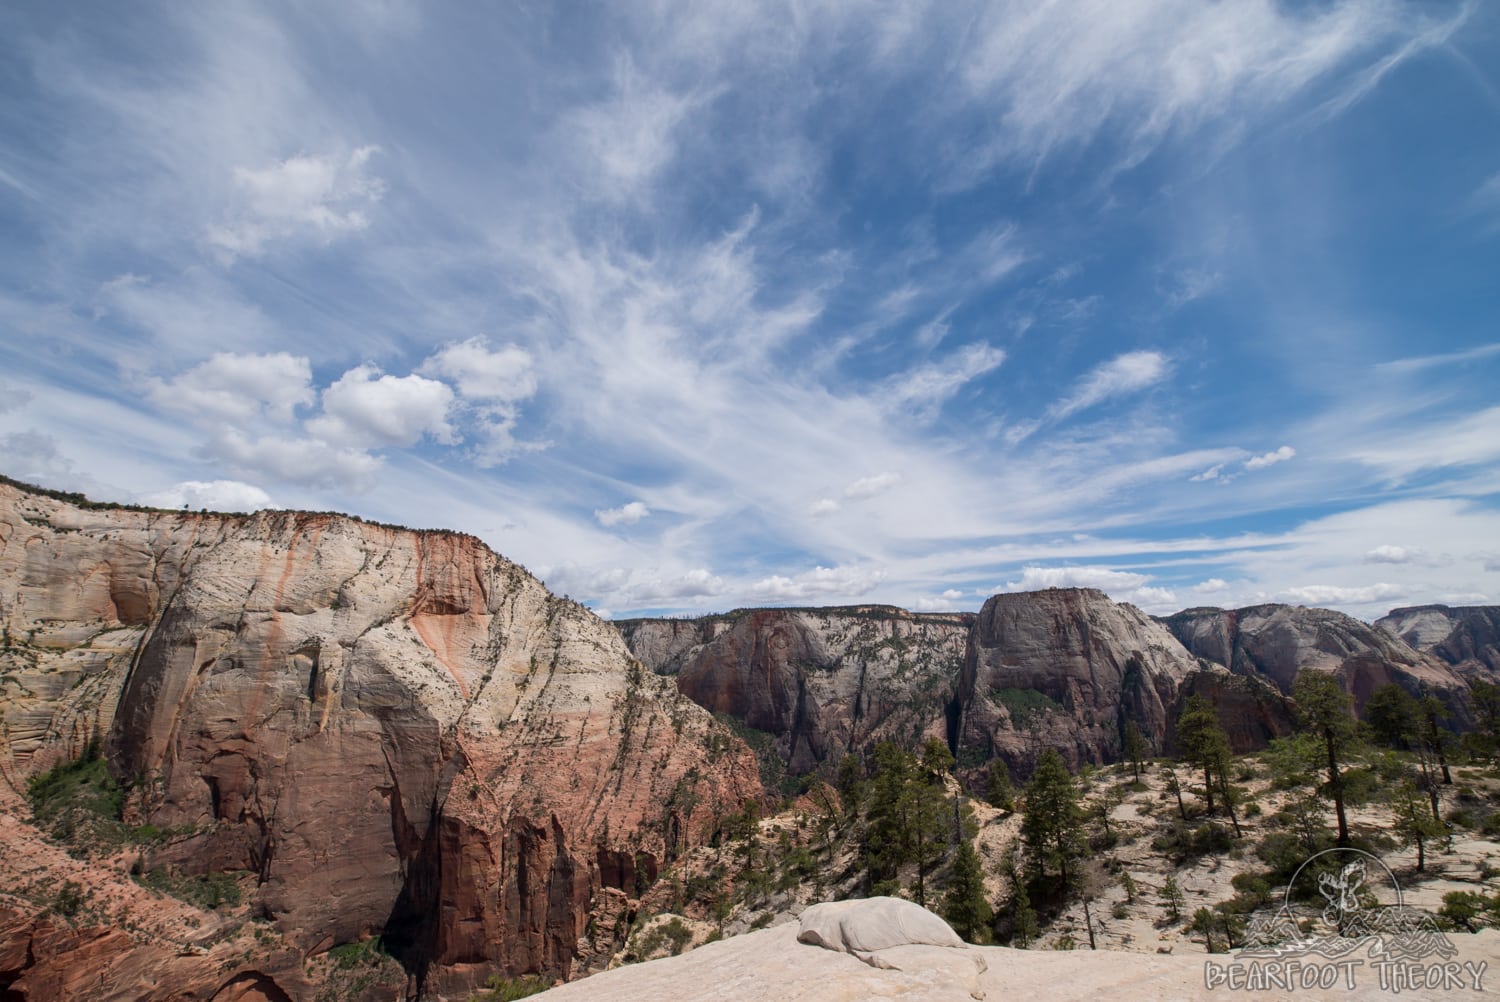
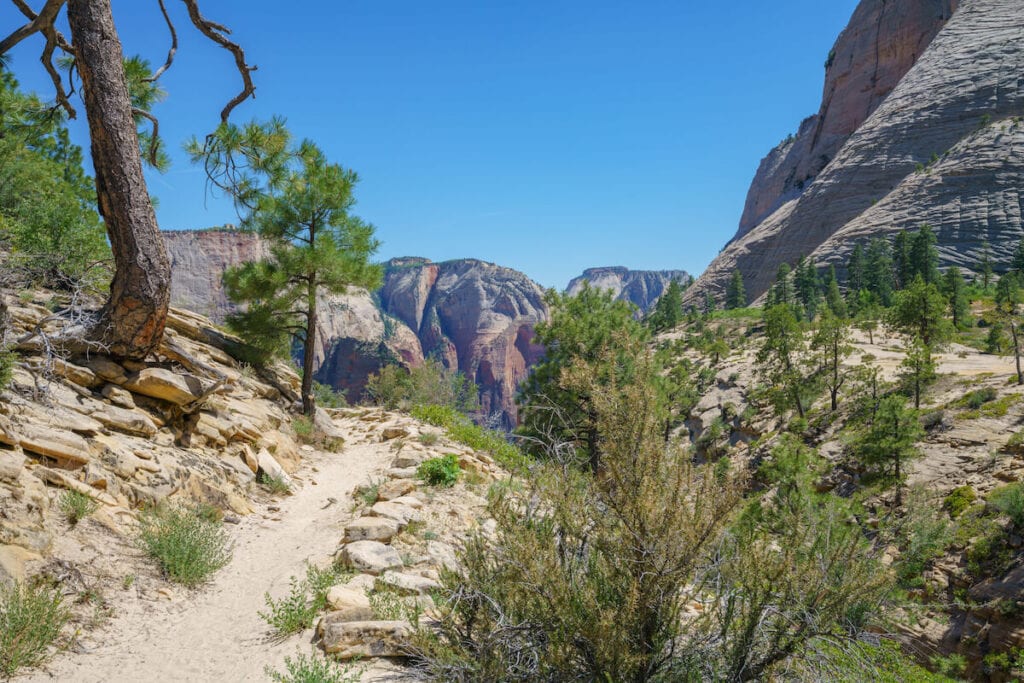
The Zion West Rim Trail is a 16-mile point-to-point trail that explores some of Zion National Park’s most expansive views, traversing a variety of different terrain starting from Horse Pasture Plateau before dipping into Zion’s iconic red canyon. The beginning of the trail is dotted with Ponderosas, sagebrush, and yucca – quite different than your typical Zion landscape. This is one of the most remote trails in Zion National Park, where you’ll cross paths with very few hikers, at least until the end when the trail hits the junction for Angel’s Landing before descending to the end of the trail.
When done over two days, the West Rim Trail is a leisurely backpacking trip that is great for beginners, but beautiful enough to keep even the most experienced backpacker excited. In this West Rim Trail Backpacking Guide, you’ll learn everything you need to know to plan an awesome weekend getaway on the Zion West Rim Trail. If you’re heading to Zion National Park, check out our comprehensive park guide here.
This post may contain affiliate links.
For an easy Zion National Park backpacking trip, read our West Rim Trail guide below.
Important Reminder: As it goes in all of the destinations we share, please practice good trail etiquette and remember to Leave No Trace. This means packing out all of your garbage (including toilet paper) and following the established rules. In the desert, this also means learning how to protect cryptobiotic soil and how it has a huge impact on our ecosystems.
Zion West Rim Trail Basics
- Trail Type: Point-to-Point (shuttle recommended)
- Distance: 16.2 miles
- Elevation Gain: 1700ft
- Recommended Time: 2 days/1 night
- Difficulty: Moderate
- Campsites: 9 available
- Permits: Yes (for backpacking)
- Dogs allowed: No
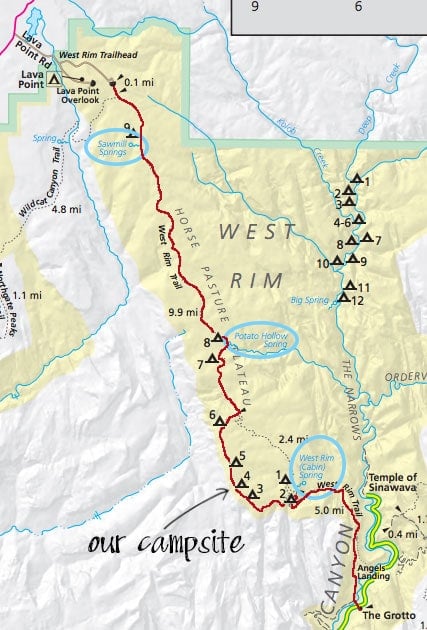
The most popular way to hike the West Rim Trail is as a one-way, top-down overnight hike starting at Lava Point, the highest point in Zion, and ending at The Grotto in Zion’s main canyon. This route, which is shown in red on the map below, means you get to experience the slow transition as you hike through the subalpine forest down into the painted desert canyons. This direction is also almost completely downhill, with only a few short uphill sections.
For the purposes of this guide, I am assuming that top-down will be your plan of attack. While best experienced as an overnight backpacking trip, quick hikers can also pull this off as a long day hike.
Alternate Route: Another option is to hike it as an out and back from the Grotto Trailhead (Zion shuttle stop #6) in the main canyon. People who do this route usually stop and turn around somewhere near Cabin Spring. To reach the top of the plateau, you need to continue about 1.5 miles past Cabin Spring. Based on the views, I think this would be worth the effort, but it would require getting a very early start.
Side Trip: Toward the end of your hike, you will reach Scout Lookout, which splits off to the popular Angel’s Landing. Tacking on Angel’s Landing adds 0.9 miles, 750 feet of elevation gain, and requires an advance permit. If you do plan to hike Angel’s Landing, make sure you save enough time to reach the end of the trail before the day’s last shuttle leaves otherwise you’ll find yourself stranded within Zion Canyon with a long walk back to the Visitor Center. Angel’s Landing is not for the faint of heart, and you should stash your heavy backpacking gear if possible.
Save this post!
Enter your email & I'll send this post to your inbox! You'll also receive my weekly newsletter full of helpful advice for planning your adventures.
Best Time to Hike The Zion West Rim Trail
Lava Points sits at 7,890 feet above sea level, and the road to get there can be snowed in as late as May. Typically the road opens in June but in warmer years, the road does open earlier. What that means is that if you have a trip planned for May, you might want to have a backup plan. On the other hand, because of this uncertainty, getting a walk-up permit for the West Rim Trail during the shoulder seasons might be easier than in the later months.
Temperature-wise, May, June, September, and October are the most comfortable months to hike the Zion West Rim Trail. Keep in mind that the first half of the hike is up on the top of the plateau and is going to be much cooler than down in the canyon. In May when I did the West Rim Trail, we encountered snow flurries and low 40s temps when we set off on the trail, and the next day as we descended into the canyon it was 80 degrees. So you need to be prepared with clothing that will keep you comfortable in a wide range of temperatures. Summer in Zion is prone to thunderstorms and flash floods, so if you plan to backpack then be sure to check the weather ahead of time.
Zion West Rim Trail Permits
Please note that permit information is accurate as of March 2022. Please check the NPS website for the most up-to-date permit information.
If you are day hiking the West Rim Trail, you do not need a permit. All Zion National Park backpacking trips require a wilderness permit (which doubles as a campsite reservation). 4 of the West Rim Trail campsites are available by advance reservation, while the other 5 are available on a first-come, first-serve basis.
Advanced Permits
Advanced permits for campsites #2, #4, #6, and #8 become available at 10am Mountain Time on the 5th of every month, 2 months prior to your start date. For example, if you want to go backpacking in Zion National Park in September, you would need to reserve a permit on August 5th.
When you go to book a campsite, available dates for the selected campsite will appear in green while dates that have already been reserved will appear in red. The number in the bottom left corner is the group size limit for that site. Permits during peak season weekends usually sell out quickly, but advance permits can be made up until 5pm Mountain Time the day before your trip.
All Wilderness permits must be obtained in-person at the Zion Canyon Visitor Center Wilderness Desk either the day of or 1 day prior, to your start date and the reservation holder must be the one to obtain the permit.
Walk-Up Permits
Walk-up permits for sites #1, #3, #5, #7, and #9 become available one day prior to your trip. For the best chance of getting your desired permit and campsite, be at the Zion Canyon Visitor Center Wilderness Desk right when it opens the day before your trip. Depending on the time of year, you may be able to get a permit the day of if they aren’t all taken.
Wilderness Permit Fees
- $15.00 for 1-2 people
- $20.00 for 3-7 people
- $25.00 for 8-12 people
There is also a $5 processing fee for Wilderness permits.
Zion West Rim Trail Campsites + Water
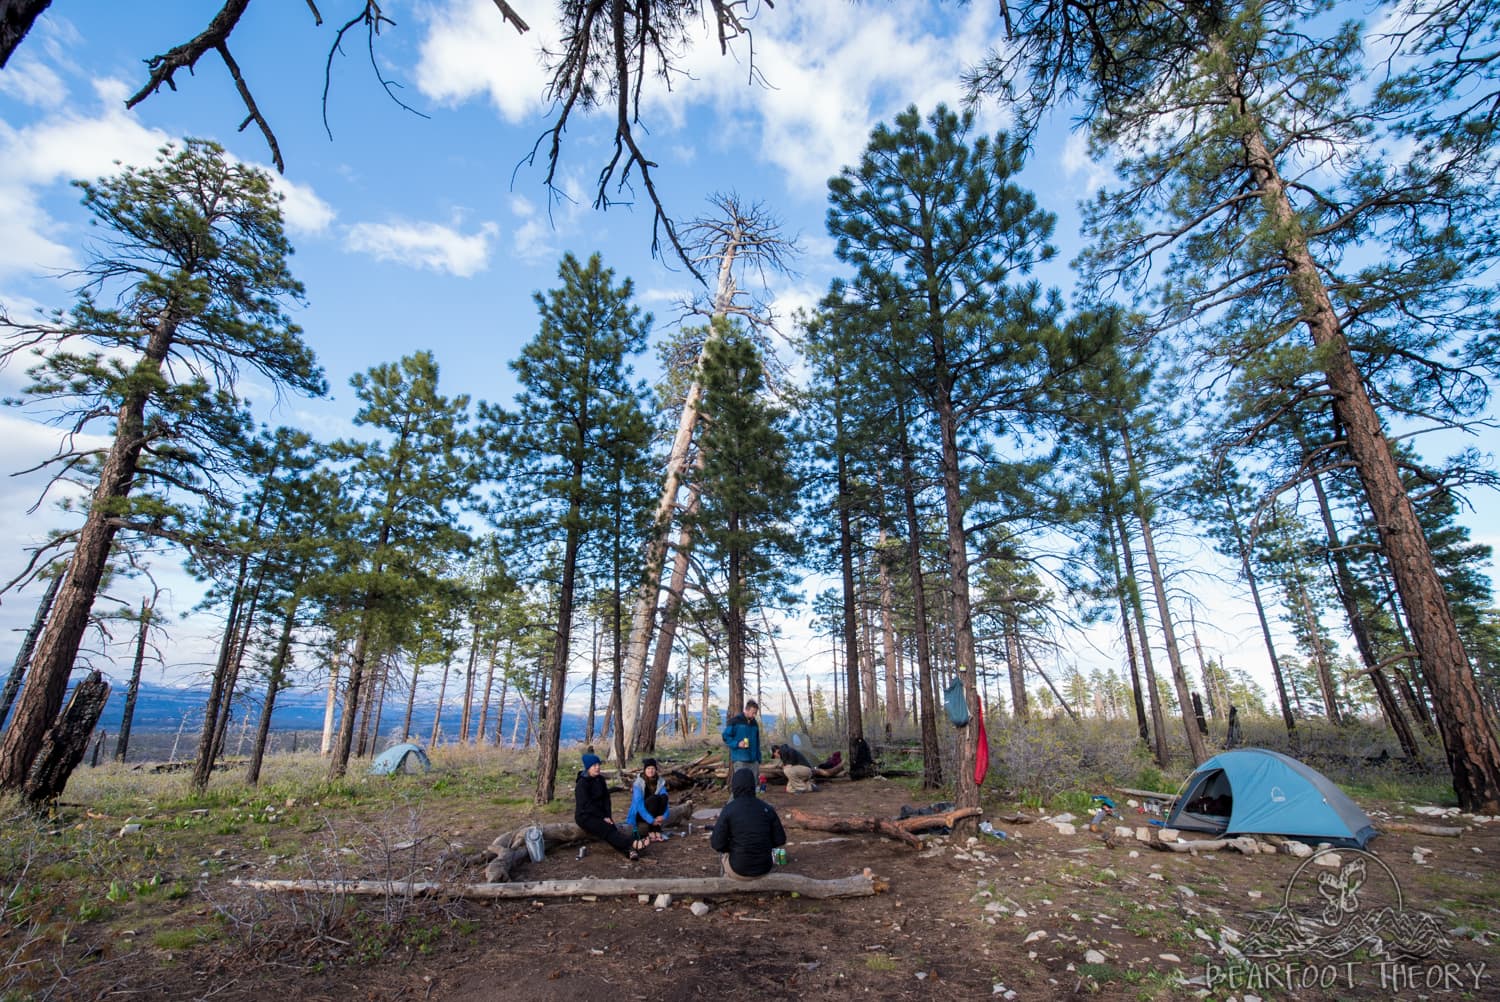
You must camp at designated campsites on the Zion West Rim Trail. There are a total of 9 campsites and the Zion National Park website has pictures and a detailed description of all of the campsites. In terms of breaking up the distance between the two days, the best campsites to aim to stay at are Sites 1-6. Note on the map that site #1 is the furthest from Lava Point.
Other than distance, things to keep in mind when choosing a campsite include the campsite capacity and water availability. The only year-round reliable spring on the West Rim Trail is Cabin Spring near sites #1 and #2. Potato Hollow and Sawmill Spring are both seasonal and were completely dried up when we were there in May. All of the water sources are circled in blue on the map above. I recommend carrying more water than usual (I love carrying soft water bottles since they pack up small) since water can be unreliable until Cabin Spring.
Zion National Park Backpacking Gear
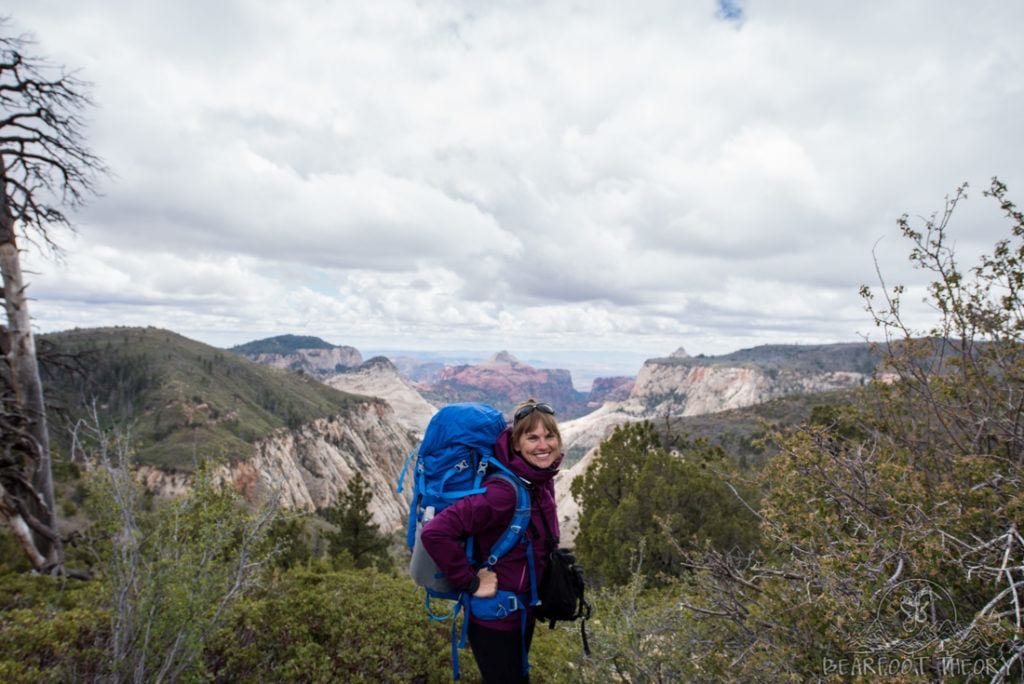
Zion’s West Rim Trail doesn’t require any technical backpacking gear. Since you will be hiking downhill for the bulk of Zion’s West Rim Trail, I highly recommend bringing trekking poles to protect your knees and help you stabilize on loose ground.
Make sure to pack plenty of layers as camping up on the West Rim can get unexpectedly cold. Also, if you aren’t camping near a flowing spring, be sure to start the hike with enough water to get you to Cabin Spring (and don’t forget the water you need for dinner and breakfast). You will also want to bring a water filter, as the water is murky and not safe to drink without filtering it.
Zion West Rim Trail Transportation
Transportation is one of the trickier parts of planning your West Rim backpacking trip since it is a one-way trail. If you have more than one car, you can do a car drop at the Visitor Center and shuttle yourself to Lava Point, then drive to pick up the car at Lava Point after you finish your hike. However, that will add at least 2 hours to your trip, so I recommend booking a shuttle service to drop you at the Lava Point trailhead to start. If you do plan to drive yourself, you can check conditions on Kolob Terrace Road here.
Booking a one-way shuttle typically costs $45/person (as of March 2022) and is well worth it. There are several outfitters in town – check out Zion Rock and Mountain Guides, Zion Adventures, and Red Rock Shuttle. When you finish the trail, you will take the Zion National Park shuttle from the Grotto trailhead back toward your car.
Zion West Rim Trail Itinerary
Please note: this trail report is from my West Rim backpacking trip in May 2015 and details, such as water availability on trail, should be checked before your own trip.
Day 1: Lava Point to Campground
The trail begins at Lava Point, the highest point in Zion National Park. We started our hike mid-morning and the weather was not looking good with wet snow flurries and the temperature hovering around 40 degrees. But we were in high spirits and excited to experience a new side of Zion at 7,800 feet above sea level. The high alpine vegetation and the cool mountain air felt nothing like the Zion that I knew.
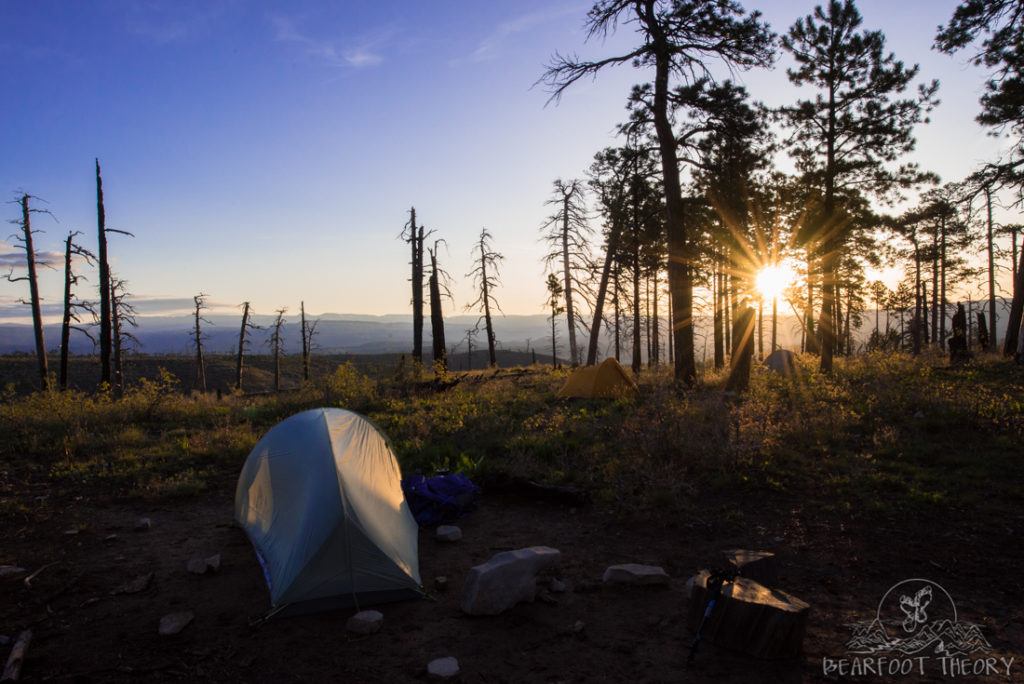
Around lunchtime, the sun broke through the clouds, and it looked like the rain was on its way out. We stopped at Potato Hollow in hopes of finding water but had no luck. Water availability is limited on the trail, and you should plan on bringing enough to get you to Cabin Spring which is located near campsite 2 and typically flows year-round. After Potato Hollow, the views started to open up, and it only got better as we continued. Around 4:30 we reached our designated campsite, Campsite 4. Despite being exposed, we were shielded from the strong winds that were whipping along the rim just a couple hundred feet away. For a group of 8, the site was huge and we had plenty of room to stretch out and enjoy the solitude.
Read next: Best Backpacking Trips in Utah
Day 2: Campground to The Grotto
On Day 2 I woke up to an amazing sunrise view from my tent. It was so cool being able to see both the sunset and the sunrise from our campsite. We had a lazy morning, hitting the trail around 10:45am. That’s the beauty of taking two full days to hike the West Rim Trail – there’s no need to rush, and you can take your time to soak in the experience.
About an hour after leaving camp, we stopped to fill up our water at Cabin Spring, which is located just a few feet from a vertigo-inducing cliff. After leaving Cabin Spring, the vegetation thins out and the slick-rock trail, which was constructed by the Civilian Conservation Core, hugs the side of the cliff. Here you get the most dramatic views of the entire hike.
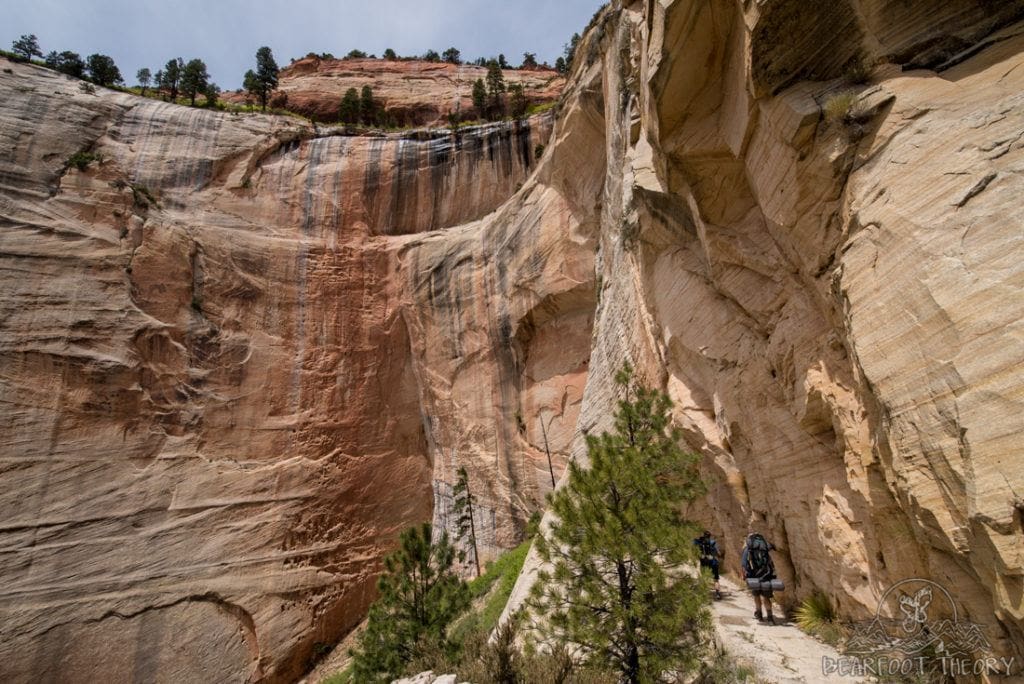
As you reach the end of the trail, it spits you out right at Scout’s Lookout and the junction to Angel’s Landing. As you make your way down into the main canyon on Walter’s Wiggles, you’ll encounter a lot of people on the trail who are making their way up. Enjoy the last bit of views and make sure to take a dip (or at least cool off those feet) in the Virgin River on your way to the shuttle bus.
For a beginner-friendly backpacking trip, the West Rim Trail in Zion was so much bang for the buck. Non-stop views, relatively few people, and awesome camping made this trip so much fun.
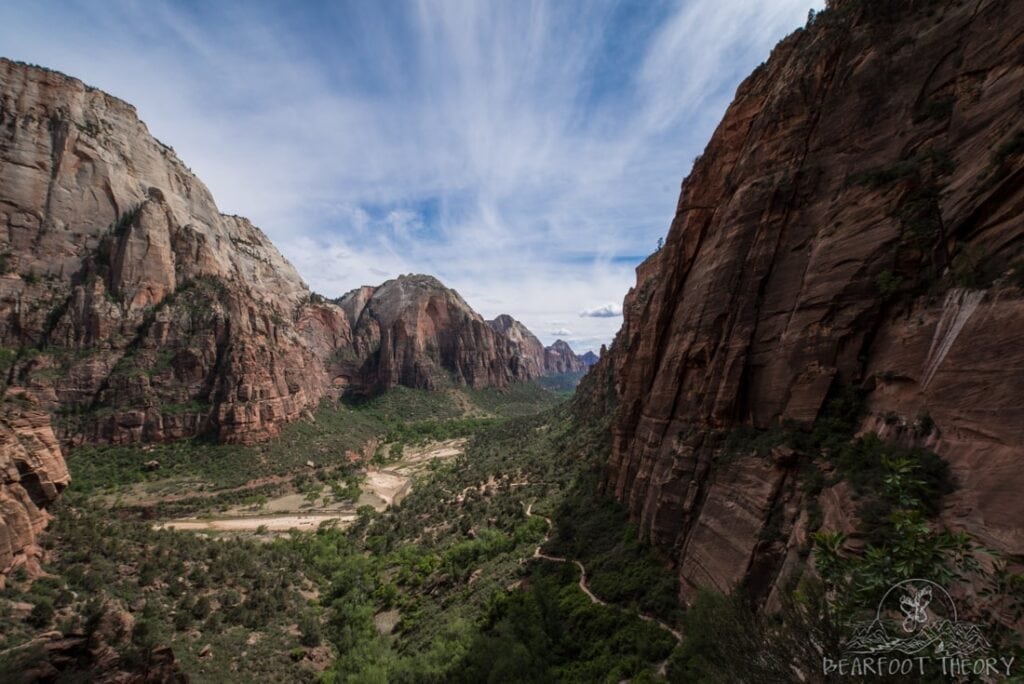
Have you hiked the Zion West Rim Trail or are you planning a backpacking trip there? Let us know in the comments below!

