Tips for Your First Visit to Rocky Mountain National Park
Get our top tips for visiting Rocky Mountain National Park including when to go, where to camp, hiking tips, how to beat the crowds, and more.
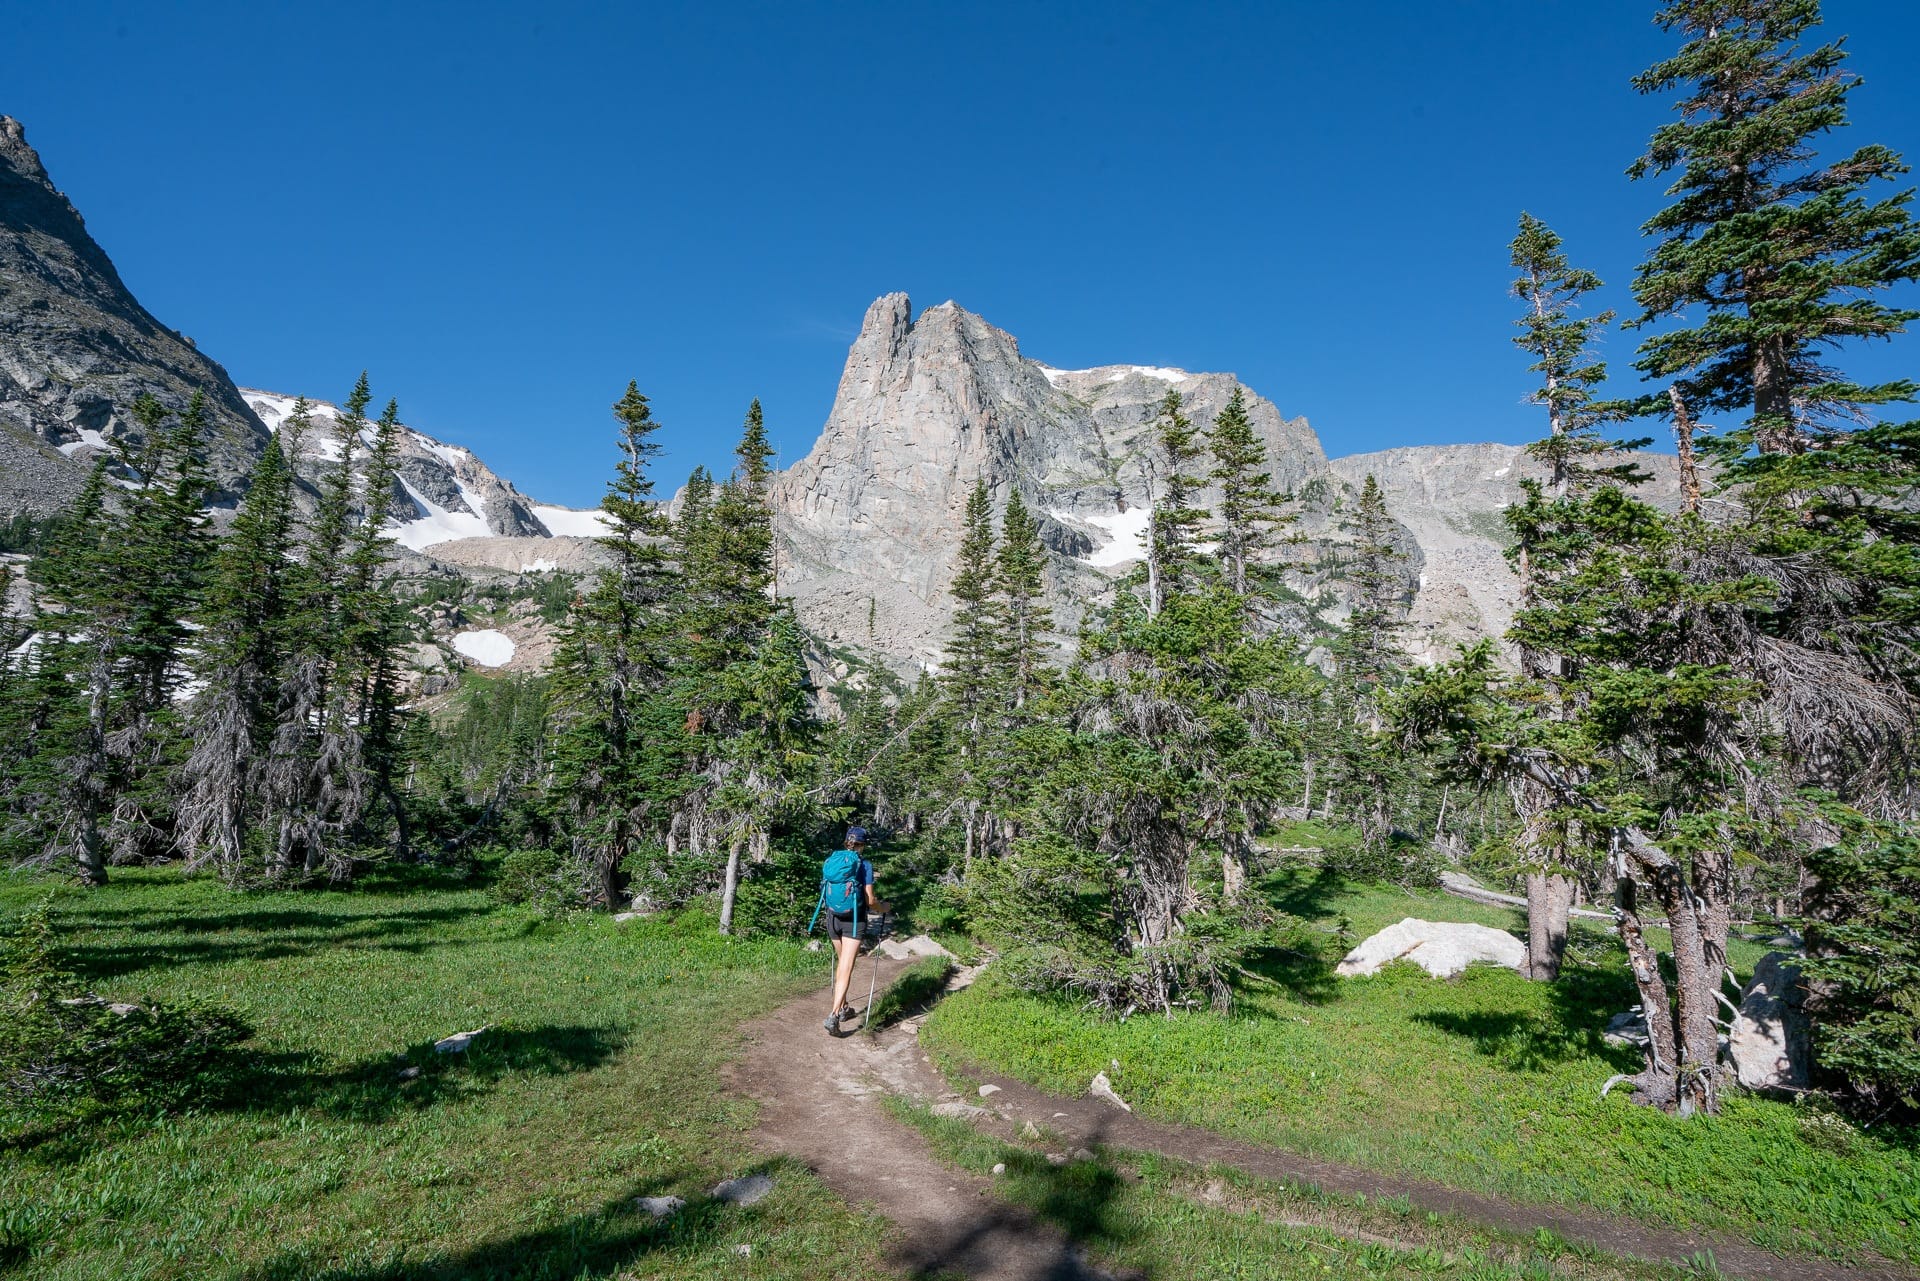
Rocky Mountain National Park extends 415 square miles and crosses both alpine and subalpine climates, reaching over 12,000ft in elevation. Filled with 300 miles of hiking trails, abundant wildlife, and gorgeous mountain views, I was still a bit hesitant about visiting Rocky Mountain National Park in Colorado because I had heard that it gets crazy busy, but I’m so glad that didn’t deter me! Not only was the hiking absolutely epic, but we also scored last-minute campsite reservations and found the crowds on the trails to be quite manageable, with a few caveats.
We ended up staying more than 10 days, hiking as much as wecould and had a fantastic time. In this blog post, I share all of my tips for where to camp, hike, and how to beat the crowds.
Important Reminder: As it goes in all of the destinations we share, please practice good trail etiquette and remember to Leave No Trace. This means packing out all of your garbage (including toilet paper), being respectful to others on busy trails, and following the established rules.
This post may contain affiliate links.
Getting to Rocky Mountain National Park
Rocky Mountain National Park is northwest of Denver in Colorado. It can be accessed via two entrances: the town of Estes Park to the east and the town of Grand Lake to the west.
Denver International Airport is the closest major airport. If flying in, you can rent a car at the airport and drive to the Estes Park side, which is where you’ll find a majority of the popular hikes that will get you above the treeline. If you have time, at the end of your trip, I highly recommend driving all the way through the Park, exiting at Grand Lake, and driving back to Denver via Winter Park.
If you don’t want to drive, you can take a commercial shuttle from the airport to Estes Park. From there, Estes Park provides free public transportation in the summer with connections to Bear Lake and Fern Lake via RMNP’s shuttle system.
Save this post!
Enter your email & I'll send this post to your inbox! You'll also receive my weekly newsletter full of helpful advice for planning your adventures.
Best Time to Visit Rocky Mountain National Park
Rocky Mountain National Park is open year-round, weather permitting, although the weather can change quickly in the mountains during fall, winter, and spring. Summer and fall are very busy, with the highest visitation from June through September.
We explored the Park in late August and found that it was a great time to visit. Kids are generally back in school by that time so crowds are thinner than in peak summer. We did hear that Fall is very busy, due to the elk rut and peak fall colors. With that said, we found that most of the tourists stayed within a mile or two of the trailheads, and the further we hiked, the fewer the crowds.
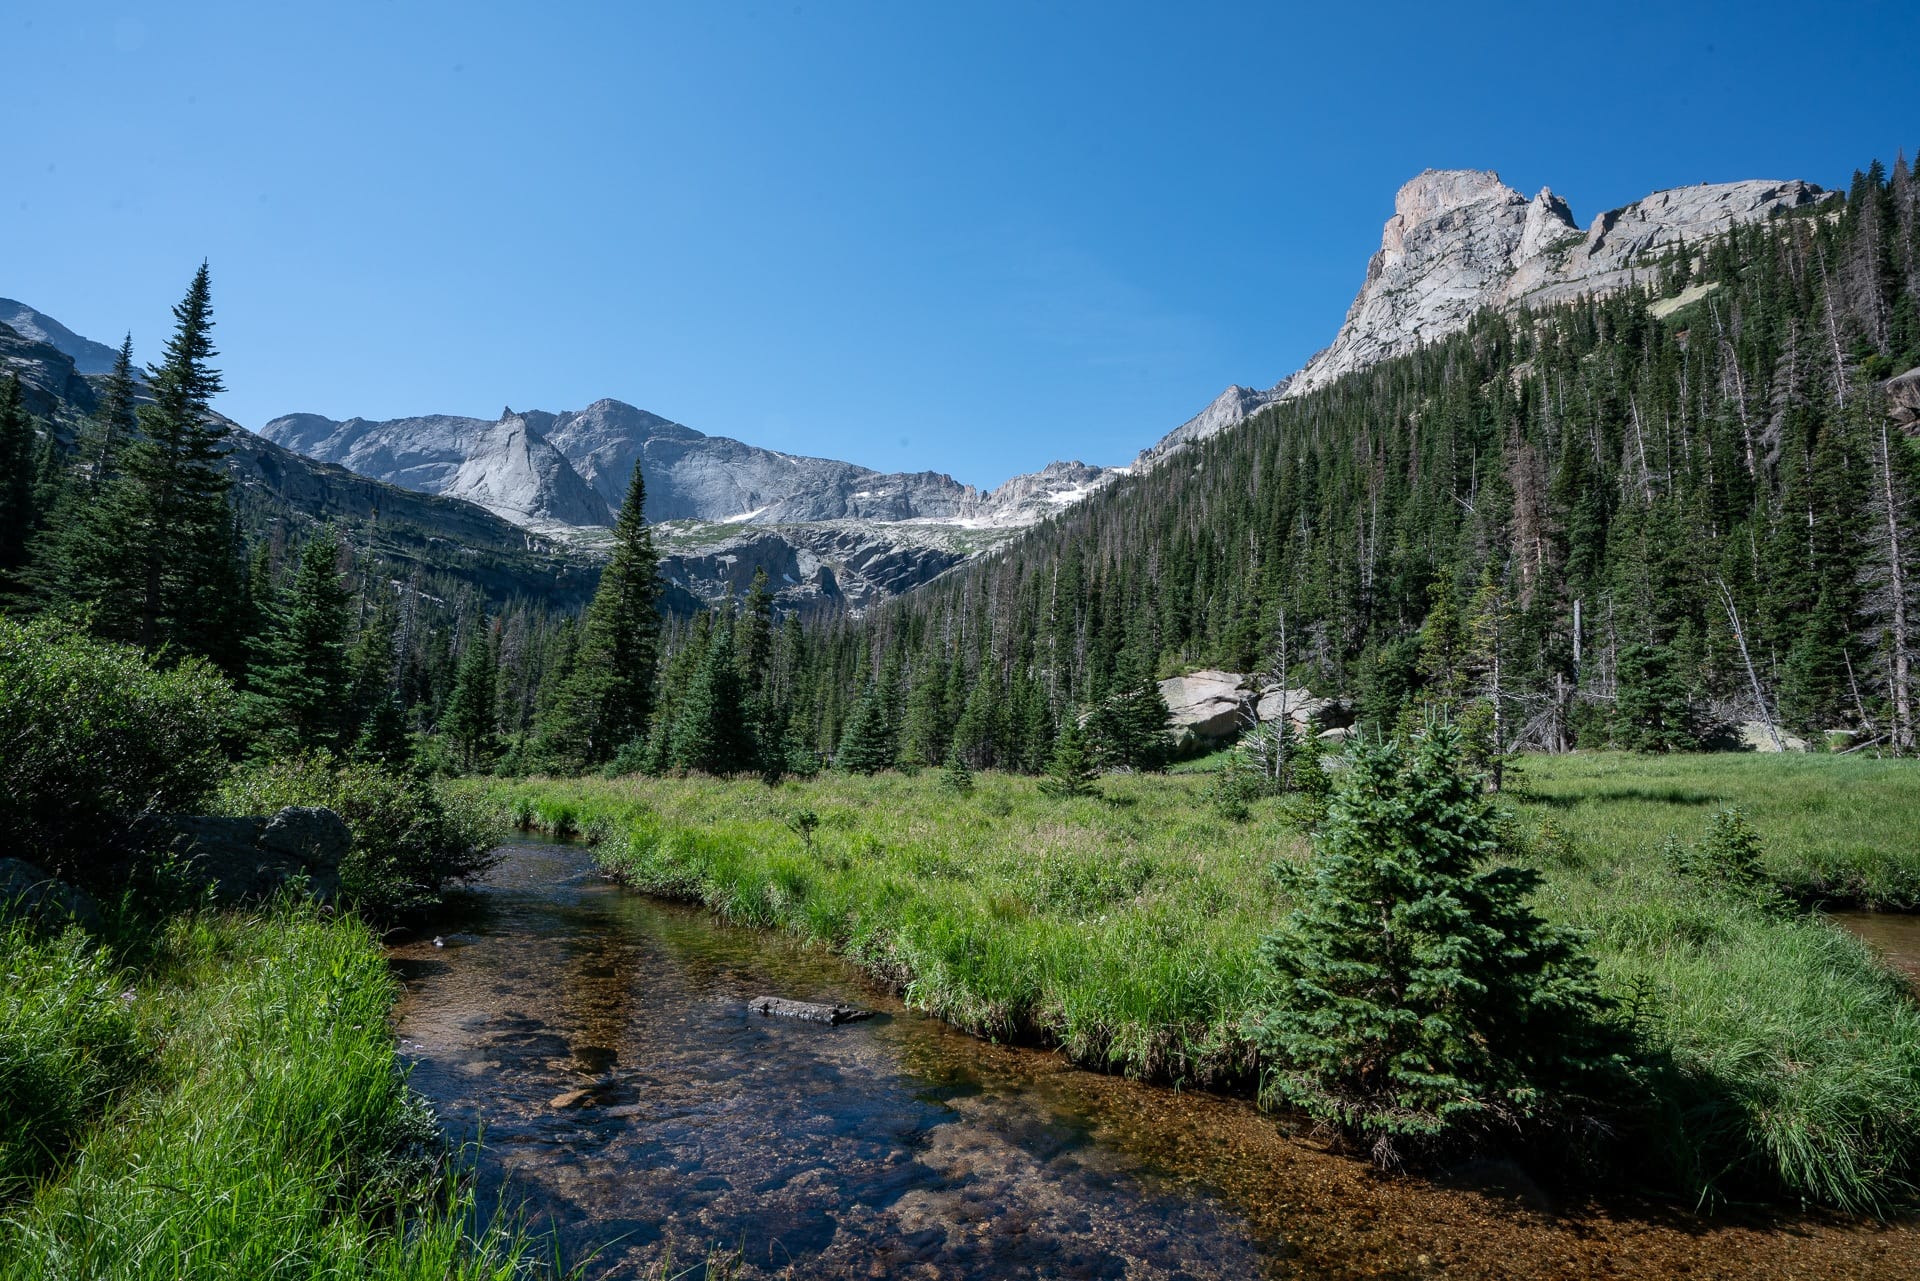
If visiting outside of summer and fall, be sure to check the weather and road status before your trip. Also check out my fall camping tips to help you prepare for varying weather conditions.
Rocky Mountain National Park Reservations
Timed entry permits are mandatory for all Rocky Mountain National Park visitors from May 26-October 22, 2023 due to significant increases in visitation to public lands in Colorado.
The park is divided between two timed entry permits:
- Park Access Timed Entry + includes access to all destinations located along the Bear Lake Road Corridor, as well as all other areas of the park. Reservations required from 5am-6pm. Arriving before 5am or after 6pm does not require a permit.
- Park Access Timed Entry Permits include the rest of Rocky Mountain National Park (not including Bear Lake Road). Reservations required from 9am-2pm. Arriving before 9am and after 2pm does not require a permit.
If you have a camping reservation, horseback riding reservation, or are traveling on a commercial tour, you do not need a timed entry permit.
For the 2023 season, reservations open on May 1, 2023 at 8am MDT to enter the park from May 26-June 30, 2023. After that, reservations will be open exactly one month before the arrival month. For example, if you planned to visit sometime in August, 60% of tickets for the month of August will be released on July 1. The remaining 40% will be available at 5pm the day before arrival, however, it is not guaranteed that you will get a permit if you wait.
Permits issued using the reservation system will allow park visitors to enter the park within two-hour windows of availability. You can buy permits here, which cost $2.
Rocky Mountain National Park Campgrounds
Moraine Park campground is the only year-round campground with limited amenities in the winter. All other campgrounds in the park are closed in the winter. As you plan your trip, make sure you double check the status of RMNP campgrounds and get up-to date camping information on the Rocky Mountain National Park website.
Glacier Basin Area
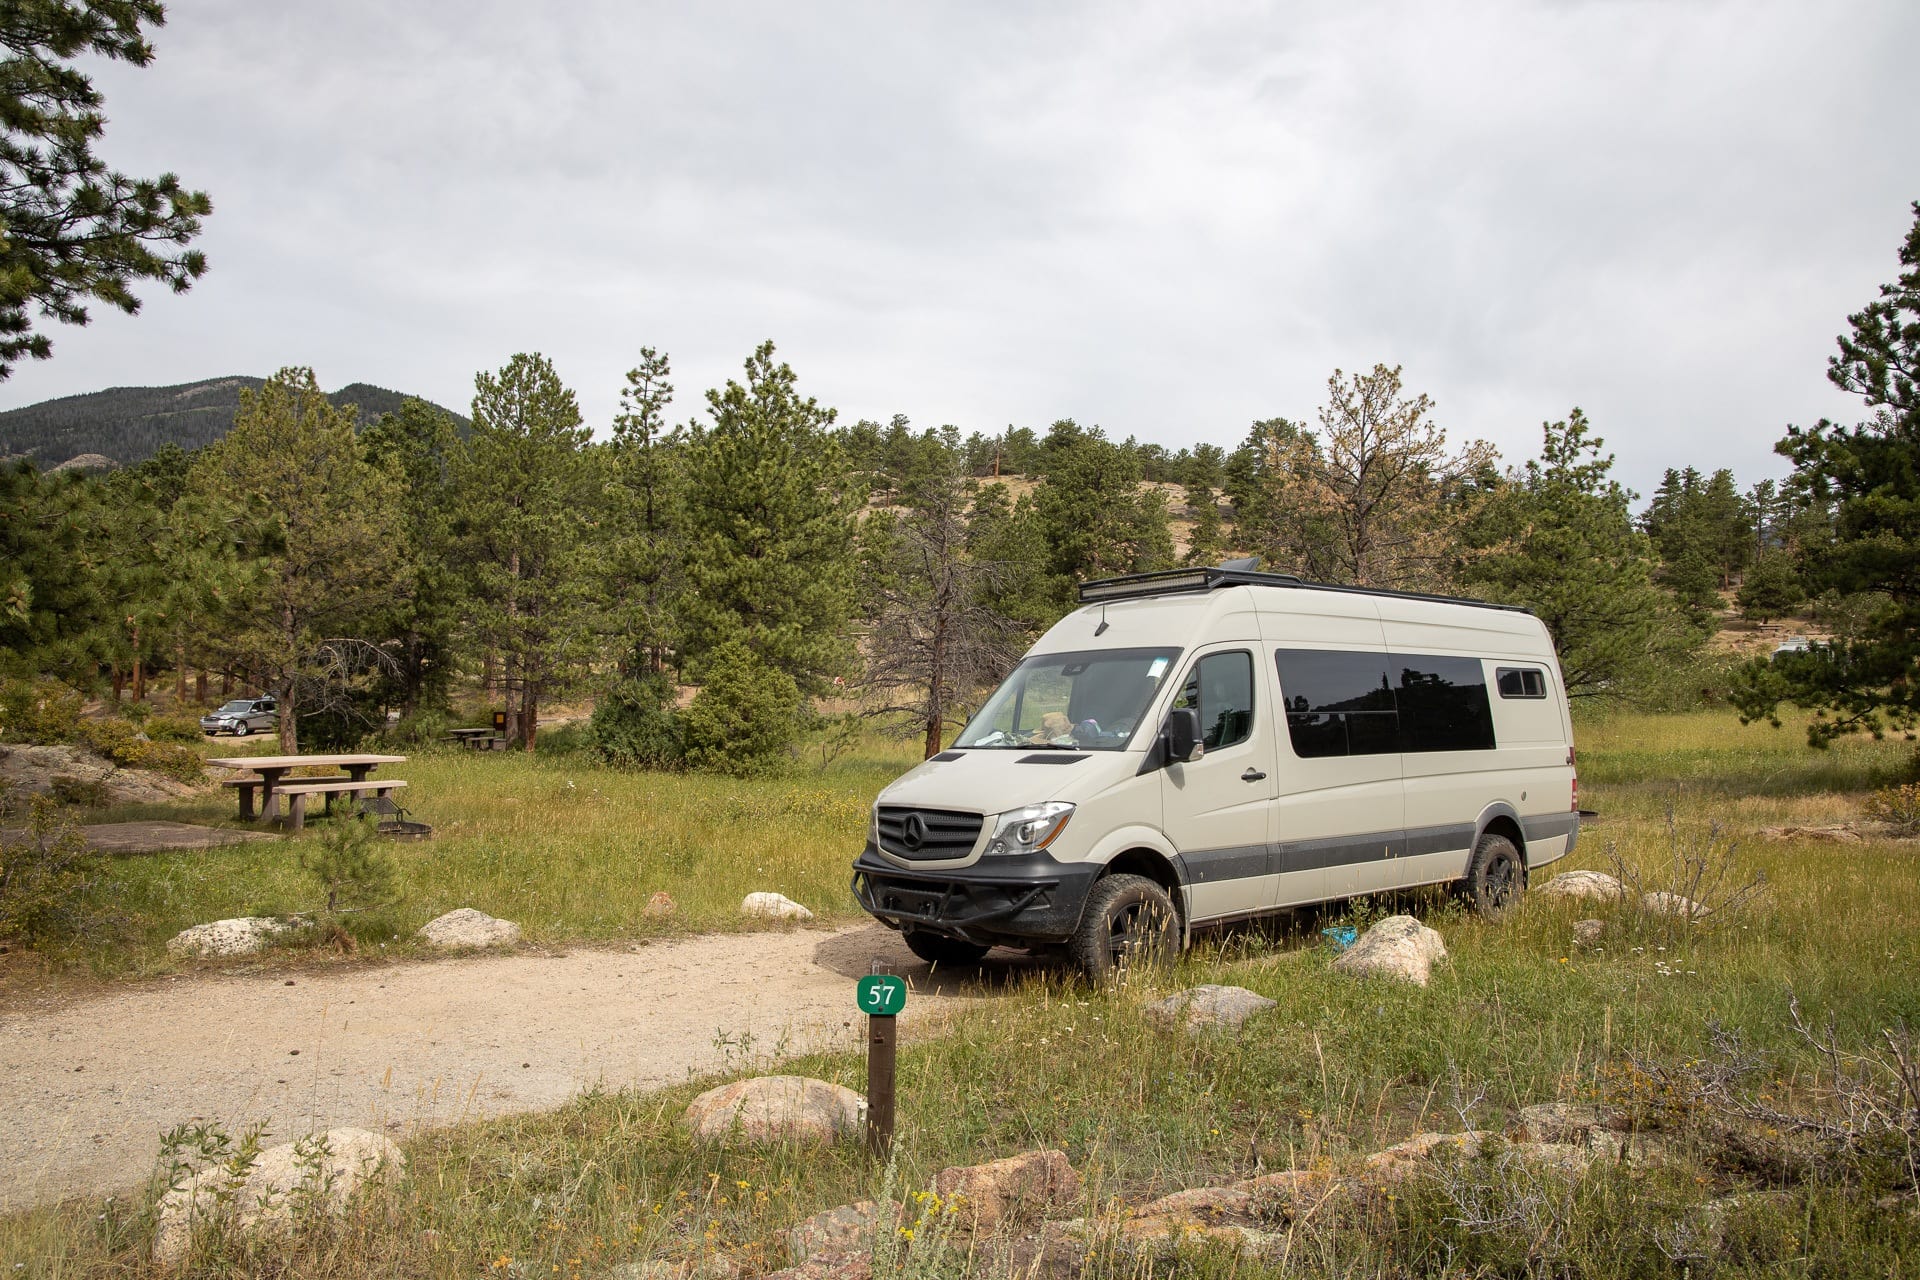
While we prefer free dispersed camping over paid established campgrounds, in this case, I highly recommend reserving a campsite at either the Glacier Basin or Moraine Park Campground for maximum convenience. Staying at either of these campgrounds makes getting on the trail early and taking advantage of the Park’s free shuttle system much easier. We did find a couple of dispersed camping options outside the park boundary in the Roosevelt National Forest, but staying here adds quite a bit of time to your commute in and out of the park each day.
We stayed at both Glacier Basin and Moraine Park. Glacier Basin was more central – right across the street from the Park and Ride Lot – and had the cleanest bathrooms. At Glacier Basin, the sites in the C and D loop had a clearer view of the mountains but have zero shade. We actually much preferred the vibe at Moraine Park, where the campsites were spaced out much better. Most of the sites are roomy and many have great views. The tent-only sites in loop D were especially nice.
Reservations for Glacier Basin and Moraine Park can be made online at recreation.gov. Advanced reservations are recommended and open up 6 months in advance. However, if you are planning a last-minute trip, you might be able to find a site (we did!), if you’re not too picky or don’t mind moving to a new site every day. The one thing to keep in mind when you are searching for availability is to make sure you choose the right site type. If you have a van and need a flat parking spot, you should search for RV sites.
Long’s Peak Area
If you want to hike any trails near Long’s Peak, there is a nice tent-only, first-come, first-served Longs Peak Campground right off Highway 7 on the east side of the Park. What makes it tent only is many of the parking spots are quite small and many are uneven. There were only a couple of spots in that campground that would have worked for my Sprinter Van, but they were all full.
West Side of the Park
For exploring the West Side of the Park, there is a conveniently located first-come, first-serve campground at Timber Creek. We didn’t stay here, but there appeared to be a number of spots available on a Sunday afternoon in late August.
Find camping at sold out campgrounds
Try The Dyrt PRO free for 30 days
The Dyrt Alerts will help you get reservations at sold-out campgrounds across the US by sending you an alert when your desired dates become available.
• Select campgrounds and the dates you want to camp
• The Dyrt repeatedly scans for cancellations
• When your campsite becomes available you’ll get a Dyrt Alert sent to your phone!
Use the code BEARFOOT to get 30 days free!
Getting Around in Rocky Mountain National Park
In the summer and fall, you can take advantage of Rocky Mountain National Park’s free shuttle service that operates around Estes Park and the Bear Lake Area. Shuttles generally run from Memorial Day through September or October depending on the route.
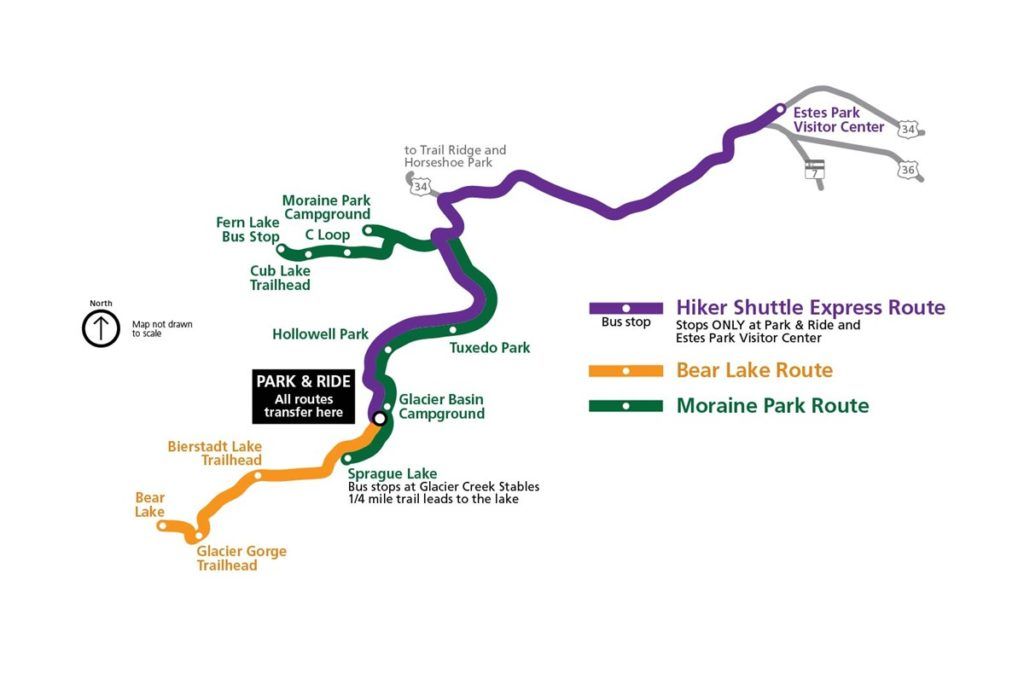
Rocky Mountain National Park Shuttle Map
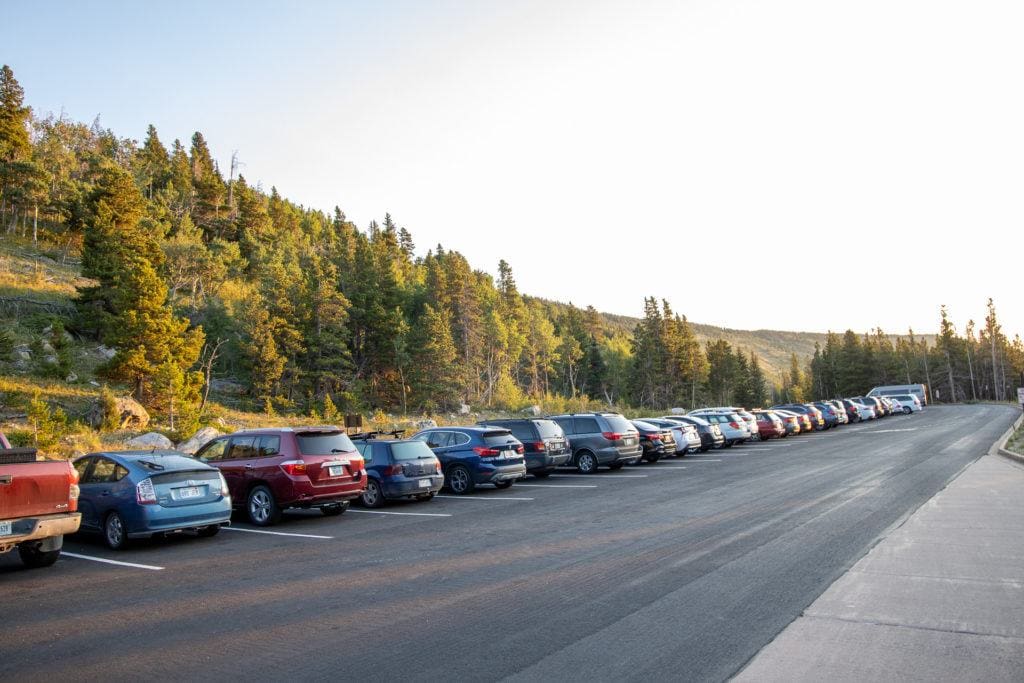
Taking the shuttle will help you avoid congestion at trailhead parking lots, some of which fill up early in the morning, and helps reduce emissions in the park as well. The only reason to not take the shuttle during the summer and fall when it’s running is if you want to be on the trail before 7am. The shuttle also doesn’t serve Trail Ridge Road or areas along the Park fringe, like Long’s Peak or Wild Basin. If driving your own vehicle, be sure to get an extra early start in the summer and fall months otherwise your chances of getting a parking spot at any trailhead parking lot is pretty low. And by early, we mean 6:00am for smaller parking lots like Glacier Gorge.
Tips for Visiting Rocky Mountain National Park
Start Your Hikes Early
This is my number one tip for hiking in Rocky Mountain National Park. It’s the best way to beat the afternoon thundershowers as well as the crowds. Rocky Mountain National Park sees over 4 million visitors every year, and the Bear Lake corridor is the busiest area of the park. The parking lots are small, and some of the popular parking lots (like Glacier Gorge) literally fill up by 6:00am, even on weekdays. For maximum solitude, you’ll want to hit the trail as early as possible. We were on the trail by 8:00am during our late August visit and found the crowds to be manageable, but we wouldn’t have wanted to start much later. In peak season (July – mid August and also in the fall), you might want to start even earlier. I’d also recommend avoiding weekends, if possible. You can check out this page of the Rocky Mountain National Park website which shows visitation by month as well as other interesting statistics.
Have some trails picked out before your trip
There is no wi-fi or phone service in the park. I have Verizon and got limited signal at a few areas in Moraine Park campground, but it was barely enough to send a text. So what does that mean? You should do a bit of advanced planning.
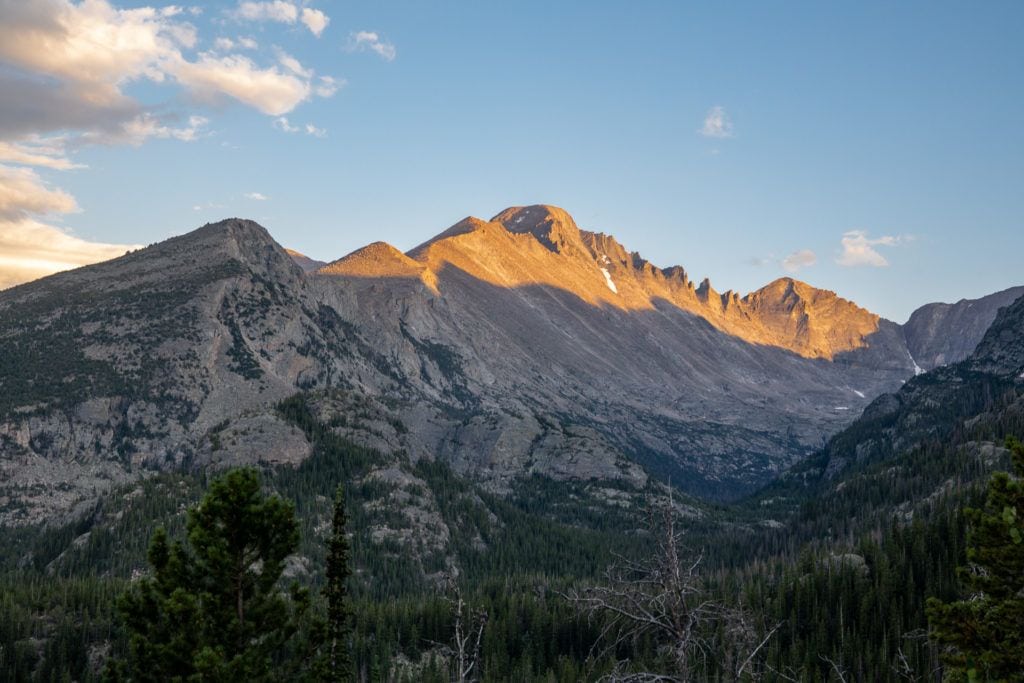
Ideally you’ll want to have a few must-do trails picked out in advance — you can check out our favorite trails in the park here.
Of course, you can get information at the Visitors Center, too, but don’t plan on coming to the park and researching trails on your phone while hanging out at your campsite.
Before our trip, I purchased The Essential Guide to Hiking Rocky Mountain National Park by Erik Stensland. That book is pure gold. Not only are the photos amazing, but the trail descriptions are spot on and the way the book is organized makes it very easy to find a hike that’s right for you. I also purchased the National Geographic Rocky Mountain National Park hiking map. I’m a map geek, and this map helps give you the full picture of how the park is laid out and how the trail system works.
Prepare for bad weather
Rocky Mountain National Park is notorious for afternoon thundershowers, and we experienced just how quickly they can roll in. One minute you’re relaxing at an alpine lake under sunny blue skies, and an hour later it can be pouring. It might not rain long, but with the weather comes dangerous lightning storms. With a huge chunk of the trails above the treeline, it’s imperative that you check the weather before you make your hiking plans. If it says afternoon thundershowers, start extra early and make sure you’re well below the treeline (and ideally off the trail altogether) well before the storms roll in. And a Colorado local will tell you to always pack rain gear, no matter how sunny it is when you set off.
Brush up on your trail etiquette
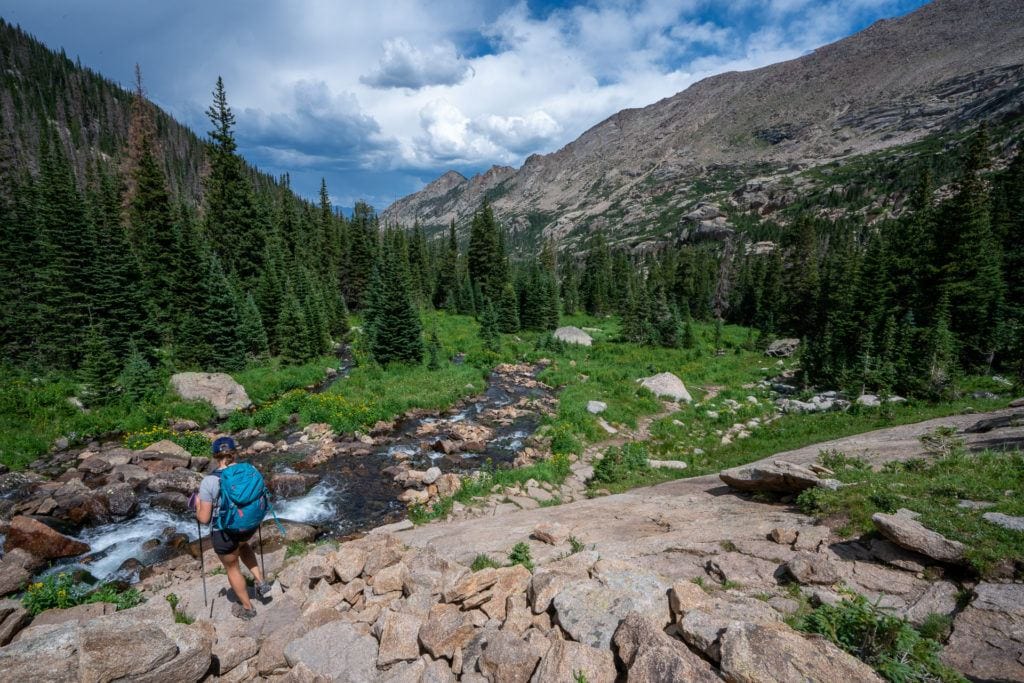
With busy National Park trails, it’s important that we understand basic hiking etiquette, like who has the right of way. In this case, the uphill hiker always has the right away. This is because going uphill is more difficult, and it’s a bummer to lose your momentum because a downhill hiker isn’t paying attention or doesn’t know any better.
Another thing to be aware of is hikers trying to pass. If someone is moving faster than you, simply move to the side and let them go by. Or if you are trying to pass, something like “Hey, mind if we sneak by?” Is a nice way to let someone know you’re there.
Be smart about wildlife
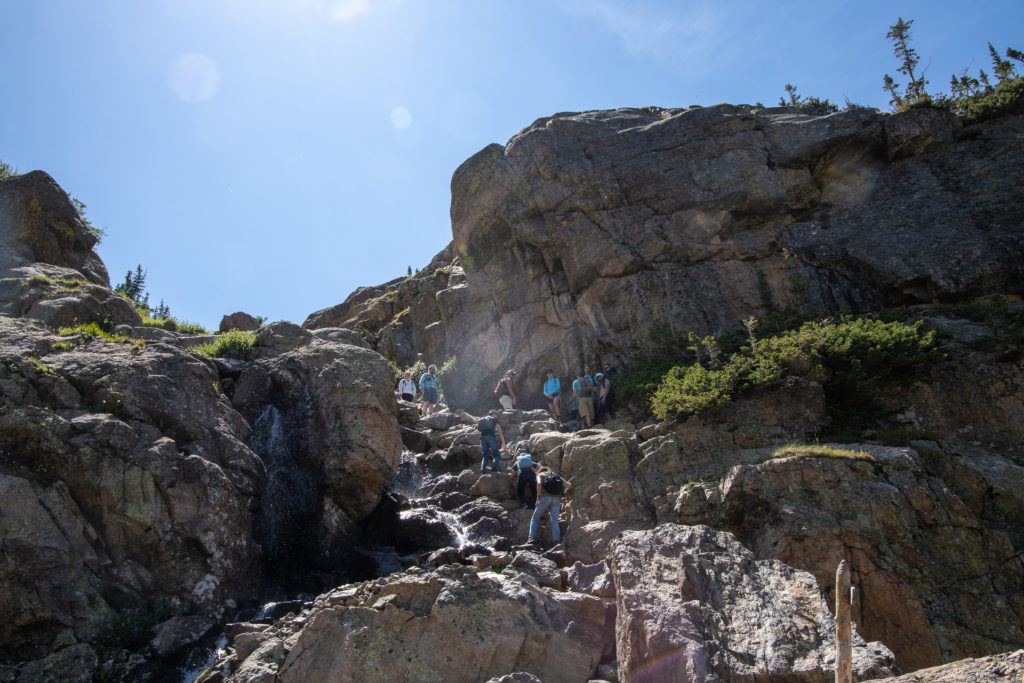
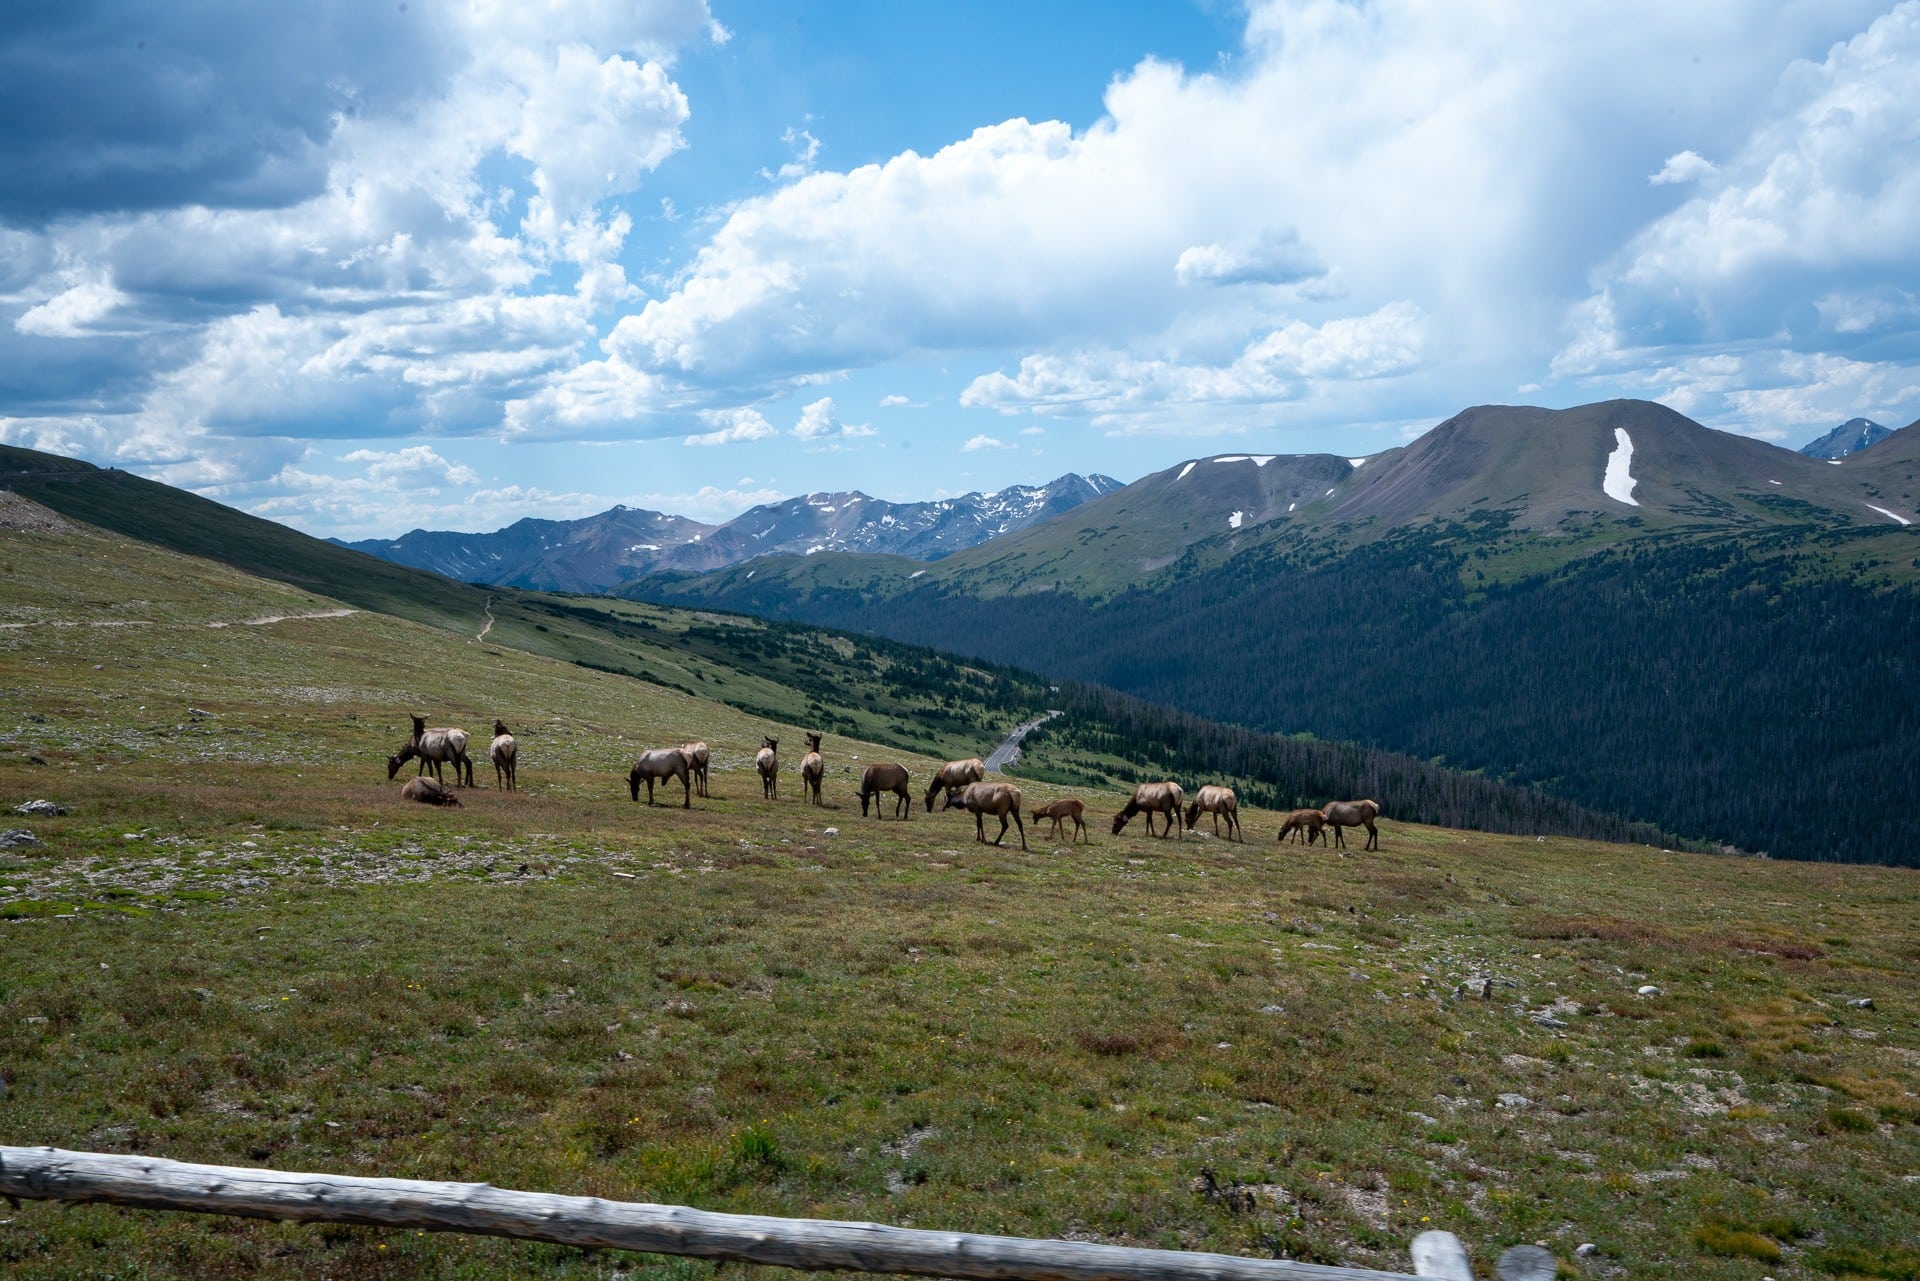
We couldn’t believe how much wildlife we saw in Rocky Mountain National Park. We encountered dozens of elk (including a buck that was less than 10 feet from the trail) and a HUUUUUGE bull moose. The park is also home to black bears. When you’re hiking or driving through Rocky Mountain National Park, use common sense and don’t approach any animals you see for photos. Keep your distance and bring a zoom lens if you are interested in wildlife photography. Get more wildlife safety tips here.
Give yourself time to adjust to the altitude
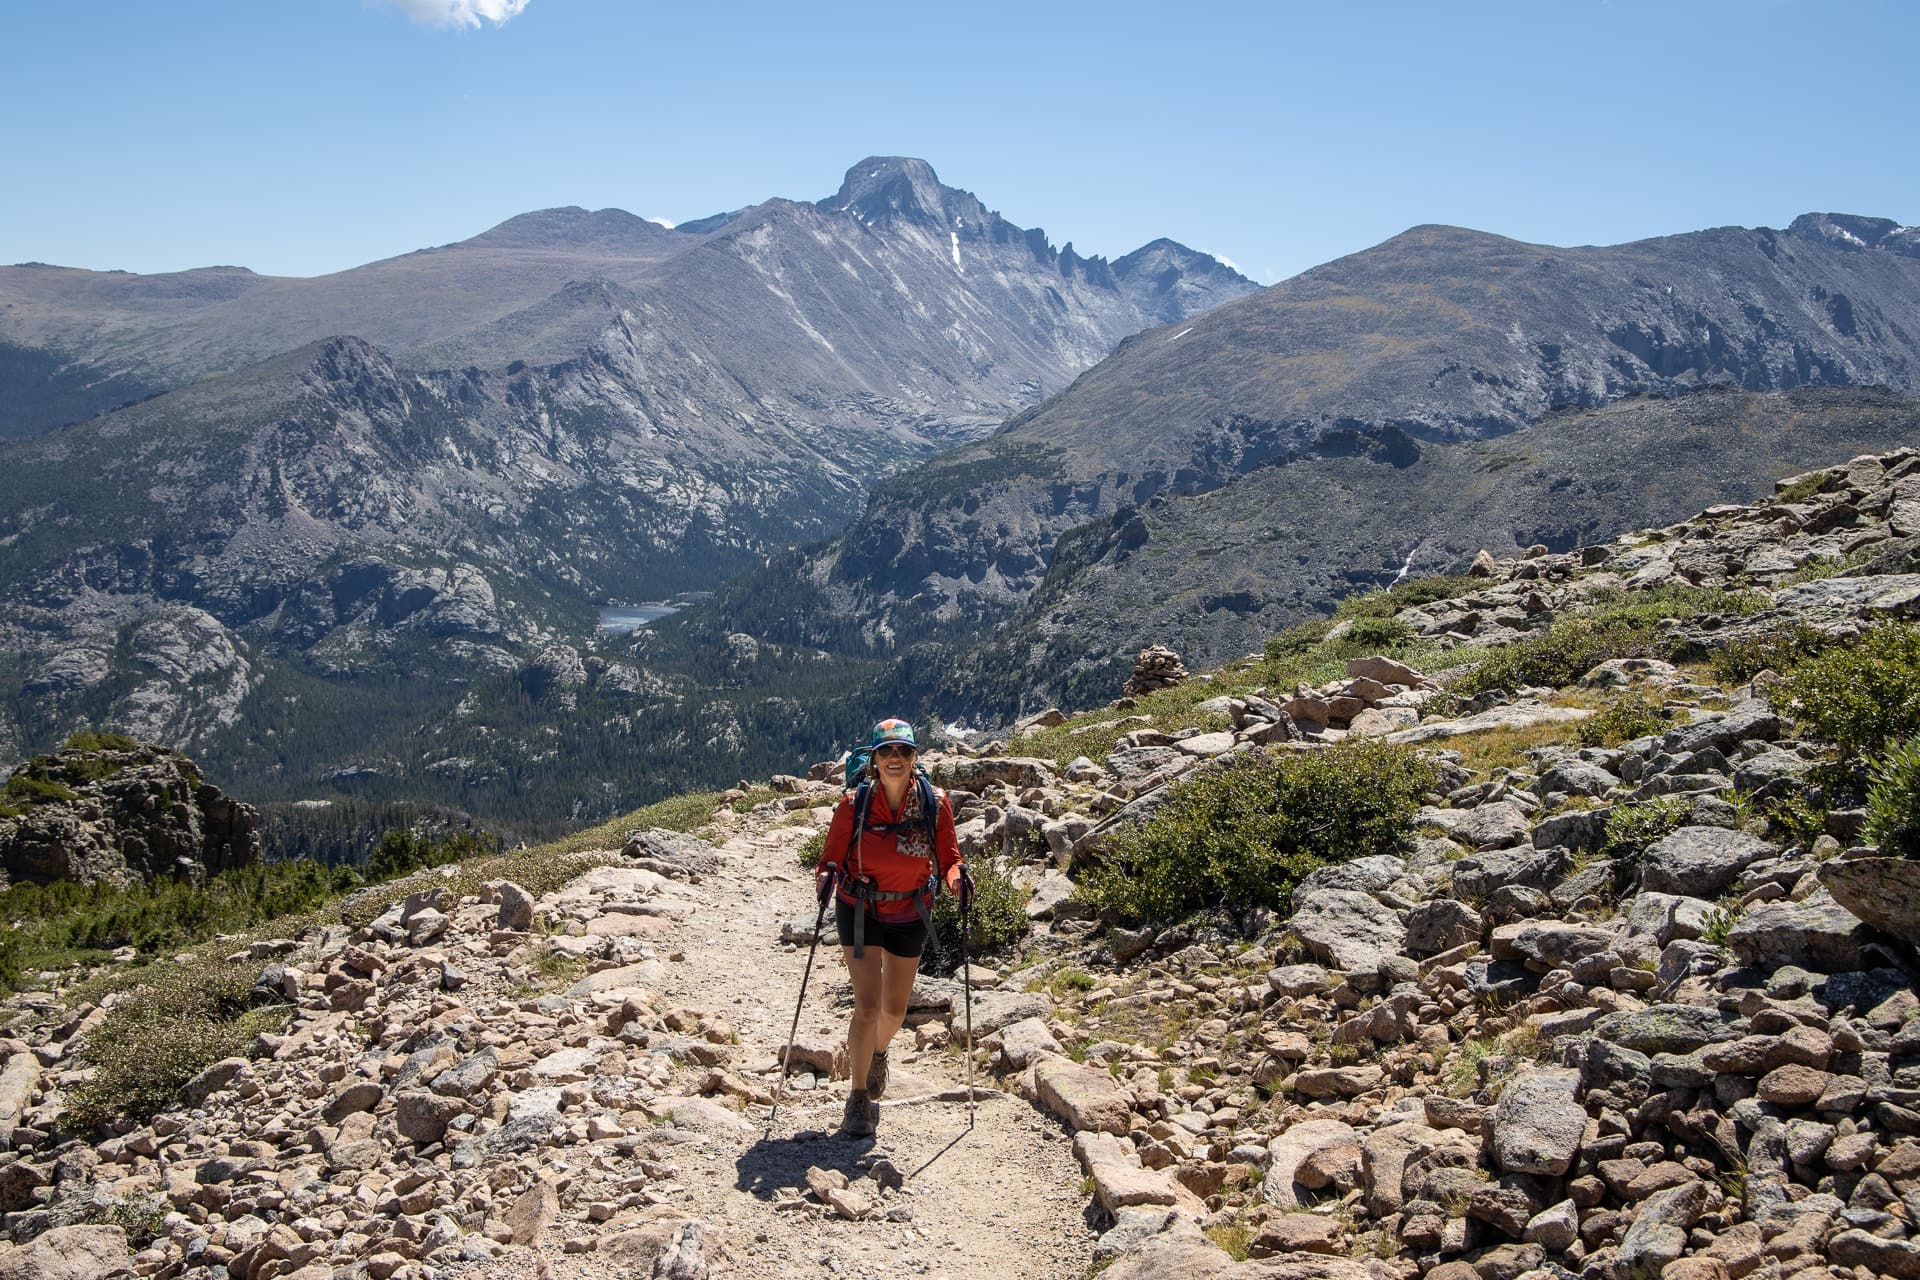
Don’t come to Rocky Mountain National Park from sea level and plan a 10 mile hike with 2,500 feet of elevation gain on your first day. Instead, give yourself a day to ease into it. The Bear Lake Trailhead is at 9, 475 feet above sea level, which is plenty high to induce altitude sickness if you rush it. So take it easy, stay hydrated, and read these important tips for avoiding altitude sickness.
Hiking Gear for Rocky Mountain National Park
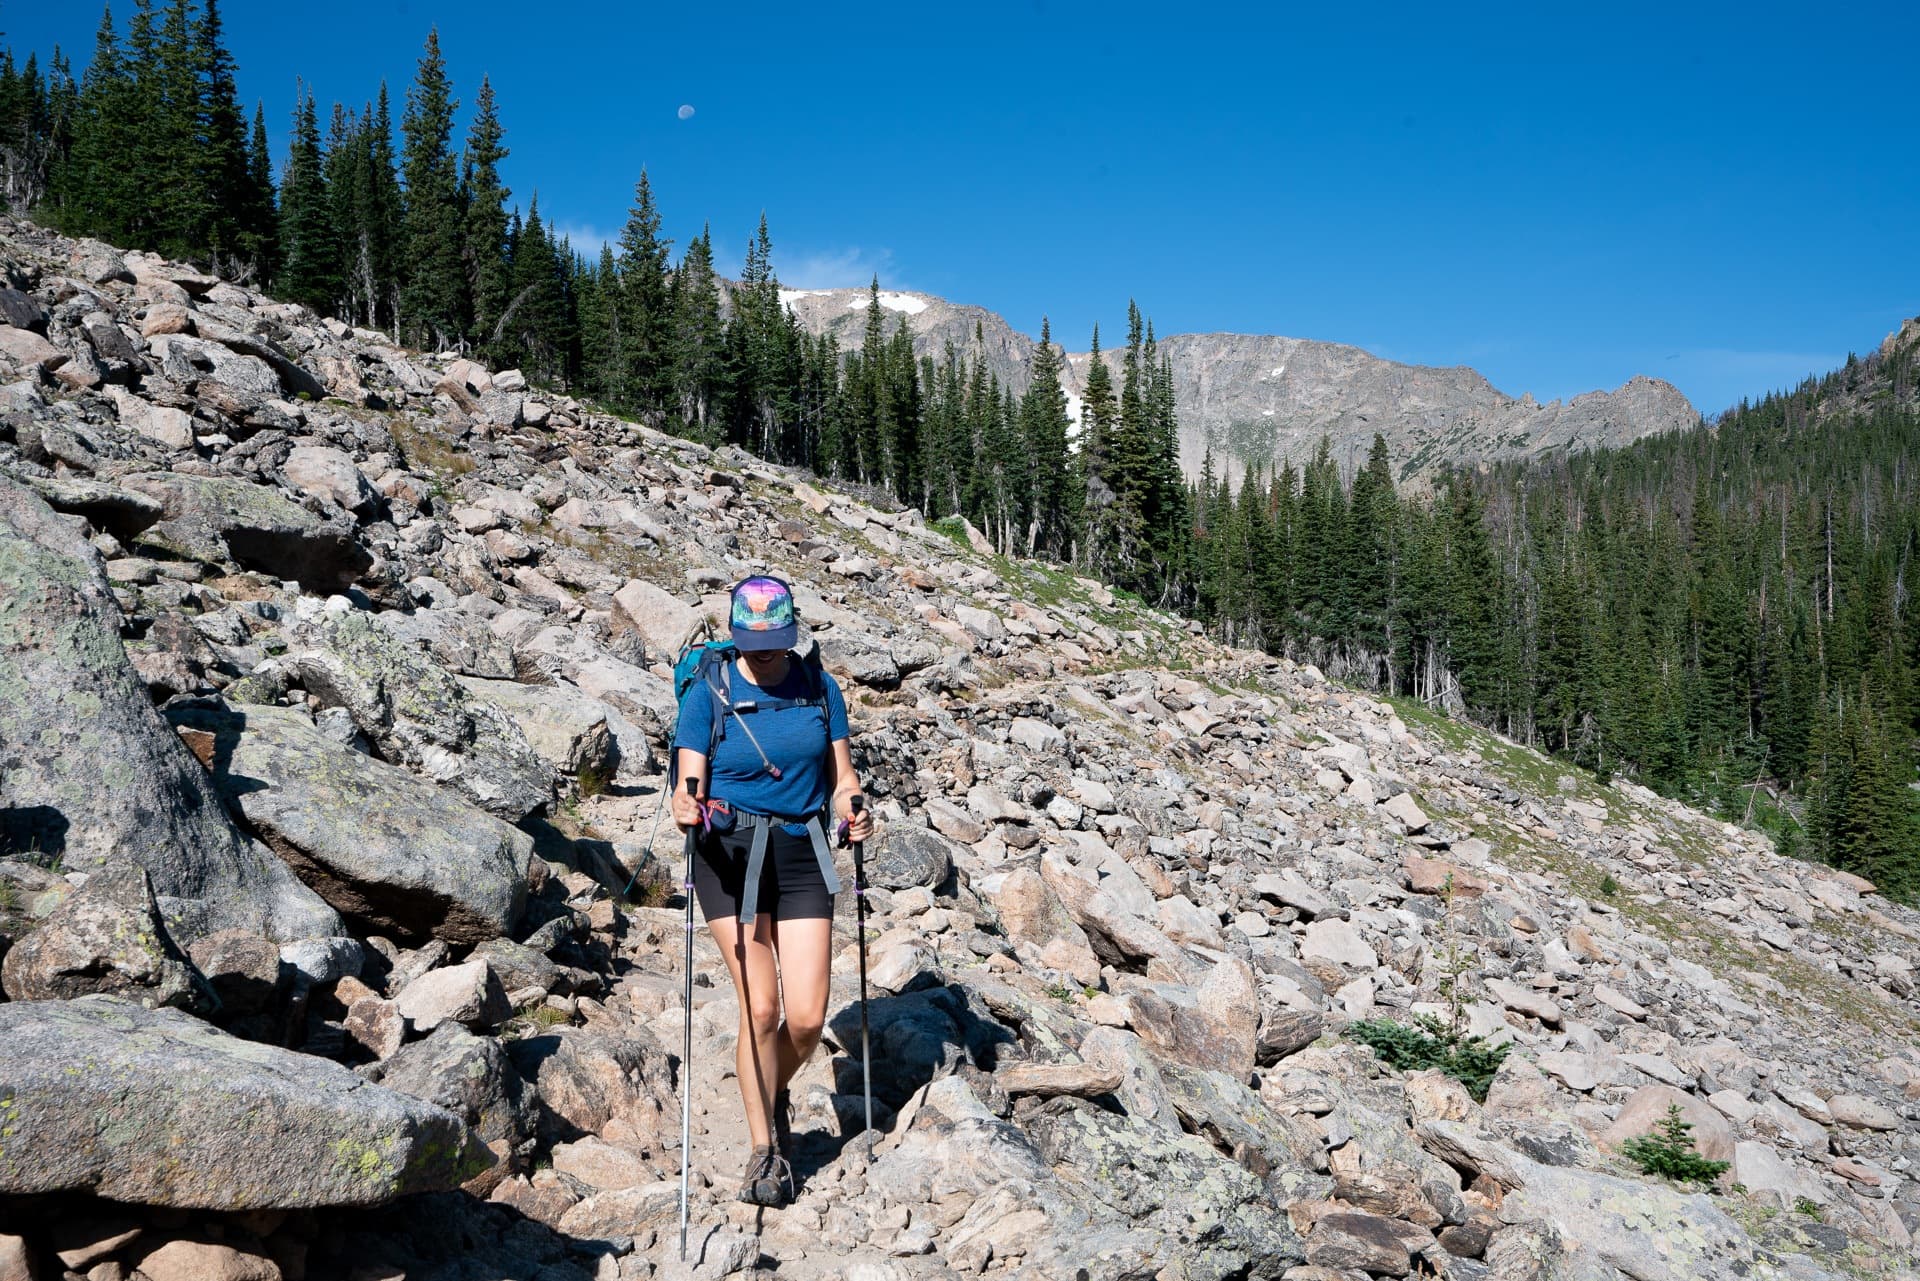
As mentioned earlier, you should always prepare for the worst weather when hiking in Rocky Mountain National Park. That means packing warm and waterproof layers and the other hiking essentials. We found a majority of the trails to be very well-maintained, but there were also some pretty rocky sections. I hiked in a sturdy, low ankle hiking shoe, but a mid-ankle hiking boot certainly wouldn’t be overkill. You can read our top hiking boot picks here.
Many of the trails in Rocky Mountain National Park have a decent amount of elevation gain, and I was so happy I brought my trekking poles. They help you keep your uphill momentum and relieve pressure on your knees during the downhill. I love my Black Diamond FLZ Trekking Poles because they are lightweight and fold down super small, making them easy to travel with. Make sure to check out our favorite trekking pole recommendations here.
Are you planning a trip to Rocky Mountain National Park or have you been before? Let us know in the comments below!


Kristen, I love your blog posts…they are always so thorough and informative. You really give a lot of useful info, so I always check to see if you’ve blogged a destination before I go there! I had the pleasure of meeting you & Ryan at the Van Life Festival this summer, which was also super fun and informative…and I’m so thankful to have you as a resource! I’m hoping to be a full-time van-lifer within a year or so, so thank you again for being a great resource for those of us that seek this adventurous, minimalist lifestyle!
Hi there Sue!
Thanks so much for your thoughtful comment. I’ll pass it along to Kristen! Will we see you at Open Roads Fest again this year? http://openroadsfest.com
though its name perfectly the rocky mountains, I usually don’t go to mountain climbing but this is something I would be exploring the next year! thanks for sharing the tip and motivating me!
This was extremely helpful. I’m no rookie to camping or hiking, but being a newbie, I didn’t know what to expect from Rocky Mountain. This really helped me prepare, it really is beautiful there.
Your whimsical and stylish traveling tips have given me a lot of inspiration. As someone who lives to travel, I enjoy this site.
Your down to earth tips have really helped me learn more about being comfortable with outdoor activity. I feel your enthusiasm as you share in your blog.
I love traveling and checking out our many wonderful National Parks. I have never been to this one though, so I was glad to find this tip guide. I was a bit nervous, as I know it’s one of the most diverse out there. I feel much better about my upcoming visit after reading this, thanks!
Glad to hear that, Ted. Enjoy your visit!
I go to RMNP several times a year, but haven’t been in almost two years because of the pandemic. I’m going for a day hike in July and a 3-day camping trip in October. I love hiking to Bierstadt Lake. I start at the Bear Lake trail head. It’s a fairly easy hike up to the lake. When hiking down, I go toward the Bierstadt Lake trailhead. There are some serious downhill switchbacks on this leg of the hike, but the views are amazing!! I’ve also done quite a bit of camping in Moraine Park. Never had a bad spot.
Hi Kristen, great info. many thanks. i really want to go to a natural hot springs to take a dip. do you know any in the area of the park?
I’m not aware of any hot springs in Rocky Mountain National Park