How to Start an Outdoor Travel Blog in 11 Steps
Want to start an outdoor travel blog? This step-by-step guide walks you through choosing a domain name, getting started on social, launching a wordpress site & more.
In 2014, I walked away from my Washington DC career to start this blog. While my family has always gotten behind my crazy endeavours, I could hear the scepticism over the phone when I first broke the news. I have a Bachelors in Chemistry and a Masters in Environmental Science and had a pretty good job (at least it appeared on paper) in Washington DC. I was 30 years old, owned my very own condo, and had worked really hard to get where I was. At the same time, I felt like I was living someone else’s dream. I hated wearing that suit to work, couldn’t relate to my coworkers, and spent all of my free time surfing the web reading about hiking the John Muir Trail, which seemed like a pipe dream with my limited vacation time.
At the time, I didn’t know a thing about blogging as a career. I had blogged during a 2 month trip to Indonesia for family and friends, but the concept of making money as an outdoor travel blogger was completely new to me. As soon as I read that it could be done, the gears in my head started turning. Two month later, I quit my job, moved to Las Vegas (where I could afford to live without a full-time job), and launched Bearfoot Theory.
Now 4 years later, I’m earning over 6 figures a year all because of this website, and one of the most common questions I get in my inbox is how to be a professional outdoor travel blogger. The first thing I’ll say that “making it” as a blogger, especially an outdoor blogger, is a challenge. It doesn’t happen overnight and takes a ton of dedication. You will work countless hours before you make your first penny, and you have to be in it for the long haul. You also have to be a jack of all trades. Photographer, videographer, writer, SEO-expert, marketer, manager, social media guru. In most careers, each one of these jobs would be separate positions. As a blogger, you get to do them all. I’m not saying this to scare you. Jumping ship to becoming a full-time blogger was the single BEST decision I ever made, and I’m grateful every single morning that I get to do what I do. But if you want to be a blogger, you should be aware of the realities before you start.
For those of you who are still with me, I decided to put together a detailed blog post that shares exactly how to launch an outdoor travel blog – from picking a name to getting your site setup to writing your first blog post and sharing it on social. These tips apply even if you don’t want to write about outdoor travel, but instead want to write about cooking, parenting, or something else. I hope this blog post is helpful, and make sure to leave any questions about starting an outdoor travel blog in the comments.
This post may contain affiliate links.
1) Decide what you want to blog about
You want to be a travel blogger….but what kind of travel blogger? Start by thinking about what you like to do. What’s the story you want to share? What do you want to inspire people to do? Who do you want your audience to be? Have you been through a hardship that other people can relate to? Asking yourself these questions is an important first step because, in some cases, it will impact the domain name you choose for your outdoor travel blog.
People want to know what they are going to get when they come to your blog. Your brand can and will evolve over time, but narrowing down the list of potential topics you can and want to write about is the first step. Maybe you’re really into food. Or yoga. Or the beach. Or glamping. These are all subtopics of travel that could define your blog’s niche.
When I was figuring out what I wanted to write about, I knew I wanted it to focus on the outdoors. I didn’t grow up doing a lot of outdoor activities, and I wanted to share my journey and show people that it’s never too late to get started. I had already applied for my John Muir Trail permit when I quit my job, so I knew I would be writing about that. Further, as a newly unemployed person, road tripping, camping, and hiking in the US were the types of travel I could afford at that time. I then came up with the tagline “Outdoor Travel for the Everyday Explorer,” and that became the foundation of my brand.
Now there are a lot of blogs out there. The key is to be different. You should find blogs you like for inspiration, but don’t copy them. You need to figure out how you can be unique and stand out from the crowd on your own two feet.
Save this post!
Enter your email & I'll send this post to your inbox! You'll also receive my weekly newsletter full of helpful advice for planning your adventures.
2) Choose a name for your outdoor travel blog & reserve the handles on social media
Once you figure out what you want to write about, you need to come up with a catchy, memorable name. As a general rule of thumb, you want it to be short and easy to spell with no number or hyphens.
For branding purposes, you’ll also want it to be easy to pronounce. You know that band name that you don’t know how to say? You’re less likely to tell your friends that you like that band, because you don’t want to be embarrassed when you say their name wrong. Word of mouth is incredibly important for getting your blog out there, so make sure it’s easy to say and people will be excited to tell their friends about it.
Ok, so I said easy to spell. What about my blog name…BEARFOOT THEORY. It’s not really how people would naturally spell it, but it’s a play on words. I have a Grateful Dead dancing bear tattooed on my foot, so that’s why I spelled it BEAR. As for “Theory,” it rolled off the tongue, and my blog represents my theory on life – that the outdoors makes you happier and healthier and that you can forge your own path. It’s ok to break the rules when it comes to names, but you’ll need to be ready to tell people how it’s spelled…which to be honest, gets pretty old.
When coming up with your outdoor blog name, think about your niche from step #1, then think about words that describe that and any play on those words.
Use a thesaurus, ask your friends, and family, and sit on it for a bit.
It’s not impossible to change your domain name, but there are consequences if you do so, so you want to pick a good blog name the first time around.
Tip: Don’t use over-used words like “nomad,” “outdoor,” “adventure,” or “travel” in them. If you do, it will be very hard to rank for them in Google since you’ll be competing with websites like Outdoor Magazines, Adventure Journal, and Travel and Leisure, as well as other top travel bloggers who’ve been in the game for a long time.
You’ll also want to think long-term. Don’t choose a blog name that implies your age, stage in life, or pigeonholes you into a certain type of travel. You might love travelling in your van now, but what happens 10 years from now when you live in a house and have a family? Avoid locations as well, unless your blog is going to be location specific and you’re sure you won’t want to branch out.
Here are some cool examples of outdoor blog names that are short, catchy, and memorable. They hint at what the blog is about without using any cliques.
Once you come up with a good name, go to Name Cheap and make sure the .com version is available. If so, buy it even if you aren’t 100% sold. Domain names are only $10 per year, and it’s better to buy it than risk losing it if someone else purchases it while you’re thinking about it.
Before you settle on your name, you’ll want to make sure the name is also available on Facebook, Instagram, and the other social channels. You should also Google it and see what pops up in the search results.
3) Sign up for hosting
If you want to be a legit outdoor travel blog, you should choose Wordpress.ORG for your blogging platform.
A majority of plugins and the things that make your site run are built for Wordpress. It’s also the platform that will allow you the most flexibility in monetizing and the types of ads you can run on your blog, and you can also track your stats using Google Analytics.
Avoid Blogger, Wordpress.com, Square Space, Wix, etc. If you start on one of these other platforms, I almost guarantee you’ll end up switching to Wordpress.org down the road, so why not start off of the right foot.
The first step in getting your blog online is signing up for a host. A host is basically a server where your blog and all of your files are stored.
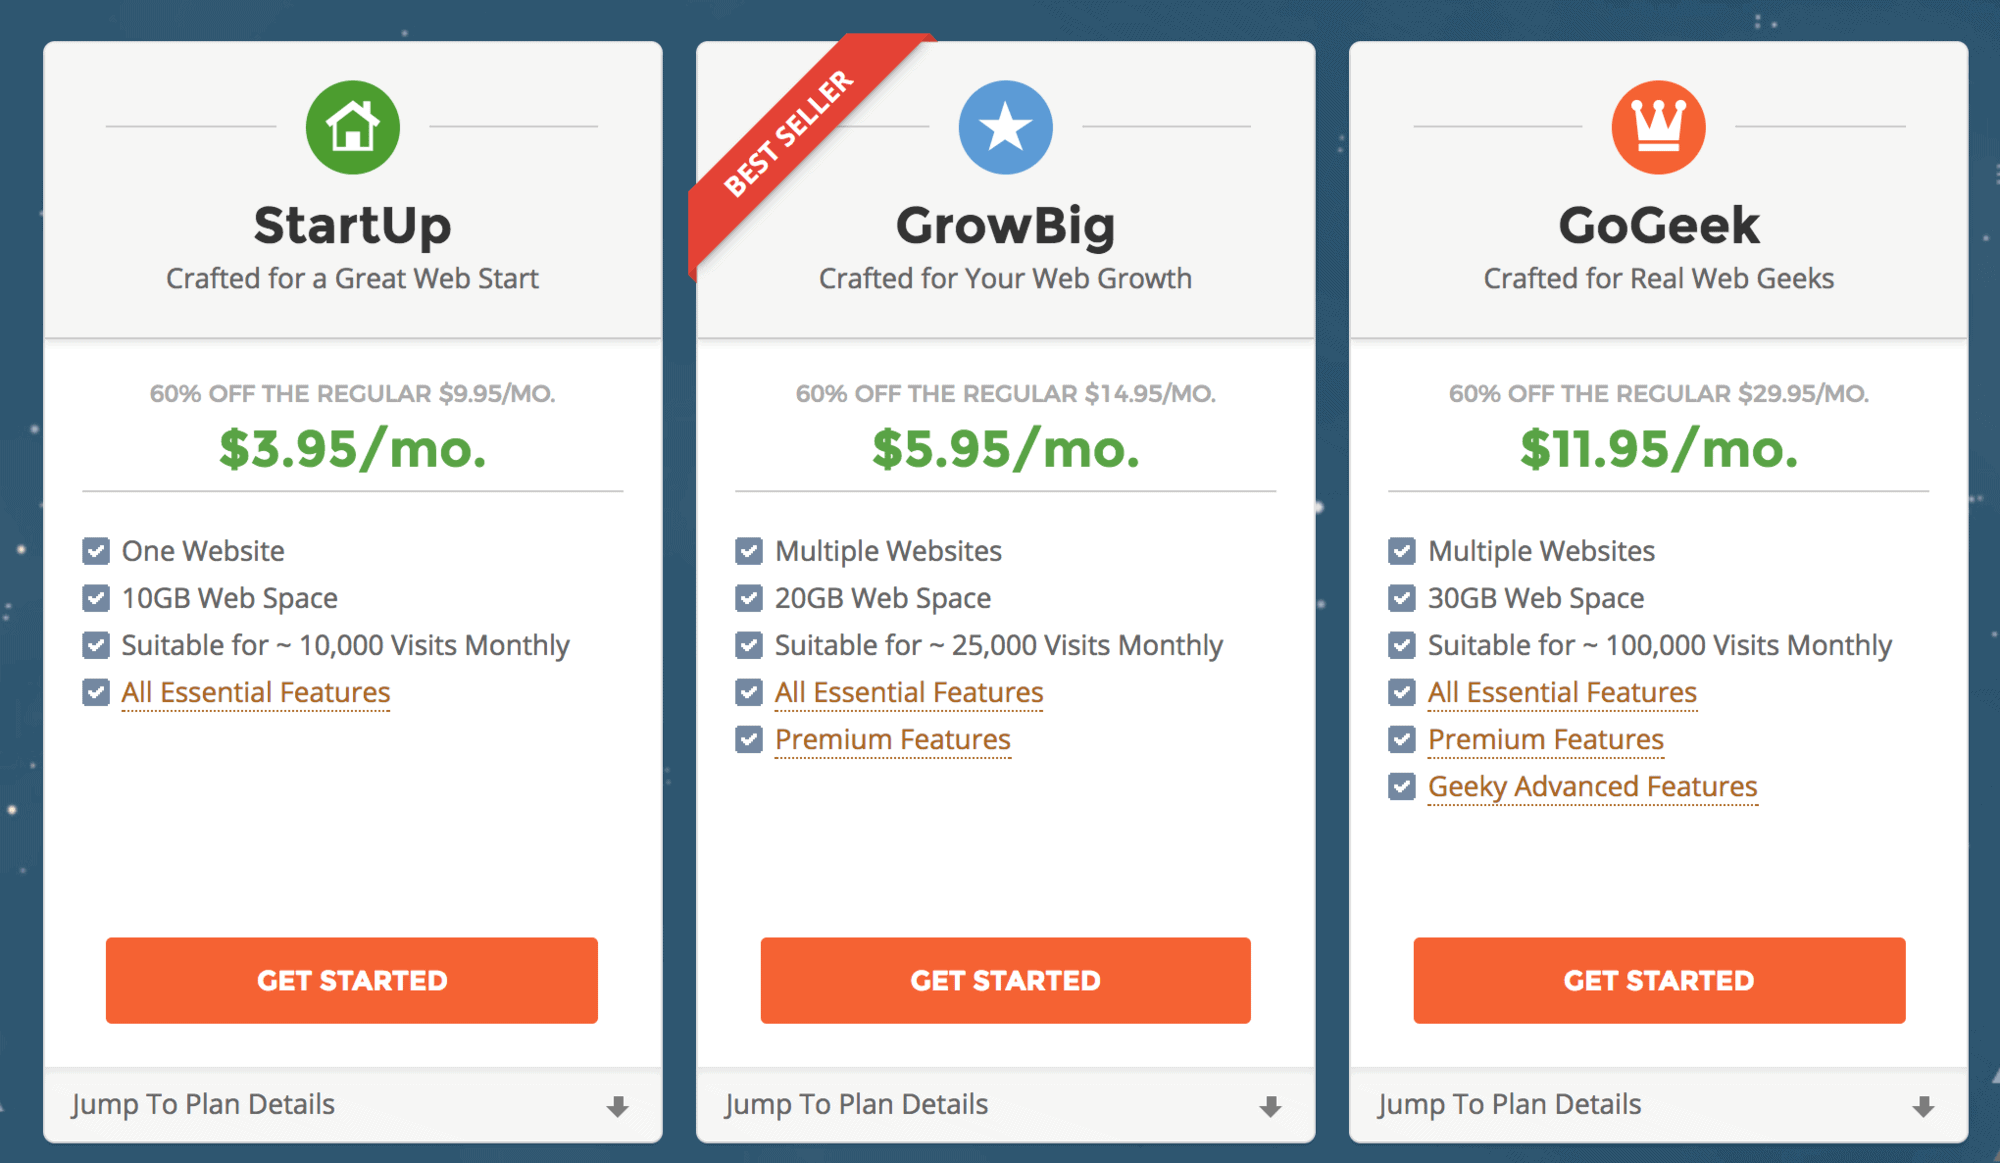
When I first started out, I hosted my website on Host Gator, but after my site went down a few times (which should never really happen), I switched to Siteground and remained with them for about 2 years. I was generally happy with the customer service, and Siteground offers affordable hosting plans starting at as low as $3.95 a month, and plans go up from there depending on your web traffic. When you are first starting out, you can sign up for the lowest level plan – called the StartUp Plan on Siteground – and then upgrade as your site grows. Any good hosting plan, like Siteground, will have a Wordpress Installer that will walk you through the process of getting Wordpress set up.
4) Pick and install theme
Your Wordpress theme is essentially a template that your site will be built on, and there are thousands of themes that allow you to build an outdoor travel blog without having to code.
The best place to search for a theme is on ThemeForest.
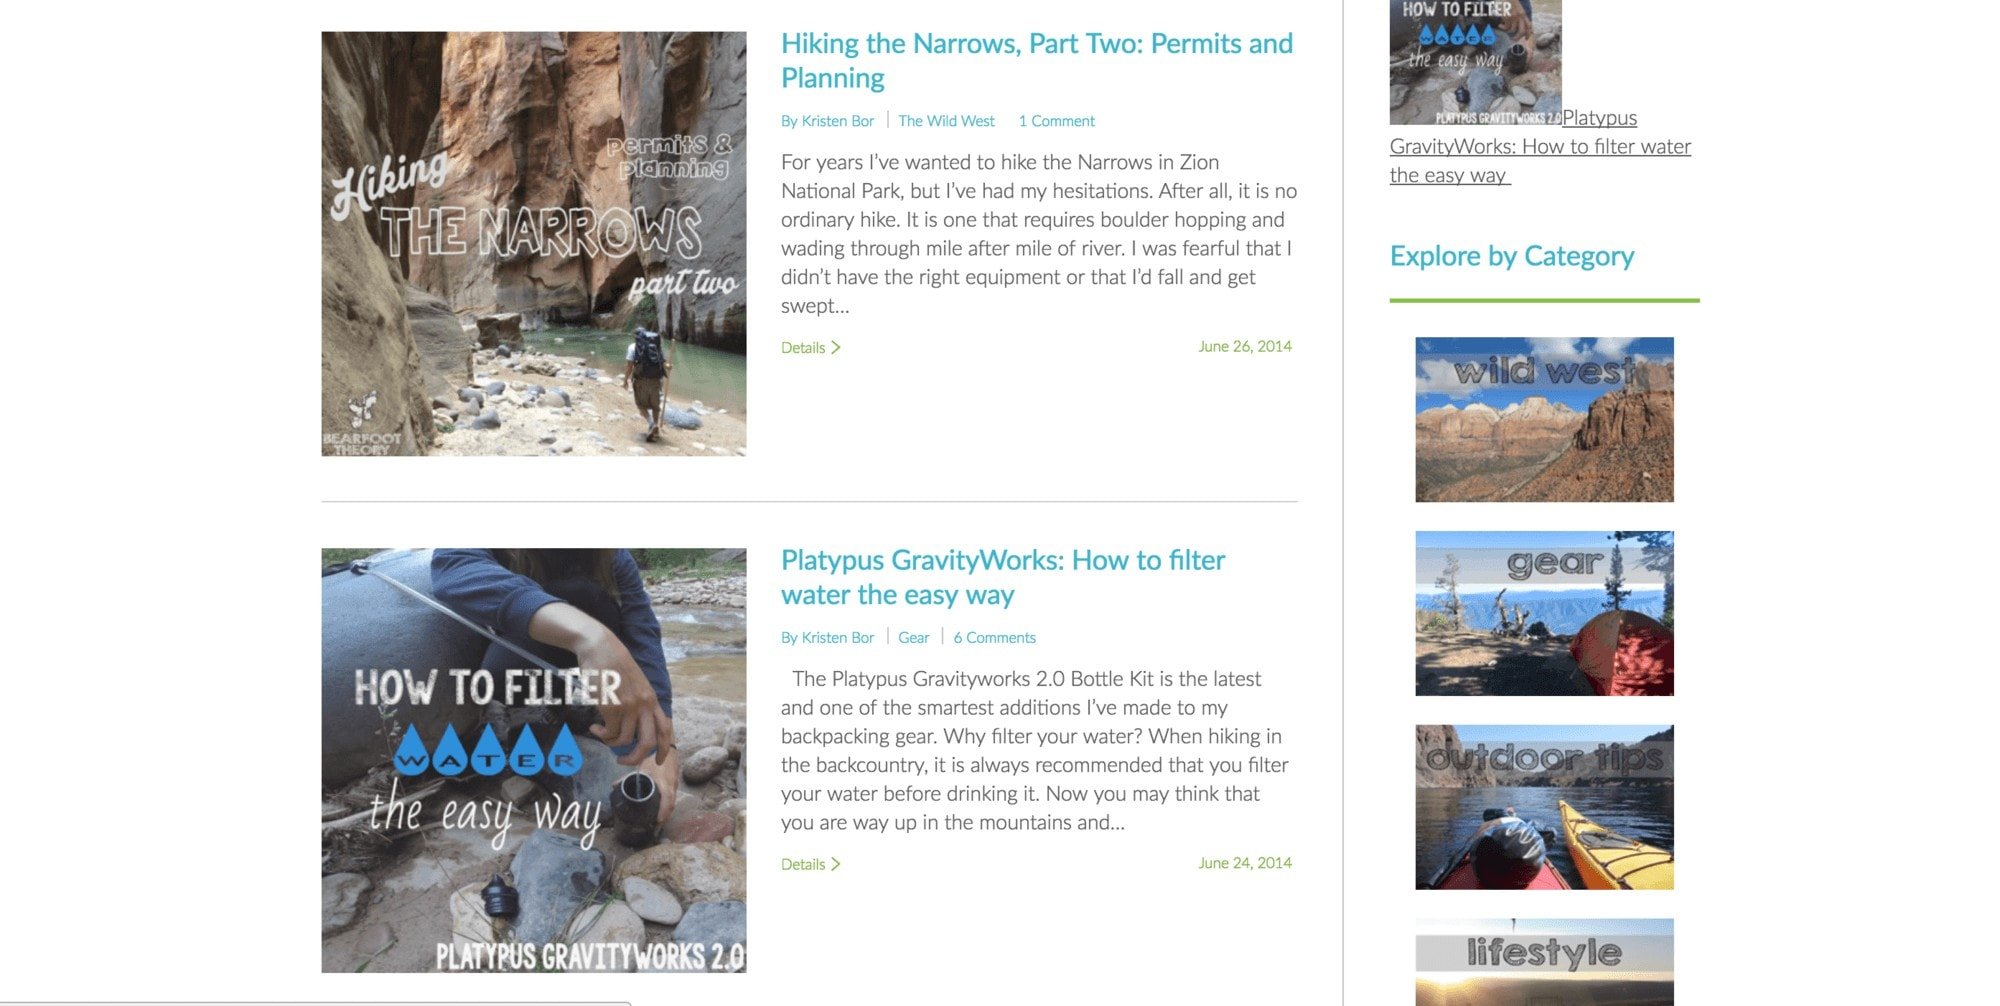
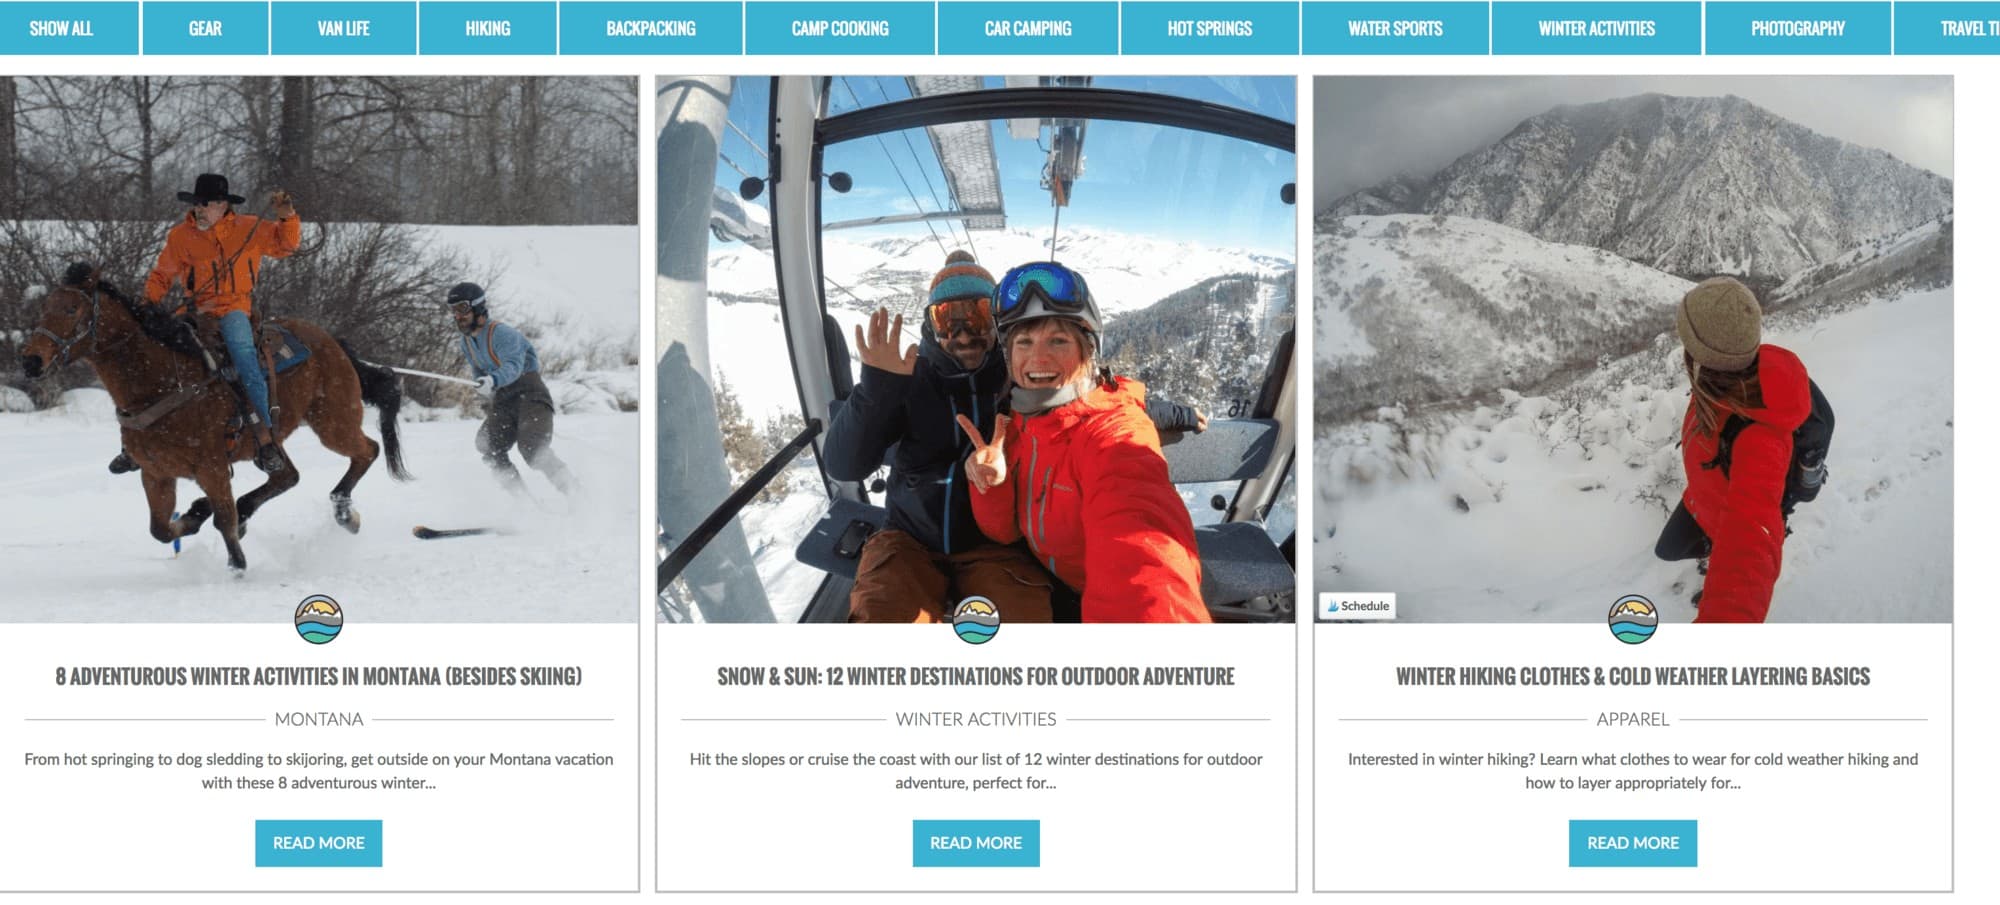
In the menu go to Web Themes & Templates > Wordpress and browse from there. Your safest bet is to start with themes that have a lot of positive reviews. When you are choosing a theme, you want to look at the general layout options for homepage and your blog roll, as well as the prominenace of the images in those layouts. For instance, the blog roll can have horizontal blog cards like mine or you can have your blog posts stacked in a vertical format. You’ll also want to look at options for logo placement and the menu layout. Fonts, colors, and other design elements can be customized to your liking, but the layout is pretty much set and can’t be changed without coding. Another super important thing is that your theme is mobile responsive and will adapt to different screen sizes. Most themes these days are responsive, but you’ll want to stay away from any themes that aren’t.
I started out on a theme called The 7, then I switched to Aveda, and now I’m on my own theme that was built by my developer at Performance Foundry. Here is what my site used to look like vs now.
Bearfoot Theory in 2014….
…and Bearfoot Theory now
My advice is to start simple and don’t get too bogged down in the design. Your blog’s design will evolve over time as you add more content and your brand takes shape. You want to pick a theme you’ll be happy with for a while, but you can always change it down the road (likely with the help of a developer).
Here are a few highly reviewed themes that would make a good framework for an outdoor travel blog:
To install the theme, read the documentation that comes with your theme. Siteground also has a good tutorial for installing Wordpress themes.
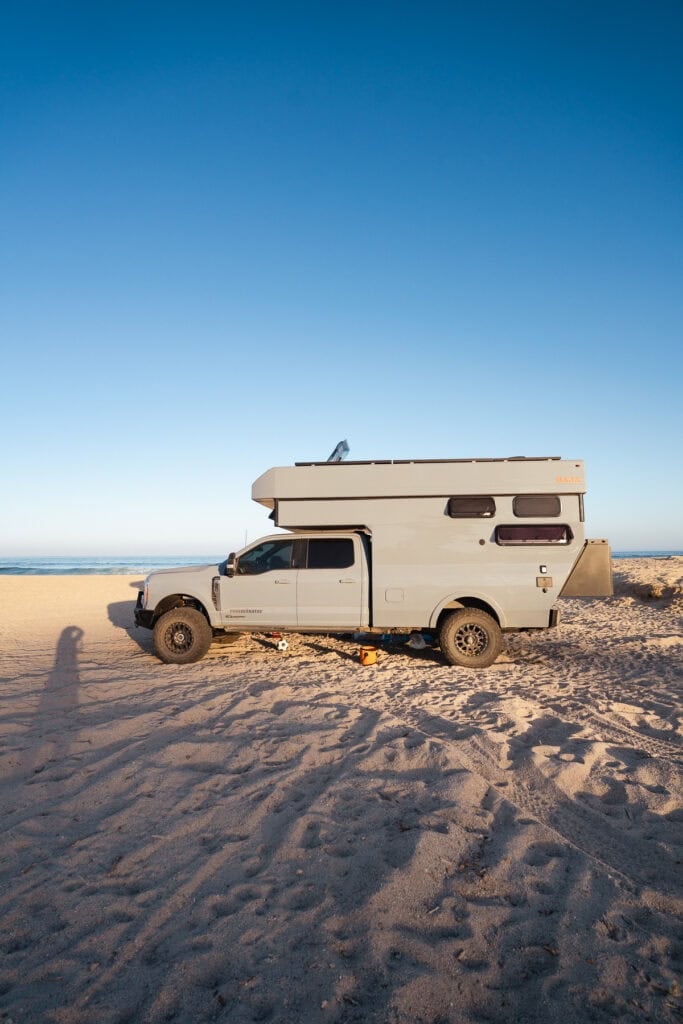
Thinking about switching from a van to an expedition truck?
After living in three Sprinter vans and now full-time in a Rossmonster Baja, I've learned there are major tradeoffs between the two. I break down the pros and cons of each setup in my detailed comparison.
Want to learn more about my current rig? Visit Rossmonster's website.
5) Install a few important plugins
Plugins are like apps for your Wordpress site. Social media share buttons are a good example of a plugin. There are thousands out there that you can experiment with, but there’s a few you’ll want to start with no matter what shape your outdoor travel blog takes.
- Akismet Anti-Spam – this prevents spammers from sending you emails and uploading spam comments to your blog posts
- Easy Social Share Buttons for Wordpress – this allows you to add fully custom social share buttons to your blog posts
- Kraken Image Optimizer – this automatically optimizes any images you upload to your site so they load faster and take up less space on your server
- Yoast – this free plugin helps you set keywords and optimize your posts for Google search.
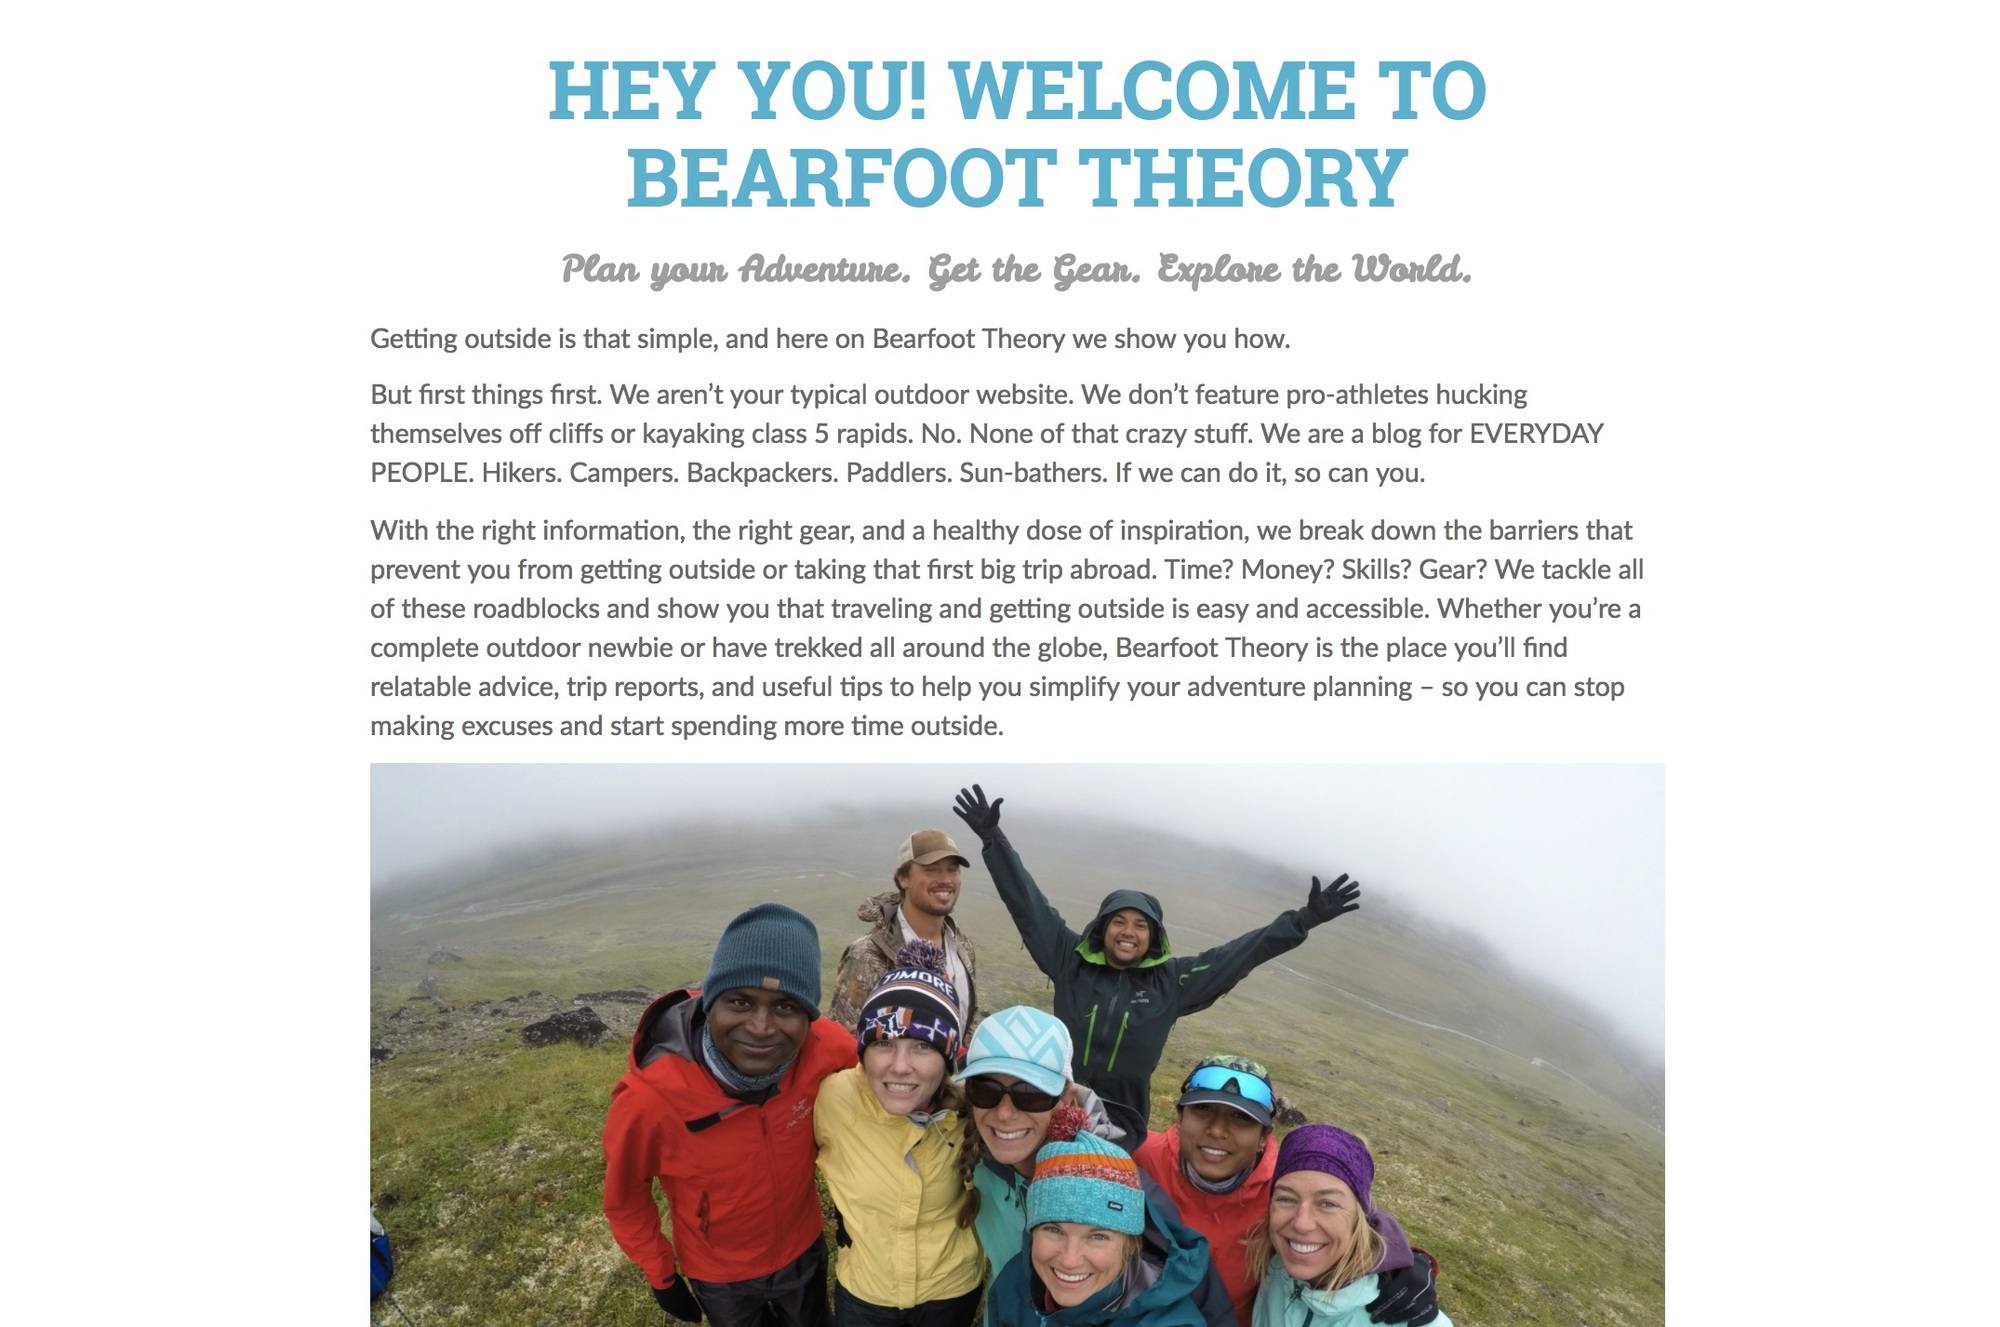
6) Write a Memorable About Page
Your About page is one of the most important pages on your websites. It should spell our your brand/niche loud and clear so people know exactly what to expect from your website. It should be as much about the reader as it is you. What do you offer? Who is your blog for? Why should people read your blog? This is my About page:
Of course, you should include some personal info. People want to know the person behind the words and how they can relate to you. Here are some good examples of About pages.
Don’t just limit yourself to looking at travel blogging examples. Travel bloggers aren’t always the savviest of bloggers, so you’ll want to look outside the niche for inspiration.
7) Get a Logo
This isn’t something you should be too concerned about at first, but you will want a basic logo. My logo has gone through about a dozen iterations, so don’t spend a ton of dough on the “perfect” logo, because my bet is a year in, you might want to change it. Upwork, 99 Designs, or even Fiver are quick and easy places to get a logo quickly designed.
If you have someone else creating a logo for you, send them your about page so they know what your brand is about. Make sure the colors in the logo match the colors you want to use on your website, as it will pull everything together.
Here are the different iterations of my logo over time from the beginning to now.
7) Start posting on social media
Your outdoor travel blog doesn’t have to be live before you start posting on social media. In fact, the sooner you start building up your audience on social media the better. That way when your blog goes live, you have a small group of people to share the news with, even if it’s just your friends and family that follow you.
If you are the face of your blog, then I’d recommend having your social media profile picture be you, rather than your logo. It makes your brand more personal.
Before your blog goes live, you can post photos from past outdoor adventures. You can share posts from other bloggers that you look up to, or articles from bigger magazines. Make sure you tag the blog in your captions so the author see that you shared it. You give them a bone, maybe they’ll throw you one when your blog goes live.
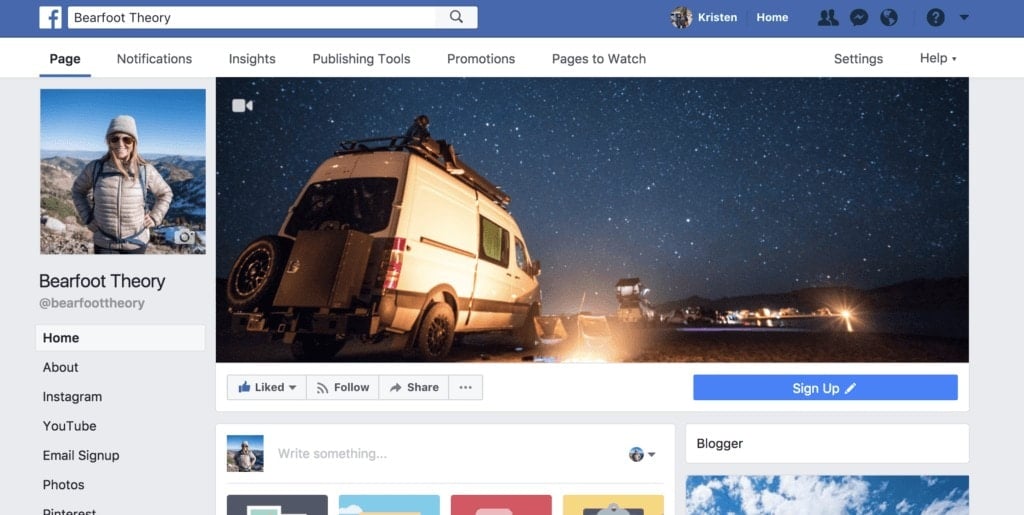
Here are the major channels you’ll want to get active on:
Facebook has helped me build my most engaged community. It’s where I get the most comments and have the best conversations with readers. I get far more traffic from Facebook than Instagram. It’s almost impossible to grow your Facebook page to numbers like mine without paying for some advertising. I spend about $2000-$3000 a year on Facebook ads to get my posts in front of my existing audience and new potential readers.
Believe it or not, just behind Google, my biggest source of traffic comes from Pinterest – more than 10x Facebook, Instagram & Twitter combined! Pinterest isn’t just for moms looking for recipes and craft ideas. It’s a huge source of information for travel planning and acts like a search engine.

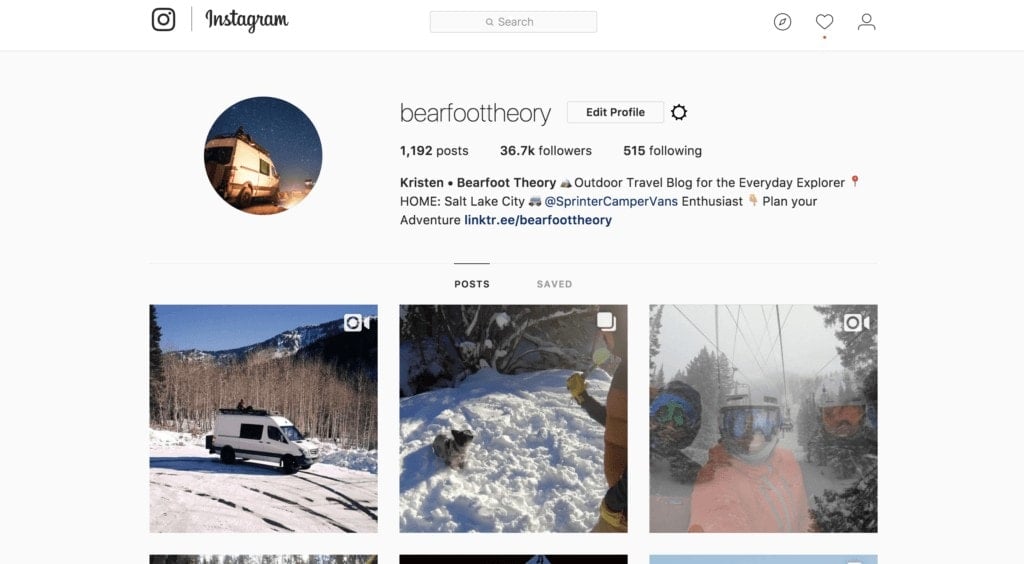
Instagram doesn’t provide a lot of traffic to my website, but it is a great way to build brand recognition. It’s also incredibly important for paid sponsorships. Brands want to see that you have an engaged Instagram following since it provides immediate gratification through likes and comments.
What if you don’t know how to take good photos? Good photos are essential for a successful outdoor blog, travel blog or any kind of blog where visuals are key. So you’ll need to learn. Start with the resources on the Digital Photography School. They have a bunch of awesome e-books and e-courses tailored towards beginners. You can see also what camera gear I’m using here.
A final tip for Instagram…you need to stay on brand. Your outdoor travel loving audience doesn’t need to see pictures of your dinner or you partying with your friends on New Years. Keep on point, delete any old photos that aren’t in line with your blog, and if you must post those kinds of photos, keep two separate accounts.
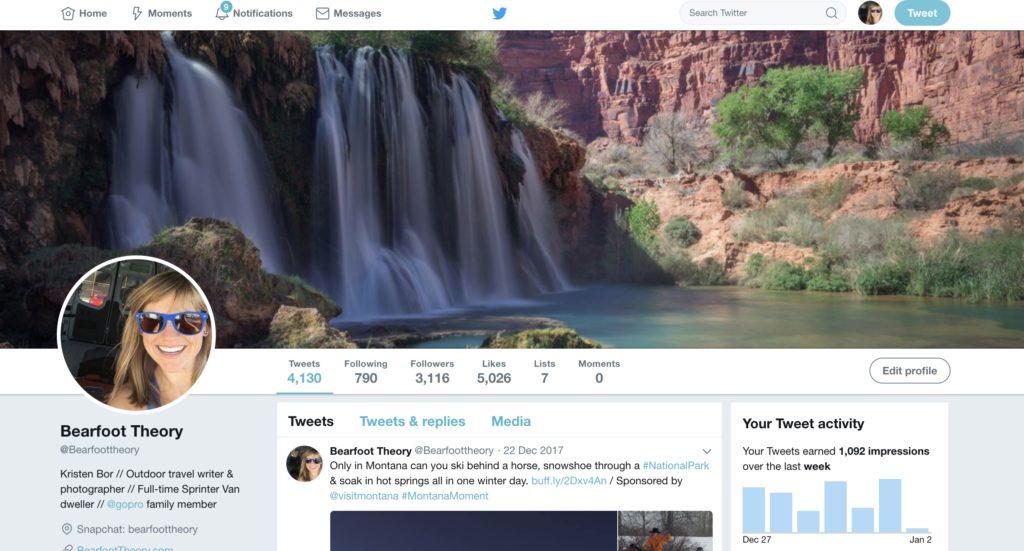
Twitter is my least favorite network, which is probably why my Twitter following is only 3,000. I don’t put a lot of effort into it, but I’m not ready to give it up entirely because I still include tweets as part of my deliverables when I’m working with brands. If you are looking for examples of people who are killing it on Twitter, check out Caroline Gleich & Katie Boue.
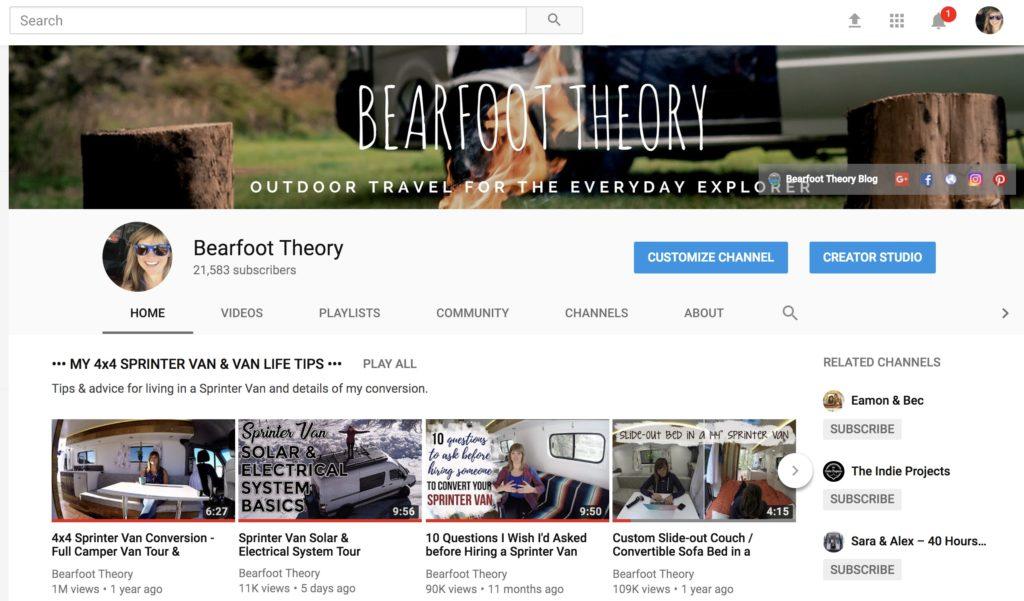
YouTube
Video is becoming an important part of my strategy, and through YouTube I’m able to capture an audience that I might not interact with on any of my other channels. If you are able to create professional quality videos, you’ll be able to provide a lot more value to brands when it’s time to monetize. It can also help drive more traffic to your blog and provide a little bit of ad revenue.
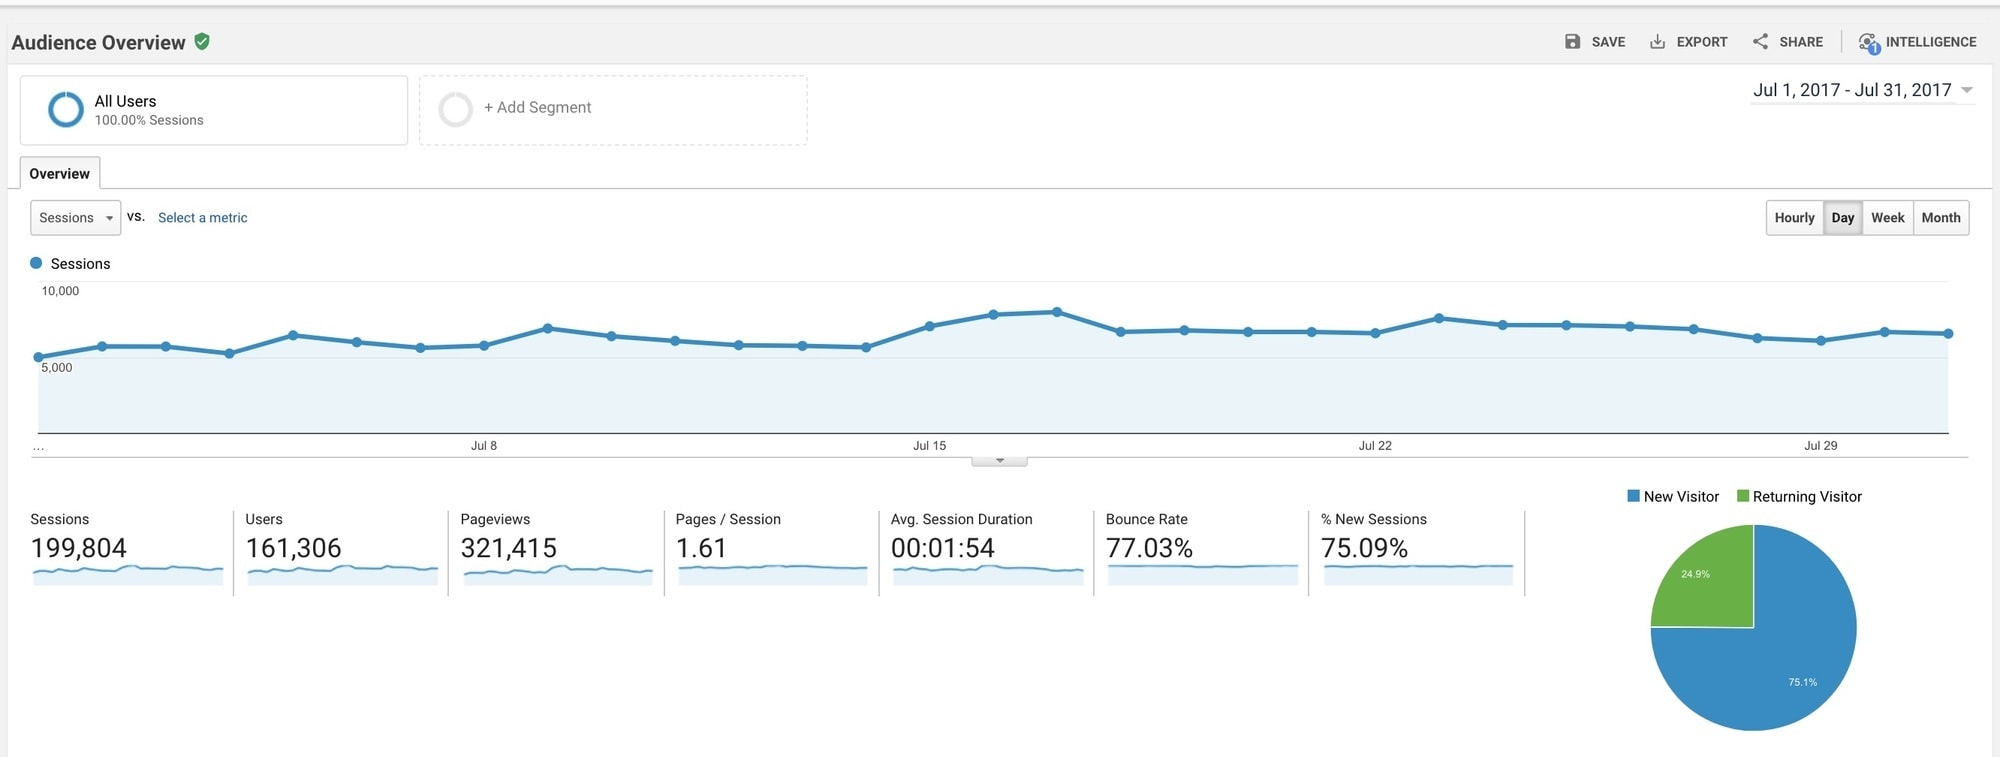
8) Set up a Google Analytics account
Google Analytics is how you will track visits on your outdoor travel blog, and those stats is what you will use to pitch brands once you have a valuable audience. This blog post on WP Beginner has a step by step guide on how to set up an account and install Google Analytics on your blog. Your analytics will tell you how many people are on your site, as well as pertinent demographic information. You can see sex, age, location, and more.
9) Write 5 blog posts & Optimize them for SEO
I recommend having 5 blog posts on your site when it goes live. That way people can dig around for a few minutes and get a good sample of the types of blog posts you’ll be writing and your voice.
What should you write about? Here are 5 ideas:
- Write a trip report or travel guide for a destination you have a lot of experience with.
- Review a piece of your favorite gear.
- Share some of your favorite tips for an activity you love.
- Write an inspirational piece that tells more about your relationship with the outdoors.
- Write an adventure bucket list to showcase the types of places and trips you’ll be sharing on the blog.
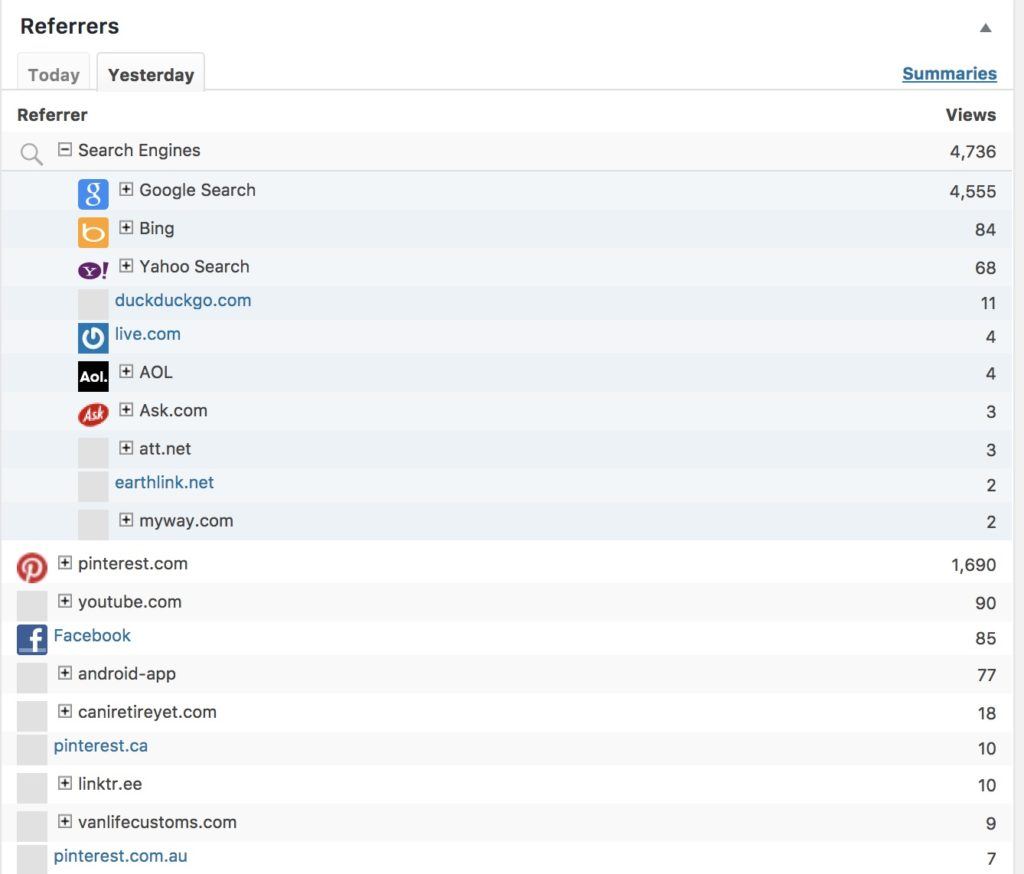
What is SEO?
SEO is “Search Engine Optimization.” It’s what you need to pay attention to if you want your blog posts to be found by Google. If you start following best practices from Day 1, using the Yoast plugin I mentioned above, you will be setting yourself for long term Google success. See the table below? This is where my traffic came from the other day on my blog. See how much traffic I get from Google compared to every other source? Imagine where my blog would be if I ignored SEO. Right down on page 20 of the search results.
To do your basic keyword research, you’ll need to create a Google Adwords account and use Google free keyword research tool. Other resources to check out where you can learn the basics of SEO are:
10) Add an email sign-up form to your website
Your email subscribers will be your most valuable and loyal readers. The sooner you start collecting emails the better. You can use email to keep in touch with your readers, let them know about new content, get them to keep coming back to your website. I started with a free MailChimp account, but I have since moved over to a mail provider called Drip.
Drip has a lot of advanced features to segment your audience by category. For example, my email subscribers are split up between people who like hiking, people who are interested in Sprinter Van Life, or people who sign up for my 5-day welcome series. Then people get put into automatic email funnels based on their interest.
This is an example of one of my email funnels in Drip
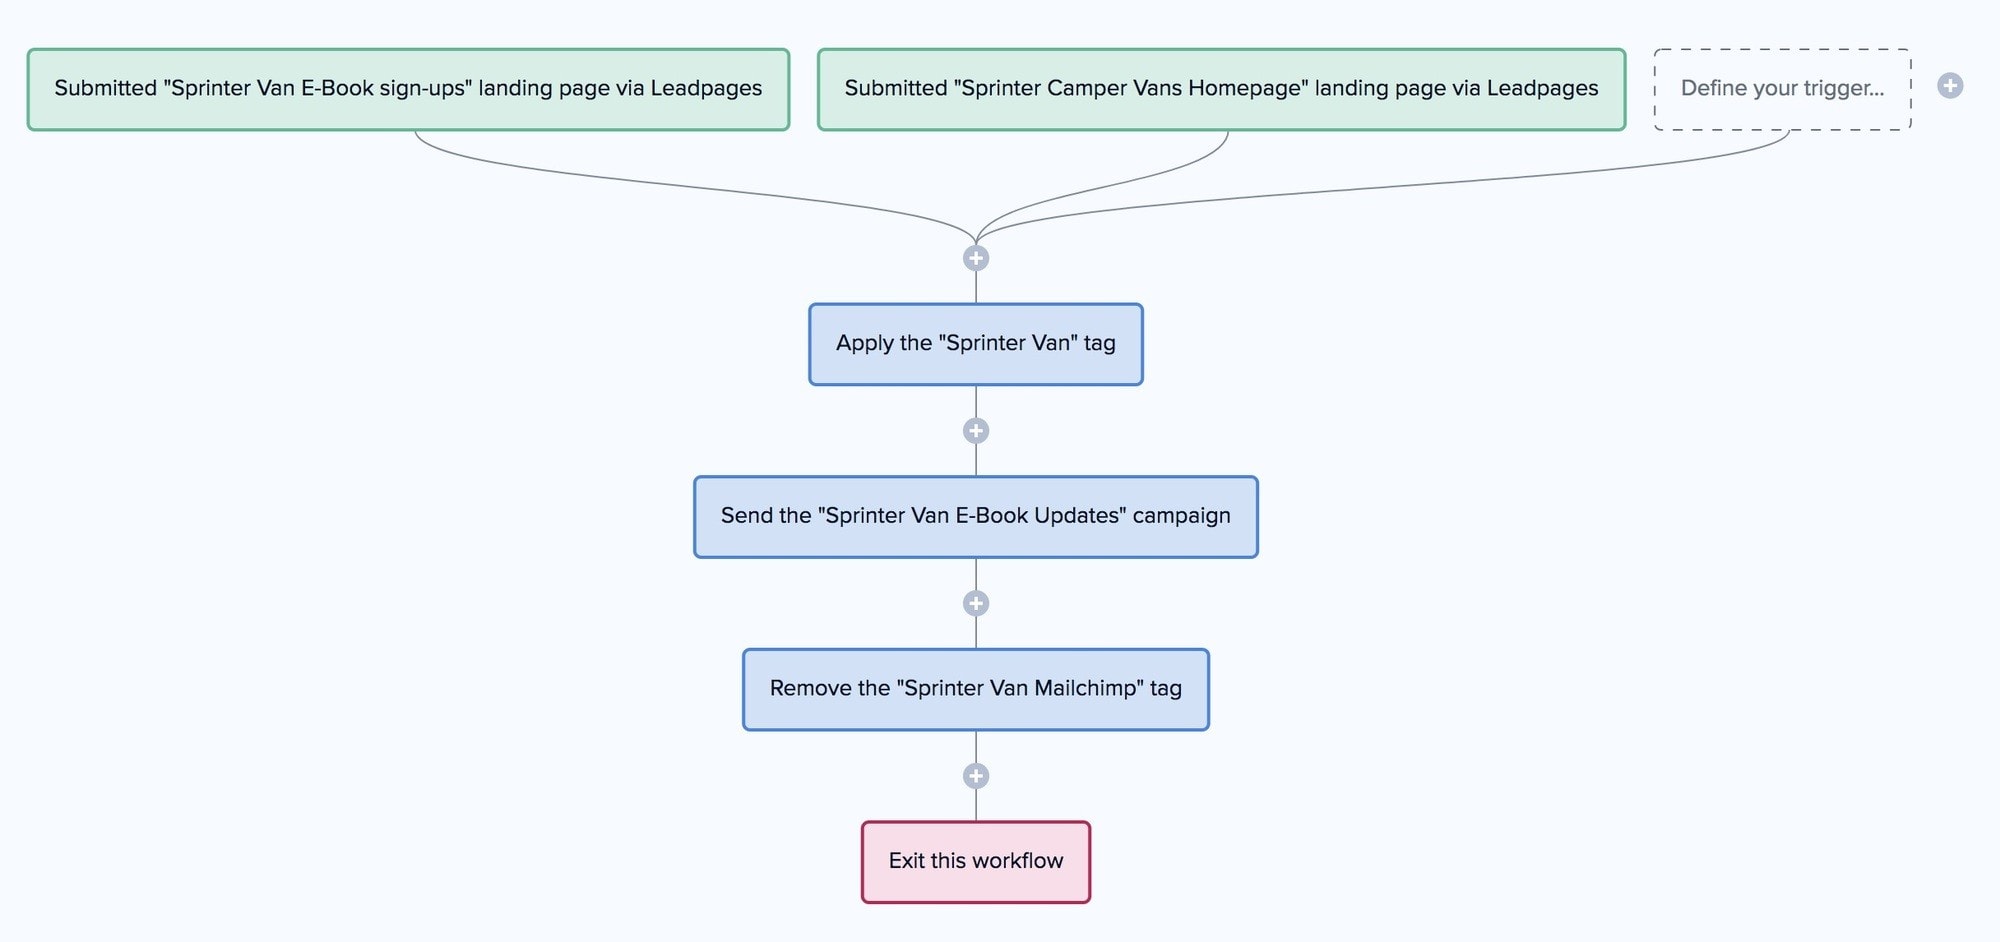
Drip integrates with Wordpress, so it’s pretty easy to install forms on your site. Drip is free for the first 100 subscribers and then it goes to $41/month.
Once you choose your mail program, should have a form on your about page, in your blog posts, on your sidebar (if you have one), and in your menu.
11) Launch your blog and tell everybody you know about it.
Once you do all of the above steps, you’re ready to share your outdoor travel blog with the world. Don’t be shy. Ask your family and friends to help share the news. Post about your blog on your personal Facebook page and Instagram.
Giveaways are a great way to get the ball rolling and get people to your site when you first start out. But expect to buy the product yourself. You can use the giveaway to gain followers on social media, or better, get email signups.
Don’t expect your audience OR THE MONEY to come overnight. If you are going to launch a blog, you should be ready to commit at least a year to building up your readership.
It took me 6 months to make my first $3000 from affiliate sales. I worked my ass off. I went to trade shows and conferences. I spent all of my free time either doing things that I could blog about, working on my blog, or learning new skills that would help me grow my blog. My social life suffered for sure. But it was temporary.
I’m so happy I put the long hours in that first year to grow my website into something successful. Now I have total freedom, am making a comfortable living, and am reaping all of the rewards that come with self employment.
Great list of getting started. I first started my blog as a journal of my travels for my own record back in 2011. I didn’t have a solid niche, wasn’t a writer, and didn’t know a thing about SEO. Practice and writing a lot helps. Reading other blogs helps create a tone you want to have. I think you’re doing a great job and love your work!
Thanks Angela! Lets catch up soon! I want to hear about Europe.
A great post. I started my outdoor pursuits blog 6 months ago, but only ‘launched’ official to the world 4 months ago. I am loving what I do so far, and never dreamed I would have a legitimate working from home job. I am not making a ‘wage’ yet but am pleased with my progress so far and reading this posts has helped confirm that I am doing all the right things.
Thank you for your insights.
I confirm that Pinterest is a good source of trafic since I discovered your blog there(I usually never read in English…to lazy for that! lol) and it’s now a great source of inspiration ! Pinterest doesn’t work very much for mine for the moment, but I guess I need to give it some time 🙂
I love this! Thank you for the advice and inspiration. I set up my outdoor adventure blog ages ago but have never really made the most of it. This year I am ramping it up and aiming to blog once a week a least.
Glad you found it helpful Brooke! Let me know if you have questions.
Thank you so much for this Kristen! I’m just setting up my website and I feel so excited! I’m a long-term traveller (6 years) and I figured it was high time I began documenting the world through my eyes properly! Just a quick question if I may, how many new blog posts do you post each week? I tried to have a look at your blog posts but I see that none of them contain dates, is that on purpose? To perhaps give a more timeless feel to your advice? It’s a very good idea if so but I was just curious! Thank you so much for the help!
Hi Hafi, currently we work to post 2 new blog posts a week.
Kristen, I wish I had found your site a couple months ago. It’s fantastic! I’m trying to break in to travel blogging and have made plenty of mistakes and missteps already. I’ll be reading your posts to gain information about how to get better in my own blog world. After seeing your site, I’m clearly lacking! While big money would be great I just want to make a couple hundred dollars a month as supplemental income. I’m sure I will find great information on your site to help. Thank you.
Hey Kristen, Thanks for all of this guidance 😉 I’m working with a WordPress site and a purchased theme (same as you recommend), but I’m stumbling a whole lot to figure out the communication between the two and generally just a newbie at all this. Do you have any recommendations for resources, tutorials, cheap ways to get support??? Many many thanks!
Hi Kristen! 10 years ago, I tried to set up my own website a couple of times but failed miserably. I gave up after a few months as i did not know the techniques to do it. My site remained awfully silent, as if i was always writing for myself with no audience. As i was a parent then, i was blogging mostly on parenting, so mostly a diary of what i did everyday. Despite all the efforts, almost zero traffic =( Only my family and friends, remained my loyal followers and no more than that. But now, you have shown me a light in the tunnel. I am encouraged by your determination and perseverance. I hope you can continue to write more inspiring articles as these. Thank you!
Fantastic resource Kristen. Thank you for paying it forward. I’m excited to get started with blogging and this feels like an easy step by step guide to do it as well as all the lessons you have learned as your business evolved.
We’re so glad you found it helpful, Madeline! Best of luck with your blog 🙂