How to Snowshoe: Beginner’s Guide
In this Beginner’s Guide to Snowshoeing, I share everything you need to know about snowshoes, gear, and getting out this winter.
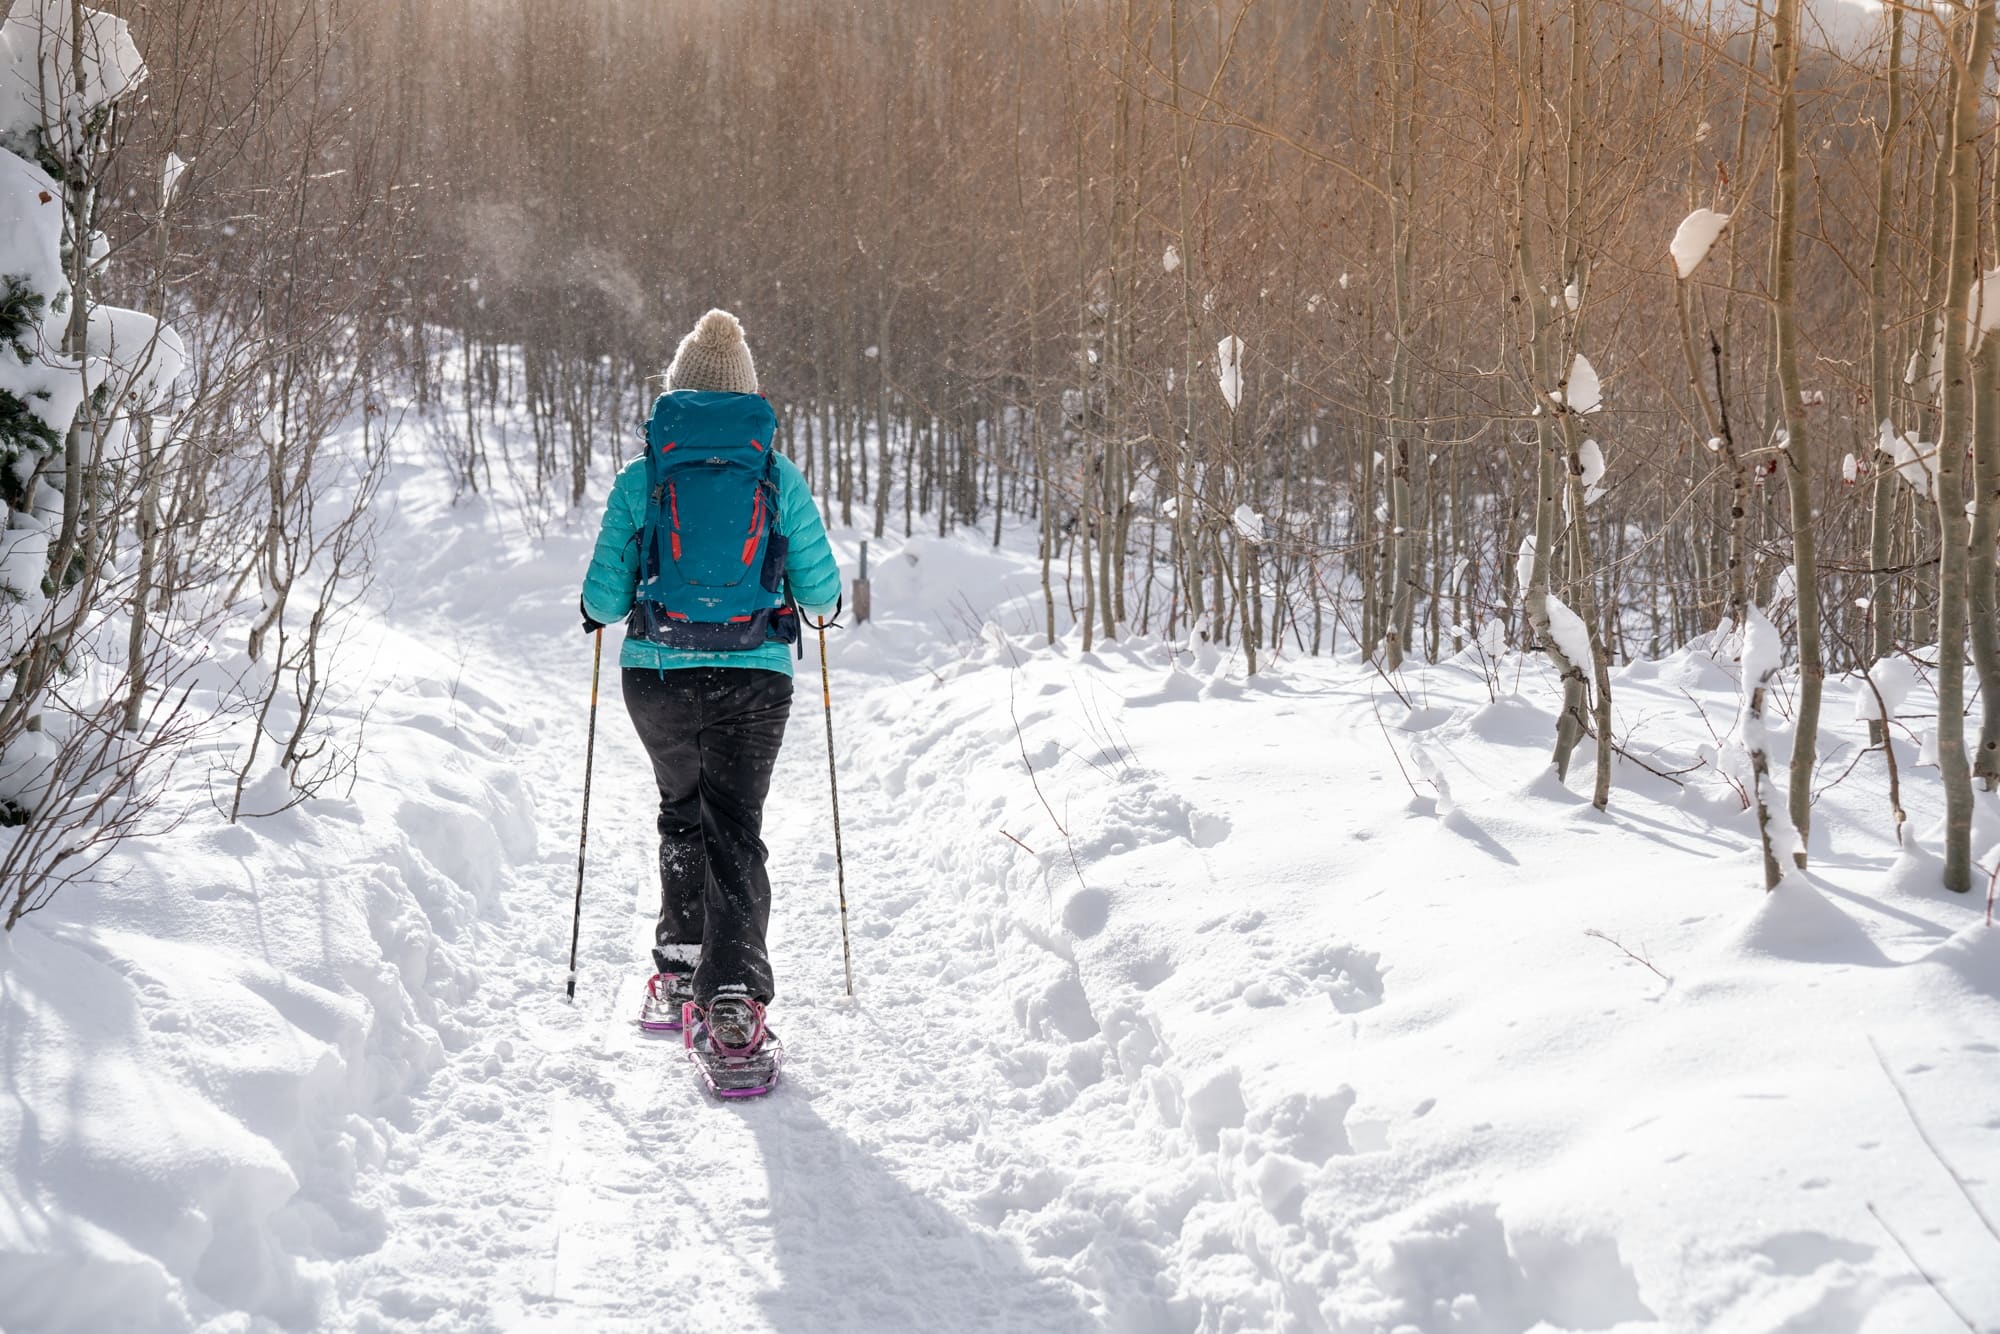
When winter comes along, I’m always looking for fun ways to get outside. Hiking is my bread and butter, so snowshoeing is a natural fit for me that allows me to explore even on those deep snow days.
Unlike skiing, snowshoeing has a much cheaper upfront cost. Once you invest in a decent pair of snowshoes, all you need is your winter hiking apparel and a few winter safety tips, and a whole new world opens up.
In this post, I share the basics of what snowshoeing is, how to start snowshoing, how to find trails, and what gear you need in this beginner’s snowshoeing guide.
This post may contain affiliate links.
What is Snowshoeing?
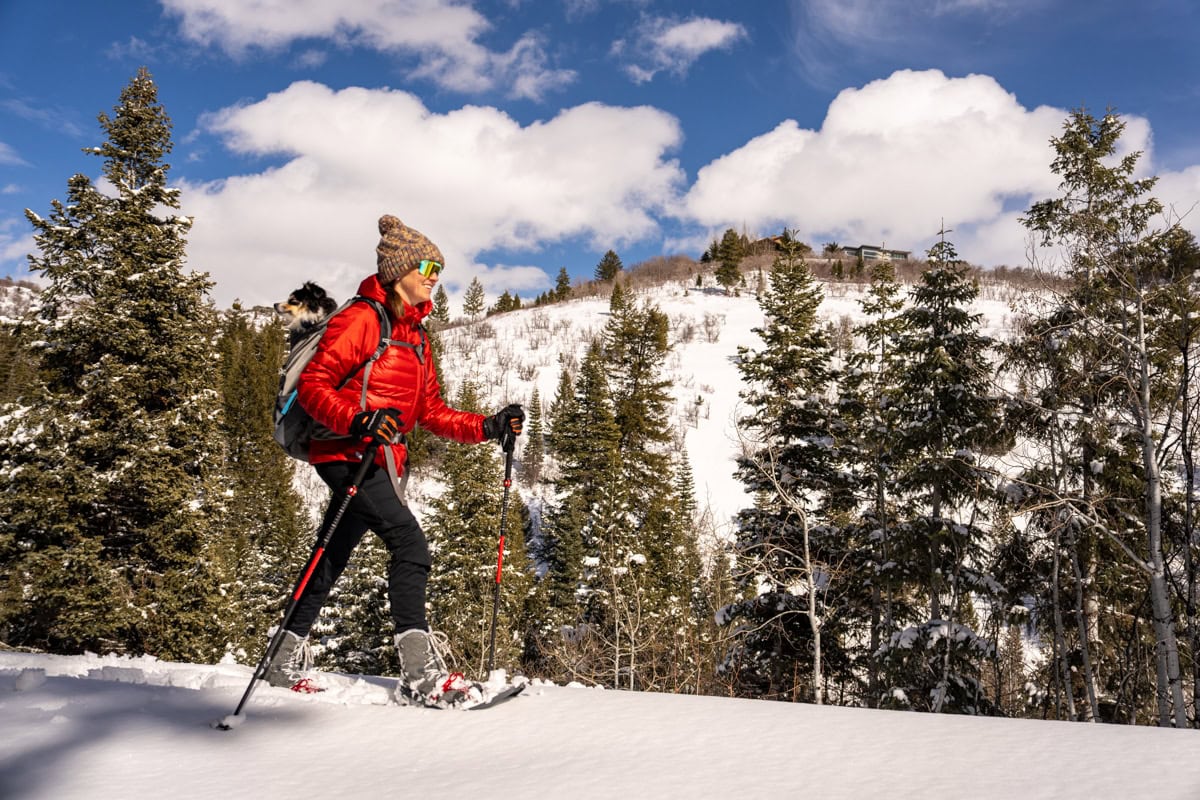
Snowshoeing is one of my favorite ways to enjoy winter hiking in snowy conditions. It’s so simple—just strap on a pair of snowshoes, and you can walk right on top of the snow without sinking. The way they distribute your weight keeps you afloat and makes walking through the snow feel effortless.
I love that snowshoeing is accessible to almost anyone. It’s a great option if you’re not into more intense snow sports or if you’re looking for a winter activity that’s less risky and physically demanding than skiing or snowboarding. Of course, you can make it more challenging by tackling steeper, mountainous terrain, but I recommend starting with flat or gently rolling trails. It’s a great way to ease into the activity, especially since snowshoeing uses muscles you might not typically engage.
Save this post!
Enter your email & I'll send this post to your inbox! You'll also receive my weekly newsletter full of helpful advice for planning your adventures.
Snowshoe Features
There are three main components to every snowshoe that will vary depending on your experience level, ability, and terrain. It’s also important to consider how your shoe size and footwear factor into your snowshoe as well (I’ll talk more about that below).
Frames and Decking
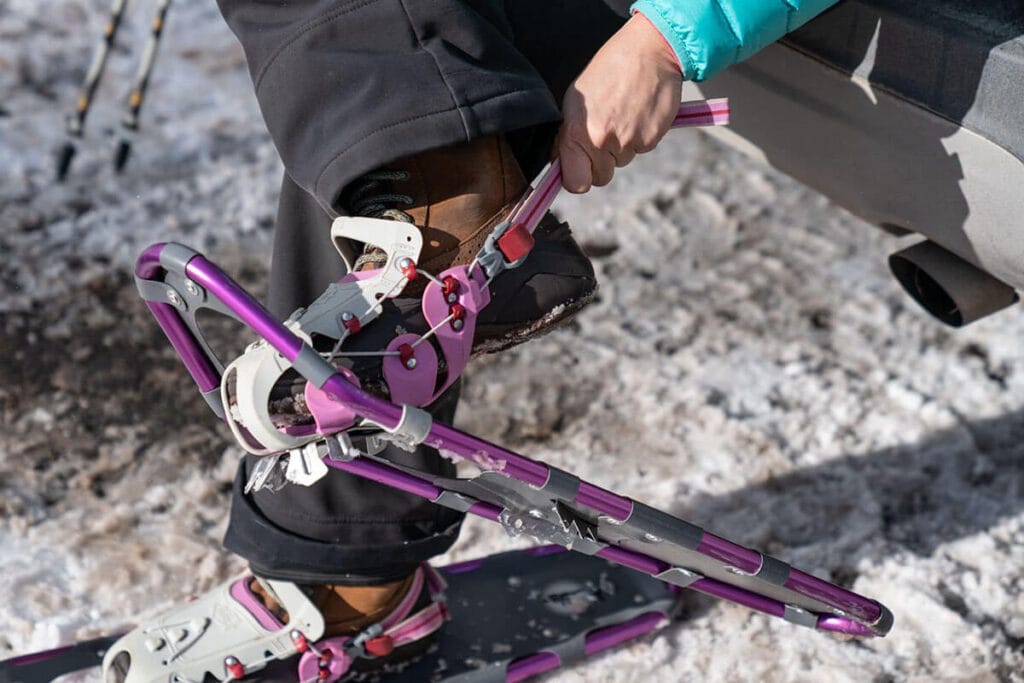
This is the basis of every snowshoe. The frames and decking provide floatation that helps you glide on top of the snow. The frame is the outer part that gives a snowshoe its shape and is typically made out of metal. The decking is the part of the snowshoe that stretches across from the binding to the frame.
Bindings
The bindings are the part that attaches your boots to the snowshoe’s frame and decking. There are two types of snowshoe bindings that you can choose: rotating (also known as floating) bindings or fixed bindings. Rotating bindings are far more common and what I would recommend if you are investing in a new pair of snowshoes.
Spikes
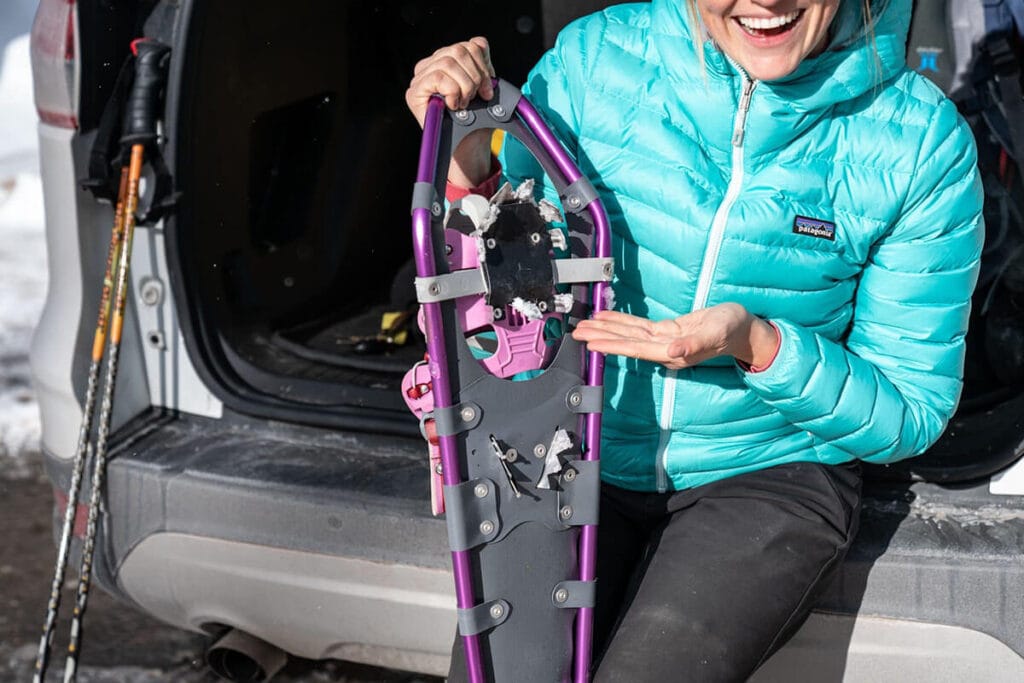
On the bottom side of the snowshoe, there will be spikes (also known as crampons) that will dig into the snow. These spikes are what provide traction, especially on steeper or icier terrain. Beginner snowshoes designed for easy, flat terrain will have shallower spikes, while snowshoes made for bigger ascents will have sharper spikes.
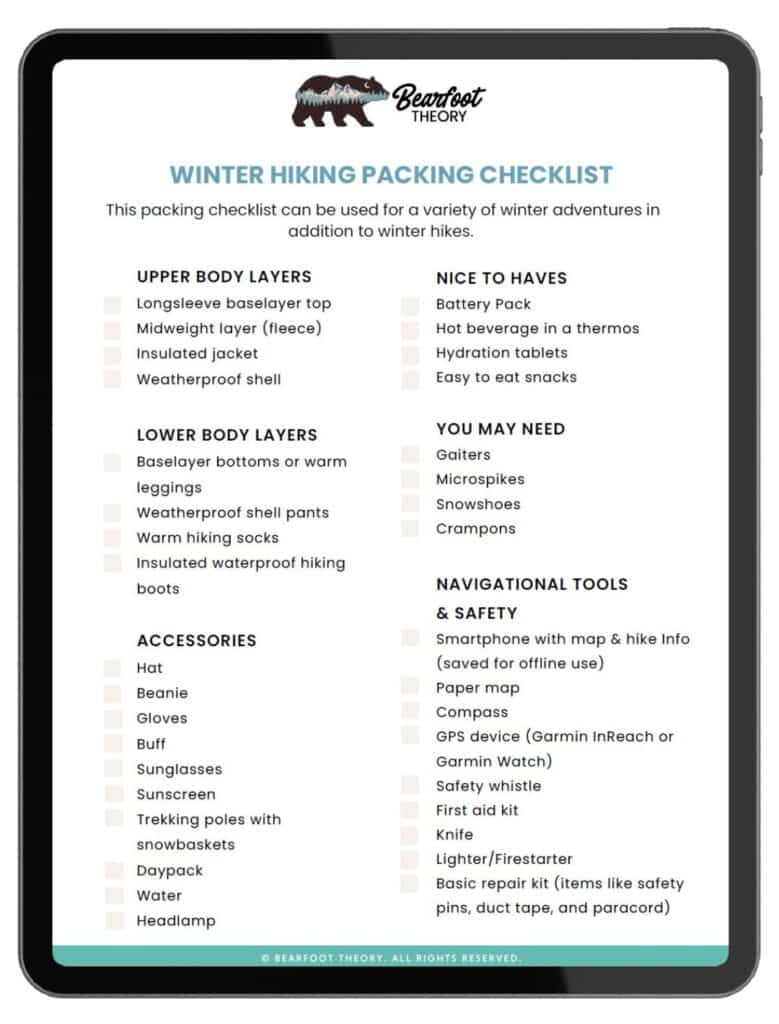
Get my Winter Hiking Packing Checklist
when you enter your email below
Tips for Choosing the Right Snowshoes
Here are a few other considerations when buying your first pair of snowshoes:
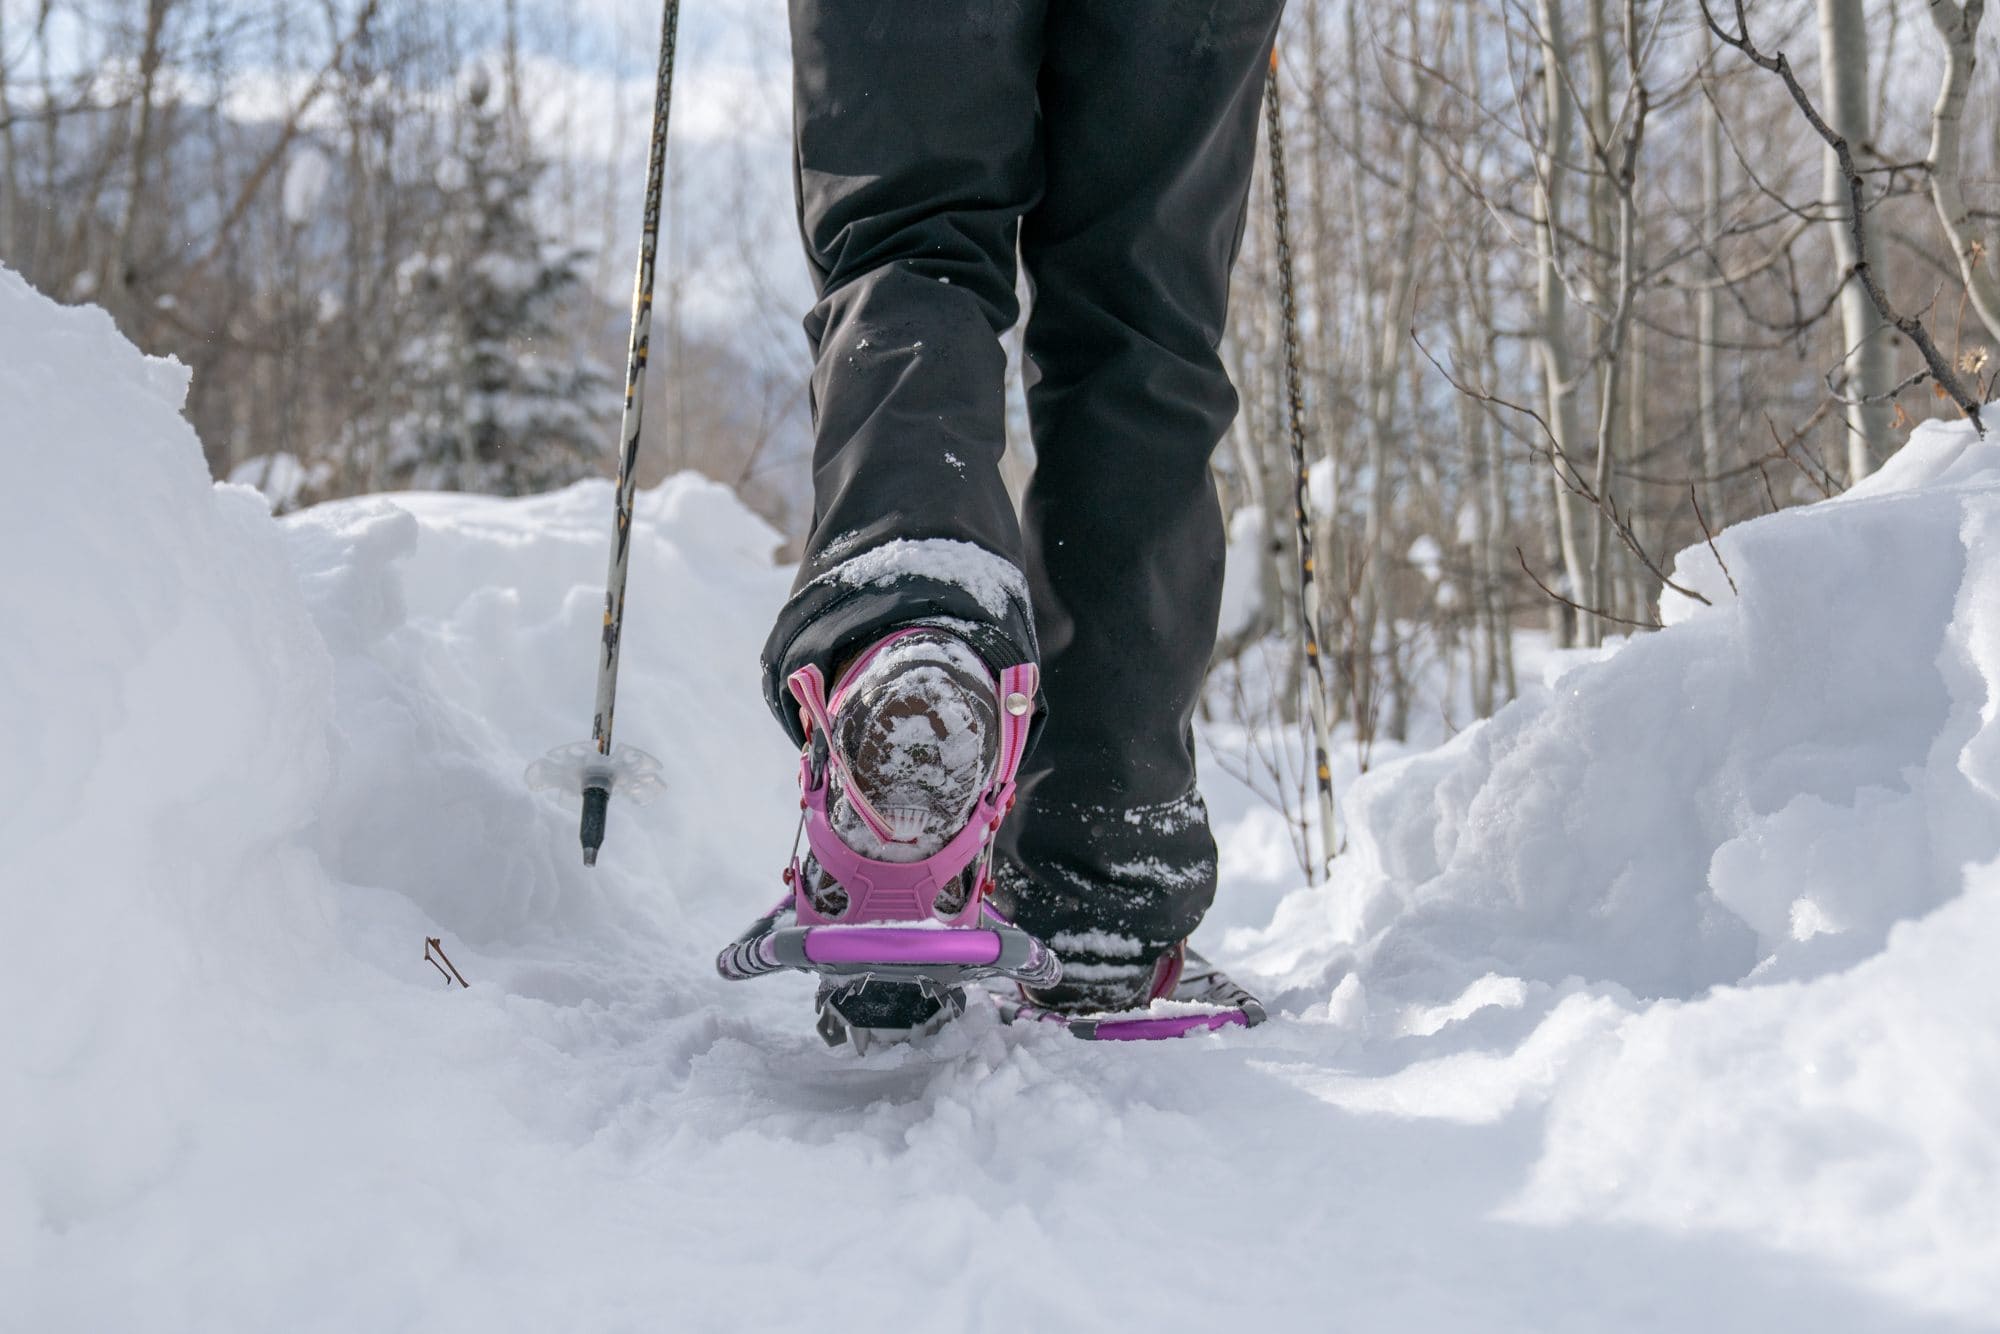
My Favorite Snowshoes
If you only plan on snowshoeing on groomed, flat trails, flat terrain snowshoes will be ok. Otherwise, I would recommend steering away from flat terrain snowshoes, as they are very limiting.
What to Wear Snowshoeing
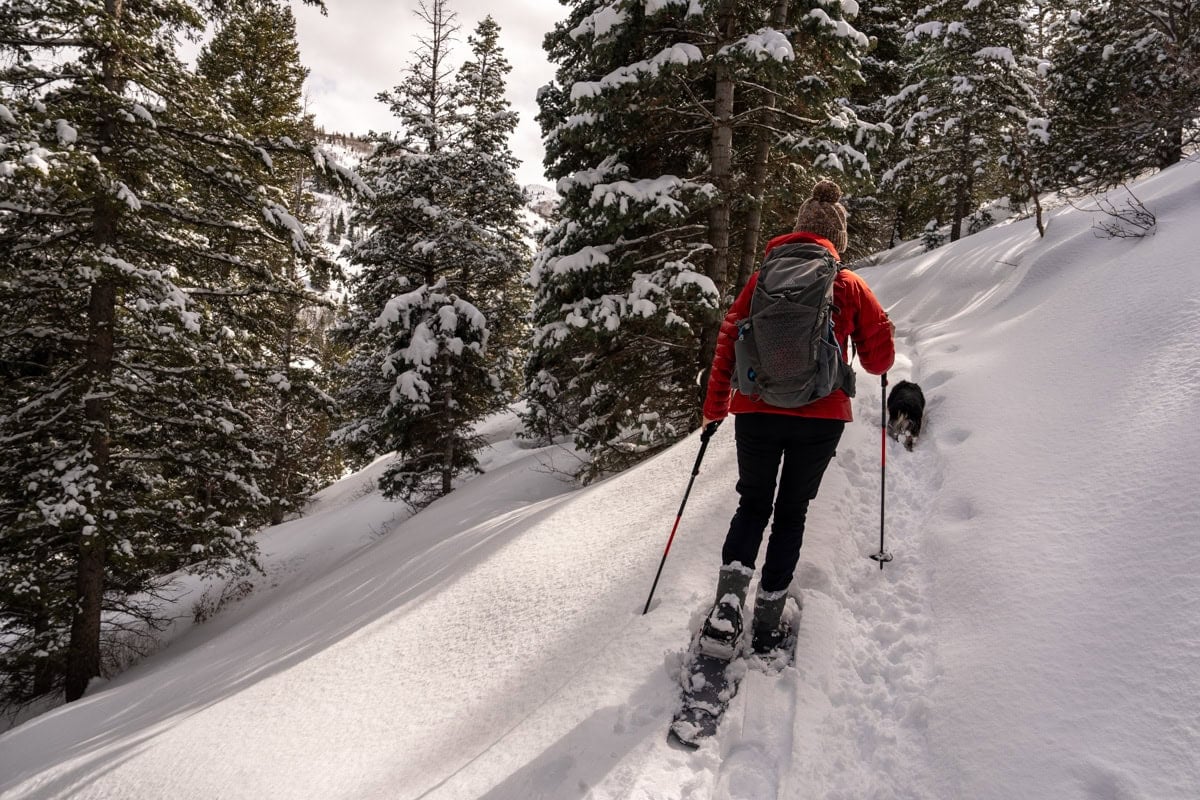
I usually get sweaty when I snowshoe. It’s a good workout, so I always wear or pack a variety of layers so I can add a layer or take one off depending on my body temperature.
Here’s a quick rundown of what I wear snowshoeing. For more info see my complete winter hiking clothing guide:
How to Walk in Snowshoes
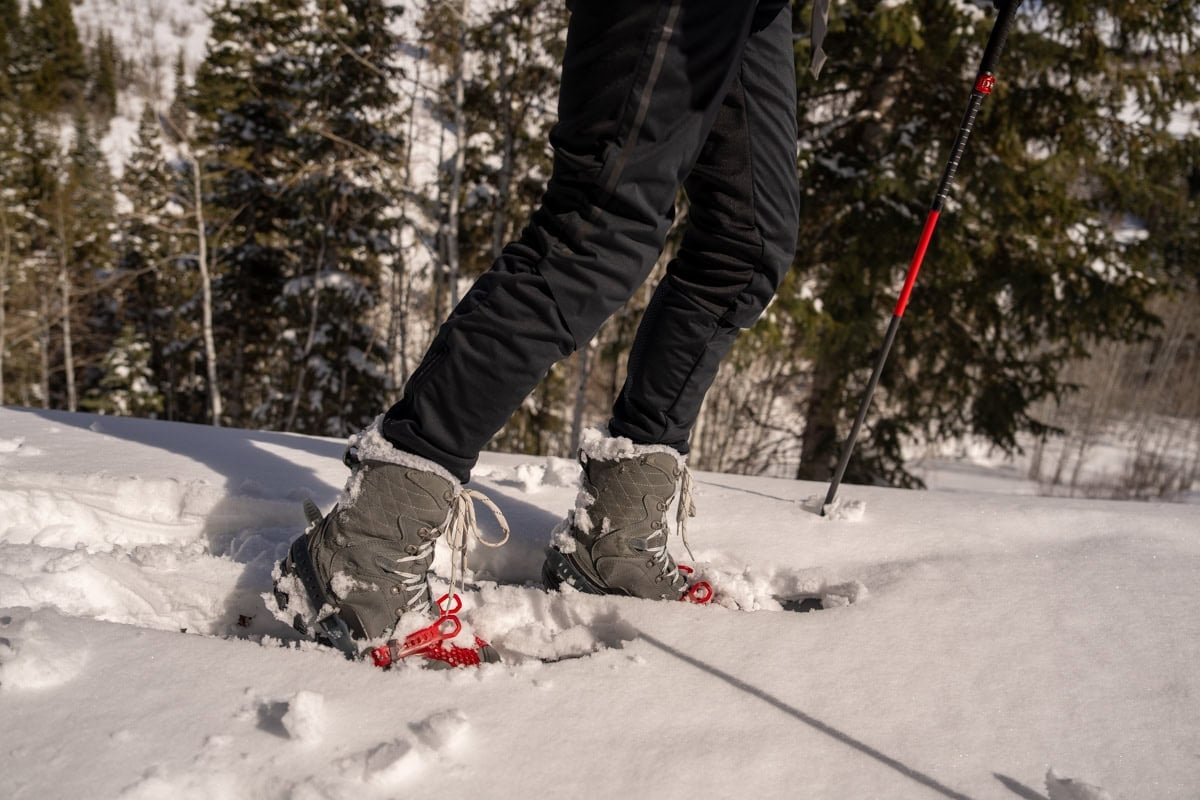
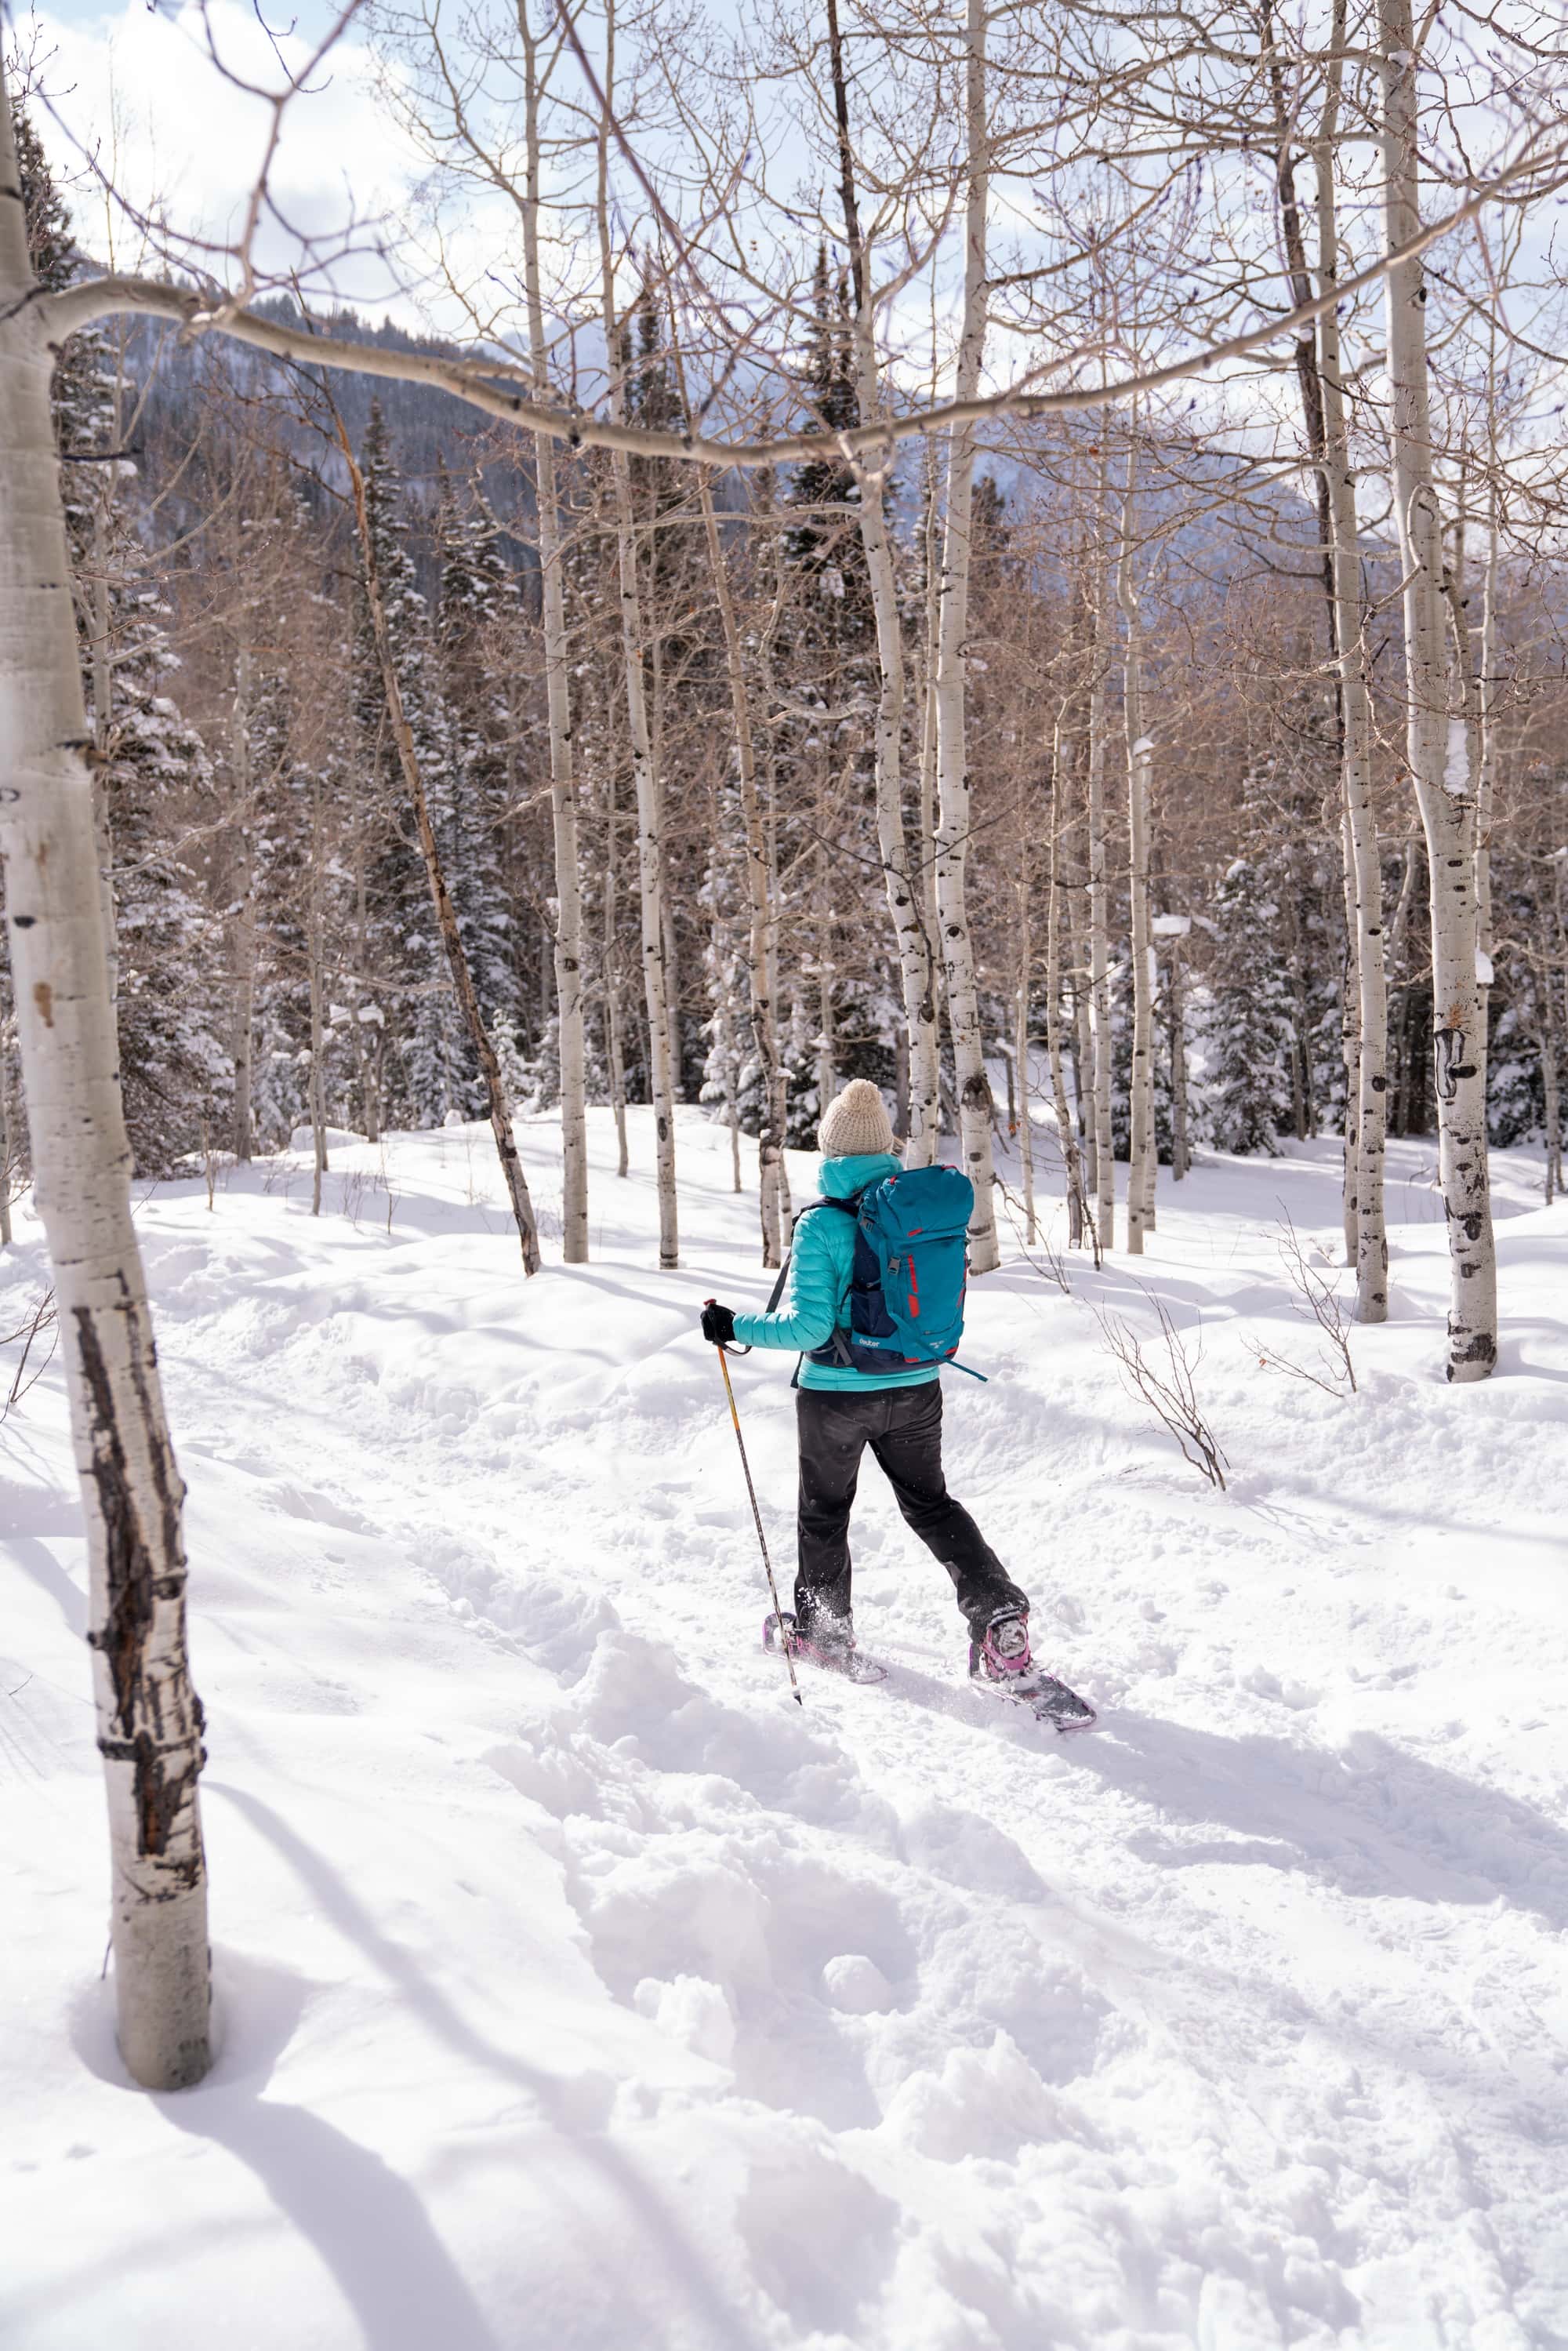
Learning how to snowshoe is as easy as putting them on and hitting the snowy trails. Many models are outfitted with straps, laces, or rubber webbing that you can simply pull on over your shoe. Make sure they you fasten them snug enough so the binding doesn’t slip off as you walk.
To learn how to walk in snowshoes, walk as you normally would with a more purposeful step. This ensures that you will have a good grip in slippery, snowy conditions or icy terrain and can easily adapt to unseen obstacles underfoot.
You might feel a little awkward at first, but once you get into your groove, it will start to feel more natural.
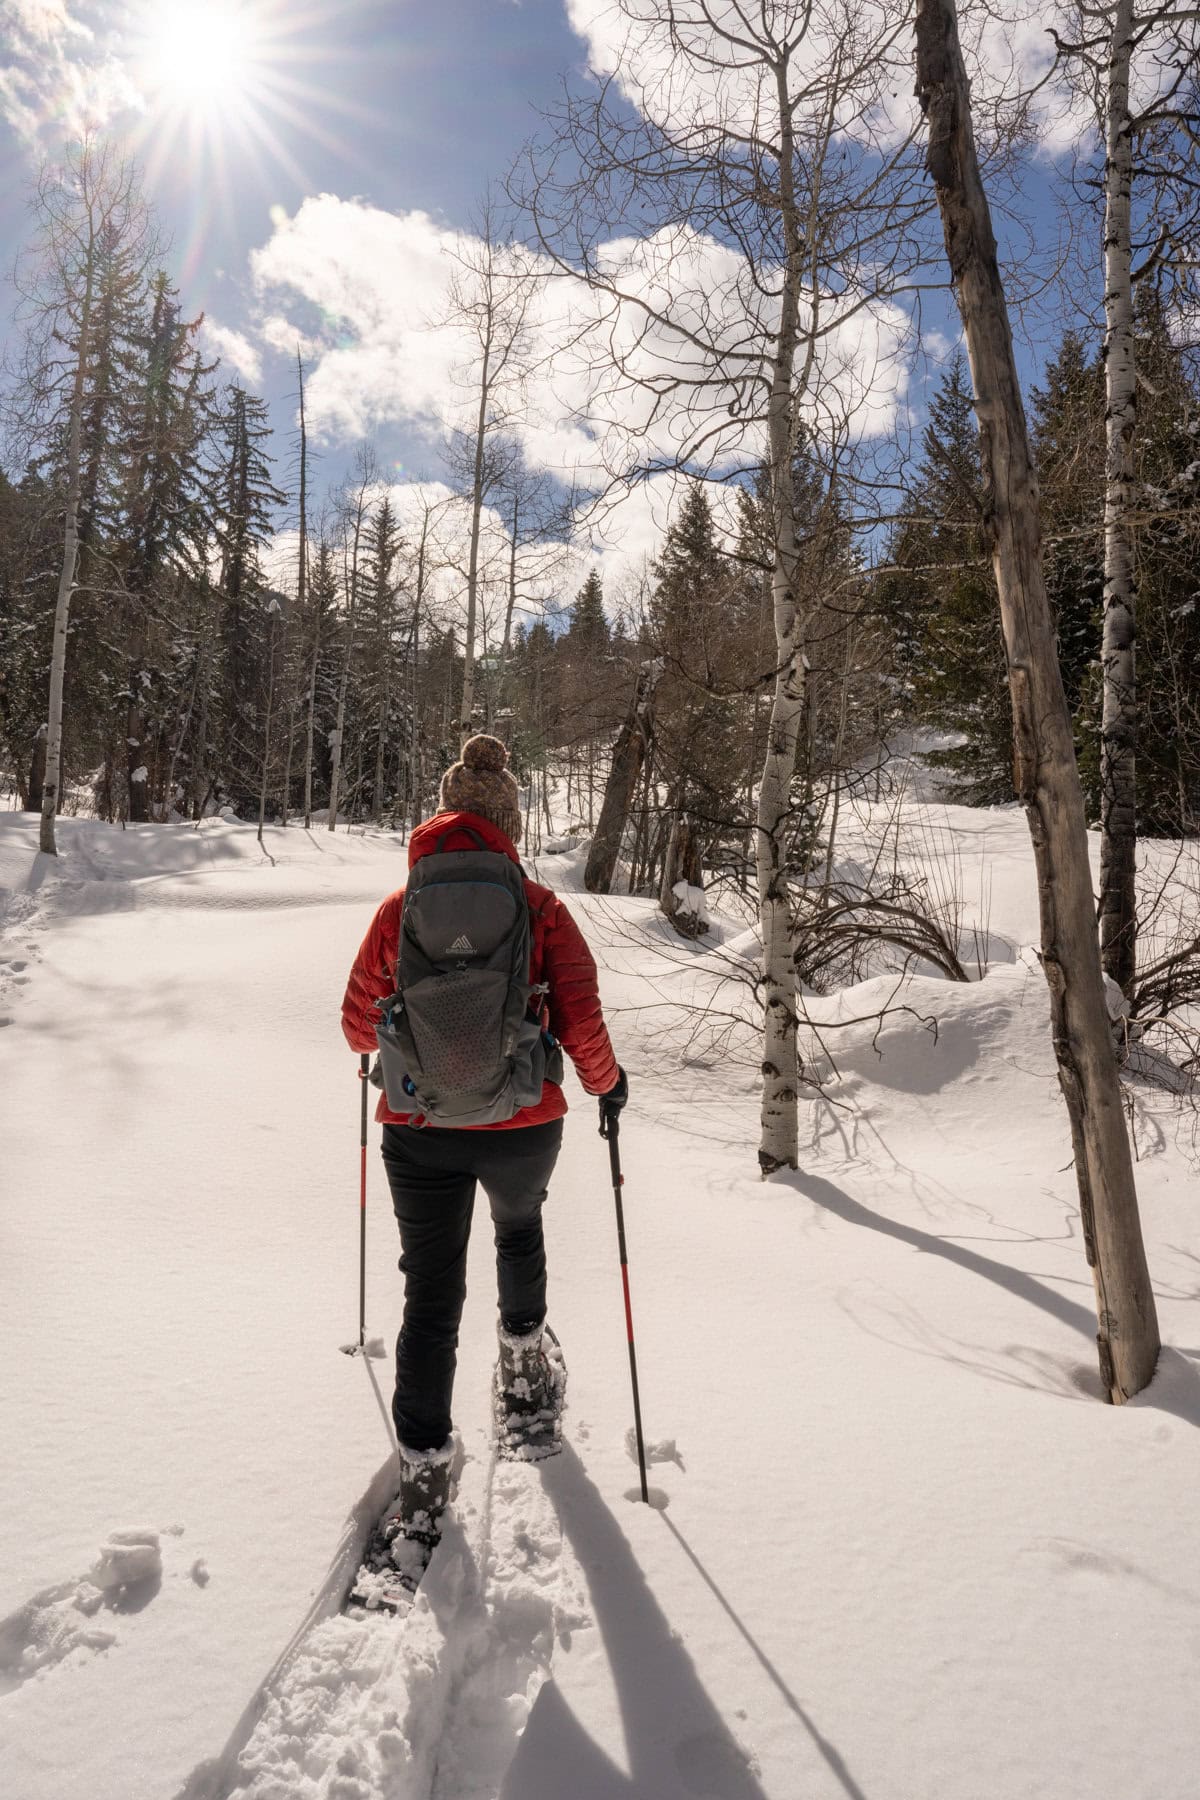
I always use use trekking poles with snow baskets when I snowshoe. They help me feel more stable and make it easier to balance when the terrain is uneven. Make sure your poles have a basket at the bottom, otherwise they will sink into the snow and won’t do you any good. Ski poles work great too if you have a pair of those lying around.
If your trekking poles didn’t come with snow baskets, you can easily buy a set like these trekking pole snow baskets for less than $10 that work with most trekking poles.
How to Find Snowshoeing Trails
Now that you’re booted up and ready to get out there, we bet you’re probably wondering how to choose a snowshoeing trail.
When you are first starting out, I recommend choosing an established trail rather than venturing into uncharted terrain. That way, there is a clear path and you can get used to walking in snowshoes before you try more challenging terrain.
Most hiking, walking, and biking trails double as snowshoeing trails during the wintertime. Cross country skiing trails are also usually open to snowshoeing. Just make sure to check the rules before you head out.
Trail finder apps are a good way to find winter snowshoeing trails. You can also google, “winter trail system near me” to find maintained trail systems that have groomed options.
Once you’ve got more experience and are comfortable with navigation, you can venture a little further off the trail.
Safety Tips for Snowshoeing
Being safe while you’re out on the trail or in the backcountry is a huge factor when it comes to learning how to snowshoe. I recommend that first-time snowshoers find a buddy and stick to well-marked trails, like cross-country trails.
When you’ve built up enough confidence to venture onto more challenging terrain keep an eye out for running water, tree and rock wells, and other winter hazards.
If you live in an area where avalanches are common, take a “know before you go” avalanche class. In this class, you’ll learn what to look out for, what warning signs to be aware of, and also about different safety gear like an avalanche beacon, shovel, and probe.
Also, be sure to follow your local avalanche center, they’re a great resource for knowing avalanche risk before you go.
Use precaution and stay safe by checking the weather forecast for your area with the NOAA Weather Radar app or Mountain Hub. When in doubt, don’t go out.
What to Gear to Bring Snowshoeing
My post with all of my best winter hiking tips has a detailed list of what to bring for snowshoeing. Apart from moisture-wicking layers, you’ll want to bring a hiking pack, water, snacks, and a navigation tool. Remember cell phones die quickly in freezing temps, so you should always have backpack navigation (like a paper map) so you don’t get lost.
More can go wrong in winter, so I always pack a headlamp, a way to start a fire, and emergency gear, including my Garmin Mini so I can call for help if something goes wrong.
Save this post to Pinterest
Have you ever been snowshoeing? What are your tips on how to snowshoe and what are your favorite locations? Leave your comments and questions below!


I love to snowshoe and I was eager to read your article. Thank you for the great tips. As a petite woman I find it tough to source small/narrow women’s specific snow shoes. Men’s shoes are way to wide and leave me clumsy. Any ideas? I need to replace my current pair. Thank you!
Hi Susan – there are quite a few women’s specific snowshoes available. Try looking for ones that have multiple adjustments so that you can get a snug fit around your boot. MSR and Atlas are two brands that make great women’s snowshoes.
As a snowshoe guide I’m often asked about different types of snowshoes. I think your article covered a lot of good points but I was hoping you would would show a little more variety in the snowshoes you recommended, such as the MSR snowshoes which are quite different from the ones you mentioned.
MSR makes great snowshoes, we agree! Unfortunately, most retailers have very low snowshoe inventory right now. MSR snowshoes are almost impossible to find at the moment. We’ll update this post when more snowshoe options are back in stores!
Where do you recommend snowshoeing in and around the Western part of the United States?
There’s great snowshoeing all over the Western US. Most ski resorts and ski towns have well-marked trails that are great for snowshoeing.