11 Tips for Hiking with Type 1 Diabetes
Don’t let Type 1 diabetes hold you back. Learn everything you need to know about hiking with diabetes.

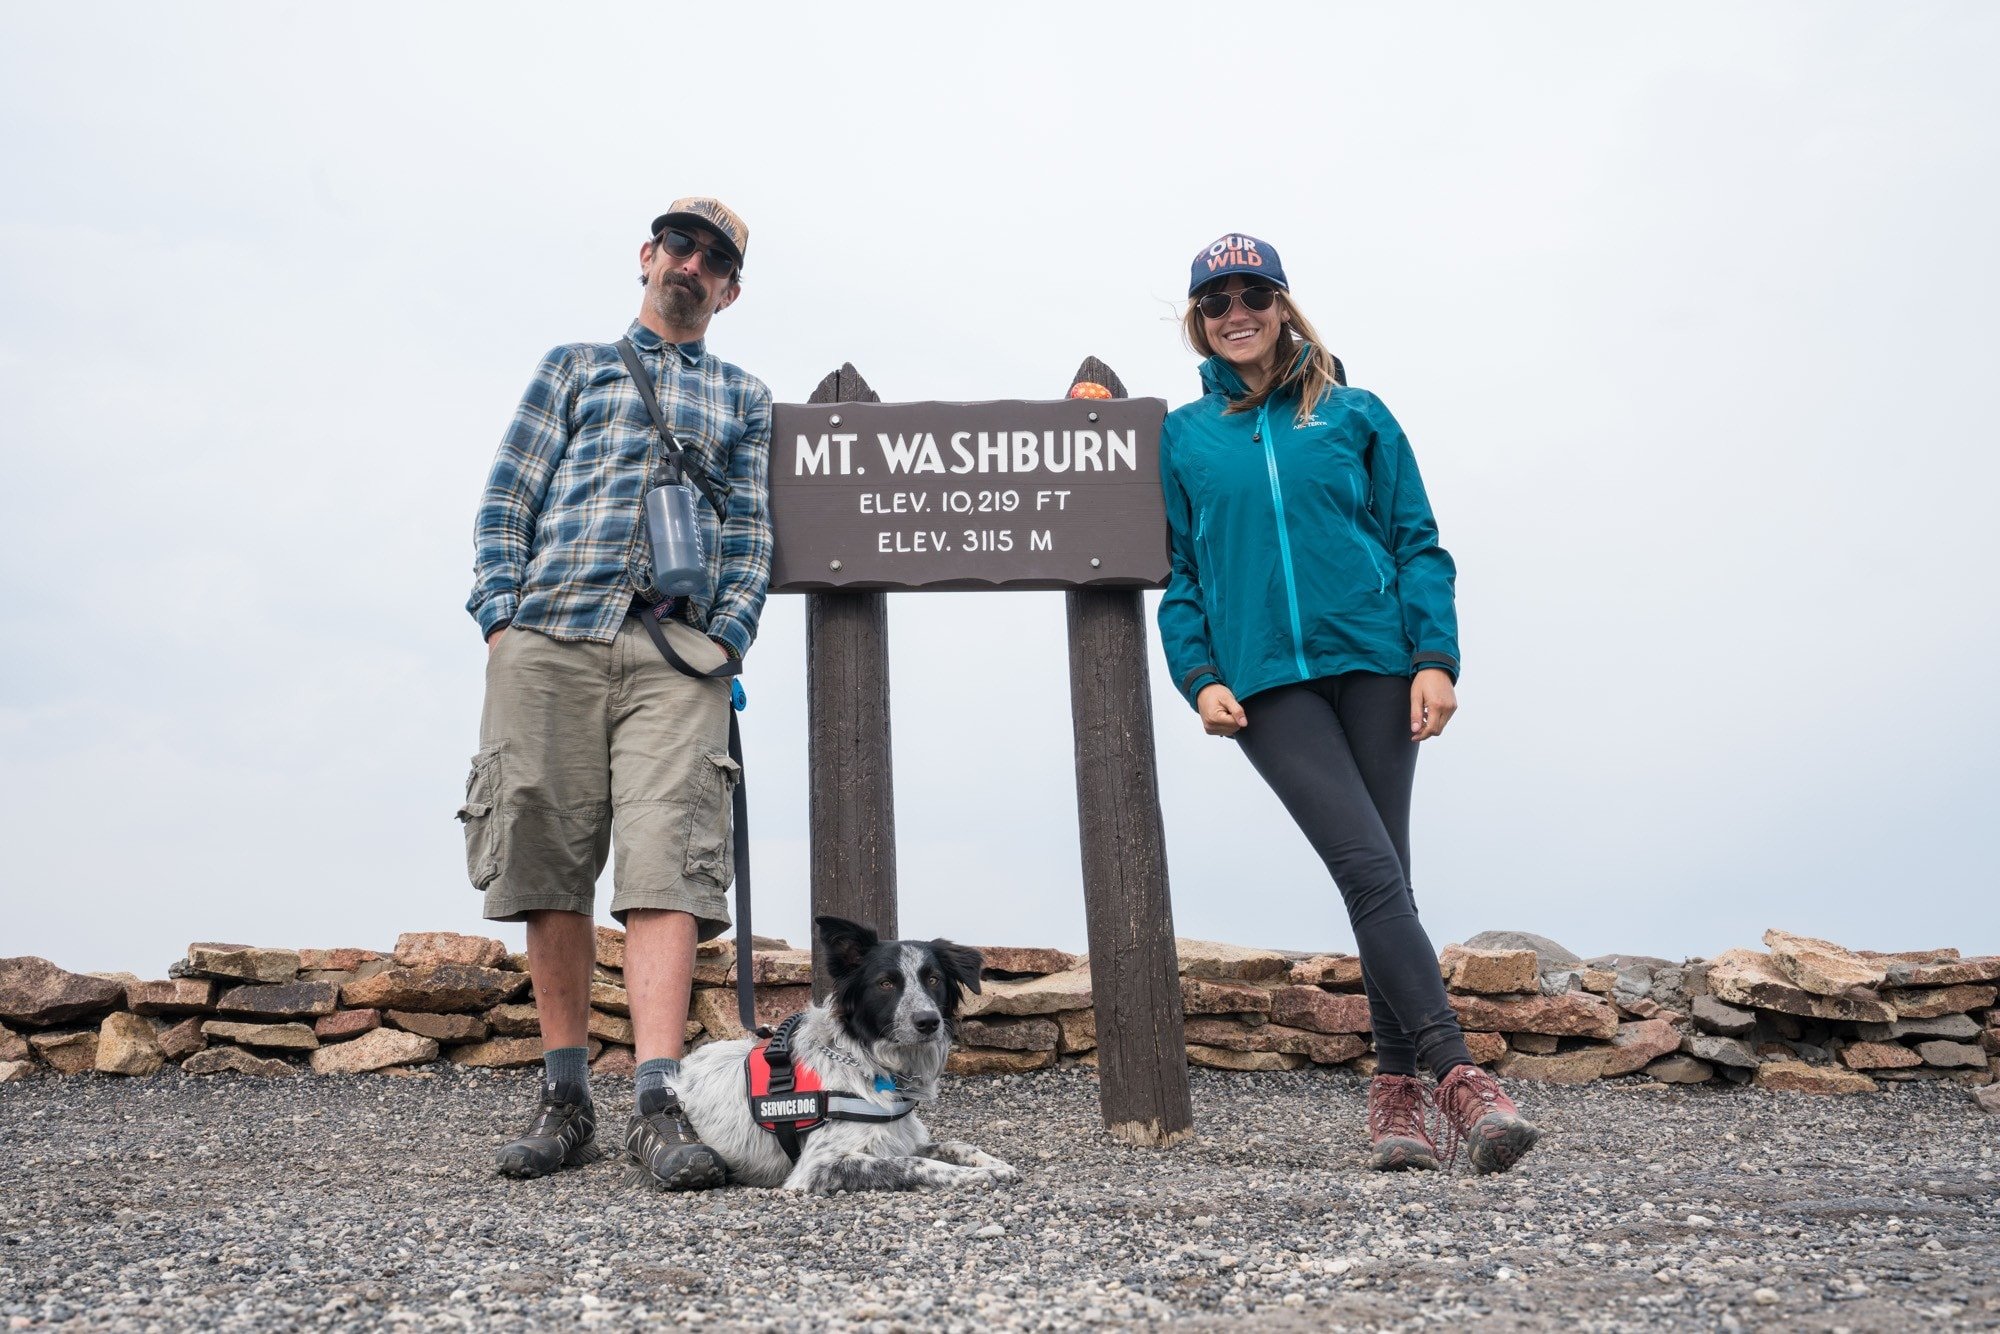
My partner Ryan has Type 1 Diabetes. Before we met, I didn’t know anything about Diabetes, but over the last five years of adventuring together, I’ve learned a lot. We hike, ski, and go backpacking together, and I’m continually inspired by his athletic abilities and the fact that he doesn’t let his diabetes hold him back. With that said, there are a number of precautions we take, especially when we are off-the-grid, to make sure he avoids dangerously low (and high) blood sugar levels.
If you have Type 1 Diabetes or you know someone who does, in this blog post, I share some of the tips I’ve learned and the steps Ryan takes in regard to his diabetes when we are out in the wilderness. My hope is that these tips give those of you with diabetes and your friends the confidence to go hiking and adventuring together.
*Disclaimer: I am not a doctor and this should not be taken as official medical advice. What I’m sharing is all based on personal experience and tips Ryan finds useful for hiking with diabetes. If you have specific questions regarding your diabetes, I recommend consulting your doctor.
This post may contain affiliate links.
1) Tell your hiking partners about your diabetes
First things first – make sure to tell the people you are hiking with that you have diabetes, what can happen (what low blood sugar looks like), and how they should respond.
The first time I ever saw Ryan with low blood sugar it was scary, but because I was warned, I knew to quickly get him some sugar. Without him educating me first, I would have had no idea what to do.

Save this post!
Enter your email & I'll send this post to your inbox! You'll also receive my weekly newsletter full of helpful advice for planning your adventures.
2) Test your blood sugar more frequently than you do at home
The easiest way to prevent scary lows when you’re on hikes is to test your blood sugar frequently. Blood sugar can change rapidly during and long after exercise. Sometimes Ryan will eat something that would normally cause his blood sugar to go up, but when his metabolism is in full drive, like on a steep hike, his blood sugars will run lower than he expects, sometimes crashing unexpectedly. When we first started dating, Ryan tested his blood sugar by pricking his finger. He would test before and after we ate, before and throughout big climbs, first thing in the morning, and always before we go to sleep at night.
If getting a continuous blood glucose monitor is an option, I highly recommend it. A few years back, Ryan got a Dexcom continuous blood glucose monitor, and that has been a total game changer. He pairs it with his Apple Watch and iPhone and can see his blood sugars at any instant simply by looking at his watch. He can also see the direction they are headed, and he can eat or take insulin preemptively. Not only has it helped him better manage his blood glucose levels, it’s given me as his hiking partner much greater peace of mind.
3) Carry extra snacks
On our backpacking trip it always seems like we are bringing way too much food and our packs are very heavy as a result. However, there have been times right before bed when Ryan tested a little low and needed to eat something. If we only brought exactly whaat we needed, we would have run out. Make sure to carry extra snacks for these types of scenarios and that your hiking partner also knows where the snacks are. If you are backpacking, this is even more important. We like to bring Gatorade powder or a sugary drink of some sort that would go down easily in case of an emergency. It’s also a good idea to bring We also recently picked up some of these glucose gels that would be easy for me to squirt in Ryan’s mouth in the case of an emergency.
When backpacking in bear country, it’s always tricky making food accessible at night. Typically Ryan will set an alert on his Dexcom for 80 and if it goes off, that gives him or I time to go out to the bear canister and get a snack. We make sure the quickest snack for him to ingest is readily available right at the top of bear canister so he doesn’t have to go digging around.
We wrote a blog post about our favorite hiking snacks to give you some ideas on what we typically carry.
4) Drink lots of water & electrolytes
Ryan doesn’t get leg cramps all that often, but when he does they are very intense. One time we were in the North Cascades hiking down from Hidden Lake Lookout after watching the sunset, and all of a sudden Ryan’s quad started cramping up, almost to a debilitating point. Apart from abnormal blood sugar levels, leg cramps in diabetics can be due to dehydration and low potassium levels, which can happen when you sweat a lot.
We always use a CamelBak or similar hydration reservoir when we are hiking for easy drinking, but since that incident in the North Cascades, Ryan has also started taking electrolyte tablets or supplements to keep his potassium levels in balance when we are hiking. On our recent 4-day backpacking trip in Yosemite, he added NUUN Tablets to his water throughout the day. These come in a variety of different flavors, are low carb, and taste pretty good. I also like SaltStick tablets which have no sugar or sweeteners. These come in capsule form, and you just swallow them. I took these daily during my John Muir Trail hike, and I thought they helped a lot with my energy levels and recovery.
5) Avoid sodium packed backpacker meals
A lot of those just-add-water backpacking meals contain a sh*tload of sodium, and too much sodium before bed can contribute to dehydration and thus leg cramps. Unfortunately, it’s hard to find healthy, low-sodium backpacking meals, but there are a few out there (although many of them still have a ton of carbs). For pre-packaged, lower-sodium options, I’d recommend a brand called Good To-Go, which is available at REI or Amazon.
Harmony House also makes an awesome kit of dehydrated ingredients, including veggies, beans, and meatless protein that you can use to make your own meals.
>> Read Next: Best Lightweight Plant-Based Backpacking Meals for Backpacking
5) Make your own diabetes first aid kit
The store-bought first aid kits are a good place to start, but hiking with diabetes requires getting your first aid kit dialed to your specific needs. Here are a few of the things we carry in our first aid kit:
- Chewable aspirin: Research shows aspirin can help reduce clotting and possibly buy you some time in the extreme case of a heart attack. Chewable aspirin is digested more quickly than the kind you swallow, so it’s a good idea to put a few of these in your first aid kit as a just in case.
- Extra needles (or whatever you use to administer your insulin)
- Personal medications
- A couple of sugar packets or pieces of quickly digestible candy that your hiking partner can administer if necessary.
- Small bottle of saline solution and bandages: Streams carry bacteria, and since diabetics are more susceptible to infection, a safer way to clean out your wounds when you are hiking is to use saline solution.
- Blood glucose monitor and extra strips
- Hand-Sanitizer: before you test your blood sugar, you’ll want to rinse your hands and hand sanitize to make sure nothing on your skin is interfering with the results.
- Back-up insulin for overnight trips
- Glucagon pen – these are expensive, but it’s a really smart thing to bring in case of an emergency. Make sure your hiking partner knows how to use it, and if backpacking, sleep with it in your tent.
I can’t stress enough the need to bring extra insulin supplies. When we went packrafting on the Escalante River, Ryan had multiple pens fail due to sand getting in the plunging mechanism. The last 24 hours of the trip, he didn’t have any insulin pens that worked, and his blood sugars were through the roof. He felt very sick on the hike out, and if this had happened sooner in our trip, it could have turned into an emergency.
6) Keep your insulin cold
If you are going to be hiking in hot weather and your insulin requires refrigeration, check out the Frio Wallet. You submerge the insulated gel pouch in water, and then the pouch stays cold for up to 48 hours. Ryan used this when we went backpacking to Havasu Falls, and it worked perfectly. It also provides a nice cushioned layer to protect your insulin vials against breaking.

7) Carry a communication device
This past spring I got Garmin InReach – mostly for my solo travels, but it also gives me peace of mind when Ryan and I are out hiking together or traveling in our van without cell service. In addition to mapping features, it gives you the ability to send a custom text message or to send an SOS signal to emergency responders no matter where you are.
I also make sure to get the evacuation insurance so if we do need a rescue I won’t be out tens of thousands of dollars.

9) Wear a diabetic ID bracelet
Whether you hike solo or not is a personal decision. If you are diabetic and choose to hike alone, you should always wear a medical ID bracelet that states your condition and personal information. Ryan actually has the words “Type 1 Diabetic” tattooed in big letters on the inside of his wrist. That way, he doesn’t have to remember to put a bracelet on everyday, aand in the case of an emergency, a stranger or medical professional would know what’s going on.
10) Consider training a Diabetic Alert Dog
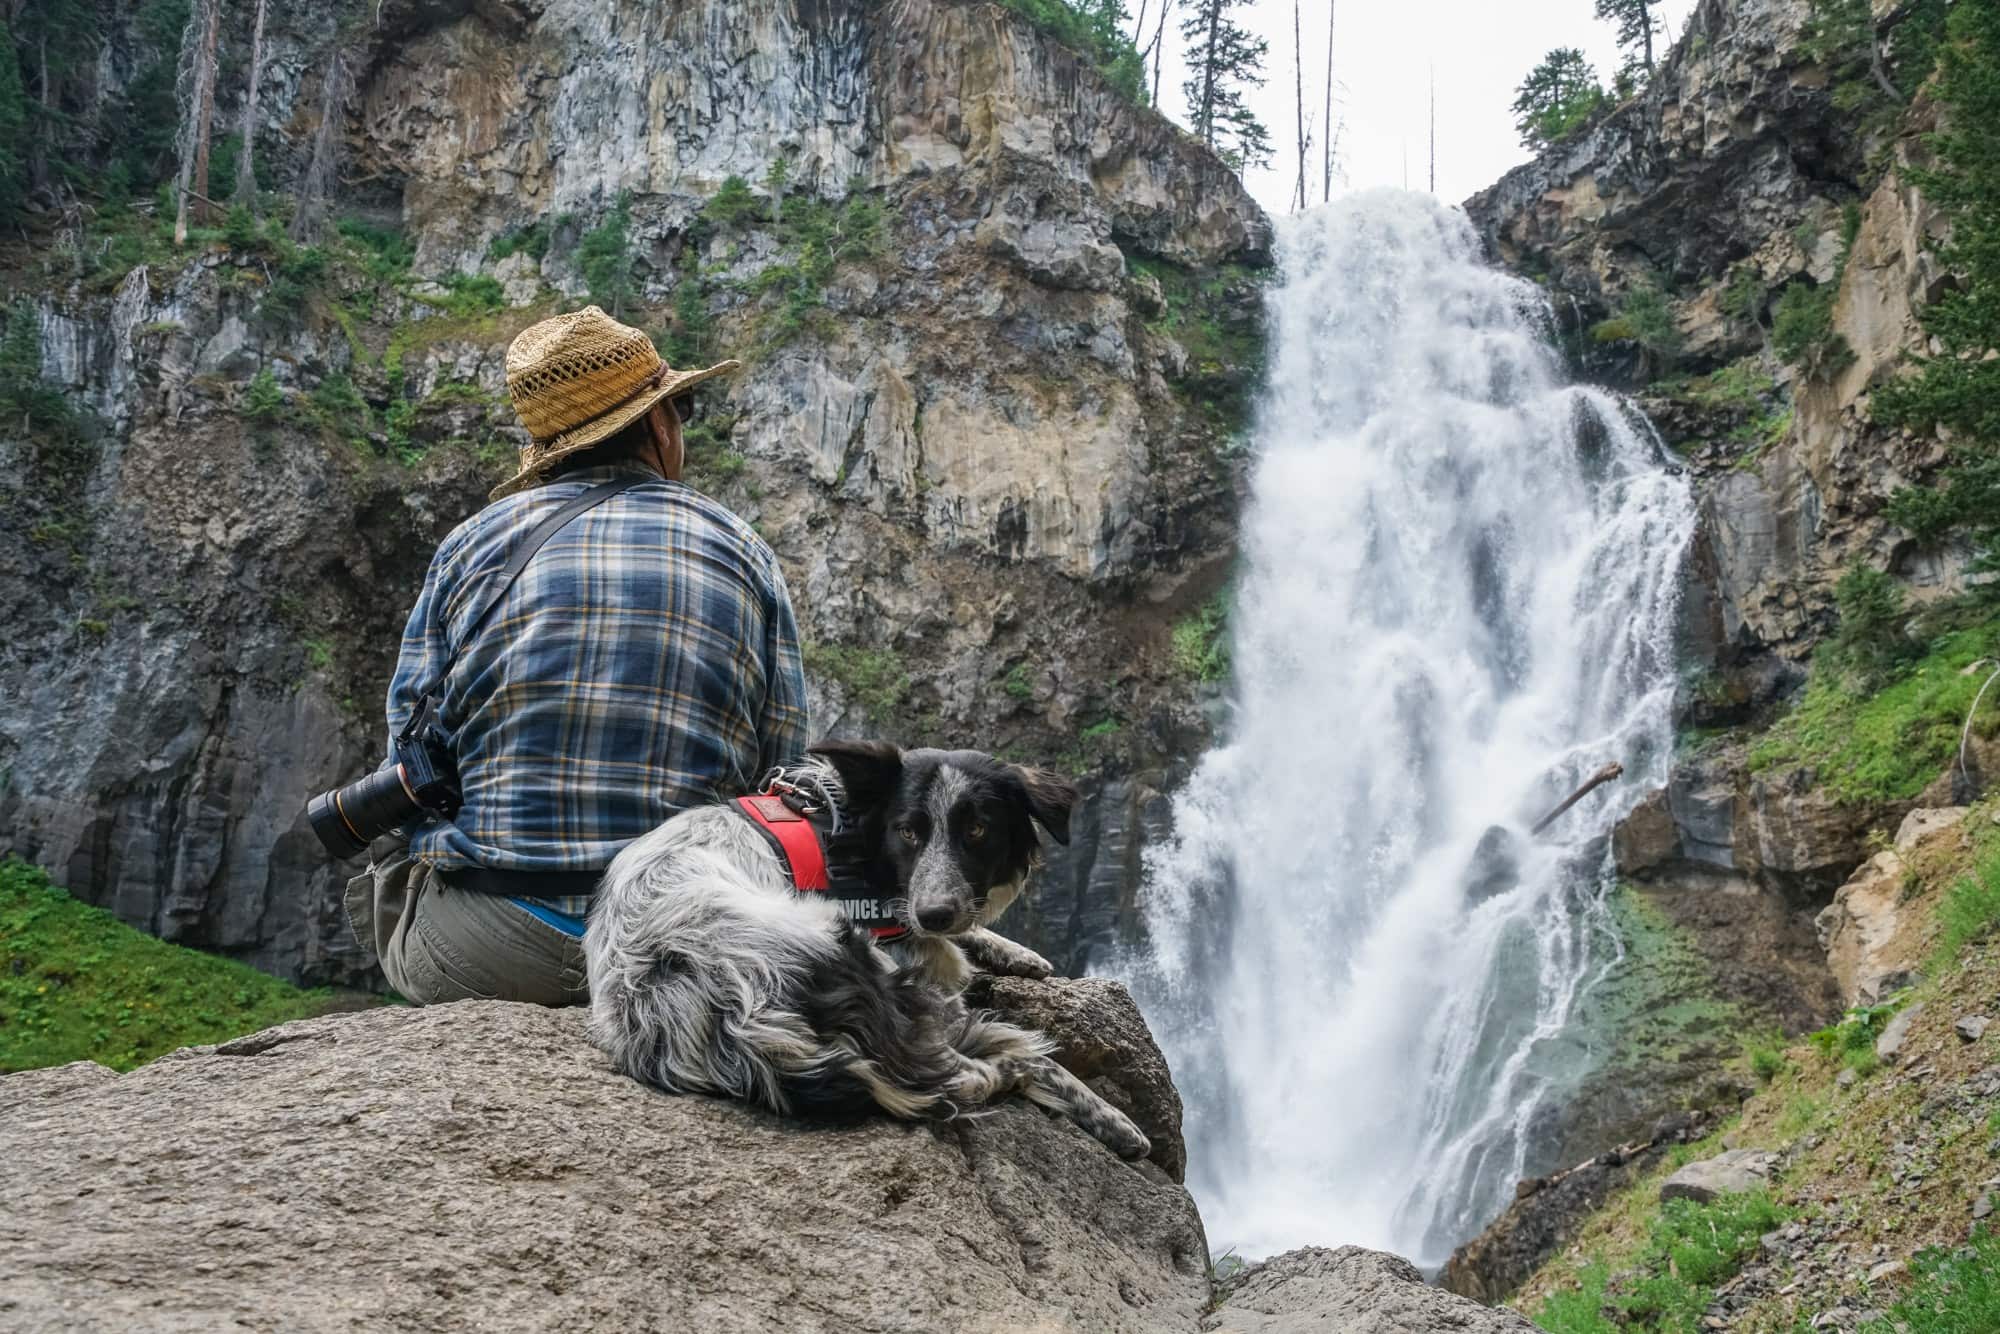
We have trained our dog Charlie to be a diabetic alert dog. This means he will alert Ryan when his blood sugar is high or low, based on the smell of Ryan’s breath, before it gets dangerous. Training a service dog requires a lot of work and diligence, and it’s also not foolproof, but for us it’s been worth it for the extra peace of mind when we are out hiking and camping.
You can buy a pre-trained diabetic alert dog, but it is very expensive ($15,000+!!!). This wasn’t something we could or were willing to pay for, so we trained Charlie ourselves with the help of a professional service dog trainer.
If this is a topic people are interested in, let me know if the comments, and I can share more on this later.

11) Consider a Plant-Based Diet
Ryan and I transitioned to a plant-based diet in 2019, and Ryan’s A1Cs have dropped significantly since while reducing his insulin intake (despite eating more carbs). He has also been able to get off his Metformin and his cholesterol pills (the ones he was on were known to cause muscle cramps), and his blood glucose levels are much more stable throughout the day. He still has some highs and lows, but he doesn’t experience the yo-yo-ing between high sugar spikes and low crashes like he used too, and he feels 1000x times better. There isn’t a ton of research on Type 1 Diabetes and a plant-based diet, but there is a wealth of information about the effects of a plant-based diet and Type 2 diabetes. Science has shown that a plant-based diet can increase insulin sensitivity and lower A1Cs over time. If this interests you, you can read a bit more about our plant-based journey here.


Thank you for these tips! I am a recently diagnosed type one diabetic and avid hiker. I have not felt comfortable going out since my diagnosis and appreciate some suggestions to feeling more confident.
Maxine – I’m glad you found it helpful. Feel free to get in touch anytime and enjoy your time on the trail. Kristen
In my younger years (pre-diagnosis), I was an avid backpacker and a river guide. Now, I am a high school teacher across the hall from Jess – who shared your blog with me. I was diagnosed 15.5 years ago at the age of 29 with Type 1 Diabetes. I went on a pump within 3 months and the last 2.5 years, I have used a Dexcom CGM which is a game changer. Even with this technology, I drop rapidly and struggle with hypoglycemia unawareness. We adopted Link, an Irish Goldendoodle, 2 months ago and I am working with Joe @ Ty the Dog Guy to train him as a diabetic alert dog as well. Training is a lot of work, but I look forward to challenge and the result.
This post is so interesting ! I do not have this kind of disease myself but do have friends who do (who doesn’t nowadays ?).
I never heard about diabetic alert trained dogs but this look amazing ! Dogs are such good companions for hiking, if they can also be an pet-doctor it would be perfect ! I know a dog trainer, I will ask him about that. I would be interested for more details in a future post 🙂 (I wonder if we have that in Europe by the way).
Thanks for sharing this. I am a type I for 30+ years and I travel all over tarnation. I recently did a 24 kilometer trek in Parque Patagonia. (I noticed you are planning a trip there and I highly recommend putting Parque Patagonia in Chile and Lago General Carrera on your itinerary if possible!) I like Kind Bars because they have a lot of sugar and protein with nuts. When your blood glucose drops you need sugar immediately to bring it up but you also need protein to maintain. They are light and small so easy to take on the trail. Also. Water is super important as you mentioned. When I started the hike I was carrying a gallon of water. Heavy!!! But worth it in the end. We were out for seven hours and there were no places to refill.
Thank you so much Cynthia for sharing!
Thanks Cynthia for the comments. That’s so cool you were down in Patagonia. I’ll have to check those places out as I’m looking to stay a little longer after the group trip is over. Thanks for the tips on Kind Bars. That’s a great option as you say. Happy trails!
My backpacking trips have never been anywhere that includes bears… but this summer I’m considering some portions of the Continental Divide. My food is always stored in a bear bag away from the tents, but I do sleep with an emergency snack in my tent (in a scent proof bag) in case I go low in the middle of the night (I have Type 1). Have you backpacked anywhere with bears and if so, do you have any recommendations?
You bring up a great point Kaitlin. It sounds like you’re handling it right. Keeping all your food in a bear canister or bear bag away from your camping area is key for safety. In terms of an emergency snack, in addition to keeping it in a scent proof bag, we’d suggest picking something tightly sealed that doesn’t have a scent, like an apple sauce squeeze packet, a juice packet, or something similar. Glad to hear you’ve been getting out there and hopefully this post and the comments have been helpful!
Ive been type 1 for 40yrs and do 2-3 trips a year, mostly in bear country. There is no good answer for overnight lows, if you are backpacking alone. If you are with someone, don’t be bashful on waking them up, if they are the type of person who gets annoyed at this, find a new hiking buddy:-). I now have a dexcom cgm. The dexcom will ring an alert at a preset low sugar. So I set it for 80and I have plenty of time to get out of my tent and open my bear can for a bag of Skittles (my go to). Before the dexcom, I set my alarm every 2 hrs to check my sugar. A pain in the neck but very much worth it.
Thank you for such an insightful and detailed post. My husband is also a type one Diabetic and we have written a similar post about how he wild camps safely with diabetes.
I am a 48 year old type one, insulin pump using, CGM implementing diabetic diagnosed 8 years ago. I love to hike, backpack and camp but have some serious reservations about anything more than day hikes. Reading your recommendations and experiences is not only helpful, it adds peace of mind. I’m searching out any and all info I can get to help ensure our first overnight (and eventually longer) hikes are safe and enjoyable! THANK YOU for taking the time to share!!!
Hi Kristen,
Several months ago my 14 yr old son was invited to go camping with his friends family. One month ago he was diagnosed with T1D. The camping trip is booked for the last week in July and his Endo team has stressed the importance of him not being held back (although I’m terrified to send him). Thanks for all your tips. Do you have any recommendations for hiking in Algonquin, where they have black bears, as he will be required to have emergency snacks on him the whole time. TIA
My 15 year-old son is type-1 diabetic diagnosed at age 2 and we’re going backpacking in the Sierras this week (his 3rd trip) where there are black bears. Bear canisters (not bags) have been the perfect way to store food. You can rent them from your local REI and Rager station. All the best!
Hi Craig – Yes to my knowledge, they require canisters in that area. Have fun!
For a type 1 diabetic far from emergency services, a glucagon emergency kit is mandatory in my opinion.
I found a way out after reading this article https://ahealthyjuicer.com/diabetic-meal-delivery/ my life became more pleasant even with diabetes. I lost a lot of weight and started playing sports. Thank you for the interesting information.
Thanks for sharing that! Best of luck to you 🙂
Hi! Type one here and was wondering how your trip to havasu went and if you have any tips for the particular trip! I want to go but I tend to go hypo a lot when hiking especially steep hikes. Any tips?
Thanks!
Hi Alexis – Thanks for reaching out! Basically when we backpack, we bring a lot of extra food and we ration it very carefully just in case Ryan gets low. It makes for a heavy pack, but it’s worth the peace of mind. We also bring gatorade powder which you can buy on amazon which has the same amount of carbs as a normal gatorade but weighs a lot less. He always has one of those made in a water bottle before we hike and before we go to sleep at night. You could also bring some of those Cliff Bar gels or a Glucagon pen if you have one. Hope that helps and feel free to reach out with more questions. Ryan is also @charlietheadventuredog on Instagram. Feel free to contact him there as well 🙂
Nice read! I got to the blog while researching about Patagonia and, wow!, what a surprise to find this post. I’m a T1D since more than 20 years, even got diabetes tattooed in my knuckles (which has been useful already in a bike crash a couple of months ago when I woke up in a ER), and planning to bike to Ushuaia this year. Thanks for the tips and lets keep living adventurously, with our blood sugar levels in place, haha. Cheers from Brazil 🙂
Kristen, as a T1D with plenty of hiking under my belt but preparing for a backpacking trip, I cannot thank you enough for taking your time to share these tips! I’m curious to know with the dehydrated Good-To-Go foods, do you find the carb counts to be accurate? At a quick glance, it seems like there is anywhere from 50-60g per serving or 100-130g for a whole bag. This is definitely more carbs than I would have expected, and would love to hear any input/experience that your partner may have about bolusing for these types of foods on the trail. Thank you in advance!
Hi Kylee – Great chatting with you over on IG. If you have more questions let me know.
Thank you for sharing your knowledge and experiences. I am planning to do an 8 day hike in the alps in France, Italy and Switzerland. I am 69 but still quite active. My struggle is finding someone to help with training for this adventure. I live in Ottawa ON Canada have a good relationship with my care team but haven’t received the help I feel I need for this adventure. Any suggestions would be greatly appreciated. Once again thank you and I look forward to any suggestions you may have. Take care and have a great day!
Hi Patti – Sorry for the delay. Do you mean training to get stronger for the hike? Or knowing how to deal with Diabetes on the trail?