4 Best Hiking Binoculars & How to Choose The Right Pair
See wildlife up close with these best hiking binoculars and learn tips on how to use them!
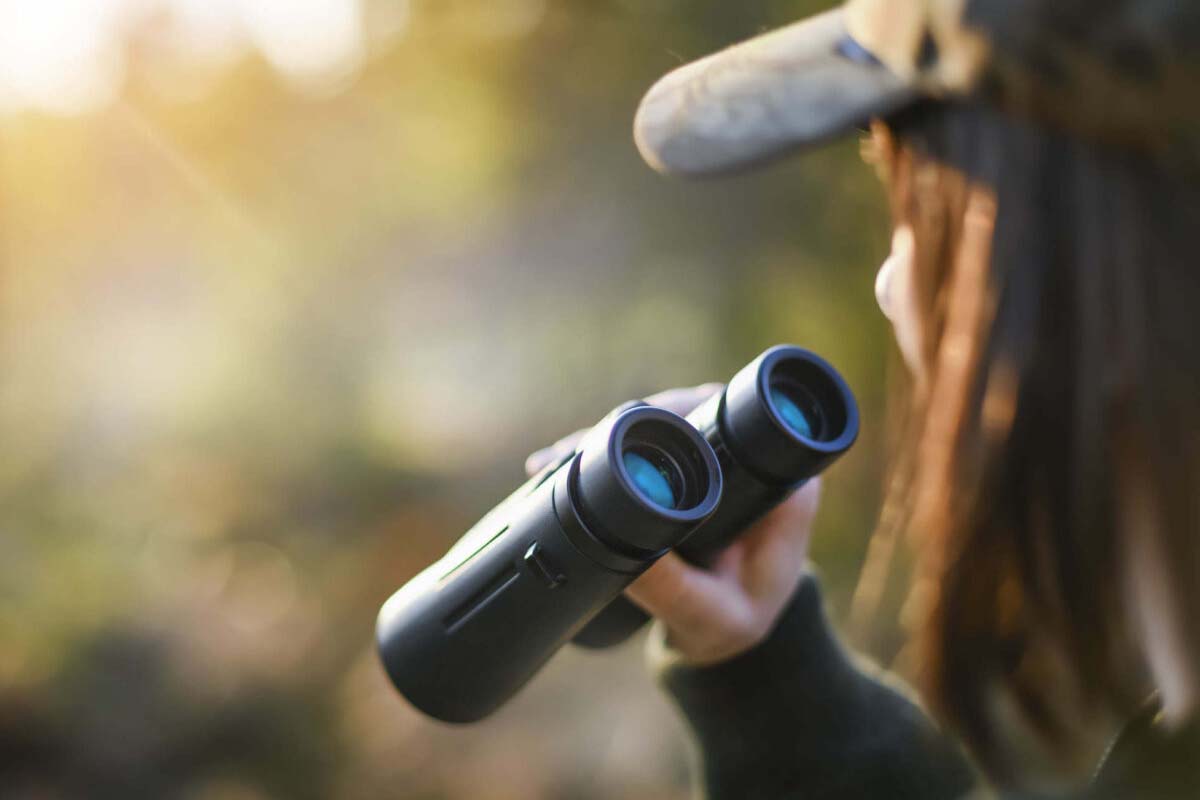
If you’re interested in having a better view of wildlife on your outdoor adventures big and small, getting a pair of hiking binoculars is a must!
From bird watching in camp with your morning coffee to getting an up-close view of a bison (safely!) at Yellowstone, binoculars open up a whole new view into the wild places you adventure.
Some argue that compact, lightweight binoculars are the way to go, but keep in mind that larger binoculars can deliver a much higher-quality image — which makes them much more interesting to use!
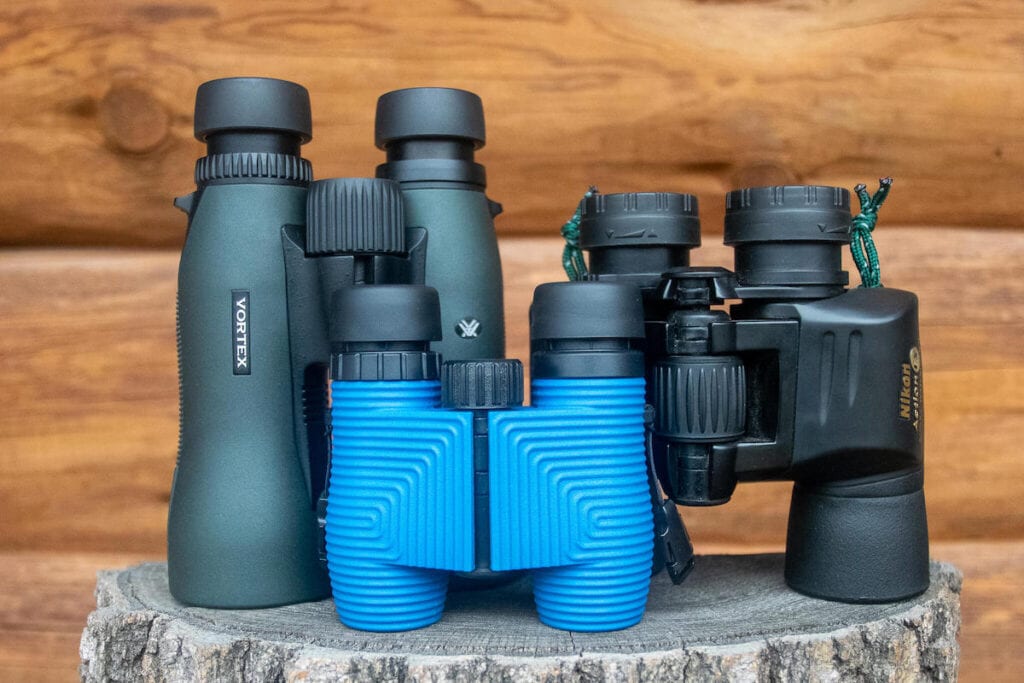
In this roundup of the best hiking binoculars, we’ll walk you through the key factors to consider when choosing a pair of binoculars and share our favorite recommendations.
Best Hiking Binoculars at a Glance
- Best budget buy: Nocs Provisions Standard Issue Binoculars
- Best value binoculars: Nikon Action EX
- Best for wildlife viewing: Nikon Monarch M5
- Best for long-distance viewing: Vortex Optics Diamondback HD
This post may contain affiliate links.
Save this post!
Enter your email & I'll send this post to your inbox! You'll also receive my weekly newsletter full of helpful advice for planning your adventures.
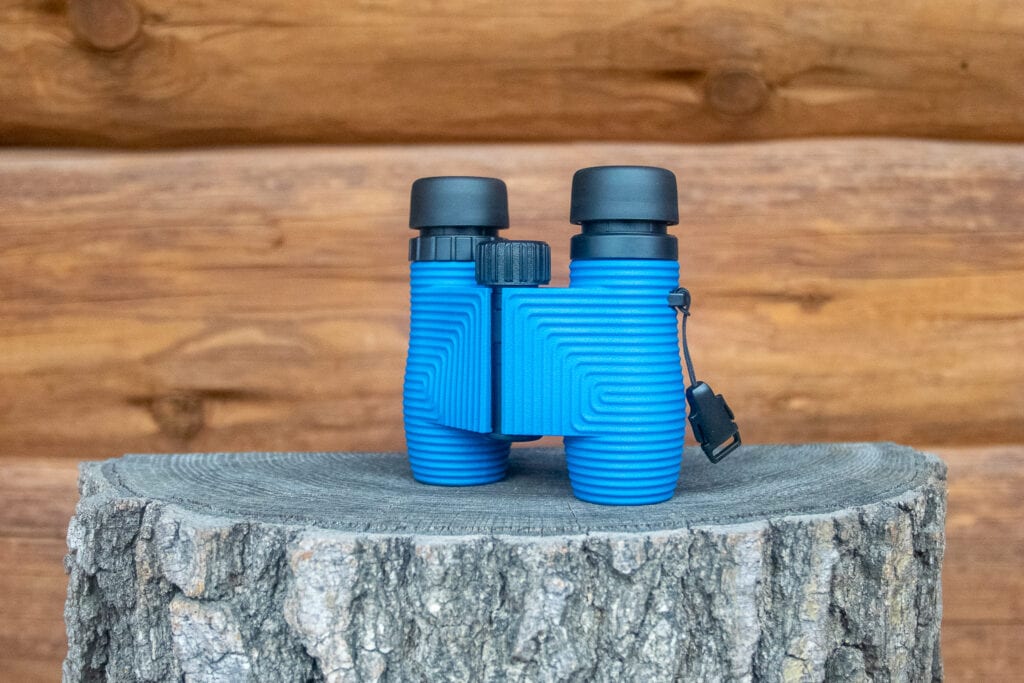
1. Nocs Provisions Standard Issue Binoculars
Best Budget Buy
- What we like: Most lightweight & compact option, budget-friendly, covered under Nocs “No-Matter-What” lifetime warranty
- What we don’t like: Eye cups are on the smaller side, lower objective lens may affect brightness and clarity
The Nocs Standard Issue Binoculars are the best compact binoculars that pack a punch! Since they’re so small and light, it’s super-easy to stash these in your day pack when you’re headed out on the trail.
They’re coated in rubber for durability and great grip. They’re also waterproof and can withstand submersion in water up to 1 meter deep for 30 minutes and the internal chamber is filled with Nitrogen to prevent fog formation.
The eyecups do twist out, but they’re on the smaller side since they’re compact. These binoculars might not be a perfect fit if your eyes are closer together.
Overall, the Noc Provisions Standard Issue are a great, no-regrets pair of binoculars that will keep you light and nimble on the trail without sacrificing a great image. Plus, they’ve got plenty of trendy colors to choose from that look and feel great, which is a big plus in my opinion.
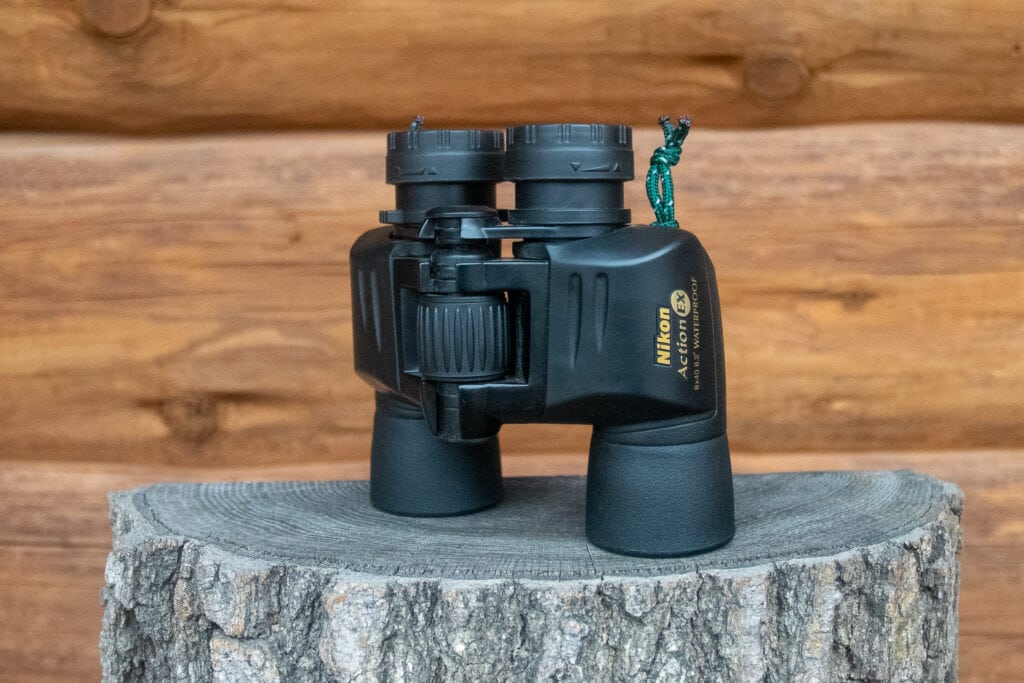
2. Nikon Action EX
Best Value
- What we like: Higher-resolution and brighter images, great value for image quality
- What we don’t like: Heavier than other hiking binoculars
While I love throwing compact hiking binoculars in my bag for quick hikes, I can’t help but change them out for the Nikon Action Ex Extreme 8 x 40 Binoculars when I think I’ll see something interesting.
While the size and weight don’t make these binoculars nearly as convenient as the compact binoculars above, I find the larger objective lens to make a much brighter image. That counts for a lot when you’re trying to pick up on smaller details (necessary for birding) or if you find yourself watching wildlife at dawn or dusk when the light is low.
I like the eyecups of this pair much more than the smaller Nocs eyecups, but unfortunately, the fog-proofing has worn off these Nikon binoculars since I bought them in 2013.
Nevertheless, these remain my go-to pair of binoculars for hiking or peeping birds from my van and they also have a persuasive low price considering their quality.
3. Nikon Monarch M5
Best for Wildlife Viewing
- What we like: Superior optics with vivid images and colors, great for wildlife far away
- What we don’t like: Not as compact as other binoculars
When spotting wildlife is a top priority on your hike, the Nikon Monarch M5 Binoculars are the binoculars to go with. Coming in at $289.95, this pair of binoculars has superior prism technology that produces brighter images, more natural colors, and a high-resolution view compared to the options above.
The focus knob spins like a breeze, and the binocs are rubber-coated, waterproof, and fog proof, too.
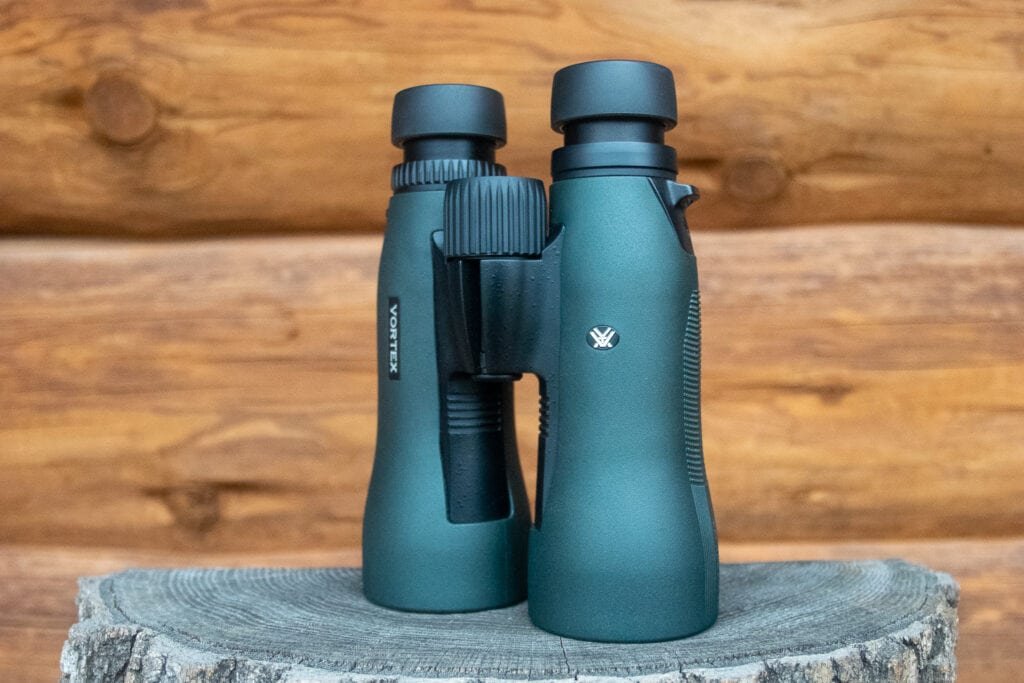
4. Vortex Optics Diamondback HD
Best for Long Distance Viewing
- What we like: Tripod adaptor included for distant viewing, higher magnification for distant wildlife, superior high-definition image quality
- What we don’t like: Most expensive pair on our list, heavy and bulky
If you want a superior, crystal-clear image when using your binoculars, the Vortex Optics Diamondback HD 15 x 56 binoculars are a great choice.
The higher magnification on this pair makes it ideal for when you expect to see wildlife from farther away — say, mountain goats at Logans Pass in Glacier National Park or bison in Yellowstone National Park.
Despite the advanced optics and larger high-quality optical lenses on these binoculars, they’re lighter than you’d expect and don’t take up as much room in your pack.
The advanced features on the Vortex Diamondback are immediately noticeable — the image is bright, colors are natural and unmuted, and focusing is a breeze.
While they are pricier than other binoculars on this list, you get a much clearer, high-definition image, especially in low-light conditions. For these reasons, and more, these high-quality binoculars are well worth the price!
How To Choose Hiking Binoculars
Magnification and Objective Lens
What do the numbers on binoculars mean?
Magnification
Every pair of binoculars has two numbers in its description, like 8 x 42. The first number is the magnification, or power — 8 x 42 has a magnification of 8, meaning what you see through the binoculars will be magnified to be 8 times larger than what you see with the naked eye.
I would recommend a magnification of 8 or 10 for hiking.
One good thing about hiking binoculars with a magnification of 8 or 10 is that they typically (though not always) have a wider range of view, which makes it easier to find what you’re looking for when you use your binoculars.
If you use a high magnification like 15, what you see through the binoculars is very zoomed in, which can be difficult to use if your wildlife isn’t far away.
To get a feel for this, open your phone camera, zoom as far in as you can, and try to locate a bird in a tree — it can be difficult!
Binoculars with a high magnification also tend to be heavier and thus shakier when you use them.
Objective Lens
The second number is the diameter of the objective lens at the end of your binoculars.
8 x 42 binoculars have a 42 mm diameter at the end. Larger objective lenses let more light into your binoculars, which allows you to see a brighter, crisper image.
This is especially important if you want a good view during dawn and dusk, times when wildlife and birds can be especially active.
The downside to a larger objective lens is that the binoculars are larger and heavier, so it’s important to take weight and size into consideration when you’re hiking or backpacking, and every ounce counts.
I recommend an objective lens diameter between 25 and 42 for hiking, depending on how important weight and size are to you.
Porro Prism vs Roof Prism
Porro prism and roof prism are two types of optical designs used in binoculars to reflect and align the light entering through the objective lens towards the eyepiece.
The main difference between Porro prism and roof prism binoculars is their internal design and the way they fold the light path to make the instrument more compact.
Porro prism
Porro prism binoculars have an offset prism design that uses two right-angled prisms to fold the light path, creating a Z-shaped configuration.
This design results in a wider spacing between the objective lenses and the eyepieces, which provides better depth perception and a wider field of view.
However, Porro prism binoculars tend to be larger and heavier compared to roof prism binoculars.
Roof prism
Roof prism binoculars, on the other hand, have a straight-through design, with the prisms arranged in a straight line, which makes them more compact and easier to hold.
This design makes them more durable and suitable for outdoor activities.
Roof prism binoculars tend to have a narrower field of view, but they compensate with a more streamlined and ergonomic design, making them popular for birdwatching, hunting, and outdoor adventures.
Overall, both Porro prism and roof prism binoculars have their advantages and disadvantages, and the choice between them depends on the intended use, personal preferences, and budget.
Eyecups
You’ll want to try out the eyecups on your binoculars to make sure they fit your eyes well. These usually expand with either a twist-up, pop-up, or fold-down eyecups that help the user see the entire field of view the binoculars provide.
If you wear glasses when using binoculars, you can leave the eyepiece down.
Weight and Size
Size and weight count a lot when you’re hiking, so it’s important to recognize the tradeoff of larger/heavier binoculars that produce a higher-quality image and how much room and weight they take up in your pack.
If wildlife watching is the primary objective of your hike, it’s probably worth it to you to get a larger objective lens on your binoculars.
If you’re just planning to use your binoculars every once in a while, getting a compact pair of binoculars is probably best.
In most cases, 8 x 25 binoculars are great for shoving in your pack and using once in a while. 10 x 42 are great if you’re planning to use them a lot and really want to prioritize watching wildlife.
Image Quality
Image quality comes down to many factors inside the binoculars, but in general, more expensive binoculars have more advanced optics that make for a brighter, crisper, higher-quality image.
It’s what’s inside the binoculars that counts, and while we could share several blog posts about prism technology, focus systems, etc., the main takeaway is that advanced optics are pricey but make a big difference in what you see.
Finding the right balance between price and quality is specific to each person, so don’t be afraid to try out a few different models before you settle on a pair of binoculars.
Other Considerations
There are a few other features you’ll want to look for when purchasing binoculars.
- A rubber coating will make your binoculars more durable and scratch-resistant.
- Waterproof or water-resistant binoculars are also a big benefit for hikers and backpackers since you’re exposed to the elements and can’t quickly escape from a downpour. A waterproof pair will give you peace of mind if you plan to use your binoculars on the water while SUPing, kayaking, or canoeing.
- Anti-fog models are great for colder weather so that the lenses don’t fog up from your body heat. This also applies if you’re taking them out of a warm vehicle into the cold.
How to Use Binoculars
Using binoculars is a fairly straightforward activity, but some tips and experience will give you a much easier time while using them.
The two main things you’ll need to learn are how to find an object using binoculars and how to focus the binoculars to see it clearly.
How to find an object
I first became comfortable using binoculars when taking a birding course in college.
My professor took us into the field and taught us the trick of first locking on to an animal with your naked eye, then raising your binoculars to your eyes to see it.
It’s much easier to find an animal using this method than first raising your binoculars to your eyes, then scanning the landscape to find the animal.
Sure, scanning is still necessary to find the animal sometimes, but you’ll be much more accurate if you start with your naked eye first.
How to focus binoculars
To focus your binoculars on your subject, simply spin the focus wheel between the two lenses on the binoculars.
It helps to look at smaller details like tree leaves or strands of grass when setting your focus. It takes some practice to focus your binoculars quickly, but you’ll get the hang of it quickly.
Your binoculars might also come with a diopter adjustment ring, which is like a focus wheel on one of your eyepieces. This is used to focus on the barrel of the binoculars only to compensate for a difference in vision between your eyes. You’ll typically set this once, then leave it alone when you’re in the field.
Setting the focus of your diopter ring isn’t difficult: if it’s on your right lens, start by covering the right lens of your binoculars with a lens cap. Look through the binoculars (your right lens will be covered by the lens cap, but you can still see through your left lens), then use the focus wheel of the binoculars on an object.
Once the focus is sharp, move the lens cap to the left lens, look through the right lens at the same object, and spin the diopter adjustment ring – not the focus wheel – until the right lens is in sharp focus. Your diopter ring is now set, and you’ll be able to leave it alone and use the focus wheel to focus on different subjects.
Binocular Accessories
If you want to add a little style to your binoculars neck strap, Nocs makes a great Woven Tapestry Strap for scoring some style points.
If you don’t have a compact pair of binoculars, I’d highly suggest getting the Nikon Prostaff Binoculars Harness. This harness takes the weight of the binoculars off your neck and onto your shoulders, which not only makes them much more comfortable, but it has the added benefit of stopping your binoculars from bouncing on and off your stomach with each step.
You can also get a Vortex Optics GlassPak Binocular Harness which has housing to keep your binoculars in good shape.
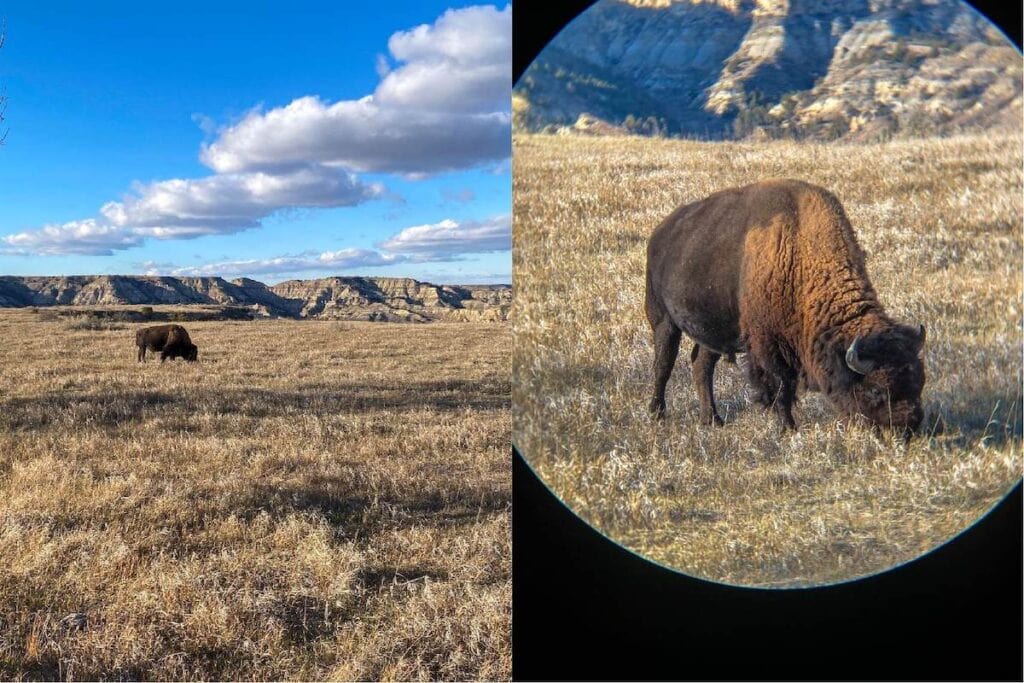
If you want to get some better wildlife photos, there are plenty of phone mounts to attach your cell phone to your pair of binoculars. The image quality of these photos won’t compare to a camera with a telephoto lens, but they’re a great way to document the wildlife you do see in the wild.
I snapped a quick photo of a bison in Theodore Roosevelt National Park this November, and while the image quality isn’t phenomenal, it certainly made for a much better photo to share with friends and family.
READ NEXT
Looking for more gear and tips to make your hikes memorable? Check out these related blog posts:
What have you found are the best binoculars for hiking? Do you have any additional tips or recommendations? Let us know in the comments!
Vortex Diamondback is amazing quality to price ratio. It’s not the highest of high-ends in my opinion, but for 400$? Sign me up! I’ve been using it for a few years for both hiking and hunting during the season out here and it’s amazing for both. Especially if you are gettin a tripod+attachement(only really used it for hunting, way too much space taken on top of added weight for hike). In fact, I was so impressed with Diamond back series, I’ve also installed Vortex’s Diamondback scope on my Savage 308 rifle from https://gritrsports.com/shooting/firearms/rifles/308-winchester-7-62×51-rifles/ and I gotta say – it’s really great. Vortex in general is one of my favorite optics manufacturer in last few years – really impressive leap in quality compared to pre-2017 models!
Hi Tim, glad to hear the Diamondback has worked well for you too! Thanks for sharing your experience.