Beginner Bikepacking Tips: Preparing for Your First Overnight Ride
Want to learn how to start bikepacking? Read our best beginner bikepacking tips including how to choose a route, what to pack, and more!
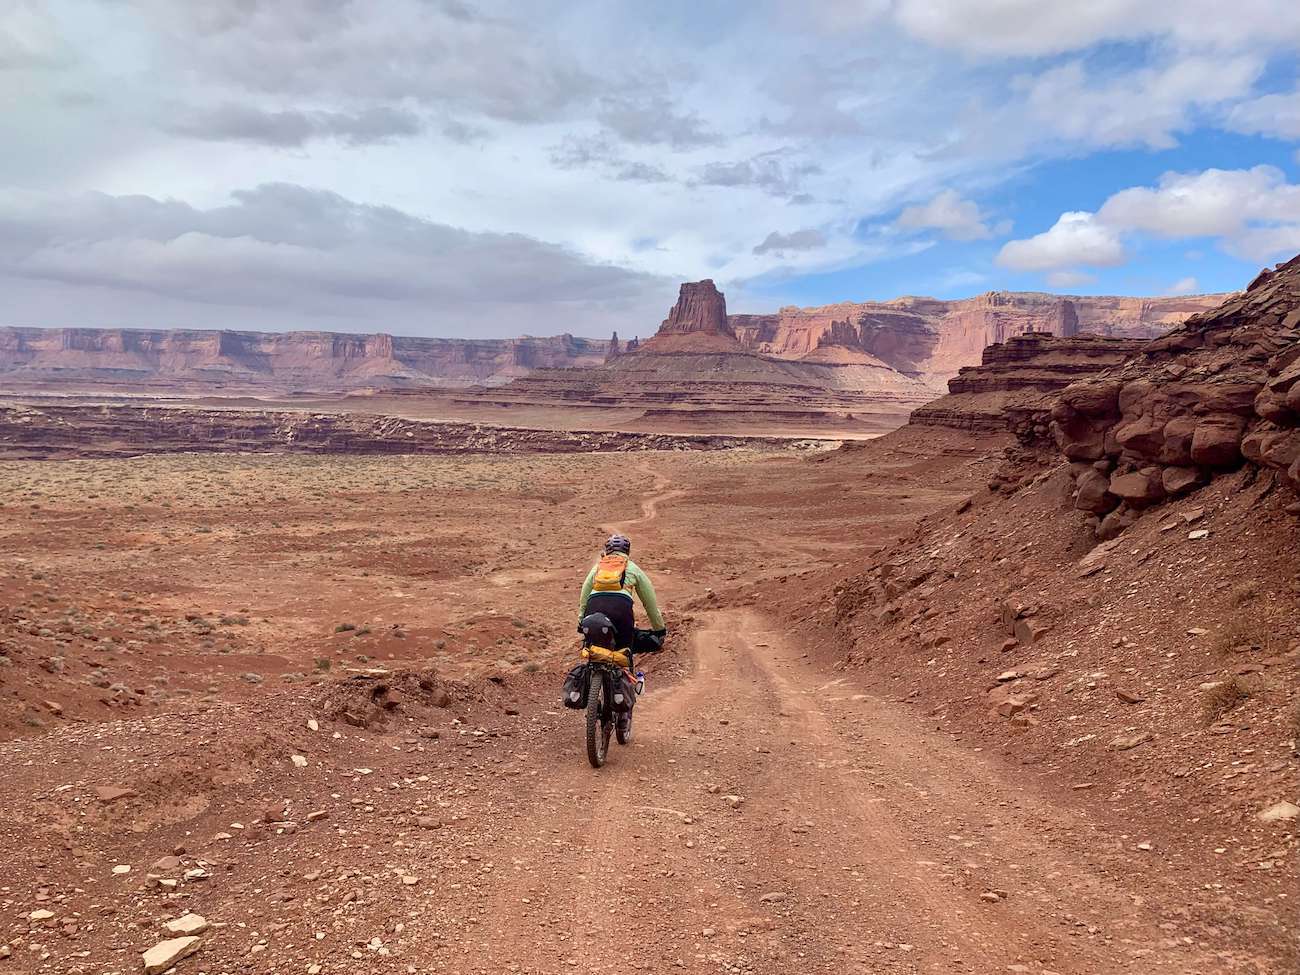
Are you looking for some beginner bikepacking tips? You’re in the right place! Over the past few years, bikepacking has really taken off among the biking community. It’s a great way to explore new places, spend some time outdoors, and cover more ground than you can on foot. I’ve been going on bikepacking trips for a couple of years and it’s hands down one of my favorite ways to adventure.
But there are some things that need to be taken into consideration before you head out on a bikepacking trip. Factors like what gear to bring, how to pack a bike for bikepacking, and choosing a beginner-friendly route are all essential for planning a successful trip.
After a number of short and long bikepacking tours myself (including pedaling 630 miles across the state of Washington!), I want to share a few tips and tricks I’ve learned to help you get ready for your first bikepacking adventure.
Ready to roll? Here are my top beginner bikepacking tips to get you ready and stoked for your first tour.
This post may contain affiliate links.
Choosing a Beginner Bikepacking Route
For your first bikepacking trip, you want to choose a route that is manageable. Overnight trips are a great way to test out gear, decide if you actually enjoy it, and get a feel for what it’s like to pedal a loaded bike. Bikepacking.com is a great resource for finding and researching bikepacking trips and they have a whole section dedicated to overnighters.
Other factors to consider when choosing your first bikepacking route are:
- Water availability. Unless you’re prepared to carry all of your water, it’s a good idea to choose a route where you know there will be reliable water sources.
- Logistics. Loop rides are easier to plan than point-to-point rides since they don’t require any shuttles.
- Cell phone service. While it’s nice to disconnect from the world, it’s a good idea to plan your first trip somewhere that has reliable cell phone service in case something goes wrong. Broken derailleurs or a slashed tire can mean a long walk out!
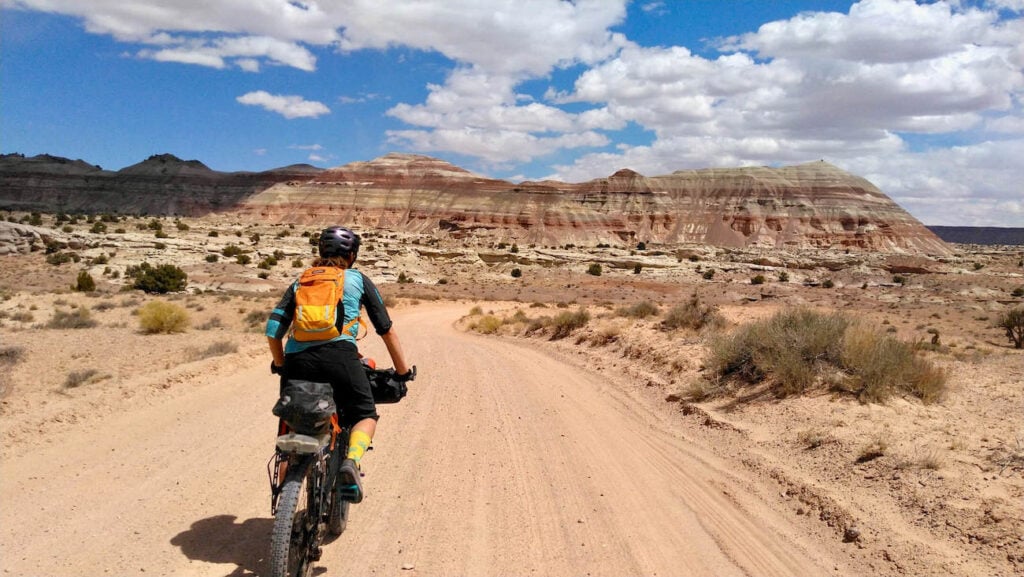
- Terrain. Bikepacking routes range from rugged singletrack adventures to fast-rolling gravel roads. If you’re not accustomed to pedaling and handling a loaded bike, it’s best to choose an easy or moderate trail or road for your first trip. There’s no need to tackle something super strenuous your first time around, especially when you are still figuring out how to get your setup dialed.
Save this post!
Enter your email & I'll send this post to your inbox! You'll also receive my weekly newsletter full of helpful advice for planning your adventures.
Essential Beginner Bikepacking Gear
The gear you need for bikepacking doesn’t differ too much from the gear you need for overnight backpacking trips. We have an excellent 3-day backpacking checklist that details some of our favorite camping gear. You’ll also need some bikepacking-specific gear, which I’ll go into detail about below and you can also find my complete multi-day bikepacking gear list here.
Your Bike
For your first bikepacking trip, the best bike is the one you already own. If it’s been sitting in the garage for a while or you haven’t shown it much love, you’ll want to take it to your local bike shop for a full tune-up to make sure it’s in bikepacking shape.
If you don’t have a bike that will work, you can rent one or borrow one from a friend. REI stores typically have bike rentals and some local bike shops do as well.
I don’t recommend going out and buying a new bike prior to your first bikepacking trip. First, you want to make sure you actually enjoy bikepacking, and second, you’ll want to get a better understanding of the type of bikepacking you’ll be doing so that you can buy a bike that fits your bikepacking needs. A full-suspension mountain bike is great for singletrack trails, but it’s not the optimal bike for multi-day trips on gravel roads.
Once you some riding under your belt and start to get a feel for what kind of longer adventures you want to go on, then you can start to look for bikes that will be best for those kinds of tours.
Bikepacking bags
There are a lot of different options when it comes to attaching gear to your bike. Investing in a full bikepacking bag set-up is expensive, so I recommend using what you have already first. Dry sacks can be secured to the handlebars or rear rack with voile straps and water bottle cages can be attached to the frame.
If you are looking to purchase some beginner bikepacking bags, here are a few companies that make durable and waterproof gear:
- Rouge Panda: They actually make custom frame bags to fit your specific bike and you can choose from a ton of fun colors and patterns.
- Revelate Designs: Based out of Alaska, Revelate Designs makes high-quality bags that are designed to withstand a lot of wear and tear.
- Ortlieb: Ortlieb is known for their panniers, but they also have a full range of bikepacking bags. Panniers allow you to carry more gear, but keep in mind that you’ll need a rear rack. Also, depending on the terrain you’re riding, panniers can bounce around a lot and I’ve even heard of the clips breaking, which would be a big hassle to fix on the trail.
For overnight trips, I actually prefer wearing my Osprey Mira 32 backpack. Not everyone will agree that it’s better to carry your gear on your back, but I find this backpack to be very comfortable, even when loaded with gear. It also keeps my bike light and free from lots of bags and straps.
My 1 or 2-night bikepacking trip setup is to wear the Osprey Mira on my back (with a 2.5 L water reservoir), a handlebar roll in front, a top tube bag for snacks, and a water bottle in my water bottle cage.
Bike Tools & Repair Kit
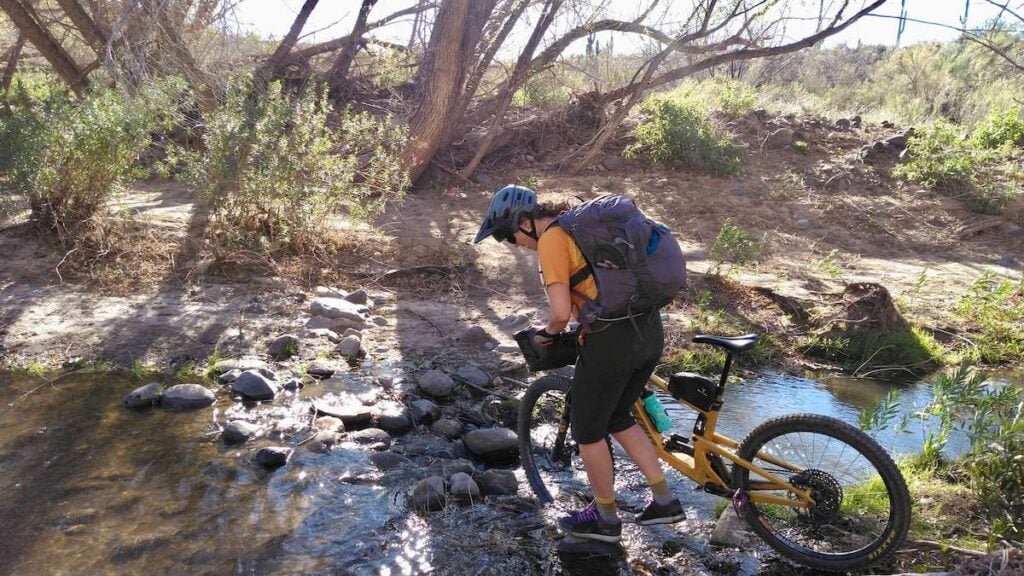
As far as bicycle tools go, you’ll want to bring a number of tools and spare parts with you. Below is a basic list, but if you’re heading out on a longer bikepacking trip, you’ll want to include a few more items which I include in my multi-day bikepacking gear list.
- A good multi-tool. My go-to multi-tool is the Crank Brothers M19.
- Master chain links. Master chain links allow you to fix a broken chain. Look at your chain to see which master link you need (10-speed, 11-speed, 12-speed, etc…)
- Valve cores. Valve cores can fail and if that happens, you have no way of pumping up your tires. Carry at least 2 spare valve cores.
- Hand pump. The Lezyne Pressure Drive CFH can be used as a normal hand pump for both Presta and Shraeder valves and it can also be used with CO2 cartridges.
- Tubeless tire kit. Most bike tires are set up tubeless these days, which has drastically reduced the number of flats. However, punctures still happen, so you’ll need to bring a tubeless tire kit with plugs and an insertion tool. I have the Genuine Innovations Tubeless Tackle kit, which also comes with valve cores and you can store your master link in here, too.
- Duct tape. Always good to have!
- Spare tube. Make sure you get the right tube size for your tires.
- Tire levers. In case you get a flat and you need to insert a tube.
- Tire boot. These can get you out of a jam if you slash your tire.
- Zip-ties. Useful for an infinite number of things.
Bringing these tools is essential for every beginner bikepacker, but only if you know how to use them. That’s why before you head out on your first bike tour, it’s critical that you brush up on your skills!
How to Pack a Bike for Bikepacking
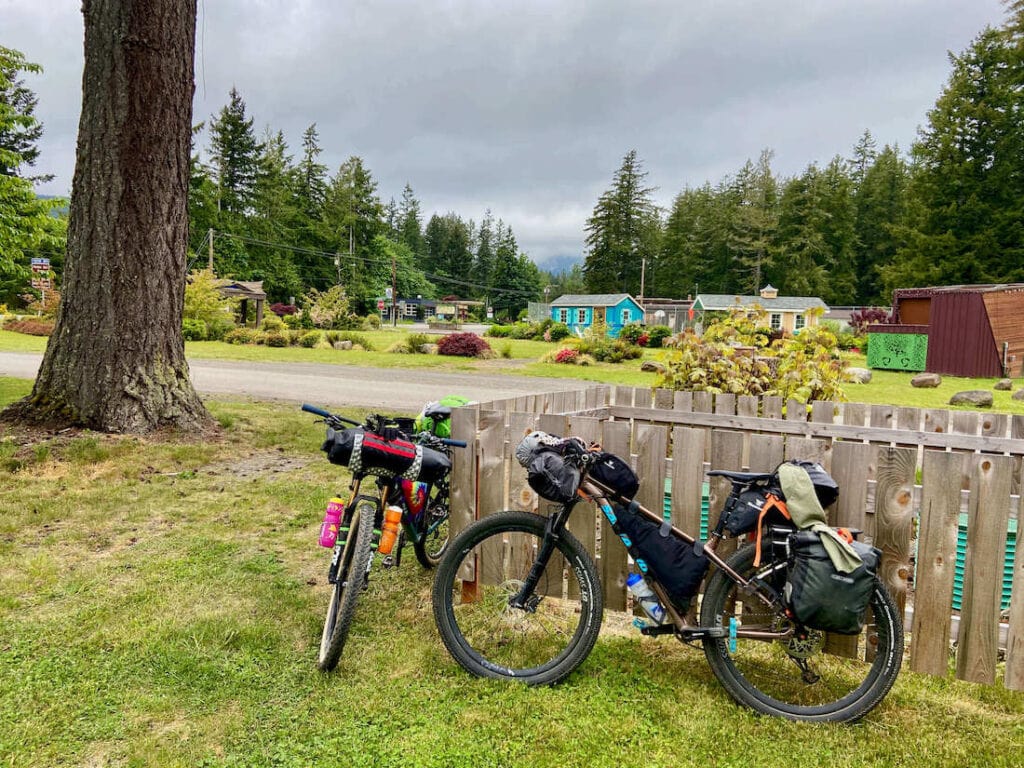
There are a lot of different opinions when it comes to how to pack a bike for bikepacking, but for me, I found that the following strategies work the best.
Handlebar roll
Keep lighter stuff like your tent (minus the poles), sleeping bag, and sleeping pad in your handlebar roll or stuff sack. This allows the front of your bike to stay nimble and maneuverable.
Frame bag
Pack food, water, tent poles, and other heavier items in your frame bag. This keeps the weight in the center of the bike and can help provide traction.
Seat post bag or panniers
Pack the remaining pieces of gear like stove, pot, utensils, clothes, and toiletries in your seat post bag or panniers. If you’re using a seat post bag, make sure it’s cinched down tight to prevent unwanted sway.
Top tube bag
I like to have easy access to my snacks, multi-tool, and phone in my top tube bag.
>> Read Next: Best Snacks for Outdoor Adventures
Hydration pack
I typically always wear a hydration pack when I’m bikepacking because it allows easy access to water and it can fit small odds and ends like tools and spare parts, food, and other lightweight items. If your tent poles don’t fit in your frame bag, they can go in your hydration pack.
Water bottles
If you need to carry more water than what’s in your hydration pack, you can attach water bottle cages to your down tube. If you need to carry even more water, these water bottle cages can attach to your front fork legs with a velcro strap.
Bikepacking Pre-ride Checklist
Now that you have your route picked out, your gear sorted, and you know how to pack your bike for bikepacking, you’re ready to roll! But before you head out on your first trip, here is a quick checklist to run through to make sure you have everything dialed.
1. Your bike is in great working order
My biggest bikepacking tip is this: before you head out on your ride, make sure your bike is in great working order. This includes checking to see if your tires are in good shape, new sealant is added if they’re tubeless, the chain is not worn, it shifts great, there are no mysterious noises, your brake pads are fresh, and everything feels great.
The last thing you want is to get halfway into your bikepacking adventure and have something go wrong with your bike that could have been prevented beforehand.
If you’re not sure how to do bike maintenance yourself, take it to a bike shop and have a mechanic look it over. It’s worth the extra money to ensure your bike is in tip-top shape.
2. You’ve brushed up on some basic bike mechanic skills
You, or someone in your group, should know how to:
- Change a tire
- Fix a broken chain
- Replace a derailleur hanger
- Lube a chain
- Use a tire boot in case a tire gets slashed
- Insert a tire plug
If these all sound scary to you, I recommend signing up for a basic bike maintenance course or watching some YouTube videos.
3. You’ve planned out your route and have done careful research
Just like planning a backpacking trip, planning a bikepacking trip requires careful research and preparation. You need to know how much food to bring (trust me, being hangry on a fully loaded bike is not fun!), where there are reliable water sources, a rough idea of where you’ll camp, what the forecast and temperatures are looking like, and any other detail you can think of. The more you plan, the less likely you’ll find yourself in a sticky situation.
4. Your gear is organized and tested
Make sure you pull out, organize, and test, all your gear before packing it up in your bikepacking bags. On a recent bikepacking trip, I forgot to test my water filter only to realize that it was clogged up and as a result, it filtered water really slow. Not the end of the world, but if I had tested it prior to my trip, I could have flushed it out or bought a new one.
Another mistake I’ve seen is people assuming that all of their tent parts are in the tent bag, but then find out that the poles or rain fly is missing when they go to set up camp on day 1.
Always organize and test your gear before you leave!
5. You’ve told someone where you’re going
Last, but not least, tell someone what your bikepacking route is and when you expect to be finished. If no one knows where you’ve gone or when you’re supposed to be back, it can make getting help or even rescued extremely difficult.
It’s also a good idea to carry a GPS communication device if you think you’ll be out of cell phone service range. The Garmin inReach Mini is a great option.
Interested in learning more about bikepacking and mountain biking? Be sure to check out Becky’s blog, Two Wheeled Wanderer.
What are your beginner bikepacking tips? Do you have advice for those just starting out? What questions do you still have about bikepacking? Drop a comment below!


Cool! I’ve been thinking about going bikepacking for a while now, your set ups look really nice. How did you plan your routes as I can’t imagine paths being that well marked out?
Check out the Adventure Cycling Association. They have some good routes. Also bikepacking.com
I have been planning to go on a bikepacking for so long. I will really do it before the year ends. Thanks for sharing this!
Thank you for these bike packing tips. I will be going in a biking tour soon.
Glad they were helpful Hillary! Enjoy your biking tour.
This is a great site! I have recently started getting back into hiking and wanted to do an overnight trip with my husband, but we are city people and had no clue where to start. This blog provided us with so much insight, lists, new ideas, and ways to best prepare as we restart our hiking experiences. Thank you!
Hi Sara, so glad to hear you’ve found our posts helpful & that you’re getting back into hiking. Enjoy!