How To Clean Your Hiking Boots: Step-by-Step Instructions
Learn the easy step-by-step process I use to clean my hiking boots in order to extend their lifetime.
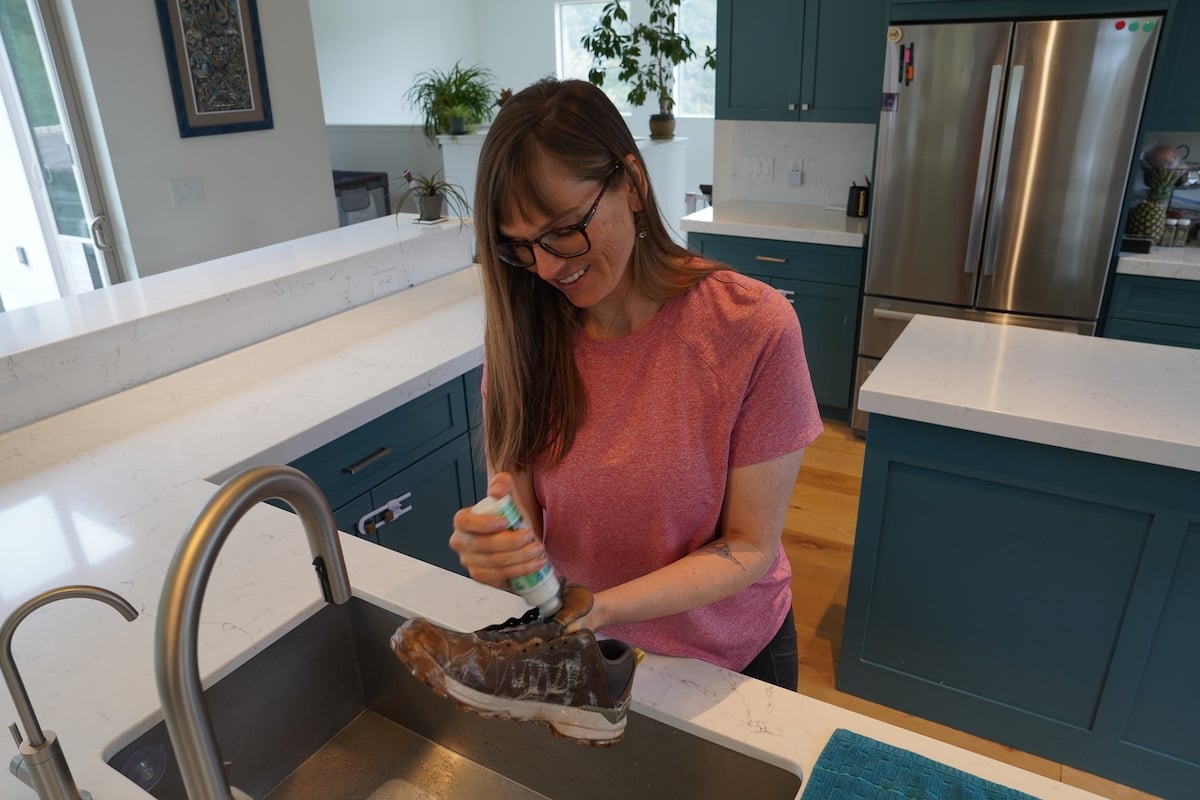
The first time I properly cleaned my hiking boots, I wondered why I waited so long. Yes, hiking boots are meant to get dirty (it’s a sign that you’re using them!), but there’s something really nice about having a clean pair of hiking shoes that aren’t caked with muck and dirt. Plus, it helps extend their lifespan. My Oboz Sypes hiking boots cost upwards of $150, and giving them a refresh means I save money not having to buy new boots as frequently.
Cleaning your boots removes dirt and grime that can cause the materials to crack and break down and also restores the waterproofing and breathability. While it may sound like a chore, cleaning your boots is easy. You only need a few supplies and about 30 minutes, and your hiking shoes will be in much better shape for the long haul.
In this post, I share how I clean my hiking boots including what supplies I use and other tips for keeping them in good condition.
Sponsored by Nikwax
Nikwax makes products for cleaning and maintaining your outdoor gear. They are my go-to whether it’s my hiking boots, down sleeping bag, or my tent. All of their products are free of PFCs, fluorocarbons, and other nasty chemicals making them safer to use than many of the alternatives. They are also super effective and help make my outdoor gear last longer.
This post may contain affiliate links.
Hiking Boots Cleaning Supplies List
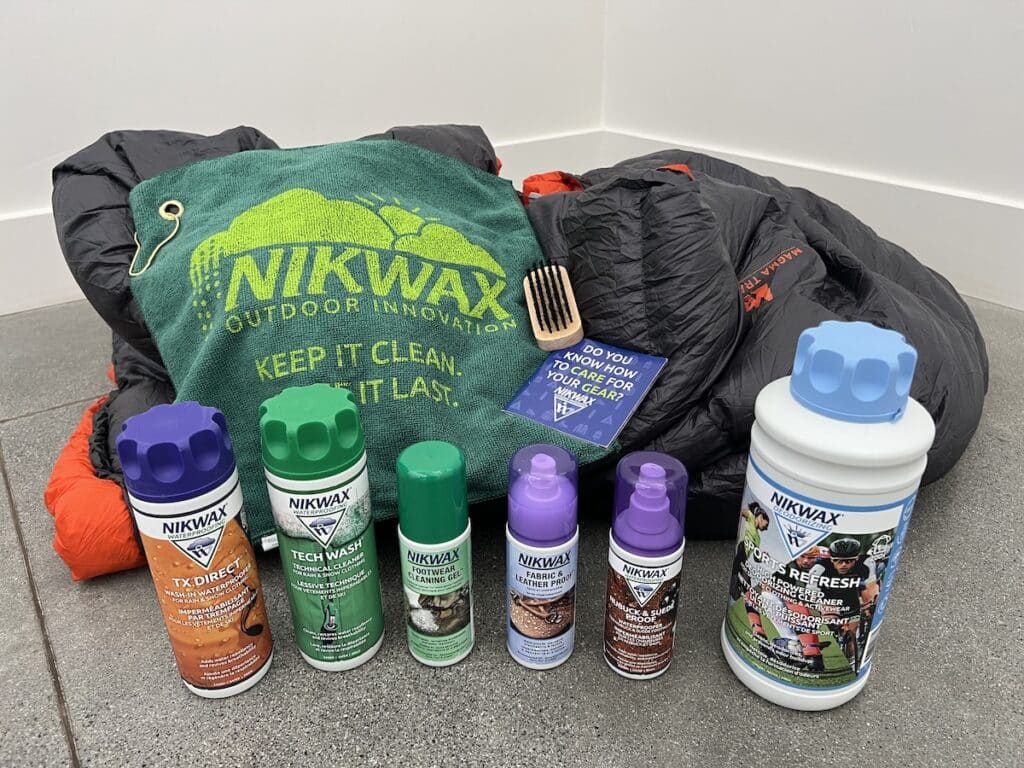
Below are things I use to clean my hiking boots. Keep in mind that appropriate materials may differ depending on your shoes. For example, your cleaning gel/waterproofing spray may change for leather boots vs. trail runners.

Save this post!
Enter your email & I'll send this post to your inbox! You'll also receive my weekly newsletter full of helpful advice for planning your adventures.
4 No-Fuss Steps to Clean Your Hiking Boots
Step 1: Prep the boots
The first step is to remove the laces and the insoles. This will help you get hard-to-reach spots on your shoes behind the laces and avoid damaging them. Then before I put any water or soap on my boots, I shake off any dirt and debris that’s stuck inside.

Step 2: Remove excess dirt
Next, you want to remove any chunks of dried dirt. I suggest doing this outside. When I was cleaning my Oboz Sypes, the dirt was dried onto the soles and I had to use a butter knife to pry that dirt off.

Then I use a brush with sturdy bristles to scrub off dirt from crevices and outside of the boot. I’ve found dirt tends to build up in the tongue, the tread, and the designs on a shoe (like where a logo may be).

Once all of the big chunks are off, I rinse the outside of boots and use a rag or microfiber cloth to wipe down the uppers, soles, and toe guards to get any remaining dirt off. I think it’s easiest to do this in your kitchen sink or a bathtub, but if you prefer to do this outside, you can also use a hose or a bucket.

Step 3: Scrub hiking boots with shoe cleaner
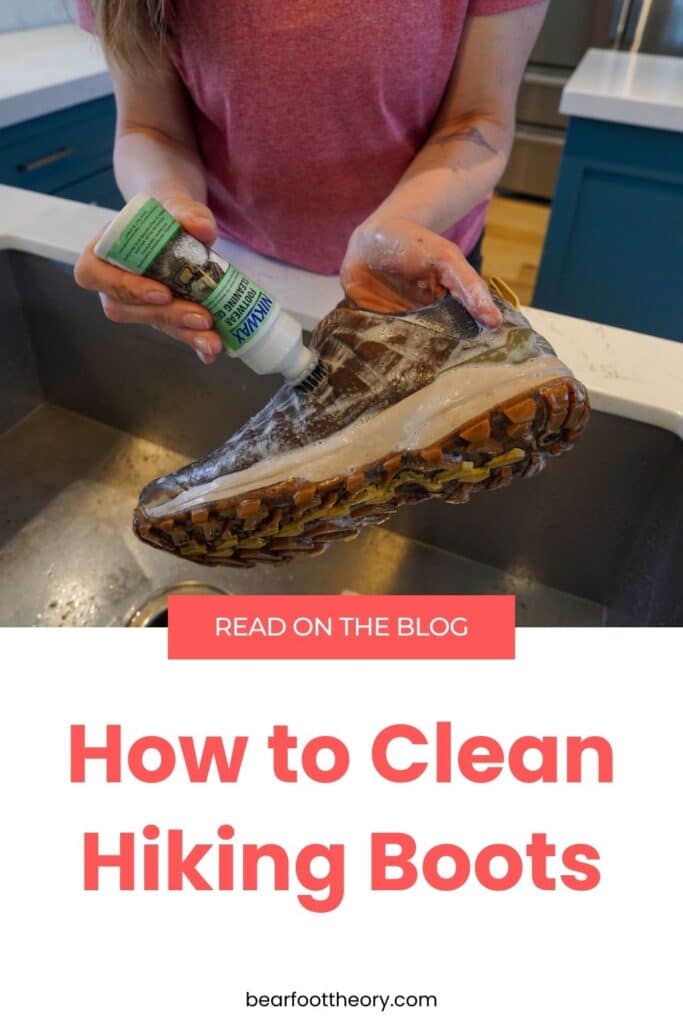
Once the dirt is all removed and the boot is damp, it’s time to apply and scrub with Nikwax Footwear Cleaning Gel. It’s pretty straightforward and comes with a brush applicator that makes it really easy to apply. After my boots are nice and clean, I rinse them again under the faucet.


Step 4: Apply Waterproofing Spray
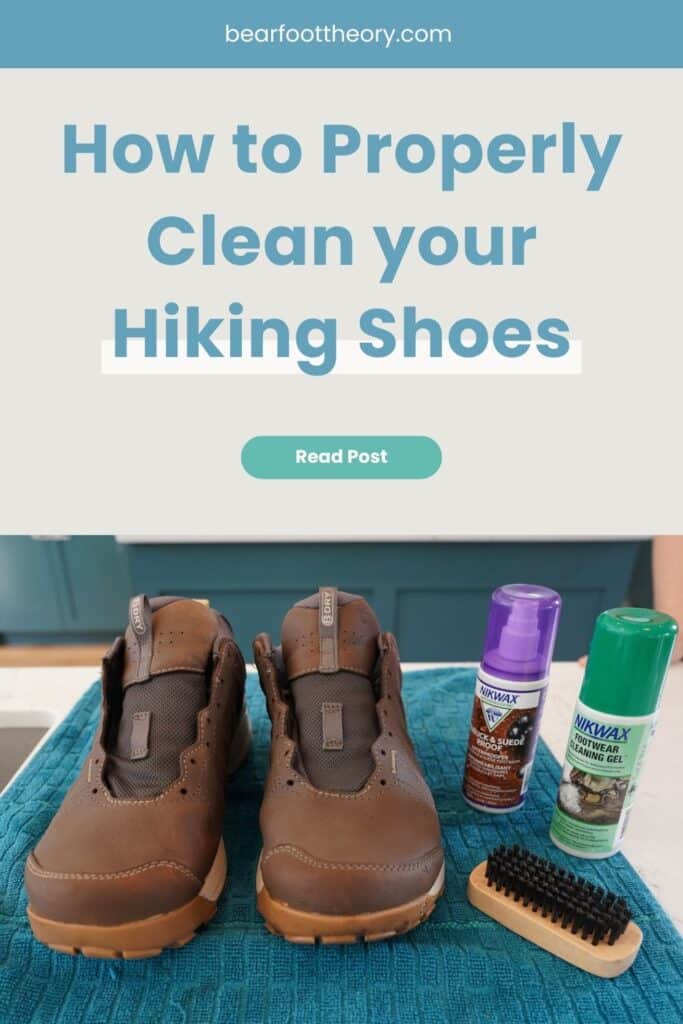
Over time, your hiking boots lose their waterproofing abilities, so I always take this opportunity to apply Nikwax Nubuck and Suede waterproof spray. Just spray the outside of your wet shoes, let it sit for two minutes, and then wipe off any excess with a clean cloth.
Note if your shoes are made of a combination of fabric and leather, you’ll want this waterproof spray instead.


Step 5: Let the shoes dry
I recommend just letting your shoes air dry. Depending on how wet they are (and whether you live in a dry climate), this will take anywhere from 4 to 24 hours.
No matter how rushed you are — be careful not to place shoes too close to a heater, fireplace, or hair dryer. This can crack leather and melt the soles.

Watch this video
5 Tips to Keep Your Hiking Shoes Clean
Here are some easy tips for maintaining your hiking boots after you clean them.
Where to Buy Nikwax Products
Nikwax makes a variety of cleaning and weatherproofing products for suede, mesh, and leather hiking boots. In addition, Nikwax also has products for cleaning down sleeping bags and jackets, tents, waterproof rain gear, and more. I love keeping these products on hand at my house, so I always have what I need to give my gear a refresh.
Shop for Nikwax at:
Frequently Asked Questions
After every hike, you should remove any chunks of mud and dirt from your shoes. Then, I suggest cleaning your hiking boots with cleaning gel twice a year – once after winter and once after summer. This ensures you aren’t letting the debris and gunk build up on your shoes too long. Additionally you should clean your boots after a particularly muddy hike.
Anytime you notice that your boots aren’t as waterproof as they used to be is a good time to re-waterproof them. Otherwise, you should apply waterproofing spray anytime you use hiking boot cleaner before they dry – at least once a year.
Overtime, dirt, debris and grime that builds up on your shoes can degrade the waterproofing on your waterproof shoes. When this happens, you might notice more moisture seeping through. Further, as waterproofing wears off and your shoes absorb moisture, your shoes become less breathable. Applying a waterproofing spray can restore the original waterproof properties and breathability of your shoes.
Never put your hiking boots in the washing machine. It can damage the shape and also destroy the waterproof properties of your shoes.
Save this post to Pinterest
Do you clean your hiking boots? What steps do you take? Do you think it’s necessary? Leave a comment below!


I had no idea the waterproofing wears off over time. That totally makes sense. How did I not think of that before??? Definitely will check these products out go waterproof my boots ASAP!
This is great info, thank you!