AeroPress Go: The Best Way to Make Coffee on the Road
Say goodbye to instant coffee. Get step-by-step instructions for making the best (and easiest) camp coffee of your life using an Aeropress.
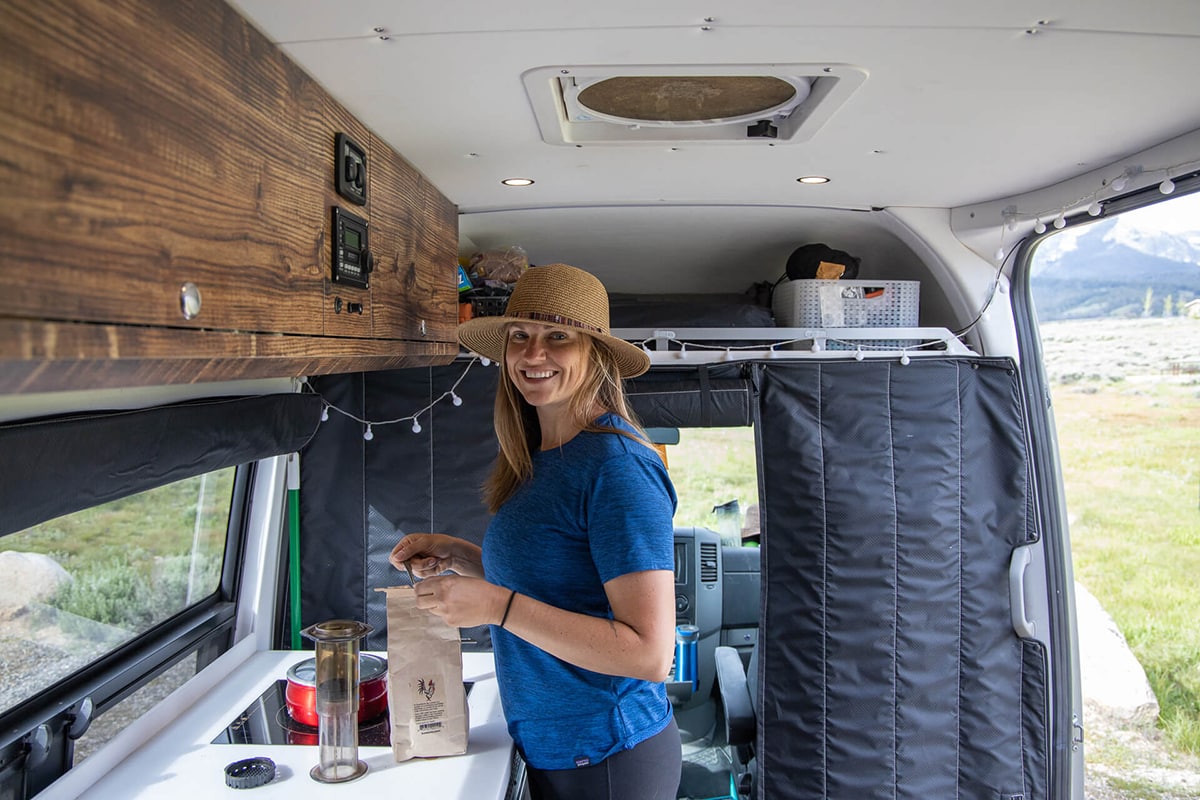
Coffee is an integral part of my morning routine both at home and off on adventures. Whether I’m road-tripping in my Sprinter van, going skiing for the day, car camping, or backpacking, that delicious coffee aroma is something I look forward to every day. The AeroPress coffee maker has been my go-to method for making that perfect cup of joe for nearly 10 years.
The new model – the AeroPress Go travel coffee press – is super compact, it takes less than a minute to make a cup of coffee, and the process results in a rich, smooth flavor that I haven’t been able to achieve with drip coffee or a french press. Cleanup is also a cinch, which is essential, especially when you’re in a van or car camping. There are no messy grinds to rinse out. You can literally plunge the grounds into the trash and wipe or rinse the AeroPress clean!
This post may contain affiliate links.
What is an AeroPress?
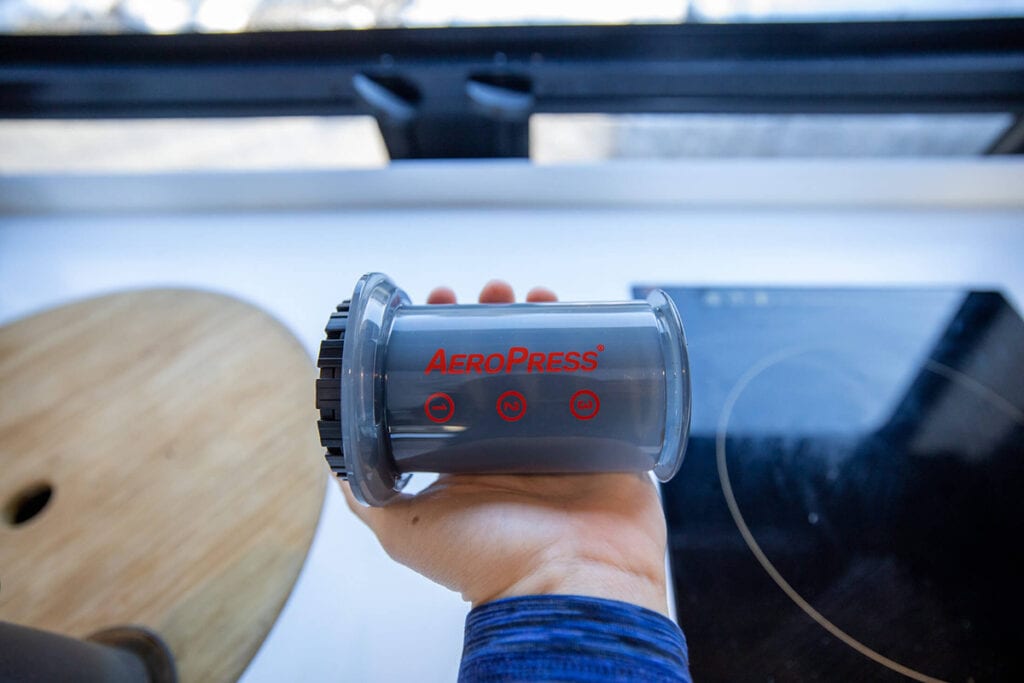
The AeroPress is a simple and inexpensive travel coffee press that can be used at home as well. It’s durable and lightweight so you don’t have to worry about it breaking, and it makes a deliciously strong cup of coffee. Plus, AeroPress coffee only takes a minute to brew which means I get that coffee in my hands sooner.
There are two types of AeroPress coffee makers, the original and the AeroPress Go. I’ve had my original AeroPress coffee maker for almost a decade and the seal was starting to get a little worn, so I recently upgraded to the AeroPress Go, the new, compact, travel-size version.
Save this post!
Enter your email & I'll send this post to your inbox! You'll also receive my weekly newsletter full of helpful advice for planning your adventures.
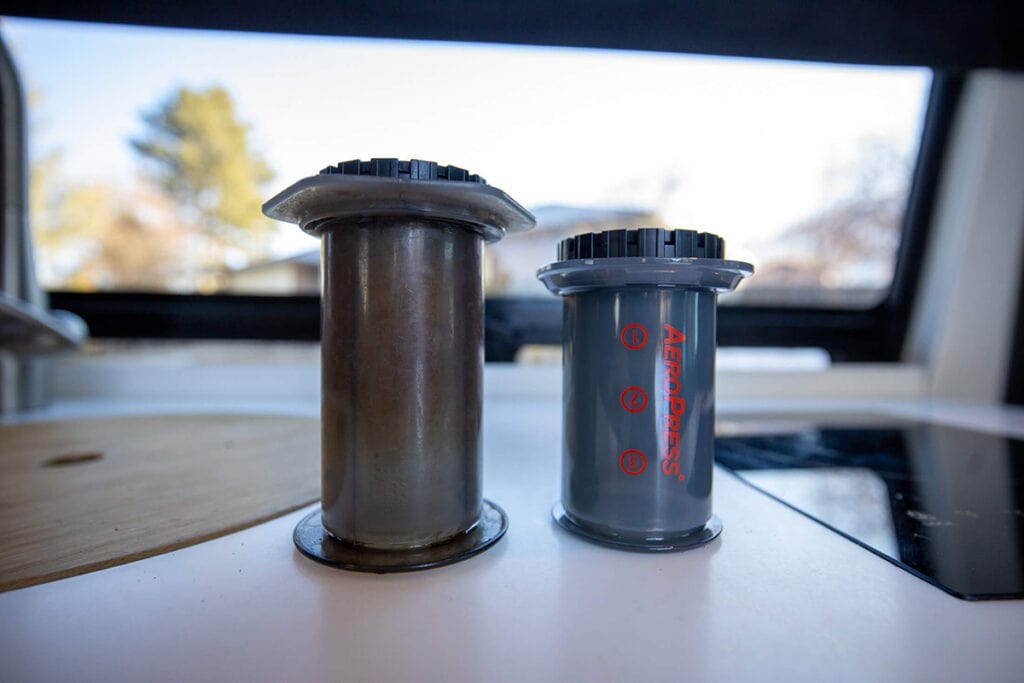
The AeroPress Go vs the Original AeroPress
The major difference between the original AeroPress and the new AeroPress Go is the size. When you have limited storage in your van or camping bins, this helps save space.
The AeroPress Go also comes with its own mug and lid and everything nests, keeping the whole setup nice and tidy.
There isn’t too much of a difference in weight between the AeroPress and AeroPress Go – the AeroPress go actually weighs 3.5 oz more than the original AeroPress but that’s because the weight includes the cup and the lid.
The original AeroPress has a slightly larger capacity than the AeroPress Go (10oz vs 8oz), and if you like a bigger cup of coffee, you may think that the original is better. However, to make a bigger cup of coffee with the AeroPress Go, you simply add more grounds and top it off with more water at the end. I’ll talk more about that down below.
The verdict for me? I now prefer the smaller AeroPress Go due to the space savings.
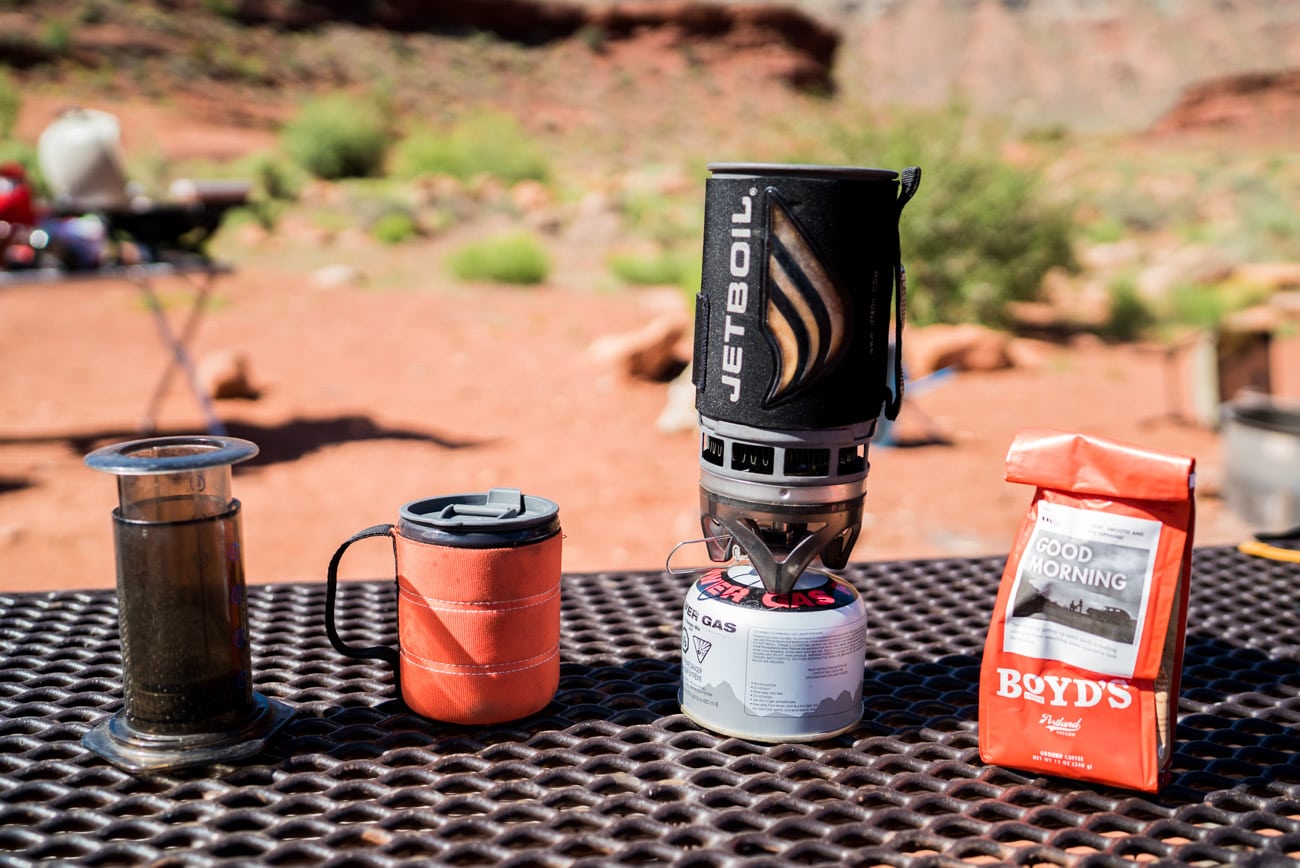
What you Need for Making AeroPress Coffee
- An AeroPress or AeroPress Go (see where to buy one at the bottom of this post)
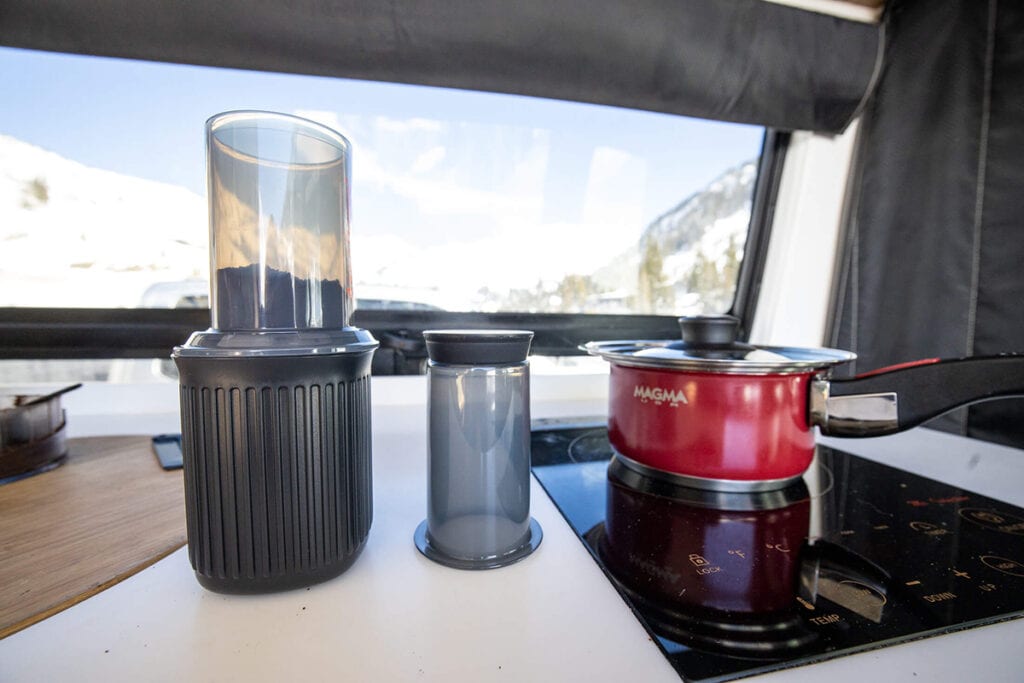
- A lightweight stove or another method for boiling water – I prefer the Jetboil when camping and backpacking as I’ve found it to be the most efficient, compact stove for boiling water. In my van, I use the induction stove.
- Your favorite ground coffee, ideally a fine drip grind
- A mug – I like this insulated Stanley vacuum mug or the Yeti Rambler for car camping
You actually don’t even need a separate mug for the AeroPress Go – it comes with a mug that it packs into. It’s a great solution for backpacking, but for car camping, I prefer an insulated mug with a lid you can sip out of to keep your coffee hot like one of the options listed above.
AeroPress Coffee Instructions
Making AeroPress coffee is a total cinch. Here are step-by-step AeroPress instructions for making the perfect cup of joe.
STEP 1: For both the AeroPress and the AeroPress Go, push the plunger out of the chamber where it’s stored.
STEP 2: Put a filter in the filter cap (the filters are included) and twist the filter cap onto the chamber
STEP 3: Stand the chamber on the mug (either your mug of choice or the one that comes with the AeroPress Go) and put one rounded scoop of fine drip grind coffee in the chamber (the scooper is included). Shake to level the coffee grounds. This makes an 8 oz cup. For a larger 16 oz serving, you use two scoops of coffee.
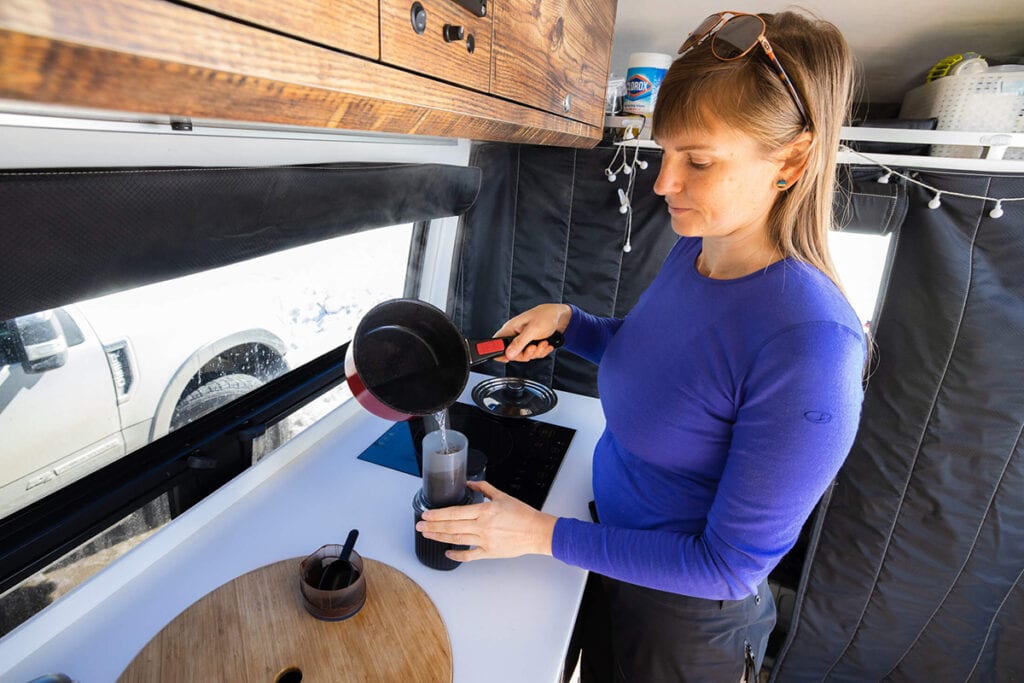
STEP 4: Heat water up until it’s almost boiling, and pour it into the chamber until Level 1 for one serving or Level 2 for a bigger cup.
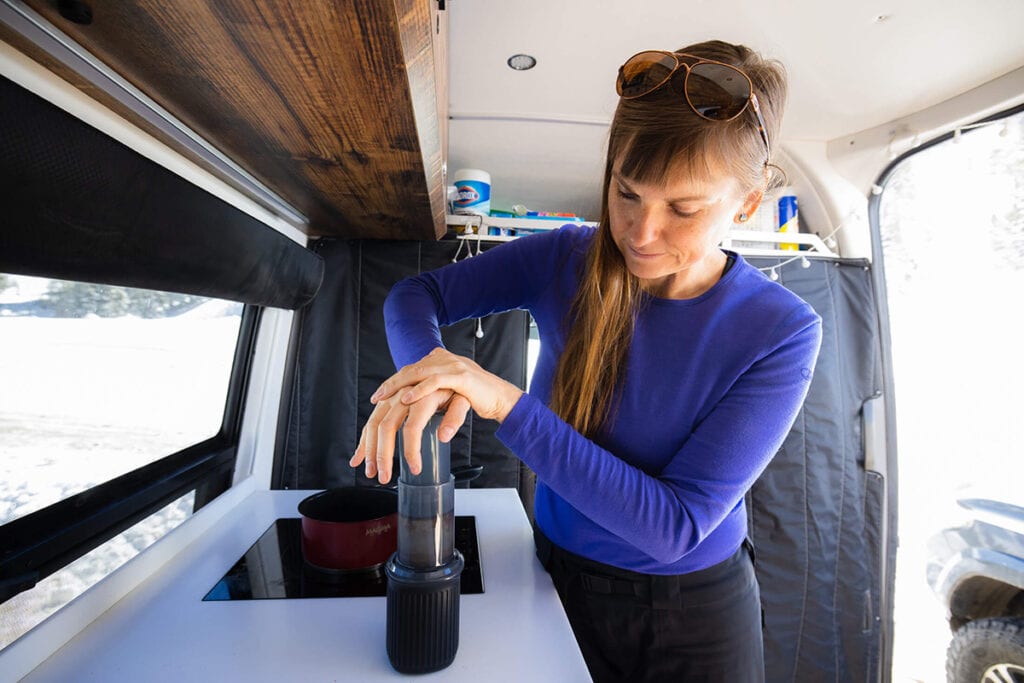
STEP 5: Stir for about 10 seconds, then insert the plunger until you feel resistance to create a vacuum seal. I personally like my coffee strong, so I leave the plunger in the chamber for a minute or two before I plunge. Then you press the plunger down gently until it reaches the grounds and can’t plunge any further.
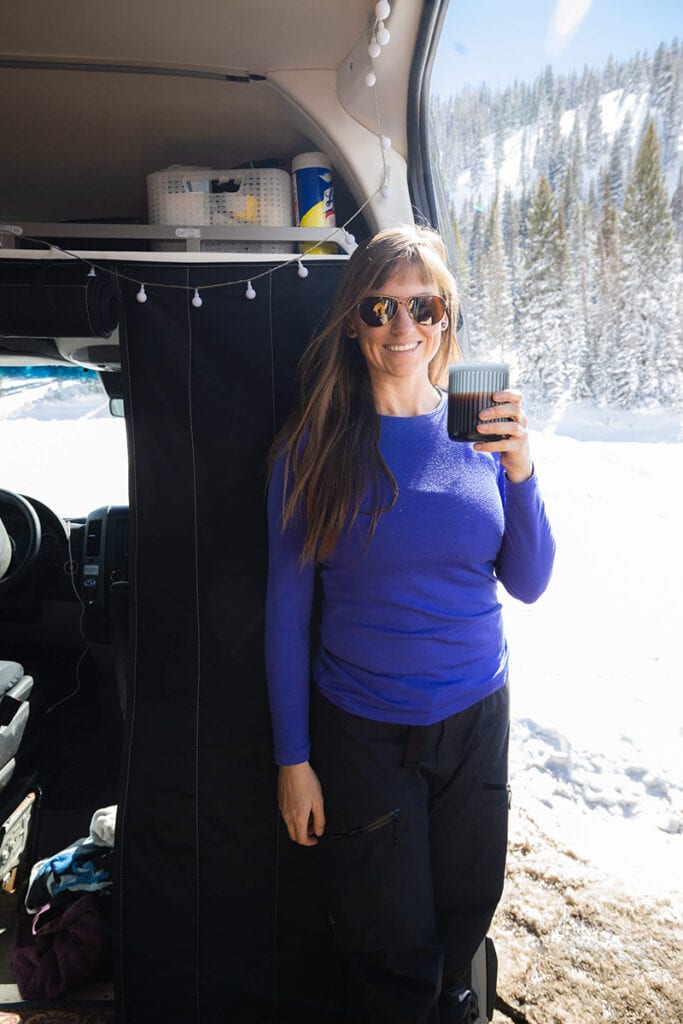
STEP 6: Enjoy! Here are a few ways to enjoy your AeroPress coffee:
- For espresso style, enjoy as is.
- For Americano style, add hot water to make an 8 oz or 16 oz coffee.
- You can also add your favorite milk to make a latte (my favorite non-dairy plant-based milk for coffee is cashew or macadamia nut milk).
The AeroPress and AeroPress Go can also be used to make cold brew. Simply follow the instructions above but use room temperature water instead of hot water and stir for 1 minute before pressing.
STEP 7: Clean up is super easy – simply twist off the filter cap, push the plunger to eject the used coffee grounds into the trash, and give the seal a quick rinse.
Thinking about switching from a van to an expedition truck?
After living in three Sprinter vans and now full-time in a Rossmonster Baja, I've learned there are major tradeoffs between the two. I break down the pros and cons of each setup in my detailed comparison.
Want to learn more about my current rig? Visit Rossmonster's website.
AeroPress vs French Press
A French Press is another popular option for van life and car camping. I prefer the AeroPress because of both the flavor and the cleanup. With the AeroPress, it’s easier to Leave No Trace since the grounds can simply be plunged into the trash. With a french press, you have the wet grounds at the bottom of the french press that must be swirled around and rinsed out. Then what do you do with those wet grounds? It’s much easier to pack out the grounds in the case of the AeroPress.
In addition, the cleanup for the Aeropress requires less water. When you have limited water, not having to waste water cleaning your coffee maker is a huge plus.
The only downside of the AeroPress is that it’s more difficult to make a large batch of coffee. You can brew up to three concentrated shots of coffee “espresso style” at once with the AeroPress that you can then top off with hot water to make three 8oz cups of coffee. I actually have two AeroPress Go’s in my van so I can make a larger coffee for both Ryan and I at the same time. If you are the kind of person who likes more than a cup or two every morning or you are making coffee for a large group of people, then you might prefer a french press or a large percolator.
Where to Buy an AeroPress
At $39, it’s hard to beat the AeroPress. Considering it will last you for years whether you’re making coffee at home, on the road, or while camping and backpacking, it’s even harder to beat (as I mentioned, I had my original AeroPress for nearly 10 years before replacing it with an AeroPress Go).
You can buy an AeroPress or AeroPress Go directly from the AeroPress website (they have some handy quick tutorials as well).
They are also available at REI, Amazon, select Bed Bath & Beyond Stores, and some independent retail stores.
Have you tried AeroPress Go coffee yet? What’s your favorite way to make coffee on the road? Share your comments and questions below!

Nice! That’s gotta be better than the Starbucks via instant things we always end up using. Good find!
Oh definitely. If you give it a try let me know what you think!
I’m a fan of doing pour overs while camping….I bought one of GSI’s ultralight filters that you just clip onto your mug/cup of choice and wa-la. The only thing I’ve discovered is that it’s not easy to pour water slowly out of my jet boil, so while car camping I actually pour the hot water into my hydroflask coffee cup and put the lid on and the pour it out of there over the coffee grounds, comes out at JUST the right speed. I’ve even started using my GSI pour over at home too 🙂
The Aeropress is convenient, and easy to use but The bottom line is that it makes the best tasting cup of coffee that I’ve ever had.
I never thought to brew the thing upside down. That looks a heck of a lot easier and more controlled than doing it by the directions.
Yea it’s a trick I learned from another friend, and I thought it was really clever. Try and it and let me know how it goes! Kristen
Hah this looks like a really cool tool – I need to check this out. Same as you I use instant coffee when backpacking but when just camping I could use something little bit more sophisticated 🙂 Cool tip!
Thanks! Yeah, check it out and let me know what you think! Cheers, Kristen
Love this idea! Thanks for sharing. You should check out this new blog http://www.outdoorlightingonly.com
Thanks and will do!
I make a concentrated espresso in the Aeropress – filtered into a small jar – then use that as the base for a rich tasting cup by adding hot water. And there’s enough to share.
Nice! I love how you can make the coffee as strong as you want with the Aeropress.
My Aeropress makes it into the camping gear tote every time! A must have for my camp mornings. It’s great to see that someone else brews upside down besides me.
Yea it’s a good trick isn’t it. Thanks for checking out the post!
I believe we will have to invest in one of these.
We start our camp coffee with fresh ground beans using our Porlex hand crank coffee grinder. Hand grinding beans takes a bit more time, but hey its a wonderful way to start the day. Sitting in a beautiful campsite, grinding your own beans enjoying the view and the incredible scent of freshly ground beans really sets the tone of the day. We currently use a Snow Peak Titanium press, but apparently this grinder fits perfectly inside an Aeropress making it uber compact. Gifted one of these little grinders to a coffee loving friend who initially thought it was just another gadget she’d never use, but is now a total convert and says it’s one of her favourite camp kitchen items!
Thank you for recommending the Aeropress. I have a Jetboil but never could find the right approach to make good coffee while camping. The Aeropress is on my list of things to buy before my next campling trip. Thanks!
I like to use the 6 pack Cafe Bustelo Instant for $.99 – I buy from Target/Walmart
We too are fans of the Aeropress. For our first campervan missions we used a stainless steel French press, which works well enough. However, cleanup was a nuisance. With the Aeropress I find I can make the same 2 mugs of coffee I’d get from the French press in the same amount of time, but with much less time spent cleaning up. For heating we generally use a smaller electric kettle (rated just below 1000W to keep our inverter (1000W Magnum) from tripping. Great coffee from an apparently indestructible device.
Like you, we’ve turned to instant coffee for backpacking trips; we’re there to walk, not cook. Will have to try your favorite brand. Ours is Medaglia d Oro.
Wake up, start fire, boil water in pot, toss in instant coffee and sugar, taste, add more instant coffee, wonder if coffee cup will disintegrate cause it’s so strong, make oatmeal, make second coffee, usually better than the first 🙂
I love the trick about turning the Aeropress upside down! I’m going to have to try that 😉
I have a question about this! I’ve recently started thinking about the dangers of hot beverages and plastic. Thoughts?
Thanks for the awesome trick. I will try this.
I enjoyed reading the article and I learned a lot how to make killer camp coffee using an Aeropress because I never used this technique before.
Upside down is definitely the way to go! We love the Aeropress!!
I love my Aeropress! There’s no substitute for fresh coffee in the morning after sleeping outside. It just gets me going!
-Cheers!
Since I am a big coffee drinker I enjoyed the article . I am going to invest in the aero press and try it at home. The problem I do usually drink a small pot at any given time . Cant wait to read your other articles
I love your website – very helpful. I like using Press’d coffee pods. Easy to use, compact, tastes pretty good for instant. I’m not that picky, though, so…
Hey Kristen,
Yea good choice with the Aeropress! I similarly use it both at home and on the road . It is just hard to beat in terms of taste. versatility, and durability. And the old inverted method is quite a bit of fun (even though I do think that the traditional can also make some superb brews :))
Agreed! Thanks for reading James 🙂
Yea gotta love the Aeropress for the outdoors. The other trick that I have found with using it is that by using two paper filters instead of one the coffee is even more smooth and light. Worth giving a shot if you haven’t already
Great tip, thanks James!
Read your article, have ordered the aero press. Believe or not when backpacking I always pack a mini Moka and ceramic cup. I’m hoping the aero press works out, as the older I get, the heavier the moka pot gets
Haha 🙂 Enjoy the Aeropress, we love it!
Big fan of the pour over; paper filter and funnel. Been doing it for 50 years! And the Jetboil is fast and easy for the hot water.
Me too! I’m a pour over gal – like the ritual of it. And I make it extra strong and drink first cup while another is dripping in 2nd cup. I also stock up
on Trader Joe’s boxed whipping cream (in the bakery aisle) so I always have lovely rich cream for my coffee out in the wilds.
I too have been using the Aero Press for some time. I enjoy the smooth brew and as you mentioned the easy clean up. After several yrs I also was losing the seal on the rubber plunger and was able to order another from Amazon. Just an FYI. I had not heard of the AP Go and am interested. Thanks
Thanks for the tip about ordering extra seals, Andre!
…for both Stan and me. (Not….”Stan and I.”)
Thank you for all the good information. I have been considering an Aeropress. Right now, we just use pour over. I’m sharing your site/article with my Van Life Pantry-Nomadic Pantry FB group. I am always looking for good information.
I’ve always understood consuming hot beverages prepared in plastic is not healthy because plastic leaches out tiny amounts of chemicals each time. Even BPA free bottles. They need to make the aeropress out of stainless steel.
https://www.google.com/amp/s/abcnews.go.com/amp/Health/Healthday/story%3fid=4510256&page=1
Hi Mallory, totally understand the hesitation and think stainless steel is a great suggestion!
Hey Kristen – You are the only person I know that has been doing Aeropress longer than me! I wore one out, too, but realized that the inside of the cylinder had deteriorated, not the plunger! Go figure. My newest addition to my morning coffee ritual is a hand grinder. This is sometimes a PIA on busy mornings but worth it; the fresh grounds elevate my great cup of Joe to an awesome cup of liquid pleasure. Highly recommended.
Hi Ross, bummer to hear about your Aeropress. Thanks for the hand grinder recommendation!
Thank you for sharing your insights on the AeroPress. Your efforts in introducing this portable coffee maker and explaining its unique features are greatly appreciated, as it can provide coffee lovers with a high-quality and convenient brewing experience wherever they go. Your recommendation can help people enjoy their coffee on the road without compromising on taste or quality. Thanks again for your valuable contribution to the coffee community and for providing us with this insightful review!
Thanks for the kind words & glad you found this helpful!
Don’t throw away your original AeroPress because of the damaged seal – they sell replacement seals!
Thank you for this article.
Great tip, thanks for sharing!
We boondock out of our very small camper, (fits in a Tacoma truck). So weight and space is at a high premium. Tried the pour-over and unhappy with the limited quantity of coffee and trying to get all of the coffee wet. Tried cowboy coffee and it works. But leaves grounds in the pot to clean out. What we have settled on are “French Press Brew Bags”. Bring your pot of water up to what ever temperature you like. Put the number of tables spoons of coffee in the bag that matches how much water you have in the pot. Tie the bag off well through it in the pot and let it soak for 3 to 4 mins. fish out the bag with a spoon give it a little squeeze against the side of the pot and toss in the trash. We make 30 oz of coffee and a time. Clean up is just wiping out the pot. We got ours from Amazon 200 for $16.
Great way to start the morning anyplace, I have the original and picked up the Go at REI in Rancho Cacumonga Ca. They both make a good brew.
Recipe for this morning
1 level scoop fine grind
225g water (85c)
Stir approx 10 times
Add plunger, draw pack to hold drip and wait 1 to 2 minutes if you can wait that long. Purge plunger
Add Oat Milk this morning ENJOY
I just leave the grounded coffee grain directly in the cup and wait 5 minutes. They goerge with water and I remove the grain floating on top of the cup with a spoon or a fork. The rest sinks to the bottom. Then add milk or whatever is needed and drink directly from the cup. Alternatively you can poor the coffee in another cup to avoid the bottom grain. No need for expensive gammick, filters…..
We use a 1 cup electric coffee pot on our 2000W inverter to make two cups.
We never bundók longer than 2-3 days and our small 215W solar panel system always
recovers the energy needed to make 2 cups of coffee very quickly.
So-Far So-Good.
Ebay has the best prices.
I paid 23$ for a new unit, free shipping.
Great when traveling in Europe.