Tent Cleaning 101: How to Clean a Tent for Longevity + Care Tips
Discover essential tips on how to clean a tent, maintain its durability, and prep for your next adventure. Follow this step-by-step guide!
Learning how to clean a tent properly can save you from unexpected woes on your next camping trip. A little bit of dirt and a few stains are signs of a good adventure, but an unrepairable tent isn’t exactly a good thing.
Here at Bearfoot Theory, we know that big-ticket camping and backpacking items – like a tent – aren’t exactly cheap. So it’s extra important to spend just a little bit of time and effort keeping your gear in good working order so that it will (hopefully) last a lifetime.
Whether you’re a seasoned camper or a newbie, this post will walk you through the essential steps to ensure your tent is fresh, clean, and ready for countless more adventures under the stars.

Download my FREE Outdoor Trip Planning Toolkit
Enter your email to get access to printable PDF packing checklists, itineraries, and more.
Why You Should Clean Your Tent Regularly
After miles on the trail and overnight stays at campsites, your tent will inevitably start to see some wear and tear.
Dirt, grime, and debris can take a toll on both the inside and outside of your tent, so it’s important to know proper tent care so you can keep heading out on new adventures.
Here are a few reasons why you want to clean your tent regularly:
Read More
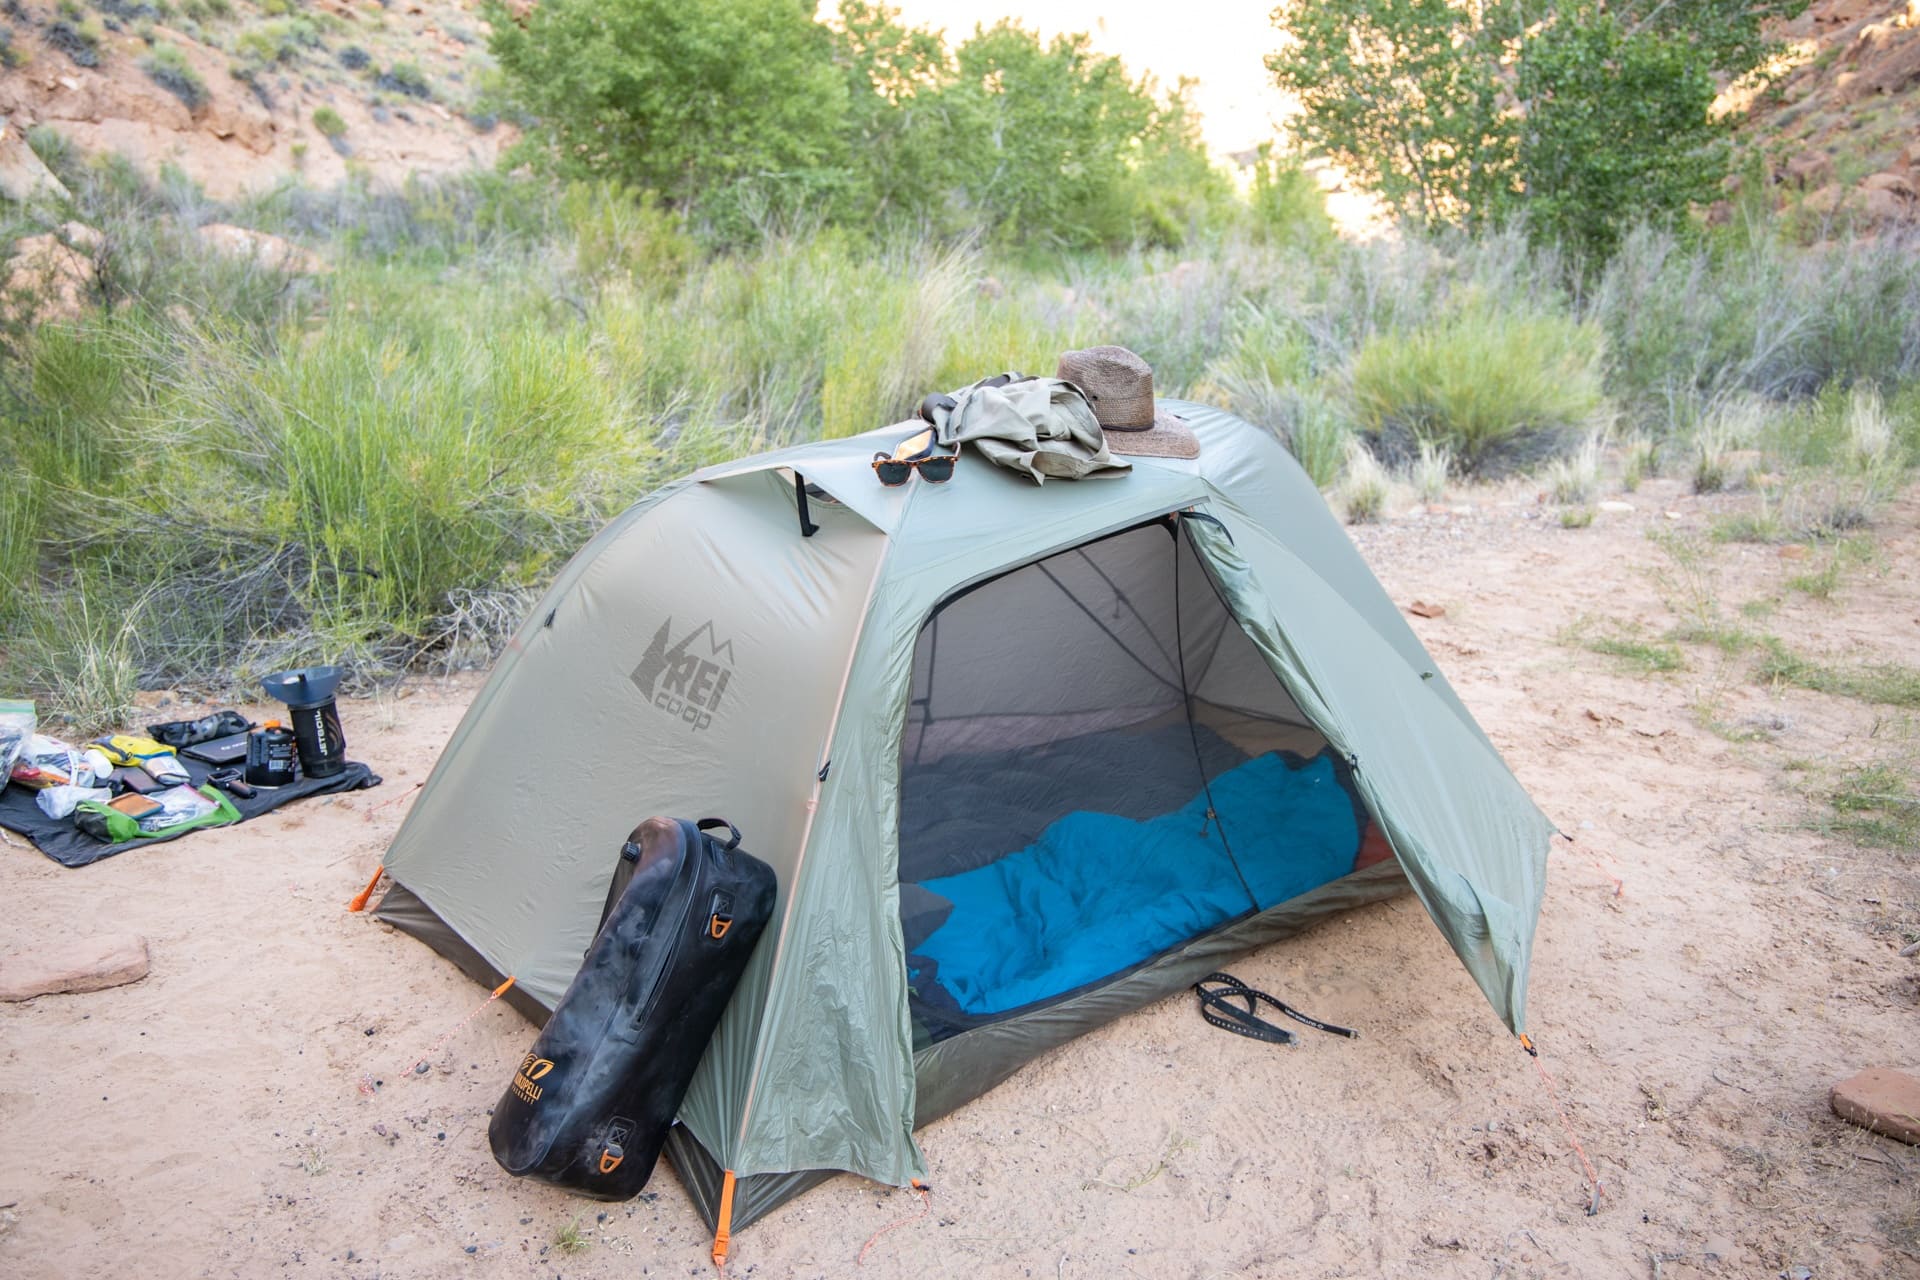
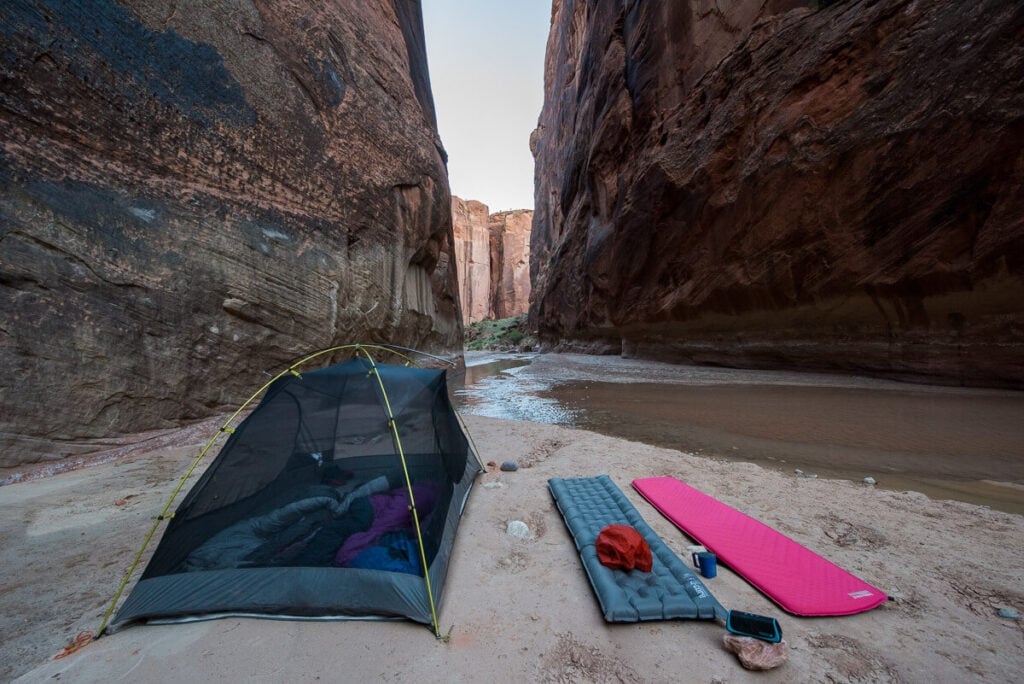
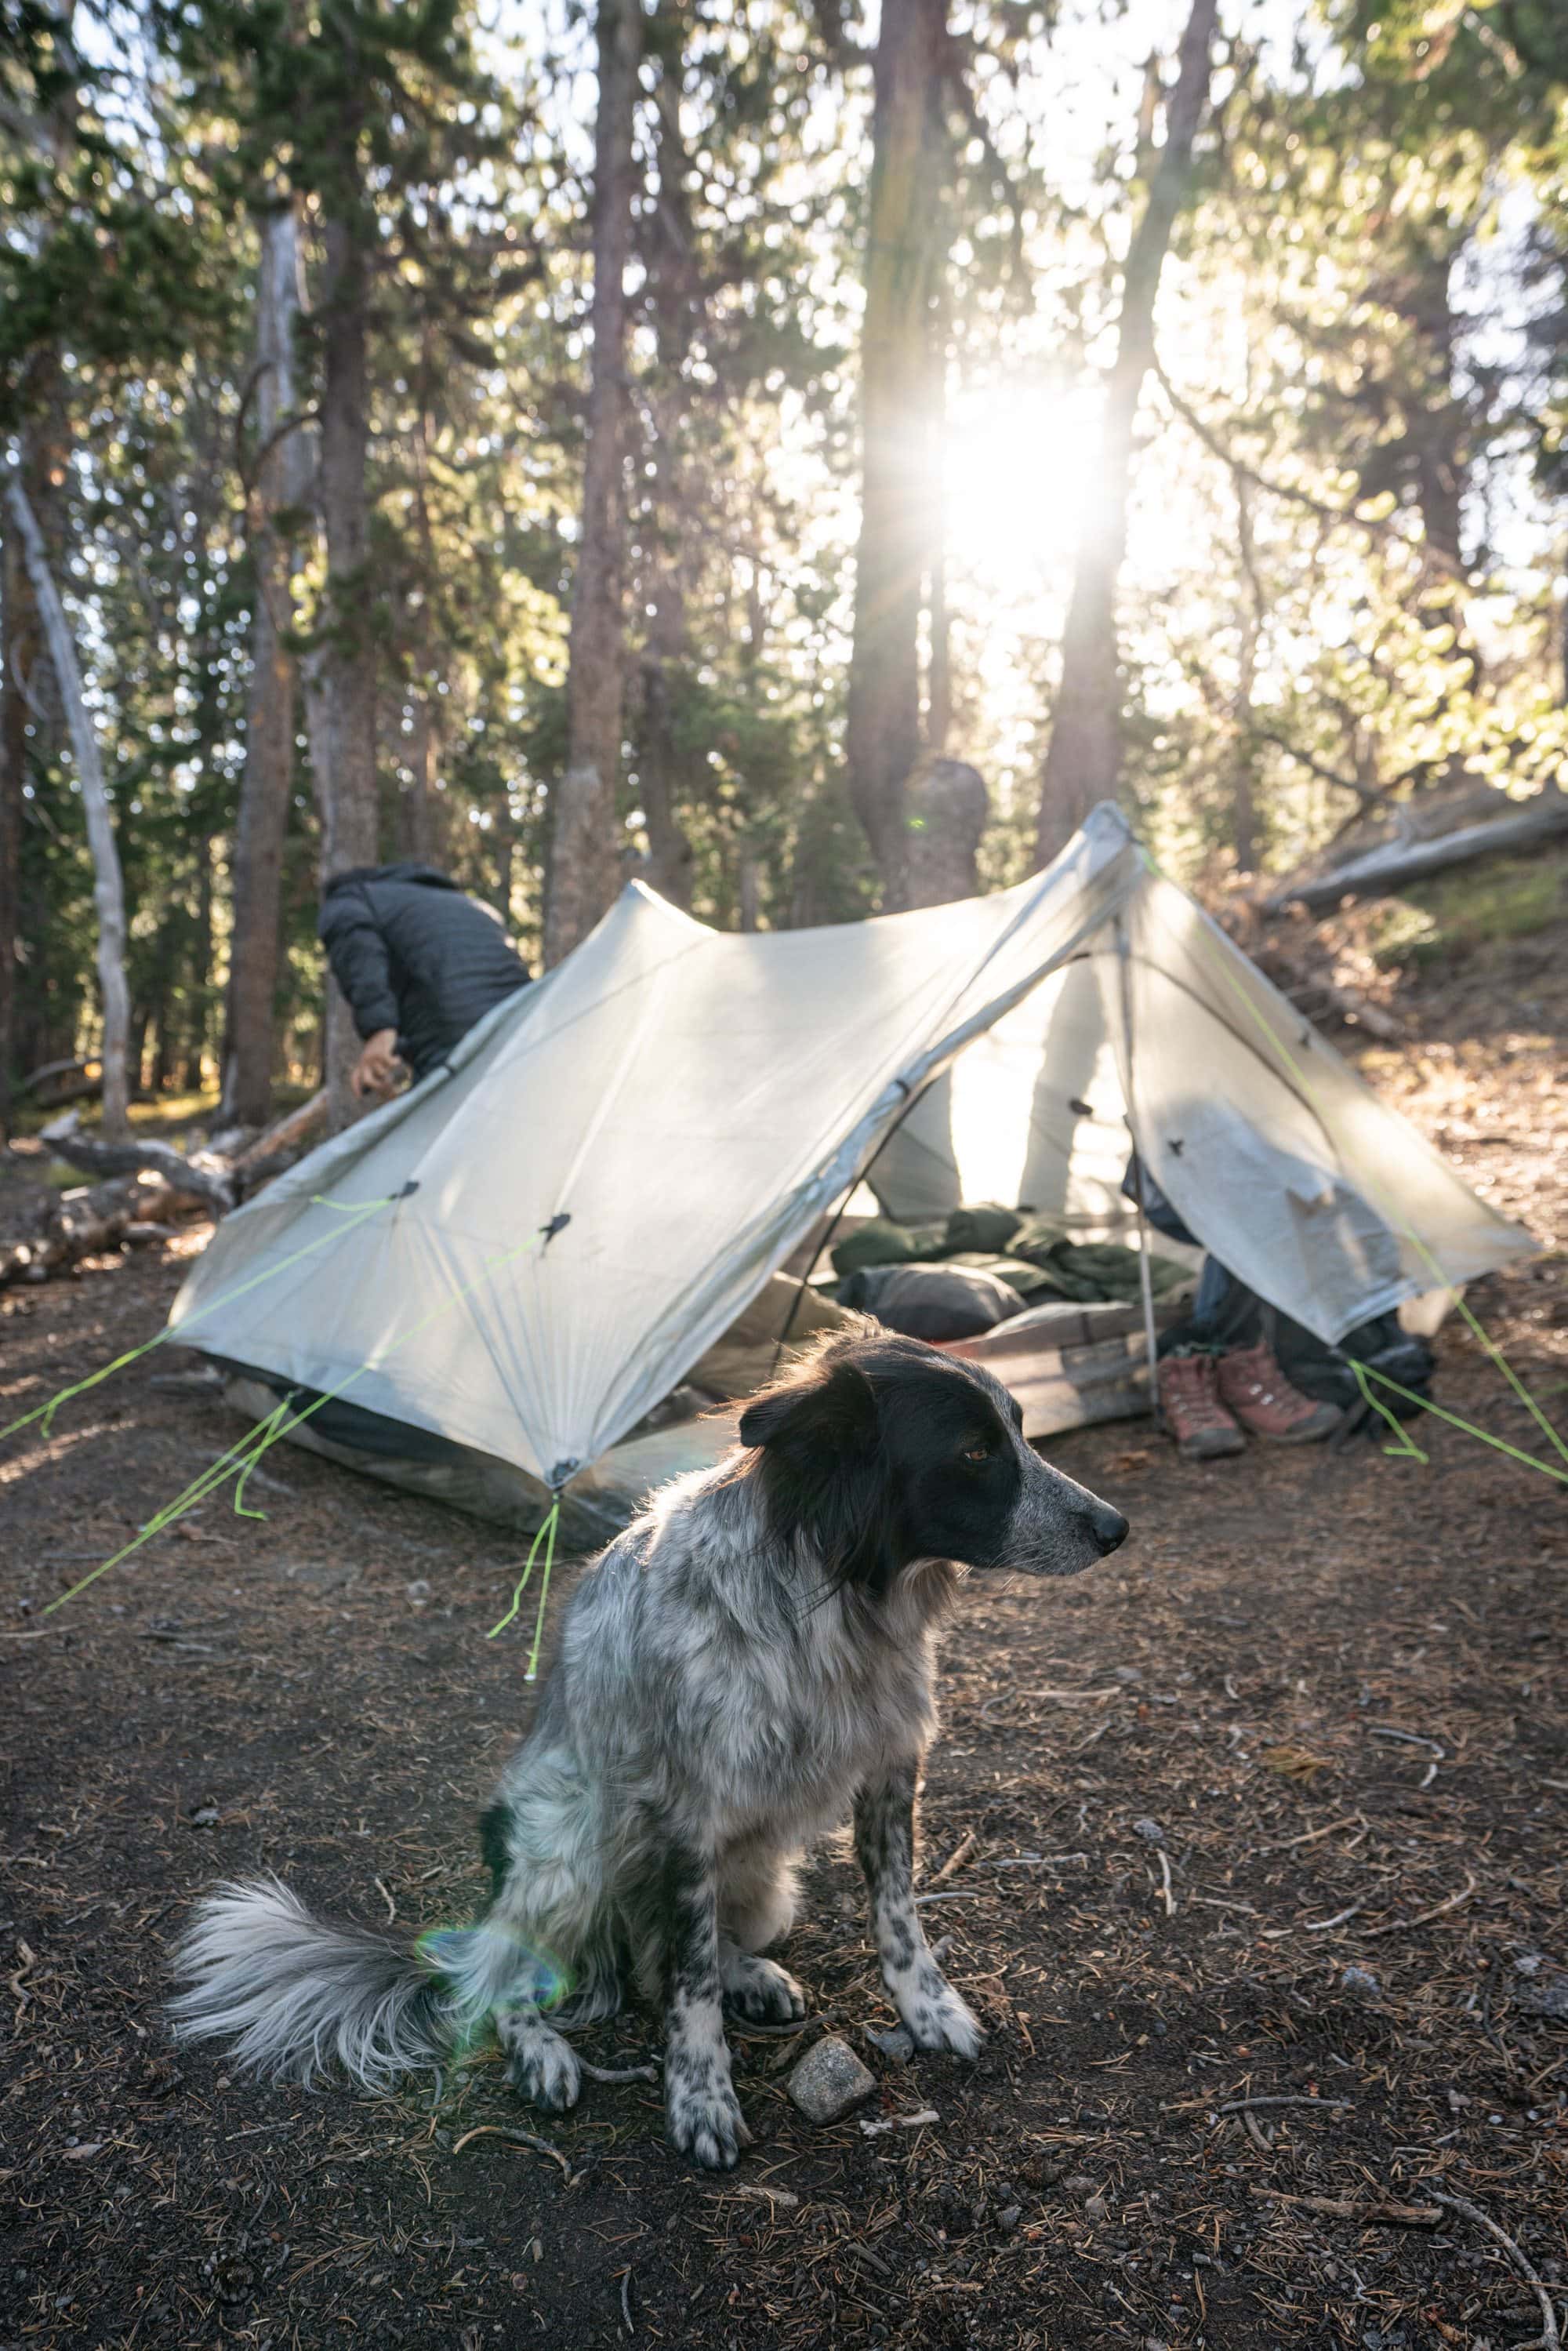
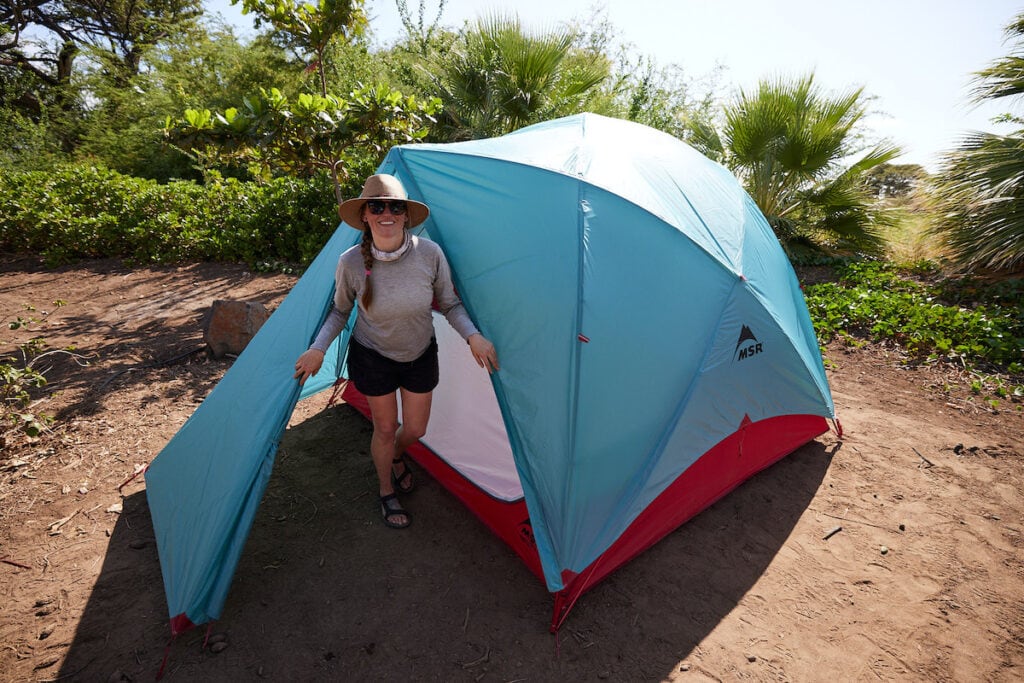
Tent Recommendations
When to Clean Your Tent
While it’s tempting to just pack away your tent after a trip and forget about it until your next adventure, doing so can compromise its durability and lifespan.
Knowing when to give your tent a thorough cleaning can make all the difference.
Here are the crucial moments when you should consider cleaning your tent:
Keeping Your Tent Clean & Well-Maintented in the First Place
First, let’s start with some simple tips to help keep your tent clean and lasting long:
Tent Cleaning Materials Needed
To ensure your tent receives the proper care without causing damage, it’s essential to use the right cleaning materials.
Here’s a list of what I recommend using for effective and safe tent cleaning:
Mild Soap (Non-detergent)
A gentle soap like Castile or a specialized tent cleaning solution is ideal. Avoid strong detergents or dishwashing liquids with perfumes as they can damage the tent fabric and its waterproof coating.
Bearfoot Theory Pick
Nikwax Tent & Gear SolarWash
This gentle cleaning solution is designed to clean tent fabrics and extend the life of your gear. It’s easy to use and also adds a bit of UV protection to prevent the tent fabric from degrading in the sun.
Where to shop
Soft Sponge or Cloth
Soft sponges are perfect for general cleaning. Make sure they are non-abrasive to avoid damaging the tent’s delicate fabric.
Soft Brush
Brushes with soft bristles are useful for spot cleaning and addressing more stubborn dirt or stains. Soft brushes (or a toothbrush) are also great for zippers, which can often collect sand, dirt, or tiny particles.
You want to avoid using a brush with stiff bristles, though, since they can scratch or wear on the tent material.
Bearfoot Theory Pick
Soft Bristle Cleaning Brush
This set of brushes is perfect for cleaning tent fabrics. The bristles are soft, so they won’t scratch or abrade the material and they have a nice ergonomic shape for your hands. The smaller brush is perfect for cleaning zippers.
Where to shop
Lukewarm Water
Hot water can harm some tents’ protective coatings. It’s always safest to use lukewarm or cool water for cleaning.
Large Basin or Bathtub
A spacious container or a clean bathtub allows you to submerge and thoroughly clean larger tents.
Seam Sealer (if needed)
Over time, the sealant on tent seams can deteriorate. If you notice any peeling or if the seams are no longer waterproof, you’ll need a seam sealer to reapply.
Bearfoot Theory Pick
Gear Aid Seam Sealer
Keep the seams of your tent waterproof with this high-quality seam sealer. It’s easy to use and can also be applied to other gear like rain jackets, gloves, backpacks, and more.
Where to shop
Waterproofing Spray (if needed)
If you find that your tent isn’t repelling water as it once did, it might be time for a fresh waterproofing coat.
Look for sprays designed specifically for tents to ensure compatibility.
Bearfoot Theory Pick
Nikwax Tent Waterproofing Spray
Tents (and rain gear) lose their waterproofing coating over time, so it’s a good idea to treat the fabrics with a waterproofing spray like this one. It also adds UV protection to prolong the life of your tent.
Where to shop
Patch tape
If you find any holes or tears in your tent fabric, you’ll want to patch them up asap. This will prevent them from getting bigger and to prevent bugs and small critters from entering your tent when camping. The last thing you want is to wake up to find mouse or snake sharing your sleeping bag!
Bearfoot Theory Pick
Tenacious Tape
Tenacious tape is specifically designed to repair tent and gear fabric. It has a strong adhesive back that will stick to almost anything (make sure it’s dry) and a durable outer layer that will help prevent future rips and tears. It’s also helpful to bring with you on a backpacking trip.
Where to shop
White Vinegar and Water Solution
If you’re dealing with mold or mildew, a diluted solution of white vinegar and water can be an effective treatment.
However, always spot-test before applying to larger areas.
Towels
Towels are useful for patting down and drying off excess water after the cleaning process.
Rope or Tent Poles
You’ll want to set up your tent post-cleaning and let it air dry completely.
Step-by-Step Guide on How to Clean a Tent
Once you’ve gathered all your cleaning supplies and materials, it’s time to dive into the cleaning process!
Follow these steps to clean your tent thoroughly without causing any damage:
1. Tent Setup
- Set up your tent in a shaded area or indoors. Make sure the space is clean and free of sharp objects.
- Shake out any loose dirt or debris from inside the tent.
- Remove any detachable parts like the rainfly or inner tent and clean them separately.
2. Hand wash
- Fill your basin or wash bucket with lukewarm water and add a small amount of mild soap. If you’re using the Nikwax Tent Cleaner, you can spray it directly onto the tent fabric.
- Using a soft sponge or cloth, gently scrub the tent’s surface, focusing on particularly dirty areas. Avoid scrubbing too hard.
- For the rainfly and footprint, it may be easier to submerge them in the basin and gently scrub them there.
3. Spot cleaning
- For tougher stains, tree sap, or bird droppings, spot clean using a soft brush and mild soap. Gently scrub the areas until the stains are removed.
- If dealing with mildew or mold, use a mixture of white vinegar and water (1:1 ratio), but always do a patch test first to ensure it doesn’t damage the fabric.
4. Cleaning zippers and poles
- Use a soft brush to clean zippers
- Wipe down tent poles with a damp cloth to remove dirt and grime. If there’s any salt residue, clean them with fresh water to prevent corrosion.
5. Rinsing
- Empty the soapy water and fill the basin with clean water.
- Disassemble your tent and rinse it thoroughly by submerging it in the clean water. Gently agitate it to remove soap.
- Repeat the process until all soap residues are removed. This might take several changes of water.
6. Drying
- Carefully shake off excess water from the tent.
- Set the tent back up or hang it to air dry completely. Ensure it’s fully dry to prevent mold growth. Avoid direct sunlight as UV rays can weaken the tent fabric.
7. Reapplying waterproofing & sealing seams (if needed)
- Once your tent is completely dry, check its water repellency by sprinkling some water on it. If the water beads up and rolls off, your tent is still water-repellent. If the water soaks into the fabric, you should reapply a waterproofing spray.
- Follow the instructions on the product (like the Nikwax Waterproofing Spray) and apply it to the outer surface of the tent and rainfly.
- Check the seams of your tent for any peeling sealant. If needed, reapply a tent-specific seam sealer following the product’s instructions.
8. Patch holes
- Inspect your tent’s fabric, rainfly, and footprint to see if there are any rips or tears. Use a strong tape like Tenacious Tape to patch any holes.
9. Storage
- Once your tent is completely dry and any waterproofing or seam sealing has fully cured, pack your tent loosely in a storage sack or a large pillowcase.
- Store it in a cool, dry place away from direct sunlight.
READ NEXT
Looking for more camping and backpacking tips? Check out these blog posts:
What questions or tips do you have about how to clean a tent? Did anything surprise you? Leave a comment below!
yeah I always somehow endup messing with my tent, this guide would be really helpful, thanks for sharing 🙂
Thanks for you blog post. I might just add that if you’re using a freestanding/semi-freestanding tent that uses poles, sometimes the elastic shock cords inside the poles get worn out and need to be replaced. Pretty simple to replace them (a plethora of tutorials on YouTube). I just replaced them on one of my tents.
Thanks for that tip Tony! That’s a great point.
Wow! Thanks for sharing this awesome info with us enjoyed every bit of it.
Thanks for reading!
You got my attention when you said that you could puncture your tent if you set it up without looking out for twigs, rocks, or sharp edges. This is what exactly I failed to do when my family had a camping trip last week. I was the one who set up the tent, and I did not realize that there were broken pieces of glasses on the floor. We will be sure to have it repaired so we could use it again for our next camping adventure, and we will also take note of your tips moving forward.