Outdoor Gear Maintenance & Repair: How to Make Your Stuff Last Longer
Check out our tips, tricks, and favorite products for outdoor gear maintenance and repair to make your gear and apparel last longer.
Outdoor gear maintenance and repair seems like a lost art in today’s consumer-driven society. Got a tear? Replace it! Lost a piece to your tent? Might as well get a new one. It’s hard to ignore the call of shiny, new stuff that promises to make you better, faster, and stronger.
However, treasuring and preserving a good piece of gear, no matter how worn out it has become, can be the antidote to our addiction to constantly buying new. Learning how to keep things in good condition and how to make your gear last longer is a simple and cost-effective way to spend more time getting out there and way less time and money in the store.
Besides, there’s no telling how many stories of adventure (or misadventure) you’ll have ready to share thanks to your well-loved and patched-up gear.
Want to make your stuff last a lifetime? Here are some outdoor gear maintenance and repair basics to make your beloved gear last longer.
Why should you care about making your gear last longer?
Put simply, good outdoor gear maintenance habits save you money, make your gear last longer, and keep things out of landfills. Not every hole, snag or tear means that a jacket or glove is a lost cause and needs to be replaced. In fact, most gear today is built to last and can stand up to the wear and tear you put it through. If you made a financial investment in buying that product, it’s worth taking care of and preserving. Just think about the sentimental value of it as well! You’ll appreciate the older stuff that lasts you through your many outdoor adventures more than a brand new piece of gear and that’s really what the stoke is all about, right?
Plus, it’s worth pointing out that the more money you save by not replacing your old, beat-up gear means more money you have to spend on trips and outdoor adventures.
7 Tips for Outdoor Gear Maintenance & Repair
1. Wash your gear
Keep your outdoor clothing and apparel items nice by washing them regularly. While many items can be worn multiple times before needing to be washed, they can benefit from a wash when needed, even items that may seem difficult to wash like down and synthetic down puffy jackets. This oft-overlooked piece of advice is one of the best and most budget-friendly ways to maintain and make expensive outdoor gear last. After all, those products are typically high-ticket items and you don’t want to have to buy another $300-$400 dollar jacket next season, anyway.
Here are a few things to keep in mind when washing your gear:
- Remove all dirt, debris, and residue when possible and before washing
- Check the product tab for information on how best to wash it at home
- Close all pockets, zip the zippers, and even loosely tie any strings
- Clean out the excess detergent from your washing machine’s soap dispenser as it can damage gear
- Use Nikwax Tech Wash to wash your gear and apparel because it is specially formulated not to ruin any technical layers or coatings in the wash. Make sure you pay attention to the type of fabric it’s made for, as they have specific cleaning products for down, base layers, outerwear, and more.
- Wash your specialty items separately for the best results (things like down jackets, rain jackets, waterproof layers, etc)
- When drying, check the product tag for instructions. Hang or line dry is a safe bet if you don’t find the answer. For down and synthetic down jackets, you’ll want to dry completely on the lowest heat possible. If you find the down has clumped up a bit you can throw a tennis ball in the dryer to break it up.
2. Re-waterproof your gear
A note about washing your waterproof outerwear: after many good washes, the waterproof coating on your jackets or pants, like DWR (Durable Water Repellent) may start to diminish. While this may take a long time to actually happen, it’s still a good idea to invest in a product like Nikwax Fabric and Leather Proofing Spray that allows you to reapply a non-toxic, waterproof coating to maintain the DWR finish.
This also works for your waterproof hiking boots! Just like you would clean and wash your waterproof outerwear, keeping your waterproof boots in good condition also helps them last longer. Simply brush off the dirt and debris and apply a layer of waterproofing spray. Reapplying waterproof coating is easy to do at home and a good way to really make your gear last.
3. Clean and store your tent correctly
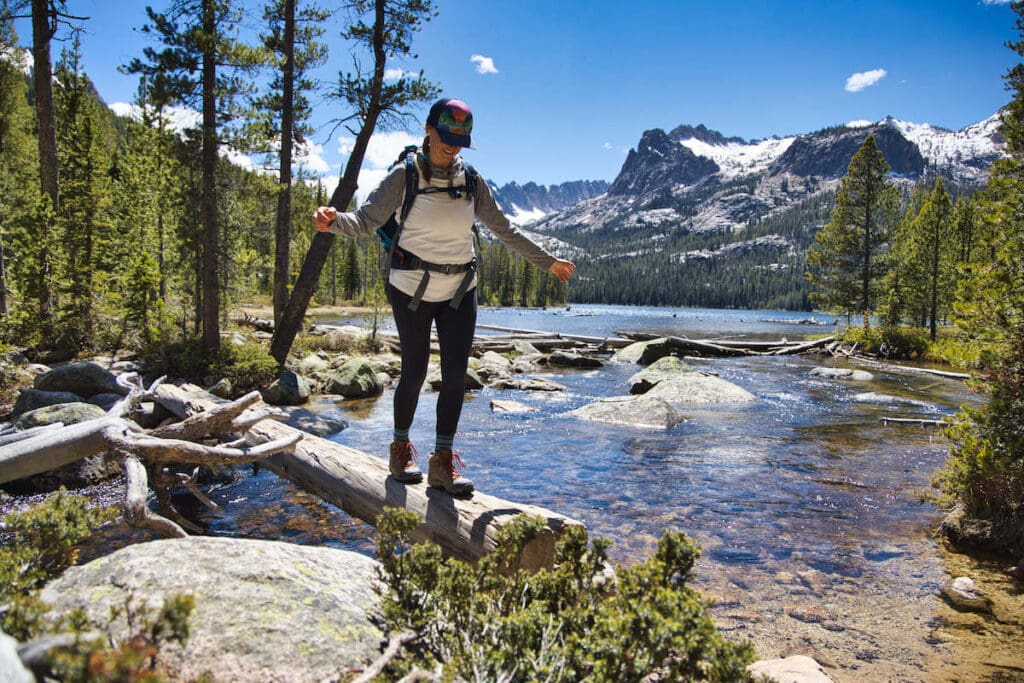
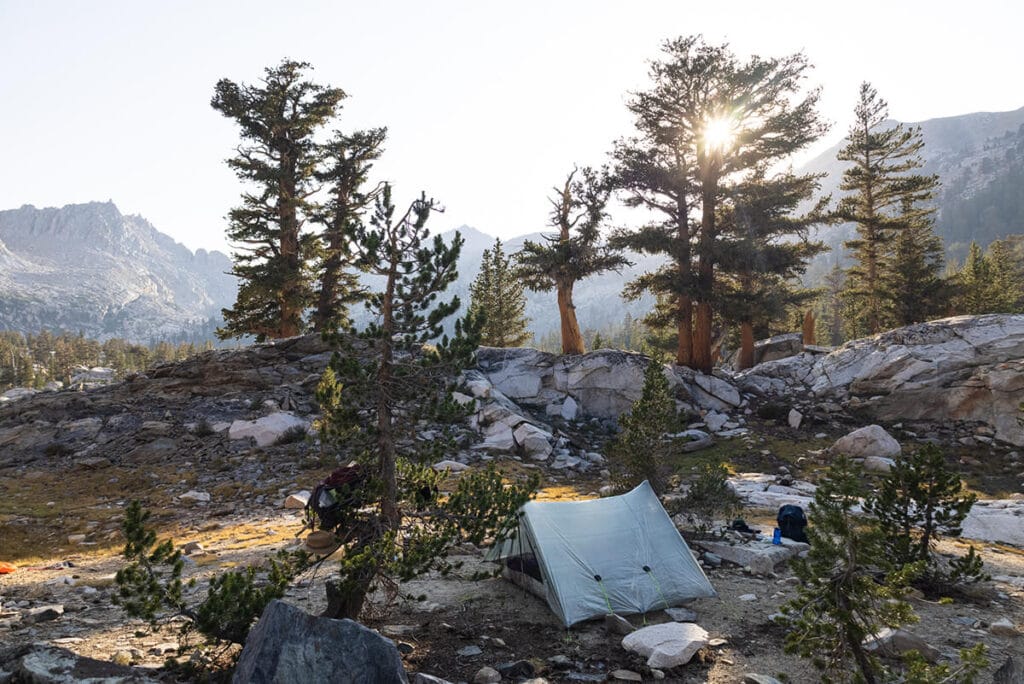
Take some time post-adventure to care for the camping gear that keeps you warm and dry while you’re out in the elements: your tent being one of the main items. Not familiar with how to care for your tent? Here’s a quick crash course.
- When you get back from your trip, set your tent up somewhere dry so any moisture can air dry
- Brush off dirt and debris and spot clean where needed
- Check for small holes and anything that needs repairing so you can address it now and have your tent ready to go for your next adventure
Don’t leave your tent in the compression sack but fold it nice and loose for storage in a larger bag that lets it breathe.
4. Clean and Store Your Sleeping Bag Correctly
While we don’t wash our sleeping bags after every adventure, we will wash them once in a while when they need it. If your sleeping bag needs a wash, here’s how to do it:
- Zip up your sleeping bag and close any velcro tabs
- Throw it in a front loading washing machine with some down-specific cleaner or Dr. Bronners
- Dry it on the lowest setting in the dryer until it’s completely dry. If you find the down is clumping, throw a tennis ball into the dryer with the sleeping bag to break up the clumps.
If you’re sleeping bag doesn’t need to be washed, simply unzip it and hang it up outside to dry and air out. Brush off any dirt and debris and spot clean if needed. Once fresh and dry, zip and loosely fold up your sleeping bag in a larger bag, not the stuff sack, so it’s ready for your next adventure.
5. Remove the batteries from electronic devices
To keep electronics running longer and better, remove the batteries to keep them from leaking or draining their charge. We’ve had batteries leak in our old headlamps and it’s no fun (now we use battery-free rechargeable LED headlamps). Store batteries in a cool, dry place.
6. Keep everything in a cool, dry area
Ideally, your gear closet should be located in a cool, dry area that maintains a fairly constant temperature without extreme heat or cold such as a temperature-controlled garage or indoor closet.
If you live in a humid environment, consider using a dehumidifier to draw out extra moisture that can cause mold or mildew. Just be sure to empty it often! Alternatively, you can use DampRid for less humid areas.
7. Have a professional repair your outdoor gear
If there’s some damage you aren’t sure how to repair yourself, there are gear companies and stores that offer gear repair services. If the zipper on your down jacket is stuck, for instance, call the company that made it and see if they can help out. Or if your sleeping pad isn’t holding air anymore, maybe the valve can be replaced by the manufacturer. I’m often surprised by the success stories I hear from people who send very old gear in for repair.
Patagonia’s Worn Wear program is another awesome alternative to chucking your stuff into the trash. Rather than simply replacing it, Patagonia will accept back used gear from their brand and resell it, giving you store credit for your next purchase. Plus, you can browse their line of used and repaired Patagonia gear so you can feel good about your purchase if you really need to buy “new”.
REI also has repair services. They can help fix anything from damaged outwear to broken tent poles.
Many brands want your stuff to stay in good condition for the long haul, so check out their websites or stores for at-home care guidelines and recommendations for your specific gear.
DIY outdoor gear repair kit
Few things are better at ruining a trip than when you’re outside and your gear breaks. Whether it’s a backpack strap that’s come loose, a tear in your tent, or even just a broken shoelace, these minor setbacks can be a huge bummer and really dampen your trip. The best way to deal with broken gear on the go? A repair kit.
You can build your own gear repair kit with these essentials:
- Duct tape strips
- Tenacious Repair Tape: this can be used to patch up a hold on a tent, sleeping bag, or down jacket.
- Shoe Goo
- Leatherman with a pocket knife
- Extra paracord
- Sewing Kit
For more outdoor gear supplies, Gear Aid has a full range of products and kits for almost any gear fix you might need.
Do you have any other outdoor gear repair and maintenance tips and tricks? What piece of gear have you had the longest? Share in the comments below!


Thank you for sharing tips on how to make camping gear/stuff longer. My husband is a camper and I can’t count how many times he bought a tent and a sleeping bag. I will share this to him.
Great article!
I have however stopped using Nikwax water repellents on my hiking boots. Great stuff but I wish i had a buck for every container that ended up past it experiation date. I have all leather, fabric and combination fabric and leather hiking boots. I use a different water repellent on leather which does nor expire.
Love free sole , duct tape and Nikwax tech washes.
Very good advice all around
Thanks for reading, David!